Jump to content


Photo
- - - - -

The 89' Mayfair - Aka Two (The White One)


  • Please log in to reply
338 replies to this topic

#31 myredmini

myredmini

    My Mummy Says It's OK

  • Members
  • PipPipPipPipPipPipPipPipPip
  • 3,211 posts
  • Name: Dan
  • Location: Teesside
  • Local Club: BOG MOG

Posted 13 October 2011 - 12:00 AM

Hi, finally an update !

Been busy with the front end panels, got the drivers wing and a panel on, only the scuttle closing plates to fit then I can seal everything up on this side to keep it well protected. The whole front should be fully welded and sealed by the end of next week. Bonnet and door gaps are great and im very happy with them..

PICTURES!!

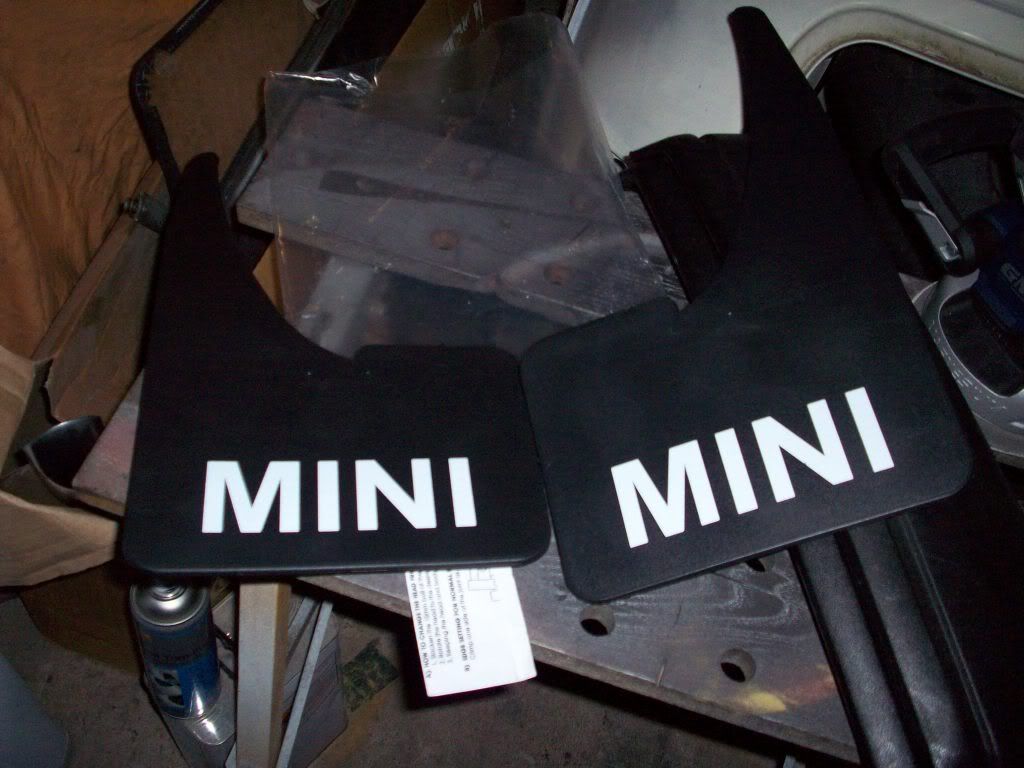
Here's some of the shiny birthday parts I got..

Posted Image

Posted Image

Posted Image

Posted Image

I bought one of these for the bodywork to save having the compressor blasting away alot.

Posted Image

A few bits I bought with my birthday money..

Posted Image

Posted Image

Very handy tool! well worth £47 in machine mart for anyone interested easy to punch holes and make a flange on steel..

New bottle of Welding Gas, this is from Adams Gas, closed my account with BOC, prices are very high, adams gas is a great company..

Posted Image

Fixed my regulator too..

Posted Image

Posted Image

Few light plugs made on the scuttle and windscreen fits brilliant!

Posted Image

Posted Image

Posted Image

Posted Image

Posted Image

Posted Image

Posted Image

Posted Image

Dan..

#32 myredmini

myredmini

    My Mummy Says It's OK

  • Members
  • PipPipPipPipPipPipPipPipPip
  • 3,211 posts
  • Name: Dan
  • Location: Teesside
  • Local Club: BOG MOG

Posted 13 October 2011 - 12:13 AM

Dad put yesterday in off work to get the engine out..

Few hours later we had this.

Posted Image

Posted Image

Posted Image

Posted Image

Posted Image

Door gap..

Posted Image

Very happy with it so far..

Thanks for looking..
Dan..

#33 mini danny

mini danny

    I am a mini daddy.

  • Members
  • PipPipPipPipPipPipPipPipPipPip
  • 5,229 posts
  • Local Club: british mini club

Posted 13 October 2011 - 08:44 AM

Looking good matey coming along nicely keep up the good work

Danny

#34 myredmini

myredmini

    My Mummy Says It's OK

  • Members
  • PipPipPipPipPipPipPipPipPip
  • 3,211 posts
  • Name: Dan
  • Location: Teesside
  • Local Club: BOG MOG

Posted 13 October 2011 - 07:32 PM

Thanks Dan, will do :)

#35 sonikk4

sonikk4

    Twisted Paint Polisher!!!

  • Admin
  • PipPipPipPipPipPipPipPipPipPipPip
  • 16,188 posts
  • Name: Neil
  • Location: Cotwolds.

Posted 13 October 2011 - 07:41 PM

Are you going to go for super thin gaps Dan or leaving them as is?? (go on you know you want too) also it would be a good time to weld in two blanks for the unused holes in the scuttle. Its coming along nicely though.

#36 myredmini

myredmini

    My Mummy Says It's OK

  • Members
  • PipPipPipPipPipPipPipPipPip
  • 3,211 posts
  • Name: Dan
  • Location: Teesside
  • Local Club: BOG MOG

Posted 13 October 2011 - 08:21 PM

Im getting the door gaps a nice as possible. Bonnet gaps wont be very thin, they will be even but I'm not cutting the bonnet and adjusting it the gaps good as it is, I tested it this week. Yes I'm also welding them scuttle holes, makes the scuttle look cleaner and tidy..

Thanks Neil
Dan

#37 myredmini

myredmini

    My Mummy Says It's OK

  • Members
  • PipPipPipPipPipPipPipPipPip
  • 3,211 posts
  • Name: Dan
  • Location: Teesside
  • Local Club: BOG MOG

Posted 19 October 2011 - 08:02 PM

Ahoy-hoy!!

Well I've been busy with engine work as well as bodywork.

Engine wise, the head is off, one bore had some oil in it due to a worn stem seal. The clutch/flywheel is off, it popped straight off with my puller.

Bodywork wise, the wings are on, a panels are on and sealed up, I need to fit the scuttle closing plates and do some very small repairs and that's the welding done!! :gimme: (for now >_< )

Anyway, heres the pictures...

Posted Image

Posted Image

Posted Image

Posted Image

Made these to blank the scuttle holes off, better than blanking plates..
Posted Image

Posted Image

Posted Image

Posted Image

Nice MK1 Grille :proud:

Posted Image

Posted Image

Started Painting some parts up..

Posted Image

Posted Image

Posted Image

Posted Image

Ku-rust'ed

Posted Image

Posted Image

Posted Image
Crank Oil Seal was weaping slightly

#38 myredmini

myredmini

    My Mummy Says It's OK

  • Members
  • PipPipPipPipPipPipPipPipPip
  • 3,211 posts
  • Name: Dan
  • Location: Teesside
  • Local Club: BOG MOG

Posted 19 October 2011 - 08:02 PM

This is the spare engine I have which I'm using the box off, clutch will not budge on this one >_<

Posted Image

Posted Image

Posted Image

Posted Image

Posted Image

Posted Image

Now its very cold I splashed out on this

Posted Image

Be useful for painting the mini too

Posted Image

Engine bay to be painted too.

Dan..

#39 myredmini

myredmini

    My Mummy Says It's OK

  • Members
  • PipPipPipPipPipPipPipPipPip
  • 3,211 posts
  • Name: Dan
  • Location: Teesside
  • Local Club: BOG MOG

Posted 23 October 2011 - 07:56 PM

I have removed all of the old black paint from the roof and primer, im back down to the original white which is a perfect base to paint onto. Once I have finished the small amounts of welding I will be priming and painting the roof and allowing that to dry fully before masking it up to prep the rest of the car and paint in OEW.
The spare engine which I'm removing the gearbox from has been a slight disaster, head of the main centre bolt snapped. So the company I bought it from have sent a replacement.

One of the springs off the valve stem seals snapped! so they company I bought them from sent another next day!

Engine jobs are as follows;

Fit the new bypass hose when arrives and fit the head
Remove the transfer casing and split the block
Once the replacement Gearbox is off, It needs checking over and the idler gear and transfer gears need the endfloat checking/setting up
Fit the new box
Transfer casing
New Valeo clutch kit along with crank oil seal! which is slightly weeping anyway
Clean the engine and repaint
Both CV joints are to be cleaned, greased and boots reclipped
Engine can be refitted after engine bay is painted and everything can be built up.

Dan

#40 hughJ

hughJ

    Soldiering Along

  • Members
  • PipPipPipPipPipPipPip
  • 727 posts
  • Location: Highlands, Scotland

Posted 24 October 2011 - 06:46 PM

Hey Dan you are fair cracking on with this. Its looking good.

Hugh

#41 panelbeaterpeter

panelbeaterpeter

    Crazy About Mini's

  • Members
  • PipPipPipPipPipPipPipPipPipPip
  • 5,606 posts
  • Location: Scotland
  • Local Club: n/a

Posted 24 October 2011 - 08:08 PM

Not looked at this before, impressive! Keep it up. Oh and your lighting devices should arrive tomorrow.

#42 myredmini

myredmini

    My Mummy Says It's OK

  • Members
  • PipPipPipPipPipPipPipPipPip
  • 3,211 posts
  • Name: Dan
  • Location: Teesside
  • Local Club: BOG MOG

Posted 24 October 2011 - 08:33 PM

Hugh@ thank you for your comment, really appriciate it. :thumbsup:

Panelbeaterpeter@ thanks dave !! Looking forward to getting it. Better than this tea light candle. Keeps blowing out. O_O

#43 Leacho

Leacho

    Stage One Kit Fitted

  • Noobies
  • PipPipPip
  • 59 posts

Posted 26 October 2011 - 01:21 AM

project is going well , i will be keeping an eye on this , keep up the good work!

#44 myredmini

myredmini

    My Mummy Says It's OK

  • Members
  • PipPipPipPipPipPipPipPipPip
  • 3,211 posts
  • Name: Dan
  • Location: Teesside
  • Local Club: BOG MOG

Posted 26 October 2011 - 09:36 AM

Thank you muchly :)

#45 mini danny

mini danny

    I am a mini daddy.

  • Members
  • PipPipPipPipPipPipPipPipPipPip
  • 5,229 posts
  • Local Club: british mini club

Posted 26 October 2011 - 10:34 PM

Looking very good matey keep up the hard work :)


3 user(s) are reading this topic

0 members, 3 guests, 0 anonymous users