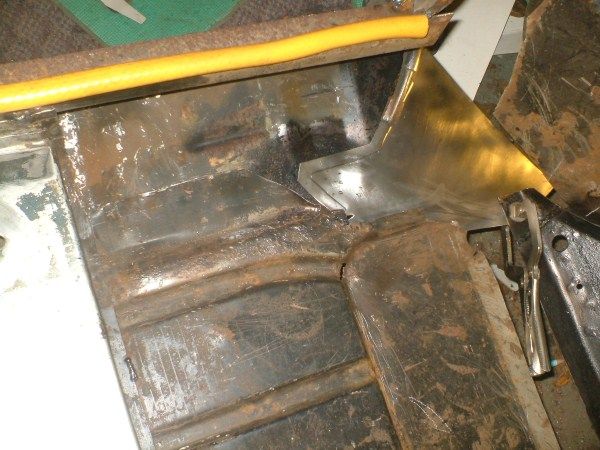
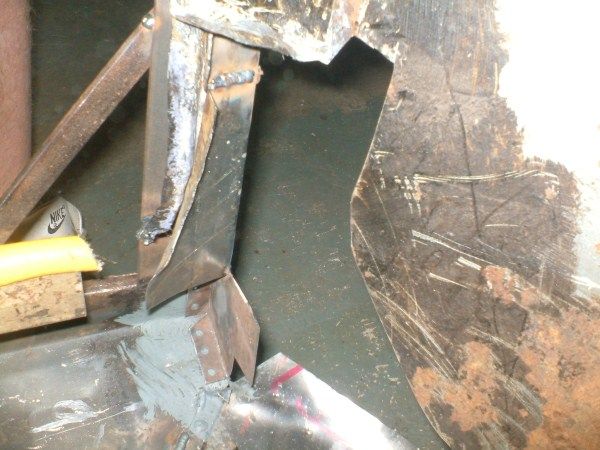
put a metal bar just above the bottum door hinge holes on the inside of the A-post horizontal to the inside B-post, just a few tacks then diagonally from the A-post where you just tacked the horizontal bar to the top corner of the B-post, , it wil stop any movements, it's just a precaution.then you can cut as much as you like, by the looks of it, inner sill needs to go, doorstep and leftover outer sill.and bottum door post probably....you'll see. Just take your time and measure first....I'm not too sure what to brace? the inner sill should be atleast tacked in tomorrow and We're not cutting anymore of the doorstep out.
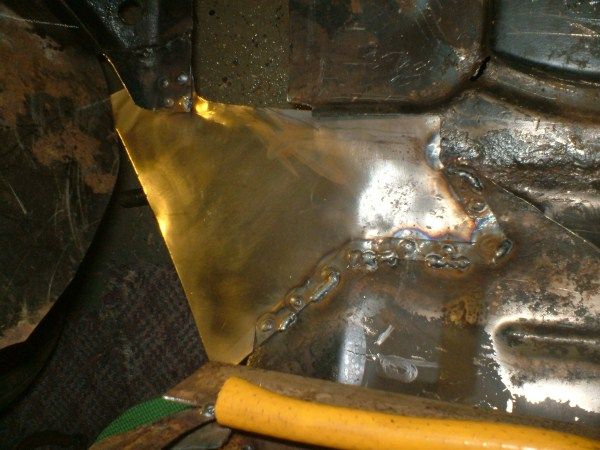
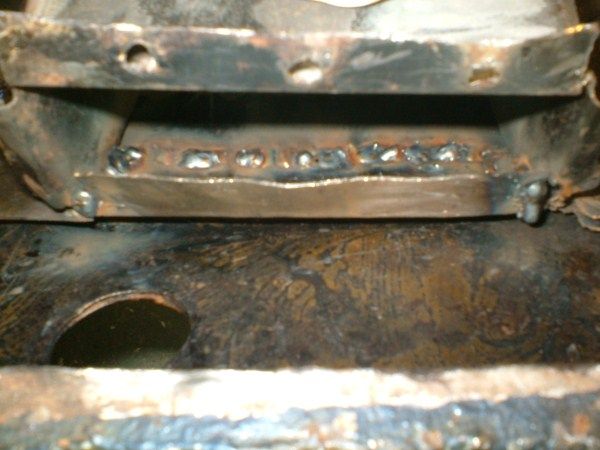
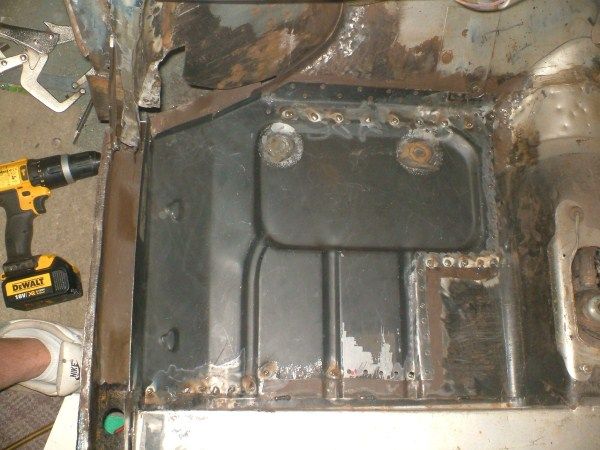
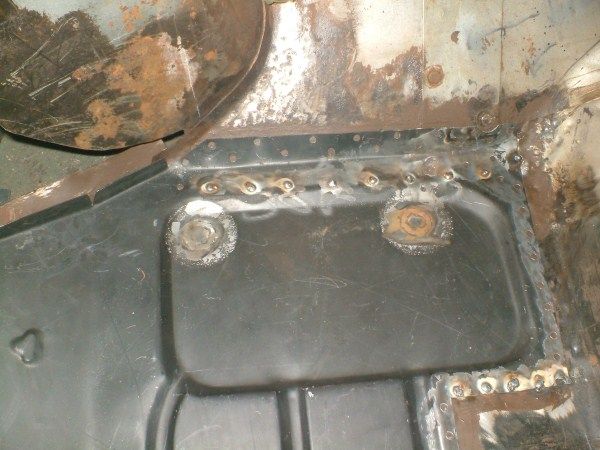
Cheer's clifford, I think the battery box is well done
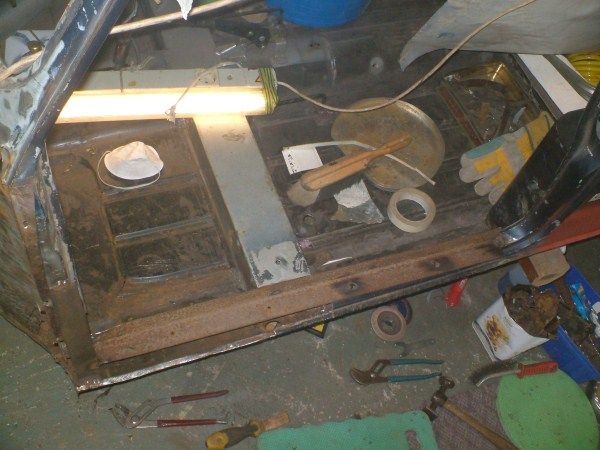
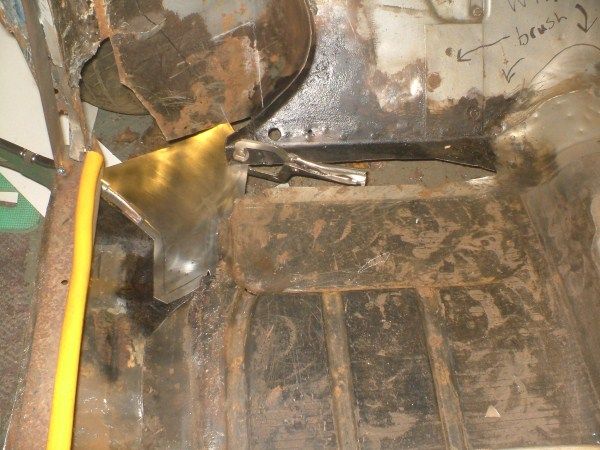
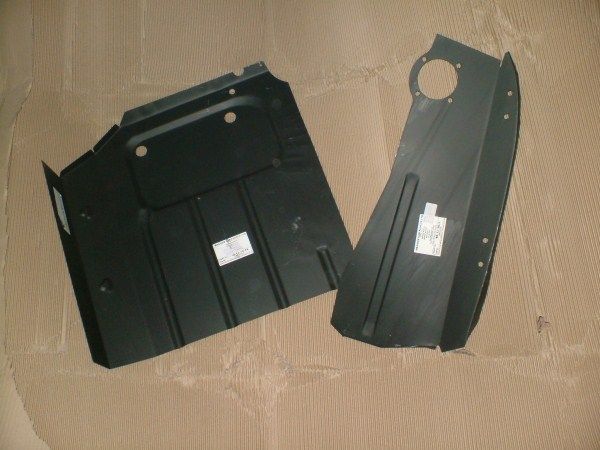
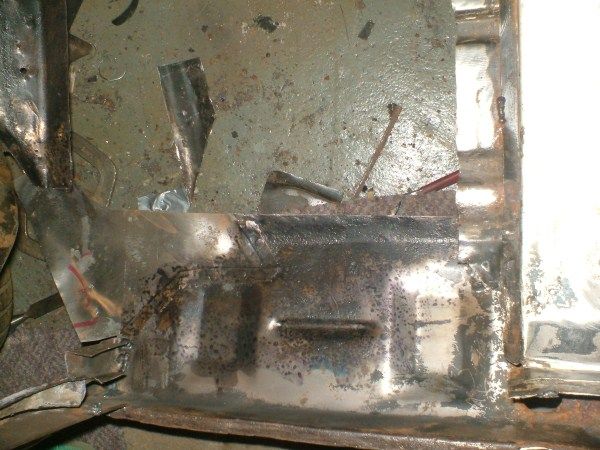
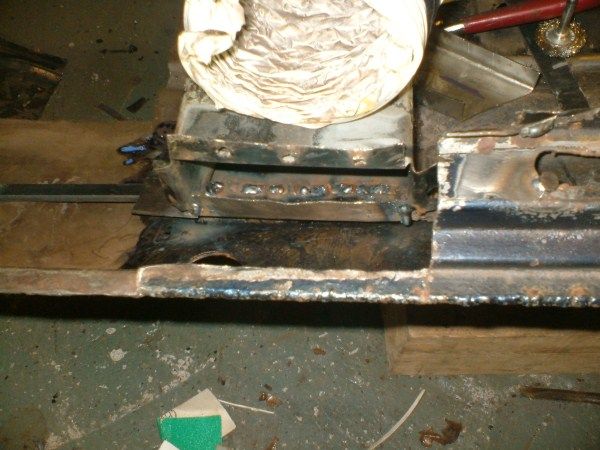
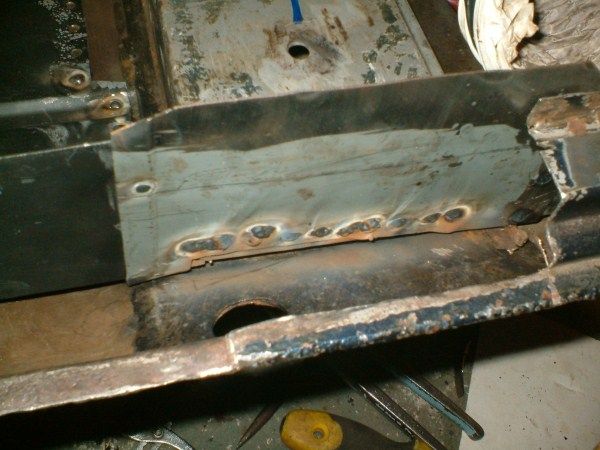
WOW finally that battery box has been finished
seems ages since ive seen other bits of your car
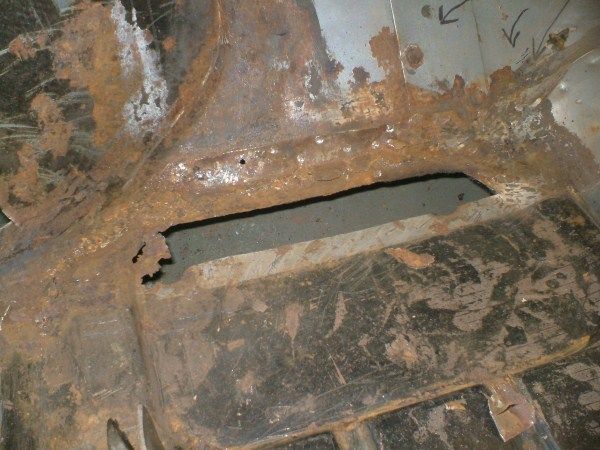
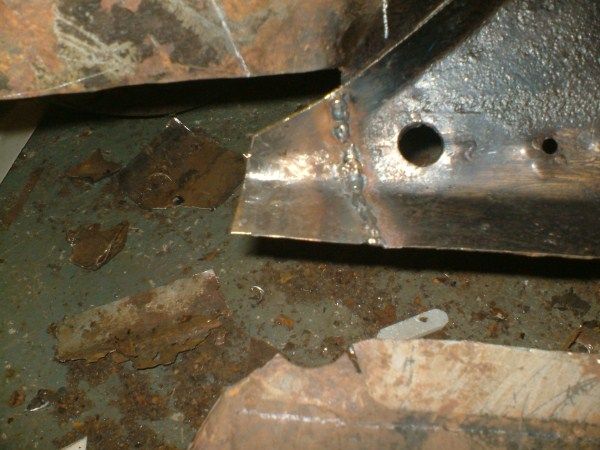
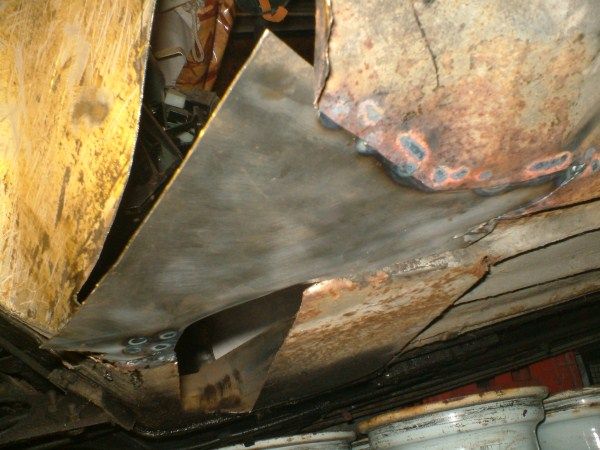
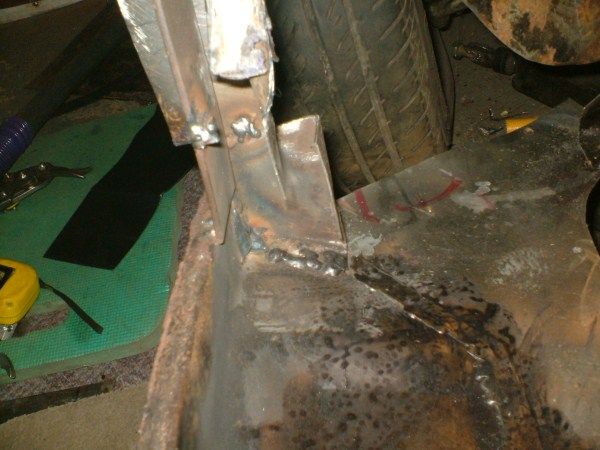
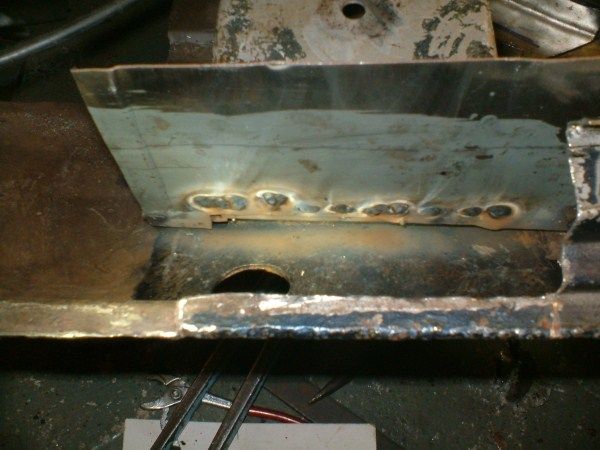
Only joking great work alex as the above theres some rare brown stuff in your sill which
has a canny resemblance to rusts thinking about it it must just be my eyes seing things.
Regards
Clifford, Must be your eye's
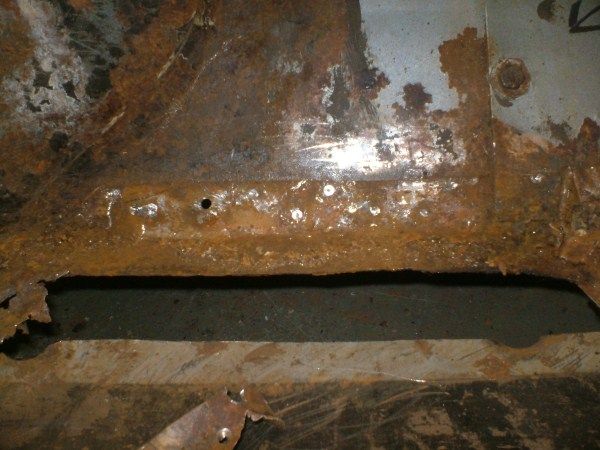
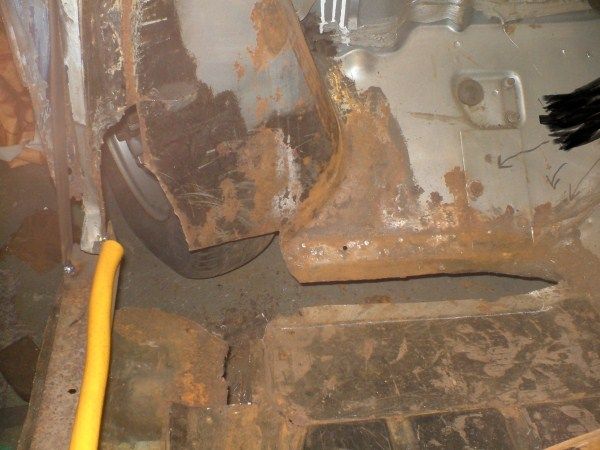
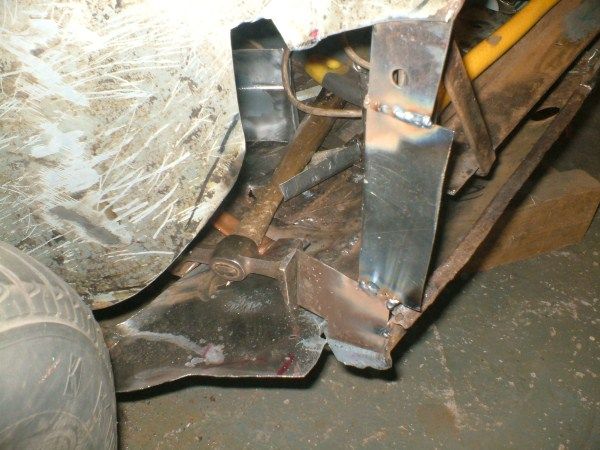
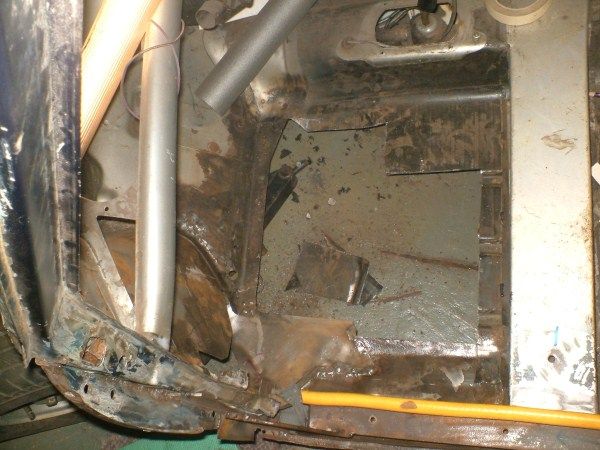
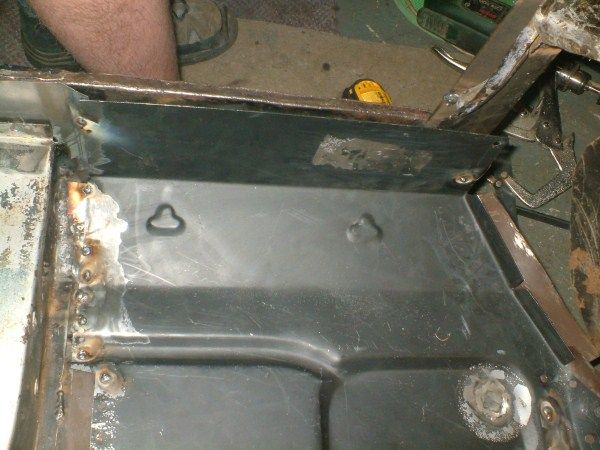
Thanks, I didn't expect we'd cut out so muchAlex, good job yr doing, I love the sight of the last few picies, cut it all out!!! But before any more cutting, measure all and write it down somewhere, brace A-post to B-post and diagonally to A-postto B-post top corner........ then you can play again....good luck
, but out with the old and in with the new. I was thinking of taking measurement's but then forgot, That'll be my first job tomorrow.
don't forget bracing......