Jump to content


Photo

Mini Pickup Restoration Project No.2! Finally Underway!


  • Please log in to reply
126 replies to this topic

#46 pickupmad87

pickupmad87

    Previously adampadmore

  • Members
  • PipPipPipPip
  • 273 posts
  • Location: woking

Posted 02 February 2013 - 05:33 PM

after last nights de-barcale we woke up this morning with fresh heads ready to start. managed to drill the holes and cut the slots in the right lip this time.
Posted Image
Posted Image

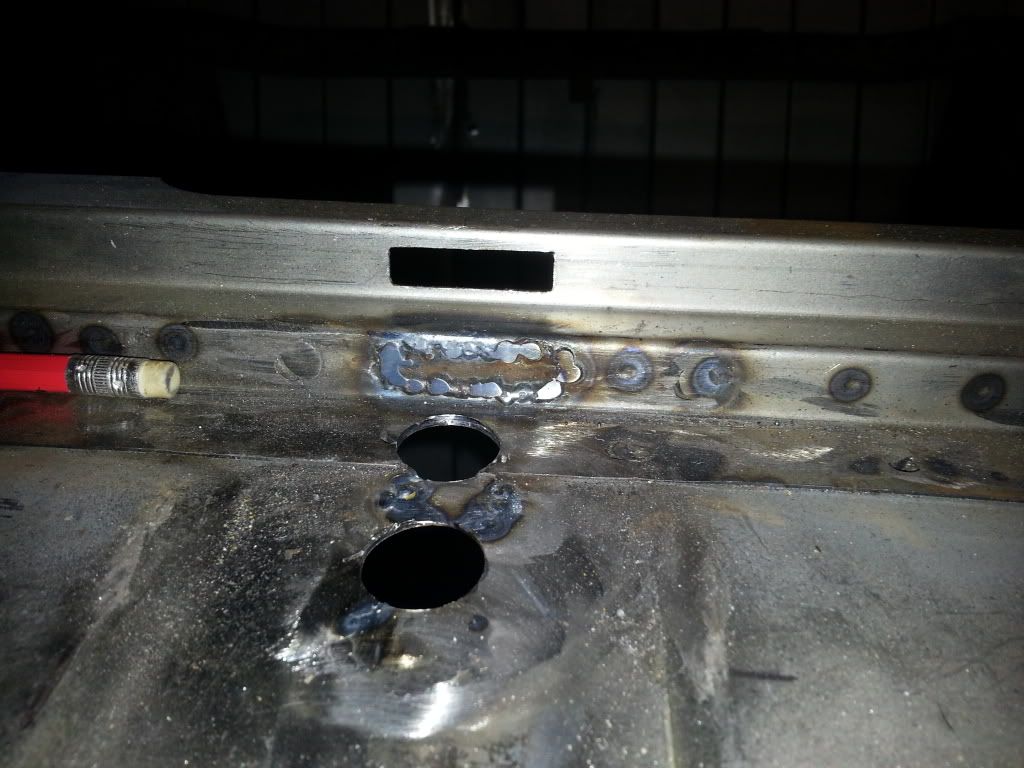
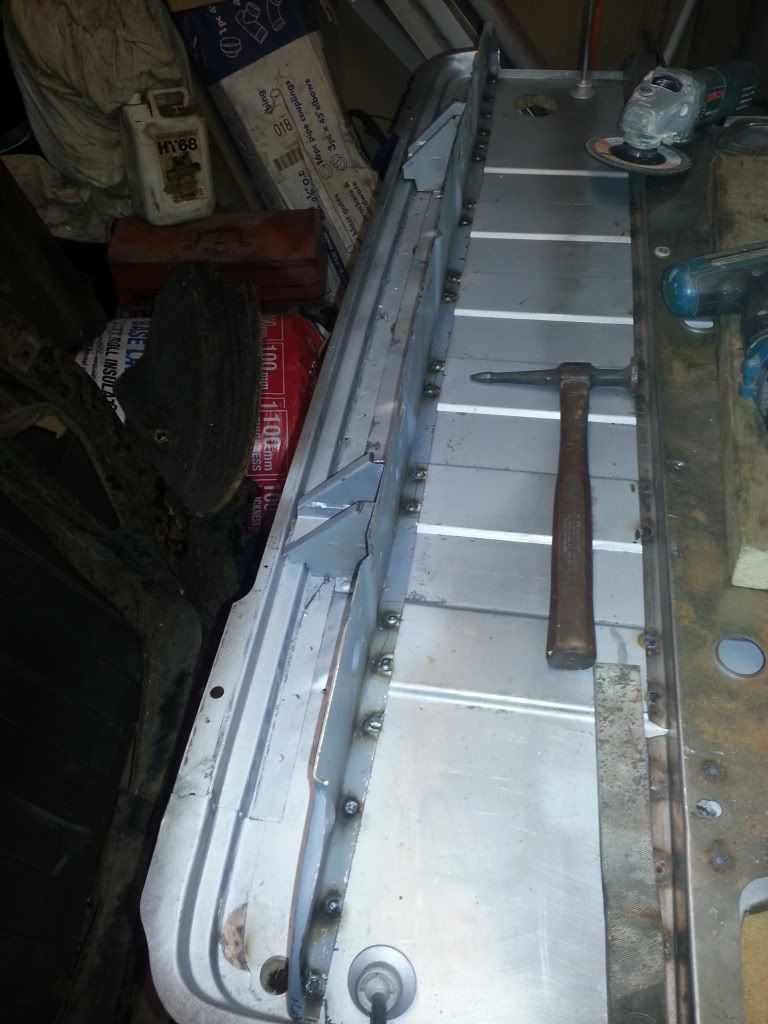
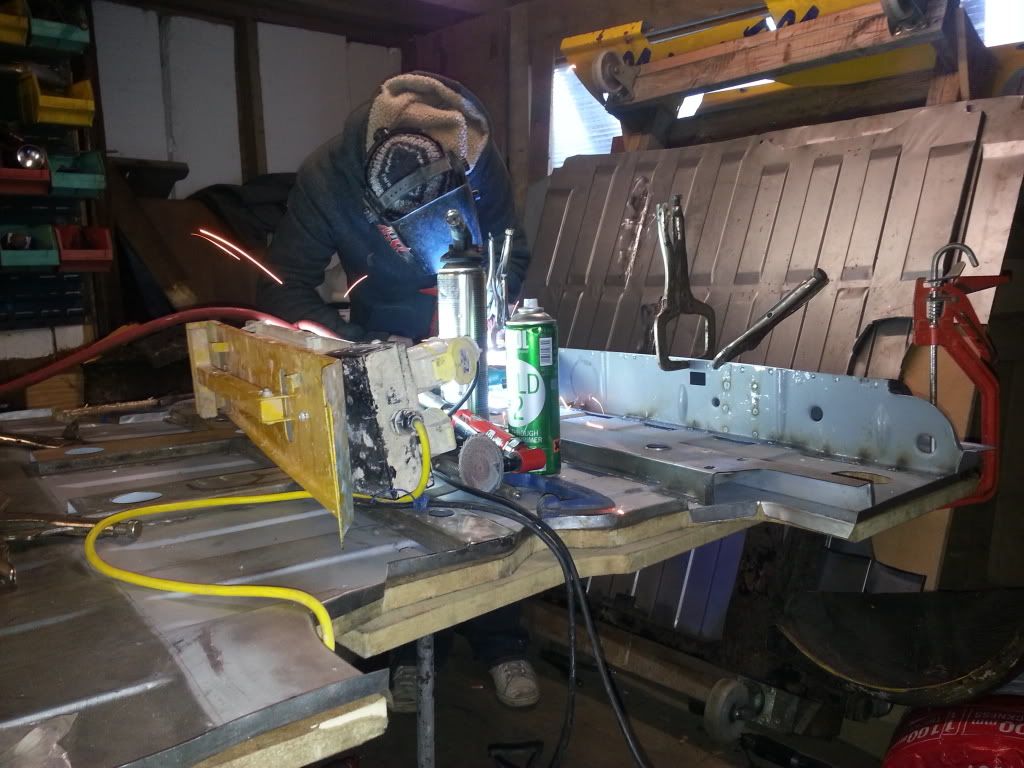
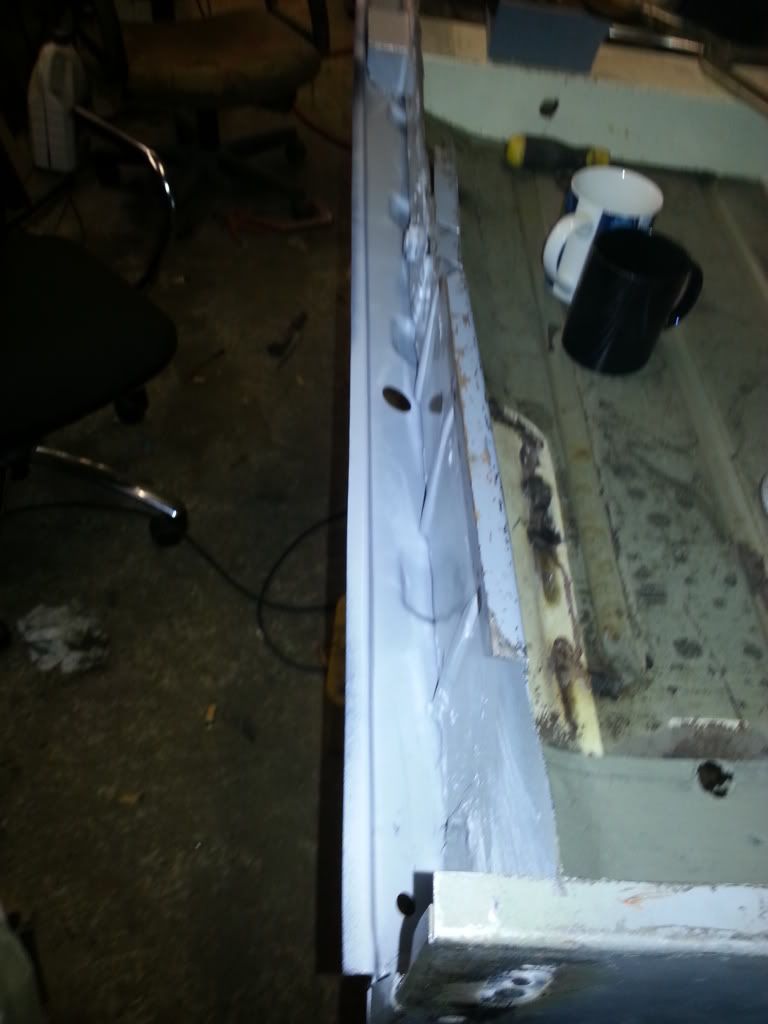
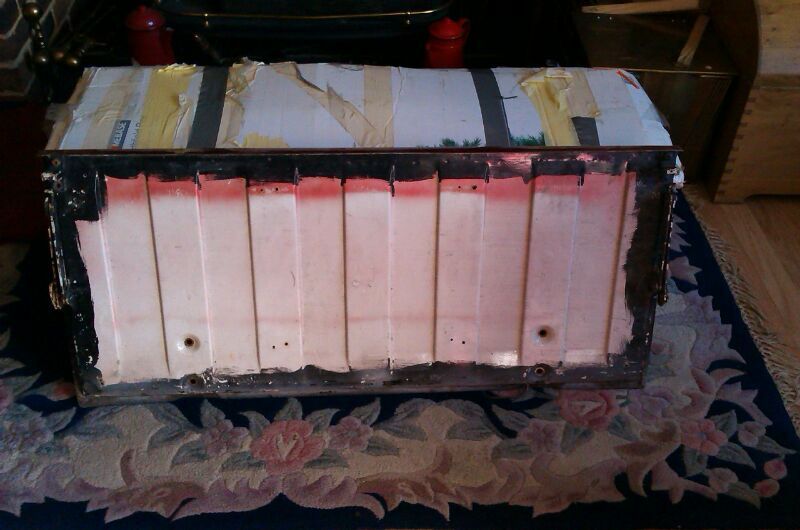
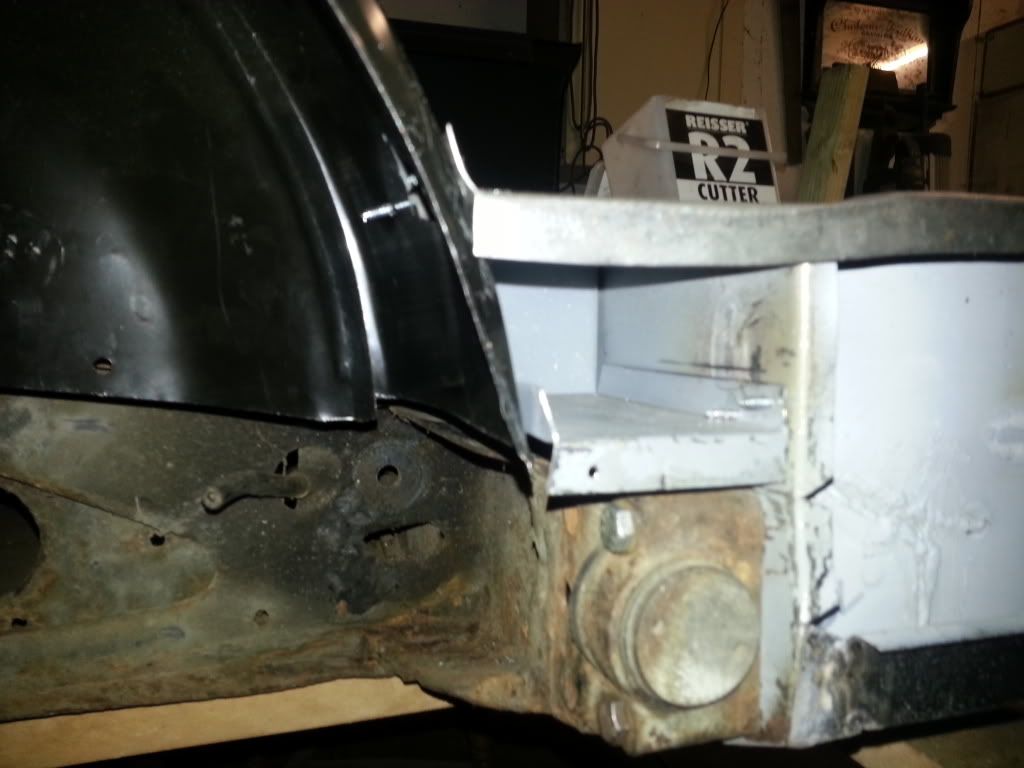
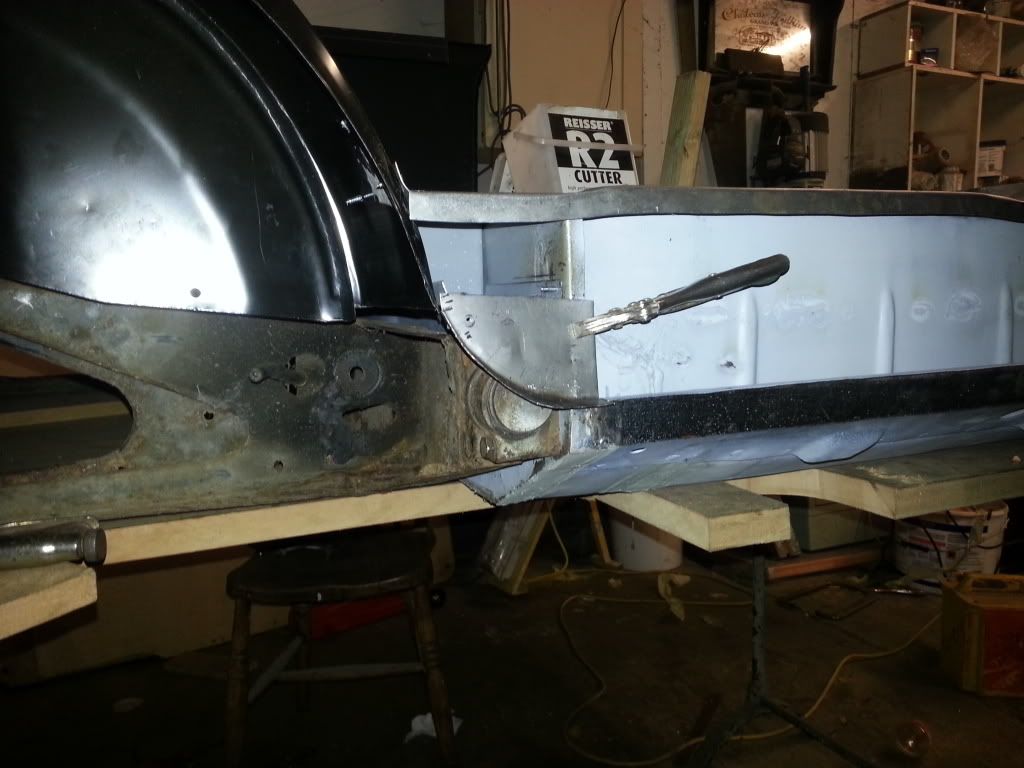
also decided to put some spot welds on the outer lip to pull some of the panel back in. the reason were are not using the spot welder on all of it is we are having trouble getting the welds to stick properly so have no confidence in it holding properly.
Posted Image

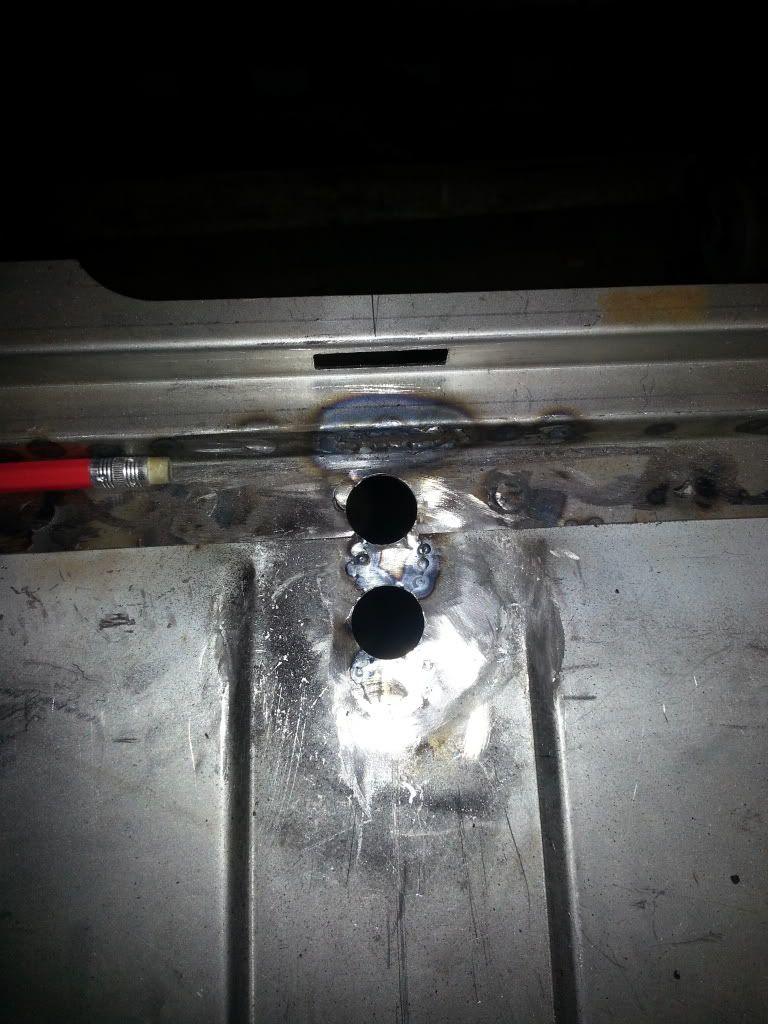
now that the hinge slots and holes are in the correct place we could set out the hinge mounting panels and set out the rear valence closing panel
Posted Image
Posted Image
Posted Image

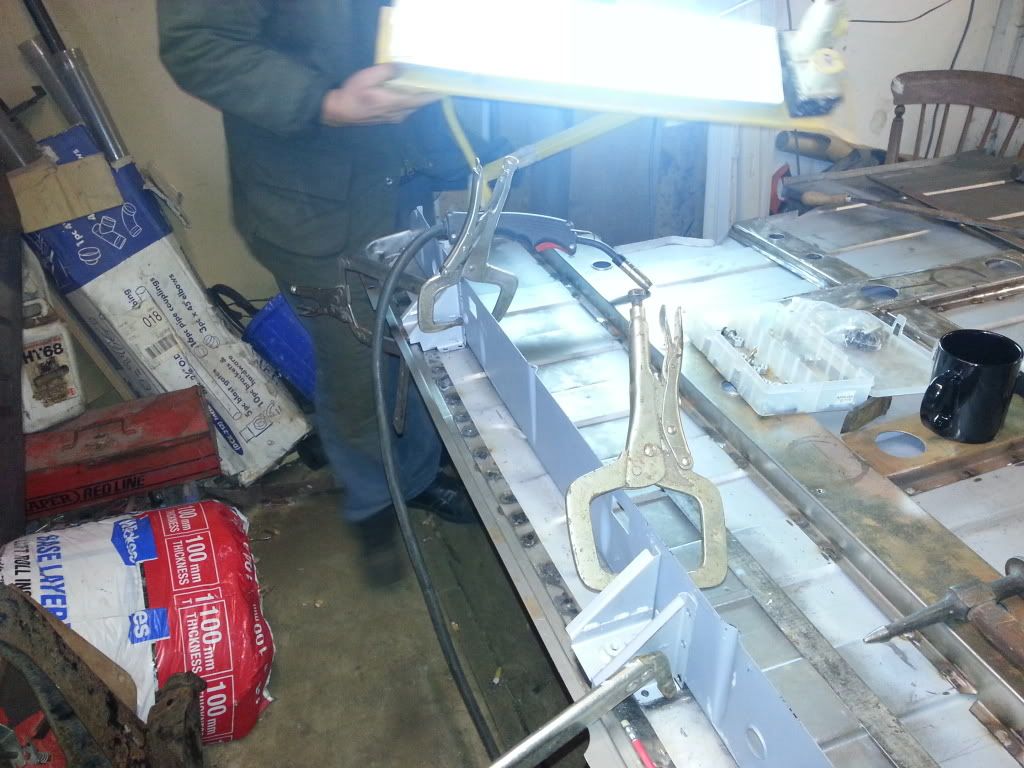
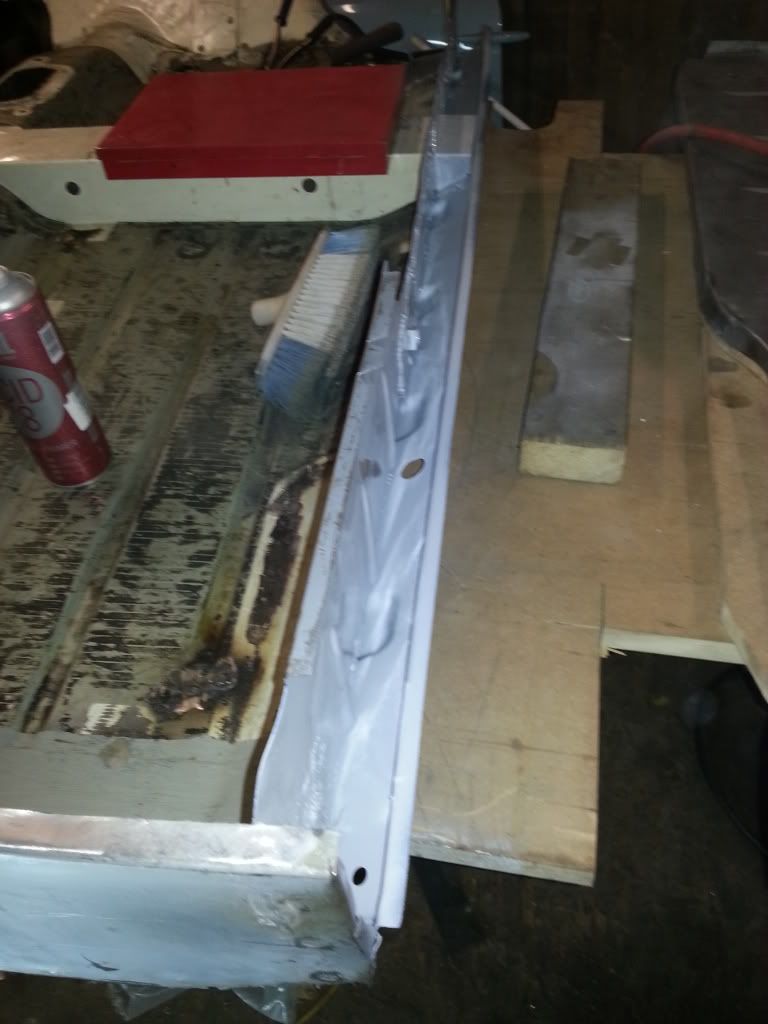
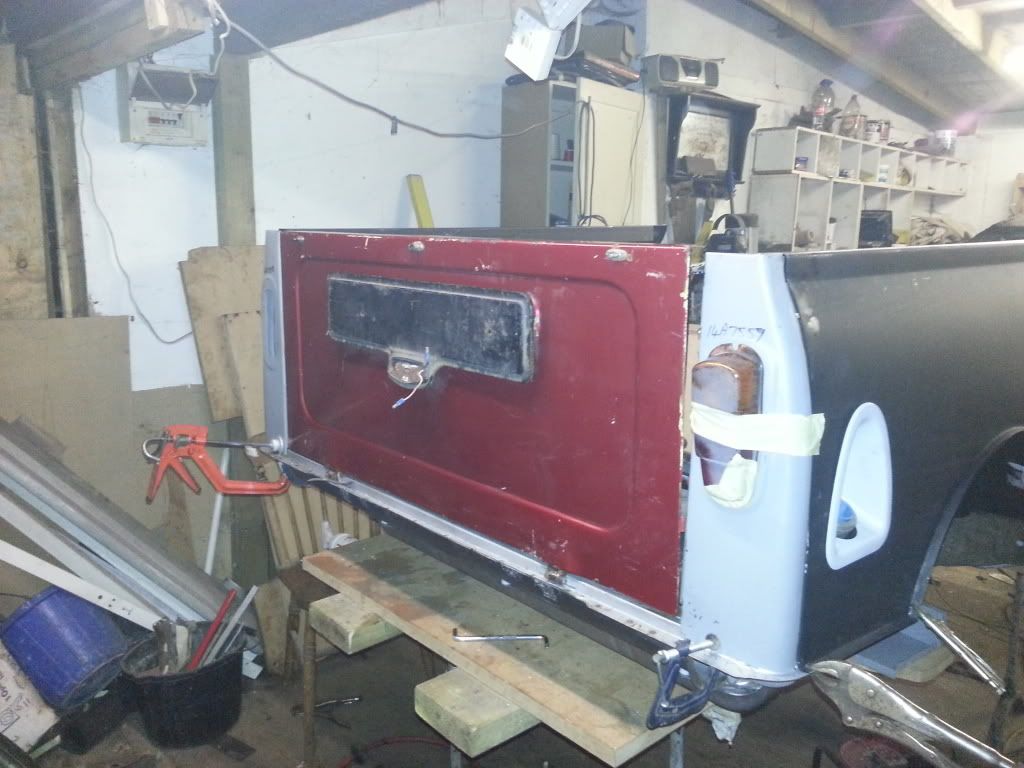
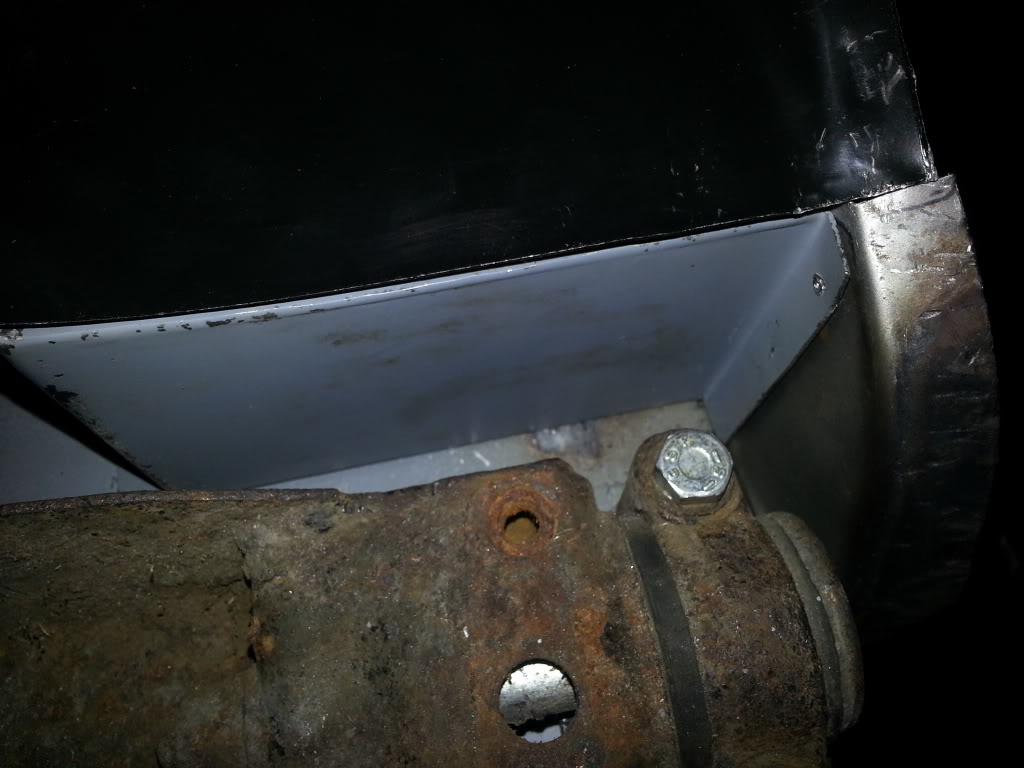
once this was done we mocked the rear valance up with the tank fitted using the fixing kit, then drilled some holes and used some self tapping screws to keep it in place.
Posted Image

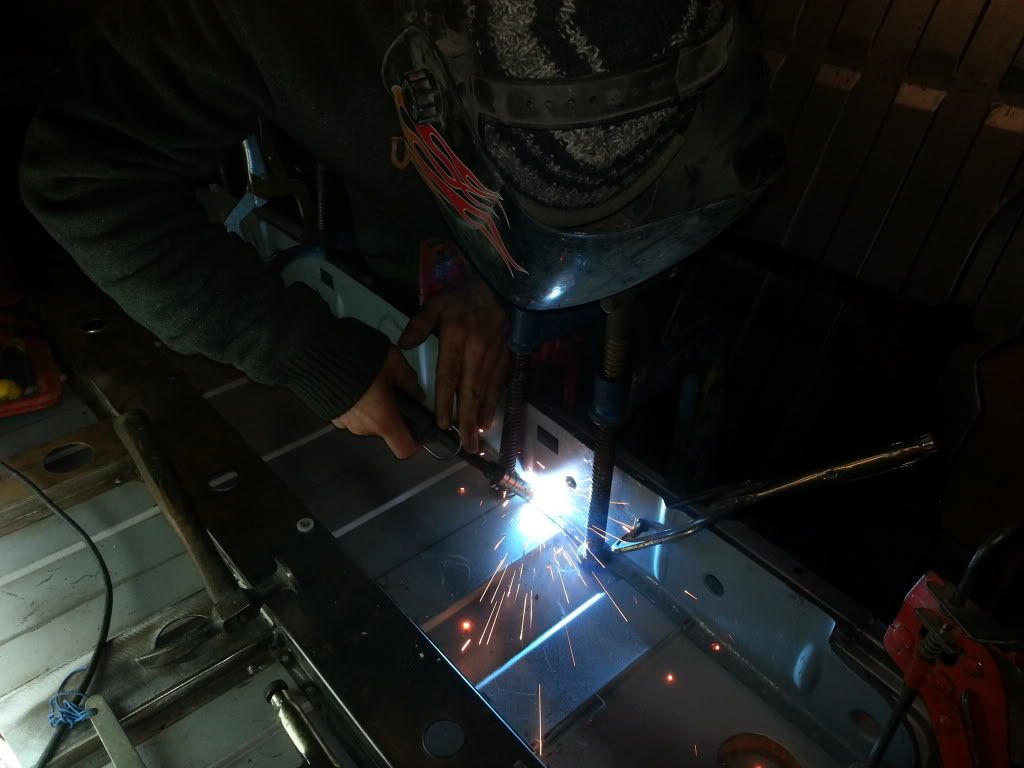
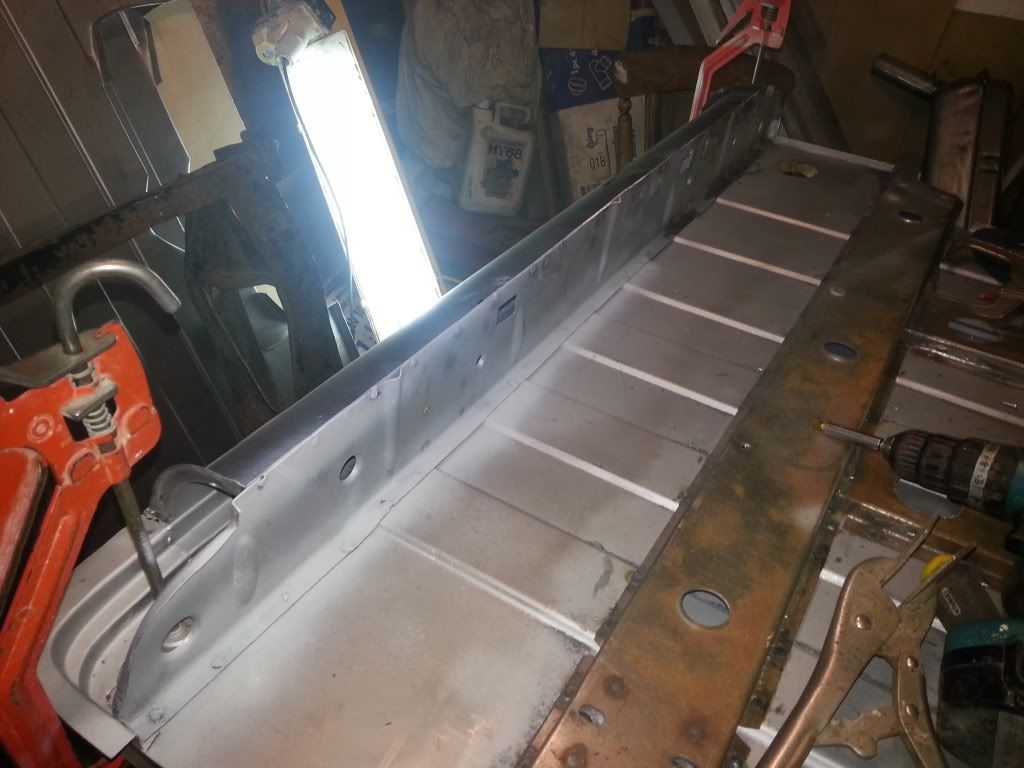
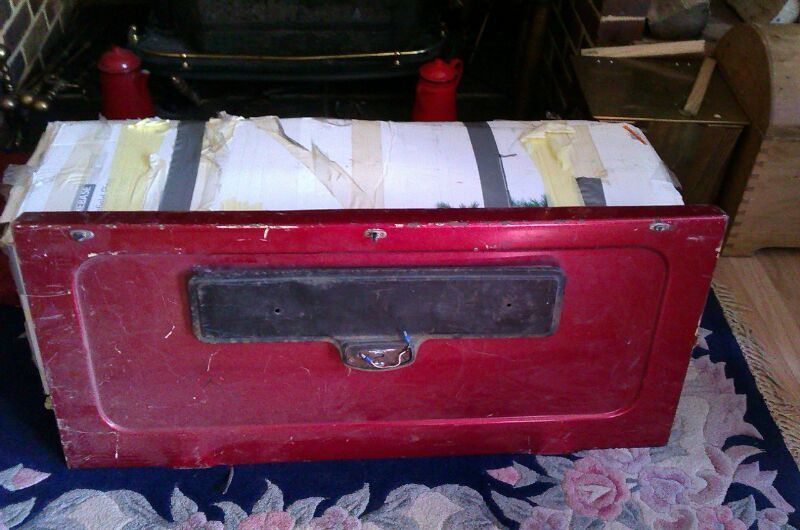
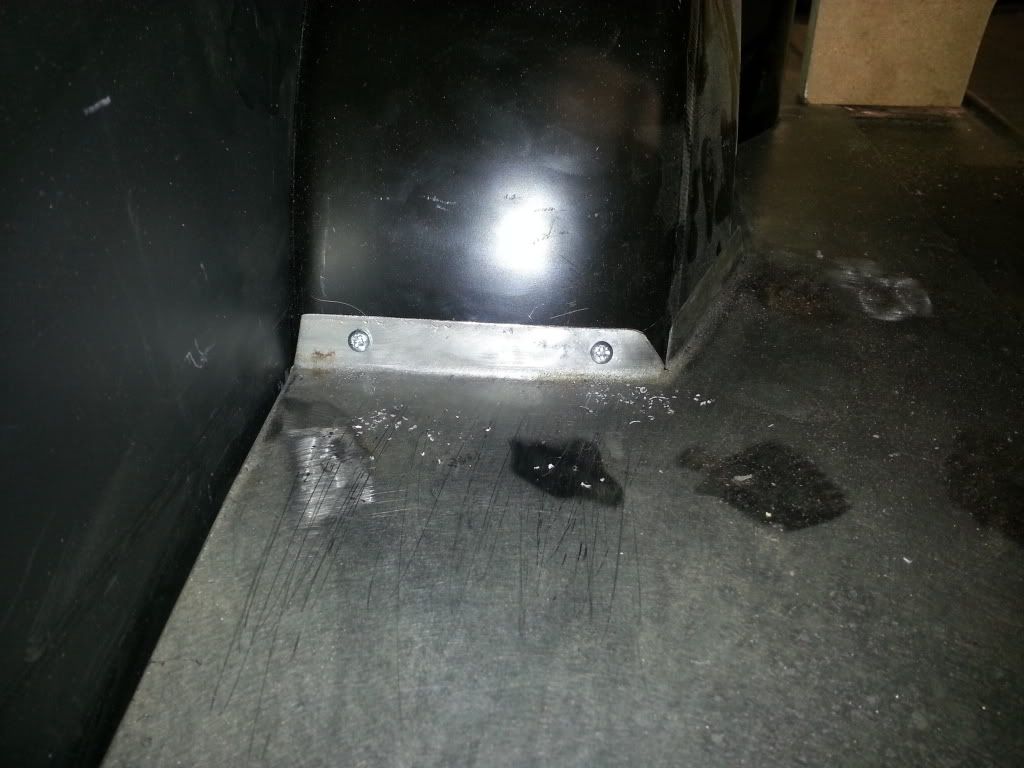
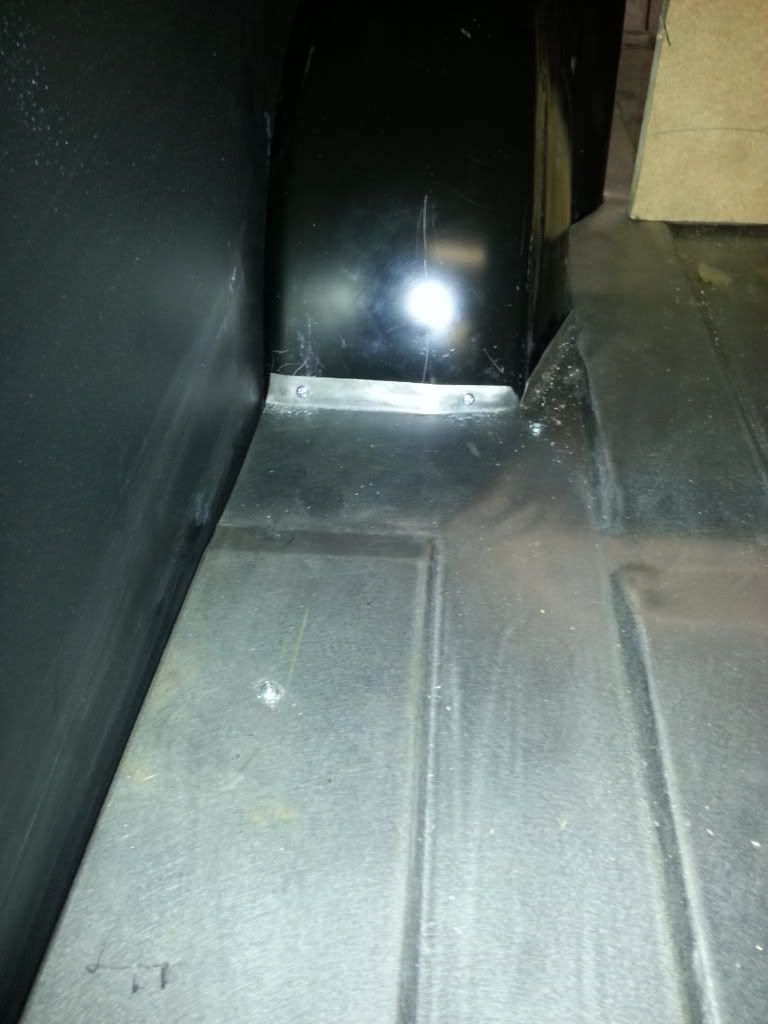
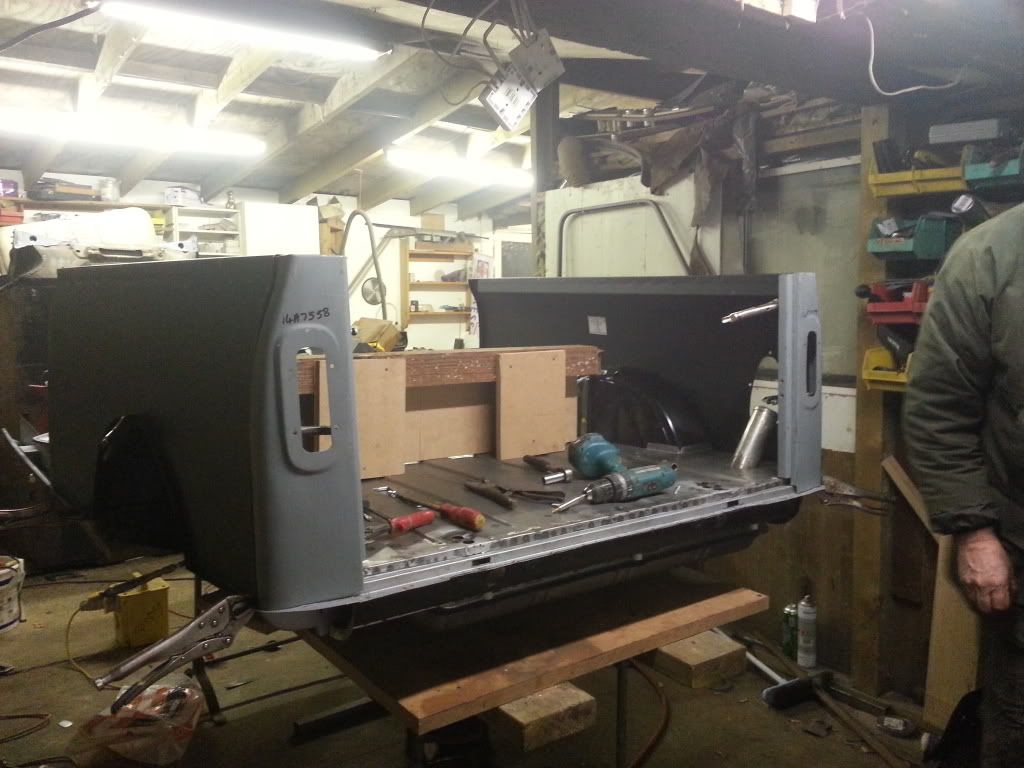
because you cant get a rear valence without the fog light holes drilled in we decided to weld up all the holes except for the ones the tank fits to
Posted Image

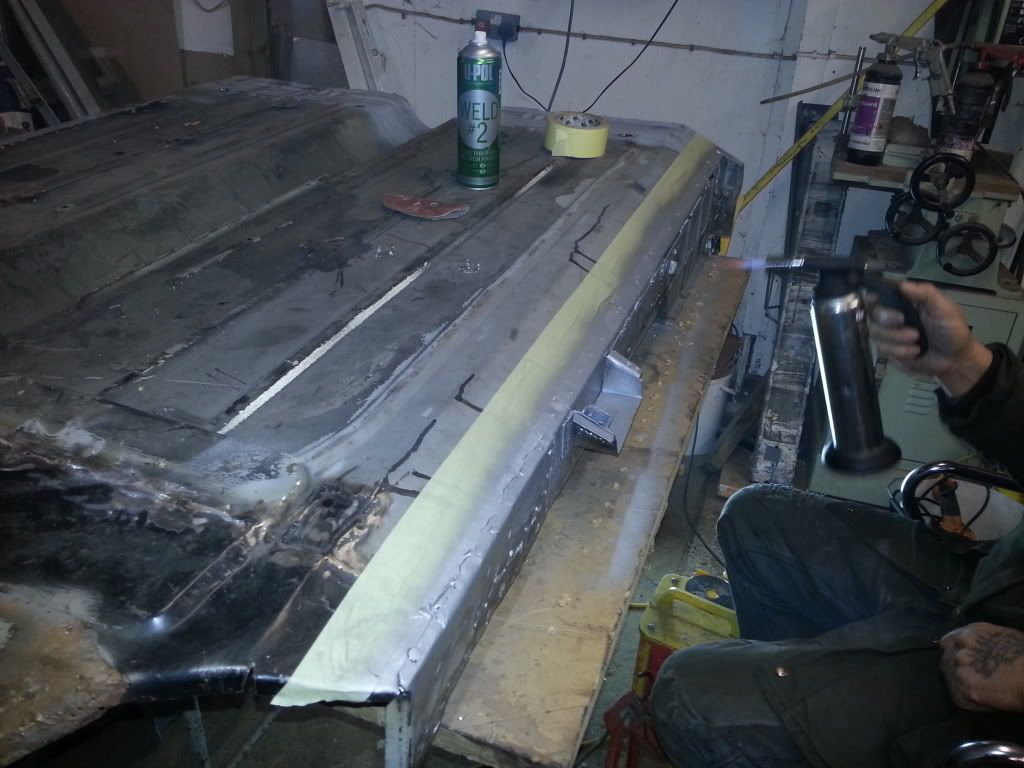
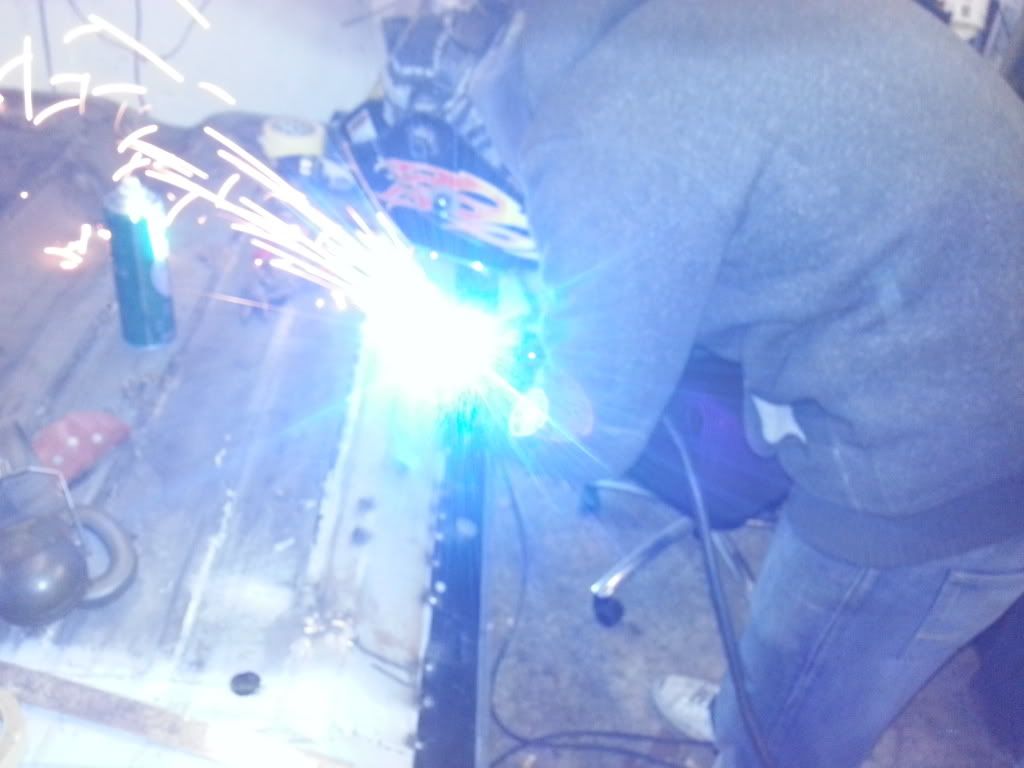
once this was done we welded the rear valence on
Posted Image
Posted Image
Posted Image

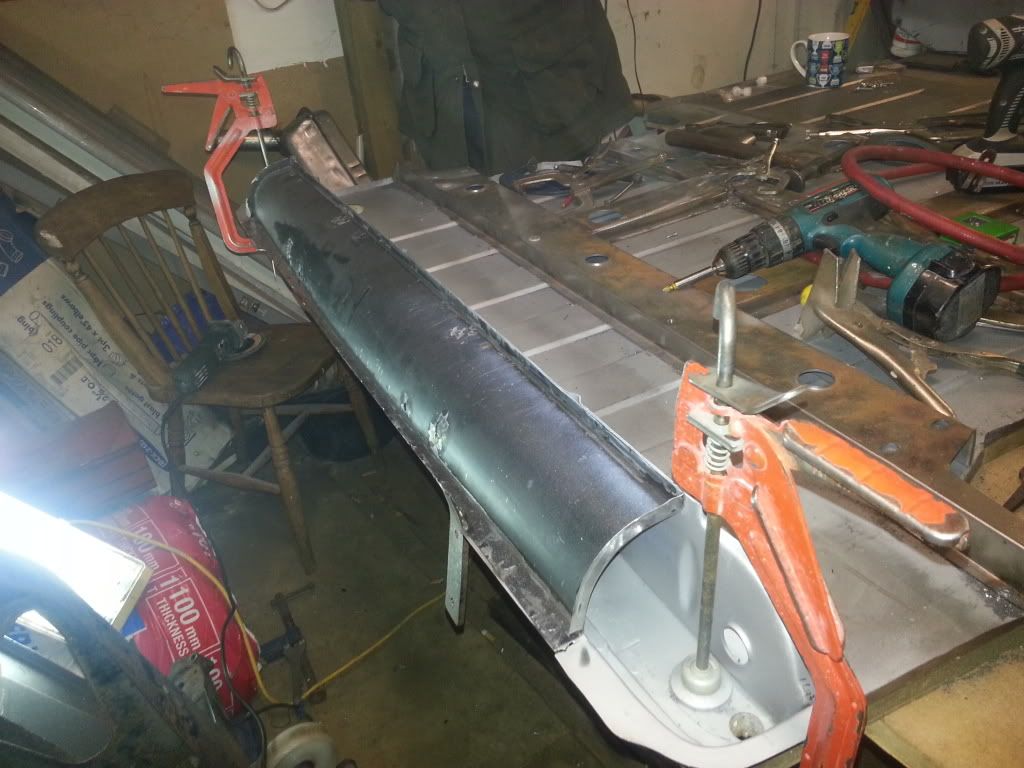
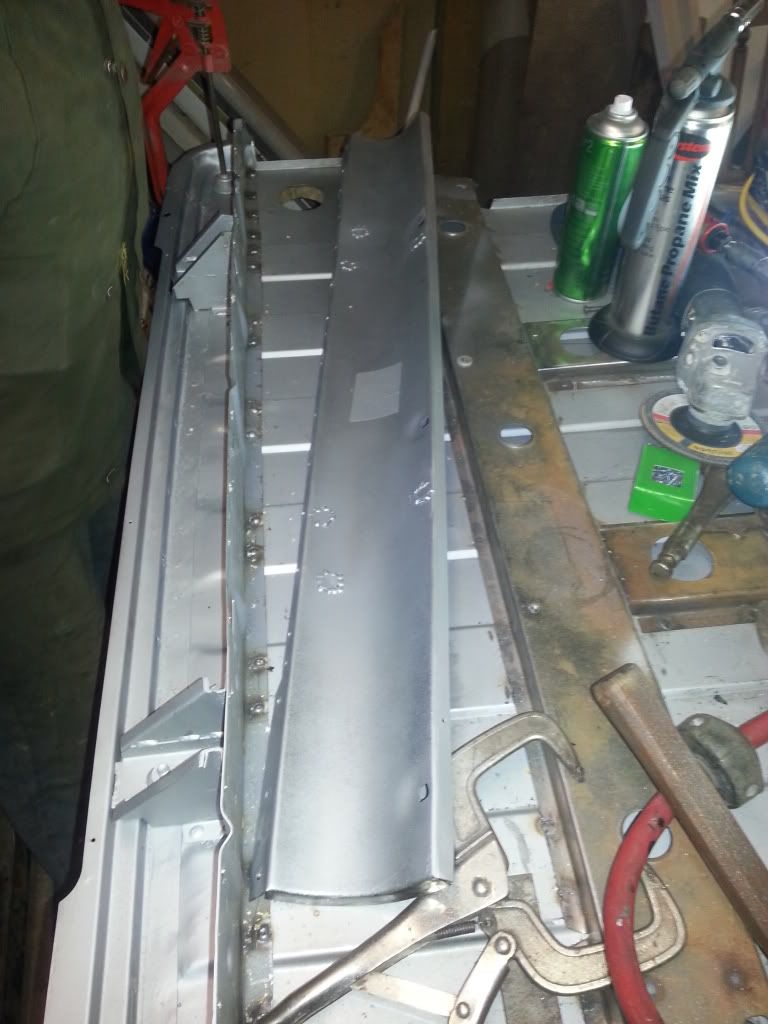
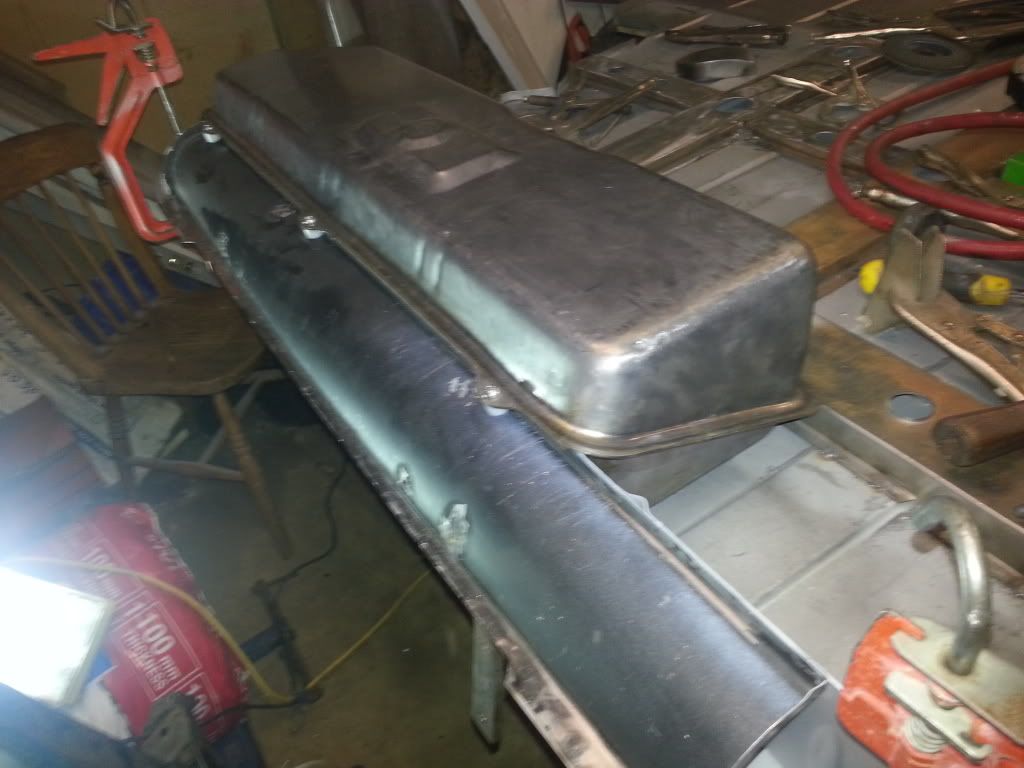
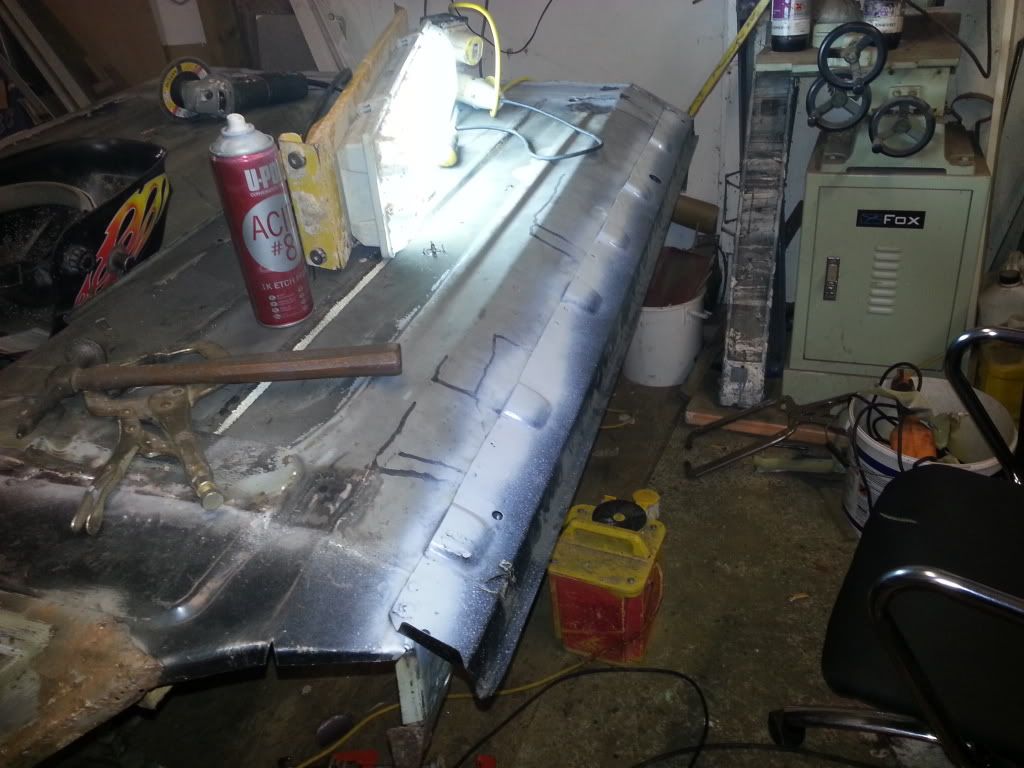
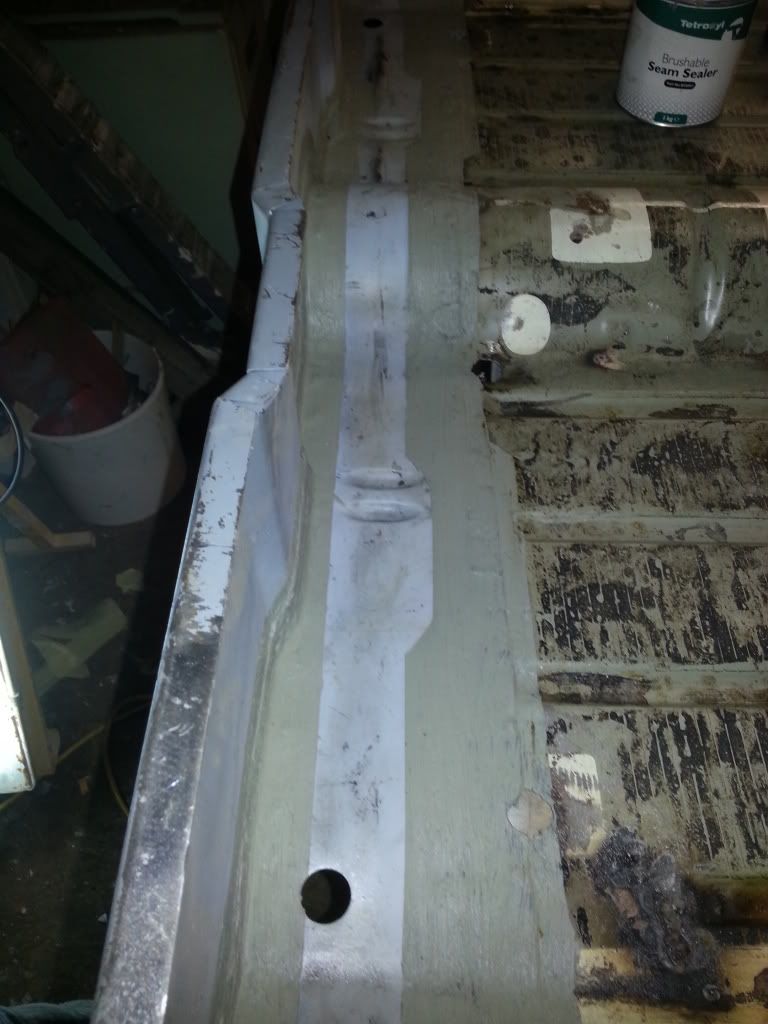
we ground all the welds down then refitted the tank to make sure everything still fitted ok.
Posted Image

thats it for tonight should get a bit more done tomorrow.

#47 pickupmad87

pickupmad87

    Previously adampadmore

  • Members
  • PipPipPipPip
  • 273 posts
  • Location: woking

Posted 03 February 2013 - 06:30 PM

made progress today decided to get the outer sills attached.
before we stripped the old sills off the floor pan we scribed a line
along where the sill finished, so with that on there we masked along
the line and sprayed weld through primer where the sill would be sitting.
Posted Image
once this was dry we lined the sill up and started to plug weld it on
Posted Image
Posted Image
repeated the same process on the other side, ground the welds down and applied a coat of acid etch primer
Posted Image

with this done both sides we turned the floor back over and welded the jacking points to the sill to add strength then gave the inside a good couple of coats of acid etch primer.
Posted Image
Posted Image

lastly when we attached the heelboard to the floor pan we ran out of seam sealer so i went out this morning and got a tub, we masked off neatly then started to apply the seam sealer.
Posted Image

once the seam sealer had started to dry abit we peeled the masking tape off.
Posted Image

thats it for tonight, should be look at drilling the loadbed to attach it to the heel board tommorow evening when i get back from work.

#48 DugganC17

DugganC17

    Speeding Along Now

  • Members
  • PipPipPipPipPip
  • 359 posts

Posted 03 February 2013 - 10:36 PM

looking good mate following this very closely as have to do pretty much the same for my pickup keep up the good work

#49 pickupmad87

pickupmad87

    Previously adampadmore

  • Members
  • PipPipPipPip
  • 273 posts
  • Location: woking

Posted 04 February 2013 - 08:00 PM

got some time in this evening, didnt do much actual work to it more just lining up the floor setting the wheel arches in and trial fitting the rear wings and rear lamp clusters.
Posted Image
Posted Image
<a href="http://s966.photobuc...ps585a2e36.jpg" target="_blank"><img src="http://i966.photobuc...ps585a2e36.jpg" border="0" alt="Photobucket"></a>

for a first time fit they dont seem to line up too badly! the main issue is where the rear wing meets the rear lamp cluster, the rear wings are going to need slight reshaping! nothing we cant handle!

before i started getting on building the pickup in the "dream stage" i had convinced myself i was going to french in the old style lucas indicators in sum steel tube i have now had a sudden change of heart and im going to go with the early style rear lenses!
Posted Image

i wont be using that one!!!

thats it for tonight, more to come tomorow!

#50 CBJ805T

CBJ805T

    Speeding Along Now

  • Members
  • PipPipPipPipPip
  • 430 posts
  • Location: Kenilworth

Posted 05 February 2013 - 12:56 PM

Great looking project! how the hell are you working out where all the panels go, given you are not using the original car as a datum? Very jealous you'll soon be the owner of a rust free pickup!

Chris

#51 pickupmad87

pickupmad87

    Previously adampadmore

  • Members
  • PipPipPipPip
  • 273 posts
  • Location: woking

Posted 05 February 2013 - 08:18 PM

we are just trying them fo fit before we mate the orignal cab to the new floor. it makes it handy having another restored pickup next to it!!!

#52 pickupmad87

pickupmad87

    Previously adampadmore

  • Members
  • PipPipPipPip
  • 273 posts
  • Location: woking

Posted 05 February 2013 - 08:31 PM

didnt do much this evening but this turned up!
Posted Image
Posted Image

I didnt think it was too bad at £100 very clean little surface rust BARGAIN!

here its is fitted roughly!
Posted Image

ive also secured another bargain today but wont tell what untill it tuns up and i can upload some pictures of it!!!

thats all for tonight.

#53 steven

steven

    One Carb Or Two?

  • Banned from Buying/Selling
  • PipPipPipPipPipPipPip
  • 1,195 posts
  • Location: Uk

Posted 05 February 2013 - 08:36 PM

great work :thumbsup:

#54 intrax

intrax

    Starting My Mini Up

  • Noobies
  • Pip
  • 1 posts

Posted 05 February 2013 - 08:53 PM

Great proyect! It's looks like very interesting ;)

#55 pickupmad87

pickupmad87

    Previously adampadmore

  • Members
  • PipPipPipPip
  • 273 posts
  • Location: woking

Posted 06 February 2013 - 08:13 PM

not to much to report tonite, we have spent the evening jiggling the panels around and getting the wheel archs positioned correctley the screwed in to hold them in place and to give some quick lining up marks for when we come to weld them in
Posted Image
Posted Image

also screwed in the subframe closing panel
Posted Image
and started to make the closing plate to go on top of that.
Posted Image
Posted Image

thats it for tonight folks more tommorow.

#56 SAL 821X

SAL 821X

    Camshaft & Stage Two Head

  • Members
  • PipPipPipPipPipPipPipPip
  • 1,890 posts
  • Location: Hinckley
  • Local Club: Leicester Mini Owners Club

Posted 07 February 2013 - 08:13 AM

It depresses me the speed in which this is coming together.... :(

Look cracking though you should have it finished by next week. haha!

#57 pickupmad87

pickupmad87

    Previously adampadmore

  • Members
  • PipPipPipPip
  • 273 posts
  • Location: woking

Posted 07 February 2013 - 08:24 AM

hoping to get the loadbed welded to floor pan this weekend! the set about cutting the cab from the remains! if you have a look at my other thread from the complete bottom end being cut out to on the road in three months!!!

#58 domdee

domdee

    Formally known as dominicdee

  • Members
  • PipPipPipPipPipPipPip
  • 1,183 posts
  • Location: hull
  • Local Club: hull clubs on FB

Posted 07 February 2013 - 01:01 PM

looks great so far pal.

keep up the good work

#59 snackey

snackey

    On The Road

  • Noobies
  • PipPip
  • 46 posts

Posted 07 February 2013 - 02:00 PM

Besides the obvious excellent work you're doing on this resto (no really!!), aren't the holes on the rearvalance you closed ment for the back numberplate-lights wiring??


#60 snackey

snackey

    On The Road

  • Noobies
  • PipPip
  • 46 posts

Posted 07 February 2013 - 02:02 PM

Oh the numberplatelighting is on your rear hatch off course... Right


0 user(s) are reading this topic

0 members, 0 guests, 0 anonymous users