Ill have to drill a hole in the vallence in a different position for the rear number plate, the reason i welded the fog light ones up is that im mounting them on the top lip where the bumper fixes to
Mini Pickup Restoration Project No.2! Finally Underway!
Started by
pickupmad87
, Feb 05 2012 06:37 PM
126 replies to this topic
#61

pickupmad87
-
- Members
-

- 273 posts
Previously adampadmore
- Location: woking
Posted 07 February 2013 - 02:25 PM
#62
pickupmad87
-
- Members
-
- 273 posts
Previously adampadmore
- Location: woking
Posted 07 February 2013 - 08:05 PM
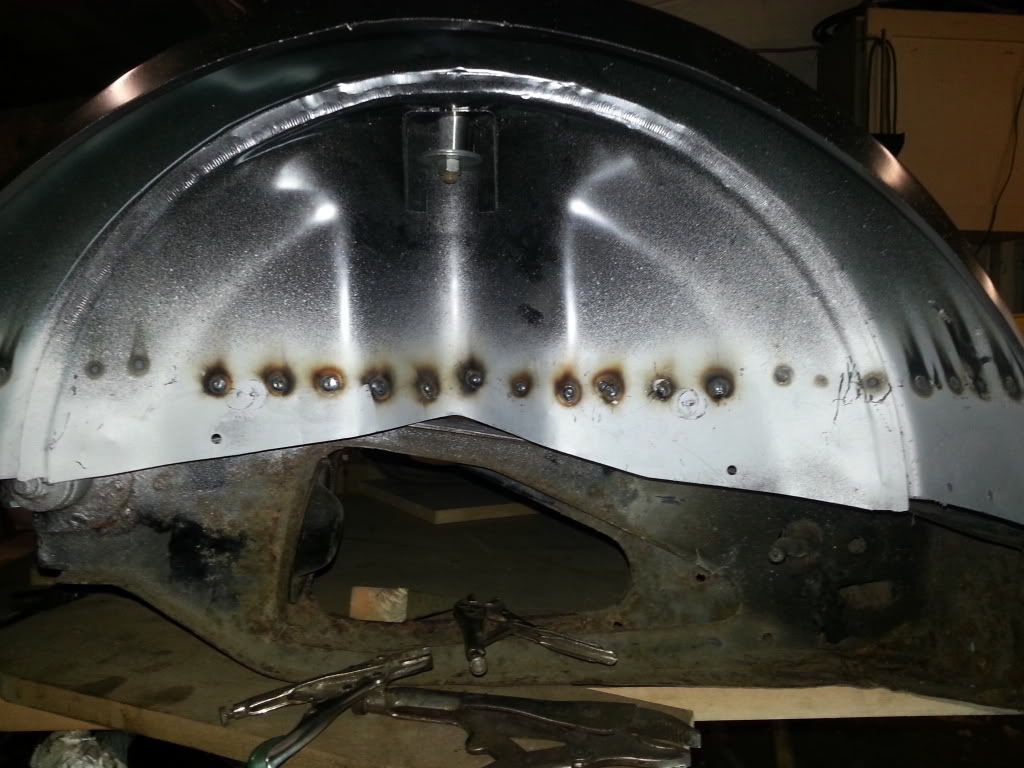
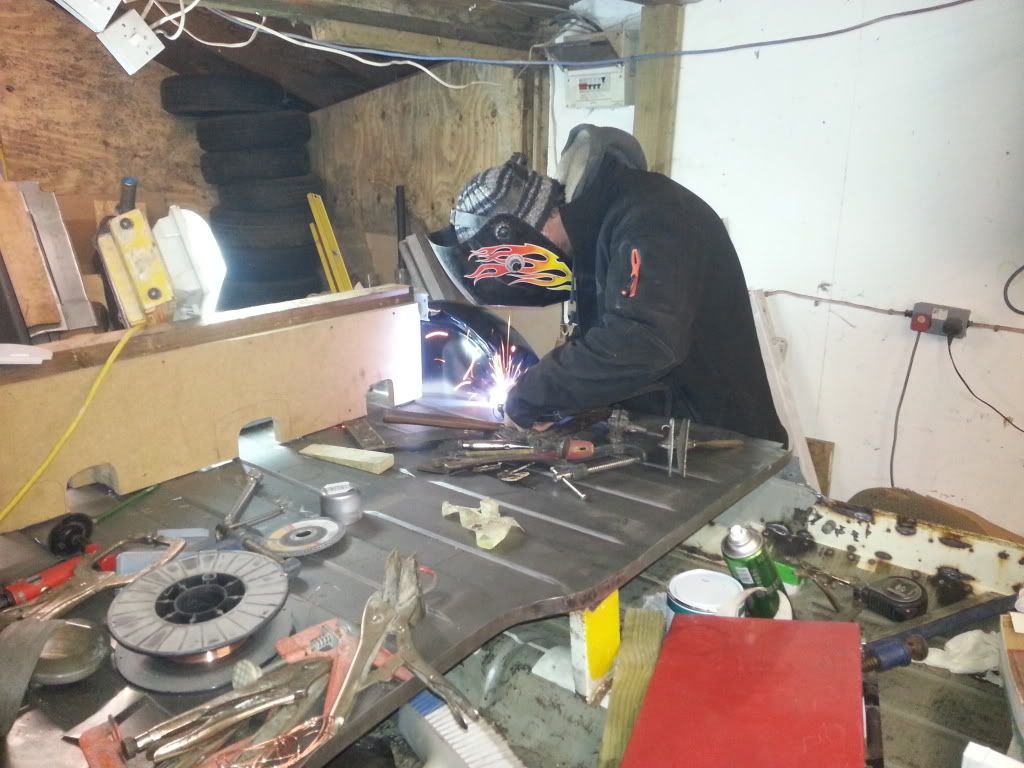
got a bit done tonight even though i had to go out a fix a broken front door!! but anyaways we started with drilling the wheel arches ready for welding sanded them off the coated the weld areas with weld through primer.
then welded them in
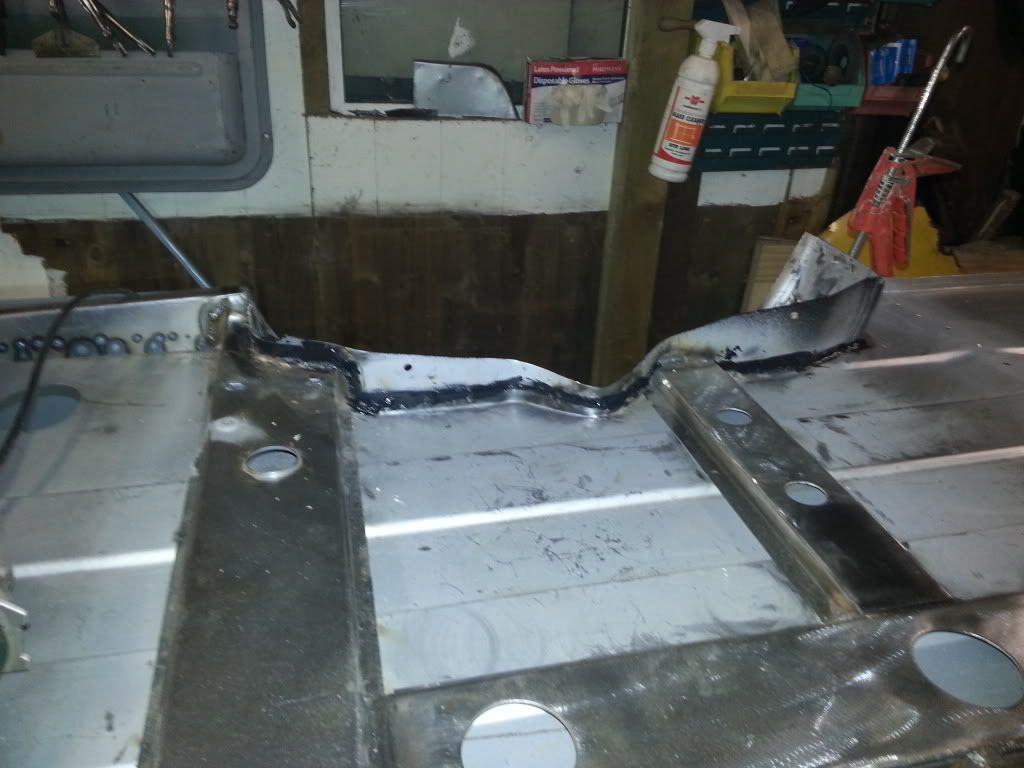
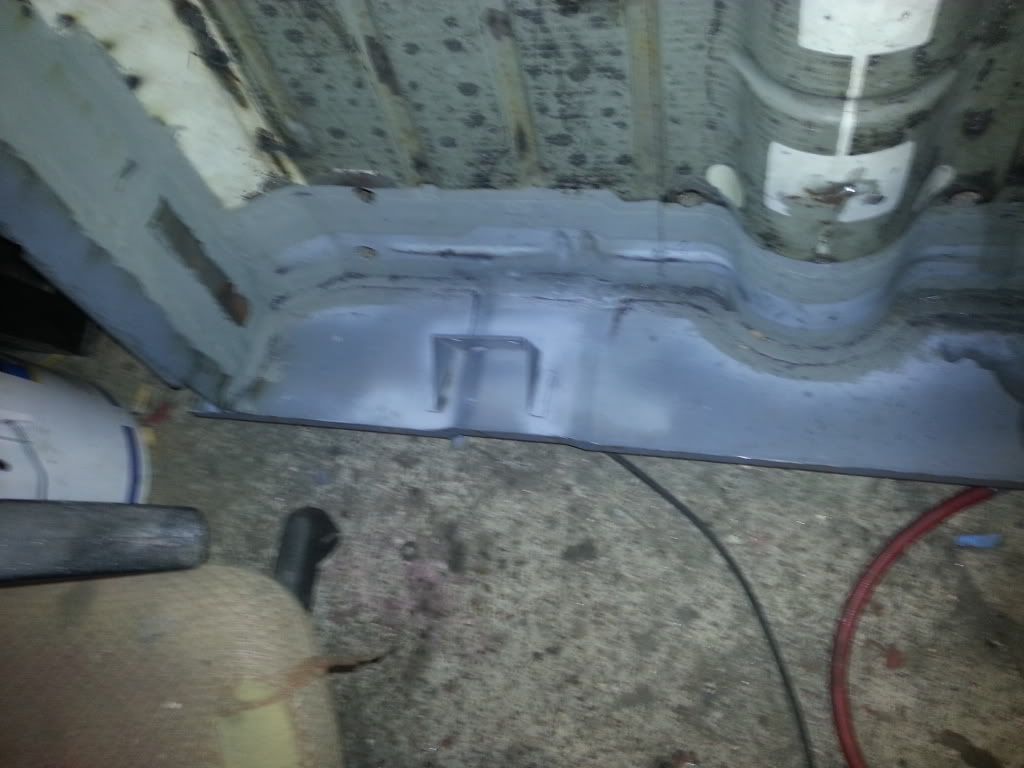
i also set about cutting out the fromt loadbed stiffner that goes down on to the tunnel.
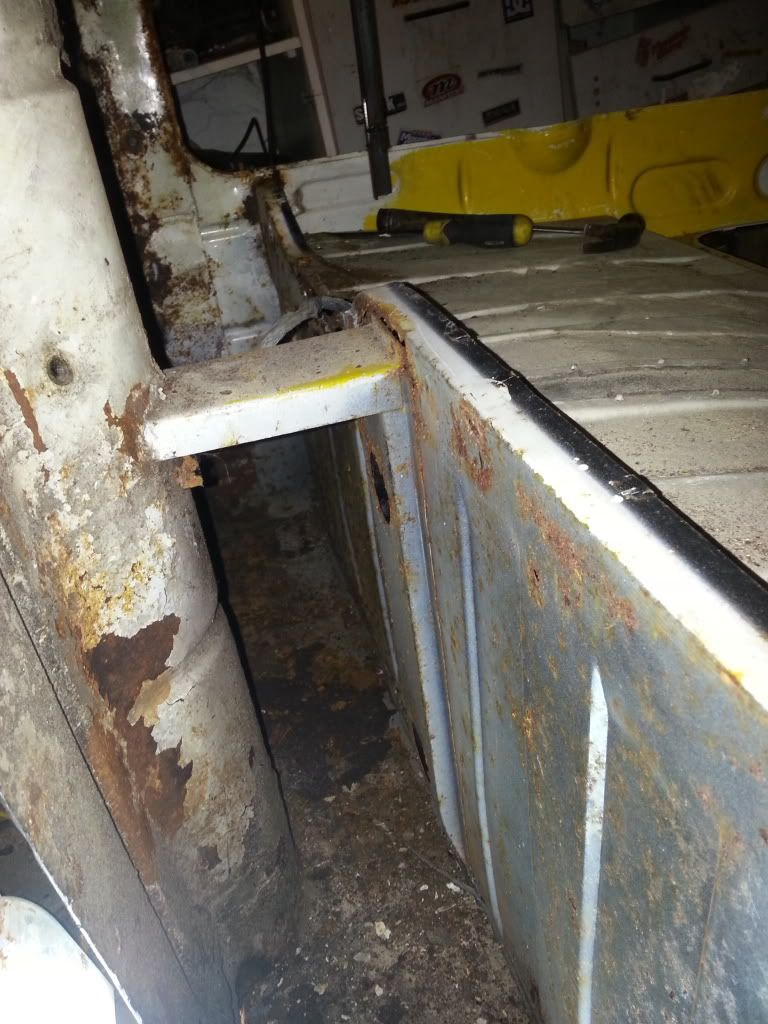
so i cut a wee little access hole in the floor pan.
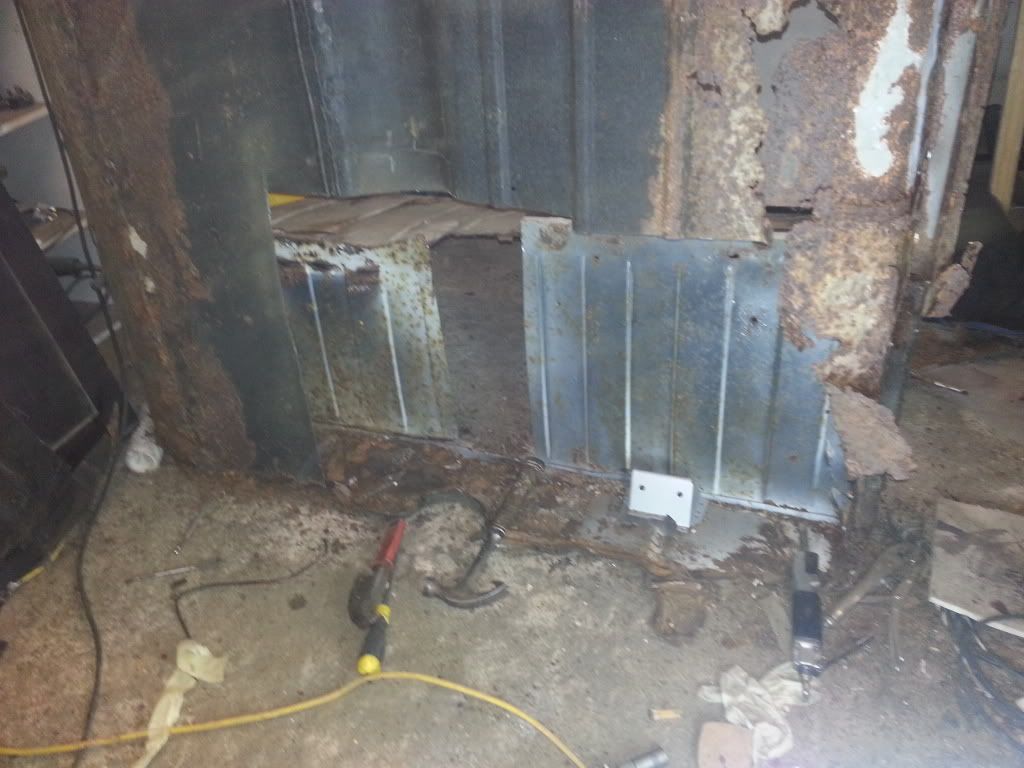
then cut it out
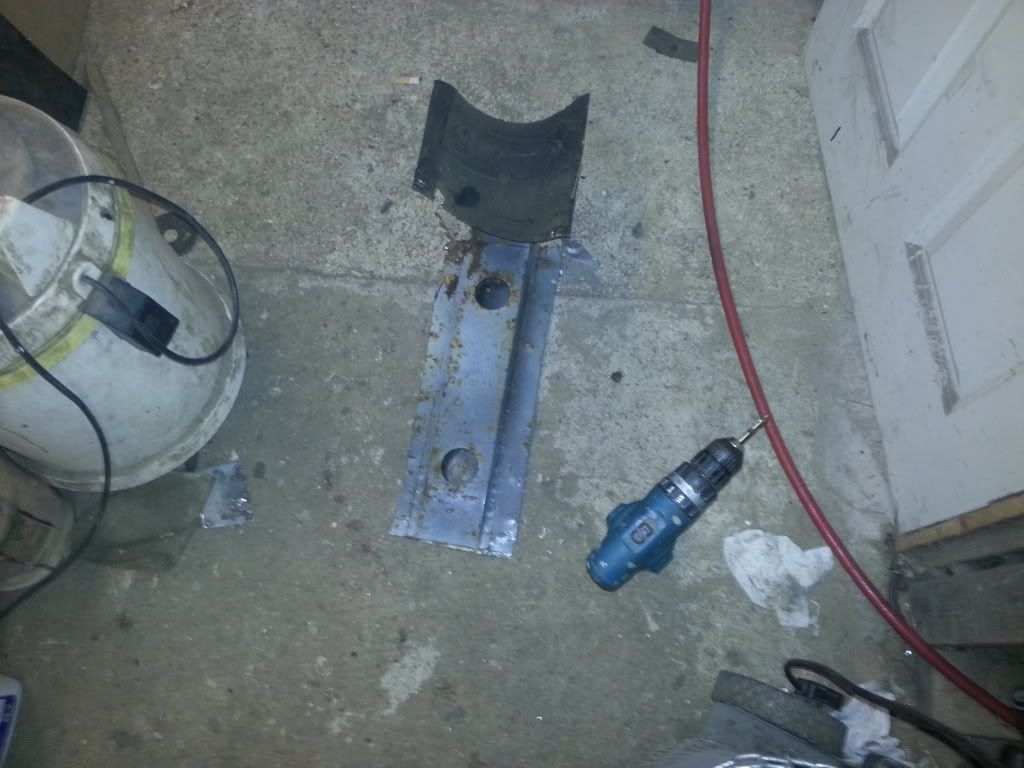
once it was cut out i drilled out the spot welds
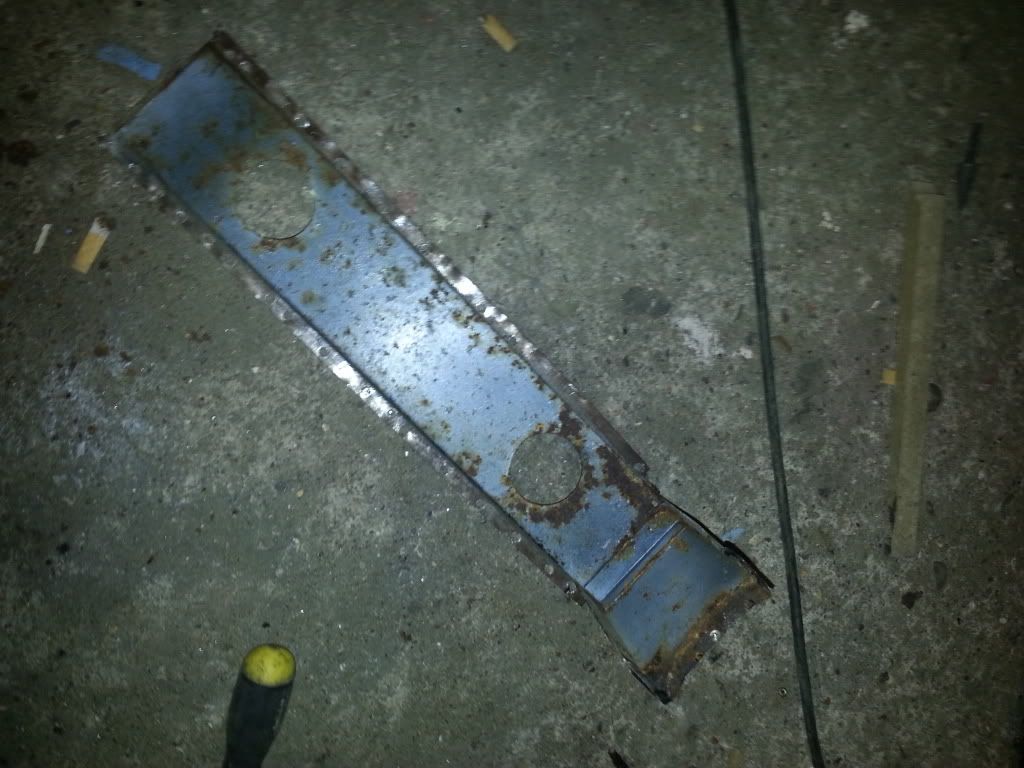
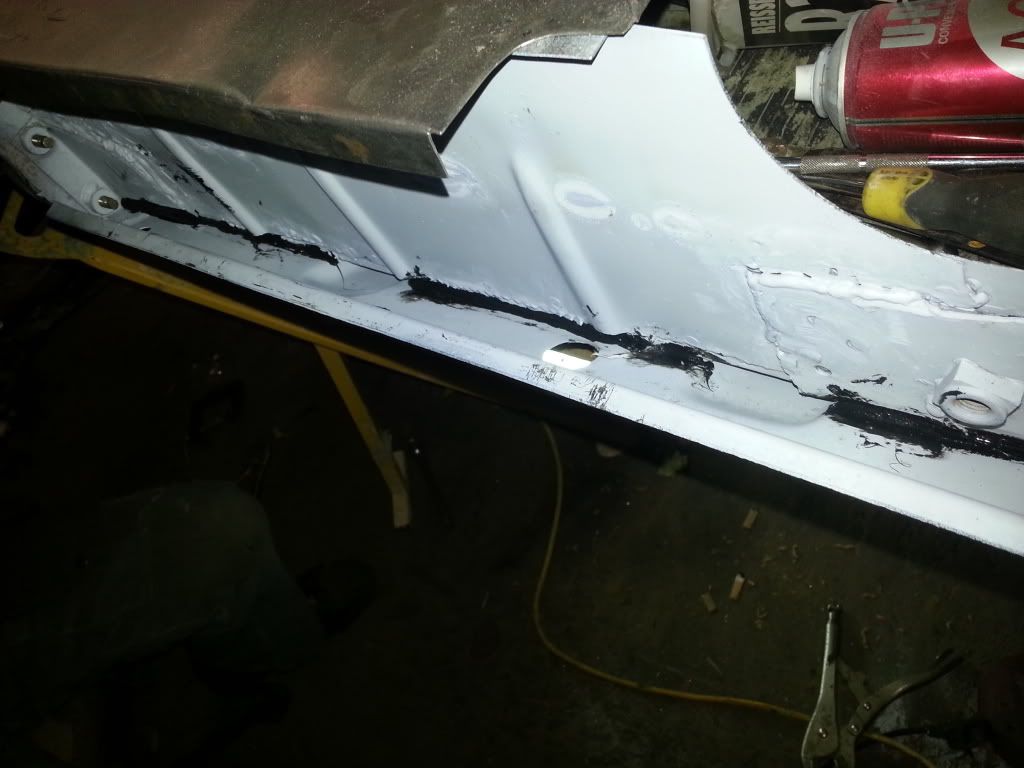
it needs to have a slight repair on the front lip, nothing we cant handle!!
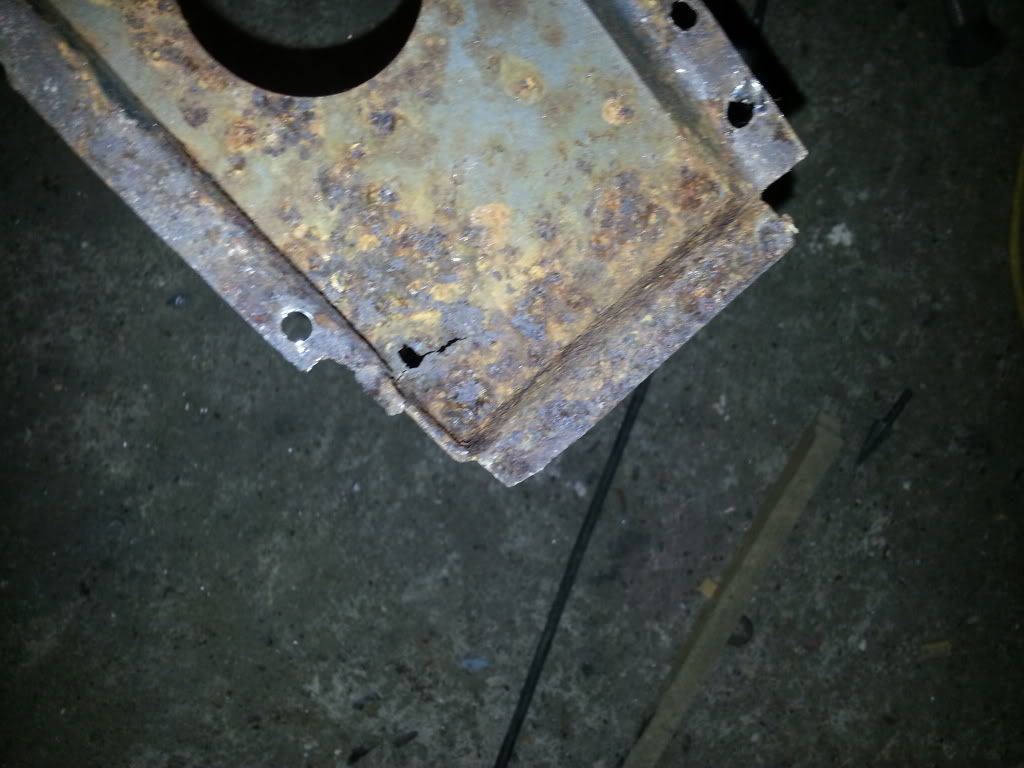
ill leave doing the repair until ive shot blasted it, might do that tomorrow evening as well as welding in the other wheel arch.
i also thought that while i had access to the inner sills that i would run a bead of sikaflex along where the sill meets the inner sill to stop moisture and water sitting there and to try and divert it away to the slots in the outer sill.
thats your lot for tonight folks!
then welded them in
i also set about cutting out the fromt loadbed stiffner that goes down on to the tunnel.
so i cut a wee little access hole in the floor pan.
then cut it out
once it was cut out i drilled out the spot welds
it needs to have a slight repair on the front lip, nothing we cant handle!!
ill leave doing the repair until ive shot blasted it, might do that tomorrow evening as well as welding in the other wheel arch.
i also thought that while i had access to the inner sills that i would run a bead of sikaflex along where the sill meets the inner sill to stop moisture and water sitting there and to try and divert it away to the slots in the outer sill.
thats your lot for tonight folks!
#63
pickupmad87
-
- Members
-
- 273 posts
Previously adampadmore
- Location: woking
Posted 08 February 2013 - 08:35 PM
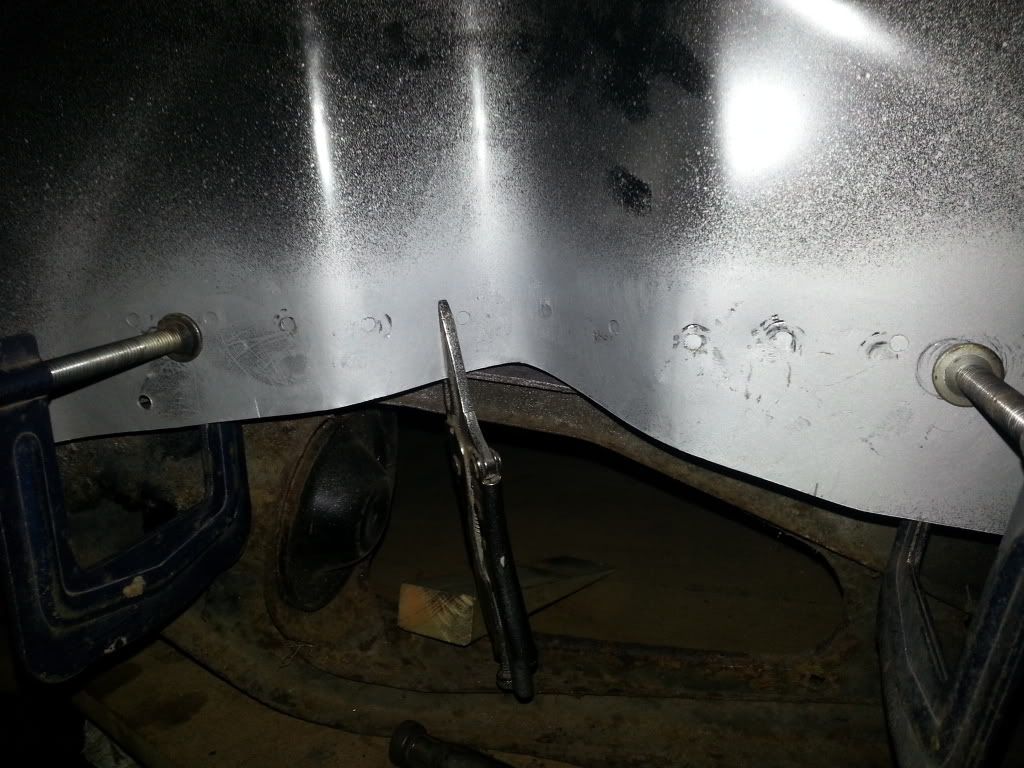
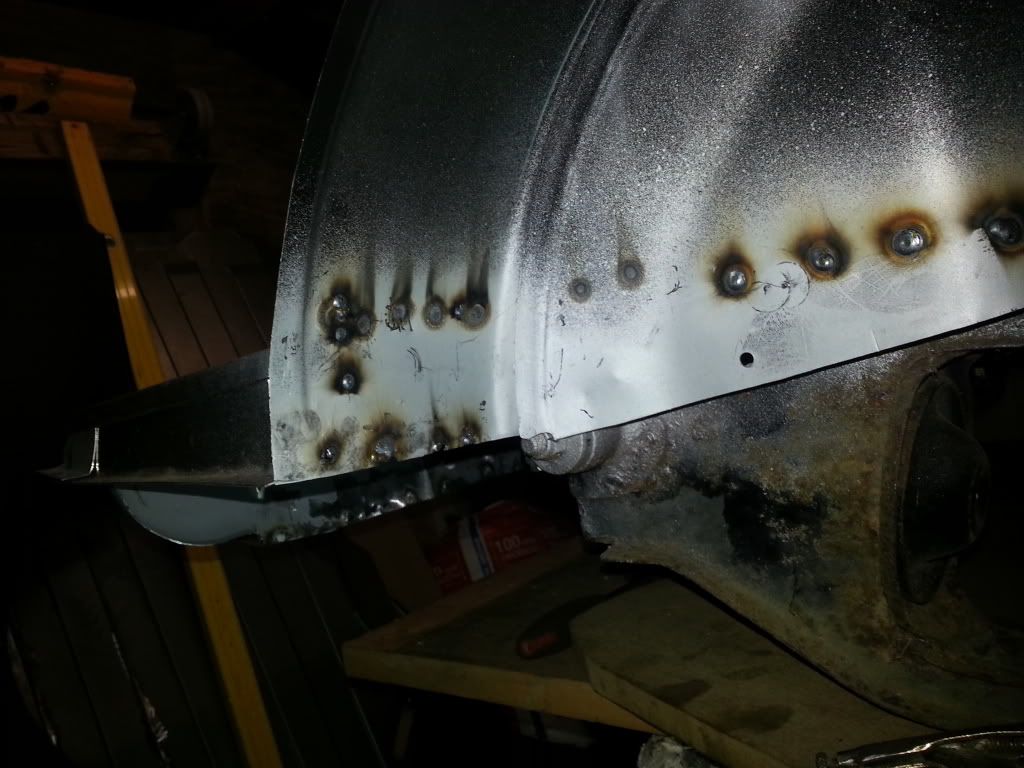
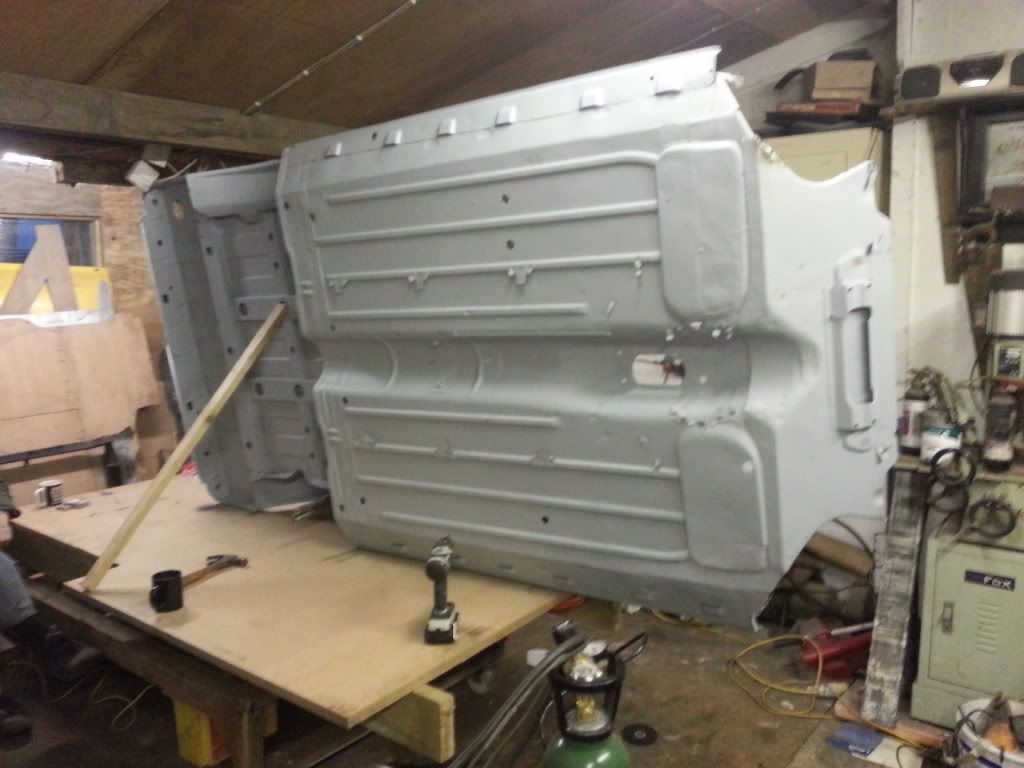
little update started off by welding the other wheel arch on.
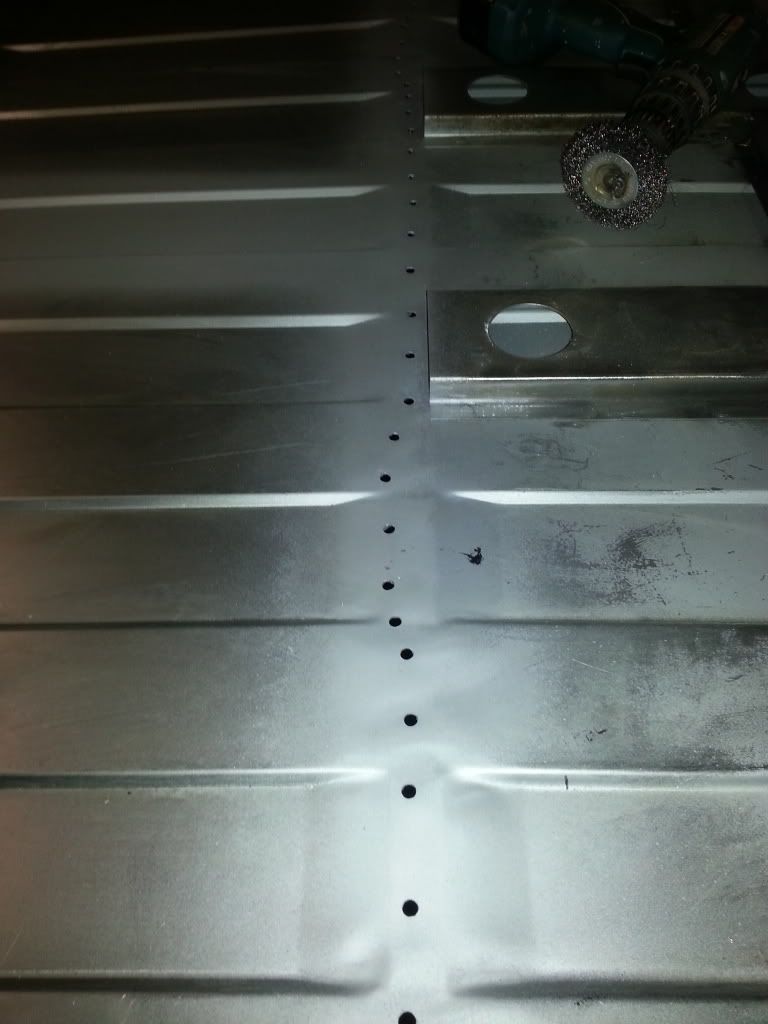
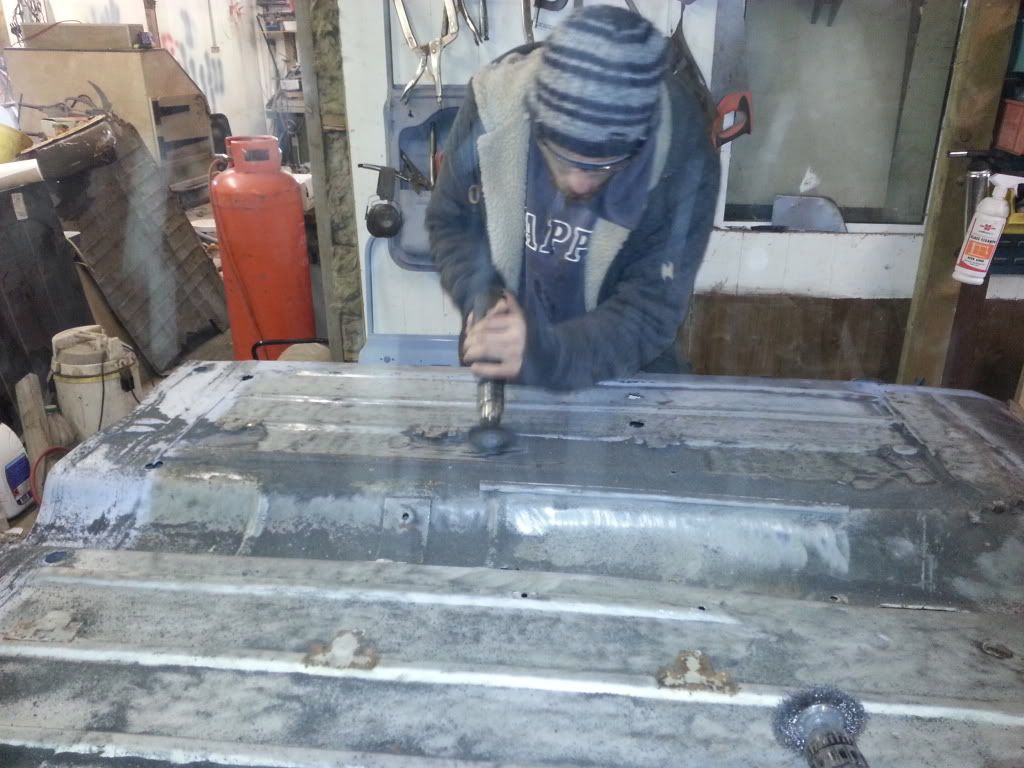
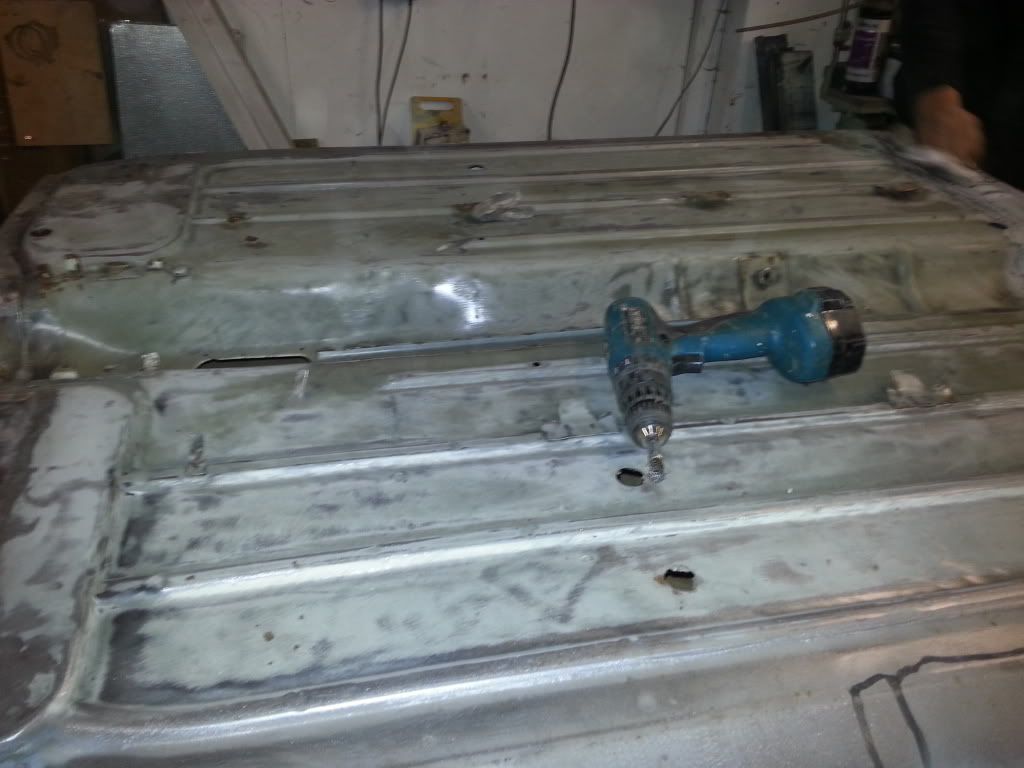
then we detached the load bed from the floor and the subframe and turned it over and drilled the hole where the load bed is going to attach to the heel board.
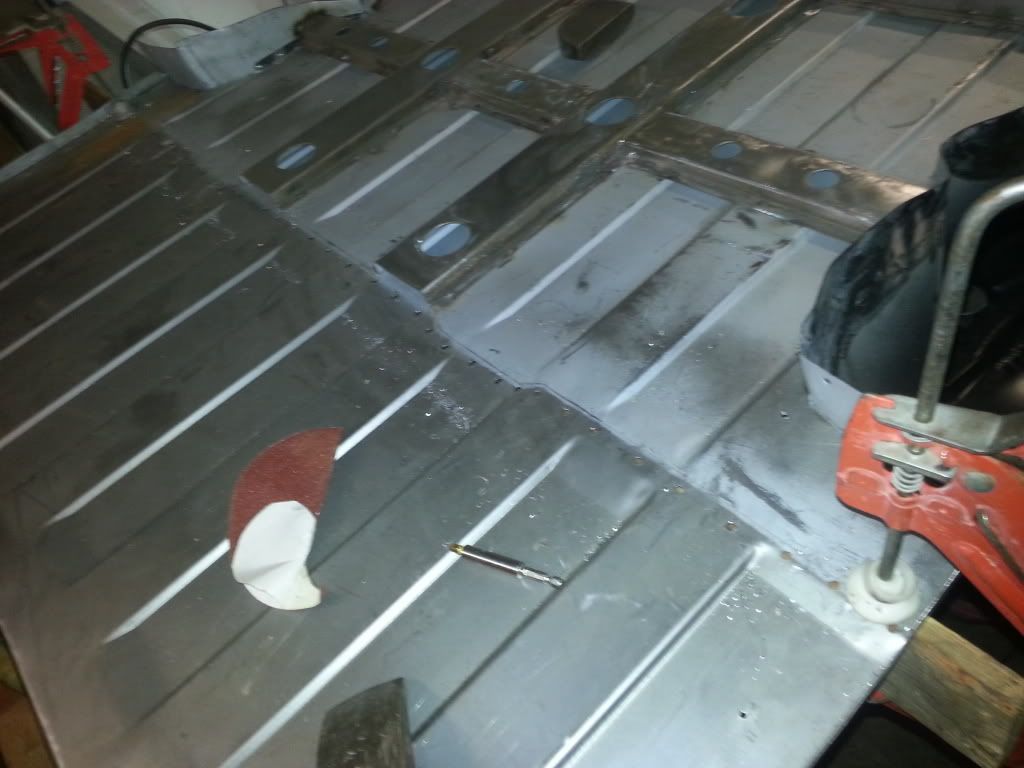
next we ground all the welds down nicely
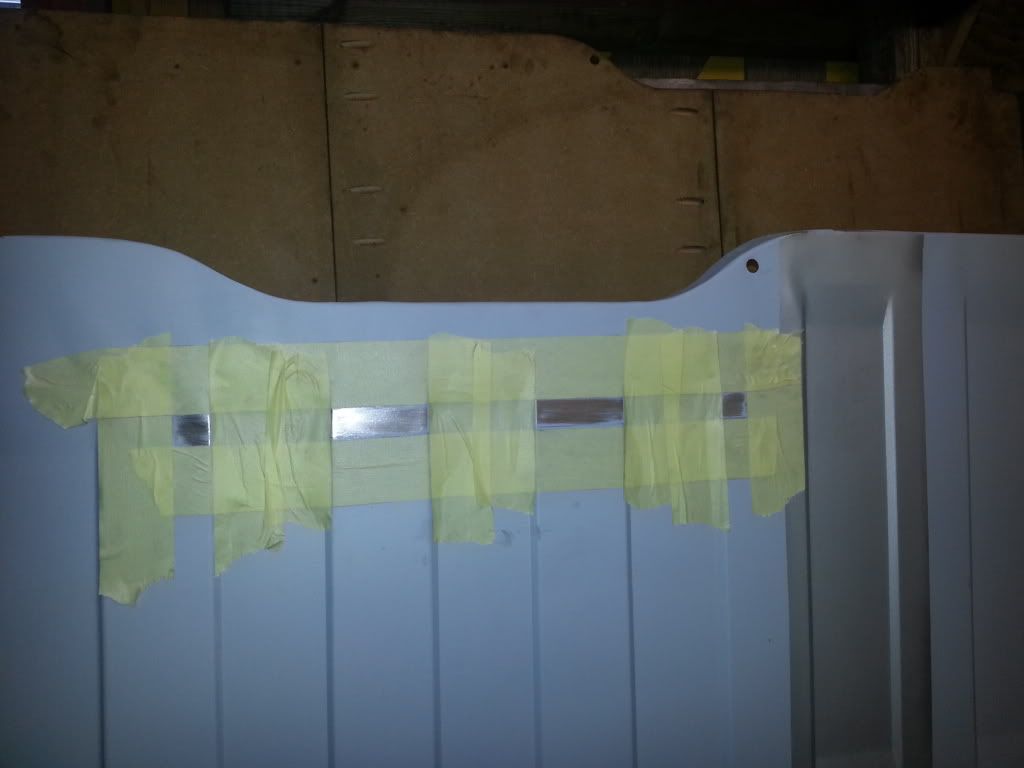
sprayed some weld through primer where the loadbed attaches to the heel board
tomorow we will run masking tape along the holes and finish preping the underside ready for some acid etch primer.
we also run sikaflex along the seams of the welded in wheel arch.
thats it for tonight more to follow tomorrow.
then we detached the load bed from the floor and the subframe and turned it over and drilled the hole where the load bed is going to attach to the heel board.
next we ground all the welds down nicely
sprayed some weld through primer where the loadbed attaches to the heel board
tomorow we will run masking tape along the holes and finish preping the underside ready for some acid etch primer.
we also run sikaflex along the seams of the welded in wheel arch.
thats it for tonight more to follow tomorrow.
#64
pickupmad87
-
- Members
-
- 273 posts
Previously adampadmore
- Location: woking
Posted 09 February 2013 - 05:07 PM
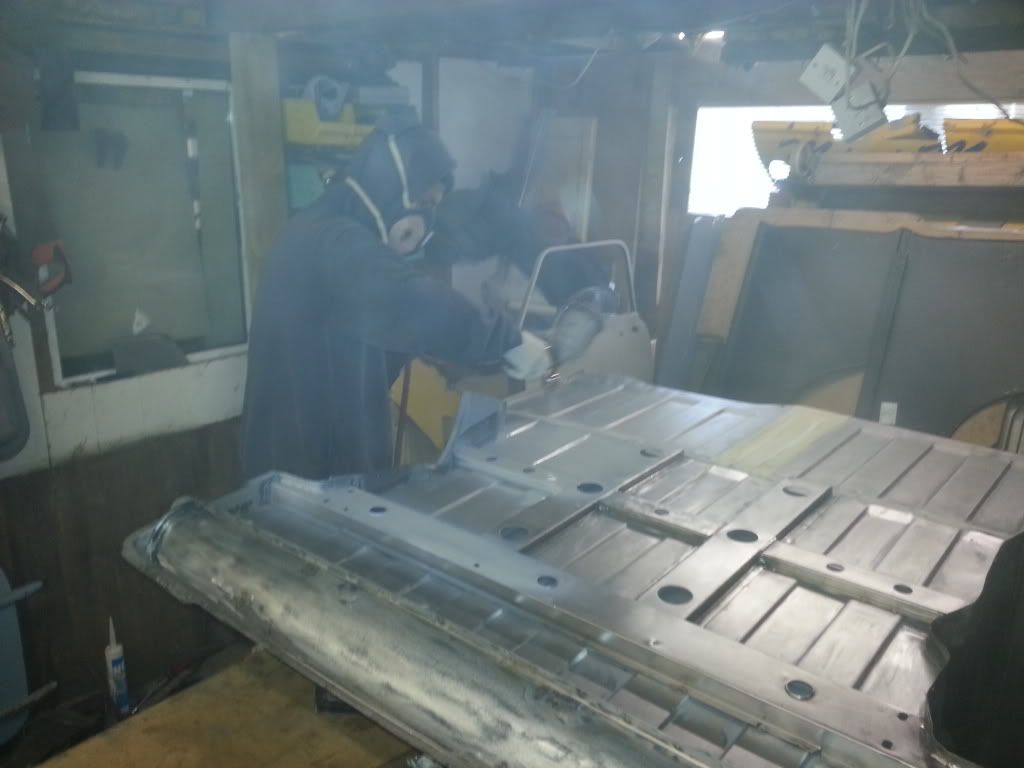
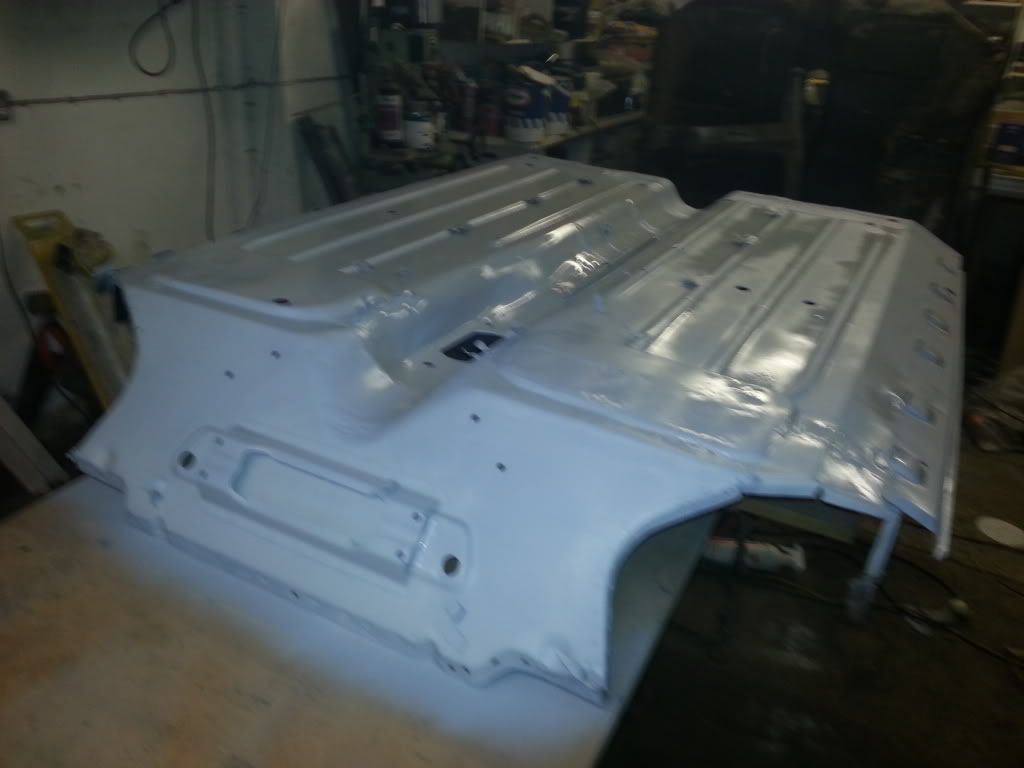
been busy today,we started off by sanding off all the weld through primer showing in the non welded areas primer off the rear vallence and any surface rust that was beginning to show. 
also keyed up the e coating on the wheel arches
once this was ready it was time to blow it all off and clean all over with panel degreaser.
this is the acid etch we are using
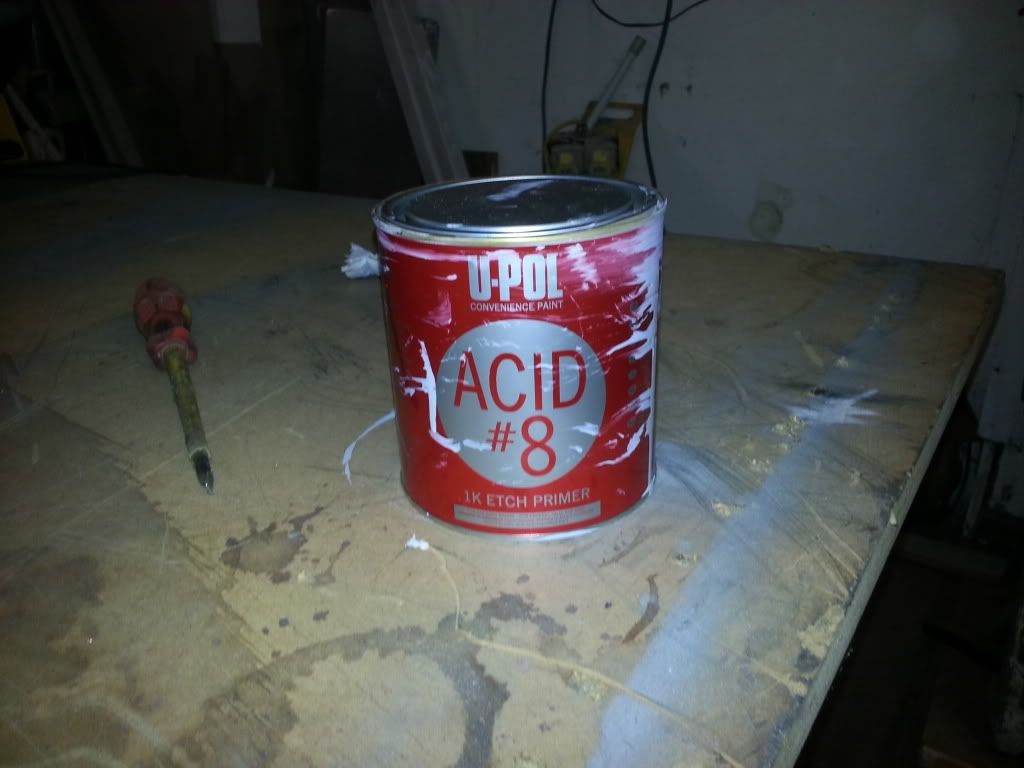
and beginning to paint
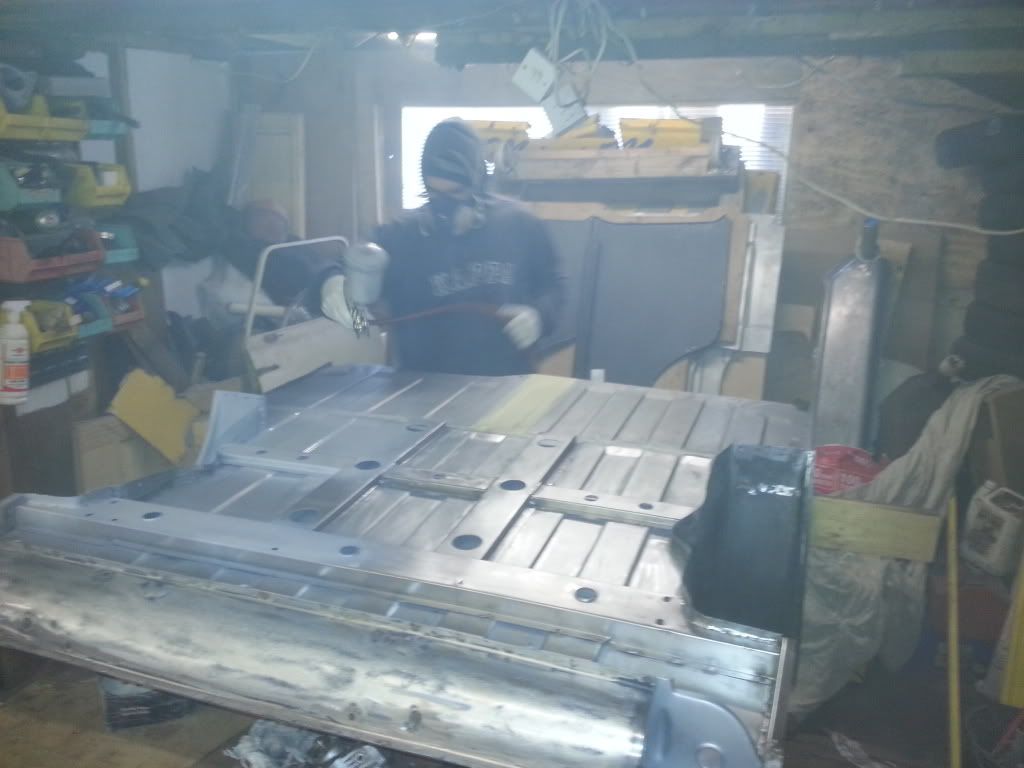
the finished product
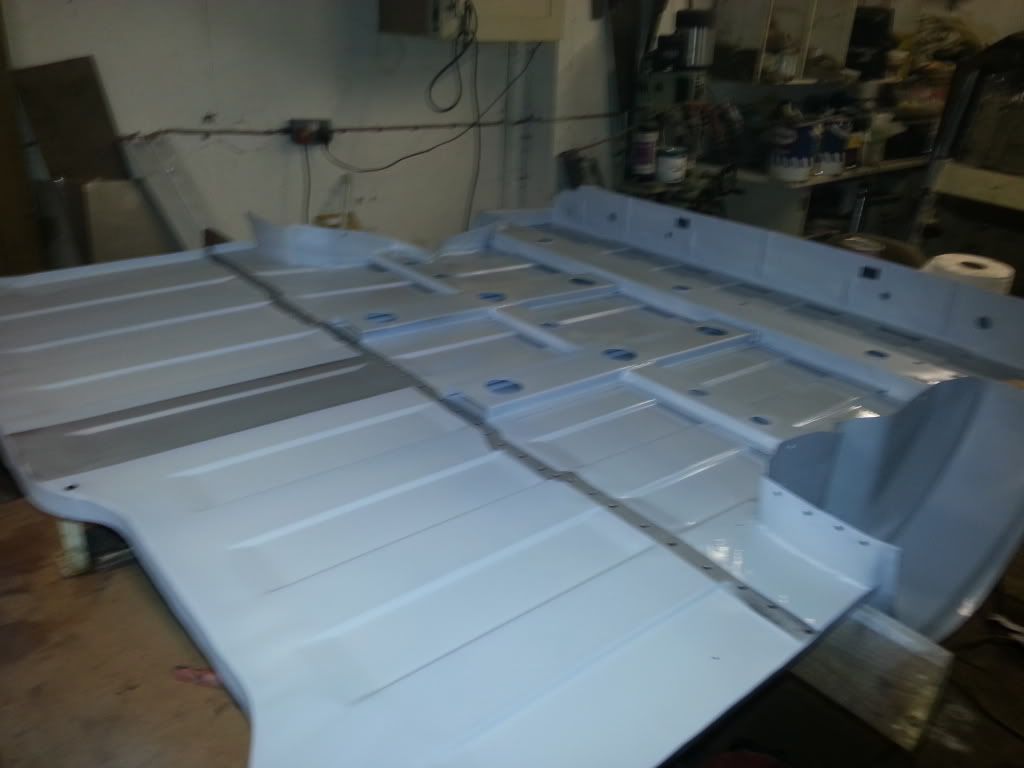

the when it was dry we stored it out of the way.
i also quickly welded on the spare wheel bracket on to the heel board.
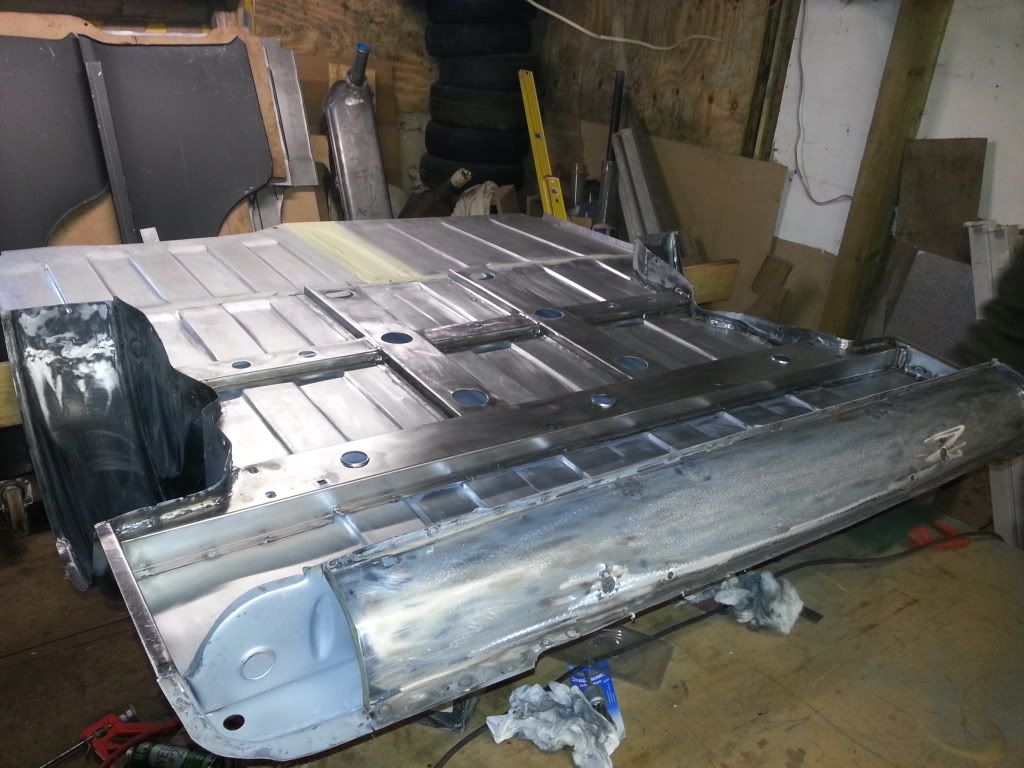
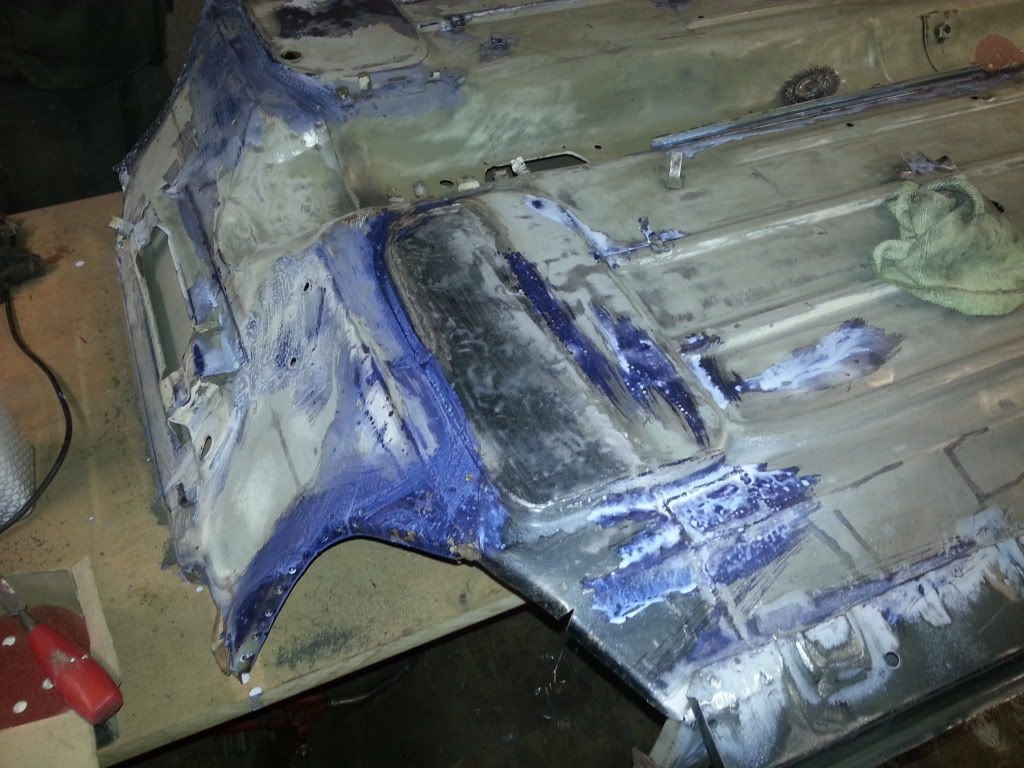
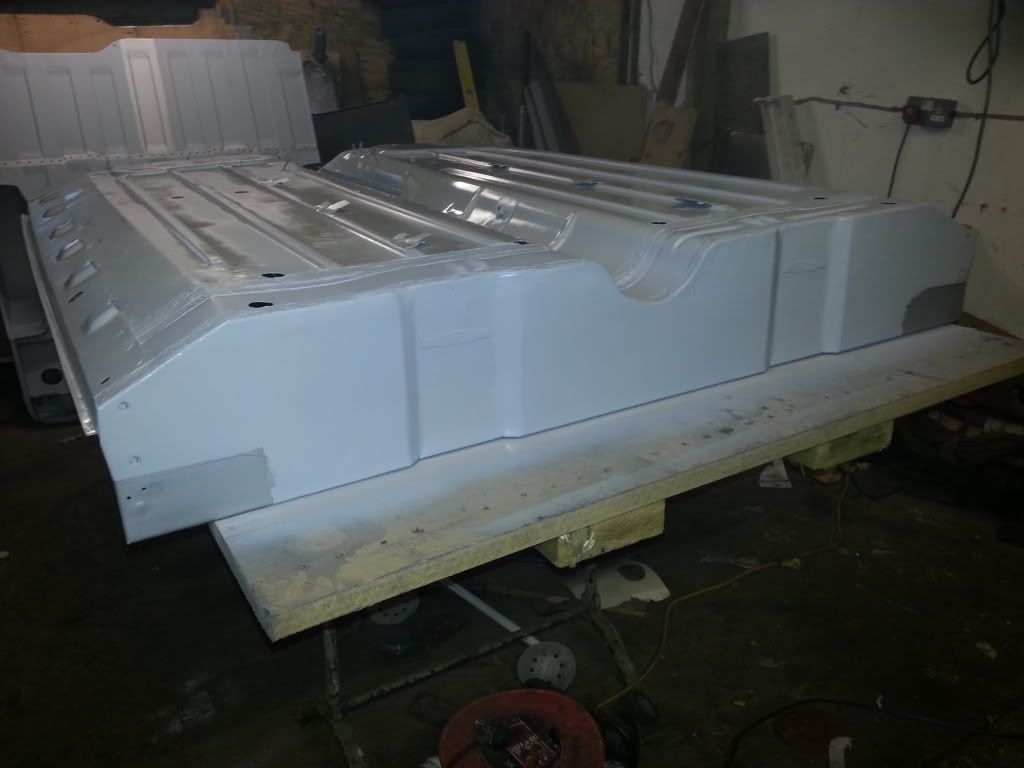
next it was the turn of the floor pan.
it was quite easy to clean up as it still had its original underseal on it
next the areas we we couldnt quite get all the light rust out with sanding we coated with Kurust.
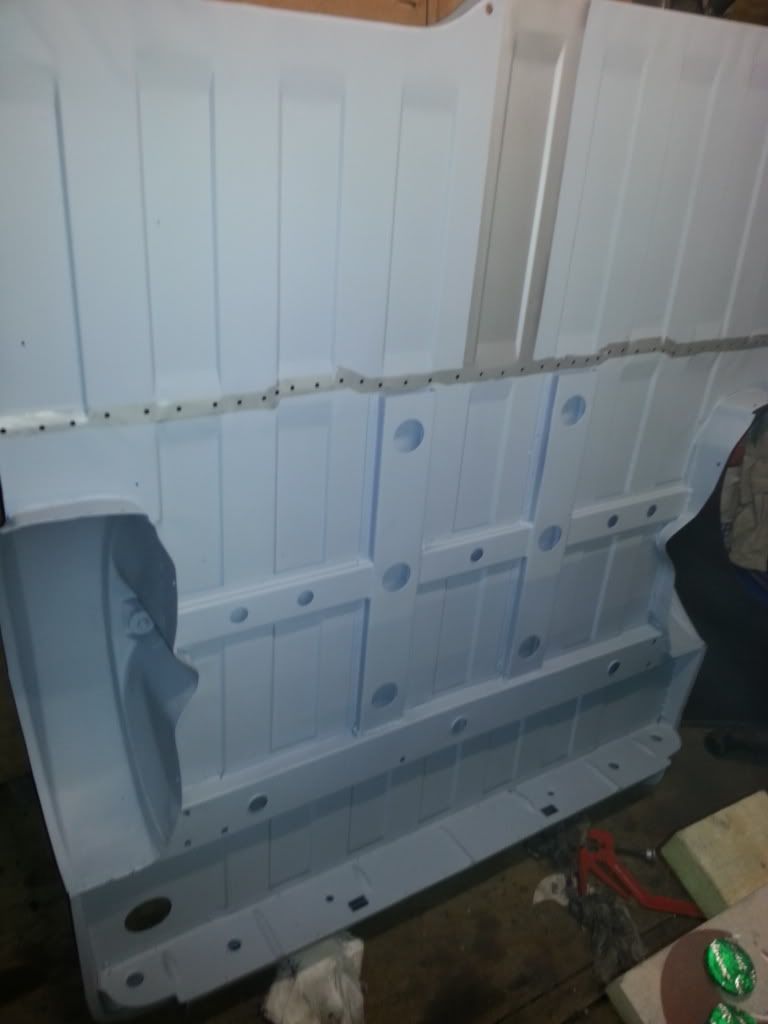
once the kurust had dried and we had blown it off and degreased it it was the floorpans turn for some etch primer.
thats all for today more tommorow.
also keyed up the e coating on the wheel arches
once this was ready it was time to blow it all off and clean all over with panel degreaser.
this is the acid etch we are using
and beginning to paint
the finished product
the when it was dry we stored it out of the way.
i also quickly welded on the spare wheel bracket on to the heel board.
next it was the turn of the floor pan.
it was quite easy to clean up as it still had its original underseal on it
next the areas we we couldnt quite get all the light rust out with sanding we coated with Kurust.
once the kurust had dried and we had blown it off and degreased it it was the floorpans turn for some etch primer.
thats all for today more tommorow.
#65
BensonJ
-

- Noobies
-
- 142 posts
Mini Mad
- Location: York
- Local Club: Geeks N Freaks Mini Club
Posted 09 February 2013 - 05:25 PM
Hell what a cracking job you guys are doing.......
#66
mk1leg
-

- Members
-
- 9,343 posts
Crazy About Mini's
- Location: Jersey
- Local Club: Mini Club Jersey, MCR
Posted 09 February 2013 - 06:28 PM
Hi..good work and its comming on a treat.....Isee from the thread that the spot welder is not performing proply I had this prob and you need to remove copper arms and grind a sharp point like a pencil tip....and your away again...... 
#67
Tupers
-

- Members
-
- 4,173 posts
Up Into Fourth
- Location: Devon
Posted 09 February 2013 - 06:38 PM
You really are going all out on this, nice work. 
#68
pickupmad87
-
- Members
-
- 273 posts
Previously adampadmore
- Location: woking
Posted 09 February 2013 - 07:10 PM
mk1 leg cheers for the heads up but ill stick to plug welding it for the time being!! and cheers tupers! just trying to get as much done before the show season starts again!
#69
pickupmad87
-
- Members
-
- 273 posts
Previously adampadmore
- Location: woking
Posted 10 February 2013 - 06:47 PM
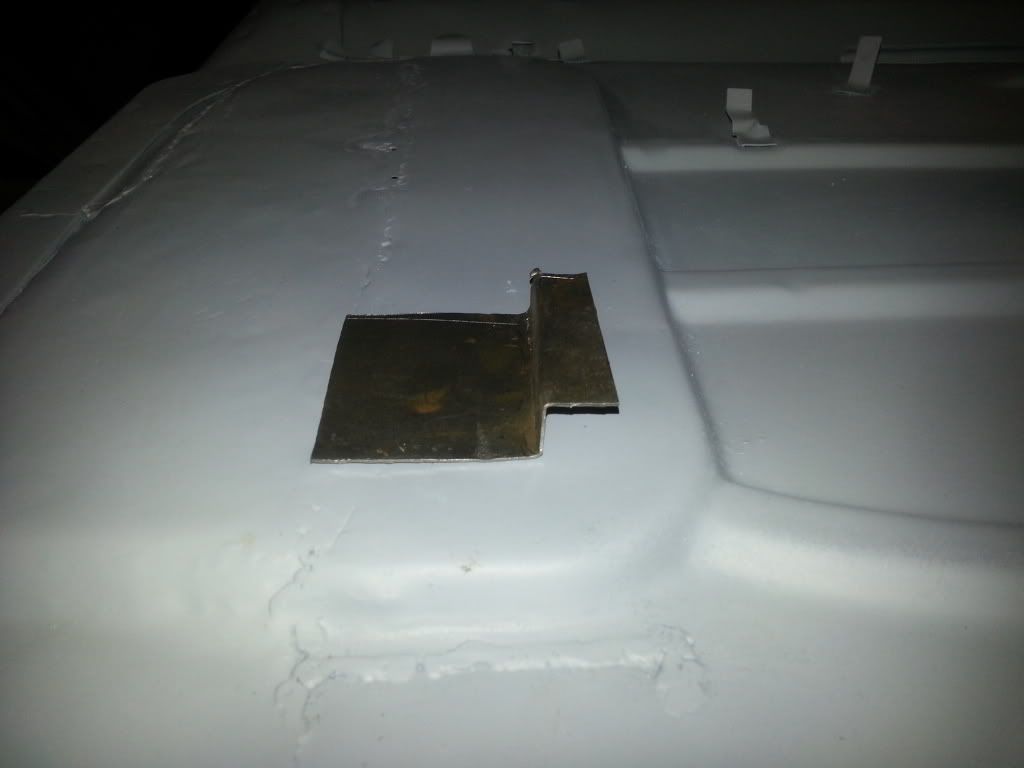
started off rather late today didnt get out of bed till 12! whoops. anyway we started off by a
small repair to the torboard

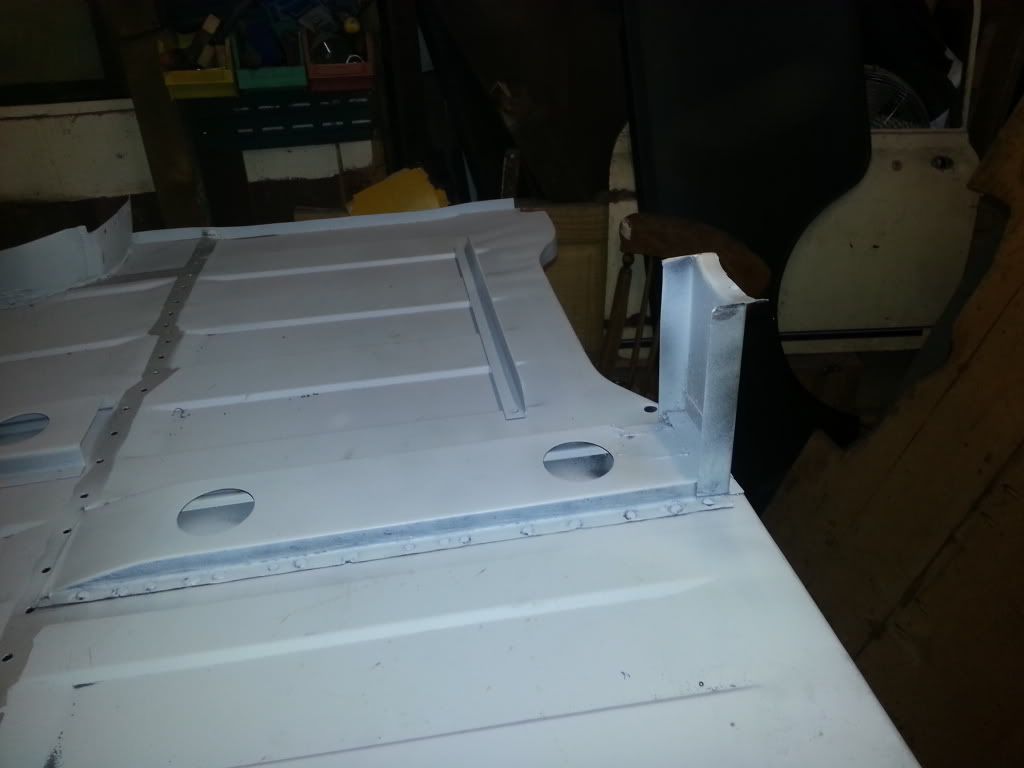
next we drilled holes in the sbframe closing panels and welded them on
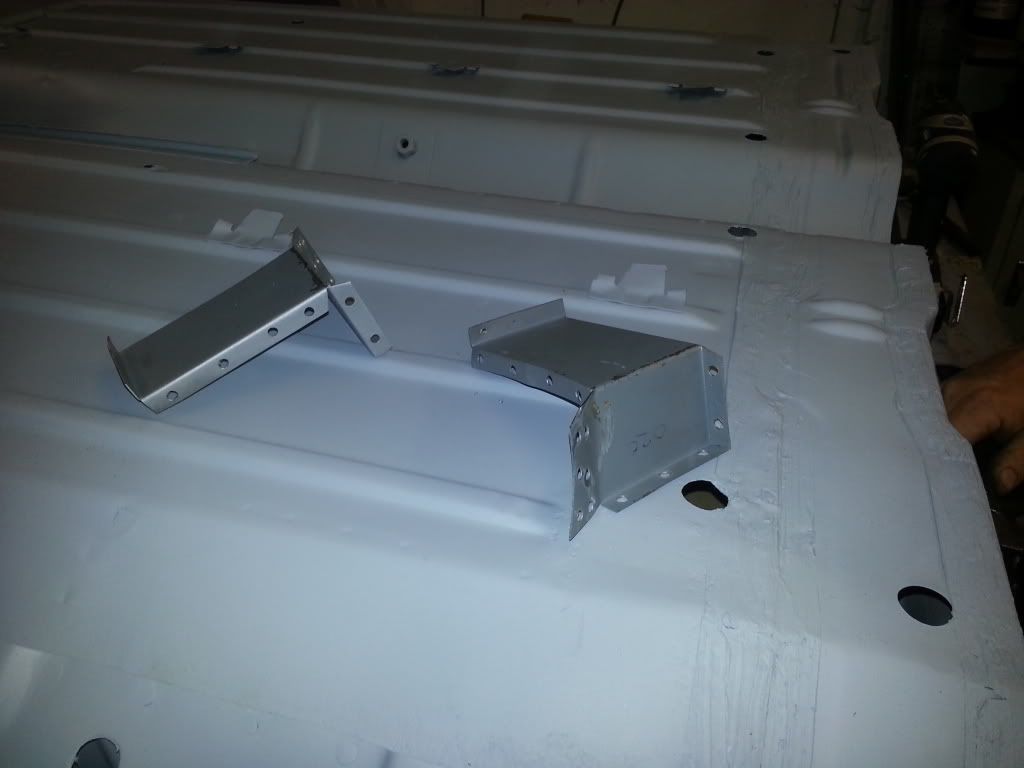
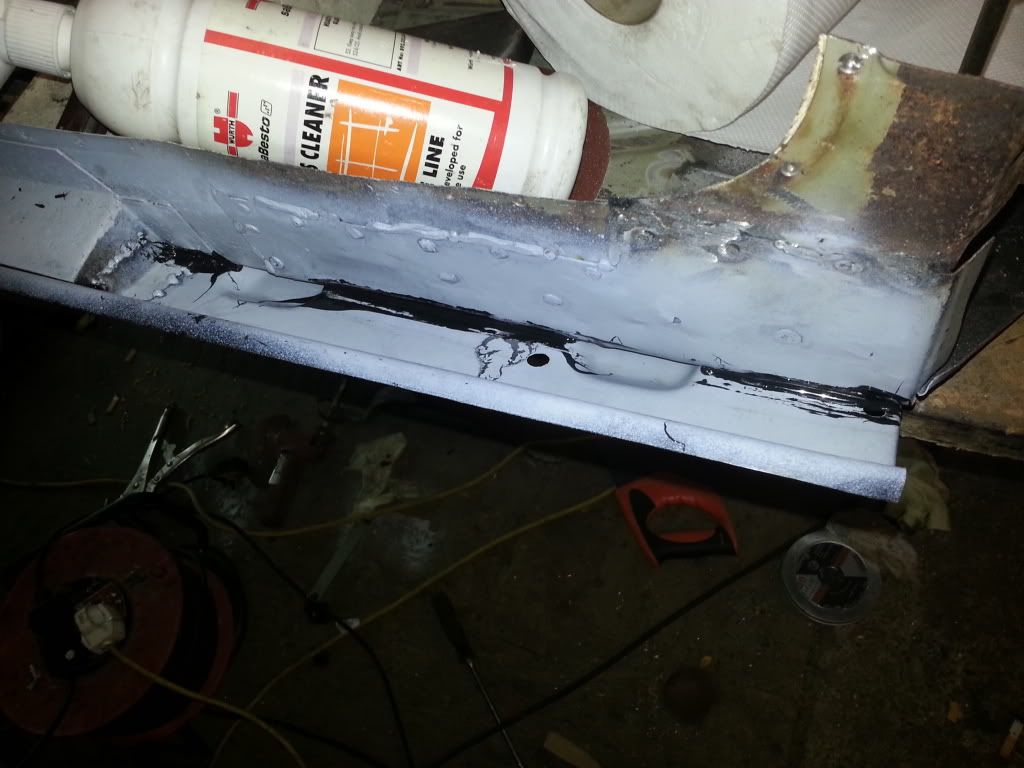
then looked at repairing the stiffner that attaches to the load bed at the front.
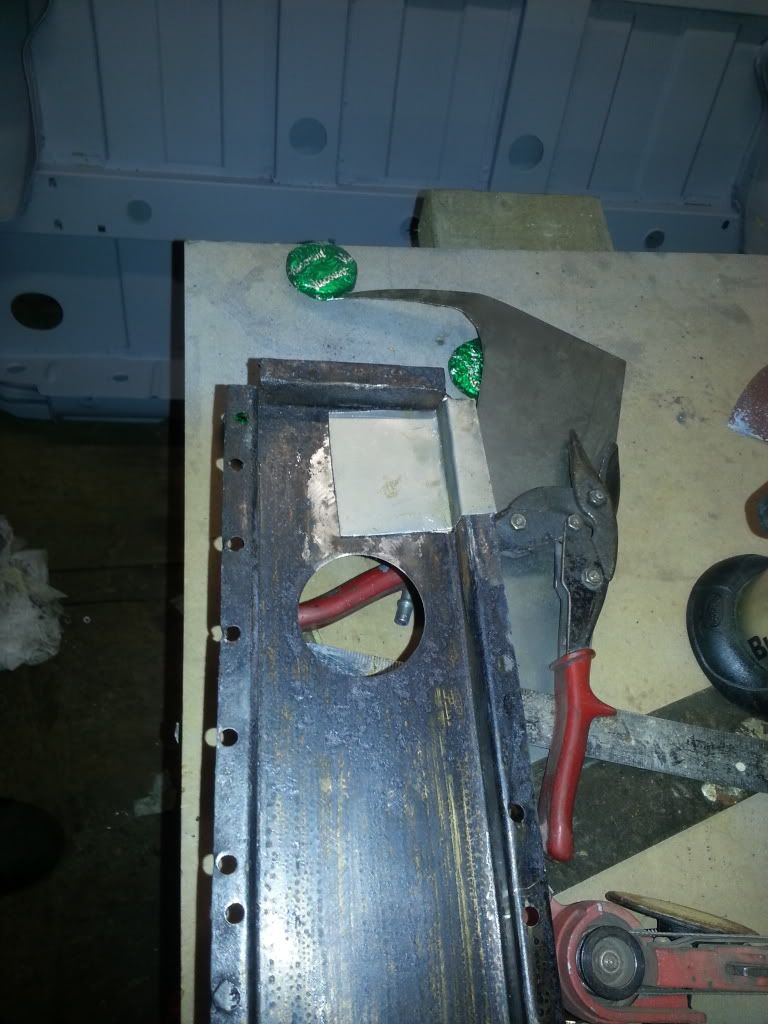
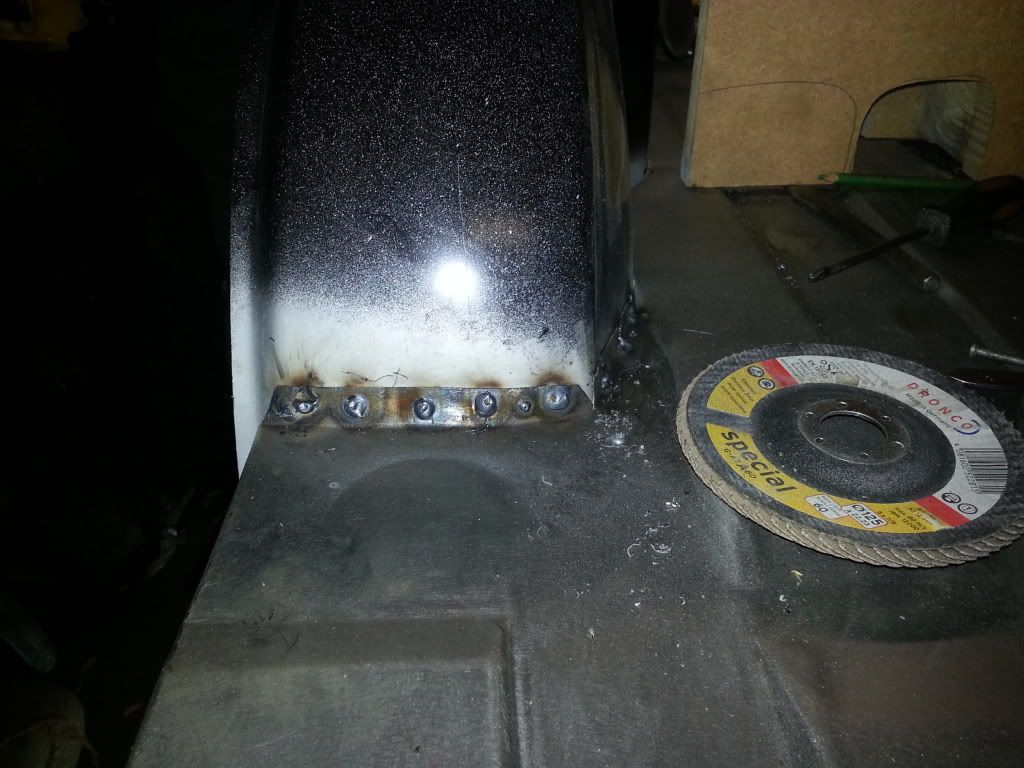
next we cleaned the primer off the floor pan to weld a angle iron to.
then sprayed weld through primer on to it.
the reason im putting the angle iron there is that i want the battery panel to be able to be removed
because i have plans of fitting a small subwoofer enclosure behind it.
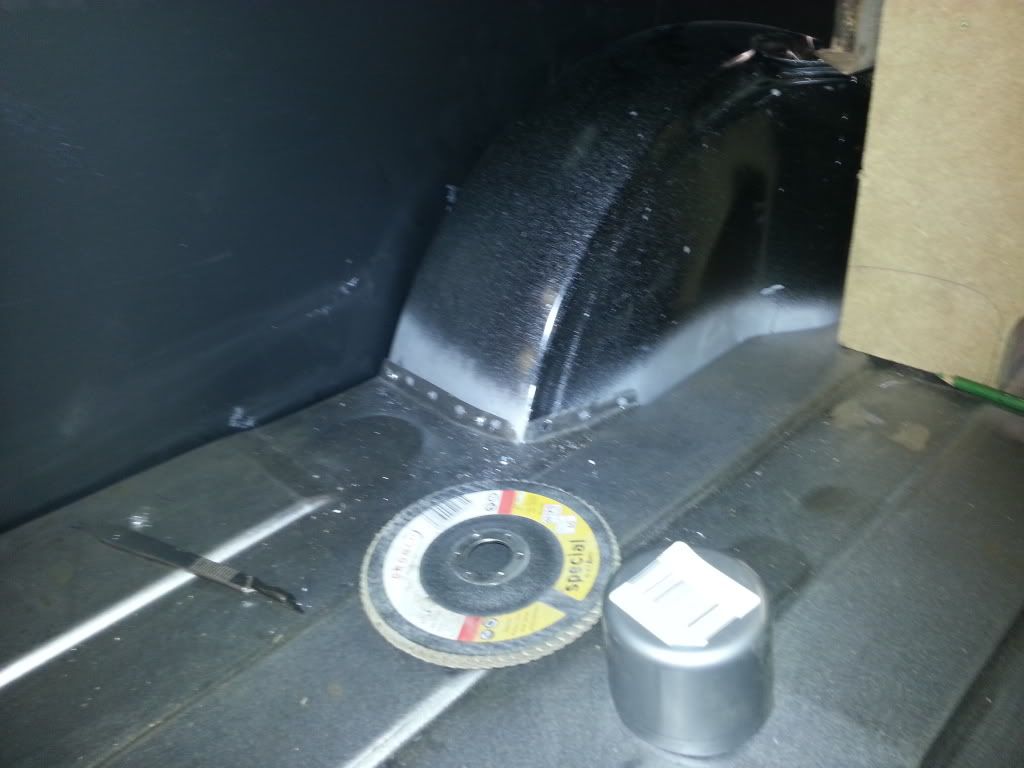
once that was done we layed the loadbed upside down on the bench and began to weld the floor stiffner on.
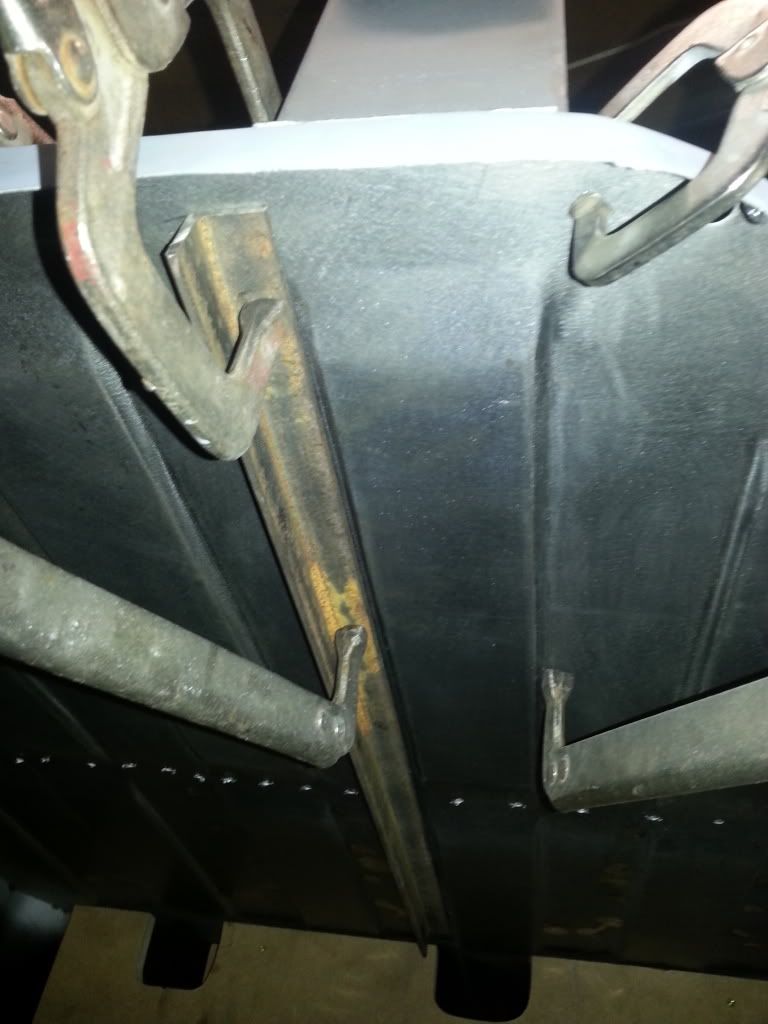
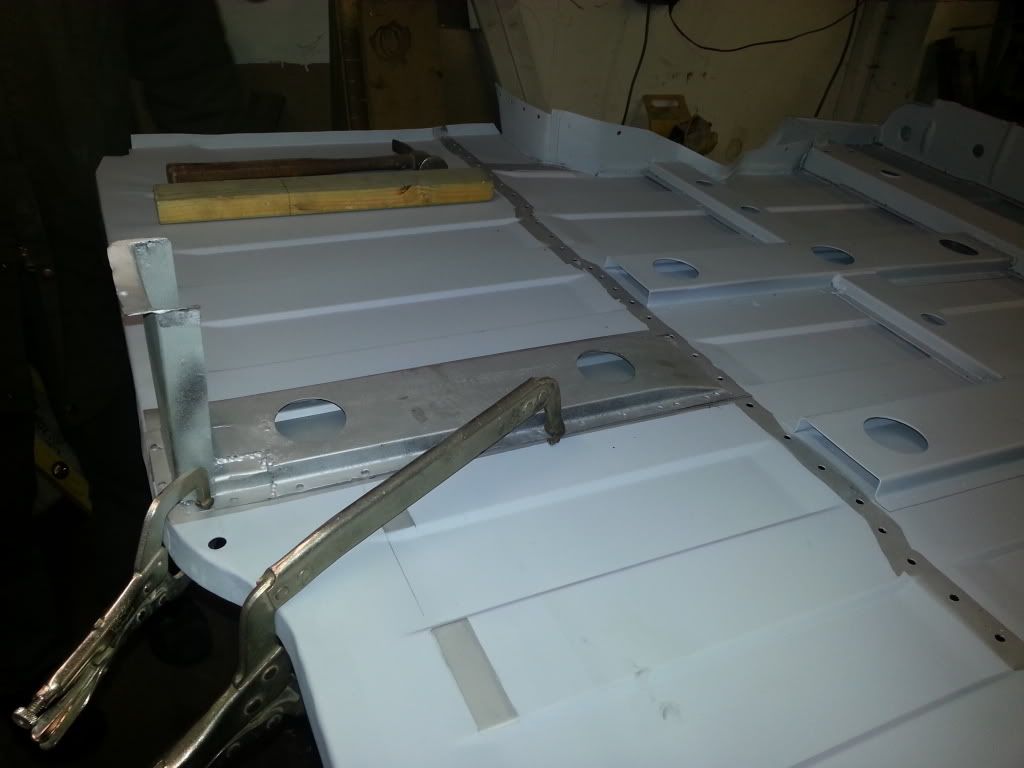
and it finished and primerd with the extra angle iron welded on.
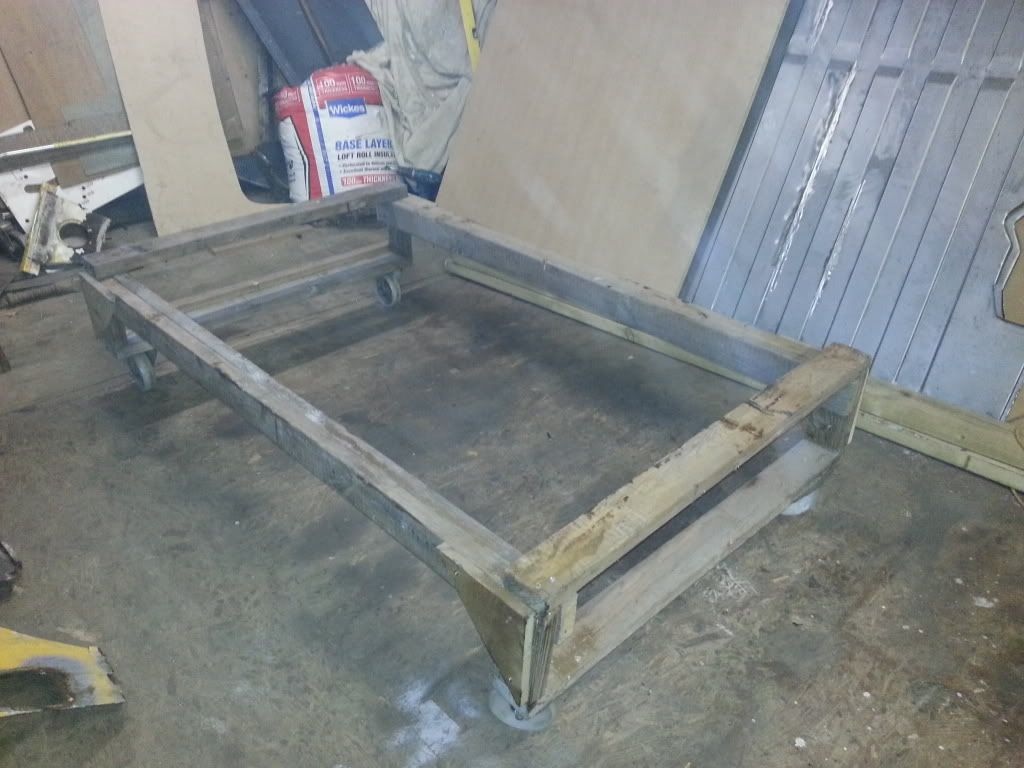
all of the floor pans were put out of the way, bench taken apart and a trolley we had made earlier!!
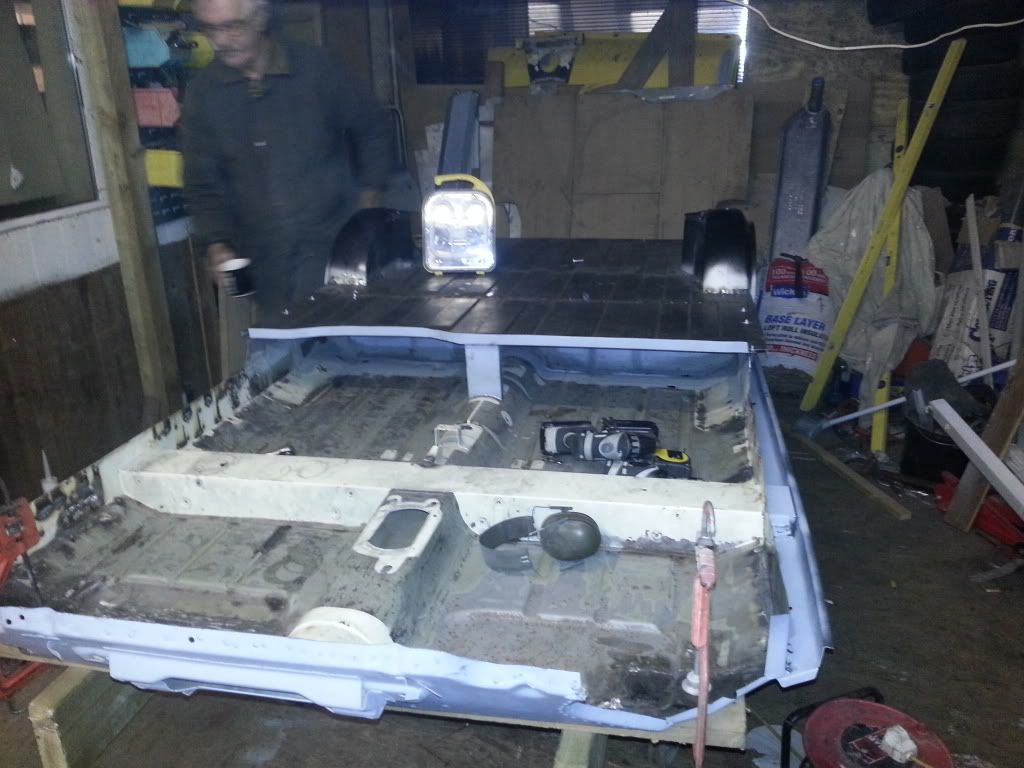
then we layed some 6x2s on edge and screwed the mdf board to them then placed the front floor pan back on
and bolted the subframe in.
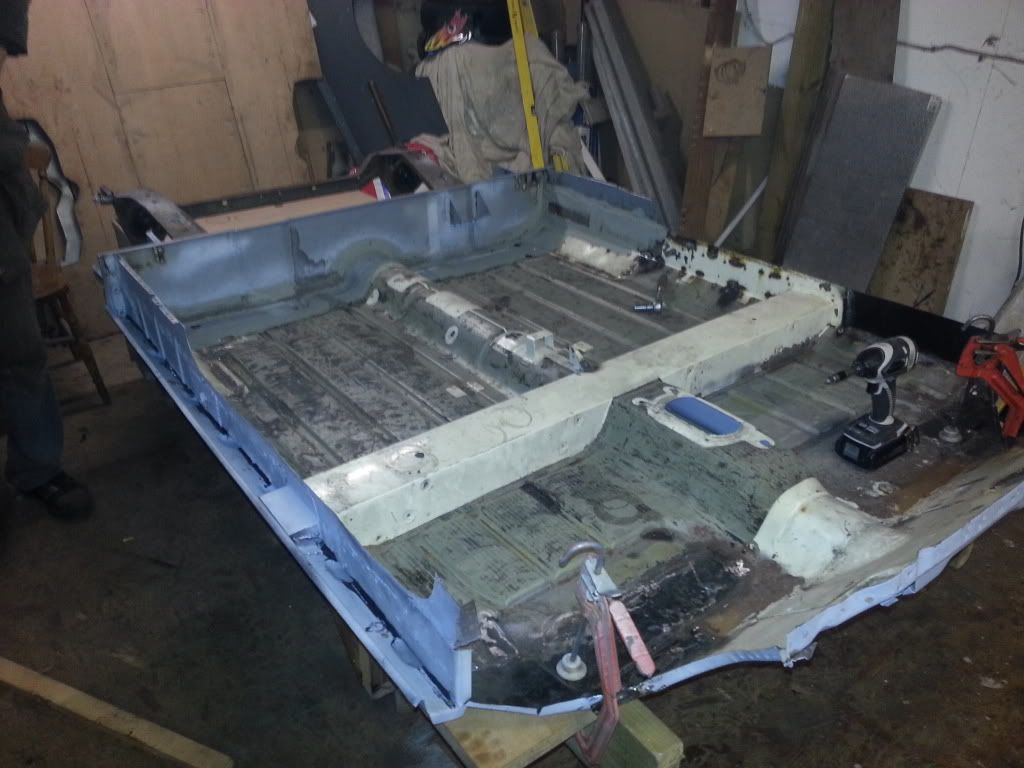
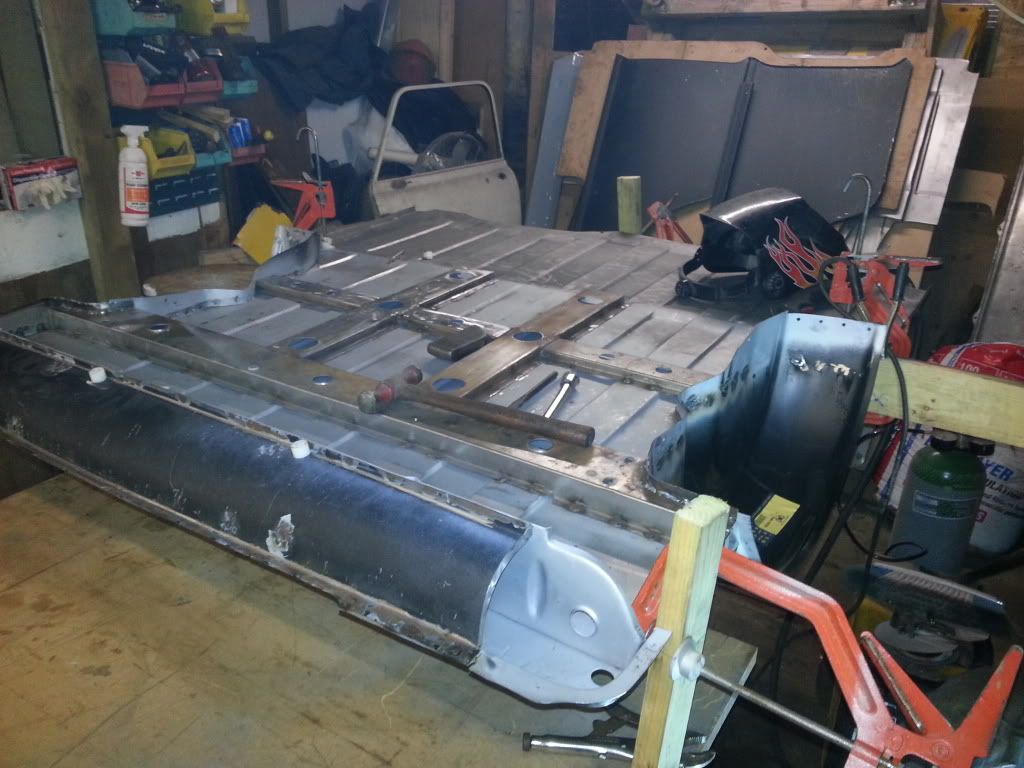
then placed the rear loadbed back on bolted the subframe to it then drilled some holes to screw in some self
tapping screws and washers to secure the rear loadbed to the front floor pan ready for welding.
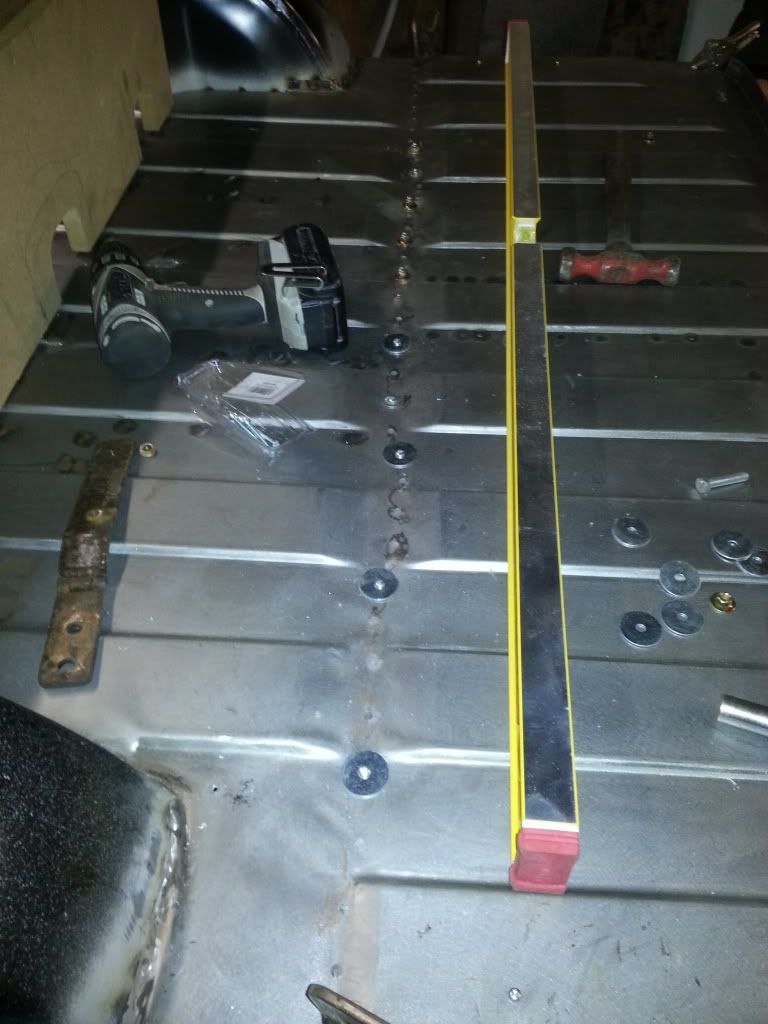
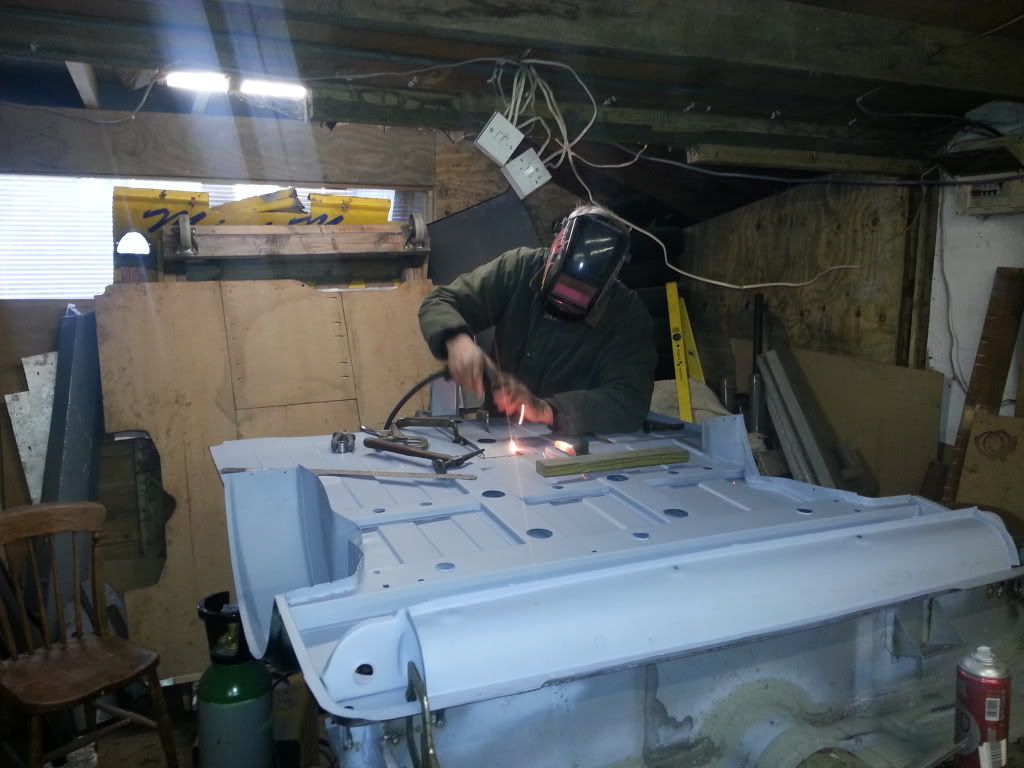
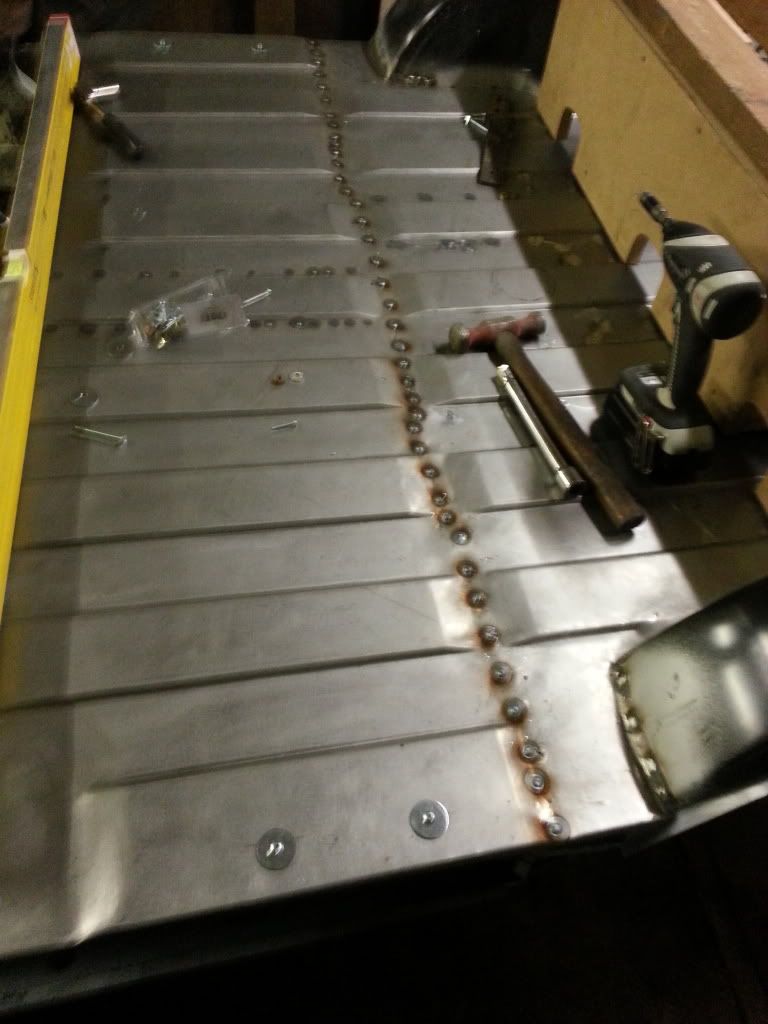
then started to weld.

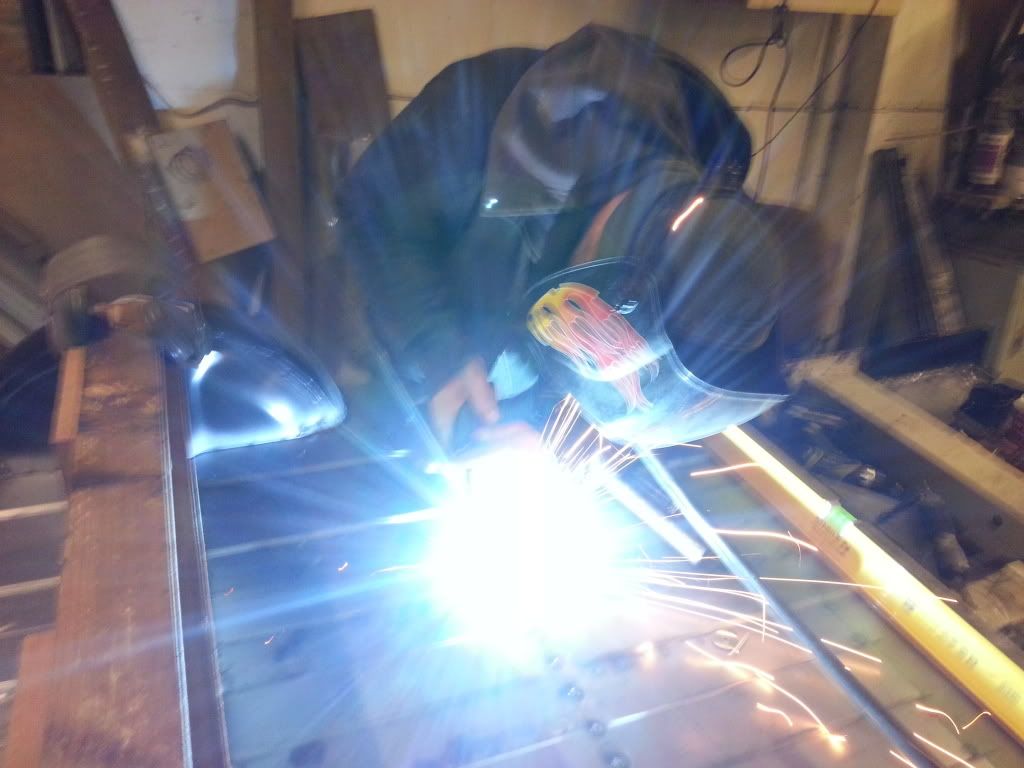
all done.
then we unbolted the subframe and turned the complete floor pan on its side to finish welding the
subframe closing panels to the loadbed and the wheel arch.
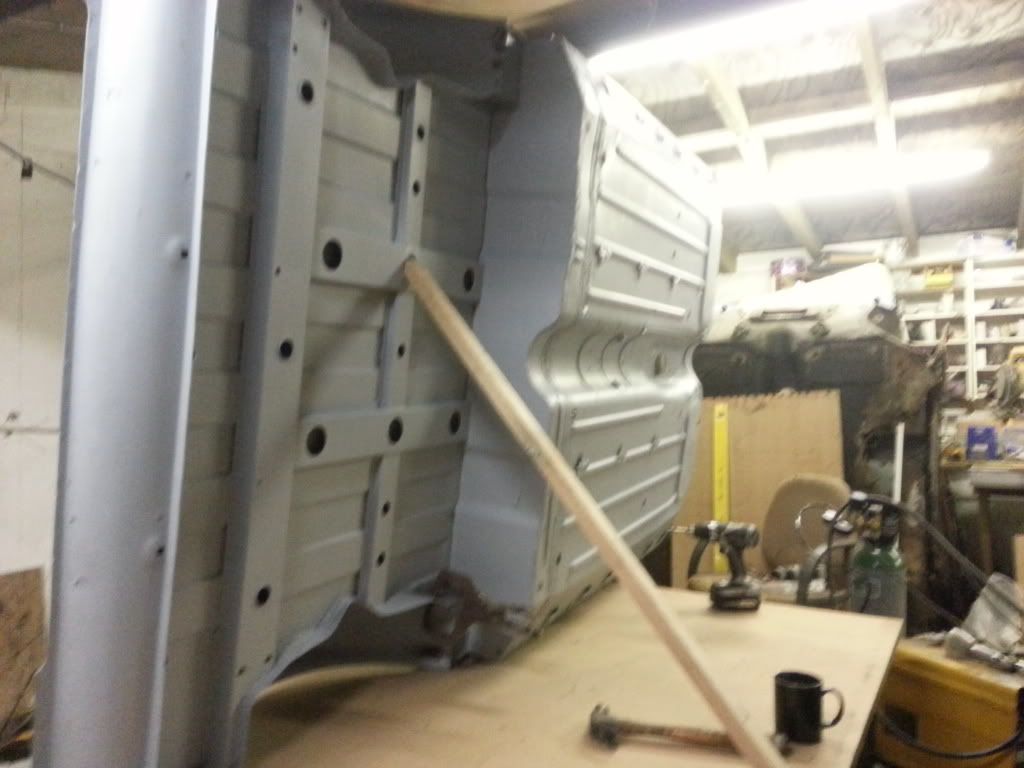

then it was back down flat ready to work on tomorrow.
small repair to the torboard
next we drilled holes in the sbframe closing panels and welded them on
then looked at repairing the stiffner that attaches to the load bed at the front.
next we cleaned the primer off the floor pan to weld a angle iron to.
then sprayed weld through primer on to it.
the reason im putting the angle iron there is that i want the battery panel to be able to be removed
because i have plans of fitting a small subwoofer enclosure behind it.
once that was done we layed the loadbed upside down on the bench and began to weld the floor stiffner on.
and it finished and primerd with the extra angle iron welded on.
all of the floor pans were put out of the way, bench taken apart and a trolley we had made earlier!!
then we layed some 6x2s on edge and screwed the mdf board to them then placed the front floor pan back on
and bolted the subframe in.
then placed the rear loadbed back on bolted the subframe to it then drilled some holes to screw in some self
tapping screws and washers to secure the rear loadbed to the front floor pan ready for welding.
then started to weld.
all done.
then we unbolted the subframe and turned the complete floor pan on its side to finish welding the
subframe closing panels to the loadbed and the wheel arch.
then it was back down flat ready to work on tomorrow.
#70
pickupmad87
-
- Members
-
- 273 posts
Previously adampadmore
- Location: woking
Posted 11 February 2013 - 02:40 PM
Finally the bargins i was talking about in an earlier post have arrived!!
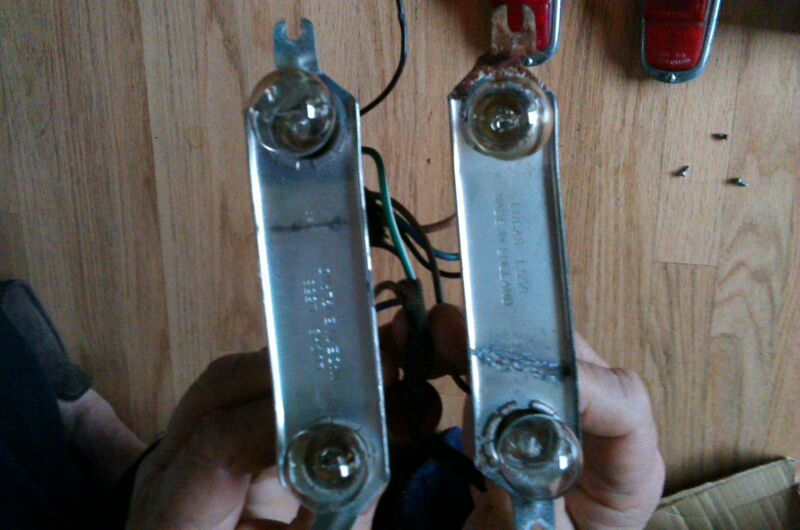
These cost 60 quid delivered! BARGAIN!
These cost 60 quid delivered! BARGAIN!

#72
pickupmad87
-
- Members
-
- 273 posts
Previously adampadmore
- Location: woking
Posted 11 February 2013 - 08:38 PM
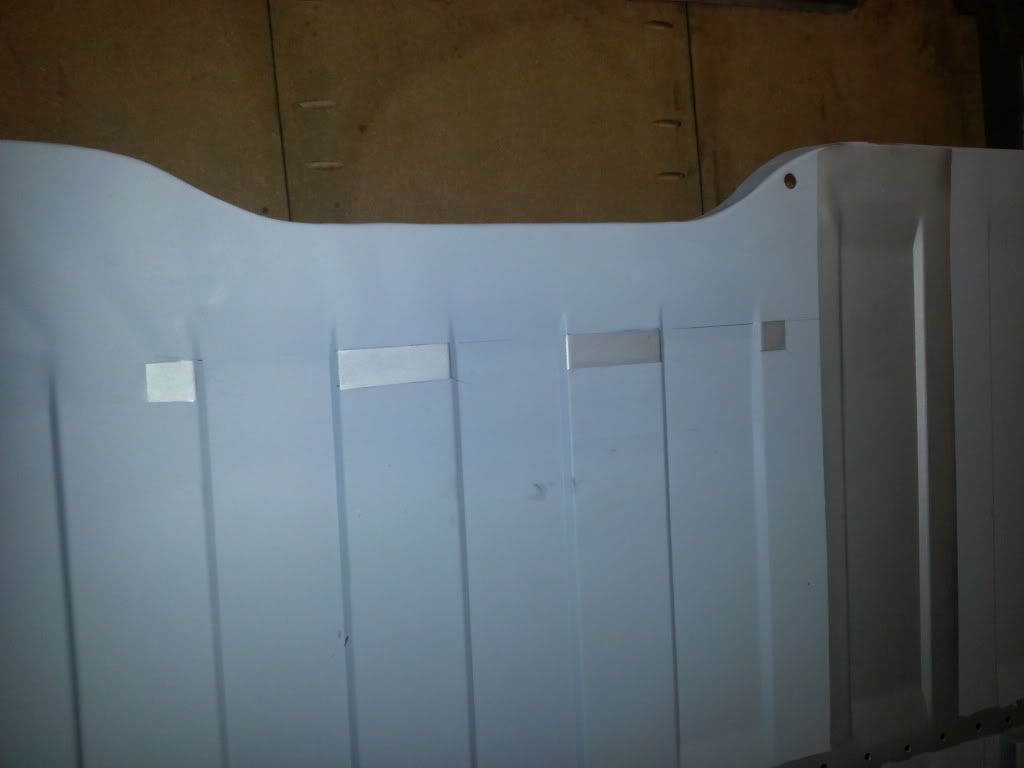
only did a little bit tonight. decided to key up the top of the rear loadbed ready for a coat of primer tomorrow evening.
so because i havent got much of an update i though i would show you some other bargains ive accumulated over the last year.
firstly todays one £60 posted
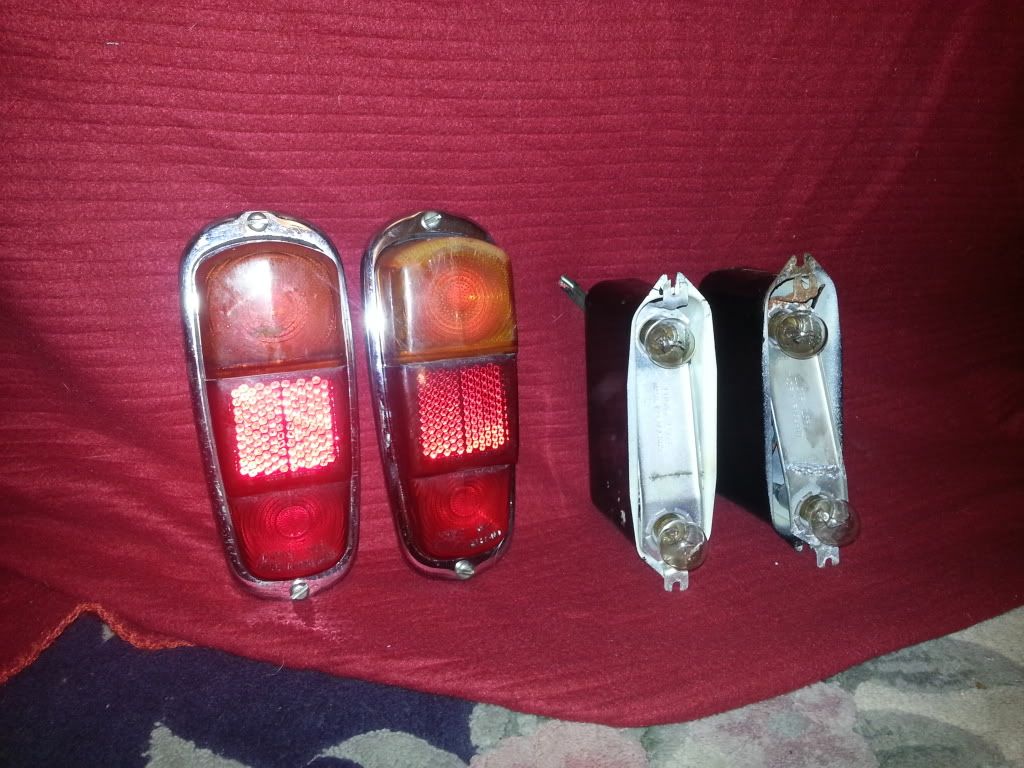
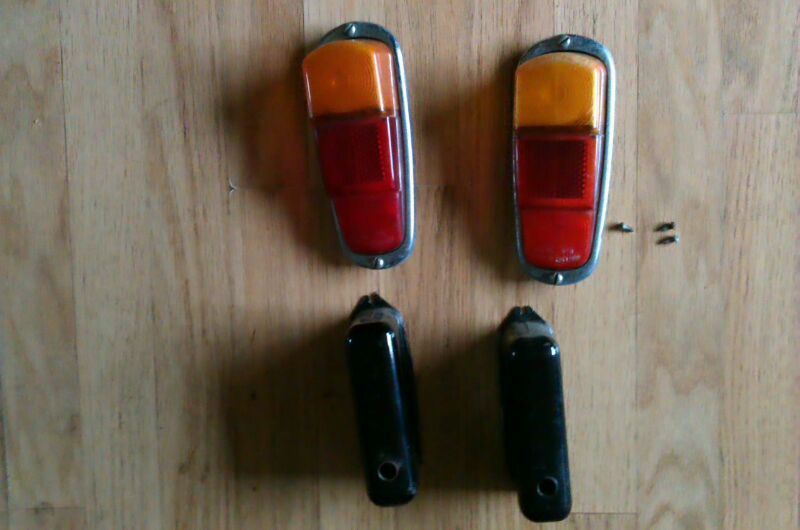
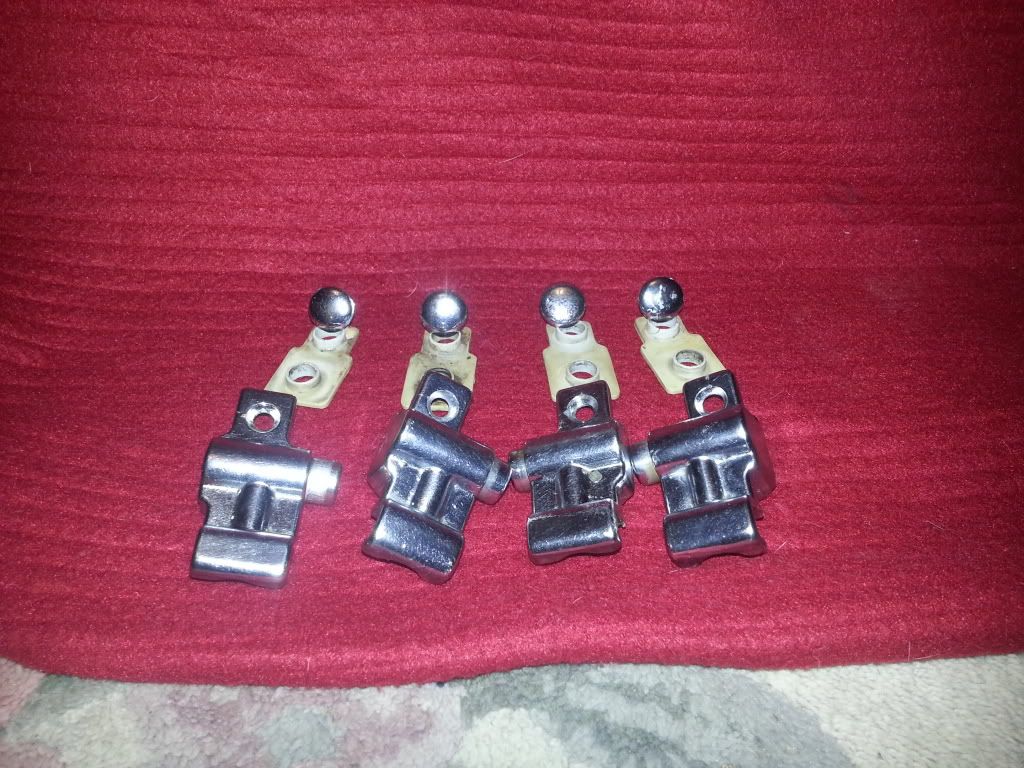
secondly these i bought a couple of weeks ago primarily to use on my dads pickup before i had a change of heart on what i was doing with my rear lights got these for £30 posted.
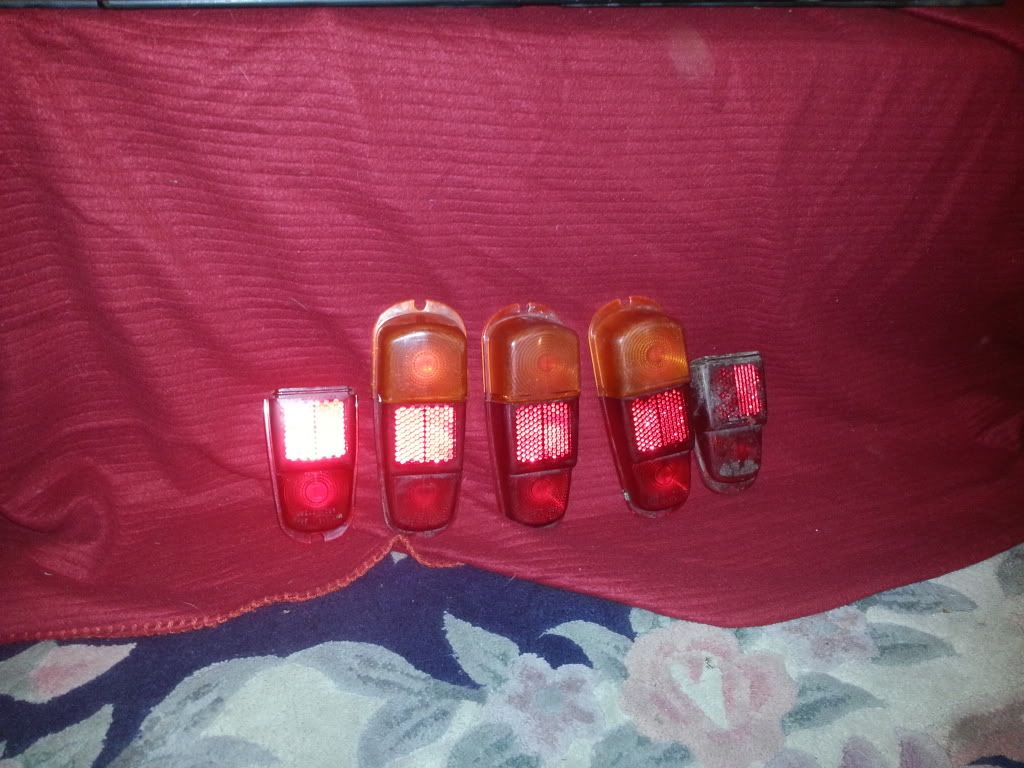
theres some broken ones but with the set i got today i can make a good pair out of the lot.
thirdly i got full set of mark one door glass barely scratched off ebay for a mere £10, i drove all the way to somerset to get these slightly on a whim hoping he had the chrome catches to go with it.
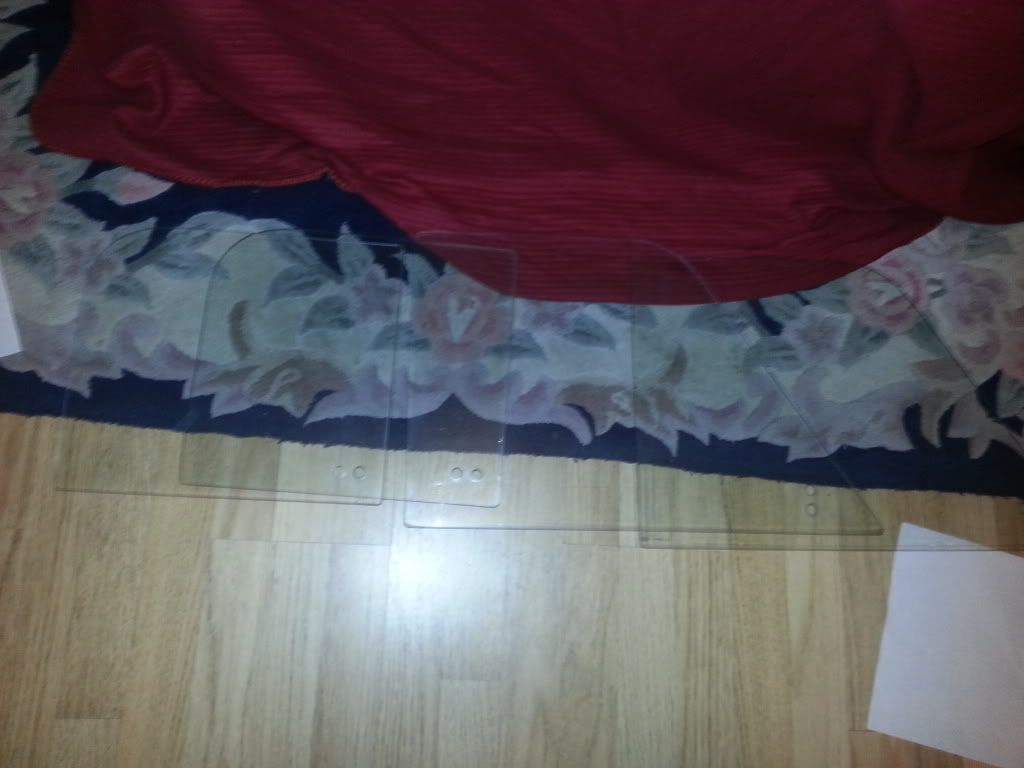
luckily for me he did!! paid £90 for these not as much of a bargain as the rest but when you look at how good condition they are in, i personally thinks theres a slight bargain here as decent ones seem to go for £150
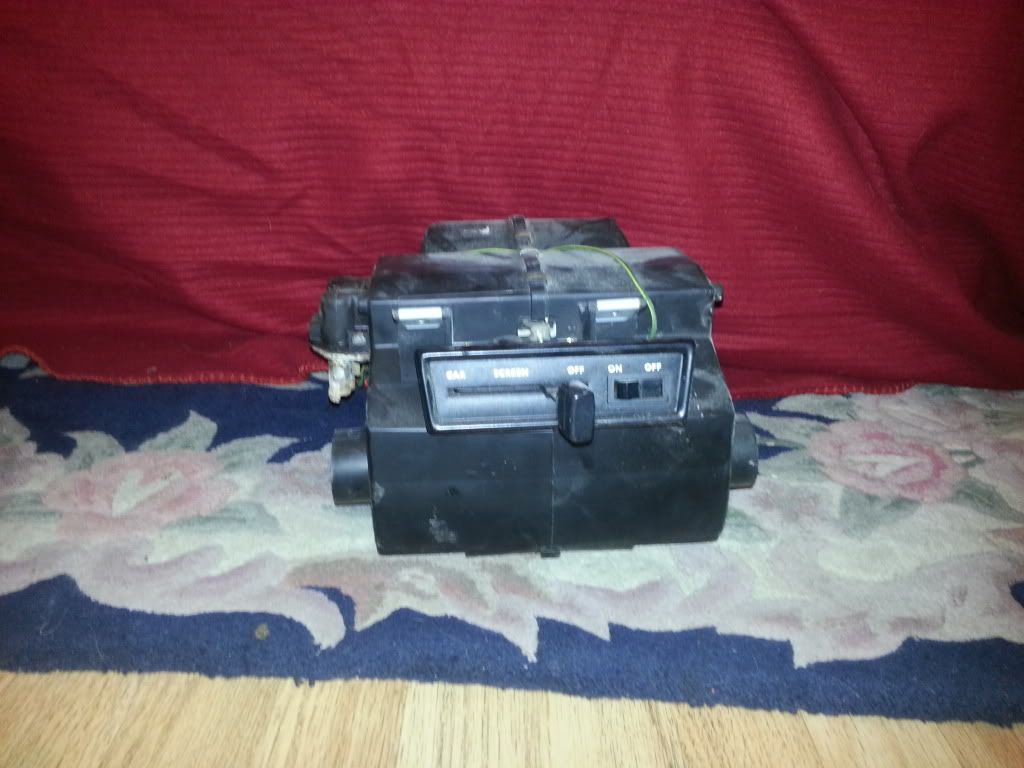
and lastly i picked up this later type heater for £10 at utoxeter mini day last year, this slightly pissed my dad off because a year earlier he paid 60 quid for the same type heater Ha Ha!
thats all more tomorrow
so because i havent got much of an update i though i would show you some other bargains ive accumulated over the last year.
firstly todays one £60 posted
secondly these i bought a couple of weeks ago primarily to use on my dads pickup before i had a change of heart on what i was doing with my rear lights got these for £30 posted.
theres some broken ones but with the set i got today i can make a good pair out of the lot.
thirdly i got full set of mark one door glass barely scratched off ebay for a mere £10, i drove all the way to somerset to get these slightly on a whim hoping he had the chrome catches to go with it.
luckily for me he did!! paid £90 for these not as much of a bargain as the rest but when you look at how good condition they are in, i personally thinks theres a slight bargain here as decent ones seem to go for £150
and lastly i picked up this later type heater for £10 at utoxeter mini day last year, this slightly pissed my dad off because a year earlier he paid 60 quid for the same type heater Ha Ha!
thats all more tomorrow
Edited by adampadmore, 11 February 2013 - 08:41 PM.
#73
minimikej
-

- Members
-
- 354 posts
Speeding Along Now
- Location: Derbyshire
Posted 11 February 2013 - 09:06 PM
Absolutely superb work, a real inspiration. This pickup will be amazing, keep going!
#74
pickupmad87
-
- Members
-
- 273 posts
Previously adampadmore
- Location: woking
Posted 11 February 2013 - 09:10 PM
thanks! It helps having built one two years earlier!
#75
DugganC17
-

- Members
-
- 359 posts
Speeding Along Now
Posted 11 February 2013 - 09:20 PM
as said before great work being carried out you really do love your pickups  and a quick question are you just using a saloon floor pan with the extra 4 or so inch panel welded in as i was thinking of buying a genuine pickup floor pan but there a lot of wonga so this could be a cheaper option if this is the case will any floor pan fit depending on what gearbox i want to run
cheers Dan
and a quick question are you just using a saloon floor pan with the extra 4 or so inch panel welded in as i was thinking of buying a genuine pickup floor pan but there a lot of wonga so this could be a cheaper option if this is the case will any floor pan fit depending on what gearbox i want to runcheers Dan


2 user(s) are reading this topic
0 members, 2 guests, 0 anonymous users


