Edited by adampadmore, 11 February 2013 - 09:33 PM.
Mini Pickup Restoration Project No.2! Finally Underway!
Started by
pickupmad87
, Feb 05 2012 06:37 PM
126 replies to this topic
#76

pickupmad87
-
- Members
-

- 273 posts
Previously adampadmore
- Location: woking
Posted 11 February 2013 - 09:31 PM
yes i did. when the pickup was in production they didnt make a longer floor pan the just used the same extension piece ive used . if i am right are you on about the m machine flpors i have a feeling they are two long halfs welded down the middle to the tunnel and look nothing like an original floor!
#77
pickupmad87
-
- Members
-
- 273 posts
Previously adampadmore
- Location: woking
Posted 11 February 2013 - 09:34 PM
and the original extension piece is availabe from moss 100% identical to the original.
#78
DugganC17
-

- Members
-
- 359 posts
Speeding Along Now
Posted 11 February 2013 - 10:31 PM
yes i was on about the m machine floors and thanks for that advice mate do you know how much the extension peice and pickup heelboard cost from moss
Dan
Dan
#79
pickupmad87
-
- Members
-
- 273 posts
Previously adampadmore
- Location: woking
Posted 11 February 2013 - 10:35 PM
extension piece is about 50 quid bout the same for the heelboard i think, dont quote me on that! if you ever need anyadvice dont hesitate to call allways glad to help others!!!
#80
pickupmad87
-
- Members
-
- 273 posts
Previously adampadmore
- Location: woking
Posted 12 February 2013 - 08:23 PM
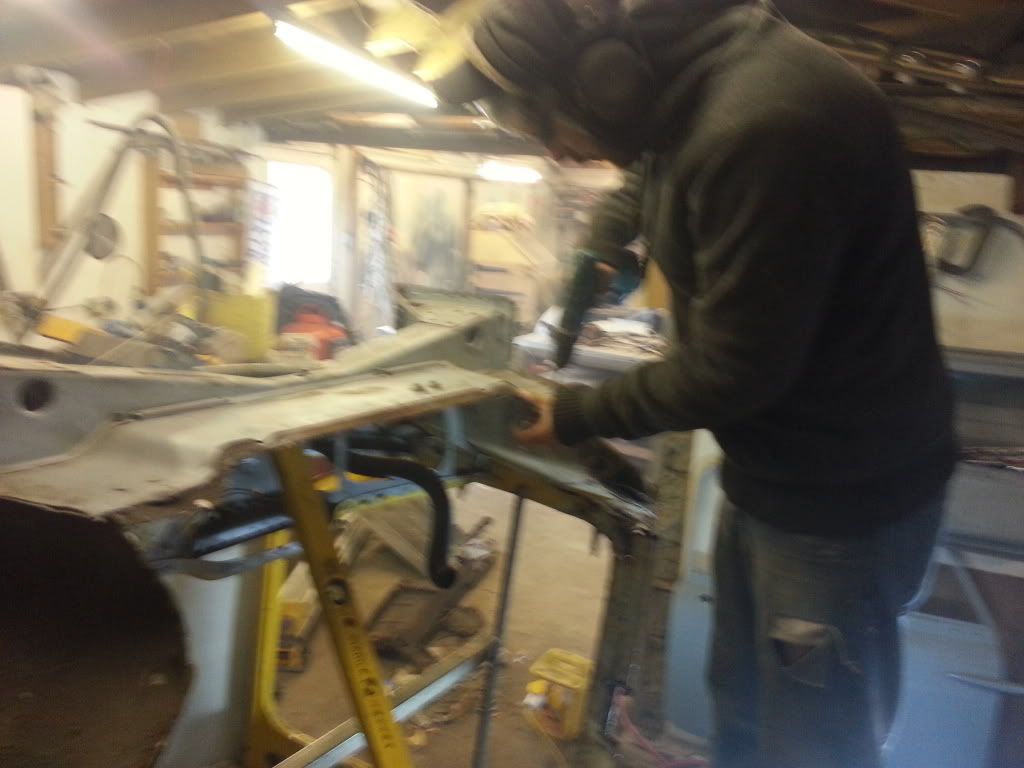
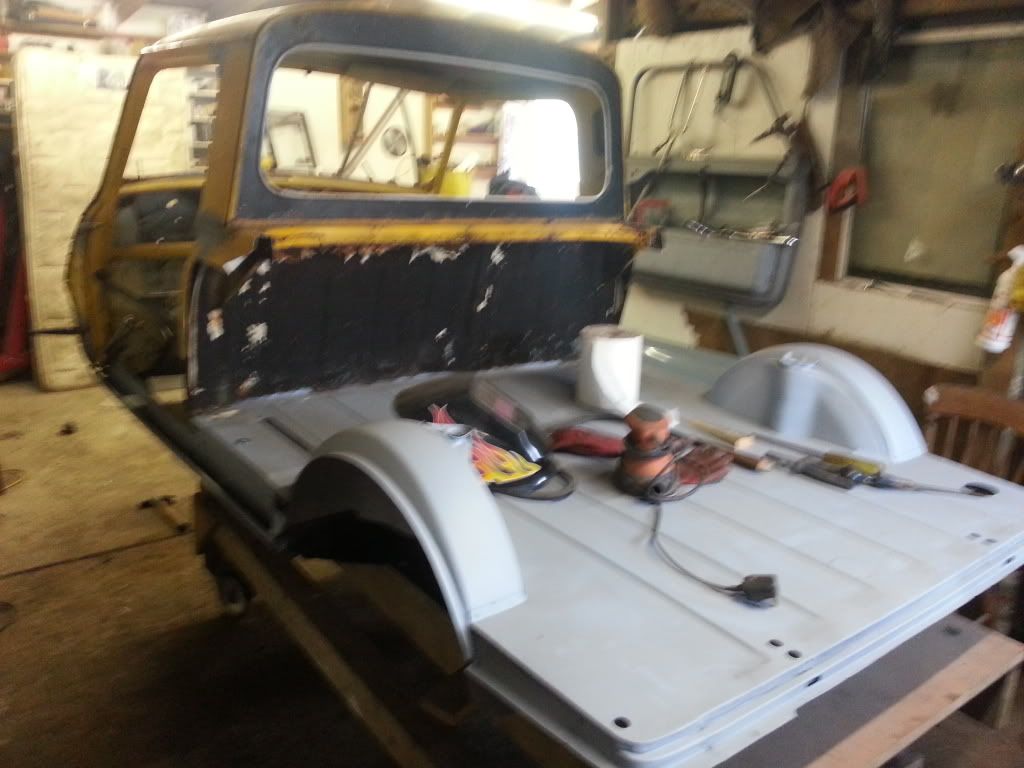
while i was at work today my old man got on and welded in the closing plate off the wheel arch for the rear valence
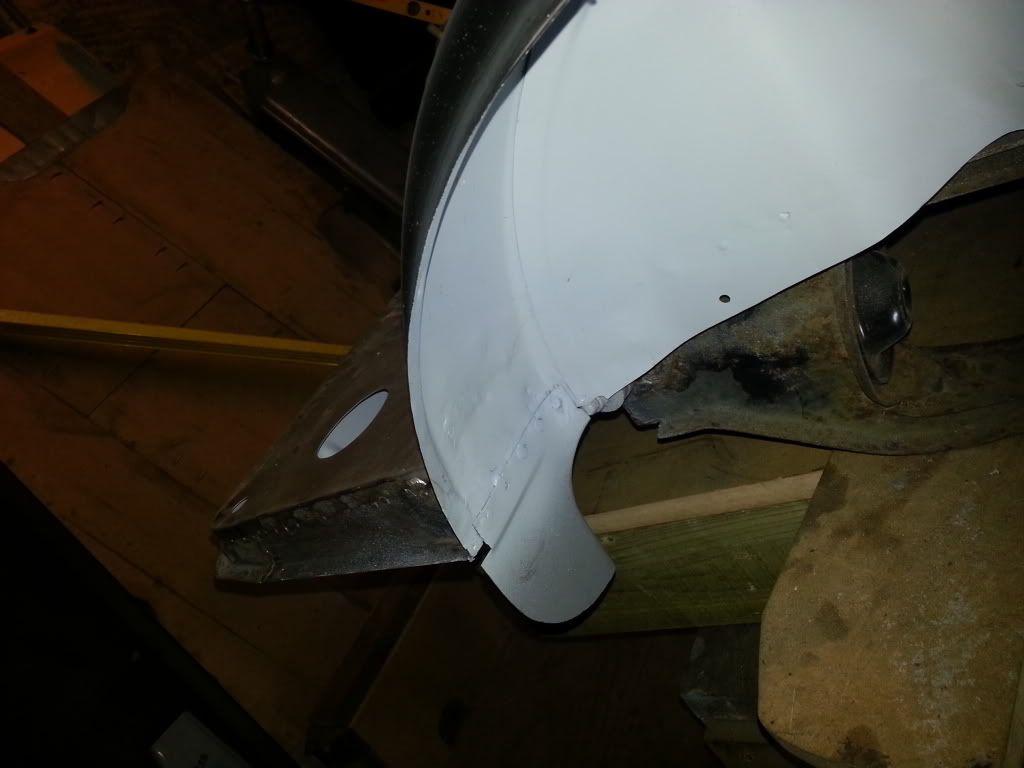
when i got home i degreased the loadbed ready for spraying the acid etch on.
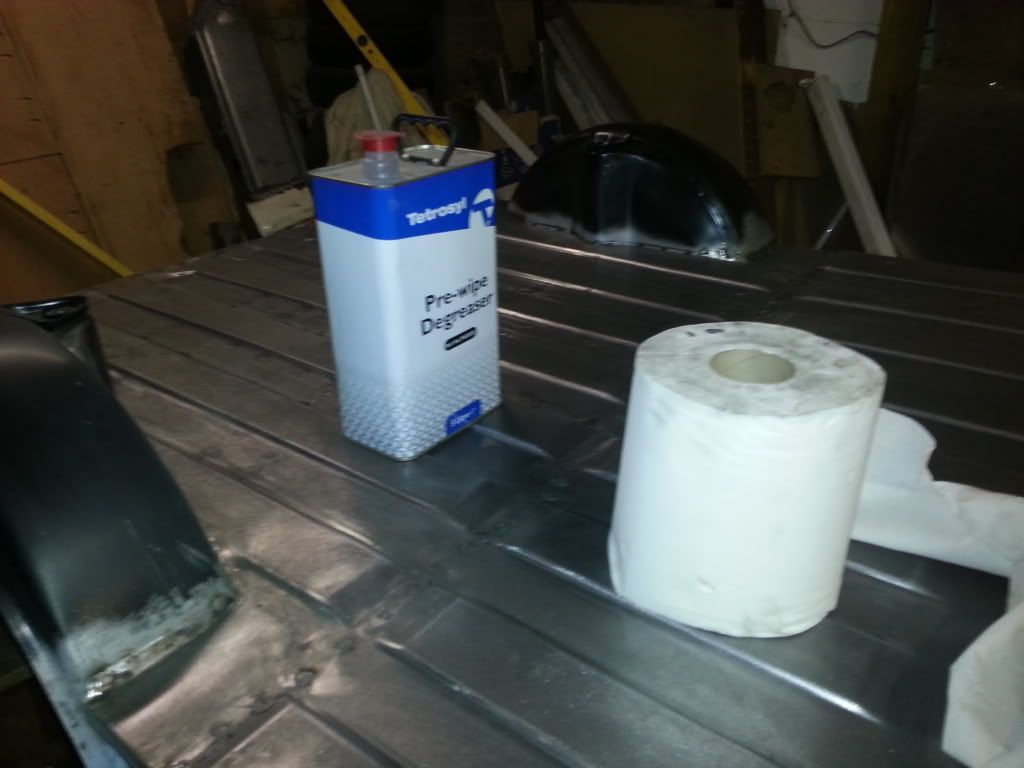
fully sprayed
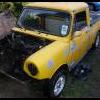
thats all i done on the pickup tonight so i pulled in my round nose and changed the fan belt. heres a few pics of it.
i forgot to take a picture of the front while it was in the workshop so this ones a bit dark!
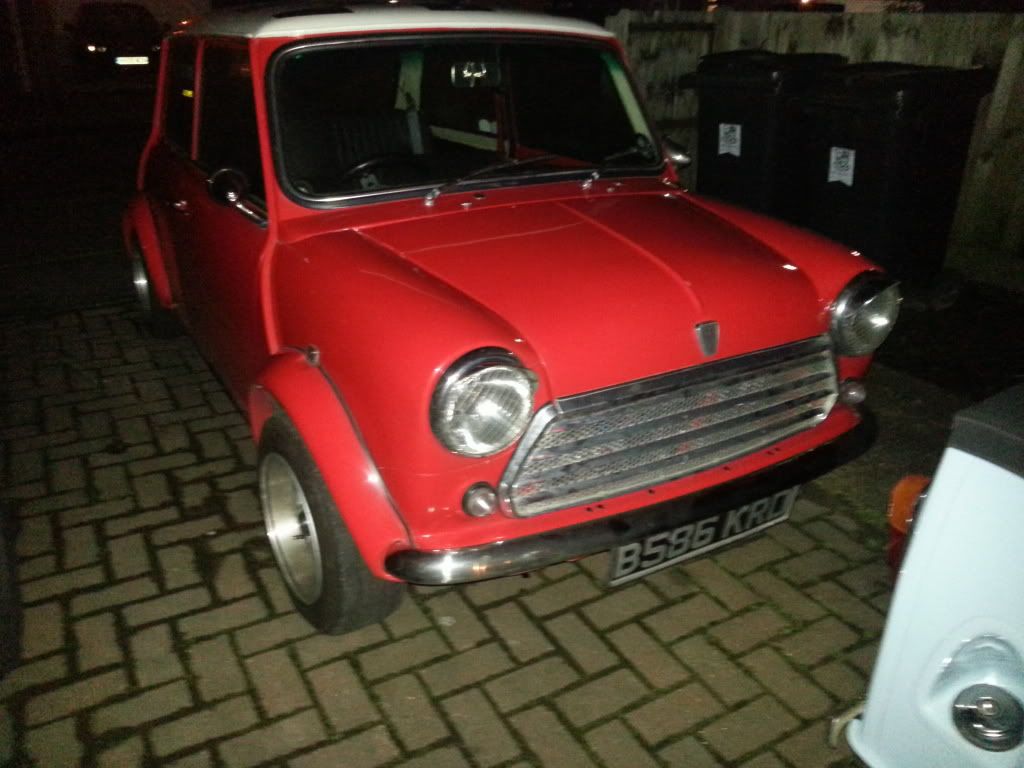
thats it for tonight.
when i got home i degreased the loadbed ready for spraying the acid etch on.
fully sprayed
thats all i done on the pickup tonight so i pulled in my round nose and changed the fan belt. heres a few pics of it.
i forgot to take a picture of the front while it was in the workshop so this ones a bit dark!
thats it for tonight.
Edited by pickupmad87, 17 February 2013 - 10:26 PM.
#81
hoody99
-
- Members
-
- 699 posts
Super Mini Mad
- Location: fife, Scotland
Posted 13 February 2013 - 12:12 AM
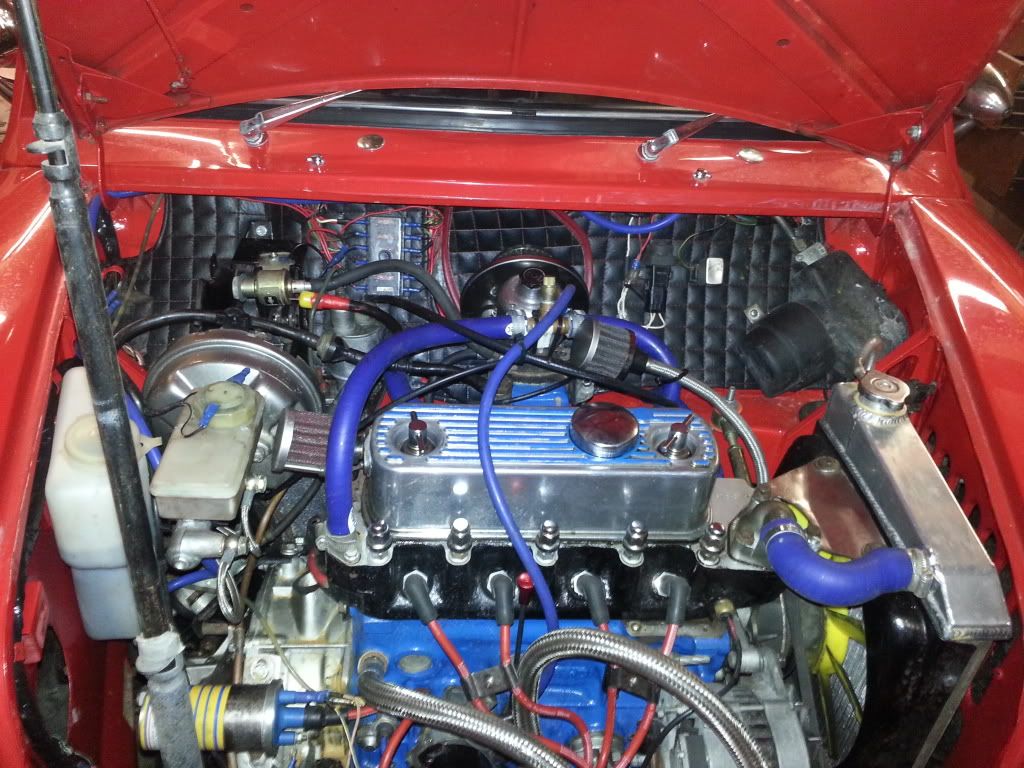
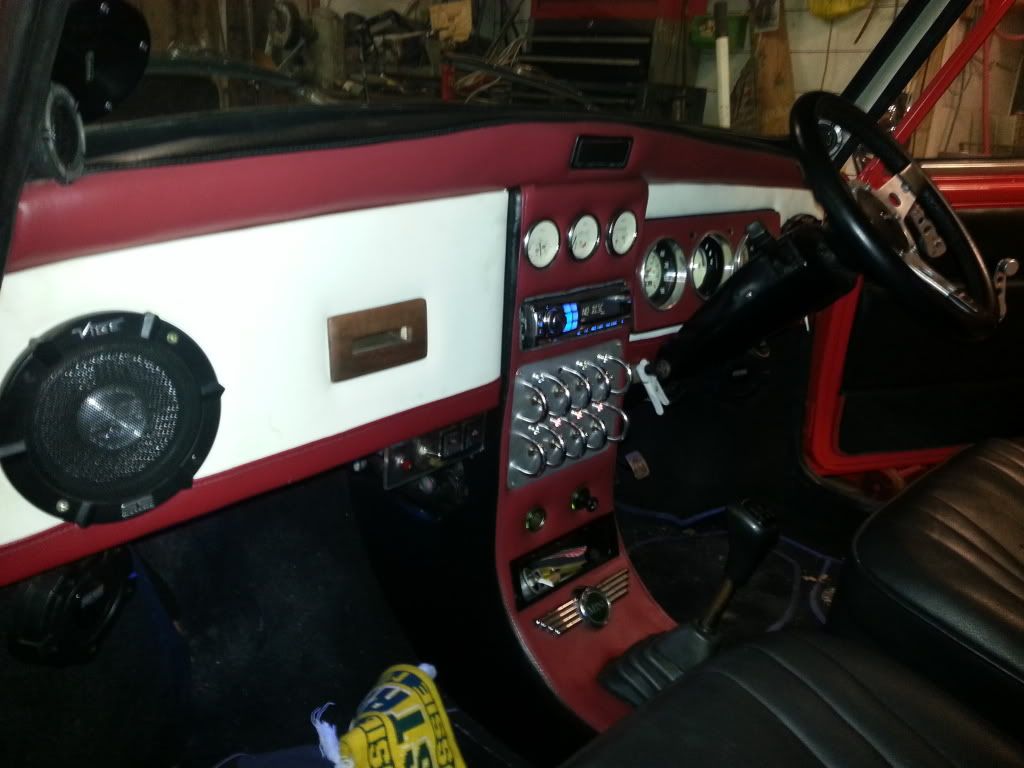
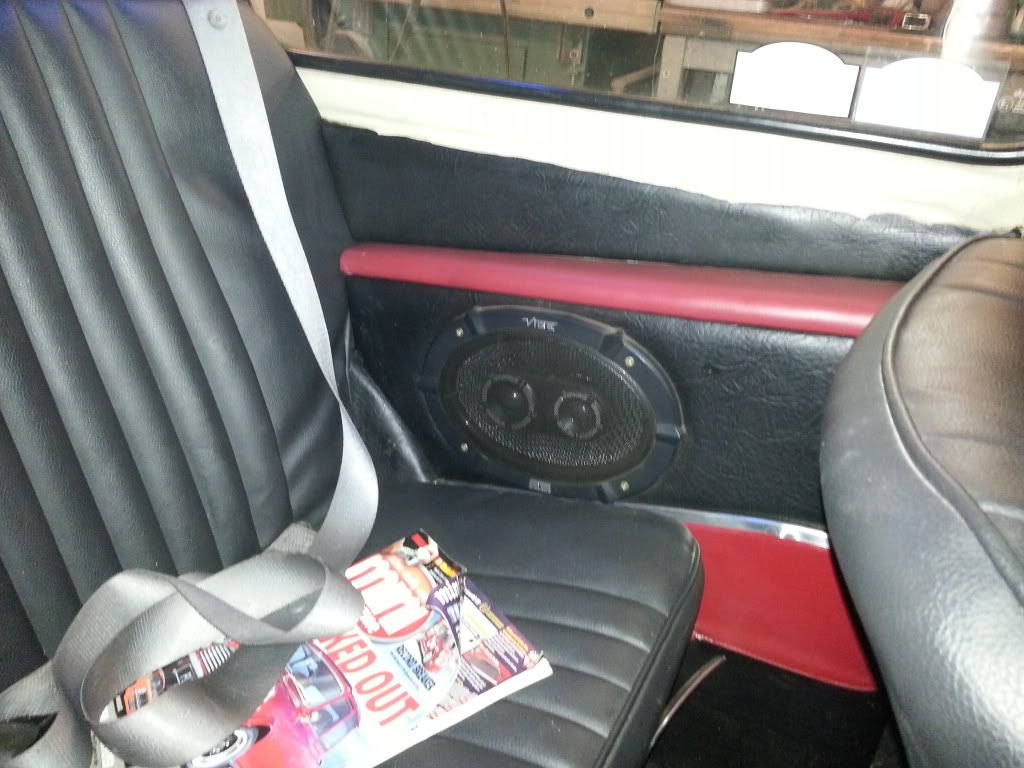
Love the dash in your round nose
#82
pickupmad87
-
- Members
-
- 273 posts
Previously adampadmore
- Location: woking
Posted 13 February 2013 - 08:59 PM
yeh it turned out really well, its held up really well considering its 3 or more years old!
#83
pickupmad87
-
- Members
-
- 273 posts
Previously adampadmore
- Location: woking
Posted 13 February 2013 - 08:59 PM
yeh it turned out really well, its held up really well considering its 3 or more years old!
#84
spike 25
-

- Members
-
- 322 posts
Speeding Along Now
- Location: KENT
- Local Club: Kentish Mini Club
Posted 14 February 2013 - 07:12 PM
Blimey Adam how many mini's have you got......fair play to you they all look great 
#85
pickupmad87
-
- Members
-
- 273 posts
Previously adampadmore
- Location: woking
Posted 14 February 2013 - 08:04 PM
We have got 5 at the moment!! Ive had that onc since i was 15! My first car, been rebuilt 3 4 times over the years@
#86
pickupmad87
-
- Members
-
- 273 posts
Previously adampadmore
- Location: woking
Posted 17 February 2013 - 09:16 PM
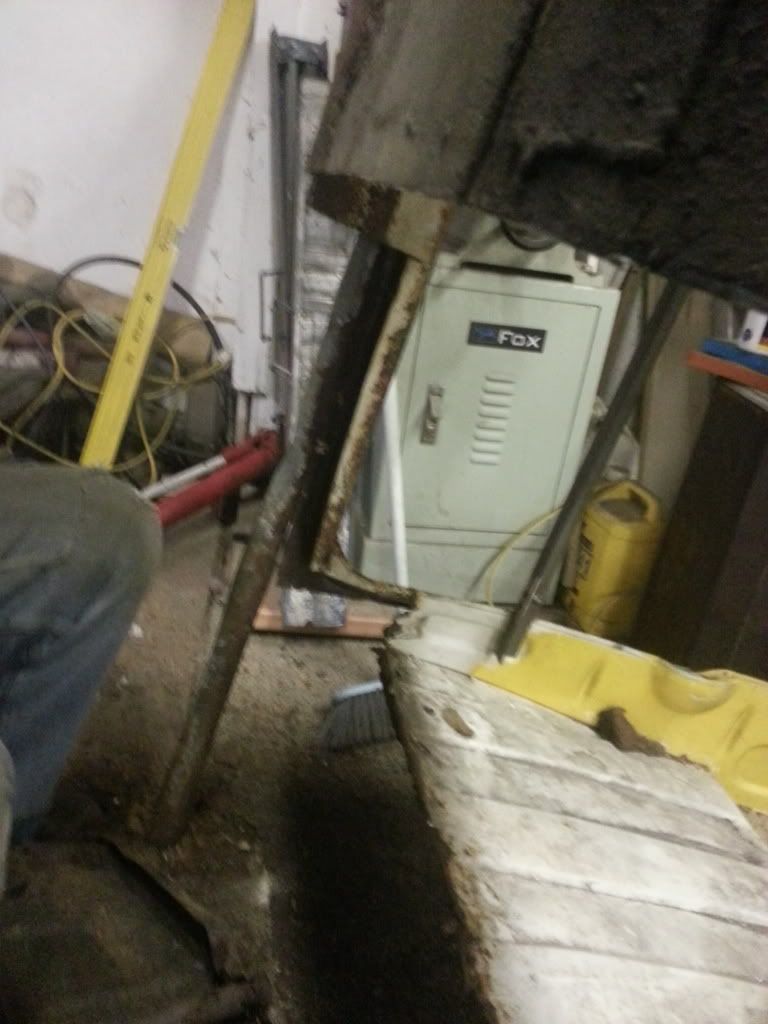
heres the progress for the last couple of days, been too knackered to update!
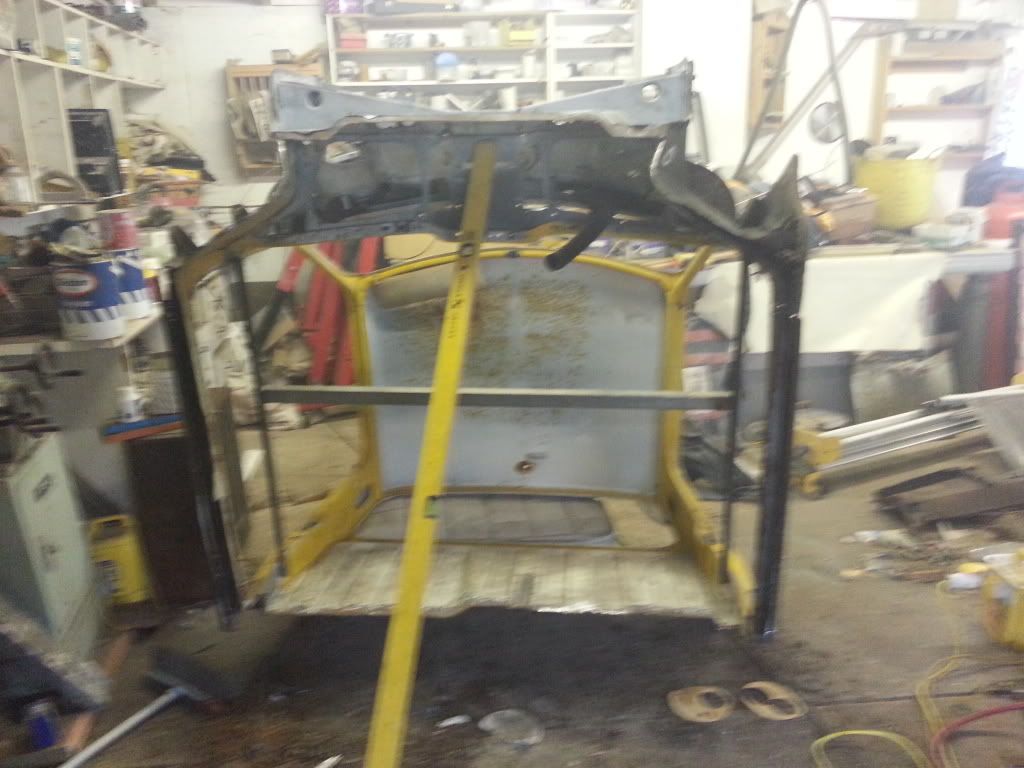
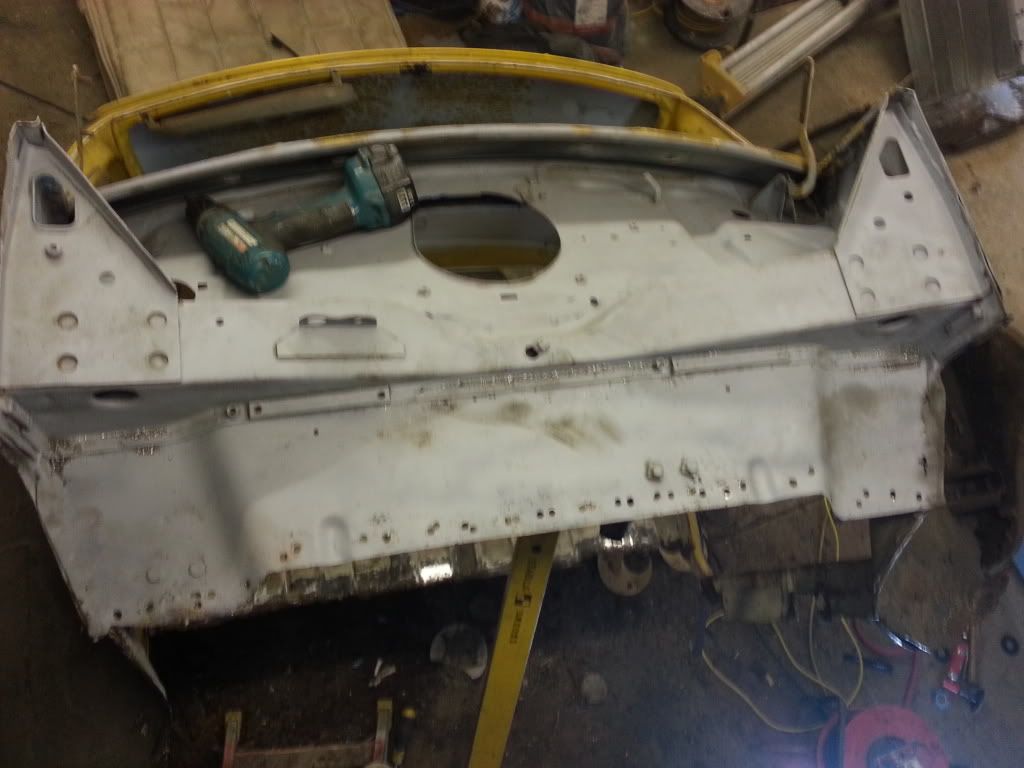
now the rear load bed was welded to the front floor it was time to move it down
the other end of the workshop.
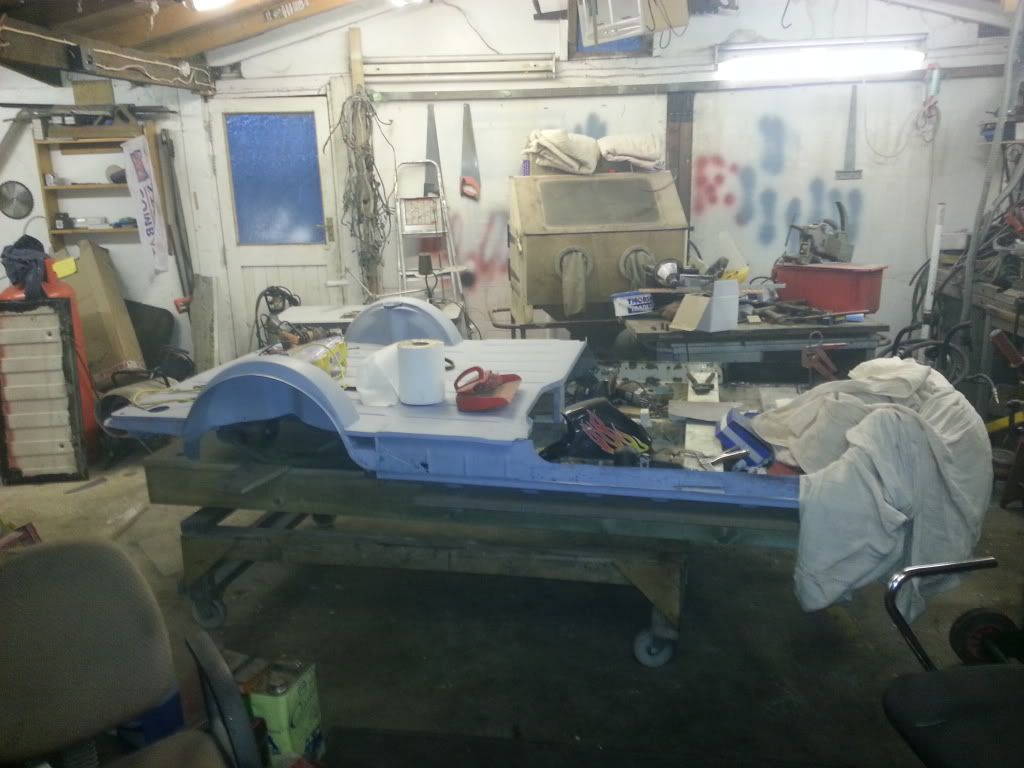
and get the remains of the pickup back out to cut the front floor out!
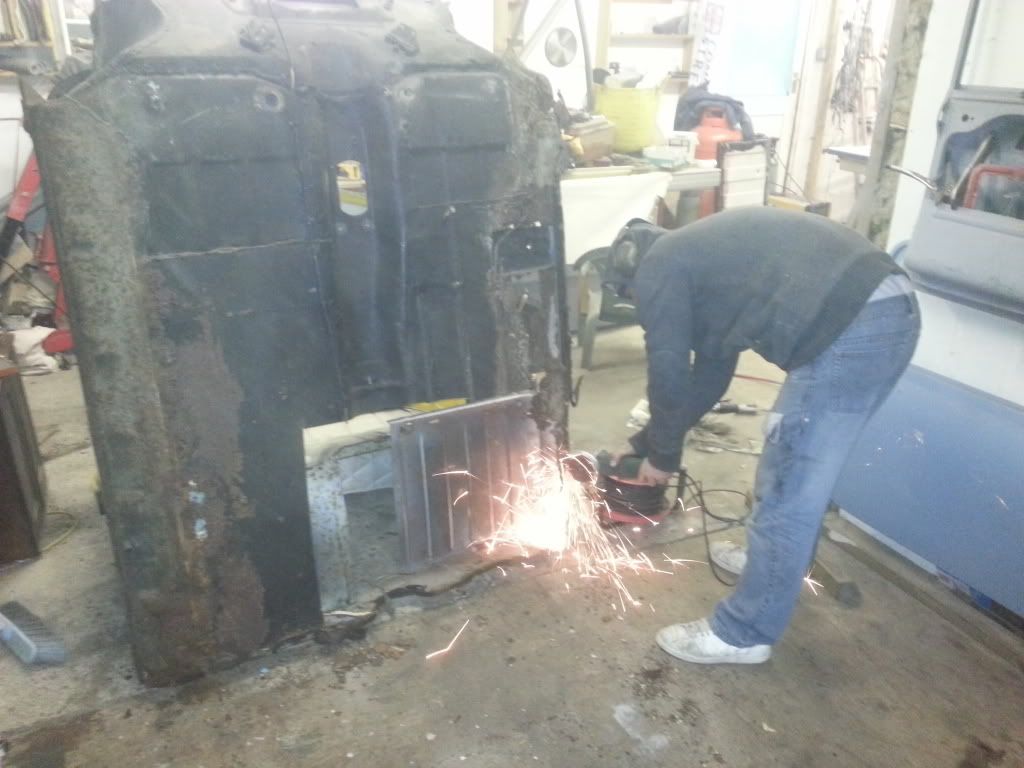
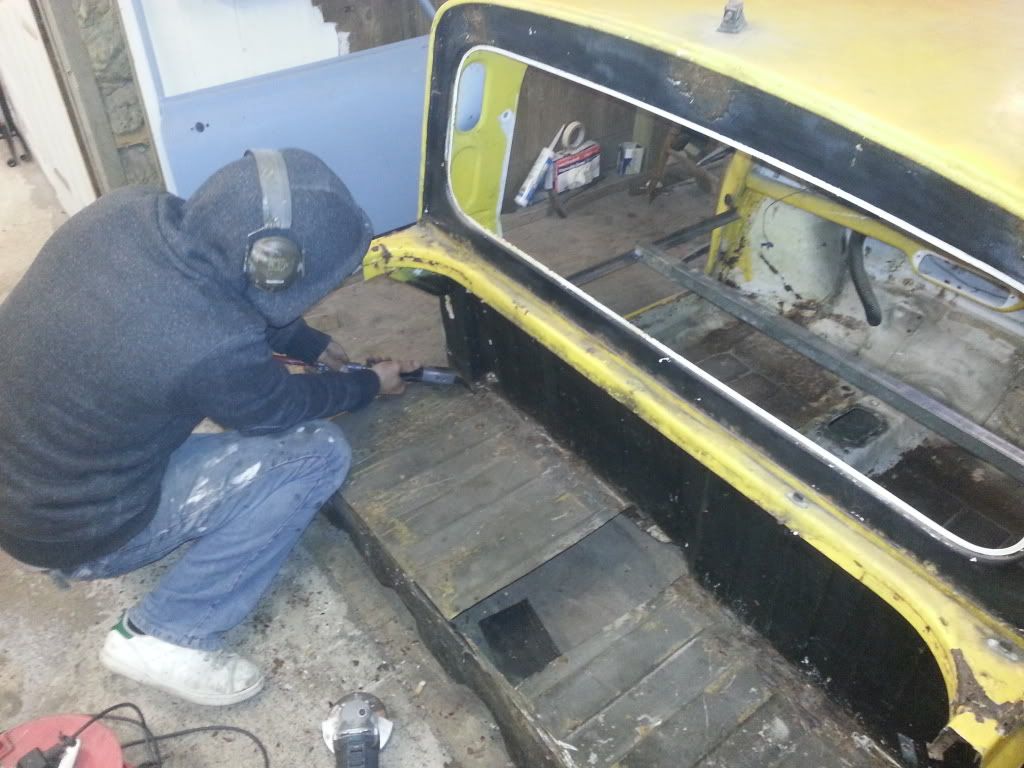
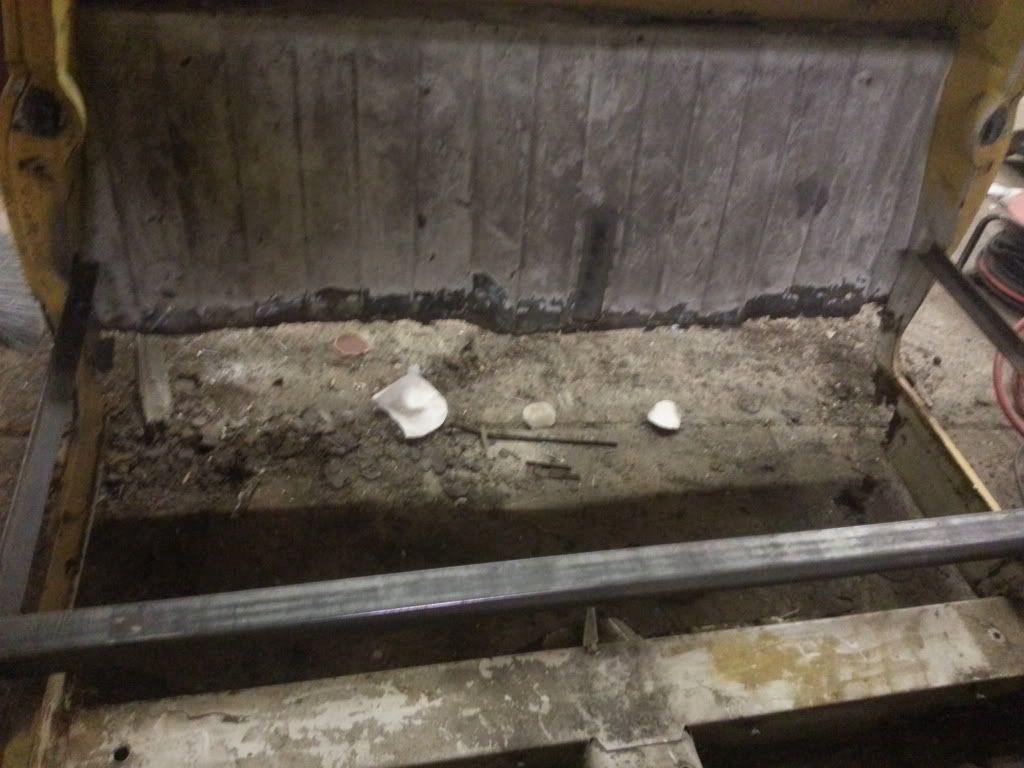
all cut out!
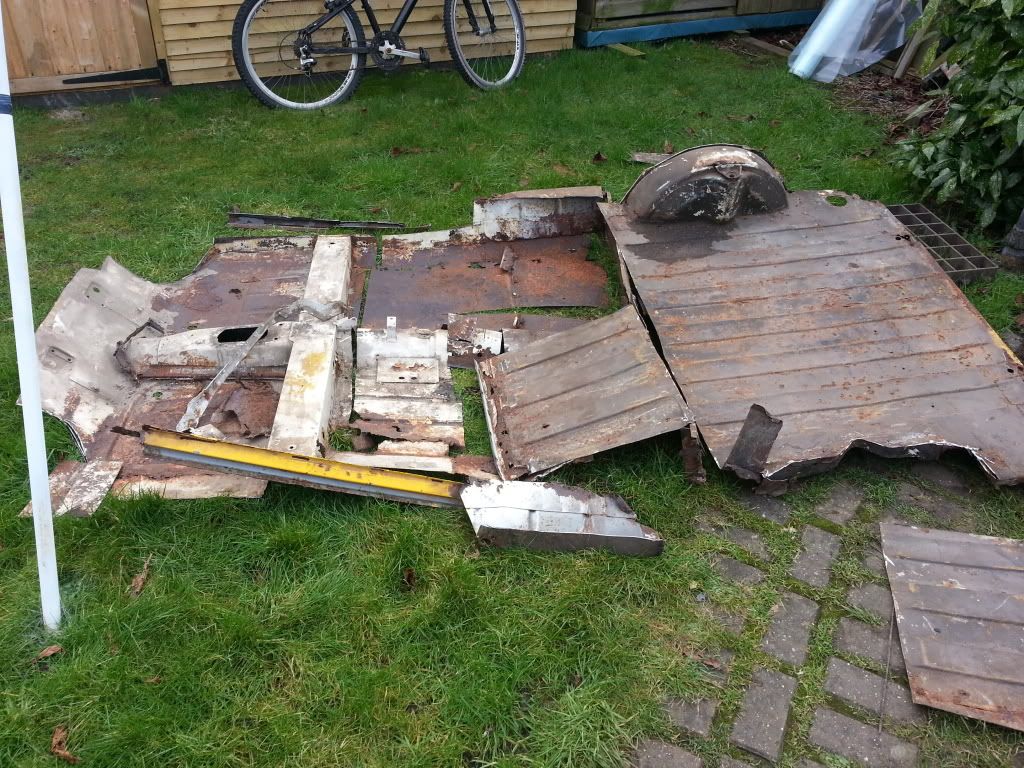
And drilling out the spotwelds to get the remains of the heelboard off the bulkhead.
heres what has been cut out so far!
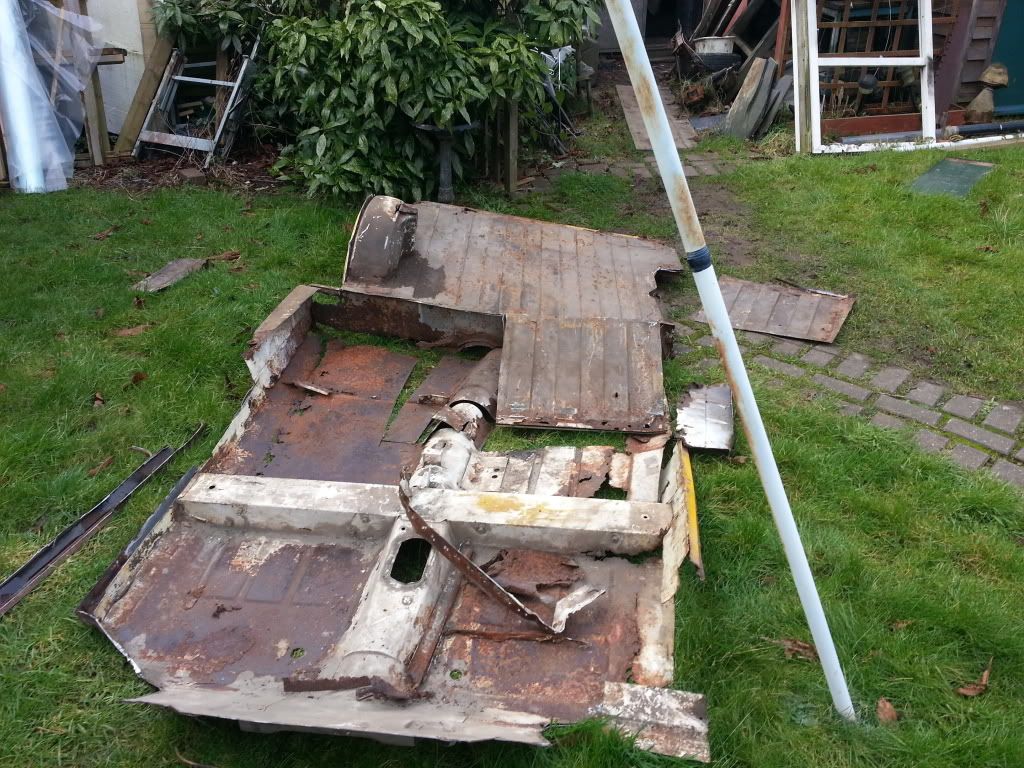
and finally its a pickup again! (sort of!!!)
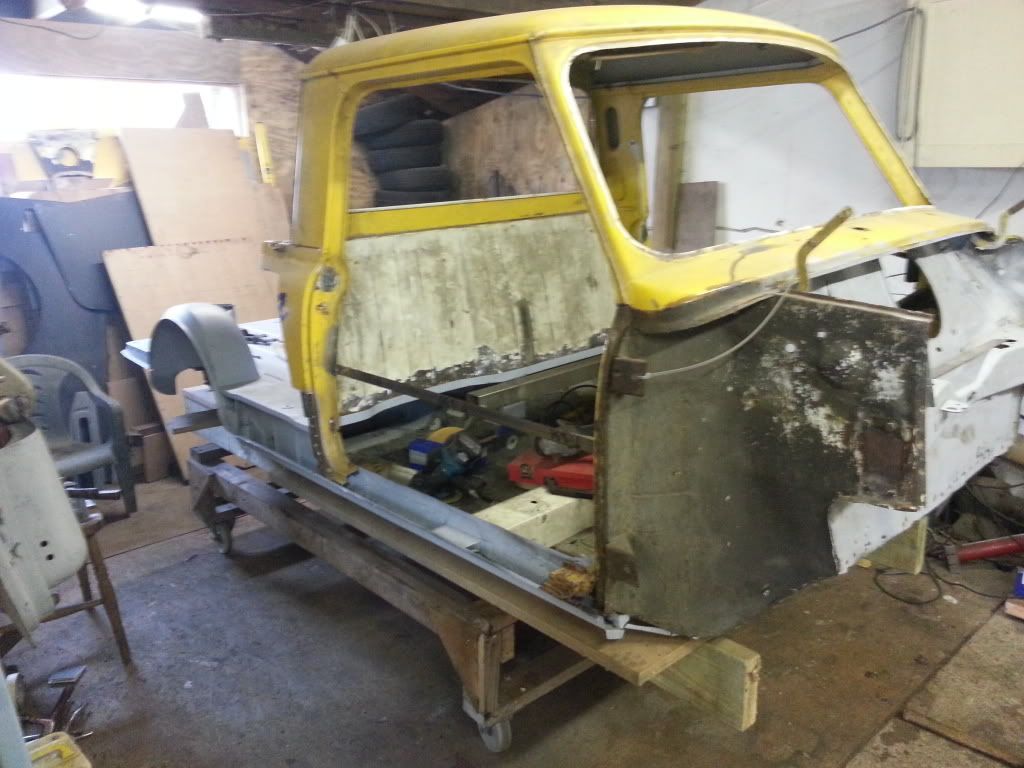
thats all for now more soon!
now the rear load bed was welded to the front floor it was time to move it down
the other end of the workshop.
and get the remains of the pickup back out to cut the front floor out!
all cut out!
And drilling out the spotwelds to get the remains of the heelboard off the bulkhead.
heres what has been cut out so far!
and finally its a pickup again! (sort of!!!)
thats all for now more soon!
Edited by pickupmad87, 08 May 2020 - 06:54 PM.
#87
andybnova
-

- Noobies
-
- 10 posts
Learner Driver
Posted 17 February 2013 - 09:38 PM
Great work!! Really coming on we'll.
Edited by andybnova, 17 February 2013 - 09:38 PM.
#88
DugganC17
-
- Members
-
- 359 posts
Speeding Along Now
Posted 17 February 2013 - 10:33 PM
great work as allways and looks to be the process i will needd to do as need to replace both loadbed and whole floor panmso watching very closely
Dan
Dan
#89
mercenary62
-
- Members
-
- 359 posts
Speeding Along Now
- Location: some where in the 70s
- Local Club: mini clan
Posted 20 February 2013 - 08:26 PM
excellent mate a real inspiration top work
#90
pickupmad87
-
- Members
-
- 273 posts
Previously adampadmore
- Location: woking
Posted 20 February 2013 - 08:29 PM
picked these up yesterday from minispeed, very helpfull good service and
very reasonable price. just waiting for a couple more parts to come in next
week as they only had some in stock, then we canstart the slow process of
trial fitting and fettling everything to fit!!
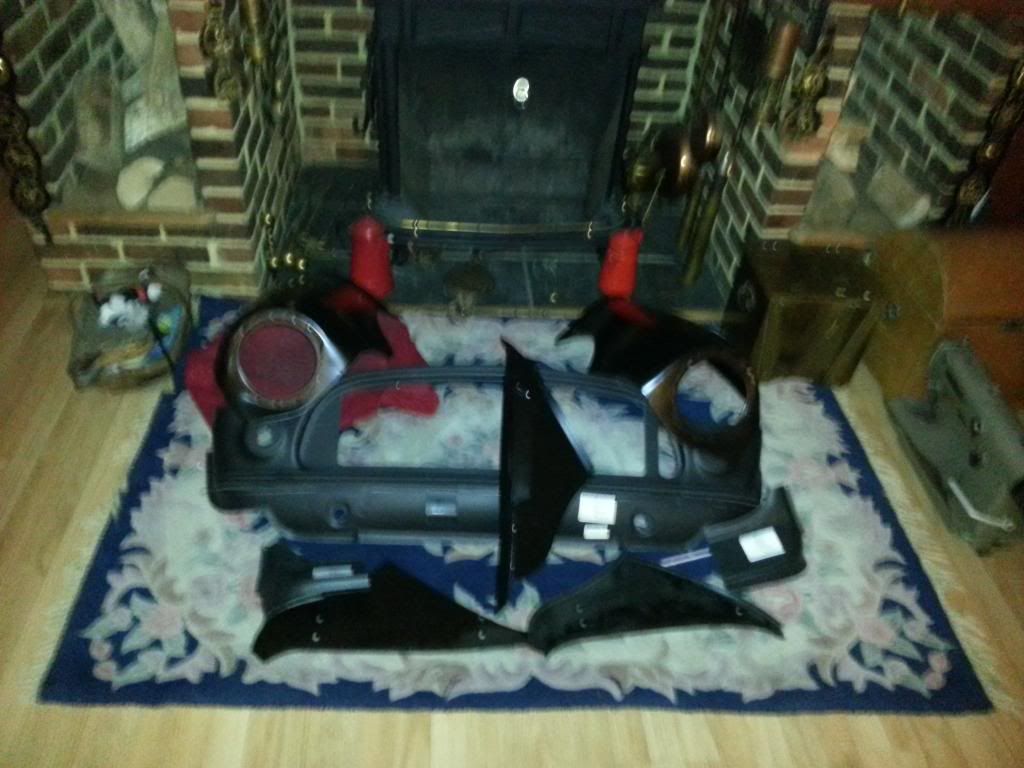
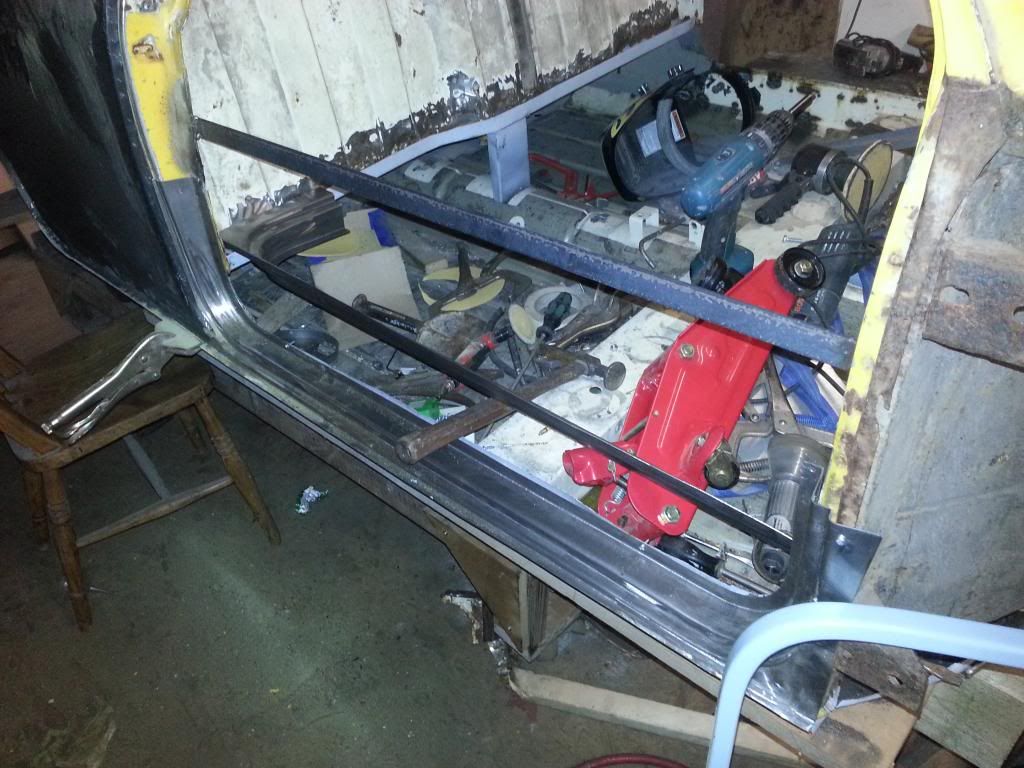
also ordered some doorstep repairs and they came today. so we started picking off the old wing from
the door shuts and trial fitted the panel, not too bad for first time fit.
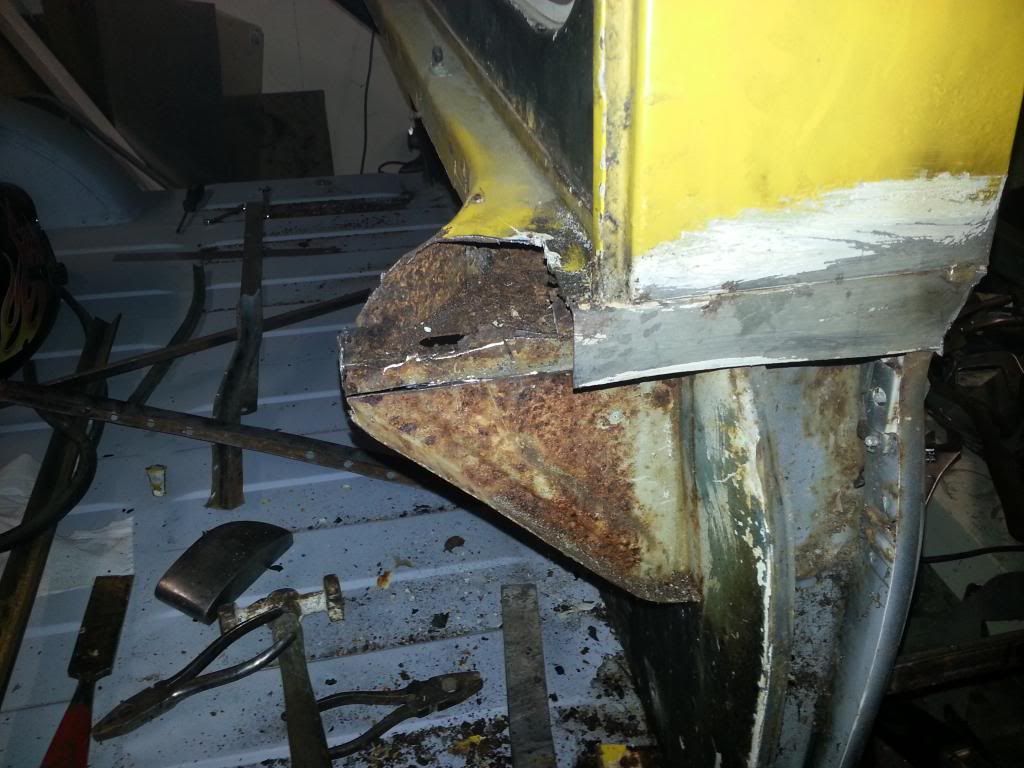
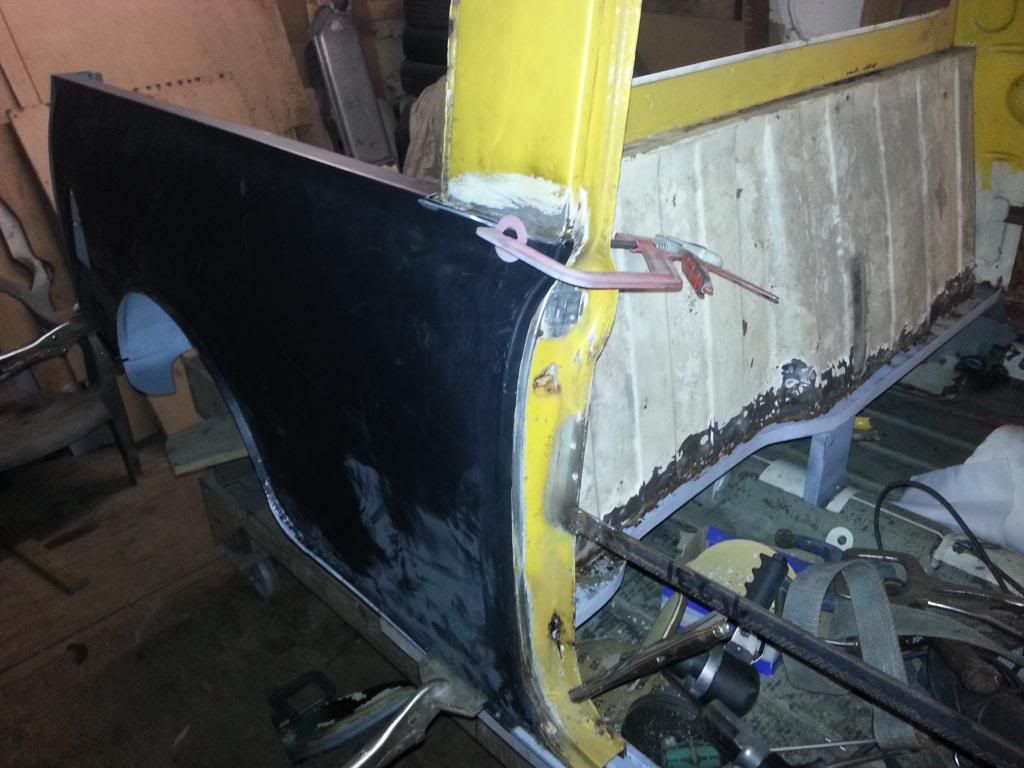
we also quickly fitted the doorstep repair.
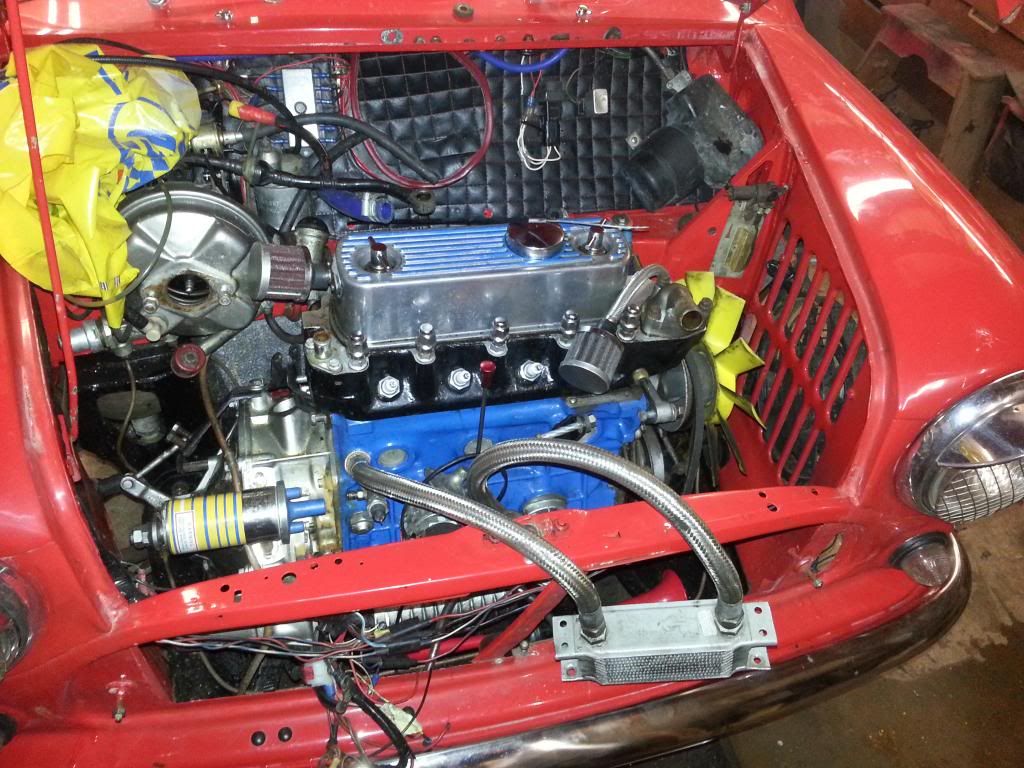
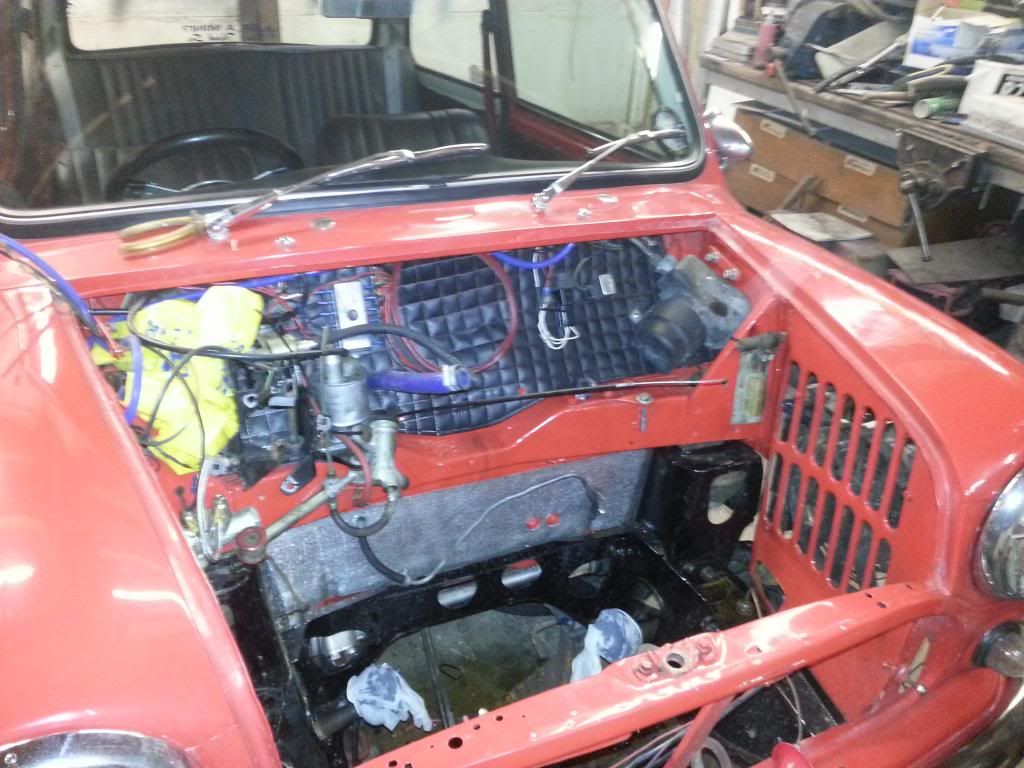
whilst im waiting for the other panels to turn up i have brought my roundnose back in because
it keeps poping out of second gear so i have decided to swap the gear box ready for a club rolling road sess
at the beginning of march. heres a pic of the sump plug when i took it out.
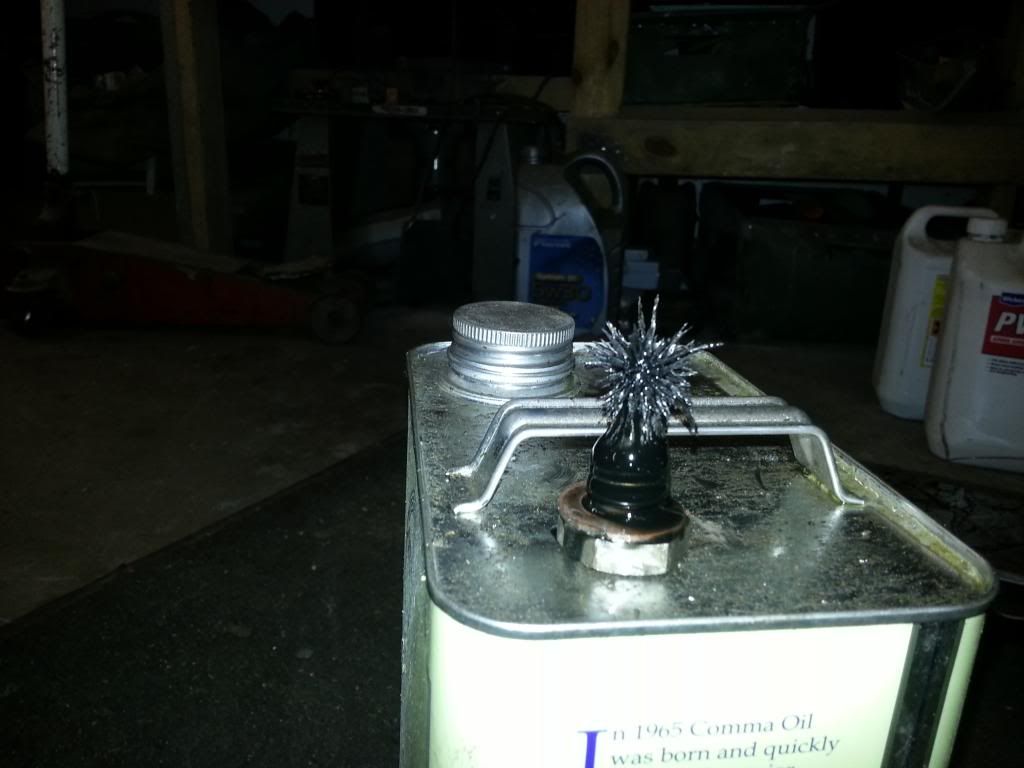
not looking too good!!
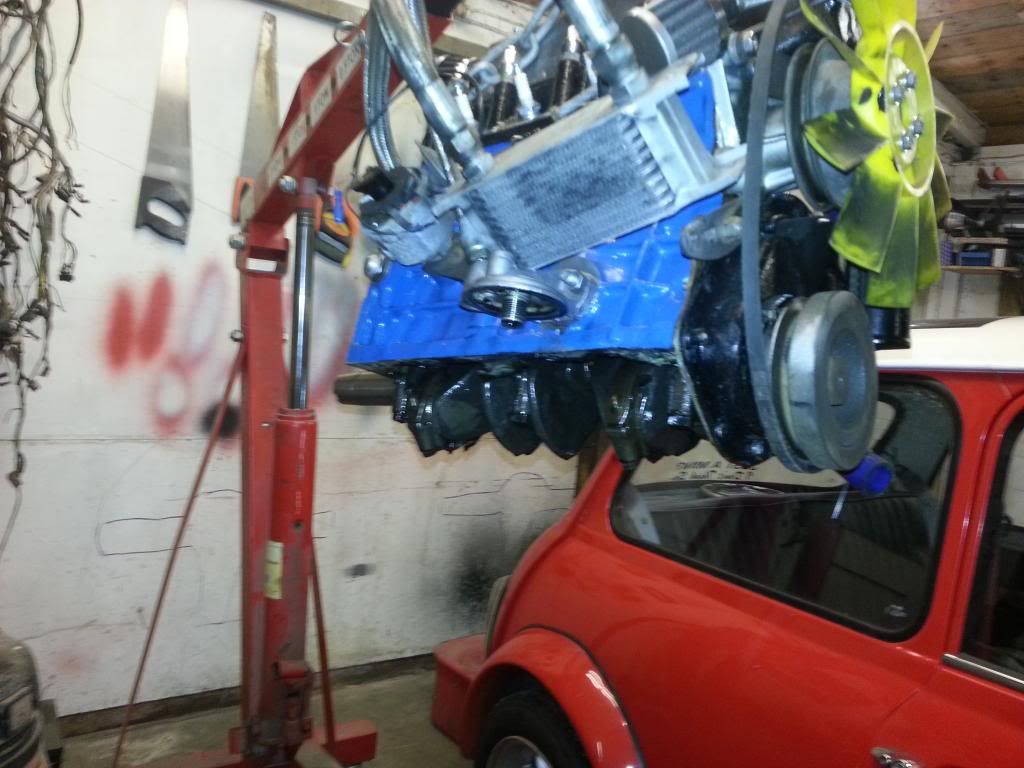
so we prepared the engine for removal
lifted the engine out
removed the bell housing and the clutch and undone all the bolts holding the gearbox to the block
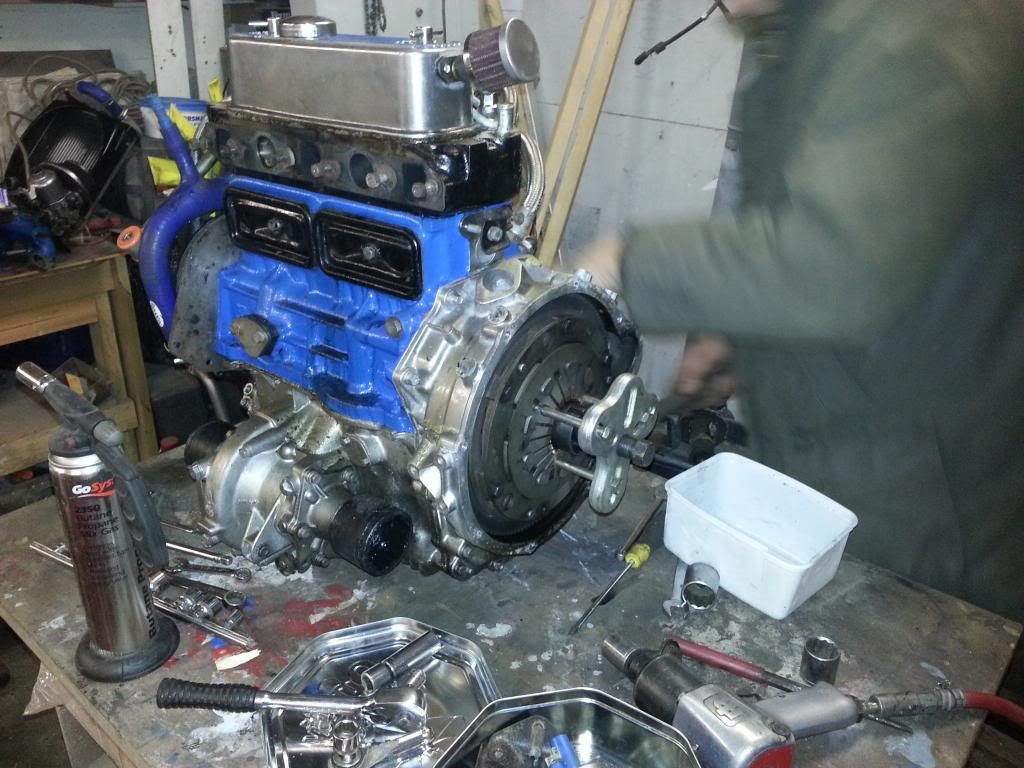
and then lifted the block from the gear box.
with the gearbox removed we inspected the gears expexting to find chunks out of the teeth but cant
seem to find any damage on the gears themselves. a bit of further investigation found a lot of play
in the small cogs inside the diff. we are hoping this is the problem and if it is we will stick that
gear box back on the block. my dad is going to take the box and the diff to minispeed tomorrow to get
it inspected.
more tomorrow.
very reasonable price. just waiting for a couple more parts to come in next
week as they only had some in stock, then we canstart the slow process of
trial fitting and fettling everything to fit!!
also ordered some doorstep repairs and they came today. so we started picking off the old wing from
the door shuts and trial fitted the panel, not too bad for first time fit.
we also quickly fitted the doorstep repair.
whilst im waiting for the other panels to turn up i have brought my roundnose back in because
it keeps poping out of second gear so i have decided to swap the gear box ready for a club rolling road sess
at the beginning of march. heres a pic of the sump plug when i took it out.
not looking too good!!
so we prepared the engine for removal
lifted the engine out
removed the bell housing and the clutch and undone all the bolts holding the gearbox to the block
and then lifted the block from the gear box.
with the gearbox removed we inspected the gears expexting to find chunks out of the teeth but cant
seem to find any damage on the gears themselves. a bit of further investigation found a lot of play
in the small cogs inside the diff. we are hoping this is the problem and if it is we will stick that
gear box back on the block. my dad is going to take the box and the diff to minispeed tomorrow to get
it inspected.
more tomorrow.


0 user(s) are reading this topic
0 members, 0 guests, 0 anonymous users


