i havent been on for a few days to update due to being cream crackered!
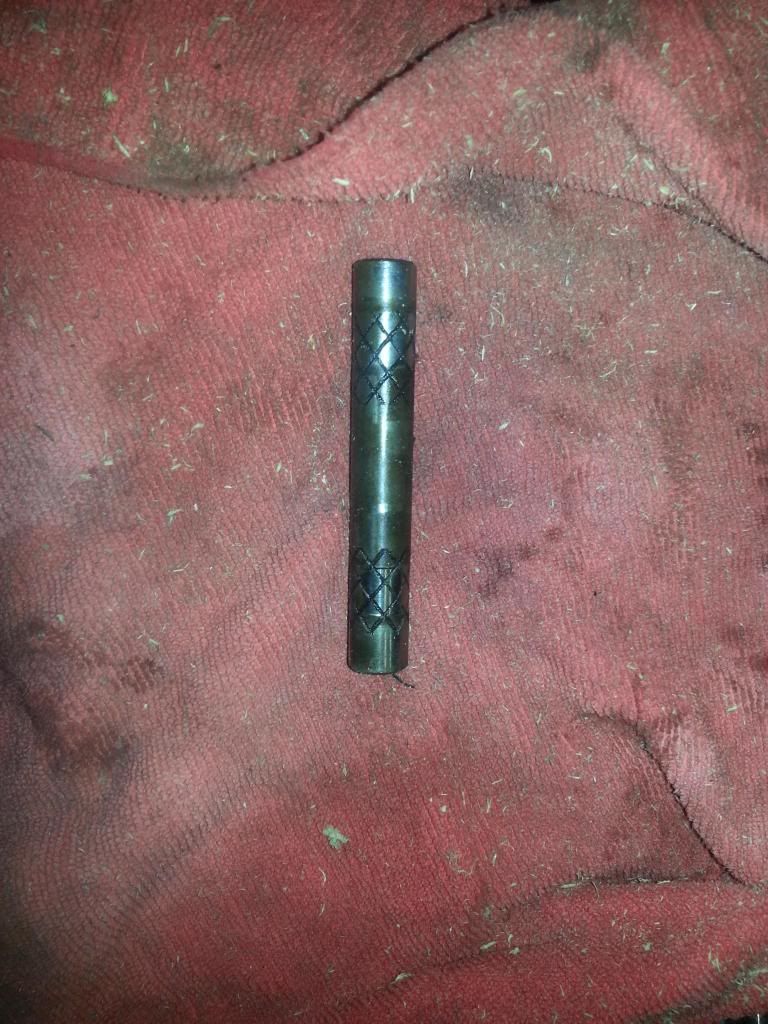
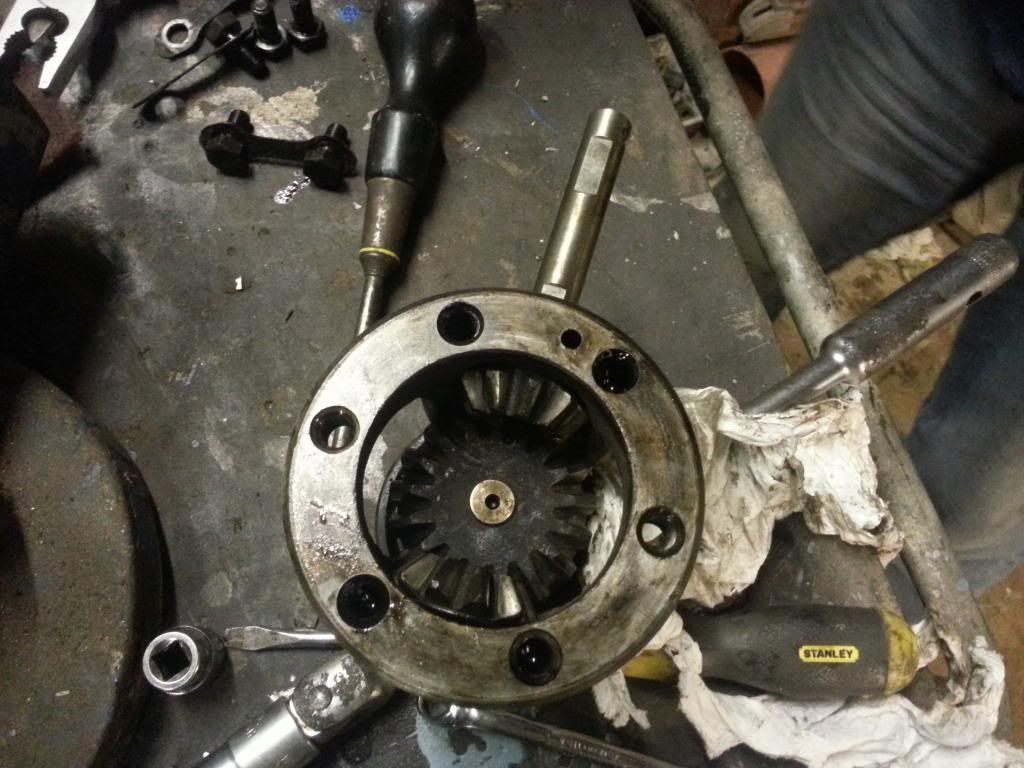
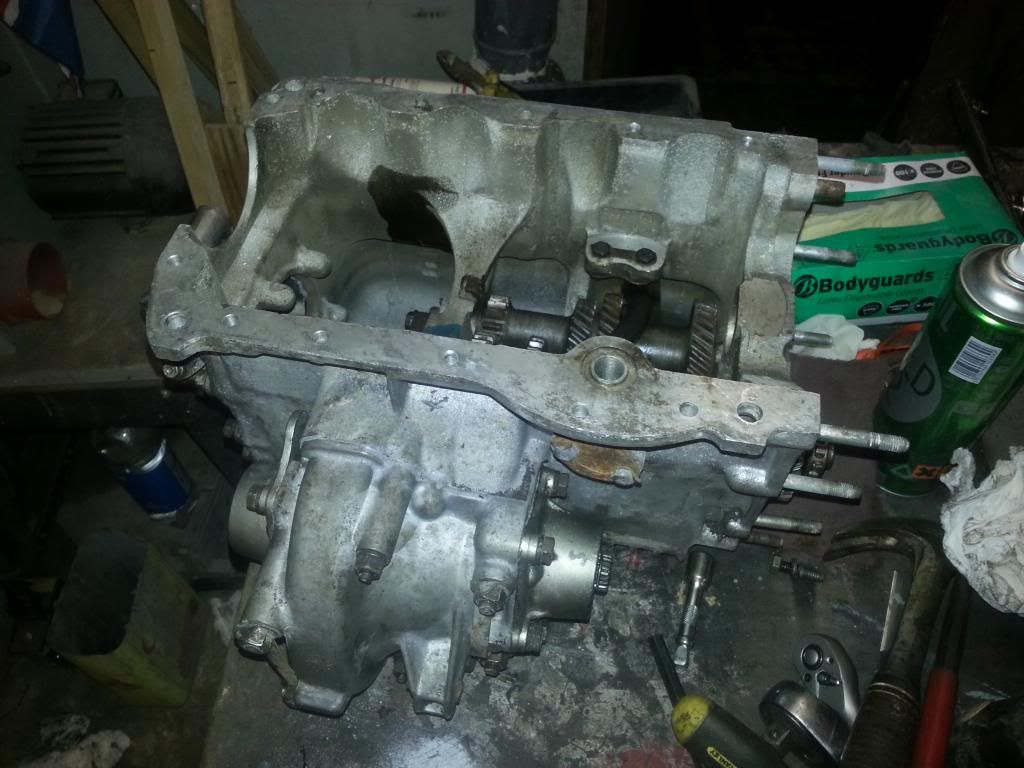
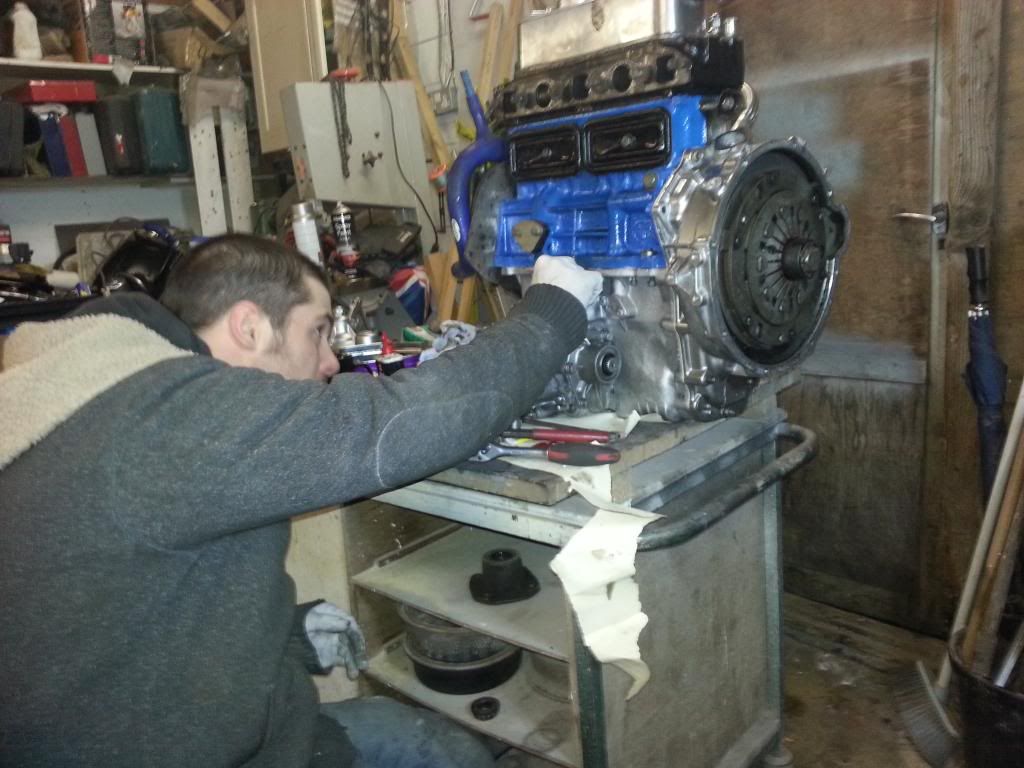
so with the gearbox and bell housing painted we started to put the engine
back together. started off buy putting the gasket and rubber o ring on the
gearbox with some gasket sealant.
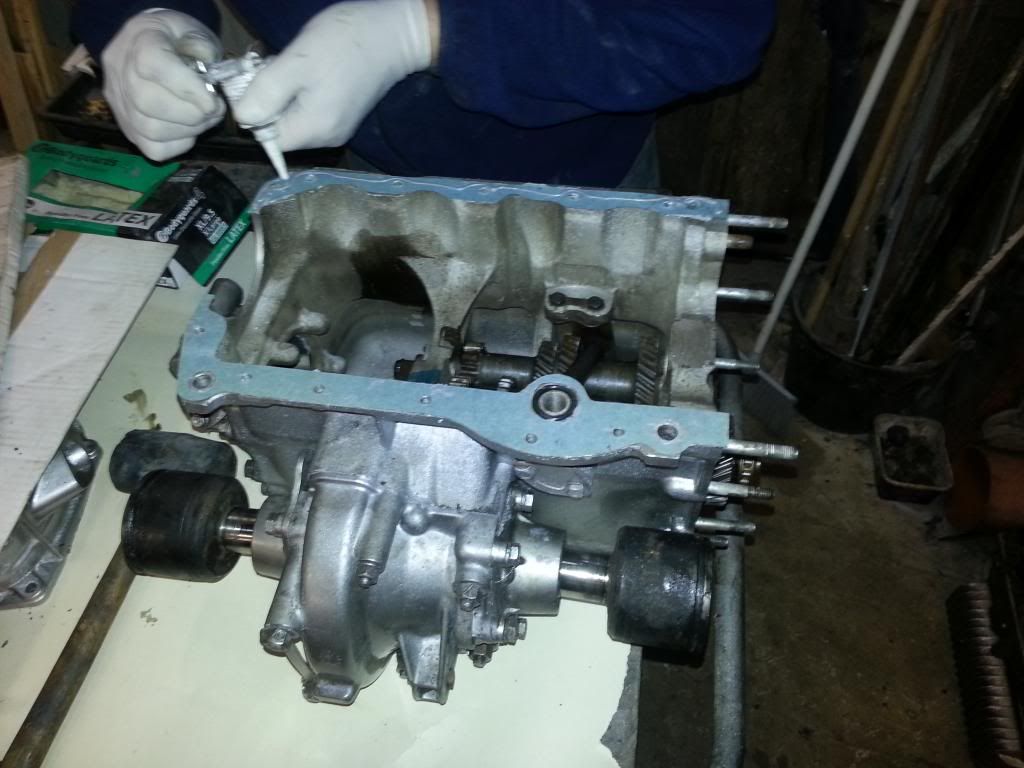
after that put the block back on the gearbox and started to bolt it back together.
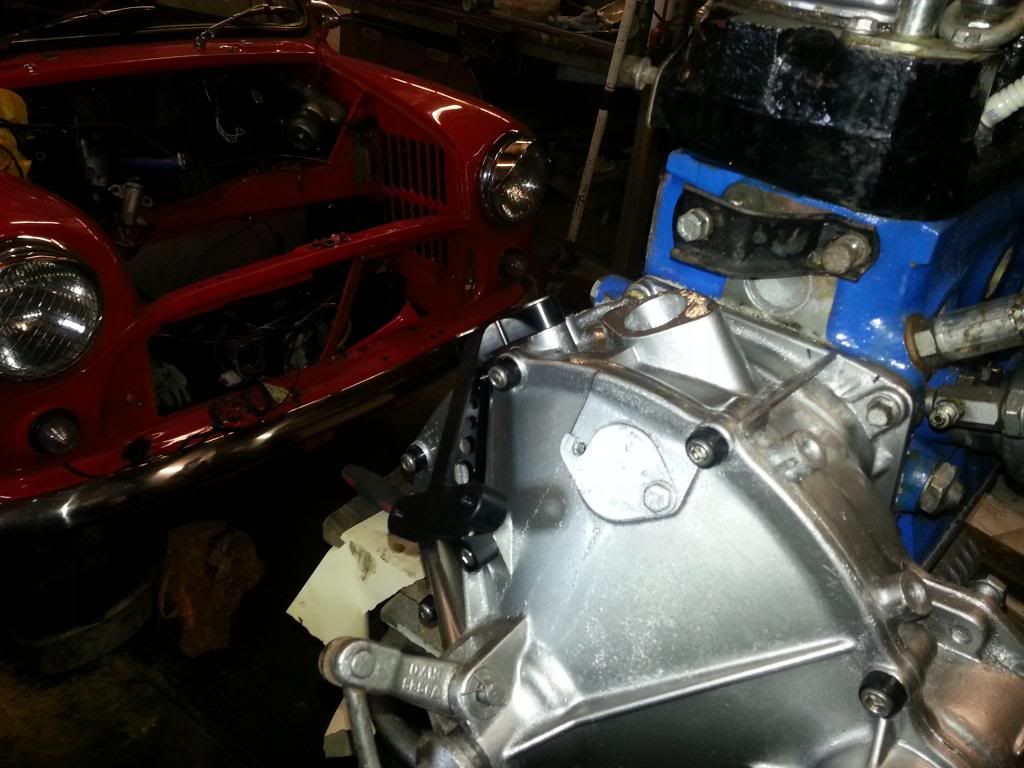
heres it all back together with some trick dsn classics clobber!(couldnt resist!)
put the engine back in on saturday once i had got back from work.
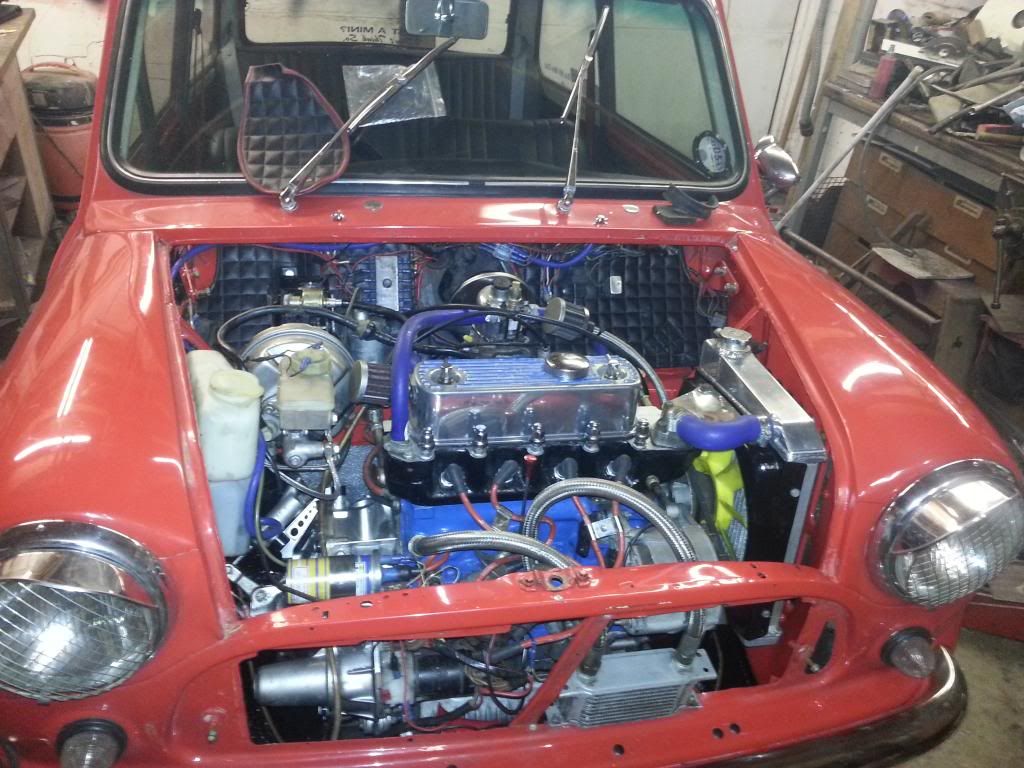
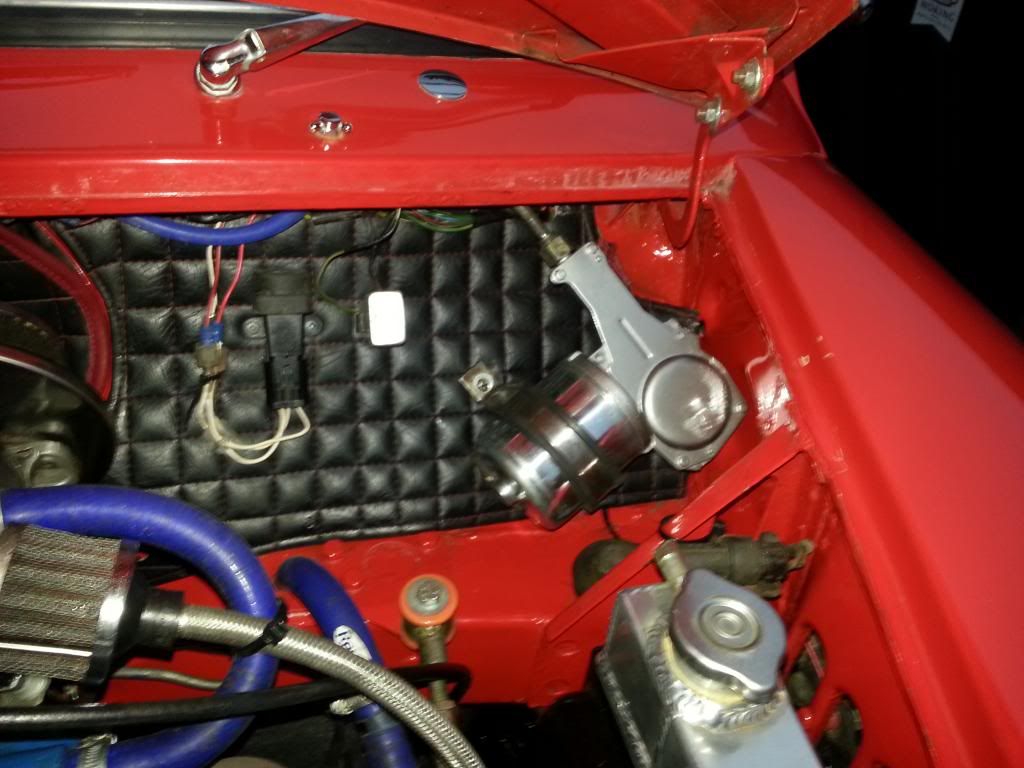
whilst i had the engine out i cleaned up the engine bay and refurbed the wiper motor
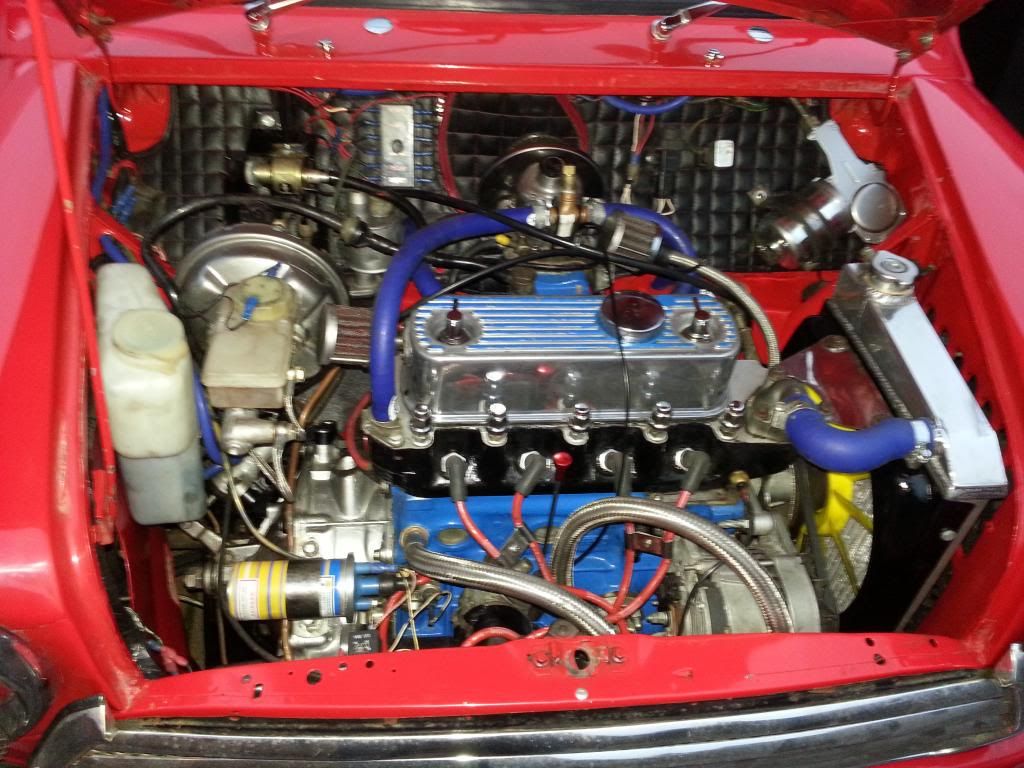
i then test drove it up the m25 on sunday and all went well!YAY!
so with that done now i can get back on topic with the pickup.
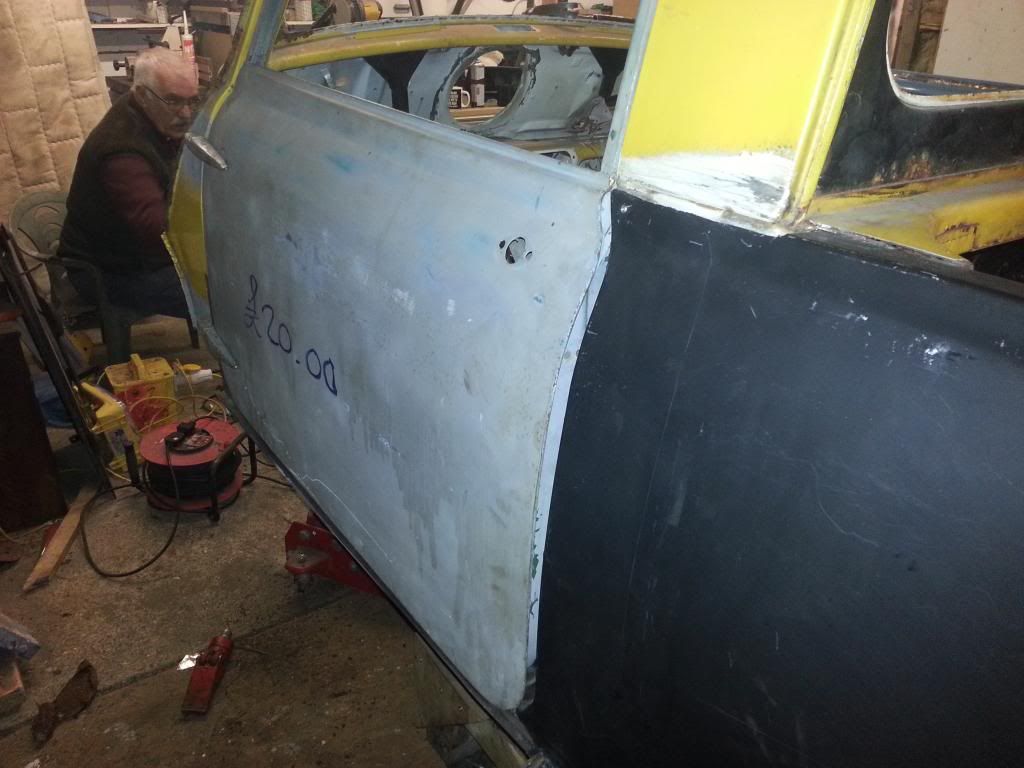
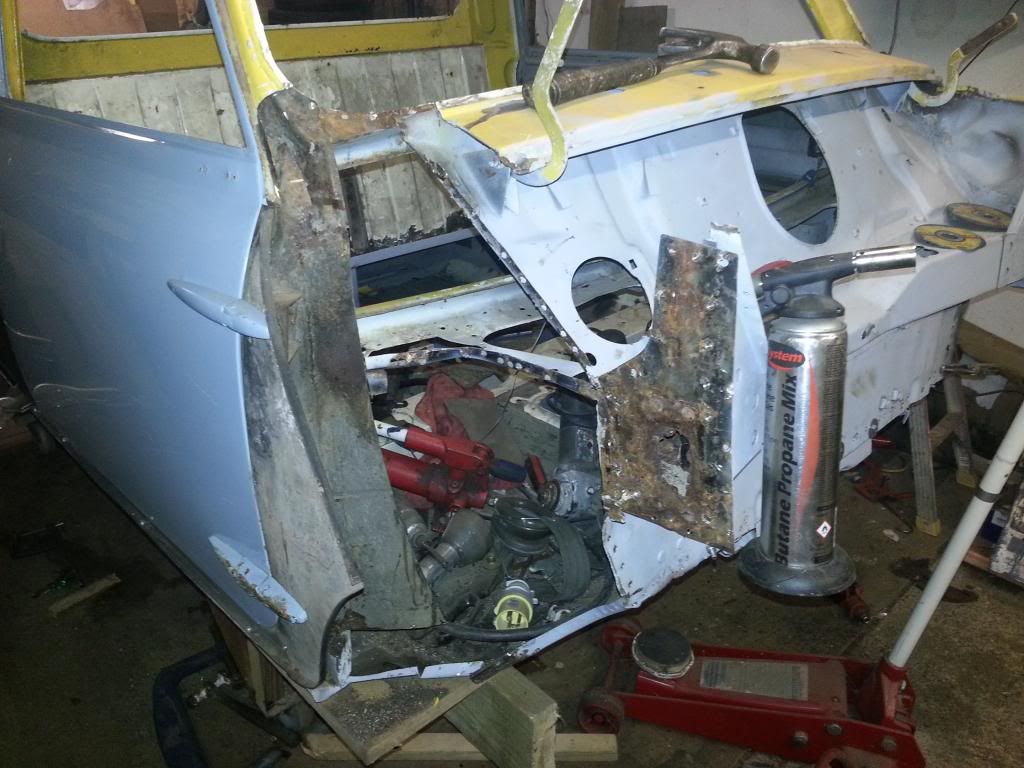
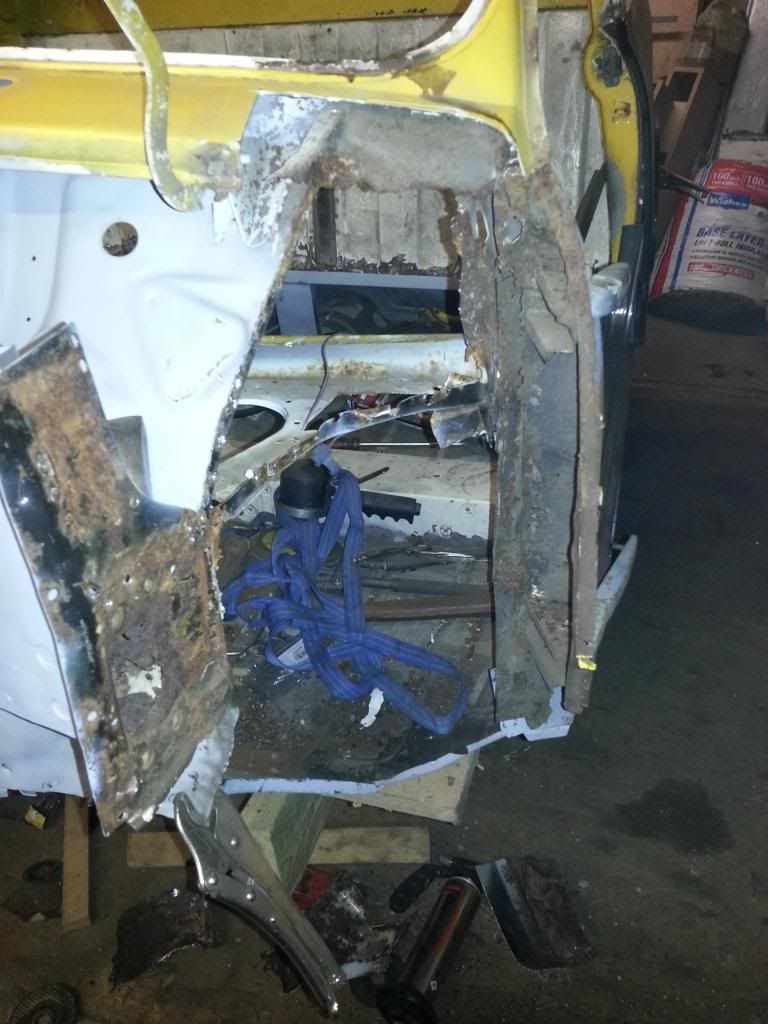
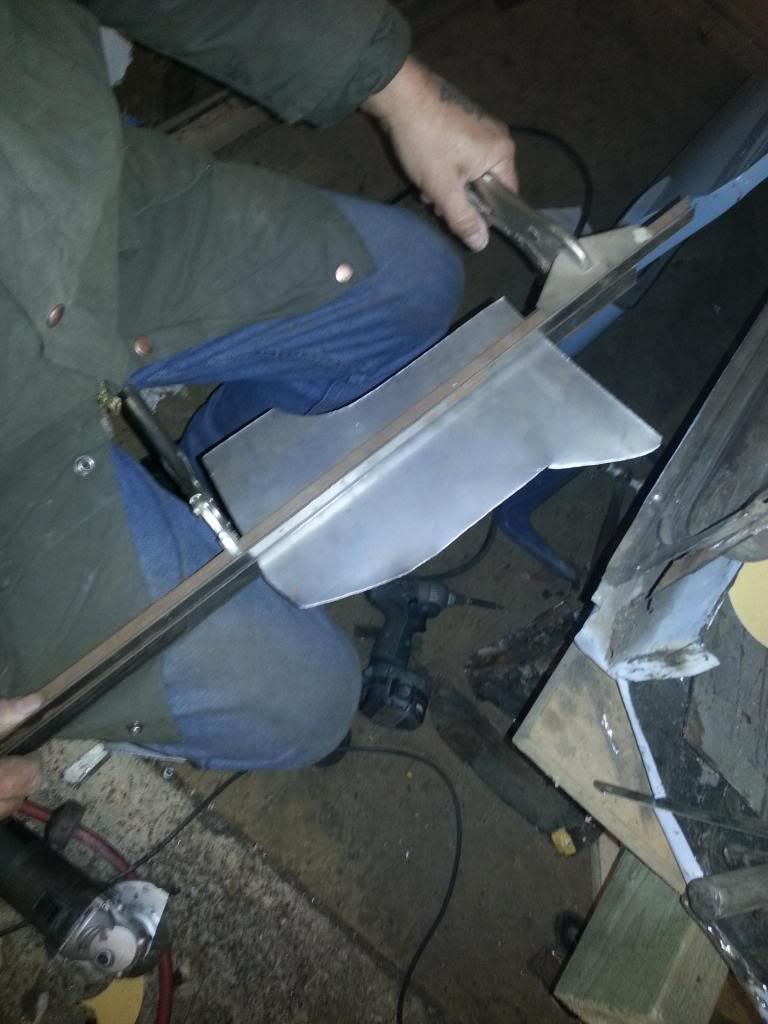
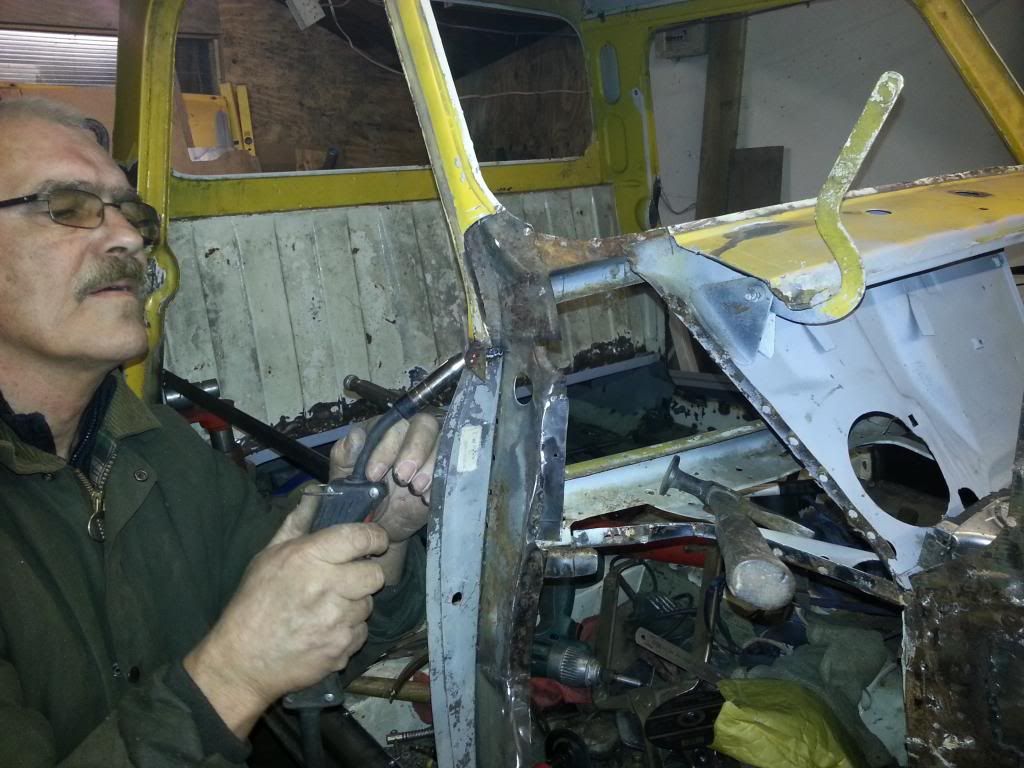
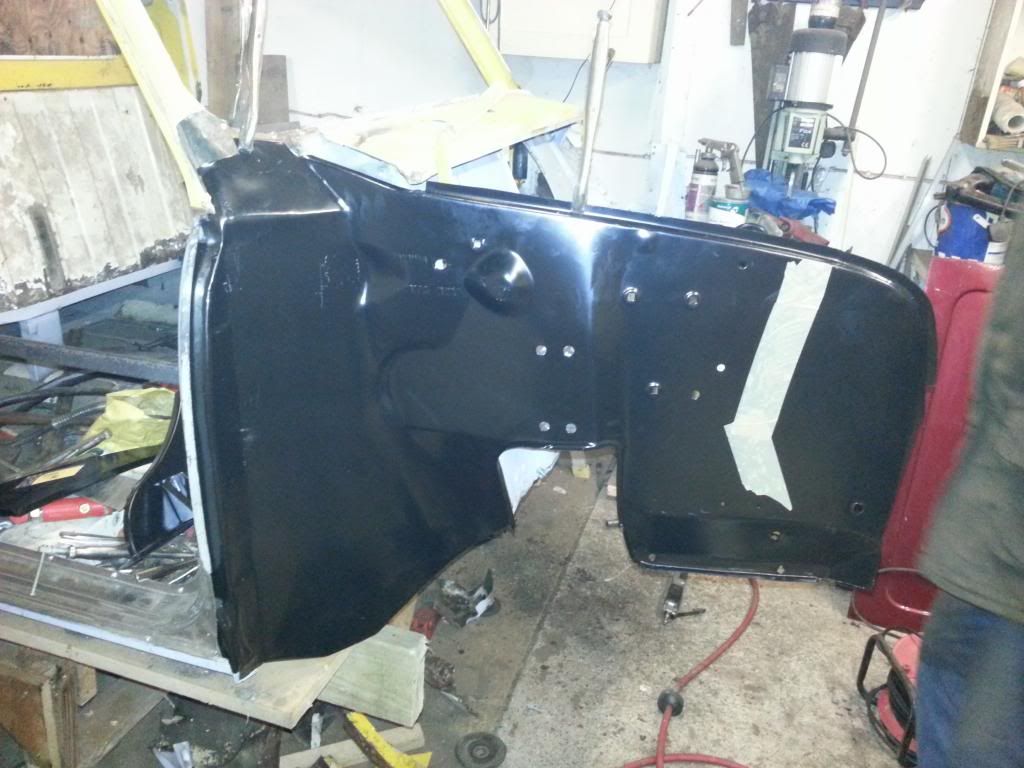
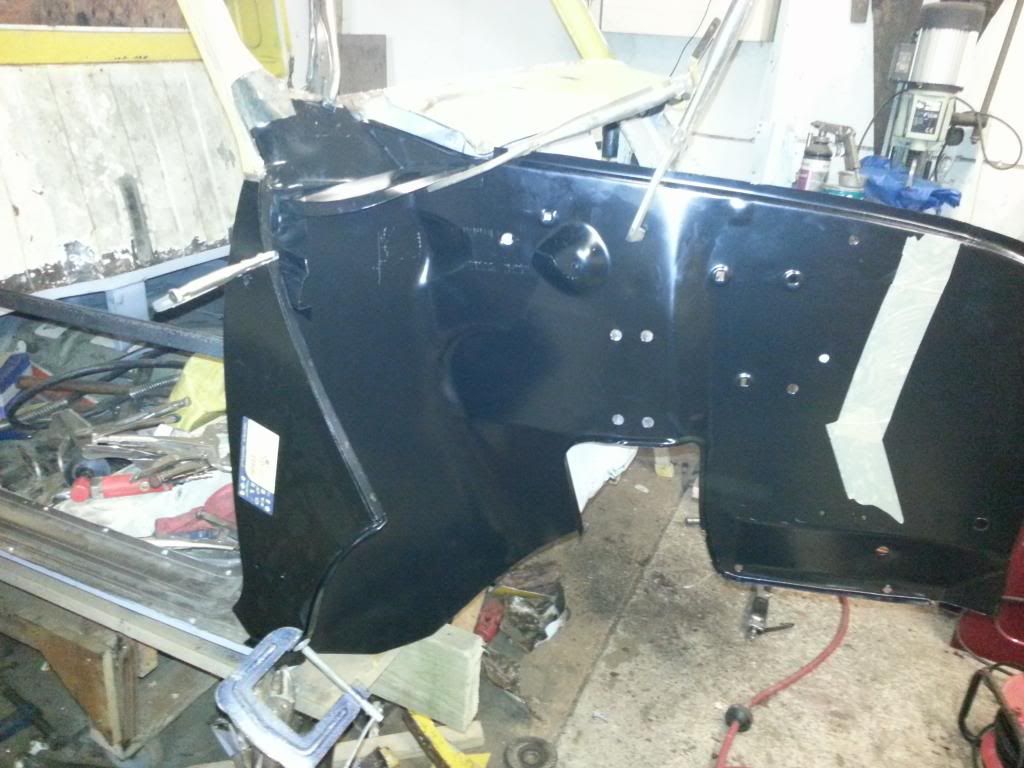
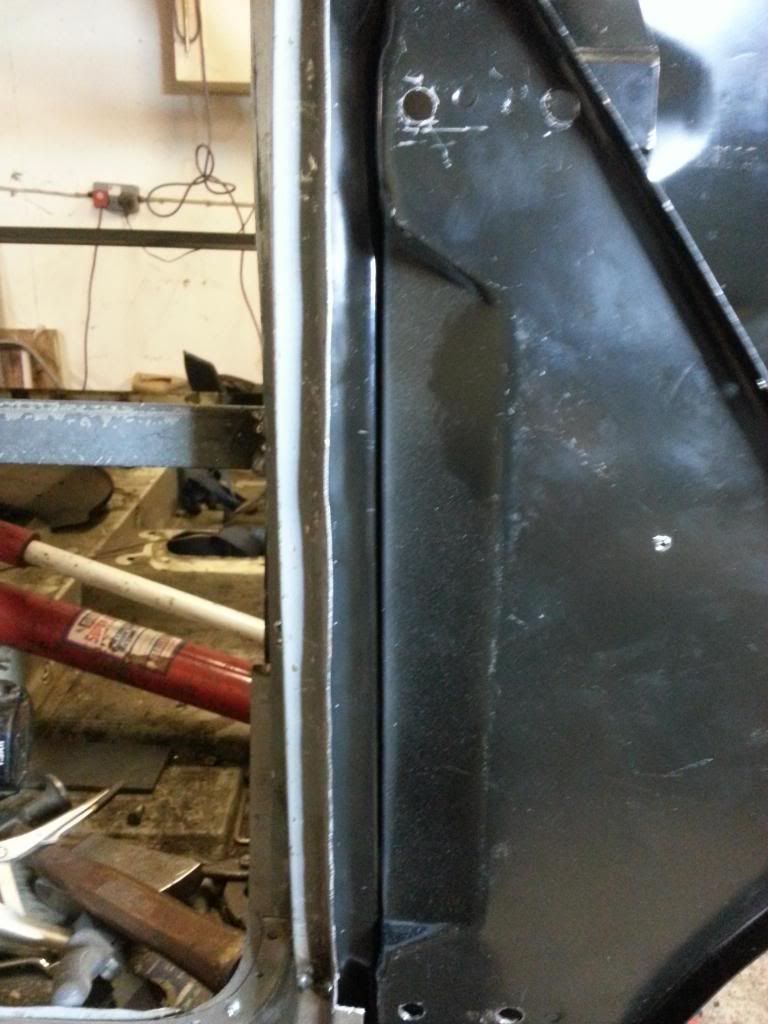
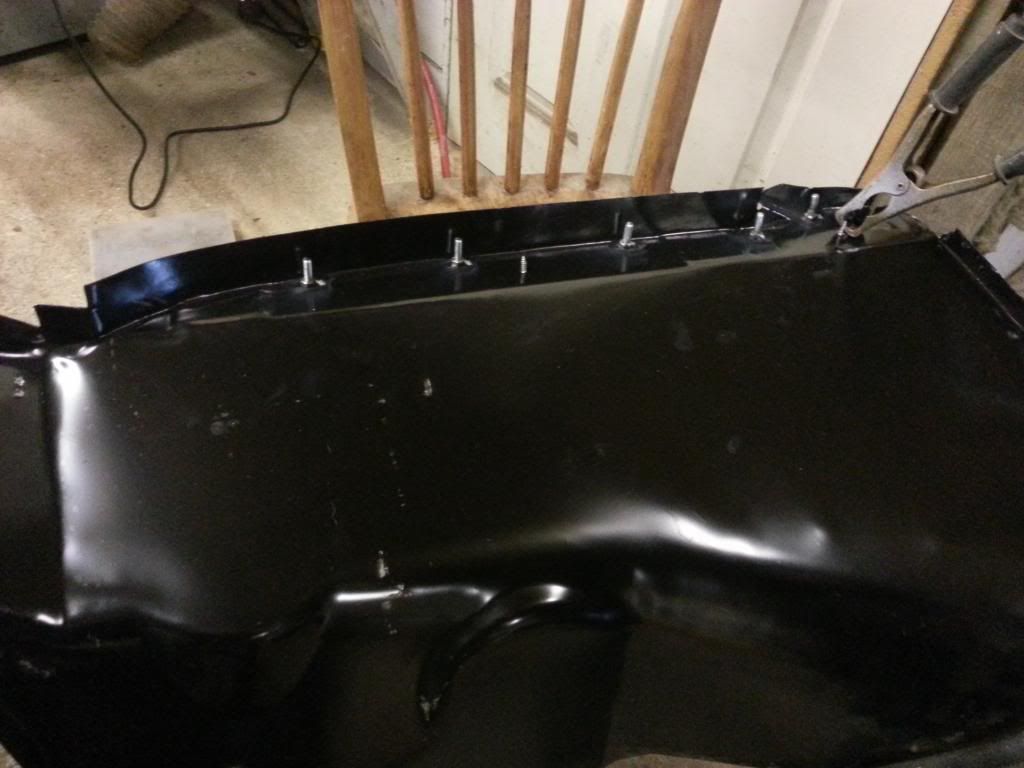
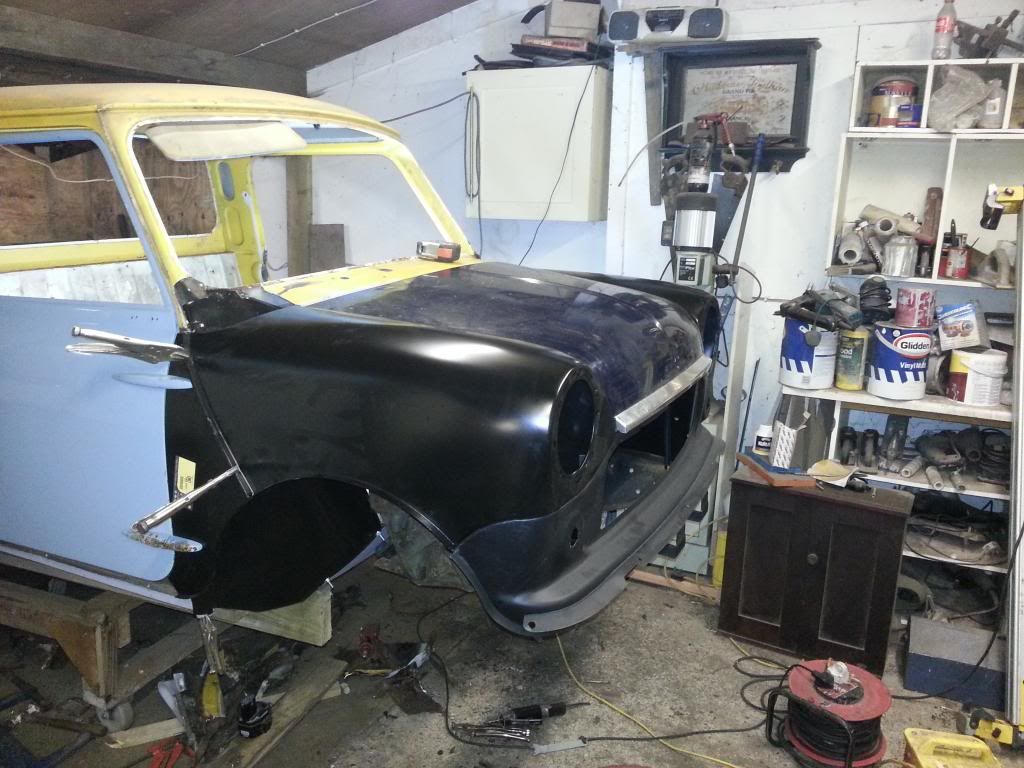
whilst i was at work today my dad set upon seting the door and replacing the doorstep.
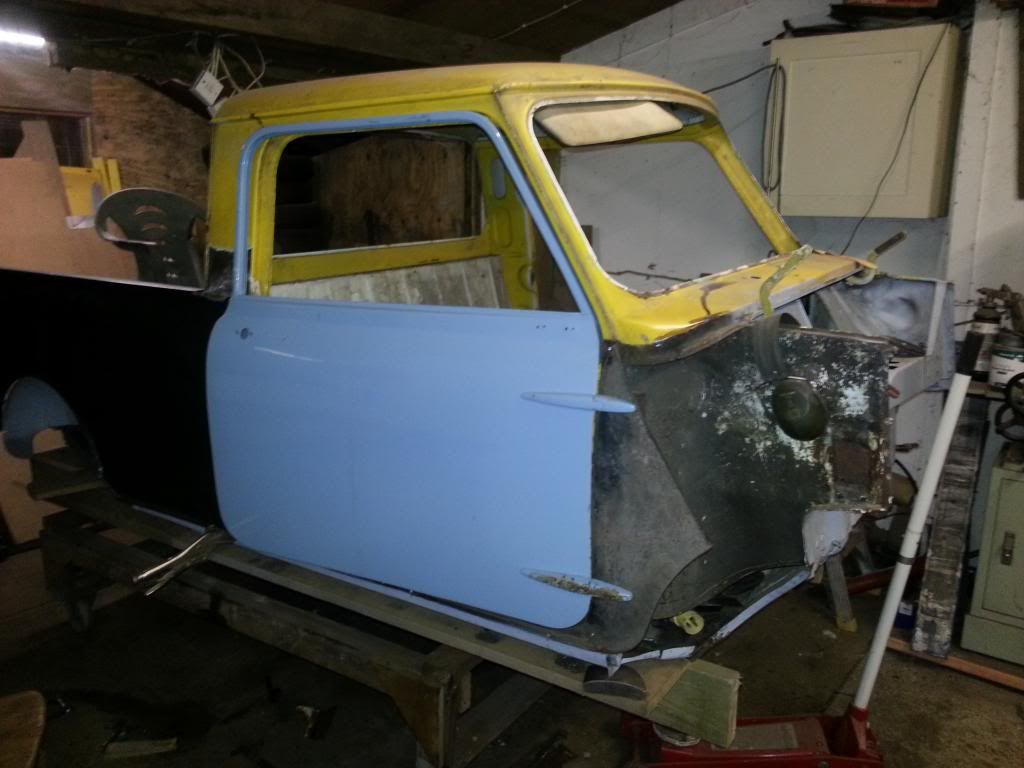
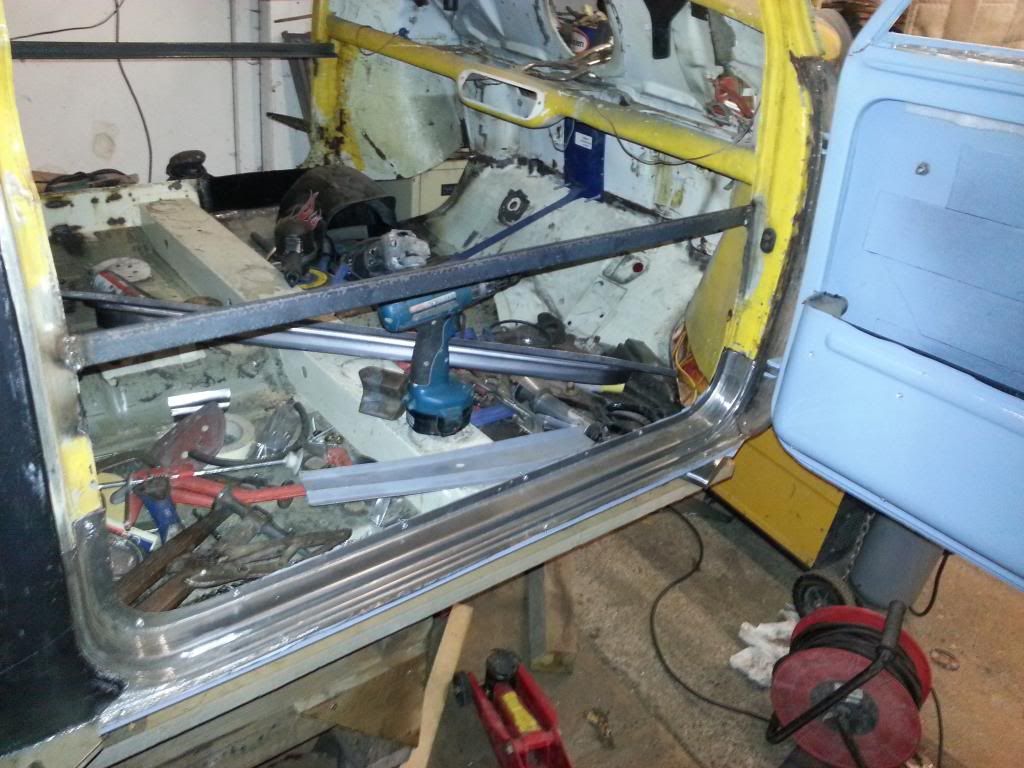
for a first time cut and fit it isnt too far off.
we arent welding anything in place yet untill we have the rest of the panels to set up with
thats it for now!