What a cracking job, this has come along well :)


'92 City E - Mk1 Fraudster - Attempt To Shine (16/05/16)
Started by
The Otter
, Mar 08 2012 05:38 PM
297 replies to this topic
#286
: post #286")
minimissions
-

- Members
-

- 3,427 posts
Up Into Fourth
- Location: North West
- Local Club: M.M.O.C
Posted 19 April 2016 - 01:27 PM
#287
The Otter
-
- Members
-
- 620 posts
The artist formally known as j322overthetop
- Location: Midlands
Posted 08 May 2016 - 01:31 PM
Fantastic project!! My 3G is trashed too! Haha!
Love the random green paint!
What a cracking job, this has come along well :)
Thanks so much guys, glad you're enjoying the thread. 
Well now, it's been quite a while since we've had an update hasn't it... fear not, I haven't been ignoring the Mini, far from it in fact. Back in January I decided to give myself a deadline and went ahead and bought one of these...
 2016-05-07_02-21-46 by Sven Cumner, on Flickr
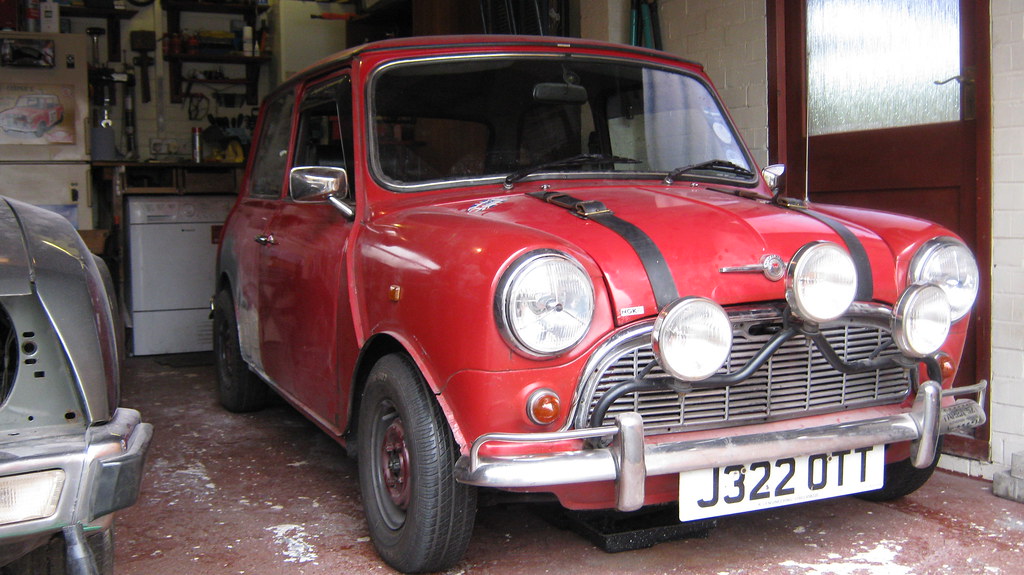
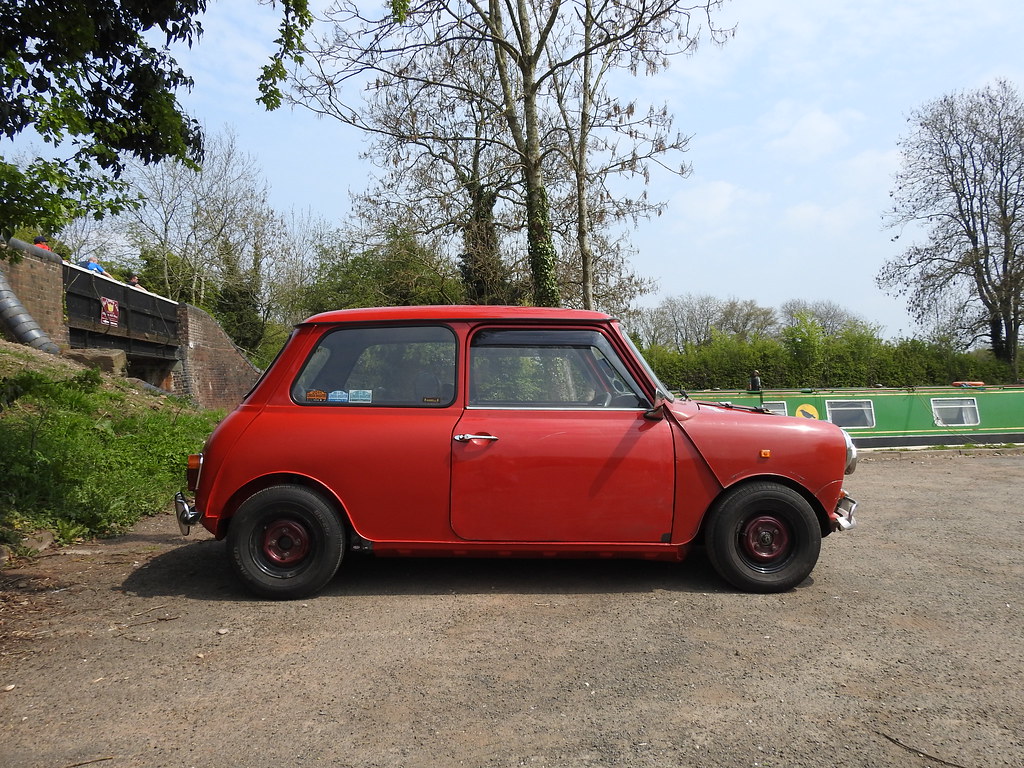
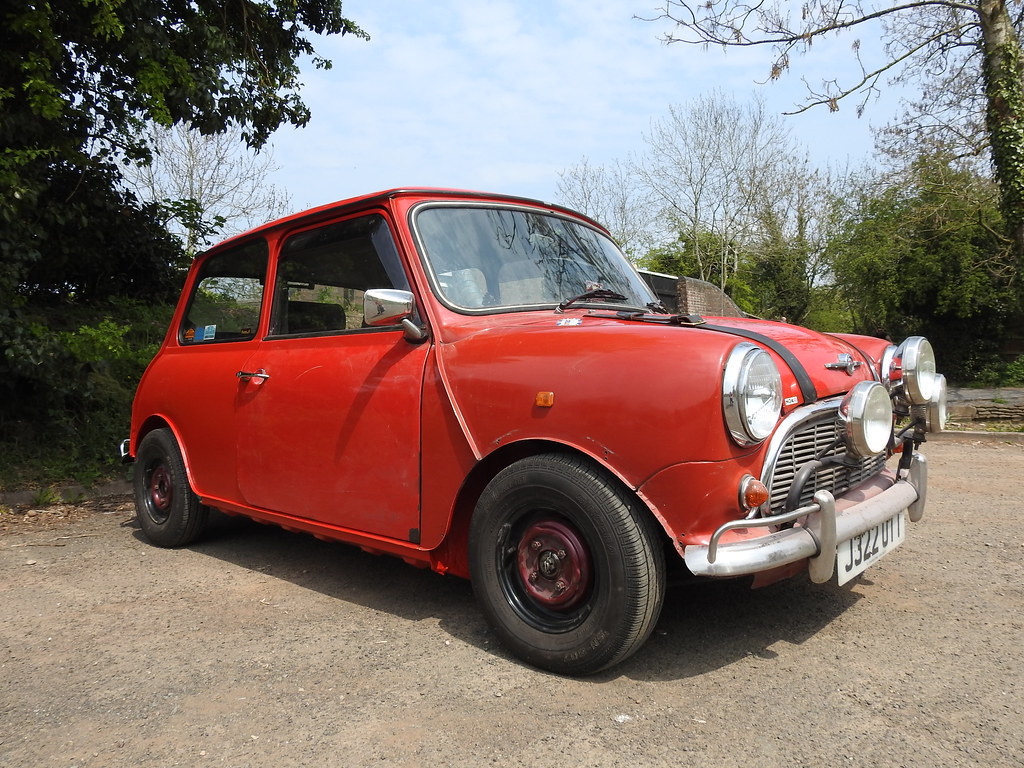
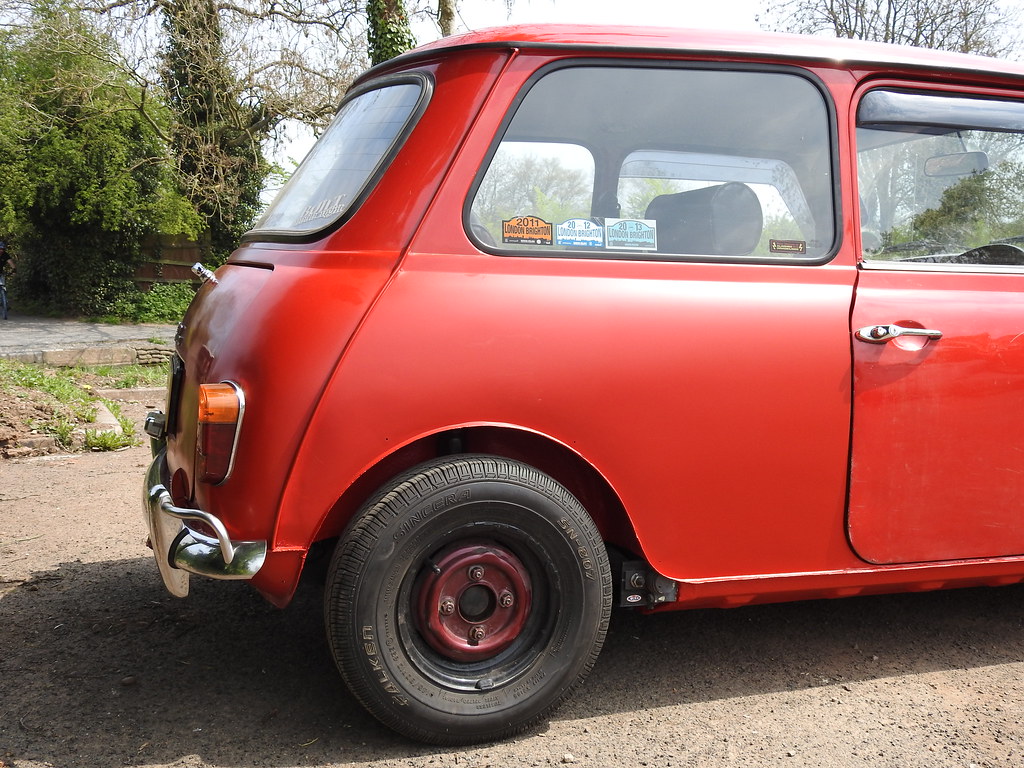
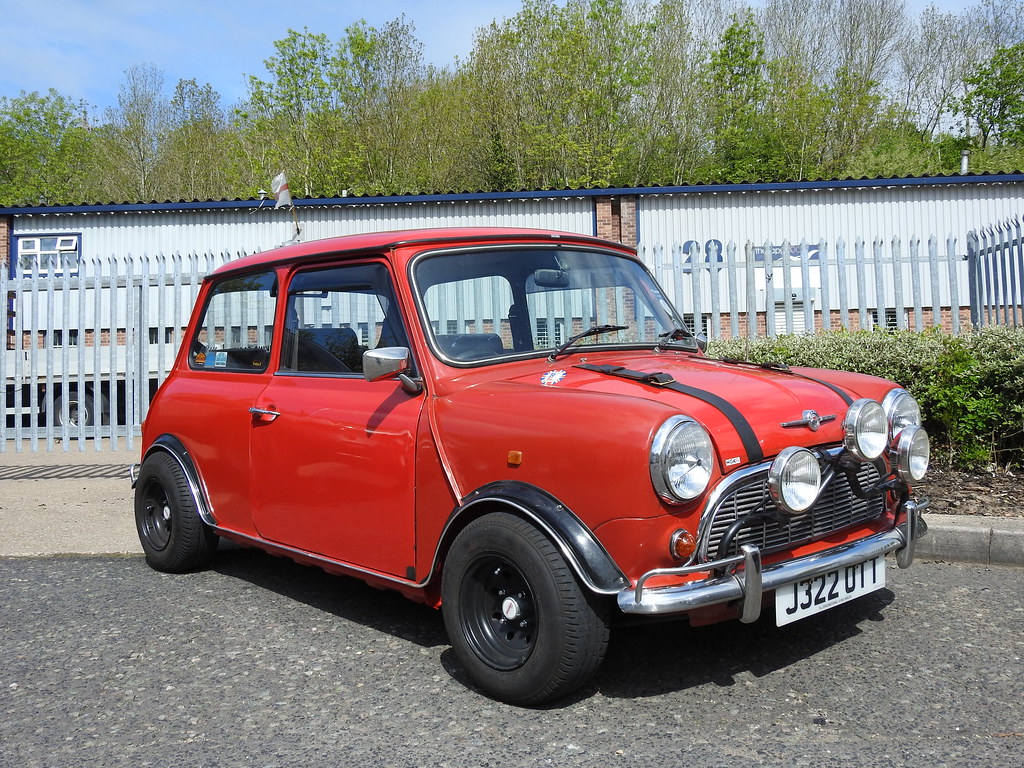
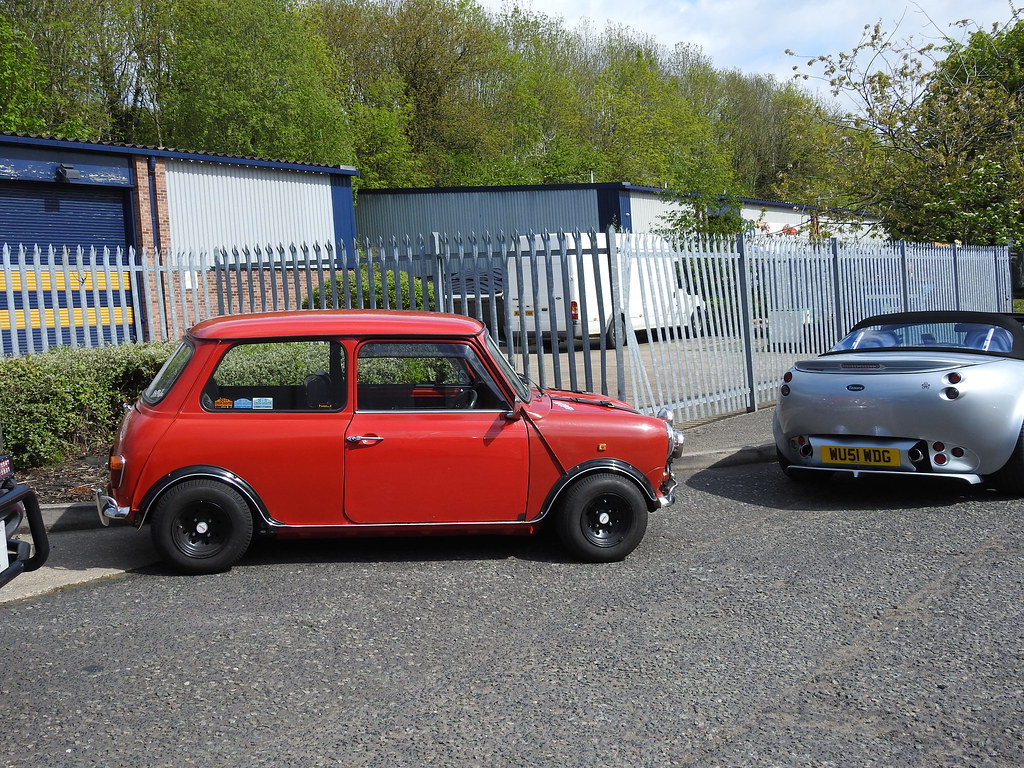
So, with 2 weeks to go, I can proudly say she's all back together, MOT'd, taxed, and insured! I actually got it MOT'd in mid-April as I decided to do that first before painting it.
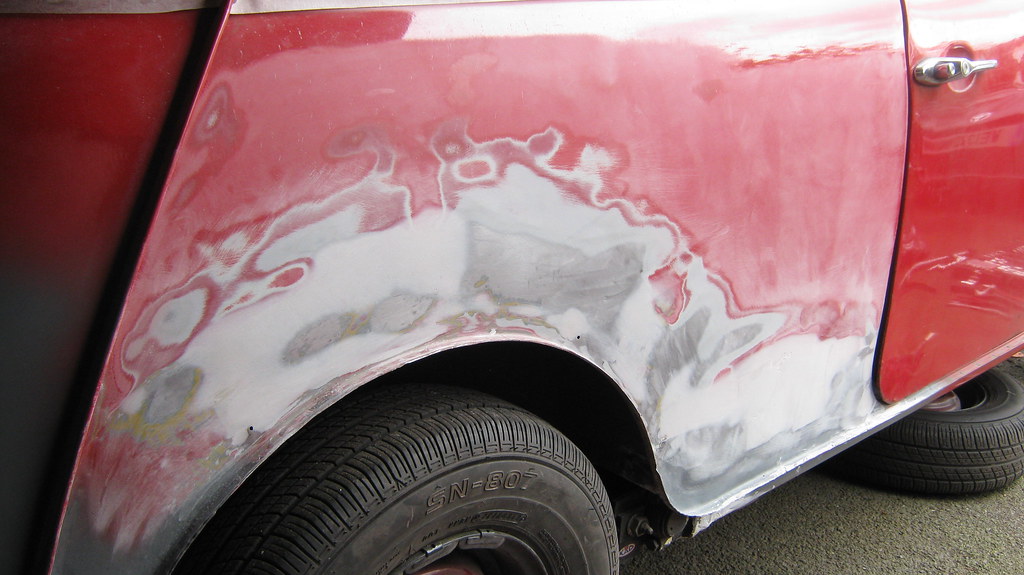
I can honestly say I hate the cosmetic side of bodywork. Welding and grinding and fabricating is great fun, but when it comes to dealing with dents, filler, sanding, making panels flat... I really don't enjoy it. I spent about 6 weeks trying my hardest to smooth out the rear quarter panels around my repairs, just putting on filler, sanding it off, more filler, more sanding, etc. etc. I eventually gave up on it and decided I'd rather have a lumpy red car I can drive now as opposed to a nicely finished car after another million years of sanding filler. Even after all that I messed a few things up on the paint job and it came out worse than I'd hoped, but I've gone past the point of being overly worried about cosmetics now and I just want to drive it instead!
I took a few pictures along my hateful englightening journey of getting the car painted, so here they are, along with a few about getting it ready for the MOT.
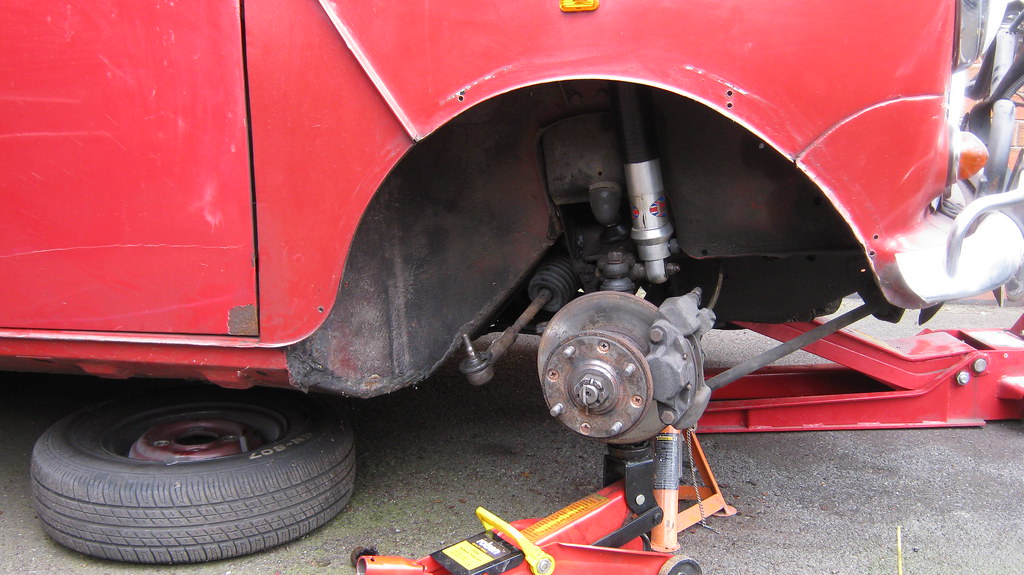
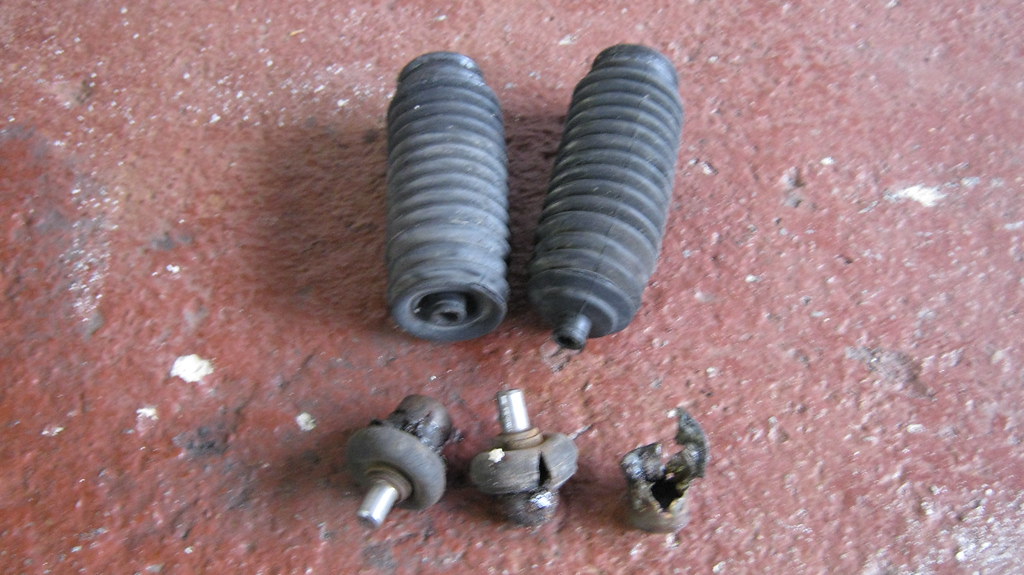
After going over the car, I found it needed new steering rack gaiters and new knuckle joints as the rubbers had perished completely after sitting around in the garage for less than 3 years. So over a couple of weekends (in between sanding filler) I swapped the gaiters and joints over for some new bits.
 IMG_0303 by Sven Cumner, on Flickr
 IMG_0308 by Sven Cumner, on Flickr
Ahh, filler...
 IMG_0304 by Sven Cumner, on Flickr
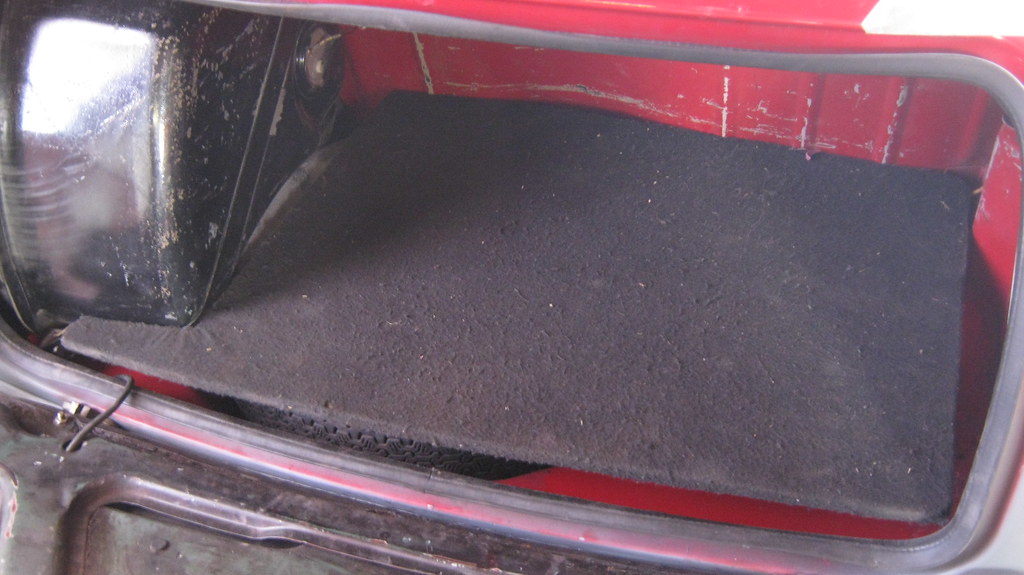
Here's the car almost back together for the MOT
 IMG_0305 by Sven Cumner, on Flickr
Populated the boot again.
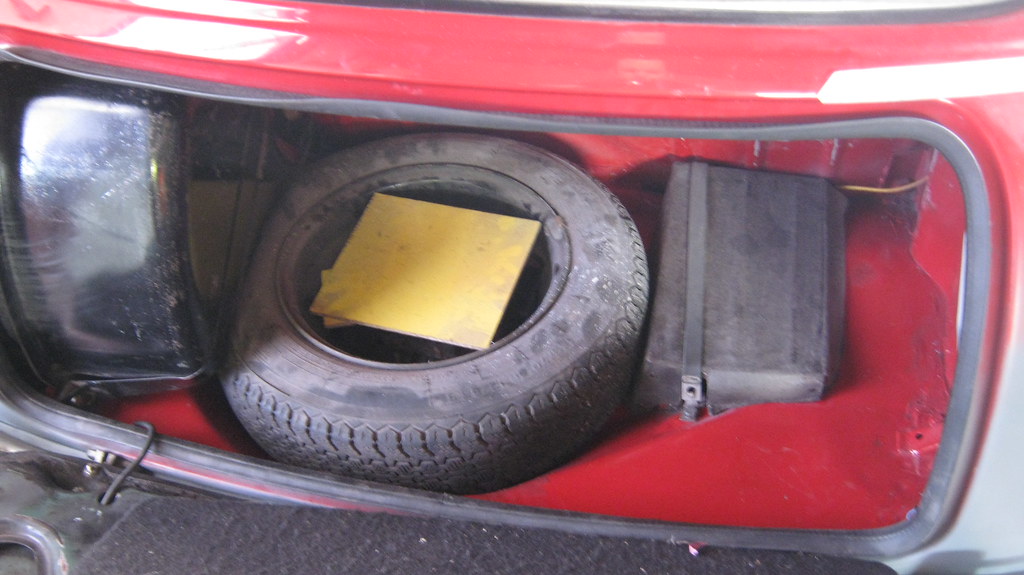 IMG_0306 by Sven Cumner, on Flickr
 IMG_0307 by Sven Cumner, on Flickr
Not sure if I mentioned it before, but I rattle canned everything I'd repaired on the insides, so that's all of the boot floor edge I replaced and all the bits on the floor pans in the cabin.
Ready for an MOT.
 IMG_0310 by Sven Cumner, on Flickr
Threw a bit of primer on things for the MOT, just in case it got rained on... which it did in the end!
 IMG_0312 by Sven Cumner, on Flickr
It passed the MOT no problems  So I then cleared out the garage and got started on the paintwork.
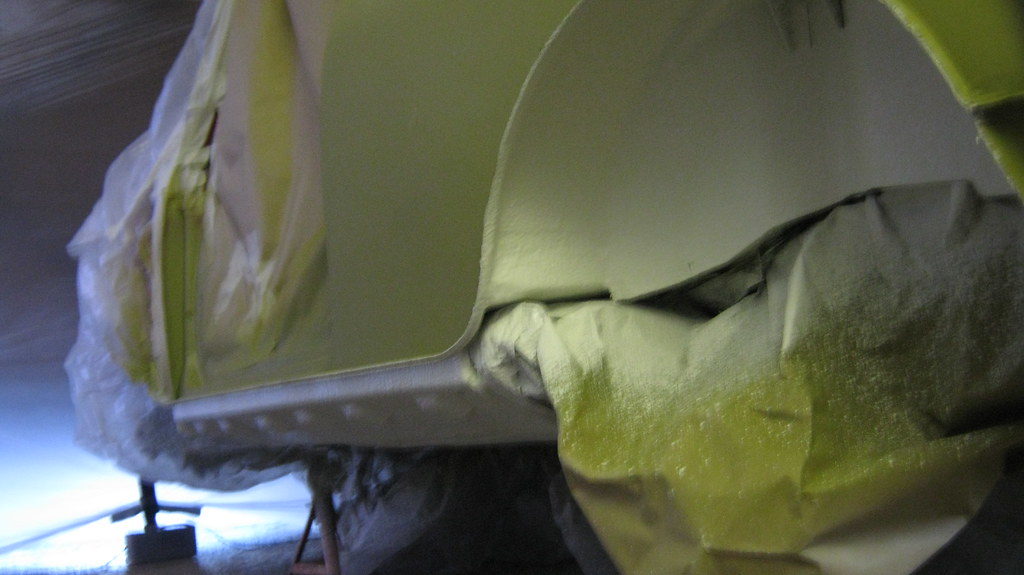
First thing I wanted to do was put the stonechip on the undersides. Had a bit of a mess to sort out/cover up on the drivers side from what I repaired a few years back and what I'd done at the end of last summer when I started all this work.
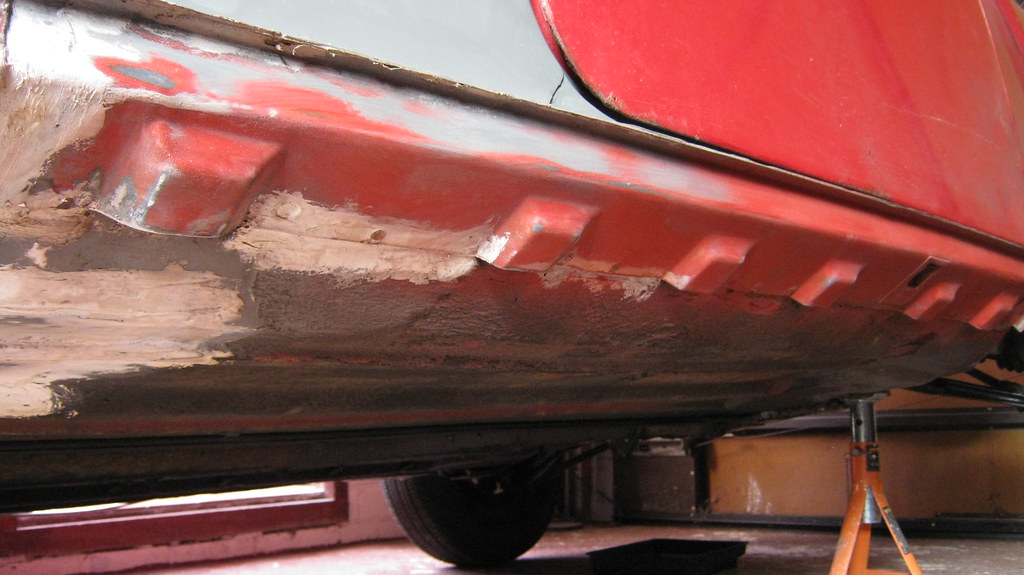 IMG_0314 by Sven Cumner, on Flickr
 IMG_0315 by Sven Cumner, on Flickr
Masked things up and primered.
 IMG_0316 by Sven Cumner, on Flickr
 IMG_0317 by Sven Cumner, on Flickr
Then I sprayed on some stonechip with a Schutz gun...
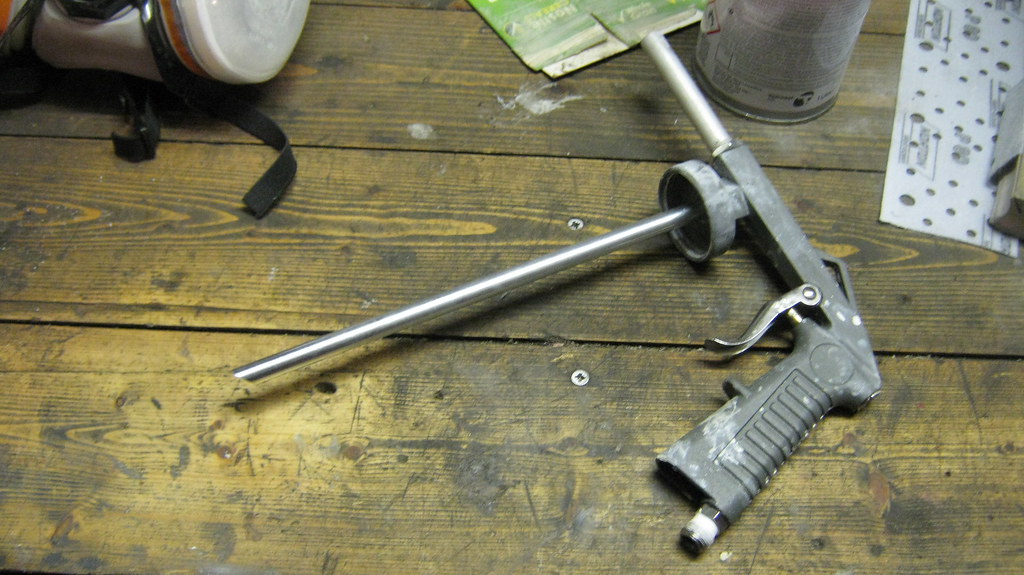 IMG_0318 by Sven Cumner, on Flickr
...and very quickly learnt all about paint reactions and how cellulose paint/stonechip won't go over acrylic paint (Halfords rattle cans).
 IMG_0319 by Sven Cumner, on Flickr
 IMG_0320 by Sven Cumner, on Flickr
 IMG_0321 by Sven Cumner, on Flickr
So I gave up on that and decided to carry on stripping the car and sand some more filler.
 IMG_0324 by Sven Cumner, on Flickr
As I mentioned before, I had to give up on the filler work in the end as I just couldn't quite get it perfect, but I got to a stage where I was satisfied with it and then I moved on to test fit the arches so i could drill mounting holes in the new bits of metal I'd welded in.
 IMG_0328 by Sven Cumner,
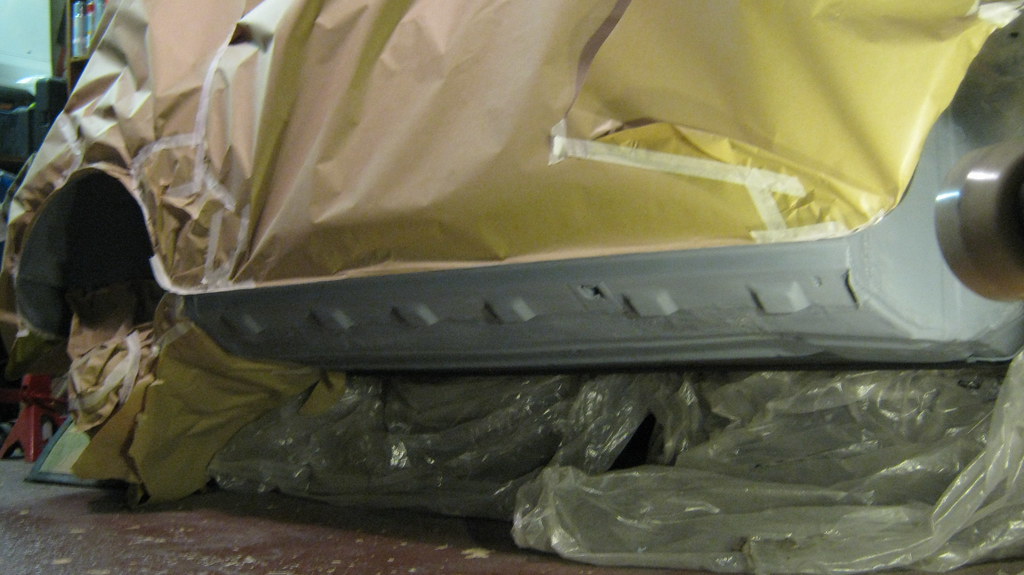
Now I had the car basically ready to paint, bar a bit of stopper and final finishing in a few areas, so I moved on to building my DIY spraybooth out of PVC tubing, sandwich bag plastic, and duct tape.
 IMG_0329 by Sven Cumner, on Flickr
I had a big 20" fan at the back of the booth at the top, blowing through a filter and then I just left the bottom edges at the front of the booth open so it blew air across and down over the car.
 IMG_0330 by Sven Cumner, on Flickr
 IMG_0331 by Sven Cumner, on Flickr
That box in the middle was to support the middle beam as it wasn't very sturdy. I was only painting the rear bottom half of the car, everything below the windows and behind the doors basically.
 IMG_0332 by Sven Cumner, on Flickr
That's where the air came out down the front there.
 IMG_0333 by Sven Cumner, on Flickr
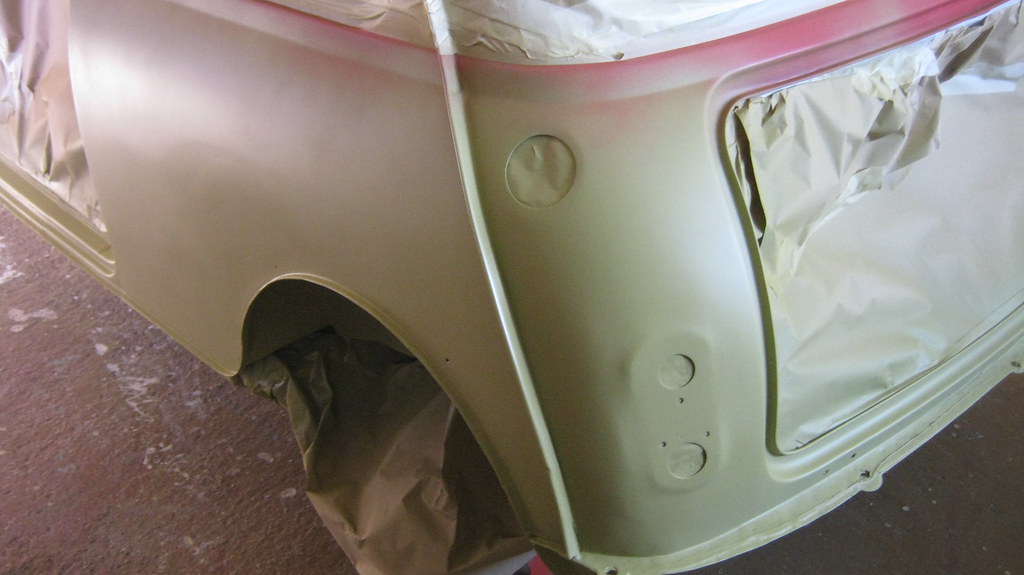
Now that I've had some experience painting with cellulose, I wish I'd never used Halfords rattle cans for the primer over the filler whilst I was going along. I decided to barcoat over the acrylic paint to stop any reactions, so here's the car covered in barcoat and with the stonechip layer done on the undersides. For those that don't know, (I didn't until I started researching this stuff whilst doing this paint job) cellulose will react very badly with certain types of paint: for example, it will basically act as paint stripper and just soften and melt acrylic paint, like what's in the Halfords cans. So this "Barcoat" stuff is an alcohol based paint that seals anything underneath it and won't react with the Cellulose paint on top. It's kind of a bodge to allow you to avoid stripping the rattle can paint off and redoing it properly, but hey... it kinda worked for me.
 IMG_0334 by Sven Cumner, on Flickr
 IMG_0335 by Sven Cumner, on Flickr
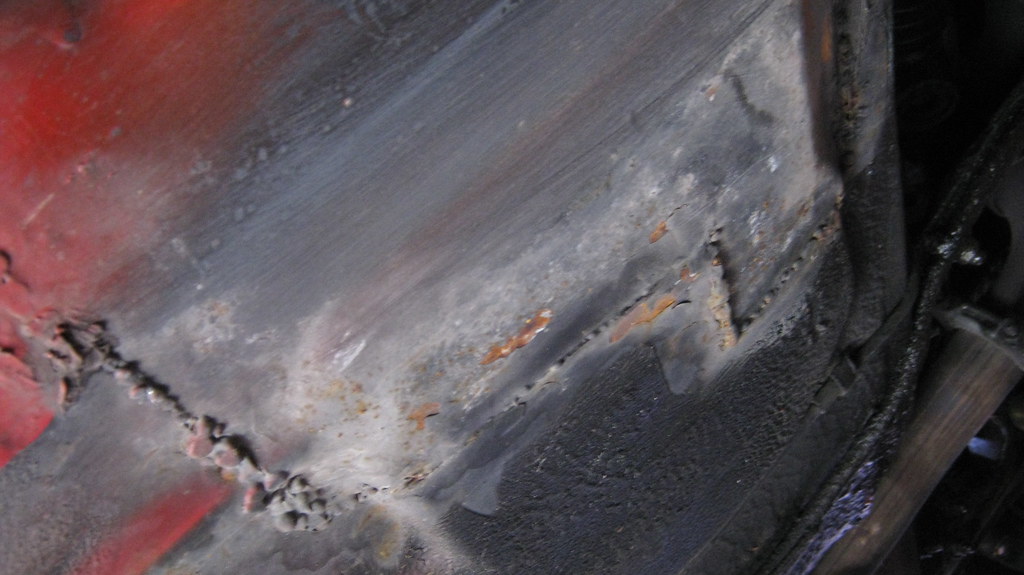
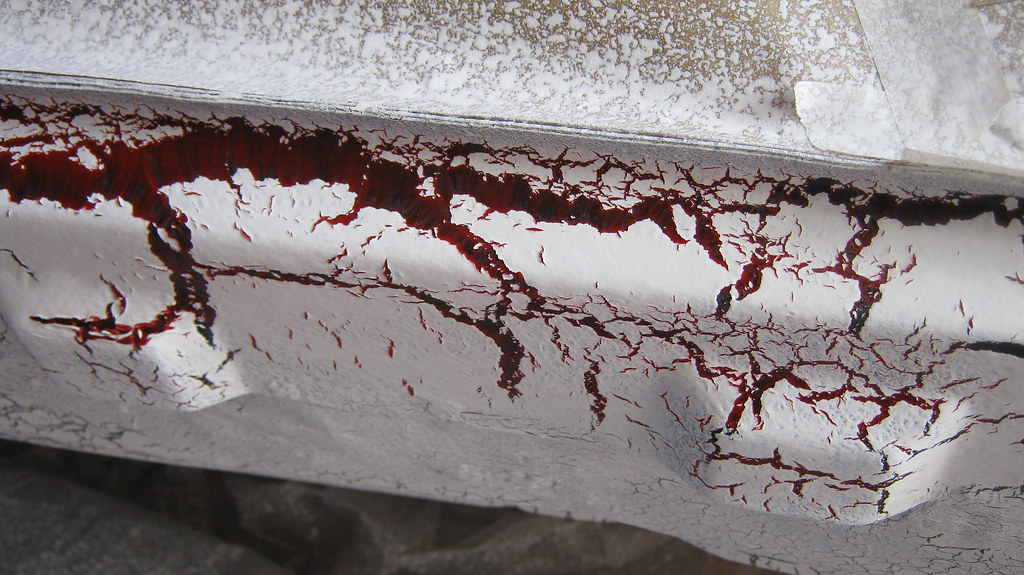
This idea of using barcoat did kind of work, however I found that you HAVE to ignore the instructions on the tin when it tells you to put only one thin coat on. That thin coat wasn't enough and I still had reactions through the barcoat when I sprayed the cellulose primer on. I had several areas come up with large cracks like this.
 IMG_0337 by Sven Cumner, on Flickr
So I had to rub down a few areas to get rid of the cracked paint, then I sprayed on a two coats of barcoat, the second being much thicker, and that seemed to do the trick with regards to sealing the paint.
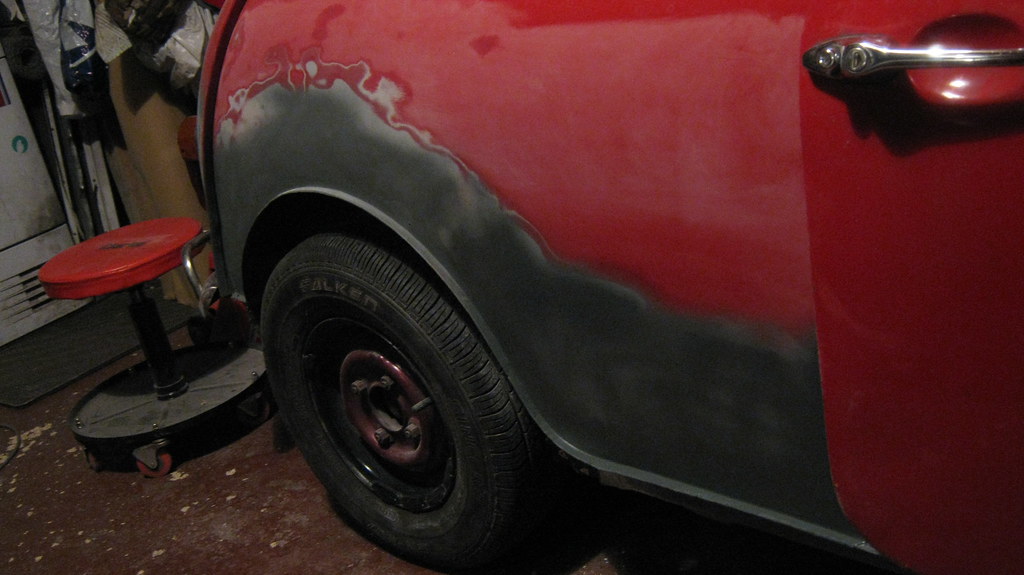
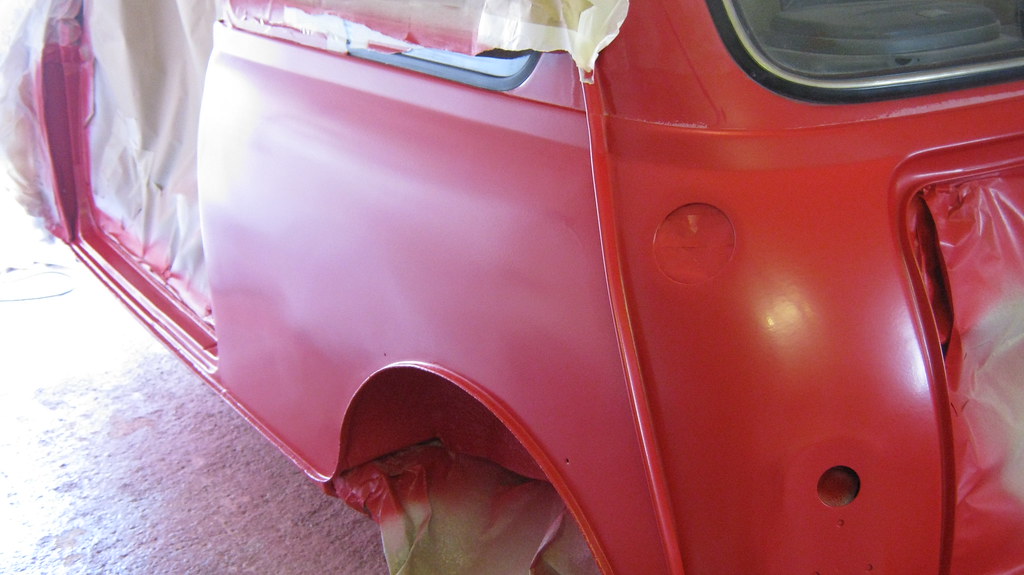
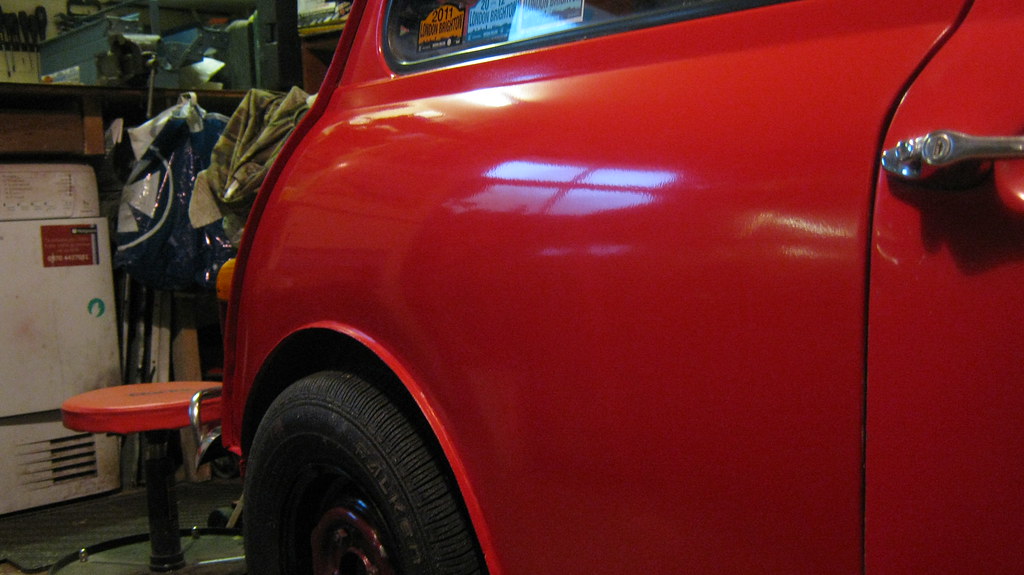
So another few days spraying primer and then flatting it back a couple of times and I was ready to spray it red. I was disappointed with how much orange peel I got in my final finish, and I've had a few areas come up with cracks and reactions from the bad paint underneath, but I'm not bothered enough to fix it now. I'm fed up of bodywork and painting and I just want to drive the thing - it's mostly red and looks good from a distance, good enough for me anyway!
 IMG_0338 by Sven Cumner, on Flickr
I had a bit of residue left over from the masking tape I had a long the body lines, but that rubbed off okay with a bit of panel wipe. I know I really should've tried to blend in the join in the paintwork but I was too fed up with painting to do it properly at the end, so there's a noticeable step from the differing paint layers. You can't tell straight away as the join is on a crease anyway, so I'm happy enough with how it turned out... for now.
 IMG_0339 by Sven Cumner, on Flickr
The orange peel I'm not too worried about as I know I can wet sand/polish most of it out, but I didn't expect it to be quite this bad from an HVLP gun on a compressor, I guess I just need a lot more practice! 
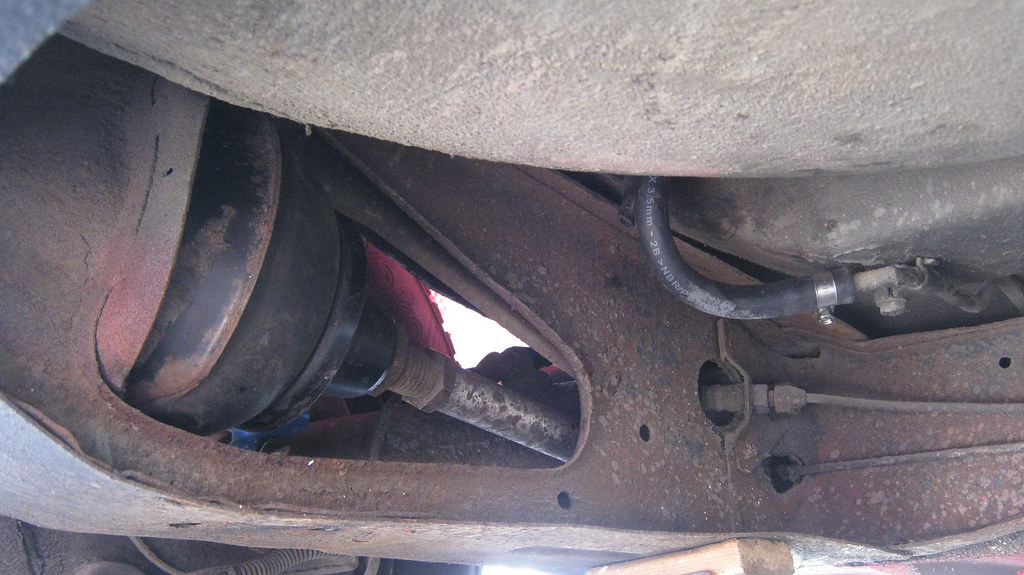
As I was putting the car back together I injected a tonne of this in to the rear valance box sections and in to the sills. Should keep the rust at bay for another few years I hope!
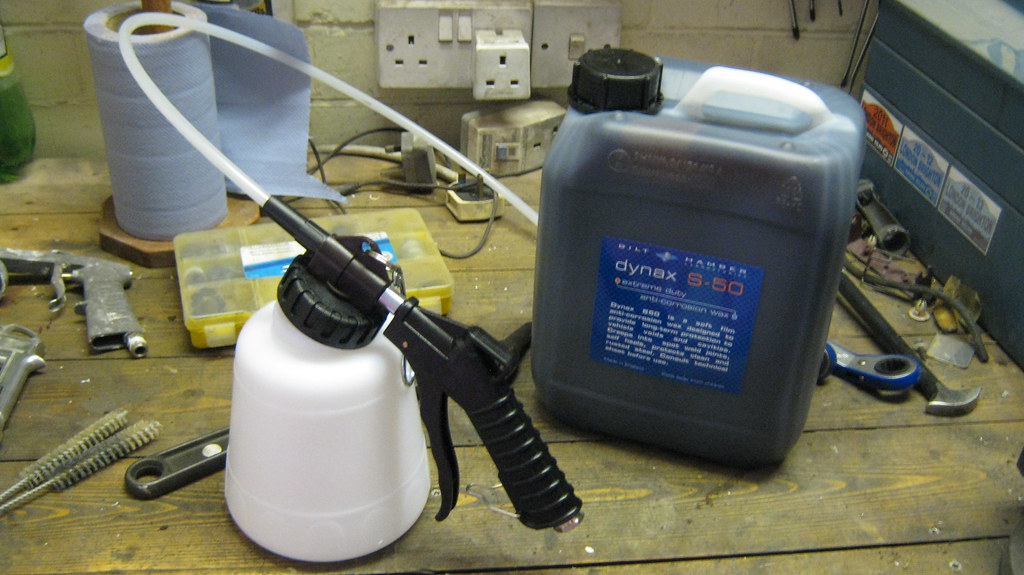 IMG_0340 by Sven Cumner, on Flickr
...to be continued because I have too many pictures to post again...
Edited by The Otter, 08 May 2016 - 02:21 PM.
#288
The Otter
-
- Members
-
- 620 posts
The artist formally known as j322overthetop
- Location: Midlands
Posted 08 May 2016 - 01:32 PM
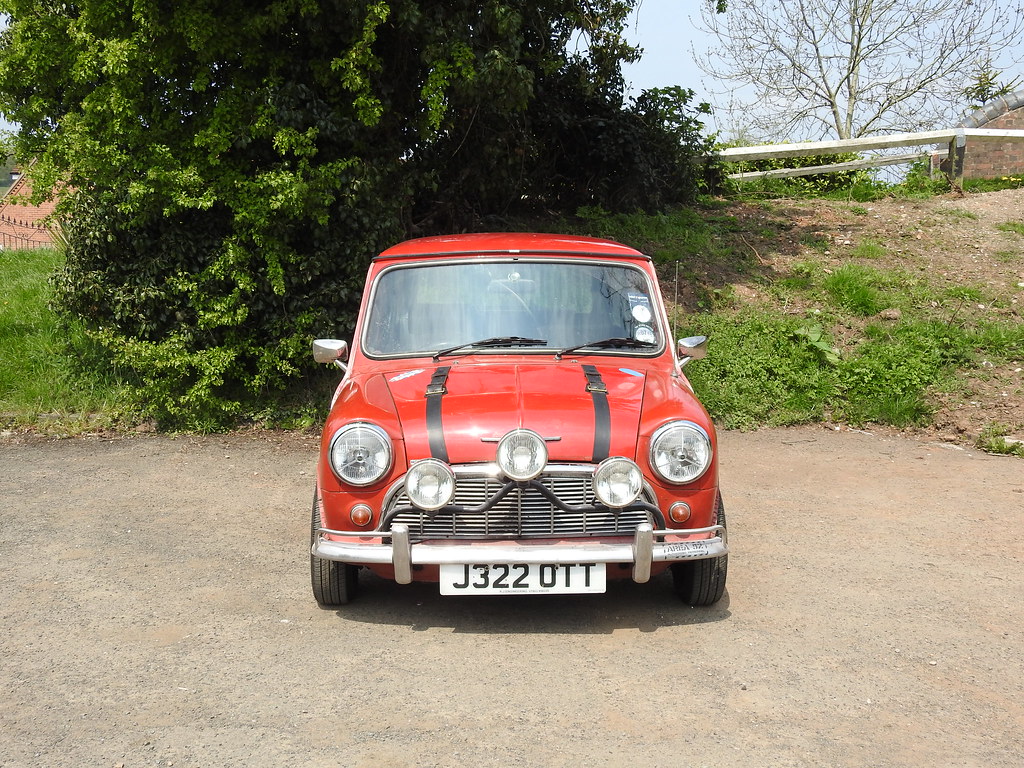
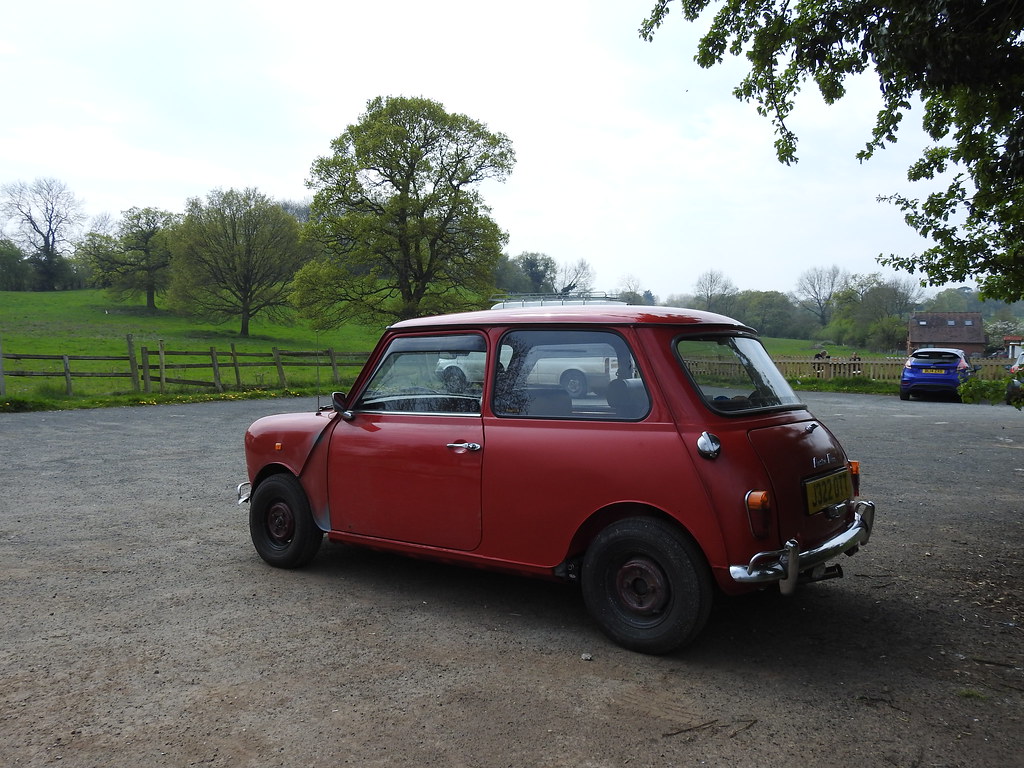
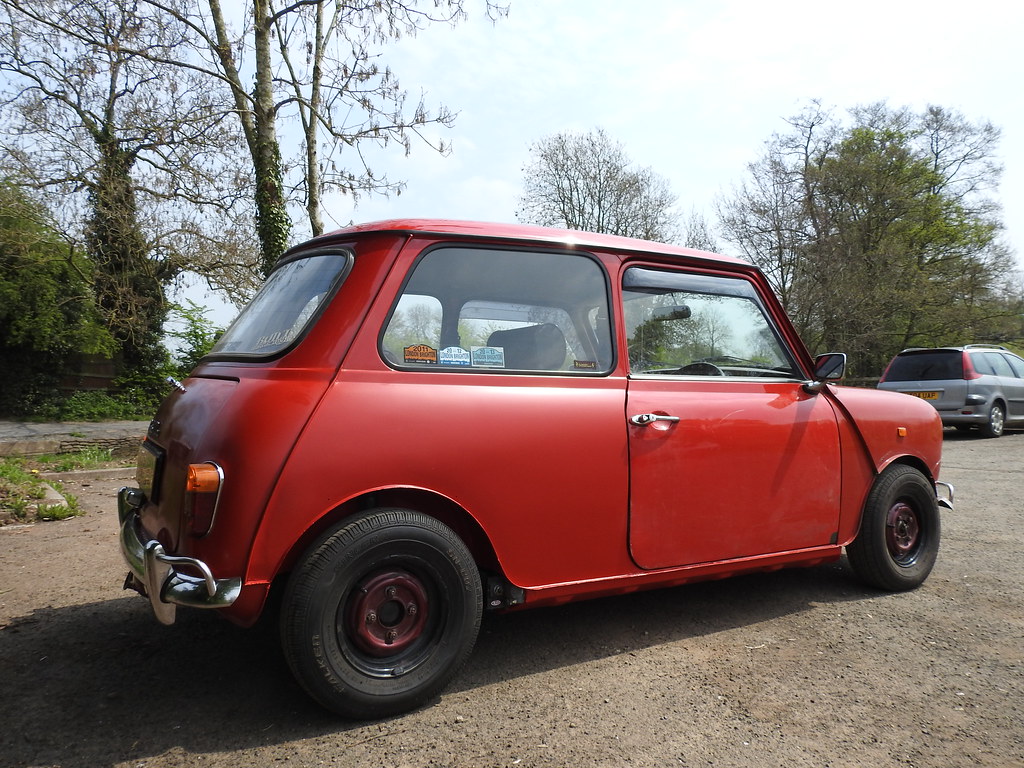
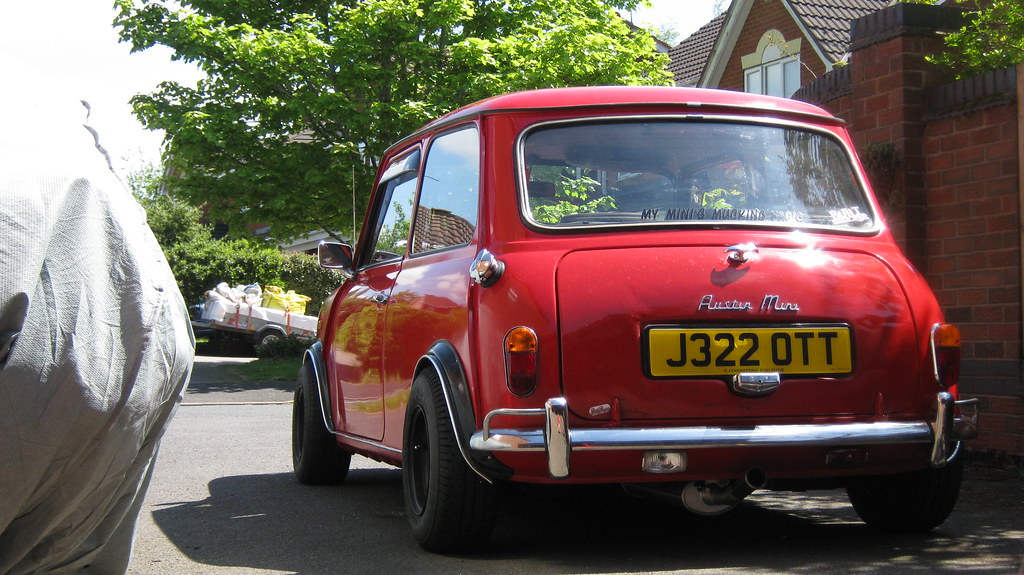
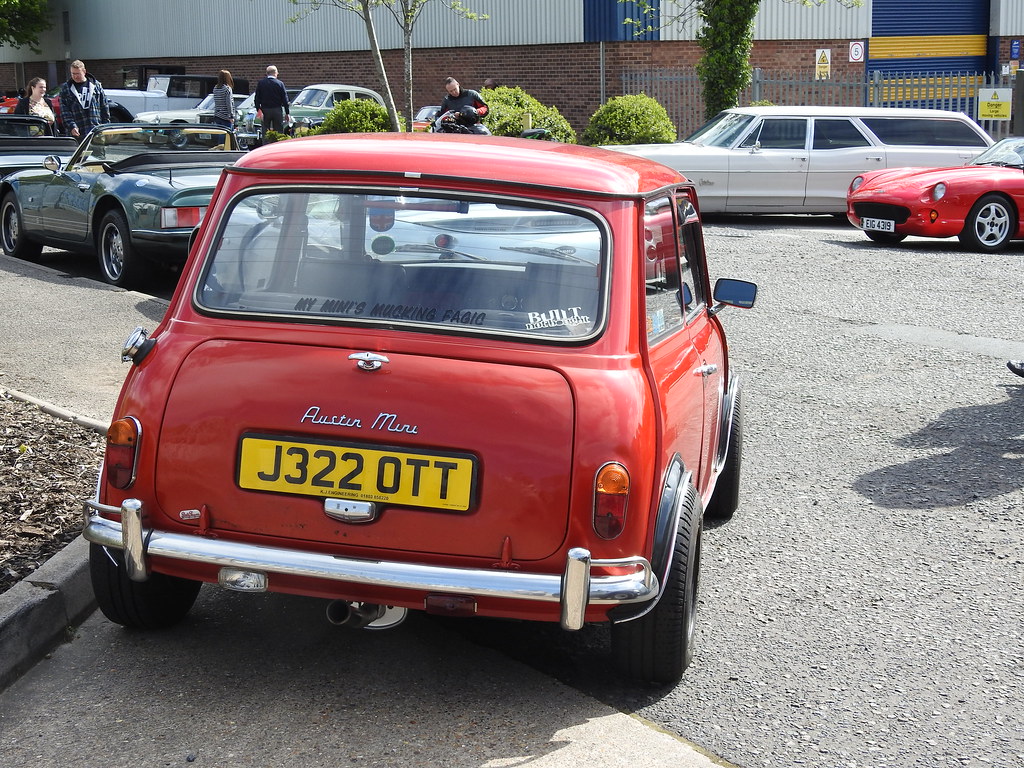
So after a busy few evenings putting the thing back together, I finally took it for it's first proper drive yesterday morning and then went to the pub for lunch in the afternoon. Took a few pics whilst I was there, so that's how I shall end this update. So happy to just be able to drive this thing again, it's so much fun. 
 DSCN0843 by Sven Cumner, on Flickr
 DSCN0844 by Sven Cumner, on Flickr
 DSCN0845 by Sven Cumner, on Flickr
 DSCN0846 by Sven Cumner, on Flickr
 DSCN0847 by Sven Cumner, on Flickr
 DSCN0848 by Sven Cumner, on Flickr
 DSCN0849 by Sven Cumner, on Flickr
 DSCN0850 by Sven Cumner, on Flickr
 DSCN0851 by Sven Cumner, on Flickr
 DSCN0852 by Sven Cumner, on Flickr
 DSCN0853 by Sven Cumner, on Flickr
I'll be trying to polish the paint up next weekend I think and then I'll refit my wide Wellers and bolt the arches back on. I need to put it a bit of paint on a couple of bits on the passenger side A panel too, so I'll try and get that done this week. There's a "Cars and Coffee" meet in Redditch next Sunday morning so I'll try and get along to that and take a few more pictures with some other (hopefully) interesting cars. Then the weekend after that I have to get down to London and then Brighton, then all the way home again! Fingers crossed we make it all the way with no break downs. 
Cheers all
Edited by The Otter, 08 May 2016 - 02:11 PM.
#289
Domneon
-

- Members
-
- 720 posts
One Carb Or Two?
- Location: Redditch
Posted 08 May 2016 - 03:11 PM
There might be a few people meeting at mine to go to cars and coffee if you're interested mate, will need to jump in with someone though as none of our 3 classics are roadworthy in one way or another
#290
minimissions
-
- Members
-
- 3,427 posts
Up Into Fourth
- Location: North West
- Local Club: M.M.O.C
Posted 09 May 2016 - 05:34 AM
Looks great i need to think about making a booth style thing in my garage for when i come to paint... Where did you get your one from?
#291
The Otter
-
- Members
-
- 620 posts
The artist formally known as j322overthetop
- Location: Midlands
Posted 09 May 2016 - 11:52 AM
There might be a few people meeting at mine to go to cars and coffee if you're interested mate, will need to jump in with someone though as none of our 3 classics are roadworthy in one way or another
Thanks for the offer but I'm meeting a friend first and heading straight there from his. Hopefully bump in to you whilst I'm there.
Looks great i need to think about making a booth style thing in my garage for when i come to paint... Where did you get your one from?
I bought 40m of PVC waste pipe from Wickes, along with a bunch of elbows, tees, and straight connectors to connect it all together. Think it was this stuff - http://www.wickes.co...2000mm/p/431900
Then the polythene sheeting off ebay - http://www.ebay.co.u...m/231090127678?
And a filter panel also off ebay - http://www.ebay.co.uk/itm/181339439836?
Then I duct taped it all together and it formed something resembling a spraybooth. 
Edited by The Otter, 09 May 2016 - 11:54 AM.
#292
minimissions
-
- Members
-
- 3,427 posts
Up Into Fourth
- Location: North West
- Local Club: M.M.O.C
Posted 09 May 2016 - 01:19 PM
Hey cheers for that its defo something to consider... just want somewhere that i paint not get some much crap in it. Like you said earlier it can get flattened back.
#293
JollyMole
-
- Members
-
- 153 posts
Mini Mad
- Location: Newcastle
- Local Club: Tynemouth MiniClub
Posted 09 May 2016 - 06:22 PM
Looking great again Sven! Nice job and love the DIY spraybooth! You've got balls brother haha
#294
The Otter
-
- Members
-
- 620 posts
The artist formally known as j322overthetop
- Location: Midlands
Posted 16 May 2016 - 06:06 PM
I tried to cut and polish the paint up the other day - it didn't go as well I'd hoped. The orange peel was more pronounced than I realised and I didn't want to risk cutting back too much paint, just in case I went through to the primer. Still, it's a lot shinier than it was!
Here's a couple of dingy garage pictures on the night I finished it.
 IMG_0342 by Sven Cumner, on Flickr
As you can see, lots of orange peel still, but I'm satisfied for now.
 IMG_0343 by Sven Cumner, on Flickr
I was too excited to put my big wheels and arches back on, so I cracked on into the night to get that done.
 IMG_0344 by Sven Cumner, on Flickr
Pushed it outside the next morning to see what the suspension was like. For some reason, the ride height had changed and was lower on the right side of the car than it should've been. I did the opposite-to-sensible thing and dropped the rear left as that seemed the most out - and because my new centre exit exhaust gave me nice easy access to the HiLo!
 IMG_0345 by Sven Cumner, on Flickr
It looked damn good if you ask me...
 IMG_0346 by Sven Cumner, on Flickr
But unfortunately I almost ripped a rear wheel arch completely off on the test drive, so I had to raise it again! I raised the passengers rear along with both HiLos on the drivers side to get it even and high enough at the back. It still rubs occasionally at awkward angles on the front wheels, when steering off the drive for example, but I can live with that... for now at least.
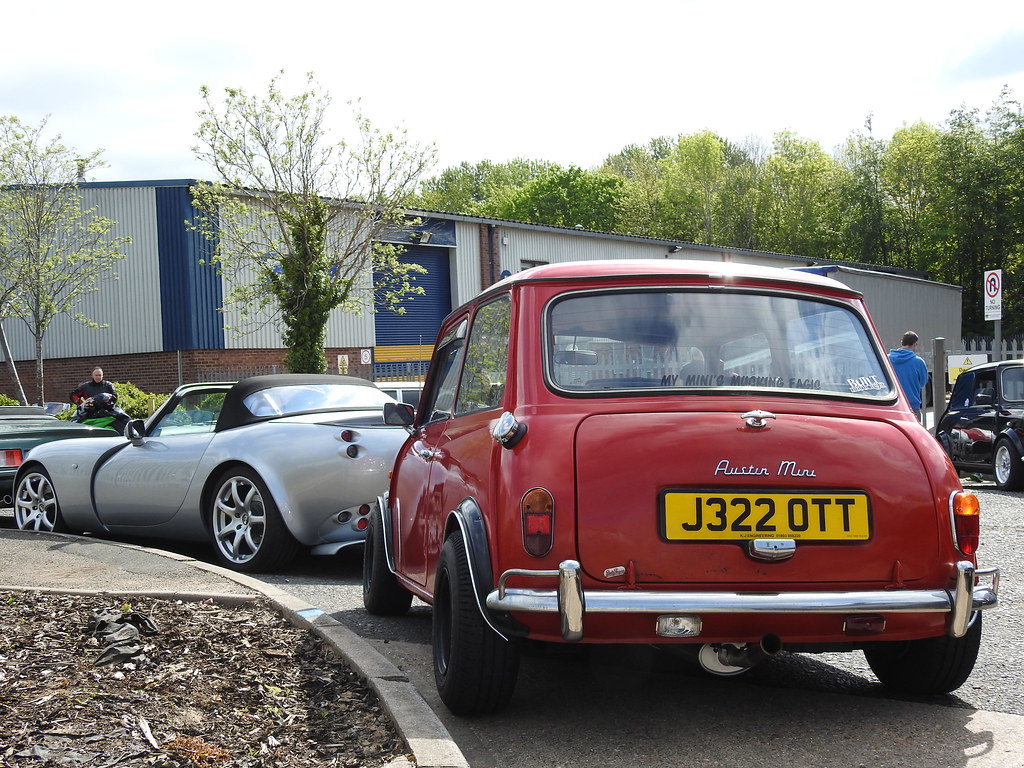
Went to a local Cars and Coffee meet on Sunday morning, had a great time. Thought I'd keep one of the TVR convoys in good company  .
.
 DSCN0864 by Sven Cumner, on Flickr
 DSCN0862 by Sven Cumner, on Flickr
 DSCN0861 by Sven Cumner, on Flickr
 DSCN0859 by Sven Cumner, on Flickr
 DSCN0865 by Sven Cumner, on Flickr
 DSCN0869 by Sven Cumner, on Flickr
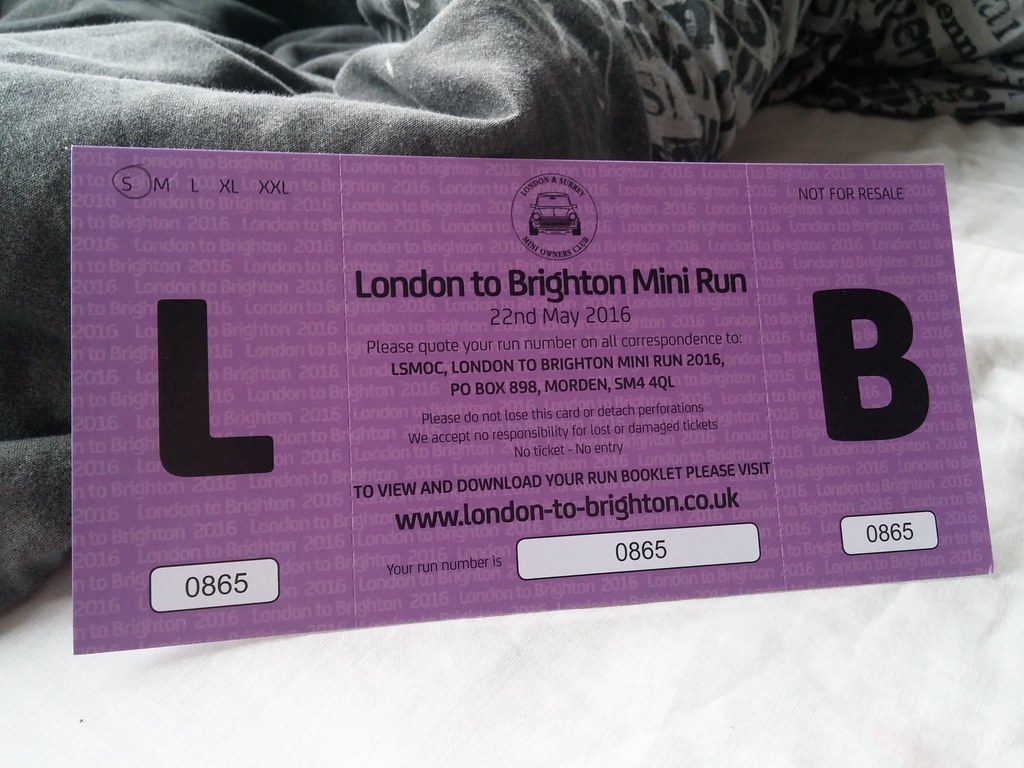
That's all for now, hopefully the next update will be a couple of pictures from L2B next weekend .
Edited by The Otter, 16 May 2016 - 06:08 PM.
#295
minimissions
-
- Members
-
- 3,427 posts
Up Into Fourth
- Location: North West
- Local Club: M.M.O.C
Posted 17 May 2016 - 05:40 AM
She is looking sweet, look forward to seeing it at l2b next weekend :)
#296
MaxDempsey
-
- Noobies
-
- 136 posts
Mini Mad
- Location: Essex
Posted 22 May 2016 - 07:14 PM
Been following the thread for a while and saw your mini at L2B this weekend, the paint looks really nice. I actually used your wheels to show my Dad what I'm after as well :)
#297
leaky
-

- TMF+ Member
-
- 6,890 posts
Iv never hit a penguin in the face with a casserole
- Location: Costa Del Tadley
- Local Club: Basingstoke Mini Club
Posted 23 May 2016 - 07:56 AM
Pretty sure I saw you on the m40 yesterday i'm guessing heading home from L2B? I has heading back home from a weekend in Scotland.
#298
Domneon
-
- Members
-
- 720 posts
One Carb Or Two?
- Location: Redditch
Posted 27 May 2016 - 03:54 PM
Spotted on the a46 earlier ;)
Driving down the a46 and spotted in the distance a Mini, so I thought I would accelerate to catch up, then I saw the mk1 rear lights and low and behold, it was Sven!
Car looked and sounded great mate!
Driving down the a46 and spotted in the distance a Mini, so I thought I would accelerate to catch up, then I saw the mk1 rear lights and low and behold, it was Sven!
Car looked and sounded great mate!


3 user(s) are reading this topic
0 members, 3 guests, 0 anonymous users


