Nice one looks like your getting through the work :)


'92 City E - Mk1 Fraudster - Attempt To Shine (16/05/16)
Started by
The Otter
, Mar 08 2012 05:38 PM
297 replies to this topic
#256
: post #256")
minimissions
-

- Members
-

- 3,427 posts
Up Into Fourth
- Location: North West
- Local Club: M.M.O.C
Posted 08 October 2015 - 06:05 PM
#257
Baldspeed Racing
-

- Members
-
- 1,203 posts
One Carb Or Two?
- Location: Southam
Posted 09 October 2015 - 09:04 AM
is the red mini I see in Bishops Itchington from time to time?
#258
Domneon
-

- Members
-
- 720 posts
One Carb Or Two?
- Location: Redditch
Posted 09 October 2015 - 01:18 PM
Fancy doing some welding for me Sven?
#259
Archived4
-

- Archived
-
- 822 posts
One Carb Or Two?
Posted 09 October 2015 - 02:09 PM
Mega stuff. I remember this car fondly haha, always loved the fact it was a daily and rattle can painted! Makes it way more fun!
#260
GeorgeD
-
- Noobies
-
- 71 posts
Stage One Kit Fitted
- Location: Leamington
Posted 09 October 2015 - 02:35 PM
Love the no nonsense approach and skinny steels! Sounds great too
is the red mini I see in Bishops Itchington from time to time?
Check out south warwickshire minis on fb. It'll likely be myself or one of the other lads you've seen about that way.
#261
Baldspeed Racing
-
- Members
-
- 1,203 posts
One Carb Or Two?
- Location: Southam
Posted 09 October 2015 - 03:48 PM
Aah no worries ive seen a mini being worked on in bishops when ive been riding past or driving past in my golf. But now my mini is on the road if its you, you will hear me coming
#262
The-mini-guy
-

- Noobies
-
- 1 posts
Starting My Mini Up
- Location: Belfast
Posted 21 October 2015 - 03:20 PM
Just read the full built thread from the start. Fantastic build, it's giving me motivation to start back into mine after a few years as well. Keep the updates coming!
#263
The Otter
-
- Members
-
- 620 posts
The artist formally known as j322overthetop
- Location: Midlands
Posted 09 November 2015 - 12:58 PM
Thanks for the comments guys, glad I can still keep people entertained with my ramblings. 
Fancy doing some welding for me Sven?
Dom, sorry I didn't see this sooner, not sure if it's too late now... maybe you should PM me, if it's anything big (or anything external that needs to look good!) then I don't really have the time to help you out I'm afraid, but if it's something fairly simple I'm sure I can help.
I've been very busy on the Mini the past week whilst I had some time off work, so there'll be an extensive update coming soon (plenty of rust replaced - plenty more still to do!). My work internet filter blocked TMF for a few weeks, hence not updating sooner, but for some reason it's unblocked now so I can get back to reading Mini stuff in my lunch hour. 
Cheers all. 
#264
The Otter
-
- Members
-
- 620 posts
The artist formally known as j322overthetop
- Location: Midlands
Posted 11 November 2015 - 12:43 PM
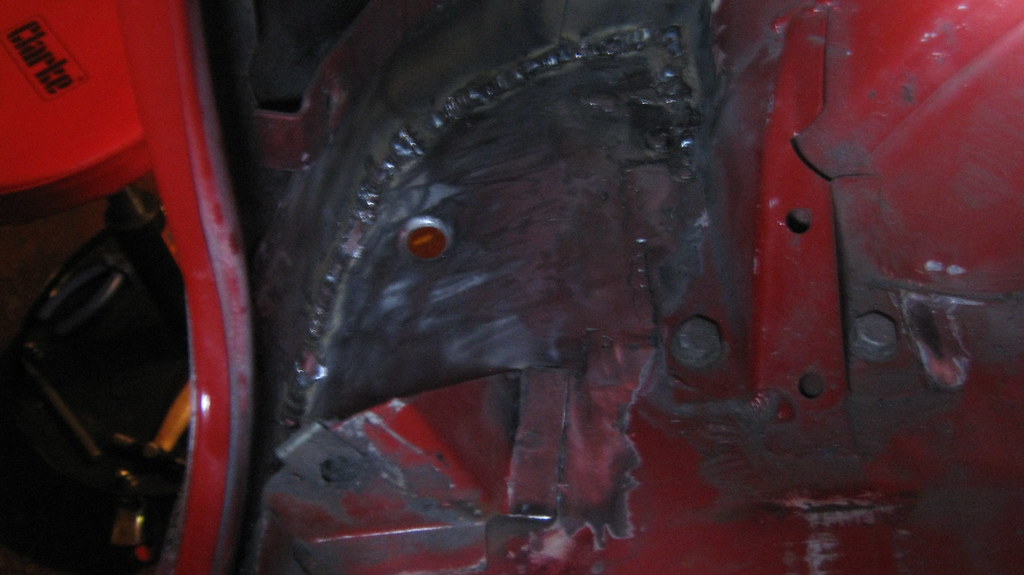
So, picking up from where I left off last time, I had to make another little patch to go alongside the big one I welded in at the back of the spare-wheel well. This was the section I needed to replicate from the old metal I'd cut out.
 IMG_0587 by Sven Cumner, on Flickr
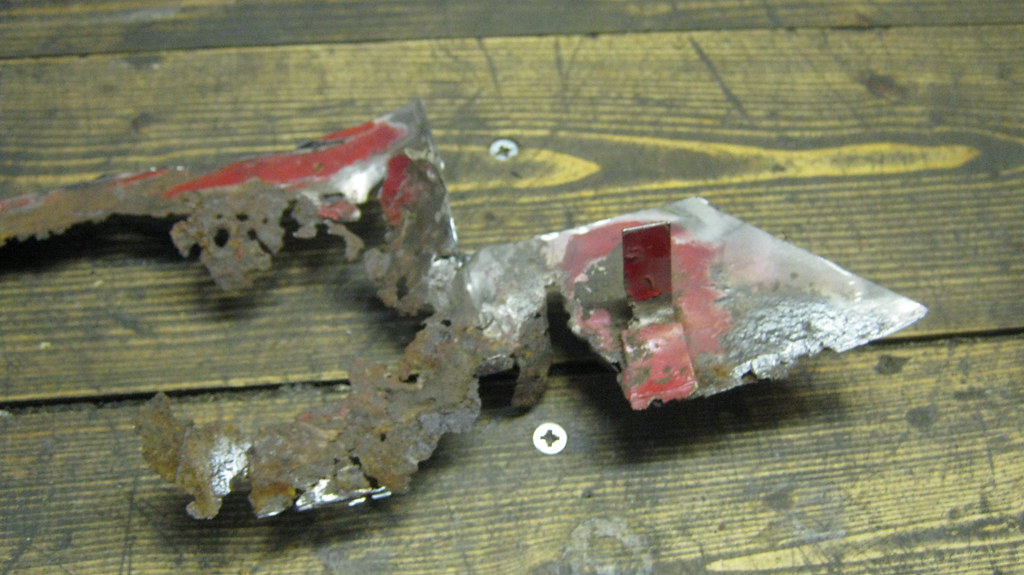
Thankfully the little wiring-tidy tab thing was still in good condition, so I got the spot weld drill bit on it.
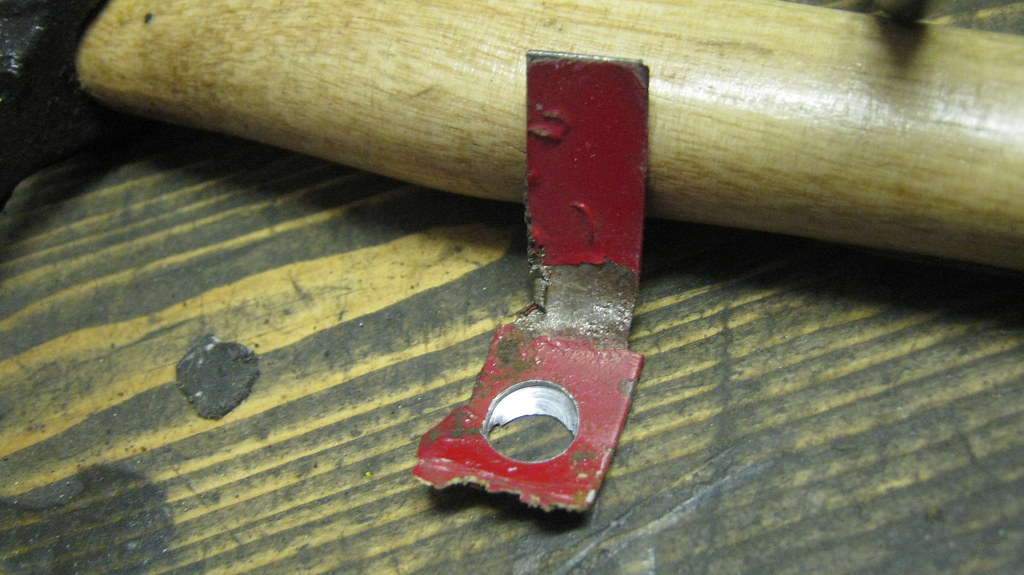 IMG_0588 by Sven Cumner, on Flickr
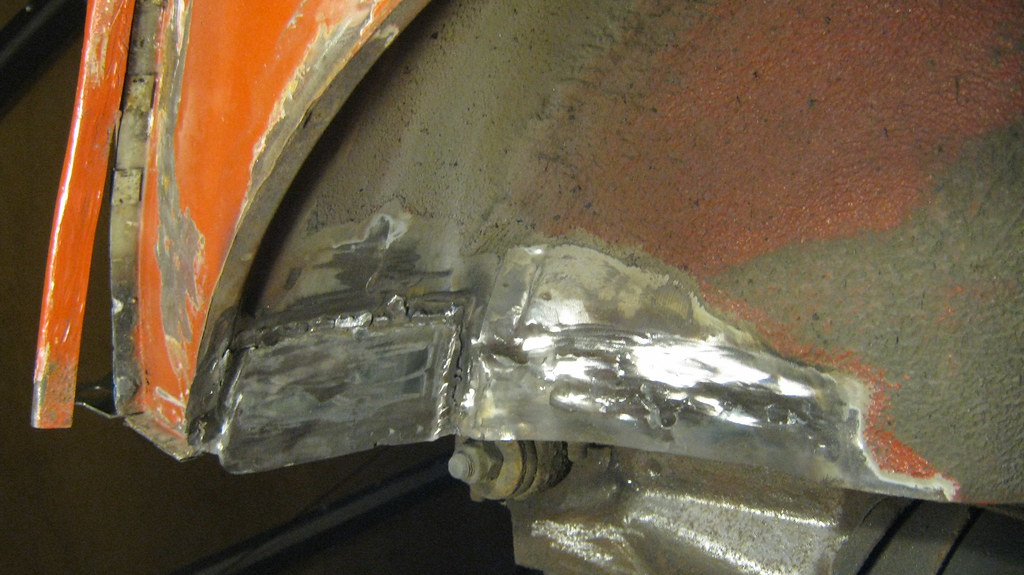
Then I made up the little patch I needed to make, welded it in, then plug welded that tab in place.
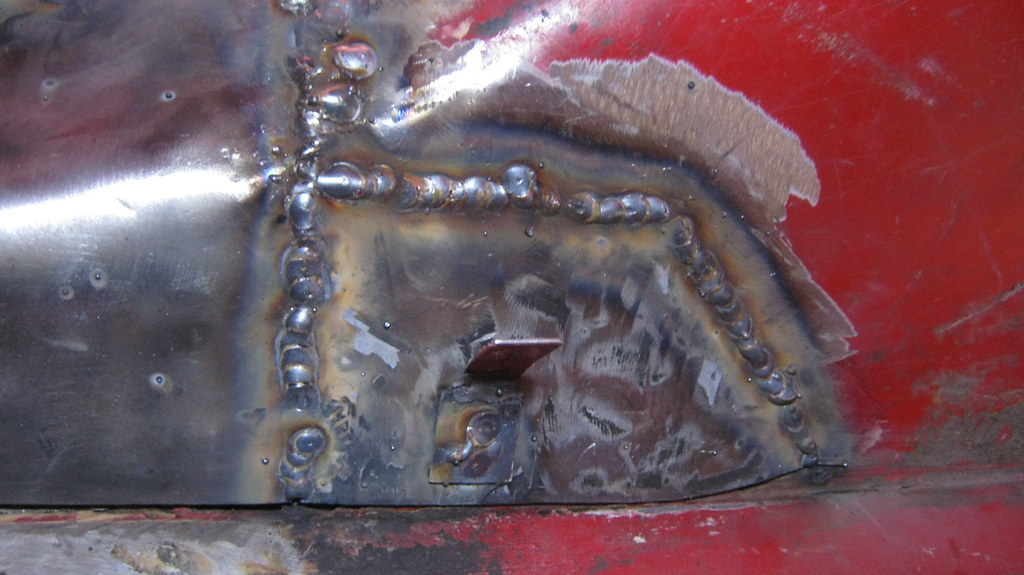 IMG_0590 by Sven Cumner, on Flickr
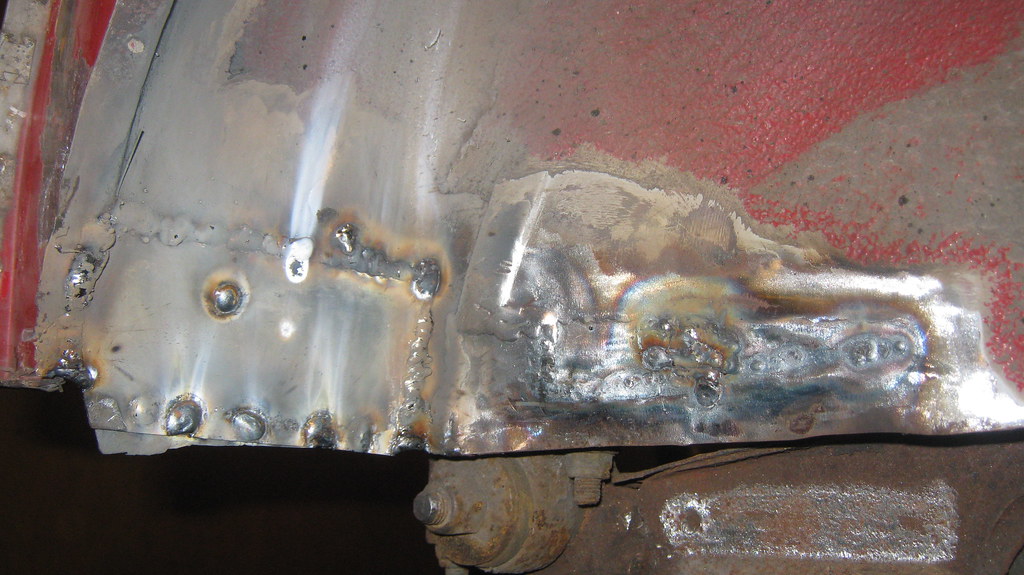
Here's a bad photo of the welds all roughly ground down on this patch. I'll get a skim of filler over it, but not too worried about it being a bit lumpy.
 IMG_0591 by Sven Cumner, on Flickr
I'm going to get all the metalwork on the car sorted first before I start doing anything more than zinc primer and seam-sealer, then I can go round the car again in a few months finishing everything off and then starting to think about paint.
From the centre of the boot, I moved back to the rear of the driver's arch, where I needed to make a few patches. First one made up and welded in.
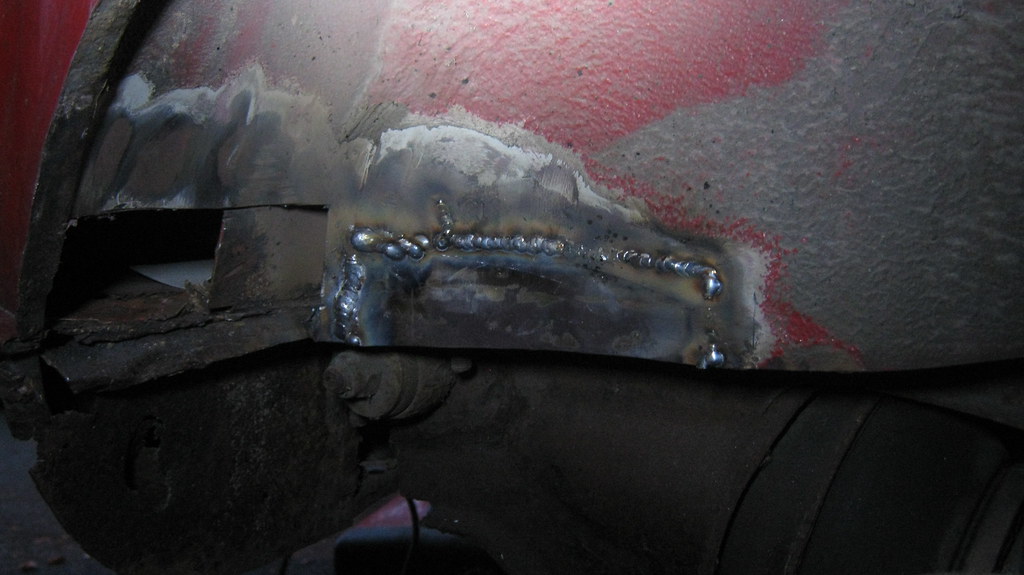 IMG_0592 by Sven Cumner, on Flickr
Then a few little goodies arrived from Minispares, so I had to trial fit the new centre exit back box I bought.
 IMG_0593 by Sven Cumner, on Flickr
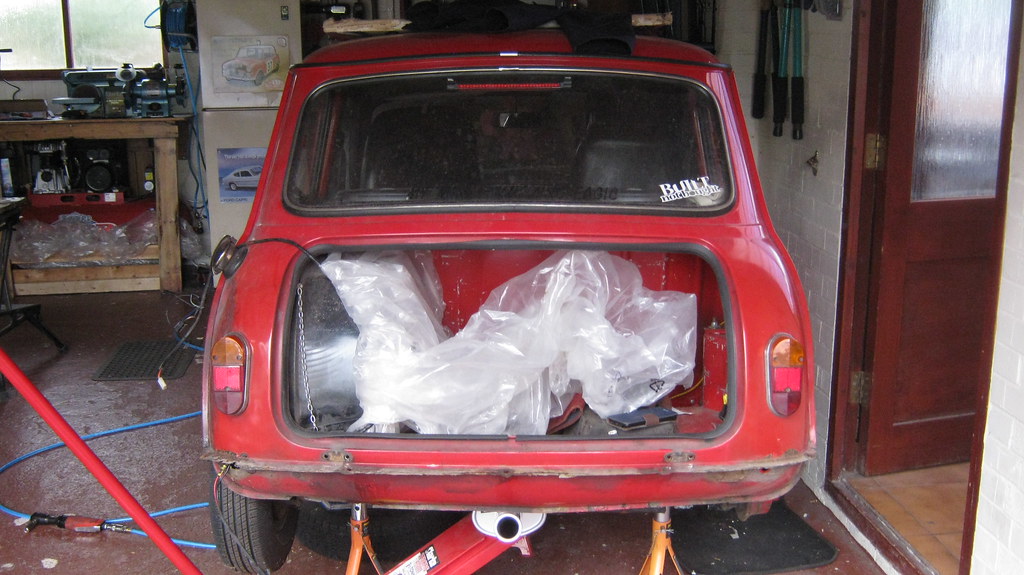
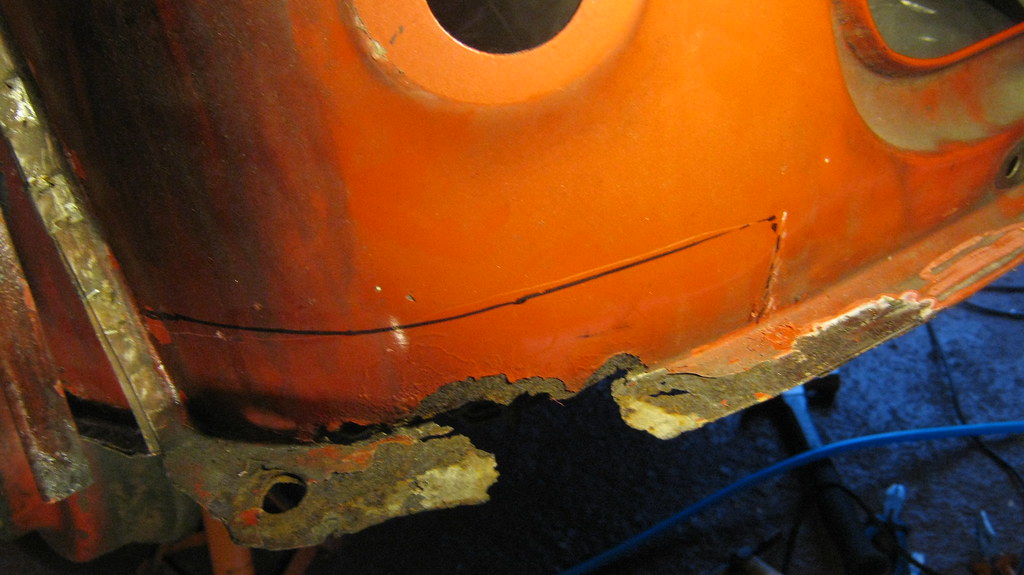
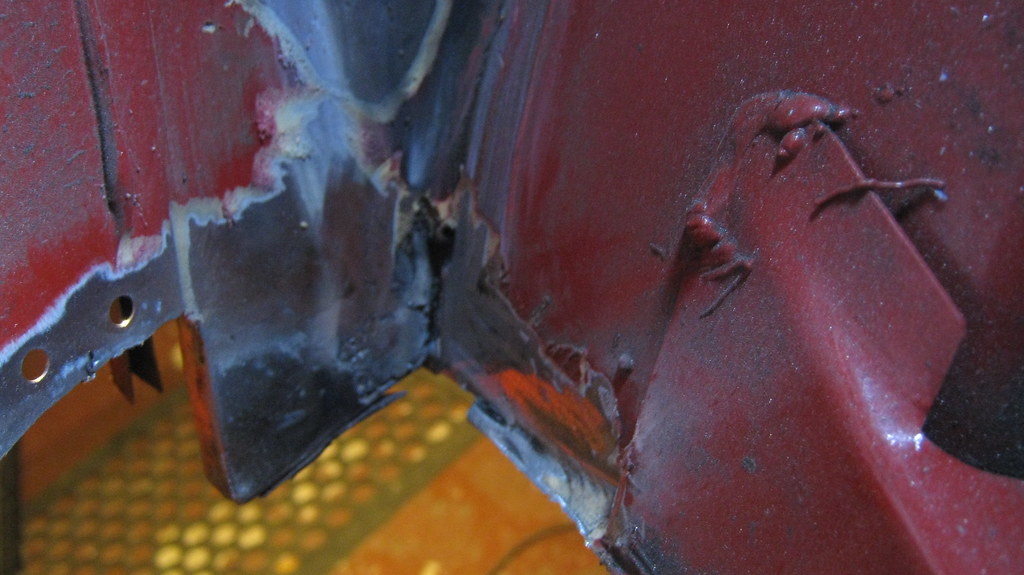
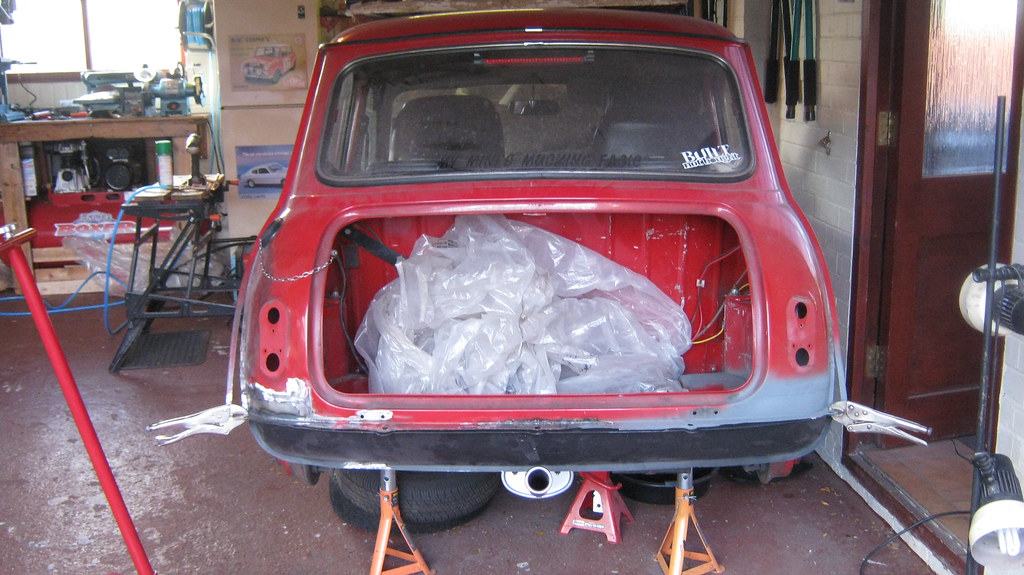
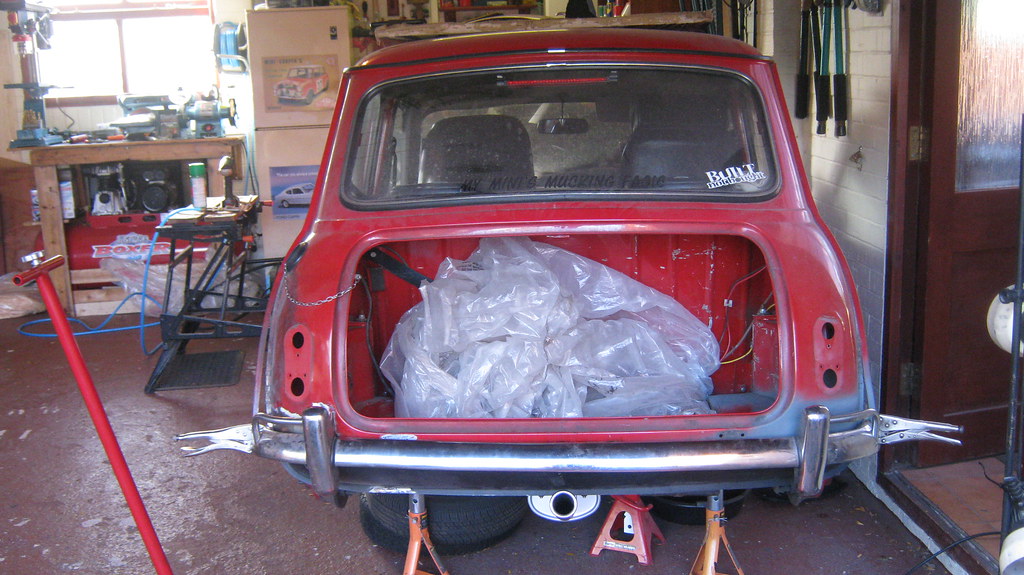
Then after that I thoroughly assessed the condition of the rear valance and rear panel. Not too good really...
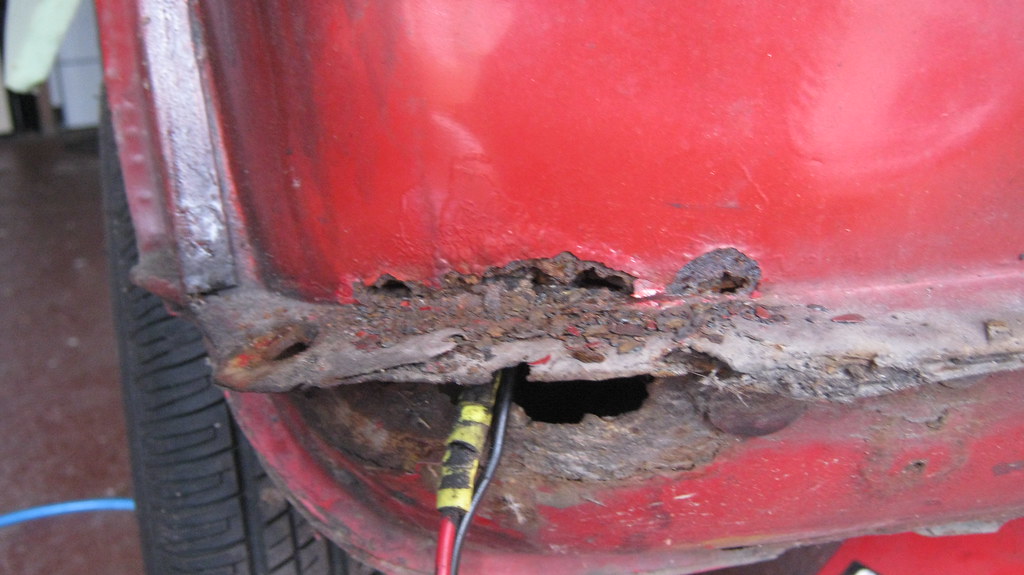 IMG_0594 by Sven Cumner, on Flickr
 IMG_0595 by Sven Cumner, on Flickr
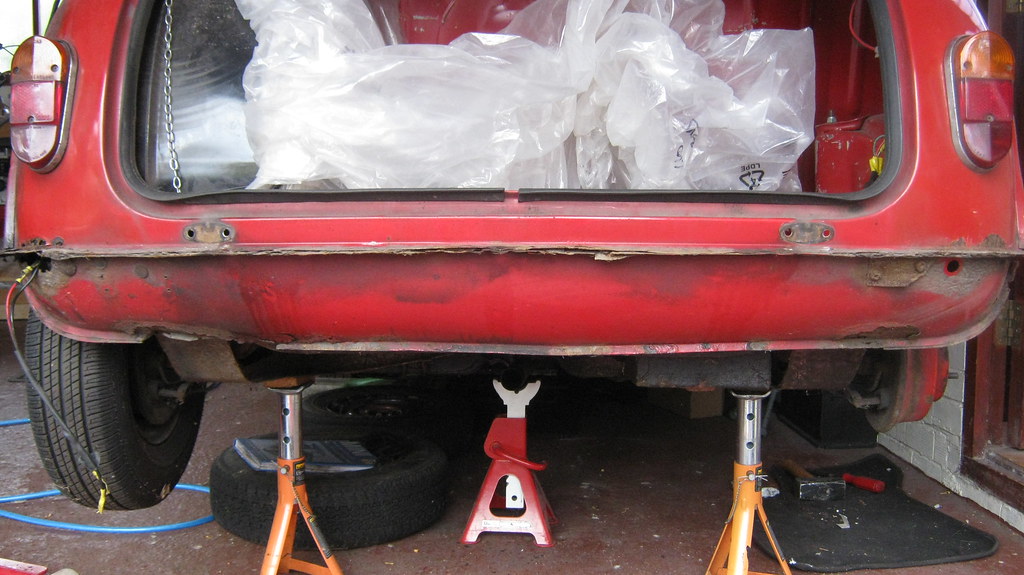
So I cut the valance off.
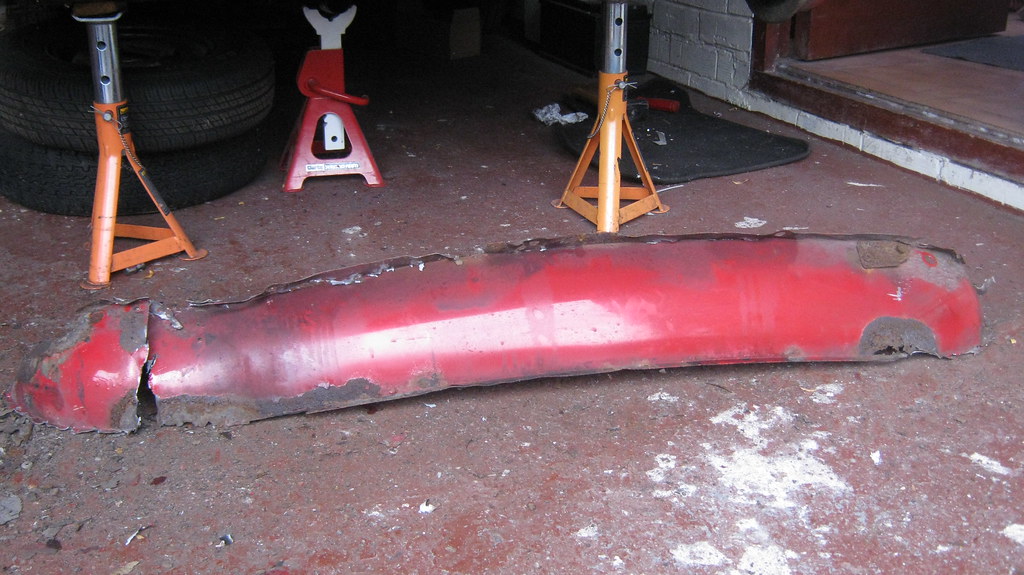 IMG_0596 by Sven Cumner, on Flickr
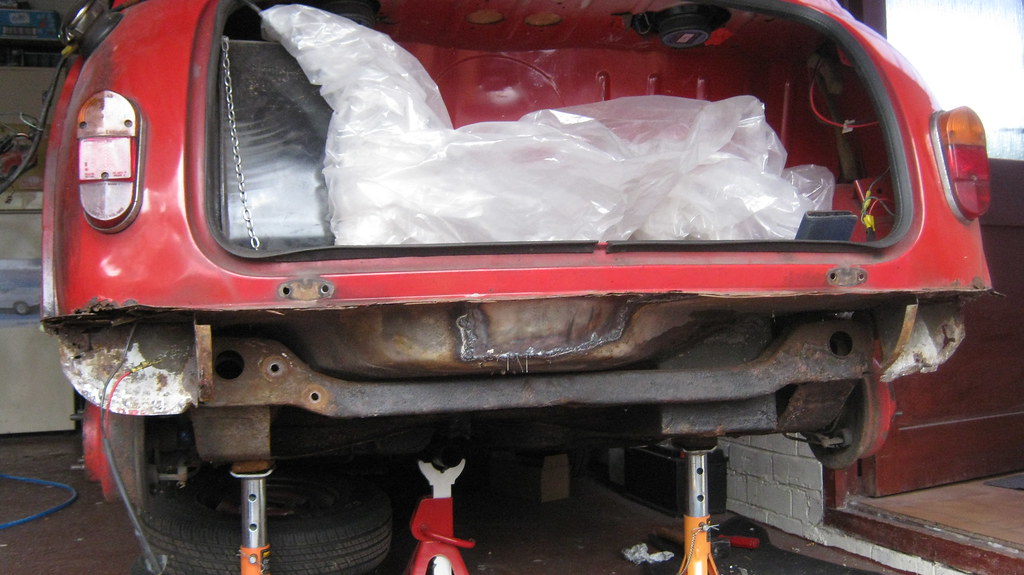 IMG_0597 by Sven Cumner, on Flickr
This then made it very evident that I had a lot of work to do on the boot floor. The rabbit hole gets deeper.
 IMG_0598 by Sven Cumner, on Flickr
 IMG_0599 by Sven Cumner, on Flickr
So I needed to strip more away from the rear end. First thing out was the petrol tank, which gave me a good chance to try out my new air ratchet on the longest bolt in the world (I have bad memories of how long it took to get this strap bolt out...)
 IMG_0609 by Sven Cumner, on Flickr
Air ratchet did it in about 10 seconds! I love air tools.
Here's the view with the tank out of the way.
 IMG_0610 by Sven Cumner, on Flickr
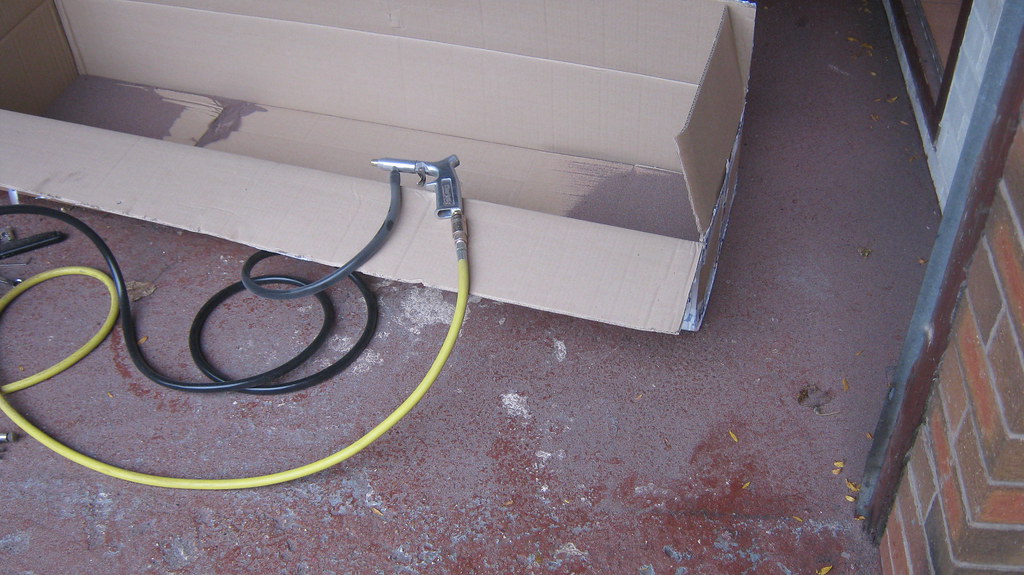
Then moving on to playing with more air tools, I wanted to test out this simple spot blasting kit.
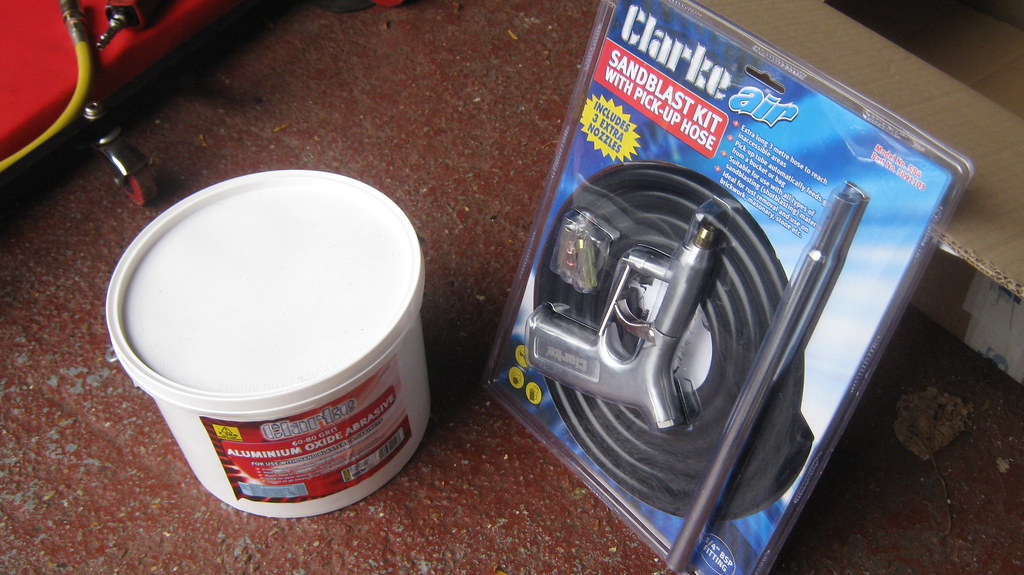 IMG_0612 by Sven Cumner, on Flickr
It works well, but only really for small areas. I was hoping to get most of the rear of the boot floor back to bare metal, but it was taking far too long and making far too much of a mess...
 IMG_0614 by Sven Cumner, on Flickr
At least some went in the box I was using to catch it all! I managed to sweep most of it back up off the floor, but not really a practical thing to use in this case. Works very nicely on small items though, like these tiny bits of seam strip cover.
 IMG_0615 by Sven Cumner, on Flickr
 IMG_0616 by Sven Cumner, on Flickr
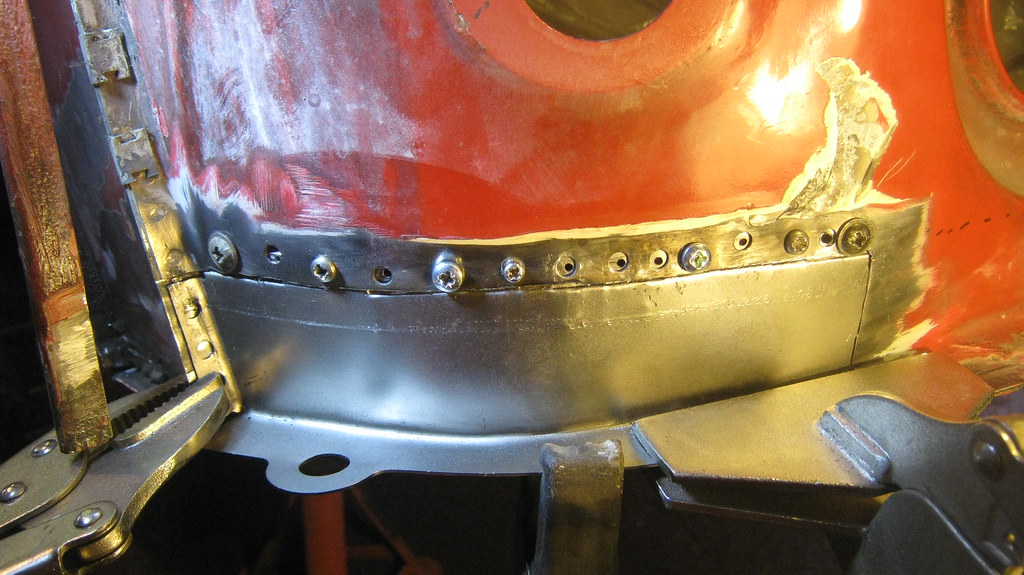
Moving back to cutting and welding, I bought these little repair panels from M-machine to repair the rotten corners of the rear panel.
 IMG_0618 by Sven Cumner, on Flickr
I cut what I wanted off the car and then cut down the repair piece to match.
 IMG_0619 by Sven Cumner, on Flickr
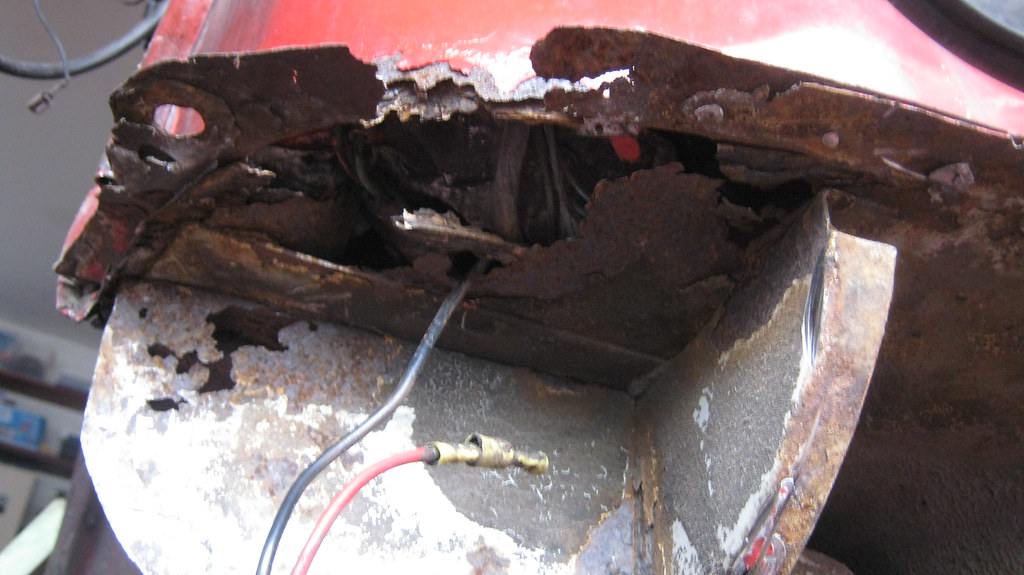
Then I cut out all of the rotten bits in the boot corner - not much left!
 IMG_0620 by Sven Cumner, on Flickr
 IMG_0624 by Sven Cumner, on Flickr
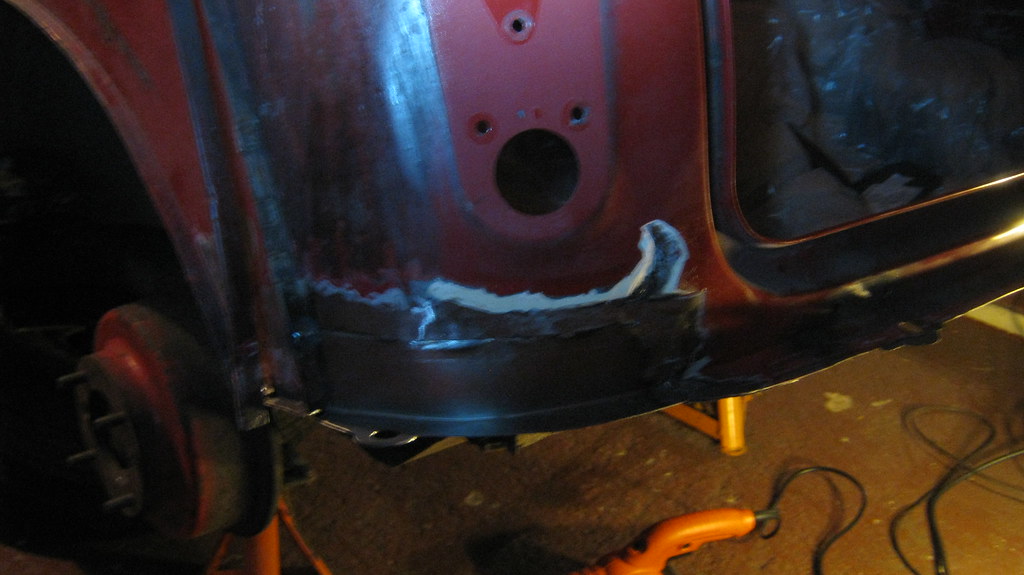
I started off by patching the rear of the arch area.
 IMG_0625 by Sven Cumner, on Flickr
A bit messy, but aesthetics don't matter much here.
 IMG_0626 by Sven Cumner, on Flickr
Then I decided to put in the rear panel corner repair and do the boot floor section last, otherwise I wouldn't know exactly what shape to make the boot floor repair. So I punched some holes for plug welds and then screwed the repair panel in place to bring it all together, as obviously the curve of the repair piece was a little different to that of the car.
 IMG_0627 by Sven Cumner, on Flickr
Then I welded it in place.
 IMG_0628 by Sven Cumner, on Flickr
Then I dressed back the welds on it and on the arch patches..
 IMG_0632 by Sven Cumner, on Flickr
 IMG_0629 by Sven Cumner, on Flickr
This was the hole I was left with underneath.
 IMG_0630 by Sven Cumner, on Flickr
I forgot to take any photos of the boot floor repair on that side, but afterwards I moved to the other corner and cut out that rotten bit of the rear panel.
Marked out.
 IMG_0634 by Sven Cumner, on Flickr
Then hole punched (ignore the copious amounts of filler on the right from the Mk1 rear light panels... it wasn't me... honest  )
)
 IMG_0636 by Sven Cumner, on Flickr
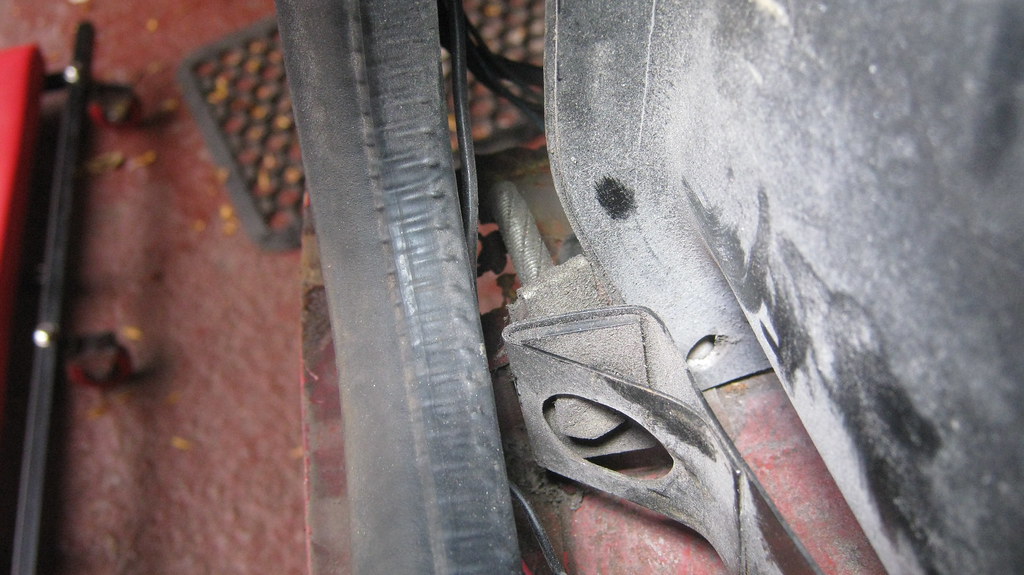
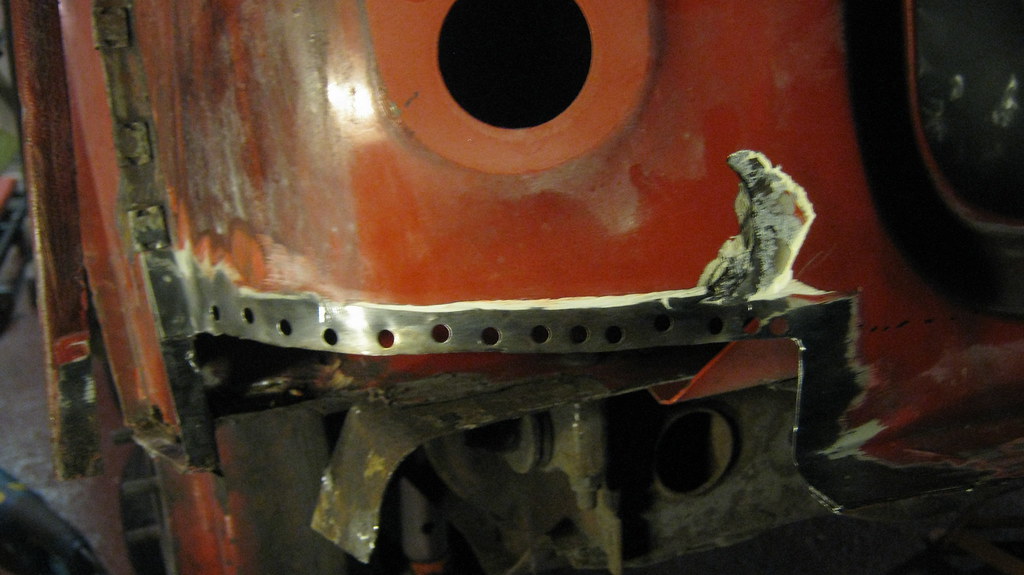
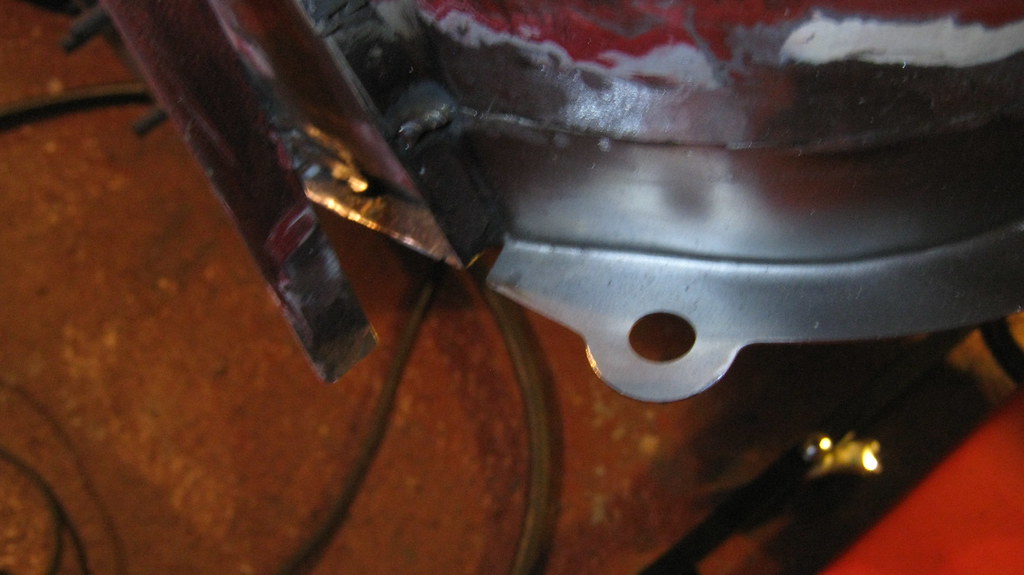
The wheel arch bottom wasn't so bad on this side, just need two small patches in the corner.
 IMG_0637 by Sven Cumner, on Flickr
Filled with metal.
 IMG_0638 by Sven Cumner, on Flickr
Then I cut down the repair on this side and screwed/clamped it in place.
 IMG_0639 by Sven Cumner, on Flickr
I then took some terrible pictures of the repair piece welded in.
 IMG_0641 by Sven Cumner, on Flickr
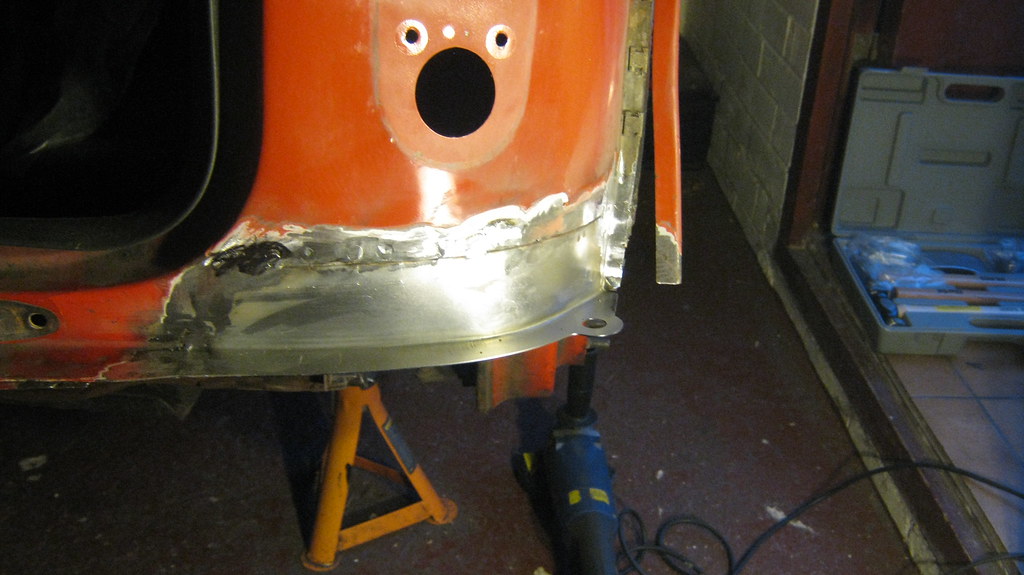
I didn't take any 'before' photos, but I dressed down this end of the lip to match the seam on the bottom of the quarter panel. It was quite bulbous before and would've looked weird if I left it as it was.
 IMG_0642 by Sven Cumner, on Flickr
I was then left with this hole to fill in the floor, and I took pictures this time.
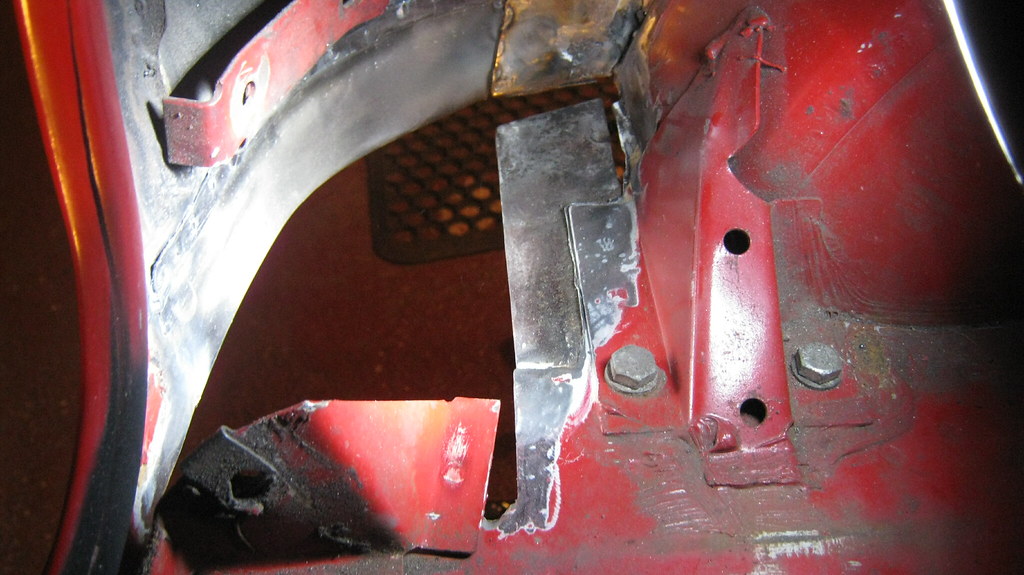 IMG_0640 by Sven Cumner, on Flickr
Template made in cardboard.
 IMG_0643 by Sven Cumner, on Flickr
Transferred to metal.
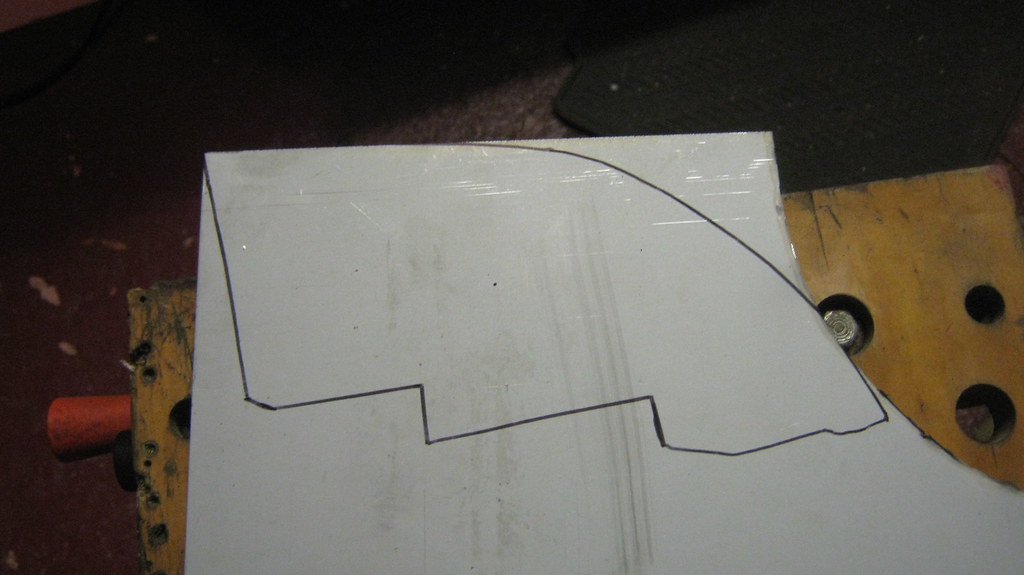 IMG_0645 by Sven Cumner, on Flickr
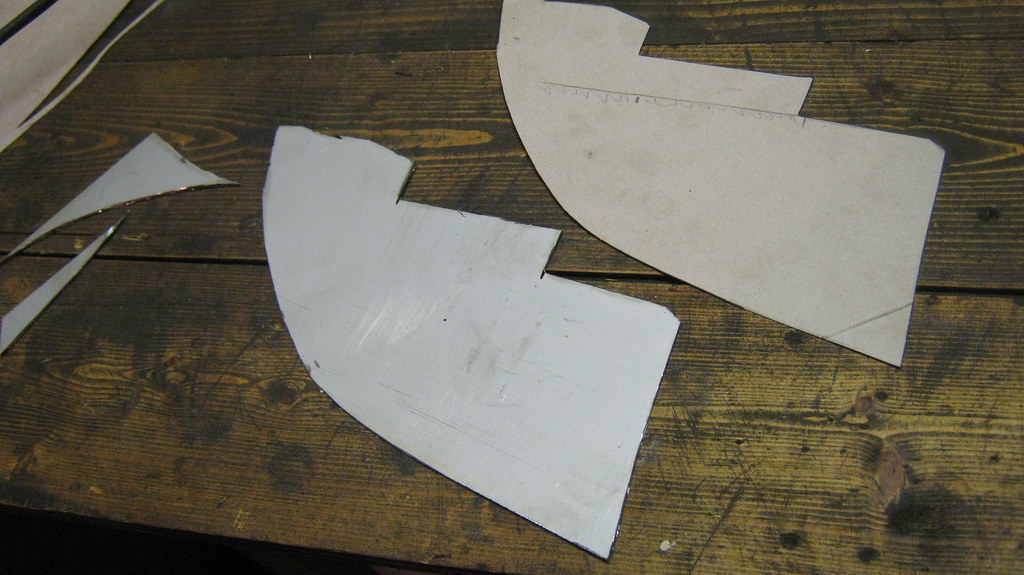 IMG_0646 by Sven Cumner, on Flickr
Edited by The Otter, 11 November 2015 - 12:47 PM.
#265
The Otter
-
- Members
-
- 620 posts
The artist formally known as j322overthetop
- Location: Midlands
Posted 11 November 2015 - 01:10 PM
I wanted to replicate the radiused hole that would've been in this corner of the floor for the wiring to go through for my reverse light. So I drilled an 11.5mm hole (bit random I know) and then used a socket and the end of my ball-pein hammer in the vice to make the shape I wanted.
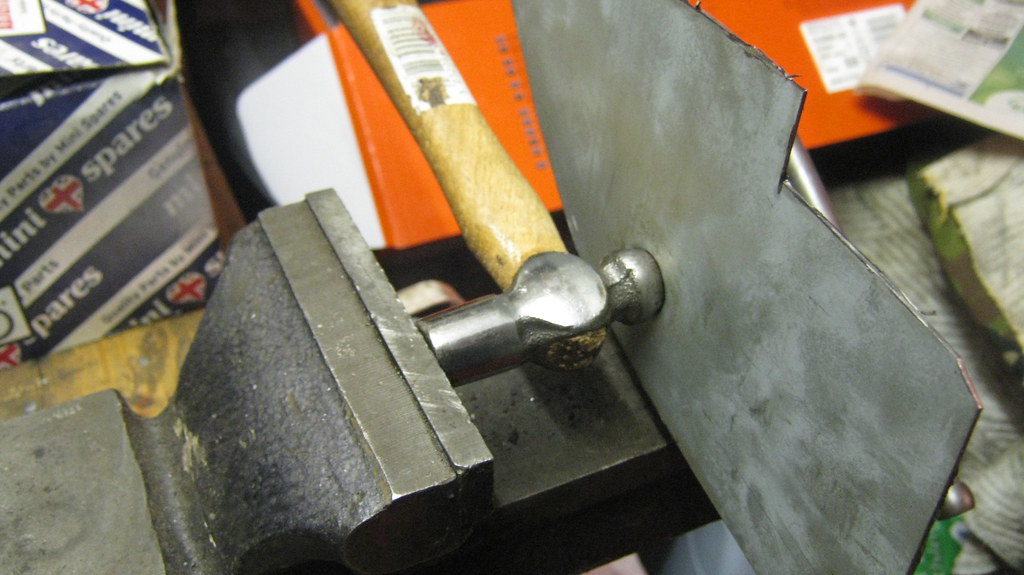 IMG_0647 by Sven Cumner, on Flickr
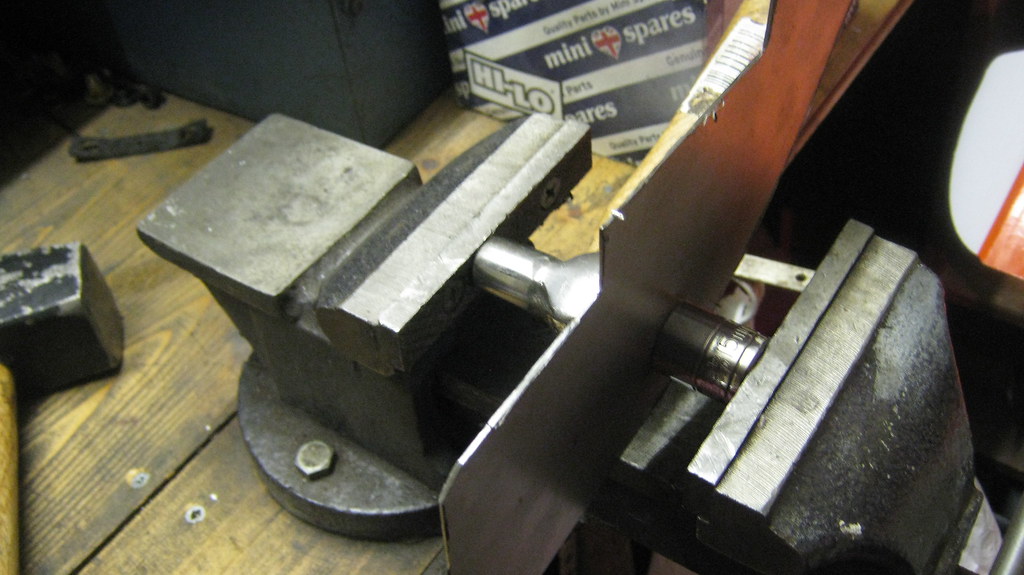 IMG_0648 by Sven Cumner, on Flickr
I was quite happy with the result.
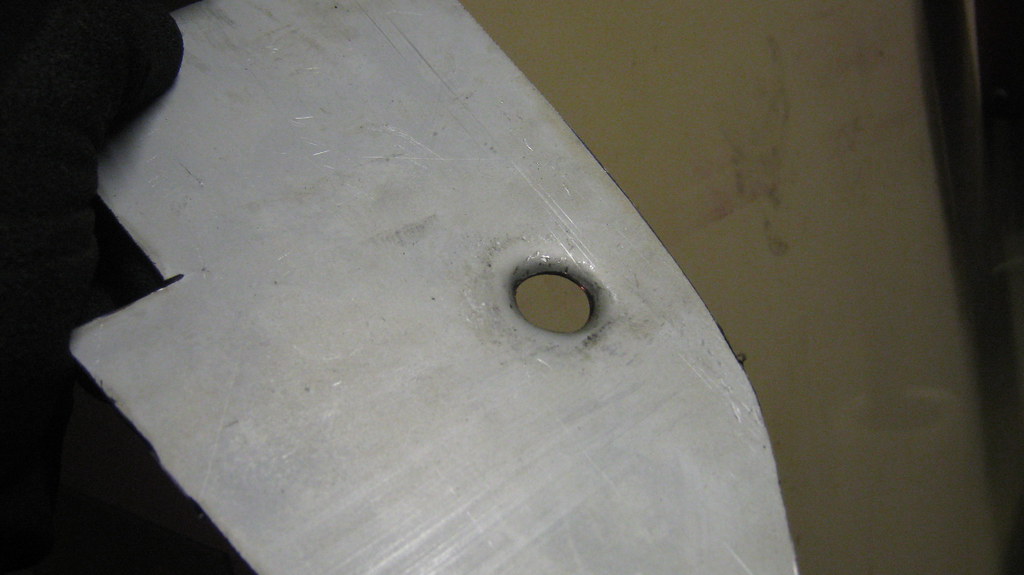 IMG_0649 by Sven Cumner, on Flickr
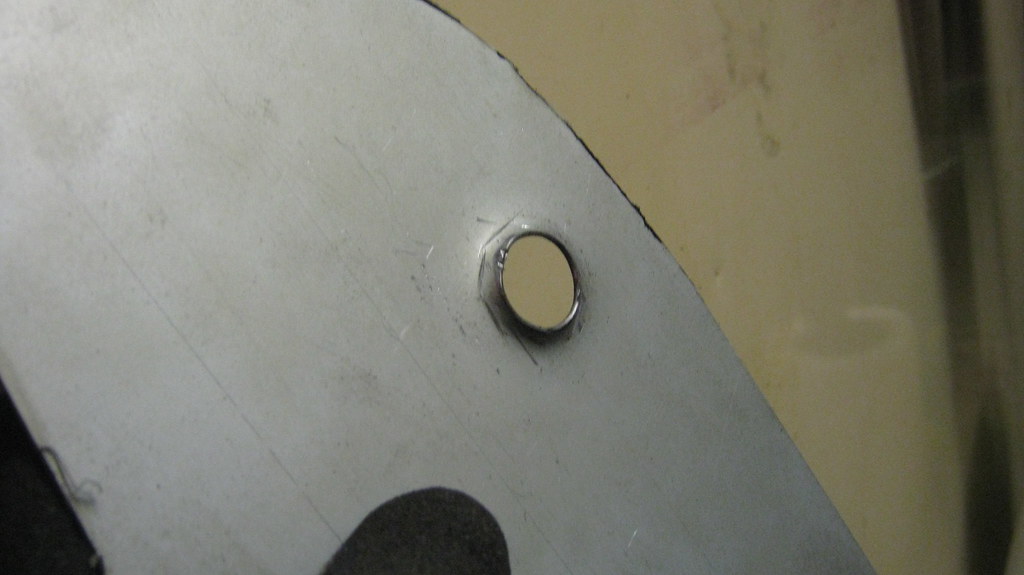 IMG_0650 by Sven Cumner, on Flickr
Then I put some more holes in the patch for plug welding to the thicker metal piece that runs under the floor here, as well as plug welding from the underside to attach it to the fuel tank strap bolt bracket thing at the front of the photo.
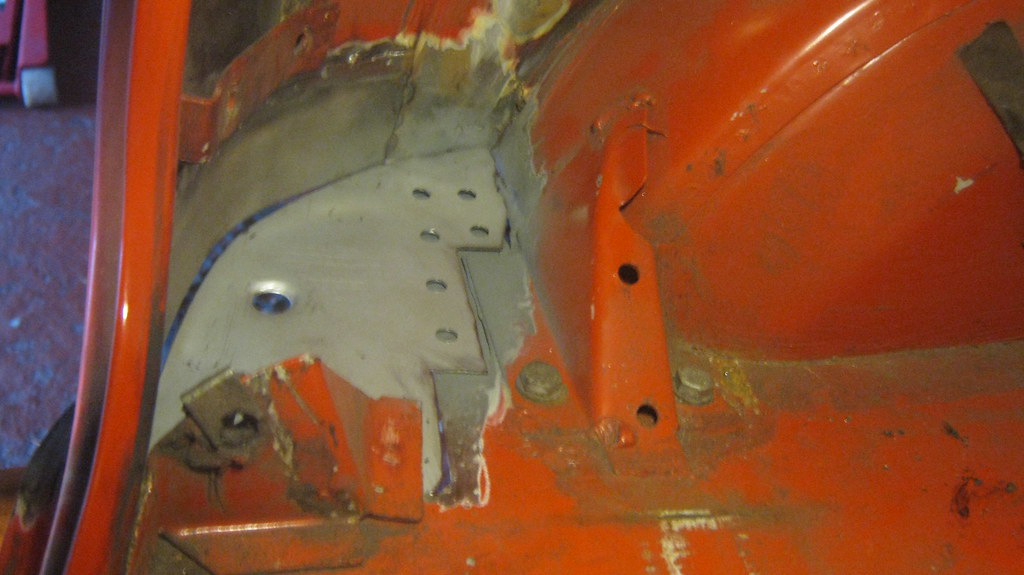 IMG_0651 by Sven Cumner, on Flickr
I really need to take more care when taking photos, these are rubbish... anyway, here's the patch welded in and partially dressed back.
 IMG_0652 by Sven Cumner, on Flickr
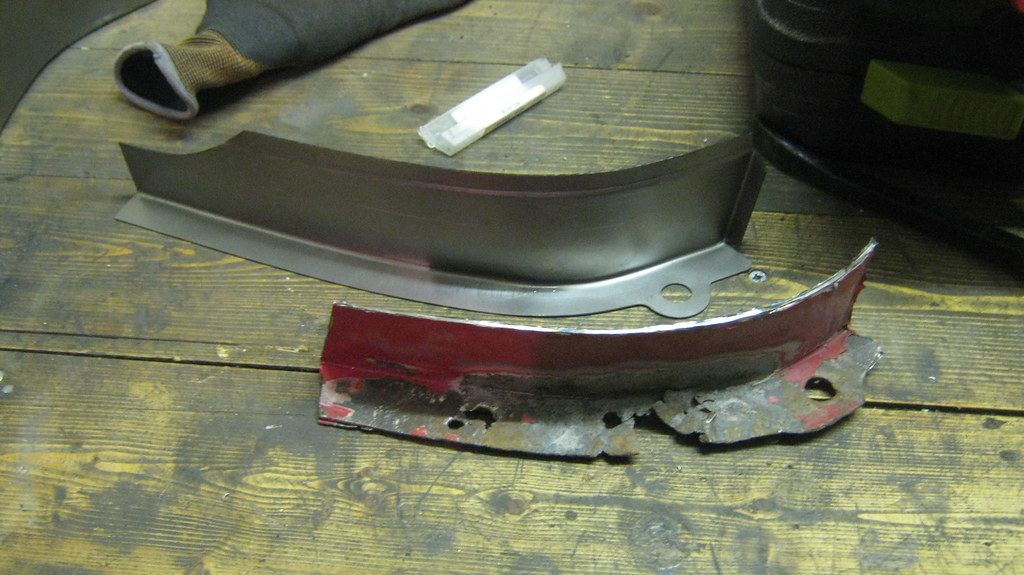
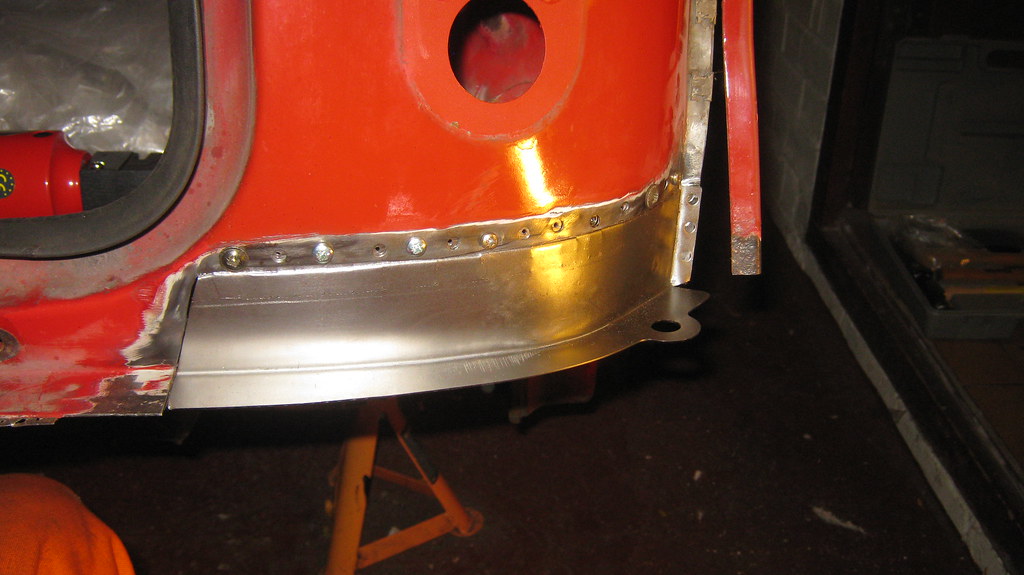
Next up, I started to prepare the rear valance. As I'm going to be using the centre exit exhaust, I really really didn't want this little cut out on the side for normal side-exit exhaust clearance.
 IMG_0655 by Sven Cumner, on Flickr
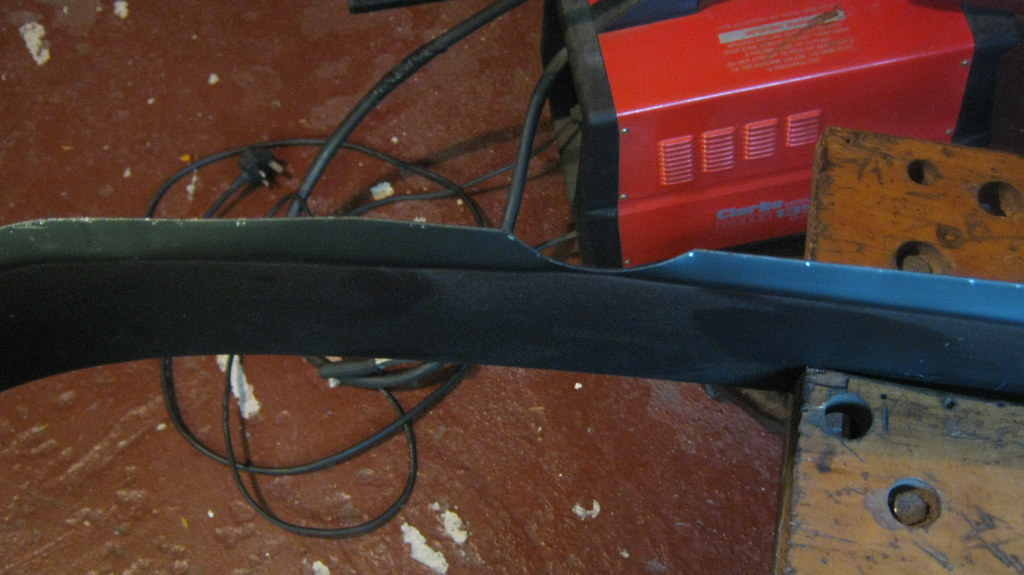 IMG_0654 by Sven Cumner, on Flickr
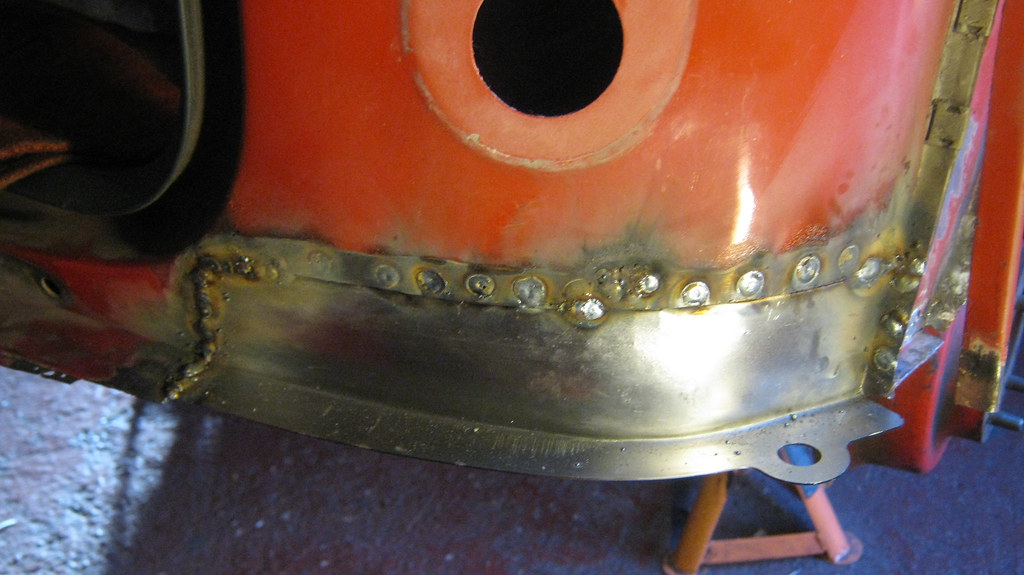
So I made a little patch and welded it in.
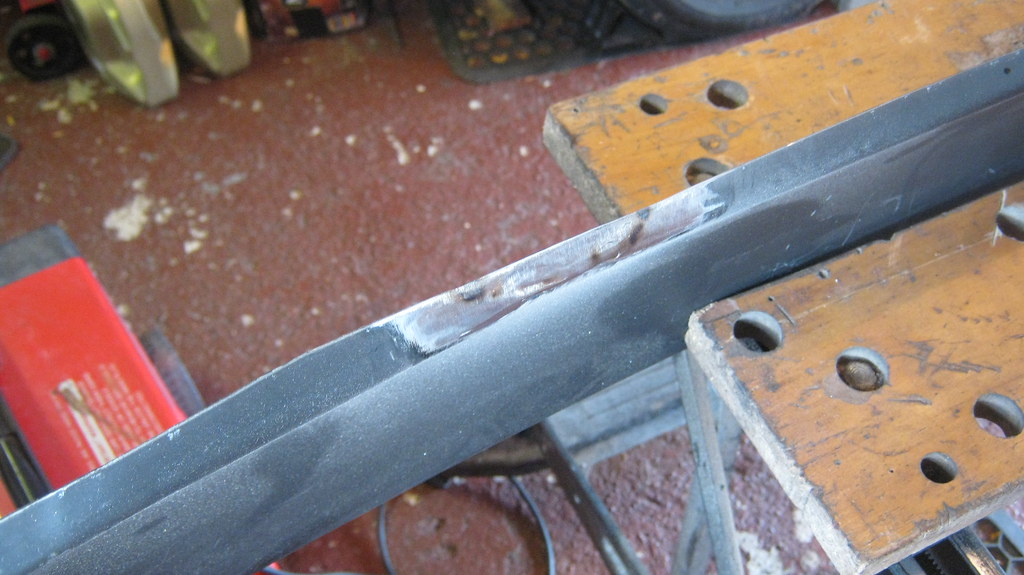 IMG_0656 by Sven Cumner, on Flickr
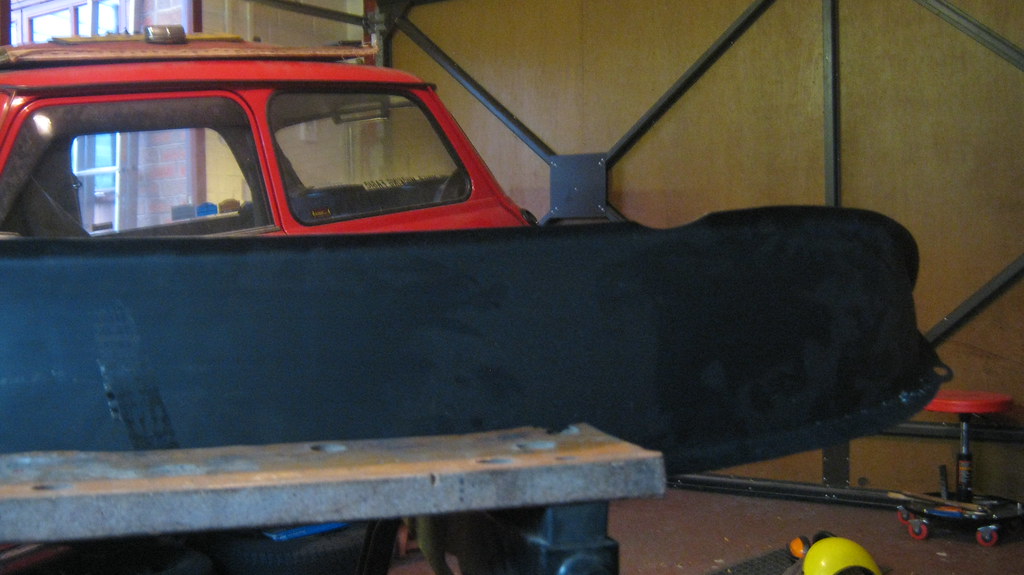
Then I had to have another trial fit of everything, good to keep the spirits up and remind yourself what the goal of all this mindless metalwork is for.
 IMG_0658 by Sven Cumner, on Flickr
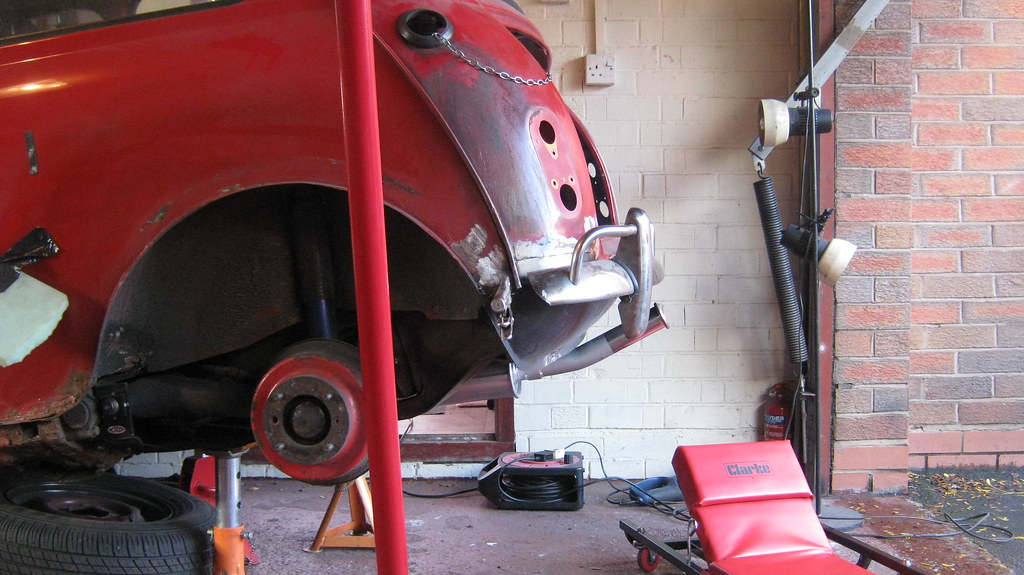
Whilst I was there, I drilled the holes in the subframe to be able to bolt the exhaust on, so here it is hanging all by itself.
 IMG_0659 by Sven Cumner, on Flickr
There was a bit of a weird dent in the subframe here, no idea why, but I pulled it out as best I could before drilling the exhaust mounting holes.
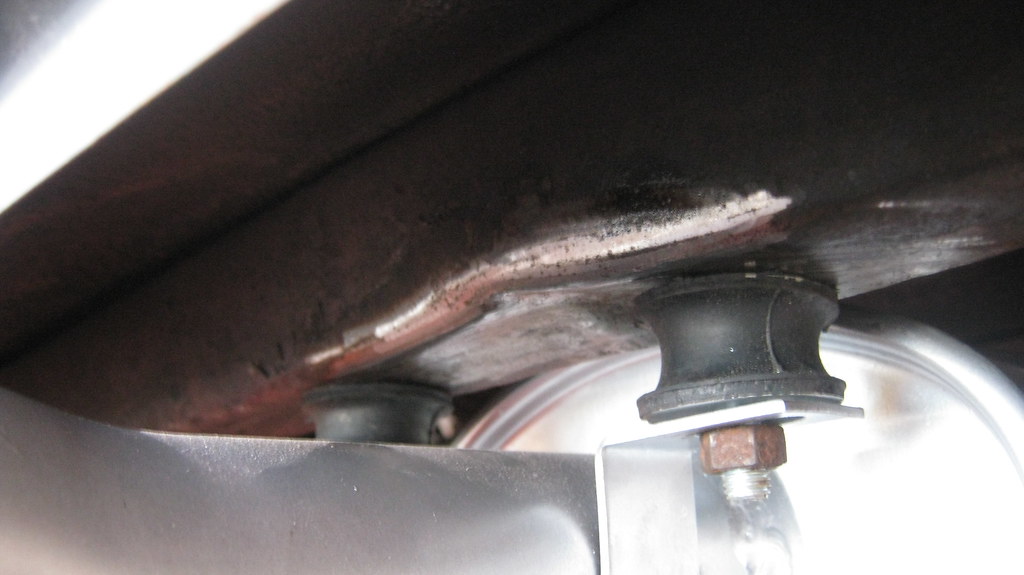 IMG_0660 by Sven Cumner, on Flickr
Oh my. 
 IMG_0661 by Sven Cumner, on Flickr
 IMG_0662 by Sven Cumner, on Flickr
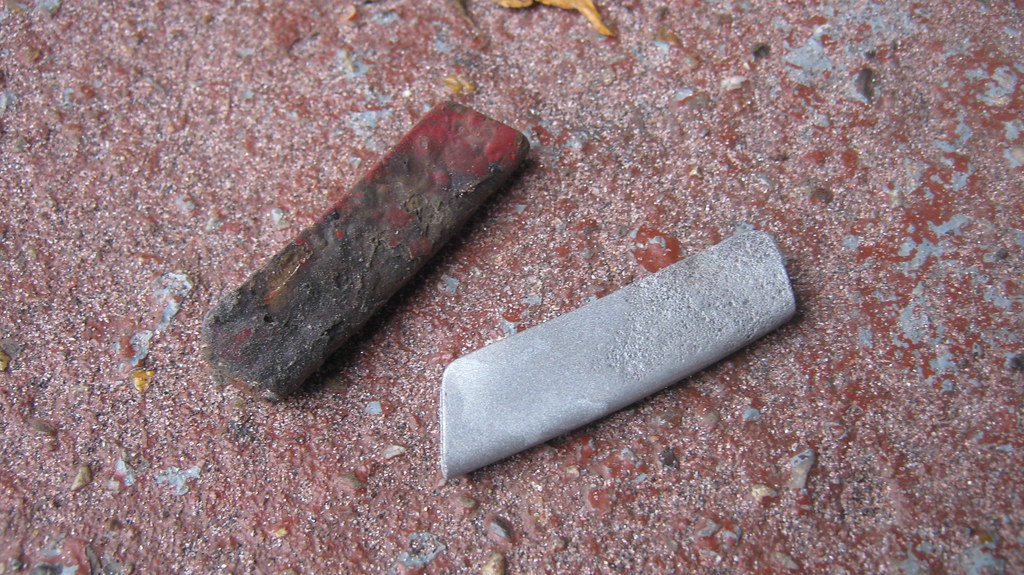
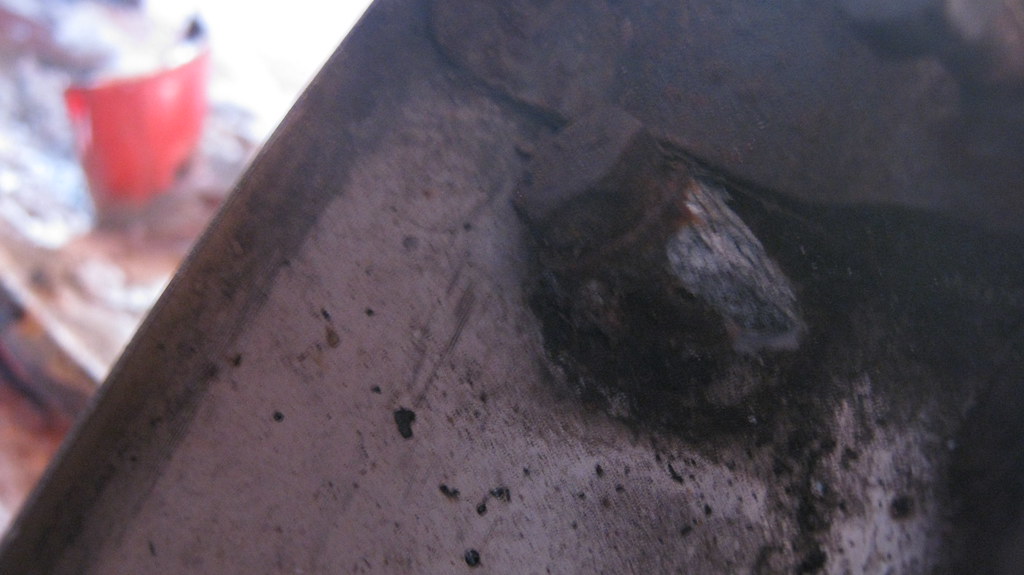
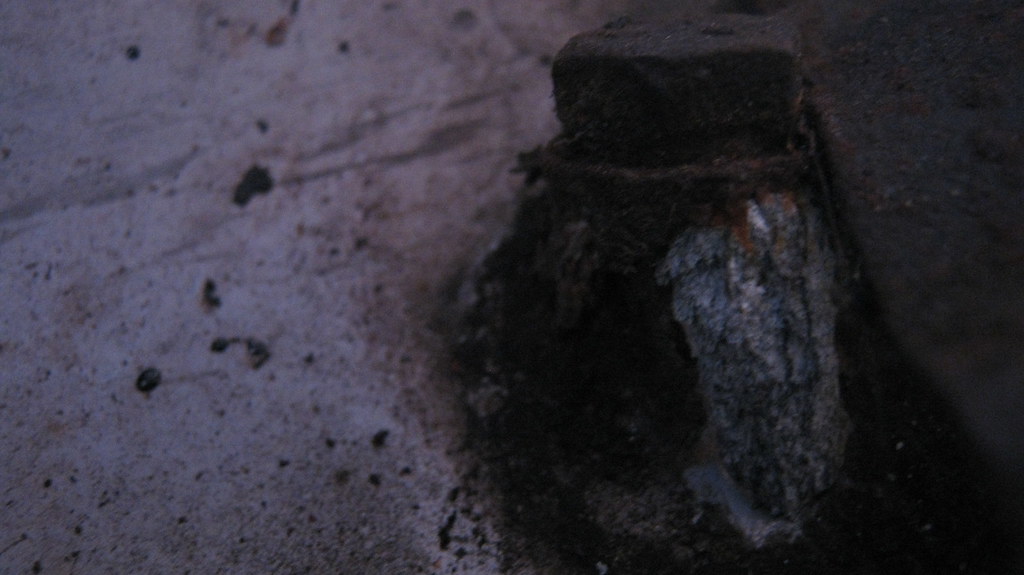
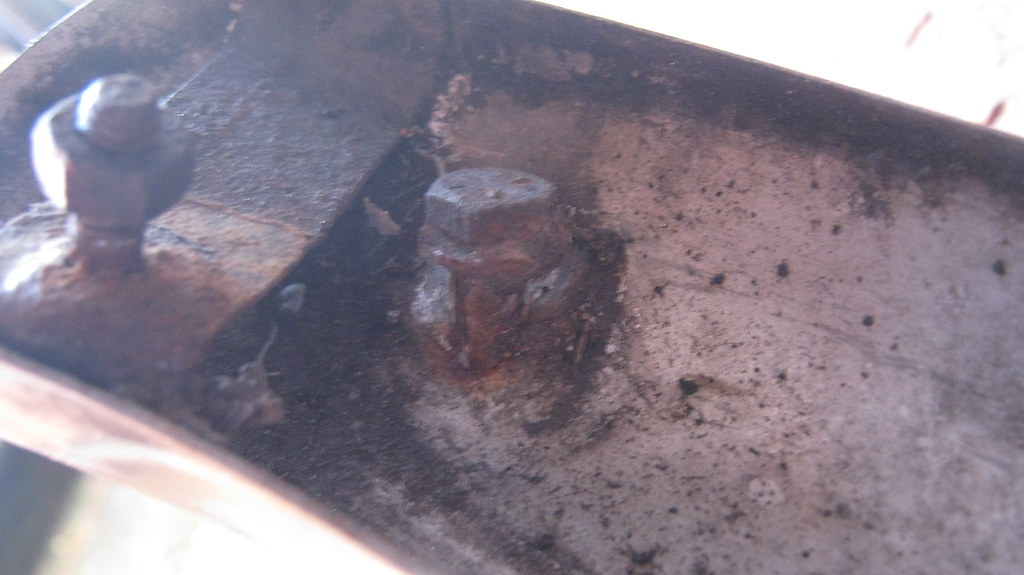
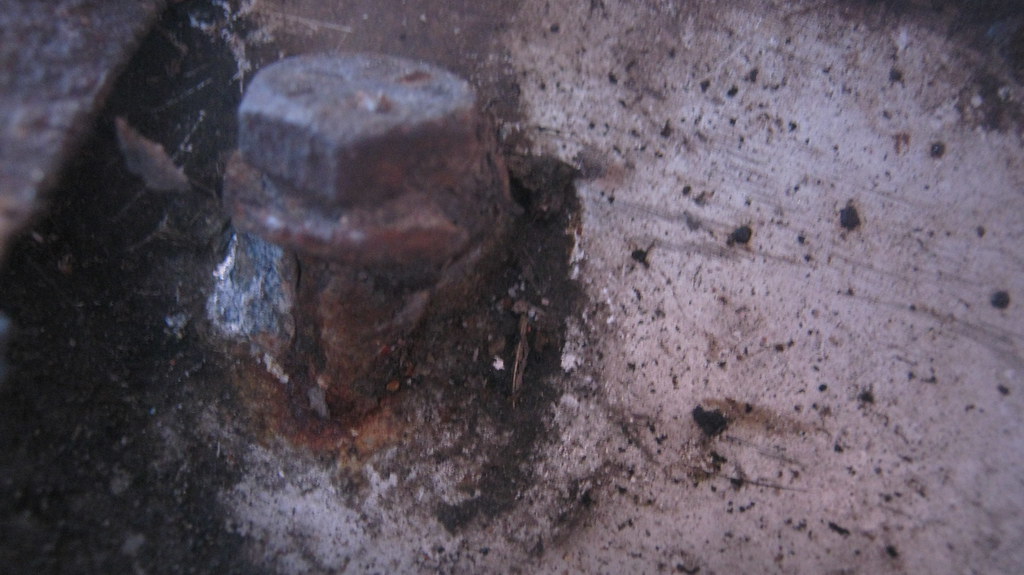
Whilst I was messing around with rear bumper, I noticed something odd. The fitting kit for the corner bars consisted of some alloy spacers to go under the bumper so you could bolt through in to the corner bars. It seems that the steel bolts have been using the alloy spacers as a sacrificial anode of sorts (I think that's right? maybe the alloy has just corroded away by itself...). In any case, there's not much left of the alloy spacers  .
.
Terrible pictures, AGAIN  ... but this one is the better side.
 IMG_0663 by Sven Cumner, on Flickr
 IMG_0664 by Sven Cumner, on Flickr
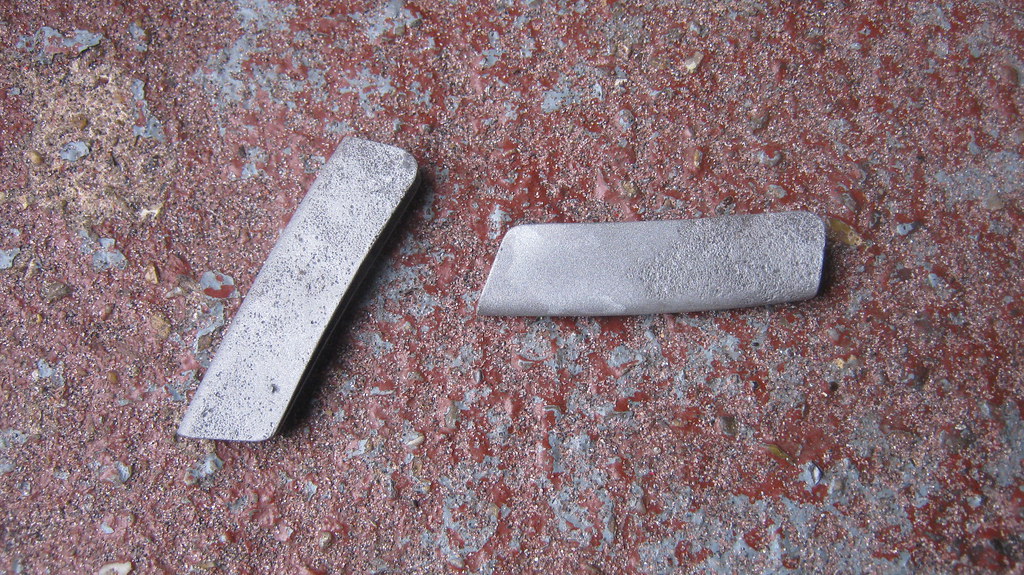
This one is the worse side...
 IMG_0665 by Sven Cumner, on Flickr
 IMG_0666 by Sven Cumner, on Flickr
The bumper is stainless, and I assume the corner bar is too, hence the bolt and spacer taking all of the corrosive action - they're still quite firmly attached, but I'm not sure how much longer it's gonna last!
That's all folks, I've done a bit more to prep the valance now, drilled a few holes in it and such, so next steps are to prepare the closing panels/boot floor to receive the new panels. Will hopefully have the valance on within the next couple of weeks.
Cheers everyone 
Edited by The Otter, 11 November 2015 - 01:12 PM.
#266
jaydee
-

- Members
-
- 8,565 posts
Crazy About Mini's
Posted 11 November 2015 - 01:25 PM
Yup thats bimetallic corrosion, and sadly it will eat the alloy further more
An alloy spacer there is a bad idea indeed
#267
jaydee
-
- Members
-
- 8,565 posts
Crazy About Mini's
Posted 11 November 2015 - 01:32 PM

Dont know if this may help
#268
minimissions
-
- Members
-
- 3,427 posts
Up Into Fourth
- Location: North West
- Local Club: M.M.O.C
Posted 11 November 2015 - 02:25 PM
Nice work this is really coming together well :) will be a solid mini soon :)
#269
Jared Mk3
-

- Members
-
- 1,974 posts
Has a small thing but it does make a difference
- Location: Kokstad, South Africa
- Local Club: MOCKZN
Posted 11 November 2015 - 02:58 PM
That rear end is looking tasty!
#270
coopdog
-
- TMF+ Member
-
- 4,506 posts
Up Into Fourth
- Location: South Wales
Posted 11 November 2015 - 03:27 PM
how did you fill such a large gap in the boot corner?
or did you just push the body in too meet the new piece?


5 user(s) are reading this topic
0 members, 5 guests, 0 anonymous users


