Jump to content


Photo
- - - - -

'92 City E - Mk1 Fraudster - Attempt To Shine (16/05/16)


  • Please log in to reply
297 replies to this topic

#76 The Otter

The Otter

    The artist formally known as j322overthetop

  • Members
  • PipPipPipPipPipPip
  • 620 posts
  • Location: Midlands

Posted 19 August 2012 - 08:37 PM

What scuttle are you using there?
Looks to fit much better than the one i tried to fit today


It's a genuine one that I bought from Minispares, cost about £110 or so if I remember correctly. I've gone for pattern panels with the rest of the front end though, as I am on a bit of a tight budget, but I'd read on here that anything other than a genuine scuttle is a waste of time as the windscreen won't fit properly, and seeing as this is my daily drive I wanted to be sure it went back together as best as possible. I'm hoping the scuttle goes on nicely, but I'm not expecting the rest of the front end to go together quite so easily...

#77 charie t

charie t

    Up Into Fourth

  • Members
  • PipPipPipPipPipPipPipPipPip
  • 3,153 posts
  • Location: South Leicestershire sticks
  • Local Club: wreake mini wanderers

Posted 19 August 2012 - 08:55 PM

Marveloooose, i didnt know if there were any others
Its not even on and i know its not going to fit

#78 The Otter

The Otter

    The artist formally known as j322overthetop

  • Members
  • PipPipPipPipPipPip
  • 620 posts
  • Location: Midlands

Posted 21 August 2012 - 12:15 AM

Finally feels like I've made some progress today - a new panel is on!

Posted Image

Posted Image

Posted Image

I also started work on removing the front panel. I cut the corners off to give me better access to the spot welded lips. Why did they put so many spot welds on these things?!

Posted Image

Then when it got a bit late to be angle grinding, drilling and hammering, I decided to clean up the wiper motor assembly.

Posted Image

Posted Image

I've dropped the drivers door (with the messed up hinge) off at my local mini specialist, as he said he should be able to sort it for me. I've already spent a while trying to sort it, but I decided to leave it to someone else whilst I get the rest of the front end on. I will need it for the drivers side A-panel fitment though, so hopefully it won't take him too long.

I've set my target for completion (minus final finishing and paint) for Friday/Saturday this week, so let's hope I don't run in to any big problems.

#79 The Otter

The Otter

    The artist formally known as j322overthetop

  • Members
  • PipPipPipPipPipPip
  • 620 posts
  • Location: Midlands

Posted 21 August 2012 - 11:39 PM

I can see the light at the end of the tunnel! Good progress today, and I'm pleasantly surprised with how well the pattern panels line up, seeing as all I've read and been told is that they're all rubbish and won't fit. They're not perfect, but no where near as bad as I thought they might be!

First thing was to get the rest of the front panel off and clean up the inner wings where I'm going to plug weld the new panel on.

Posted Image

Then I swapped over the subby mounts on to the new front panel.

Posted Image

Then I got all excited and decided to trial fit all the panels!

Posted Image

Posted Image

Posted Image

Then whilst I was having a look at the scuttle seam I noticed that the windscreen demister vents were lined up terribly and were curved out of shape :dozing: Maybe this was why my windscreen wouldn't demist in the winter!

Posted Image

Mmm, curvy...

Posted Image

So I took them off, bent them a bit straighter than they were before and refitted them, trying my best to keep them lined up with the slots in the dashrail.

Posted Image

Then I welded up the holes for the later shape grill screws in the front panel, seeing as I have a Mk1 grille and the holes would be a bit of an eye sore...

Posted Image

Posted Image

Then I spent many many many hours drilling holes for the plug welding. Easily the worst part of the job so far, doing 70 odd 2mm holes, then 70 4mm, then 70 7mm...

Posted Image

Posted Image

One more trial fit with the passenger door on before bed, just to get me in a better mood again after drilling so many damn holes.

Posted Image

Fingers crossed I get some of this lot welded on tomorrow! Hopefully getting my drivers door back as well, so nearly there!

#80 Spud_133

Spud_133

    mmm potato and cheese....

  • Members
  • PipPipPipPipPipPipPipPip
  • 1,689 posts
  • Location: Narrrrfolk
  • Local Club: C&T Classics

Posted 22 August 2012 - 10:08 AM

Drilling holes in body work is possibly the worst thing going, isn't it!

#81 The Otter

The Otter

    The artist formally known as j322overthetop

  • Members
  • PipPipPipPipPipPip
  • 620 posts
  • Location: Midlands

Posted 22 August 2012 - 10:59 PM

Drilling holes in body work is possibly the worst thing going, isn't it!


Damn straight it is! >_<

I got the front panel welded on this morning, and spent a little while fettling the wings to get the bonnet/wing gap looking half decent, with self tappers to hold it in place on the inner wing/outer wing seam. Oh yeah, I forgot to say that I painted the inside bit of the front panel that you'd see from in the engine bay last night before I welded it on, as I knew it would be impossible to paint it when the panel was on.

Posted Image

Also picked up the driver's door from the mini specialist, he welded in a new stud and got the old ruined torx head screw out and replaced it. Nice bit of work there for £10 I think.

Posted Image

Apart from that I didn't really do much else, just fitting the wiper motor back in, amongst other little jobs. Should get a lot done tomorrow though, whole day set back for car work again! :D

#82 Roach

Roach

    Stage One Kit Fitted

  • TMF+ Member
  • PipPipPip
  • 58 posts
  • Location: BC

Posted 23 August 2012 - 02:16 AM

Great work! It's coming along very well.

#83 The Otter

The Otter

    The artist formally known as j322overthetop

  • Members
  • PipPipPipPipPipPip
  • 620 posts
  • Location: Midlands

Posted 23 August 2012 - 07:47 PM

Very happy with today's progress, the welding is all finished!

I got the wings on first thing this morning

Posted Image

Then spent the afternoon doing the A-panels

Posted Image

I folded over the lip of the A-panel as per the guide pinned in the bodywork section on here, using a block of wood and a pair of molegrips. Worked wonderfully I must say!

Posted Image

I started off by bending the lip about half way before I clamped it on to the car, as the fold gives the panel a sort of a hook to hold itself in place whilst the seam to the wing is clamped together, and it makes it much easier to use the mole grips and wood technique for bending it all the way.

Posted Image

Mmm, no more welding! :D

Posted Image

Posted Image

I sprayed all the bare metal and the seams with zinc primer, then when that was dry I got very dirty with a tube of Sikaflex.

Posted Image

Posted Image

Posted Image

I then started putting all the lights and bits of trim back on, and this is where I ended for the day.

Posted Image

Getting close now, will certainly be road worthy tomorrow sometime! I'm going to leave the painting for a few days, as I'm planning to use the car on Saturday to drive to Bristol, and because I need to let the Sikoflex dry as much as possible. I also need to cut the wings/front panel for the wide wheels, so no point painting it yet if I've still got to cut it up a bit.

Thanks for reading!

Sven

#84 alex-95

alex-95

    I am THE CLAMP MAKER

  • Members
  • PipPipPipPipPipPipPipPipPipPip
  • 6,025 posts
  • Location: l

Posted 23 August 2012 - 07:52 PM

Looks Excellent, You've done a great job on the front end.

#85 The Otter

The Otter

    The artist formally known as j322overthetop

  • Members
  • PipPipPipPipPipPip
  • 620 posts
  • Location: Midlands

Posted 23 August 2012 - 10:55 PM

Looks Excellent, You've done a great job on the front end.


Cheers buddy, I'm really proud of what I've managed to achieve with this :P Just hope my cheap rattle can spray job will look convincing enough when it's all back together for good.

The progress you've made on your project is fantastic I must say, hopefully one day I'll have the time and resources to do a full on resto on my car!

#86 Noah

Noah

    Up Into Fourth

  • Members
  • PipPipPipPipPipPipPipPipPip
  • 4,136 posts
  • Location: NE London/Essex
  • Local Club: Essex Mini Club

Posted 23 August 2012 - 10:59 PM

Wish I had the confidence to weld. Surely can't be that difficult. Could save myself a fortune.

#87 The Otter

The Otter

    The artist formally known as j322overthetop

  • Members
  • PipPipPipPipPipPip
  • 620 posts
  • Location: Midlands

Posted 24 August 2012 - 12:05 AM

Wish I had the confidence to weld. Surely can't be that difficult. Could save myself a fortune.


I was surprised how easy welding was when I first started to be honest! Sure, it takes nothing but practice and years of experience to get a neat, really strong weld, but I really think that 80% of a good weld is down to getting the settings right on the welder. All you need to do is have a steady hand and pull the trigger, simple!

#88 Alex_B

Alex_B

    Doesn't put foot in mouth enough!

  • TMF+ Member
  • PipPipPipPipPipPipPipPipPip
  • 4,573 posts
  • Location: Eastbourne

Posted 24 August 2012 - 12:12 AM

Yeah welding is all about knowing how to set the welder up, having the confidence to start, and practice practice and then some more practice.

get some scrap metal, start practising butt, lap, plug, seam welds on various thickness' of metal and get comfy. simple as that really

and that fronts looking good! wont be long till you are blasting round those country lanes!

#89 The Otter

The Otter

    The artist formally known as j322overthetop

  • Members
  • PipPipPipPipPipPip
  • 620 posts
  • Location: Midlands

Posted 24 August 2012 - 11:05 PM

So I got it drivable and semi road legal today, went for a little drive to Screwfix to get some stainless fixings for the arches which I'll be putting on tomorrow.

First thing I did this morning was to put the windscreen in, and for some reason there was about 2 inches extra of the chrome finishing strip, even though it fitted perfectly before :dozing: The only thing I can think that happened is that the corners of the scuttle were so rusty, it took up that extra length in the bottom corners. I fitted a brand new windscreen (bought at L2B this year) as well, so that might have something to do with it.

Posted Image

Ready to rock and roll once more :mrcool:

Posted Image

I bought some stainless steel allen headed bolts for the front arches, and some stainless self tappers for the rear arches. Here's a test fit of the front, and I must say that it's a bit more on the illegal side than I would have liked... I've still got the arch-body rubber and a chrome strip which will add another few mm, but I might need to try spacing them out somehow to make them cover the wheels a bit more, especially at the back.

Posted Image

The rear arch is pretty warped but it should hold in shape fine once it's screwed in.

Posted Image

Posted Image

Tomorrow I've got to fit the arches, grille, bonnet straps, and spot lights, so shouldn't be too much hard work compared to the last 9 days :teehee:

Edited by J322OverTheTop, 25 August 2012 - 12:17 AM.


#90 The Otter

The Otter

    The artist formally known as j322overthetop

  • Members
  • PipPipPipPipPipPip
  • 620 posts
  • Location: Midlands

Posted 25 August 2012 - 11:57 PM

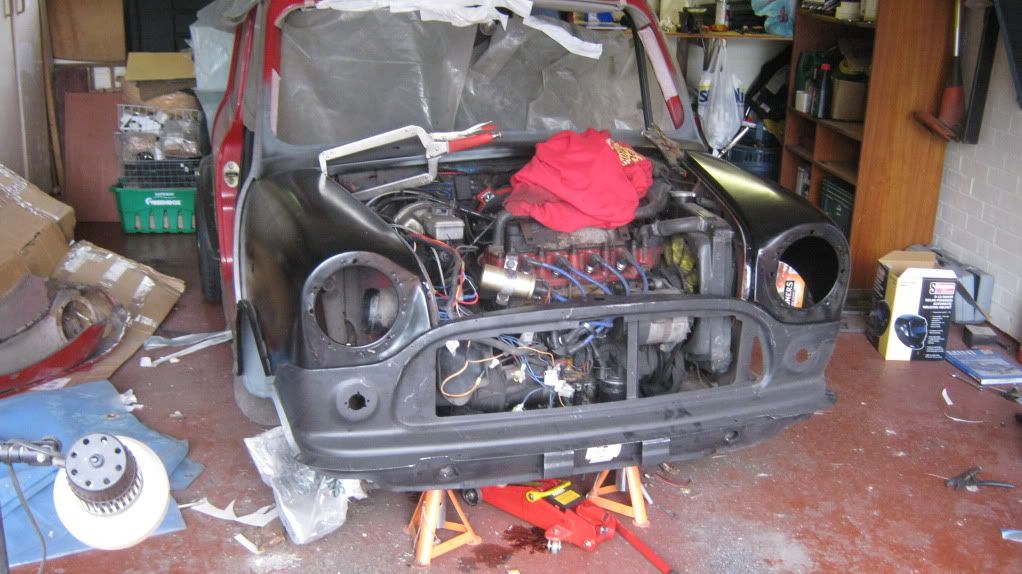
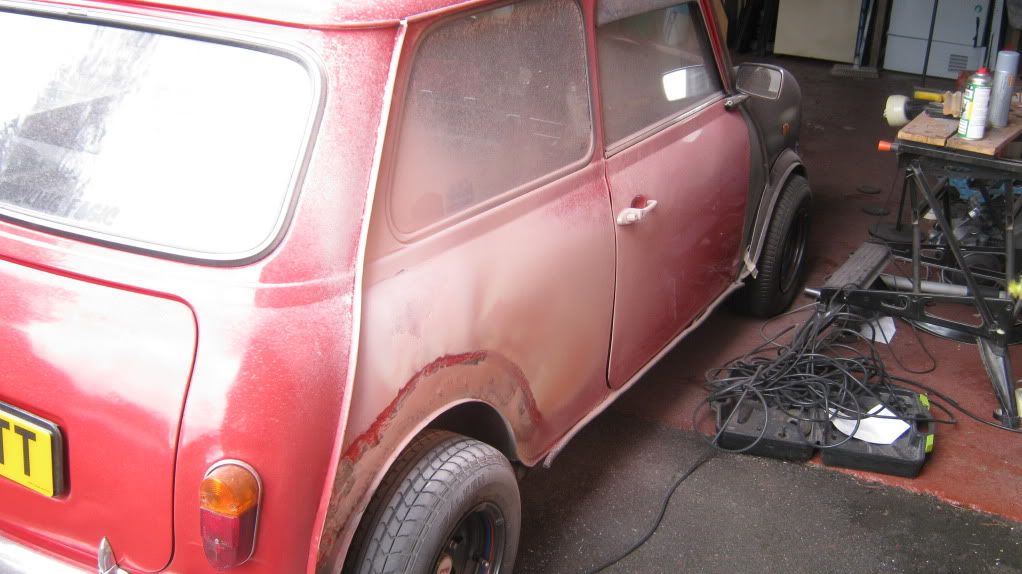
Man was I wrong about today not going to be hard work :crazy:

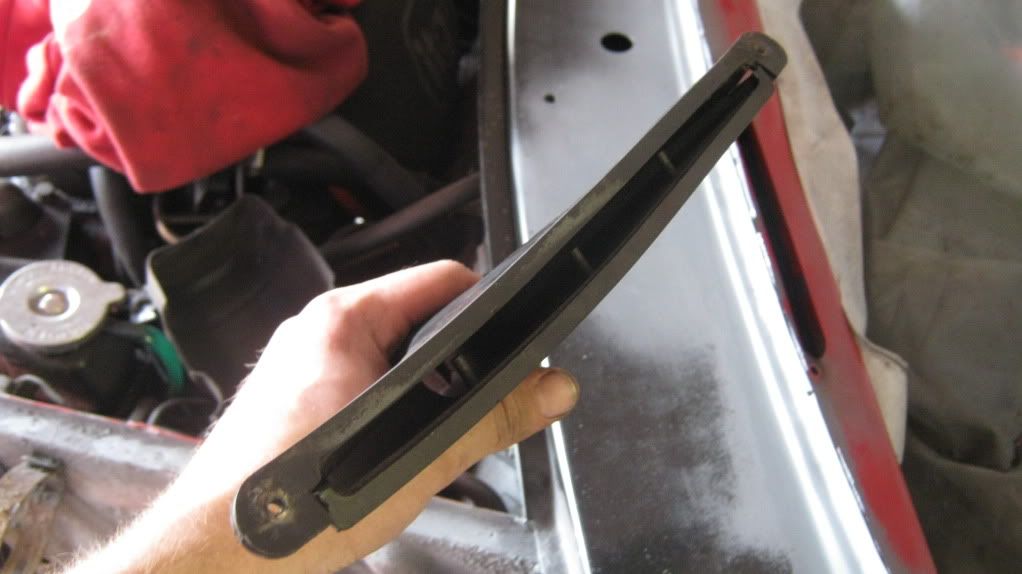
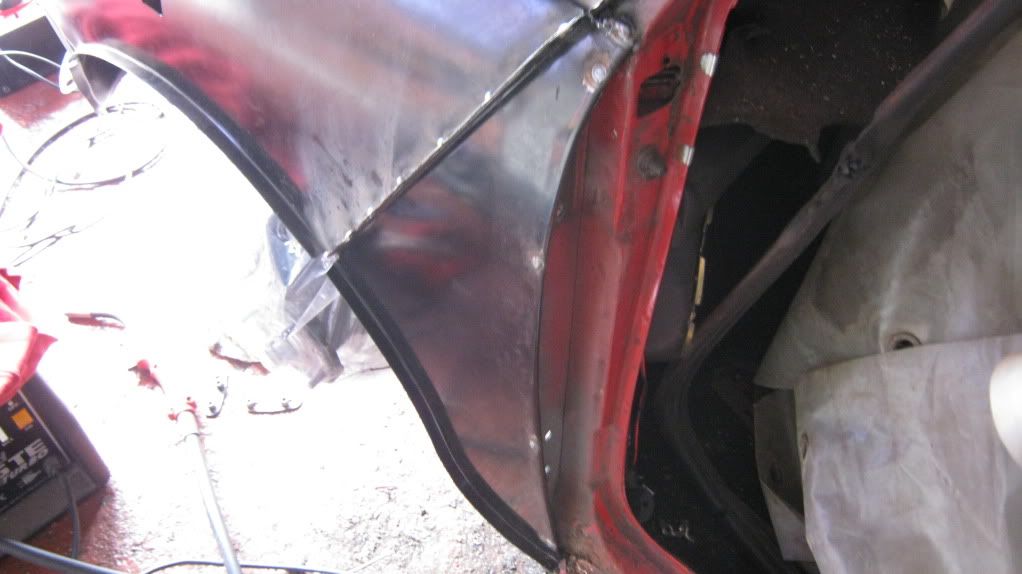
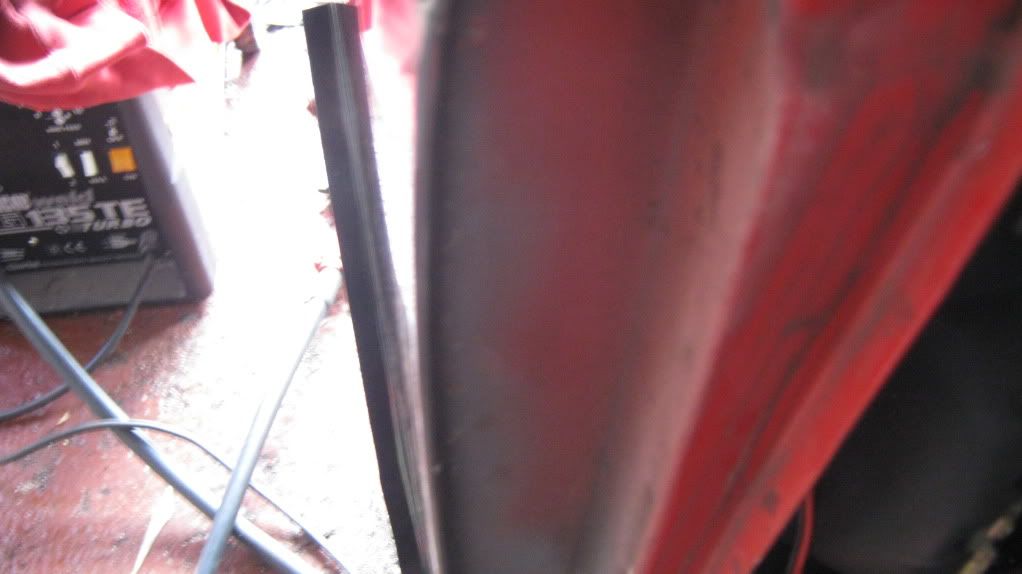
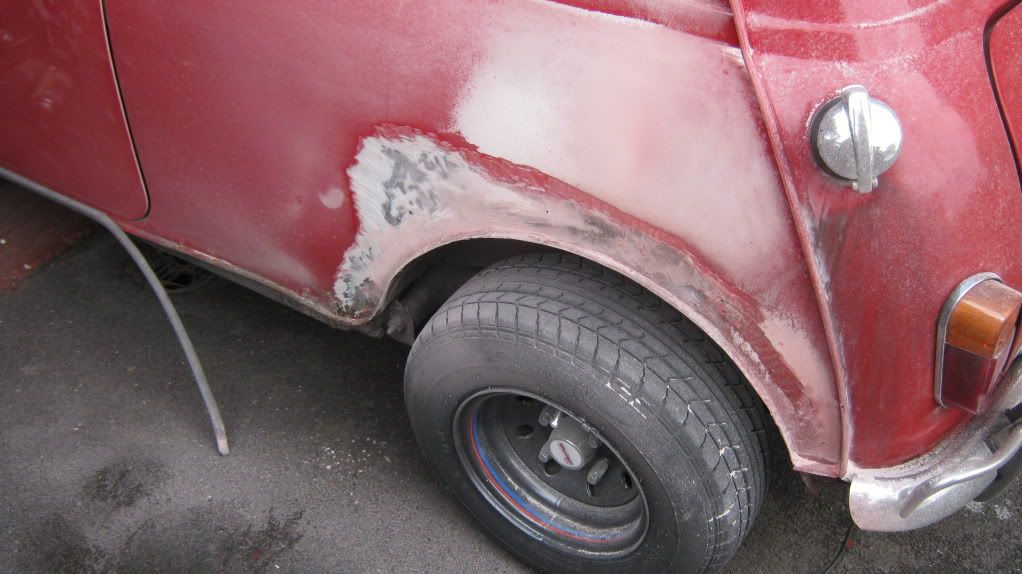
Looking at where the arches were going to sit, I realised I'd need to properly tidy up what was left of the "blended" in arches that were on the car when I first got it. I'd cut them off with an angle grinder some time ago and just put the group 2 wides over the top of the remaining lip, but the narrow group 2s can sit further down more comfortably, so the old lip needed removing. It wasn't the most pleasant experience for my respiratory system, grinding a thick layer of filler/fibreglass arch for half an hour or more, and I also found a rust hole on the passenger side and that half the filler I was grinding away was actually there to fill a dent in the side panel... it had been done well though as I'd never noticed anything before I started grinding it away >_<

Posted Image

Posted Image

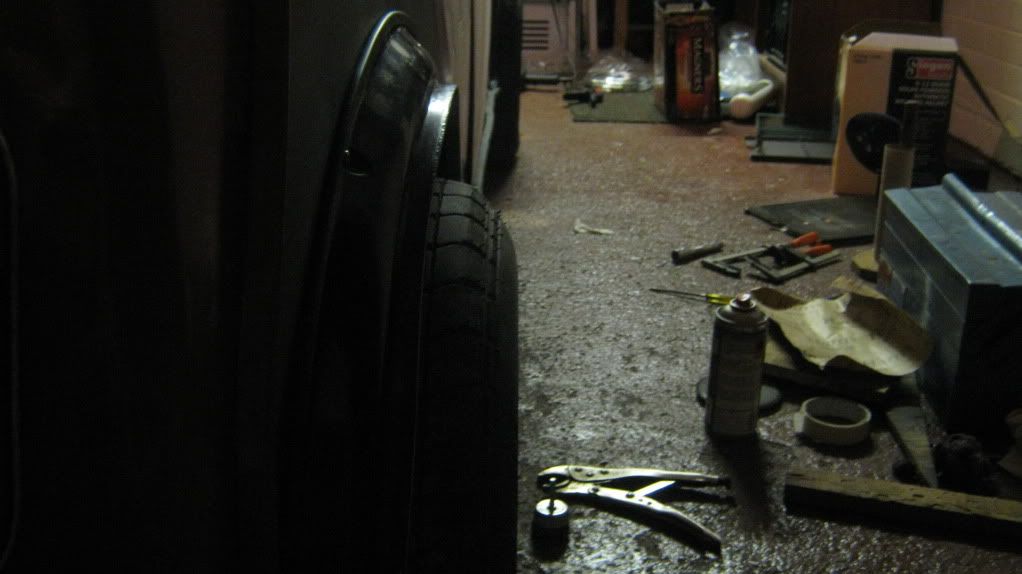
Needless to say, the dust got EVERYWHERE :blink:

Posted Image

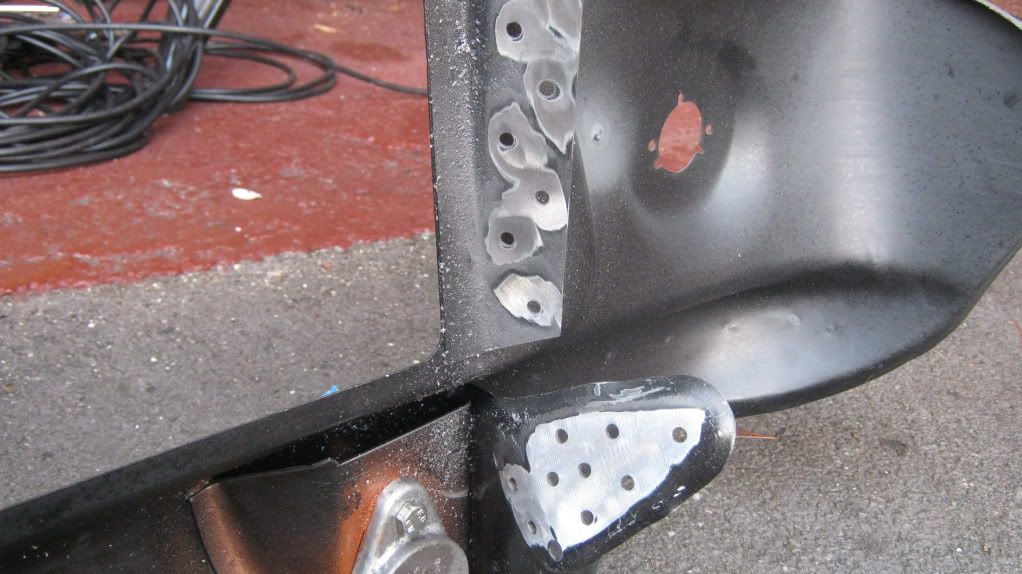
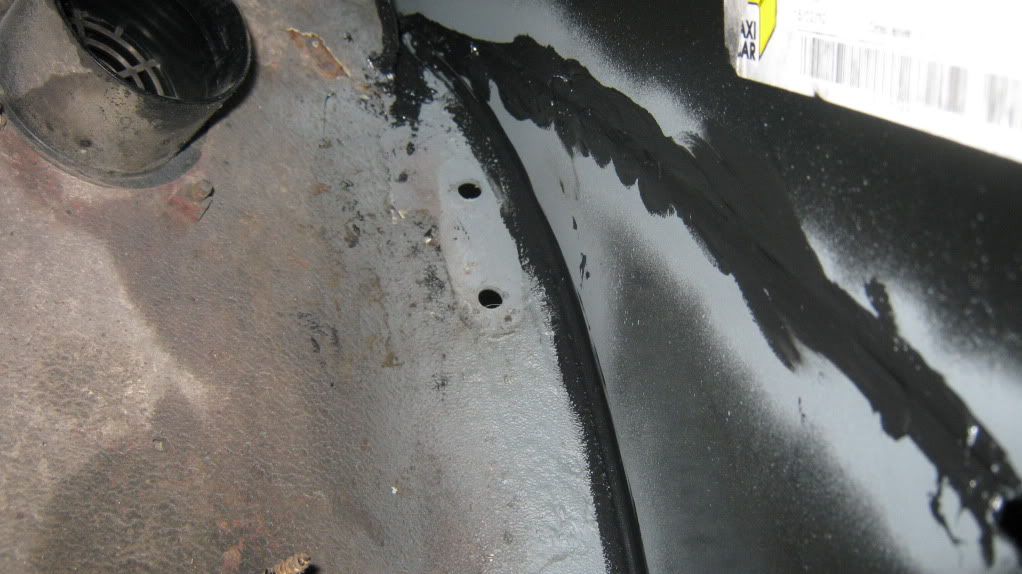
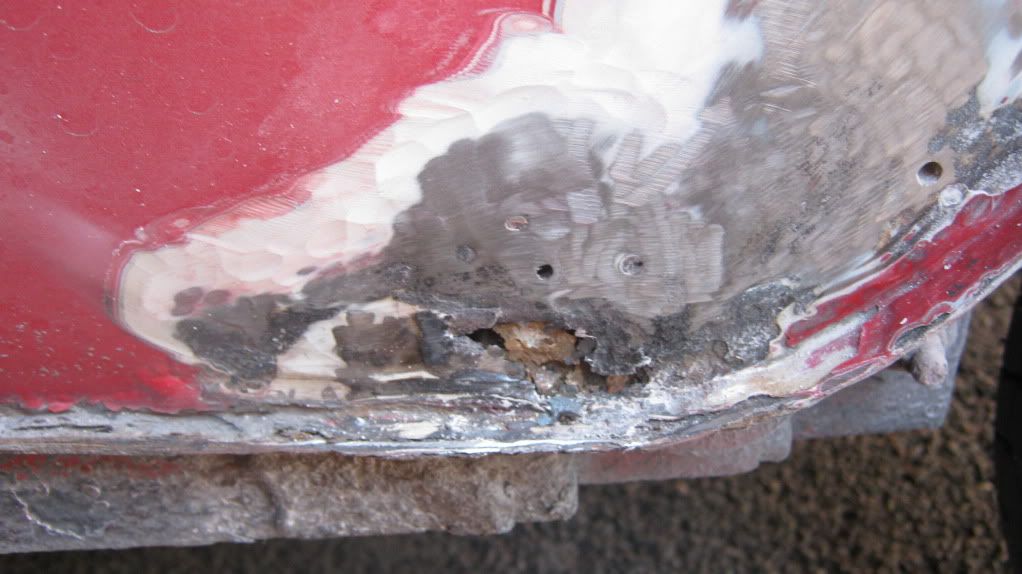
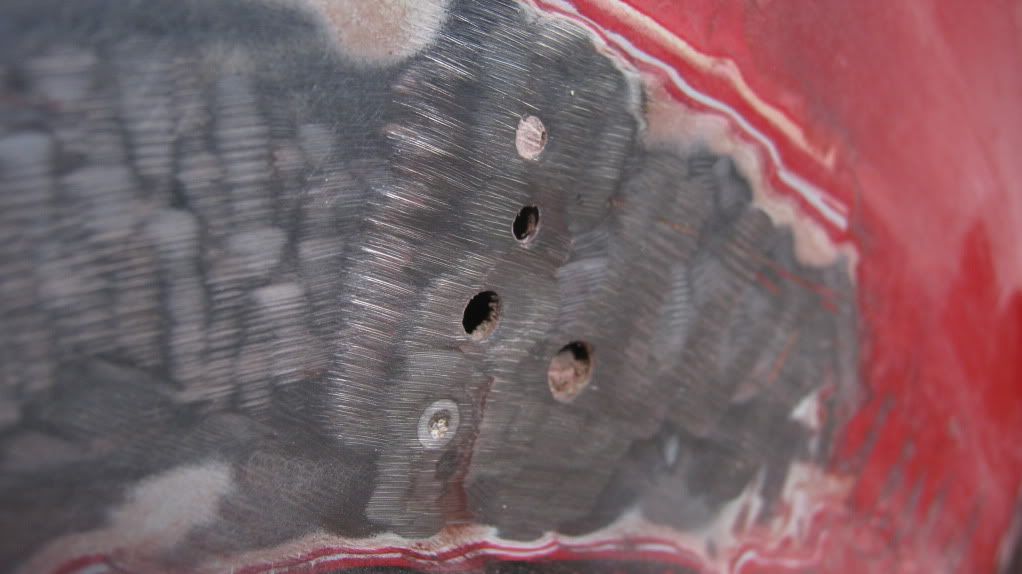
There were also many many holes from previous arches in the rear panel. 22 holes on each side there were!

Posted Image

Posted Image

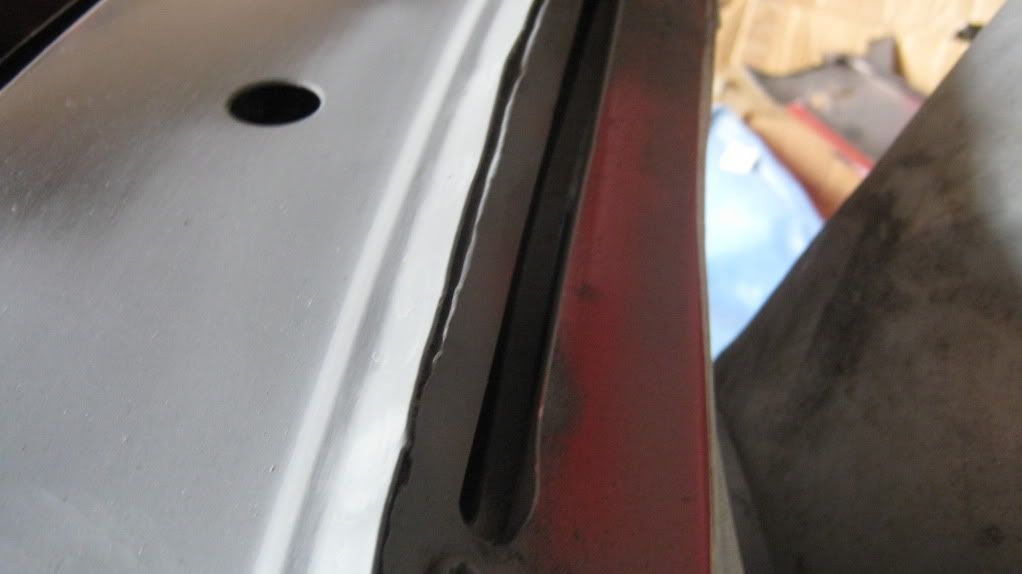
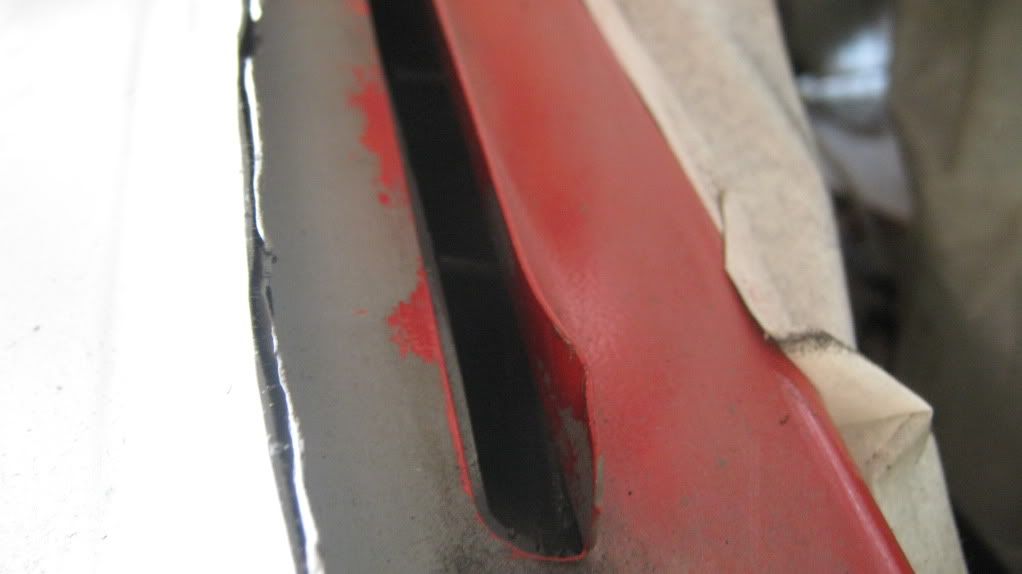
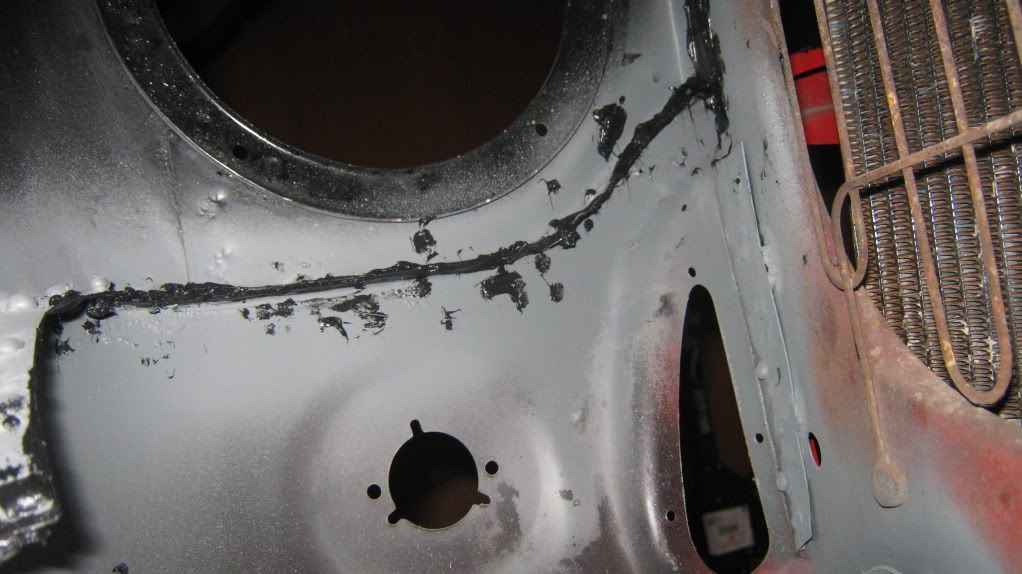
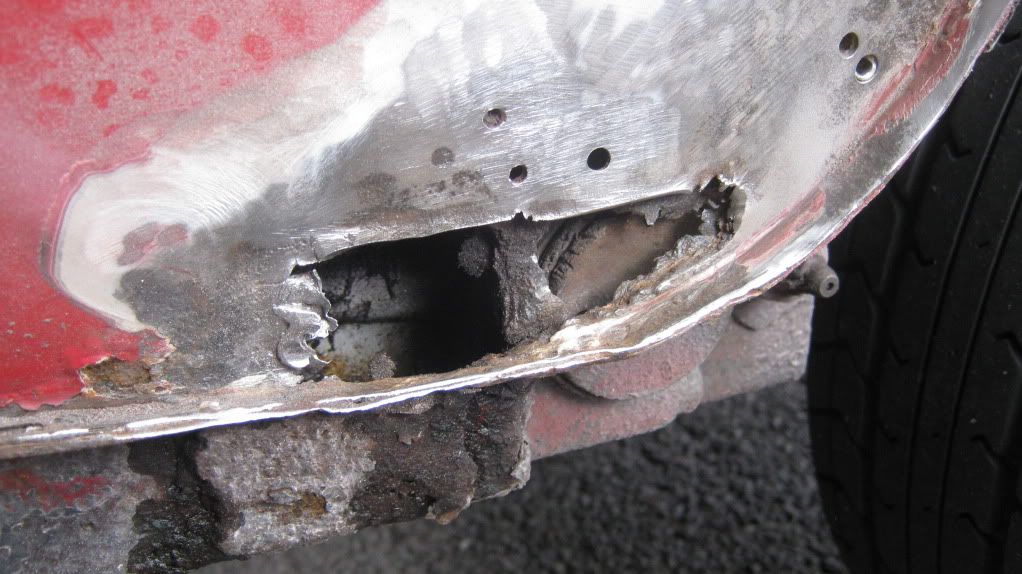
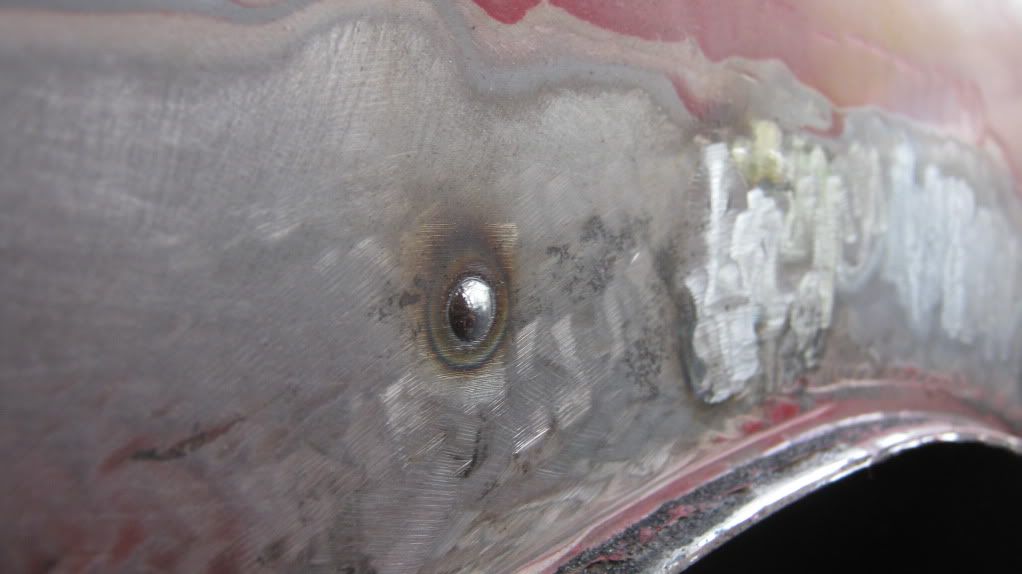
So whilst I had the welder out to repair the rust patch I found, I welded up all the holes. Here's the hole left from the rusty metal I took out.

Posted Image

Then I got distracted by the incredible thunder and lightning we had, along with the rather heavy rain of course.

Posted Image

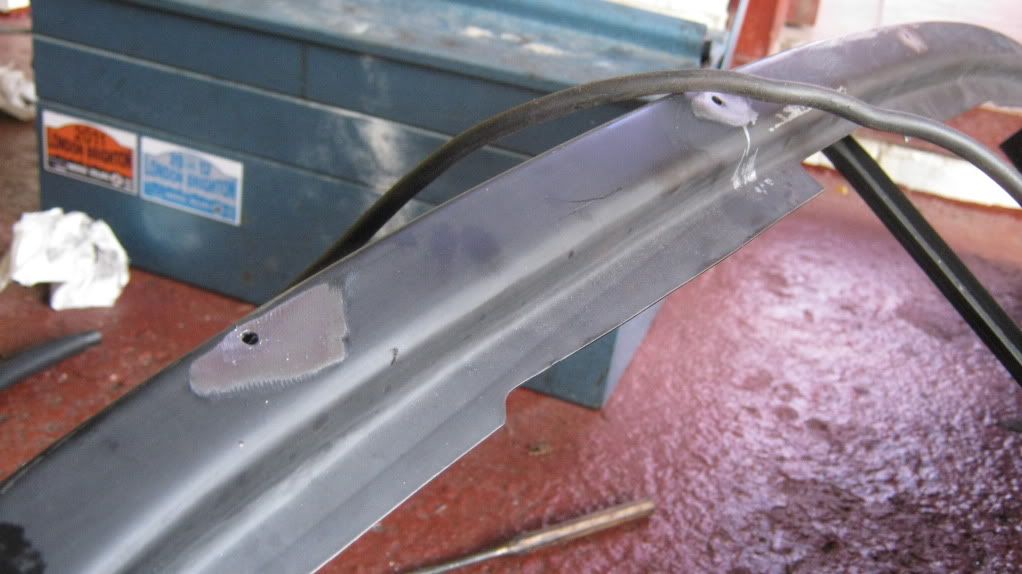
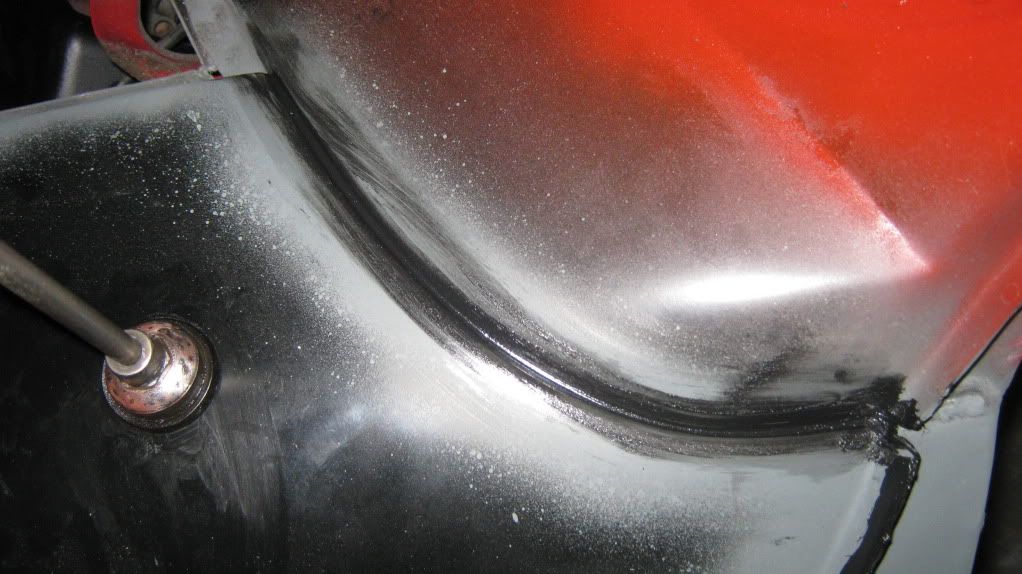
Here's the patch for the passenger side.

Posted Image

Whilst welding up the old arch holes, I may have accidentally done my most beautiful weld ever, ahh ^_^

Posted Image

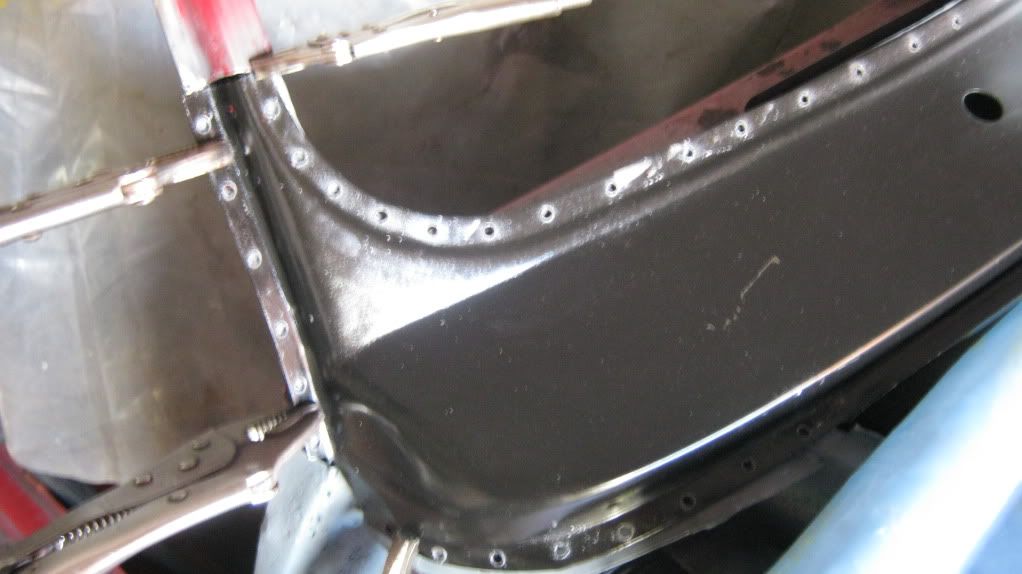
All holes welded and ground down

Posted Image

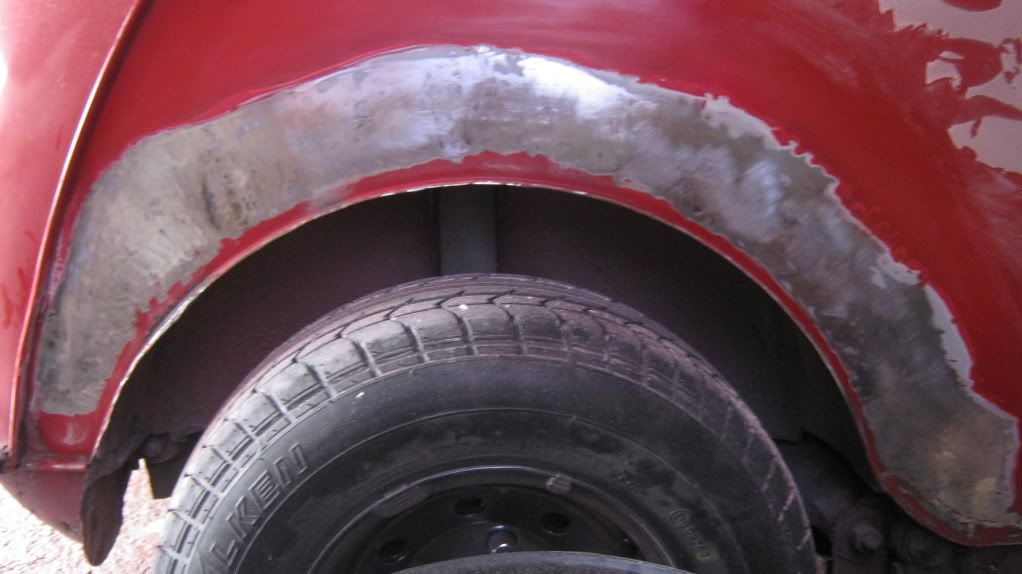
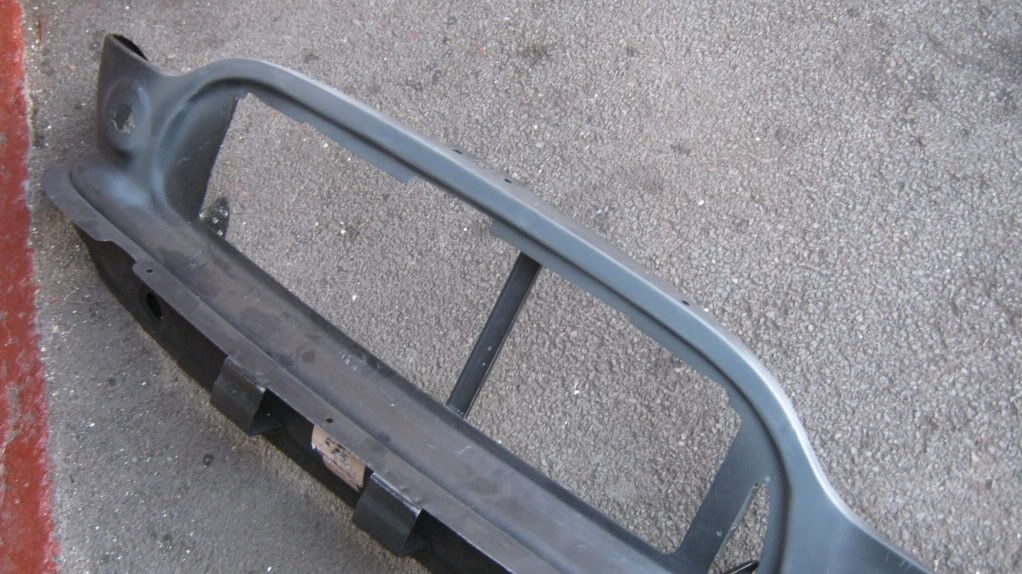
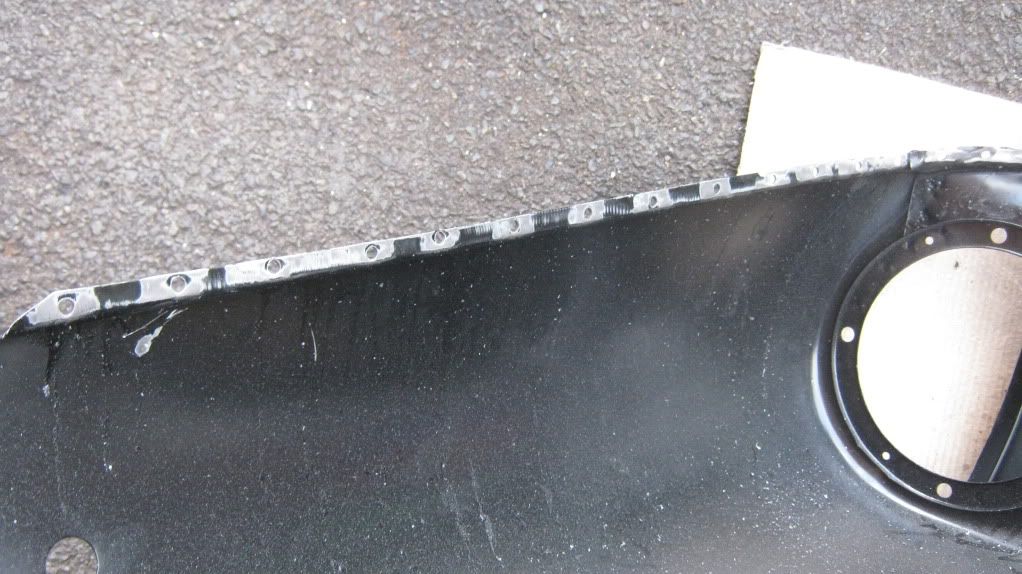
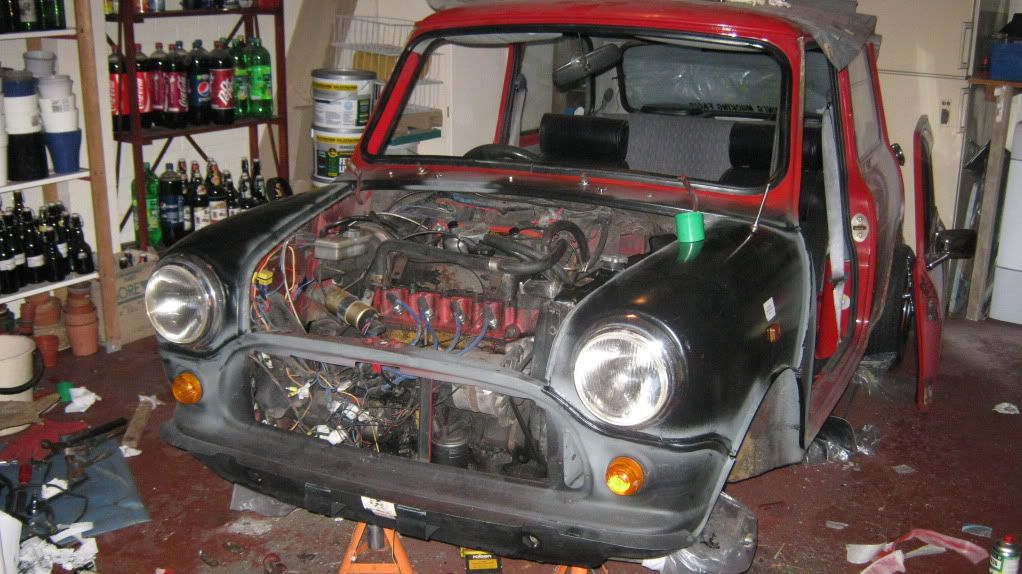
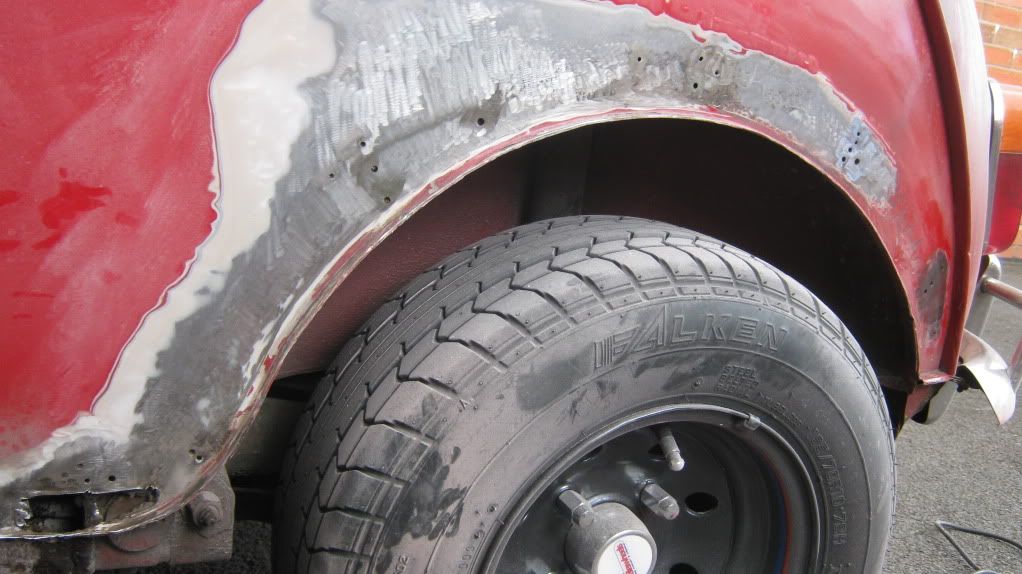
Then I drilled all the holes for the arches, and put on some zinc primer

Posted Image

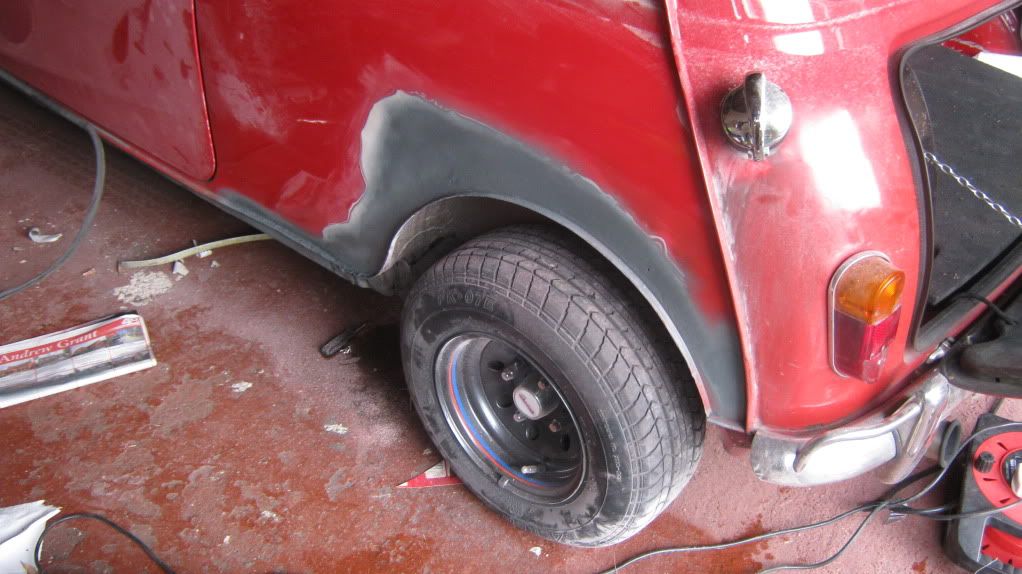
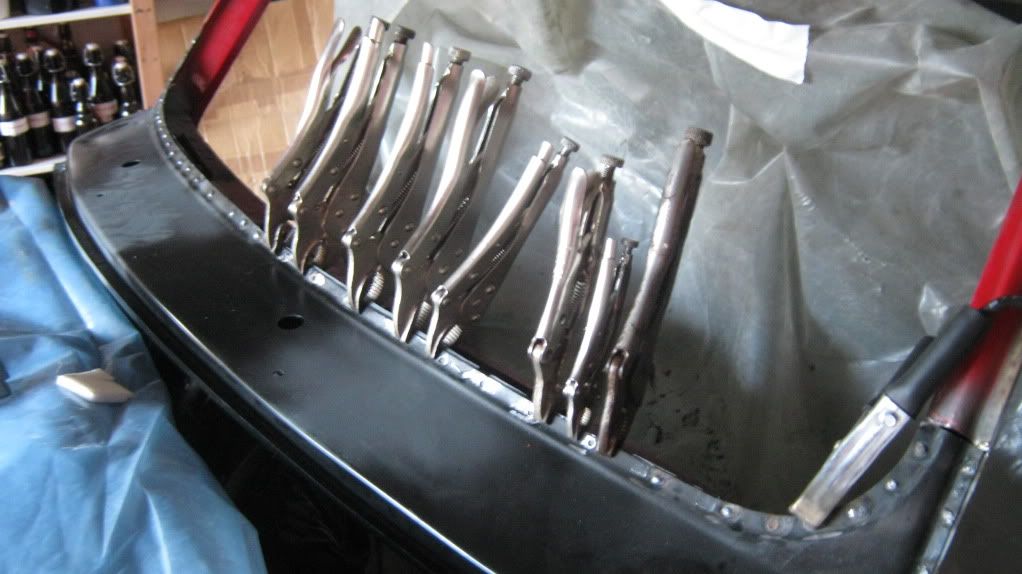
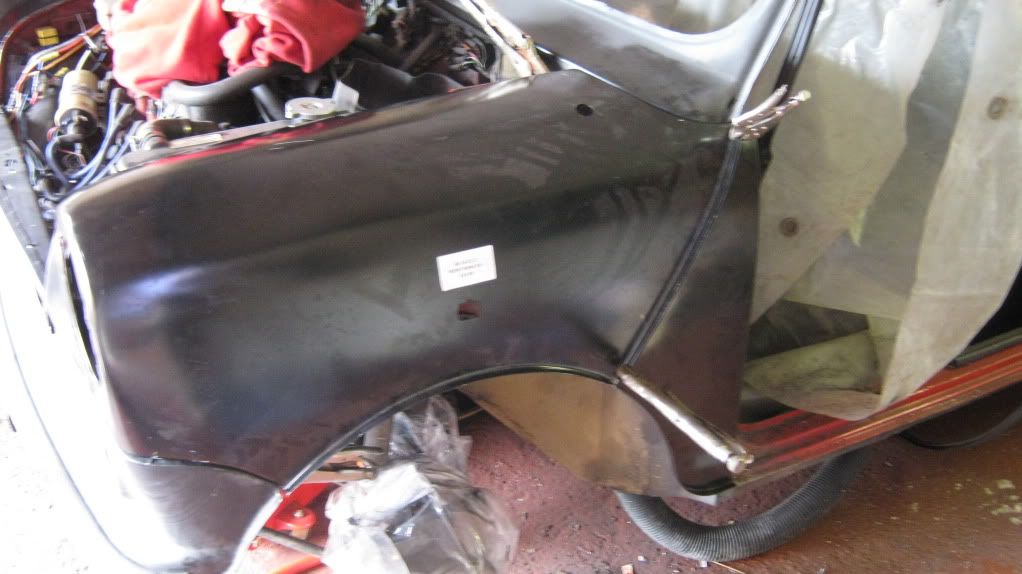
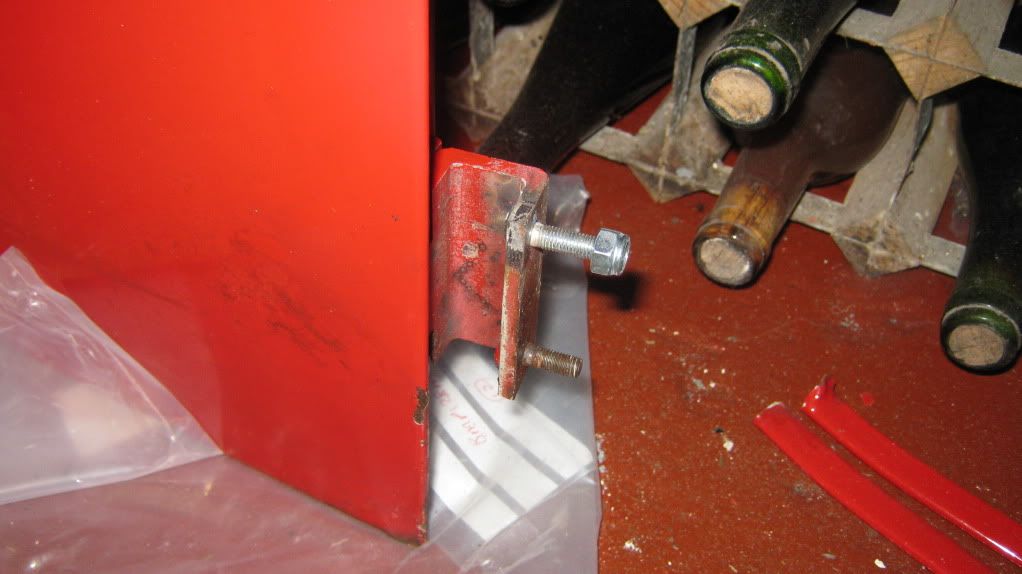
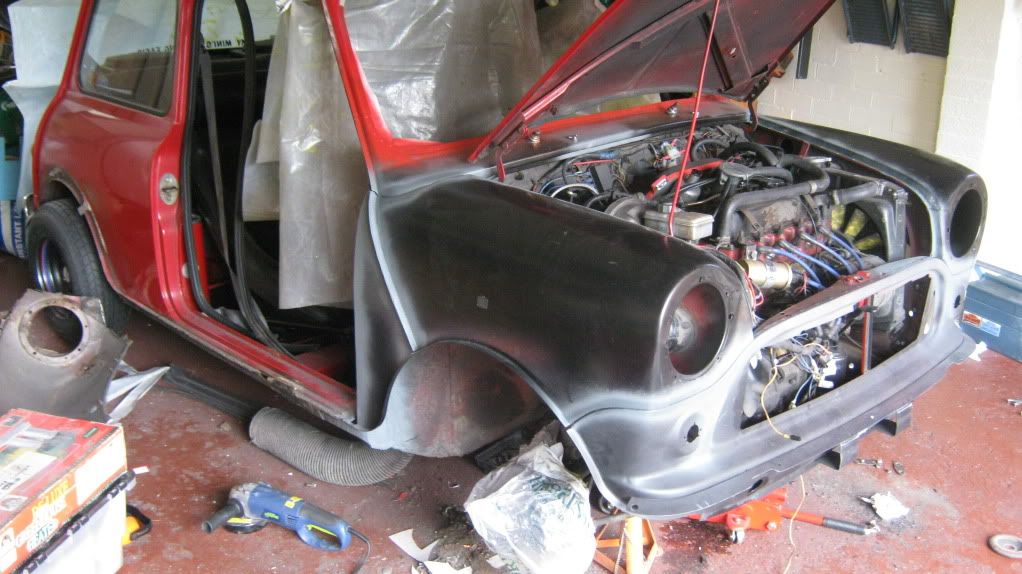
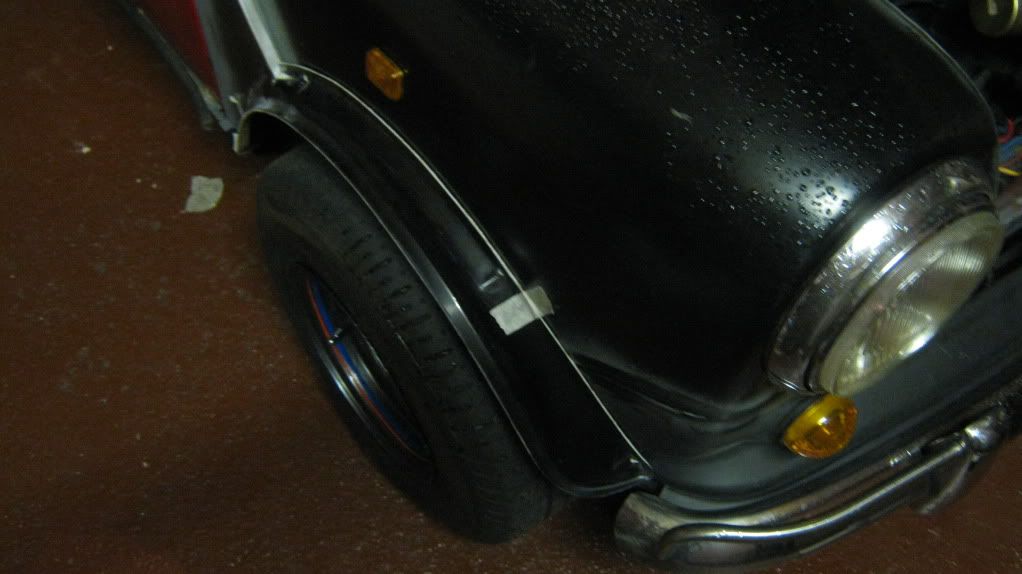
Then when the paint had dried I set about fitting the arches to the car. On the front I used a wing nut, spring washer, flat washer, and then the bolt to hold them on.

Posted Image

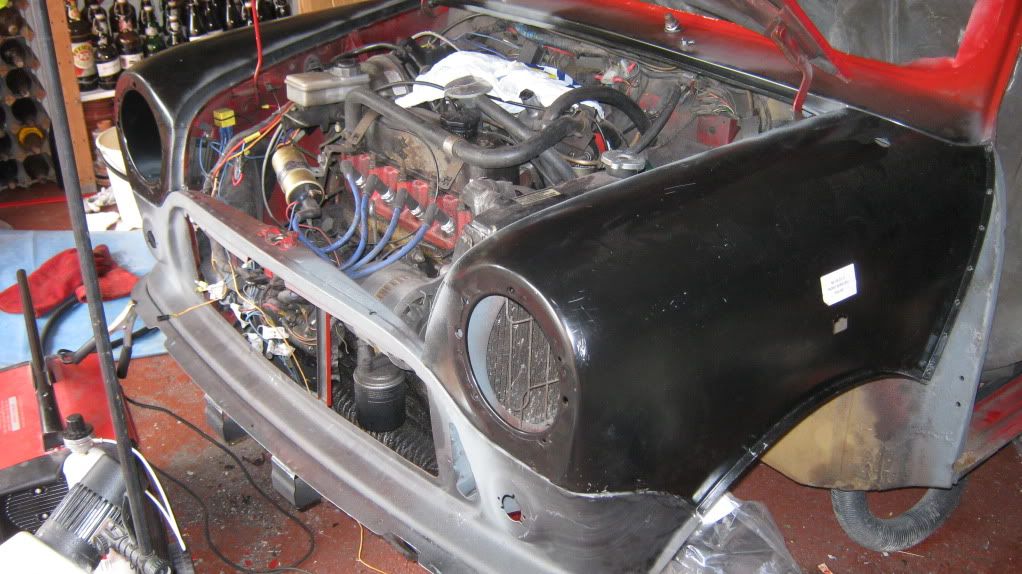
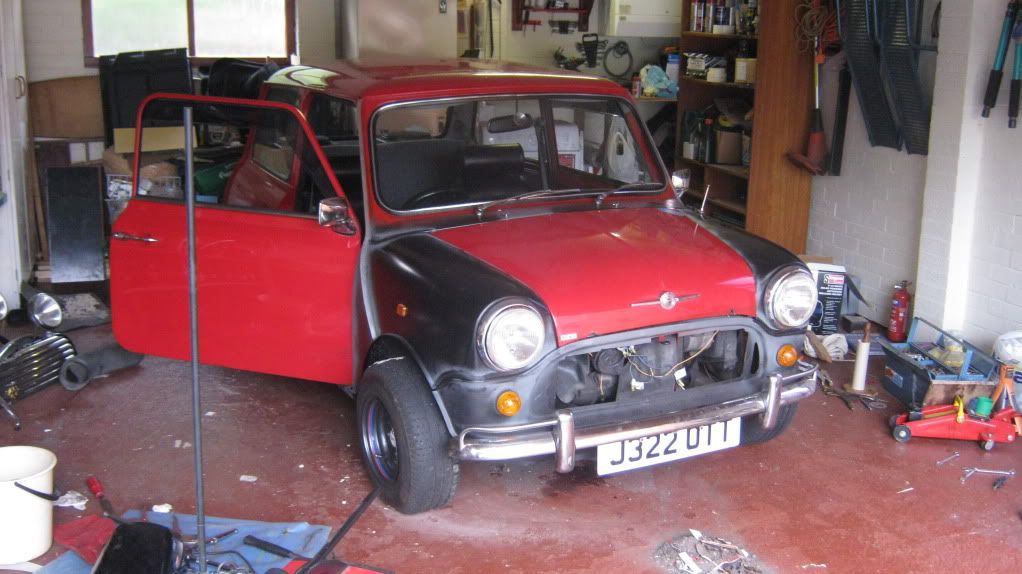
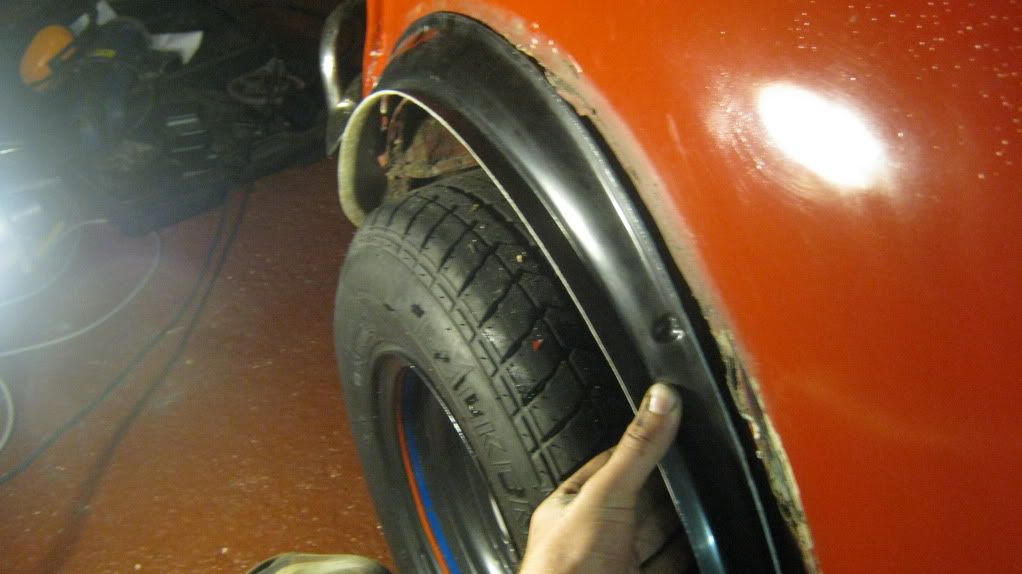
The front arches come very close to rubbing the wheels at the front edge, but it's enough clearance for me until I rip them off going round a corner one day...
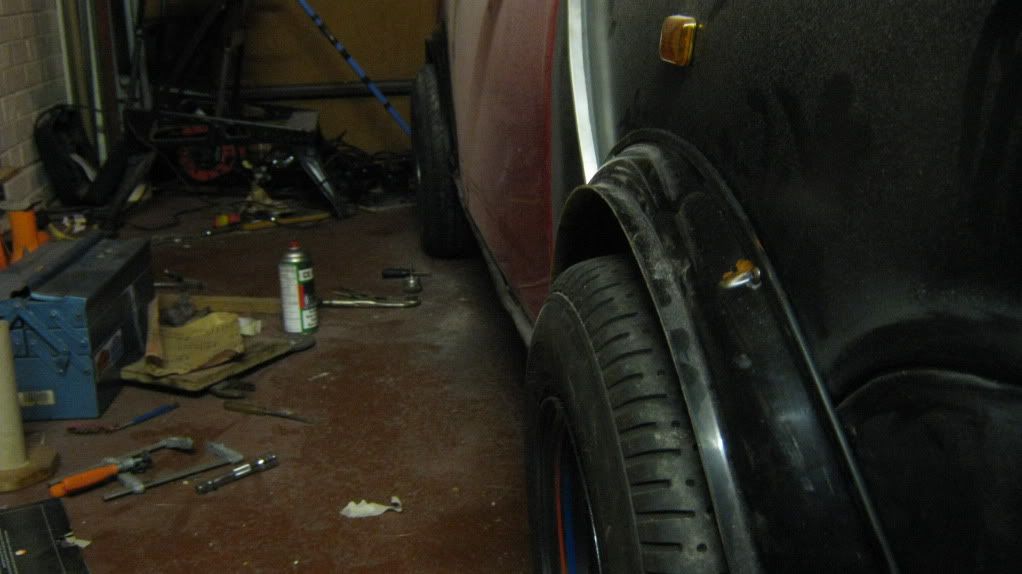
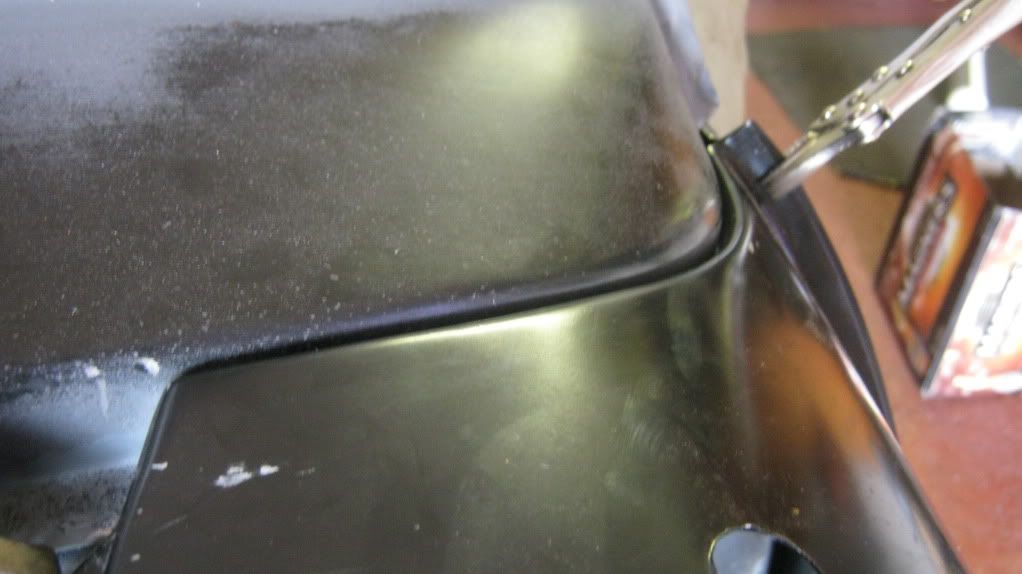
Posted Image

Hmm, poke?

Posted Image

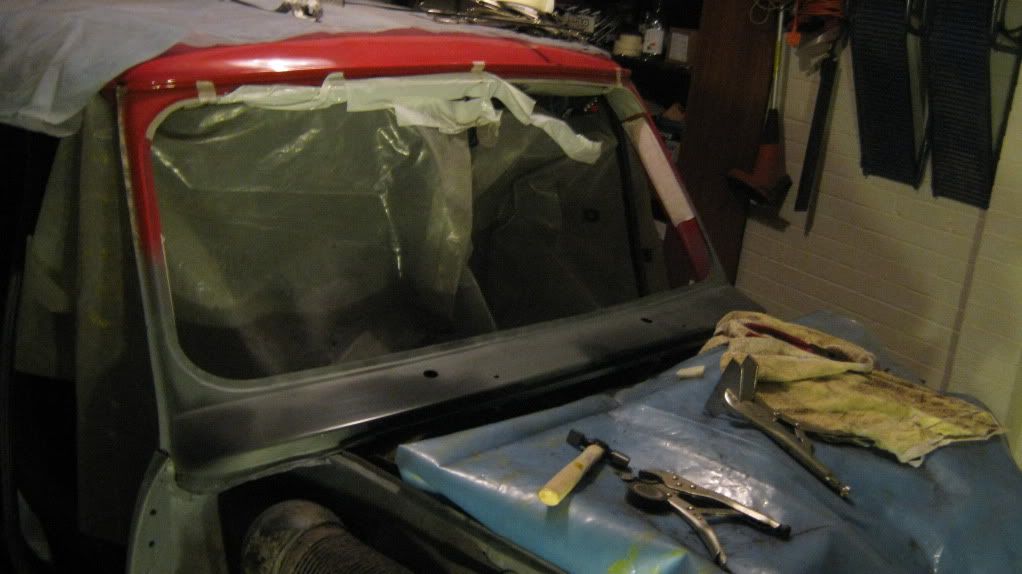
Didn't get round to fitting the grille, straps, or lights, so that'll have to be done in a few days when I've got the time again, along with painting it of course. Still a little way to go yet before it's finished!

Thanks for reading guys

Sven


1 user(s) are reading this topic

0 members, 1 guests, 0 anonymous users