Nice work i bet you cant wait to see the panels all hung on the car 


92 Mini City
Started by
Marco1972
, Jan 06 2013 05:20 PM
285 replies to this topic
#211

minimissions
-

- Members
-

- 3,427 posts
Up Into Fourth
- Location: North West
- Local Club: M.M.O.C
Posted 16 January 2018 - 12:50 PM
#212
blueovalcraig
-

- Members
-
- 193 posts
Mini Mad
- Location: Rothesay, Isle of Bute
Posted 16 January 2018 - 01:01 PM
Great work. Nice colour too.
#213
Marco1972
-
- Members
-
- 822 posts
One Carb Or Two?
- Location: Birmingham
Posted 16 January 2018 - 02:37 PM
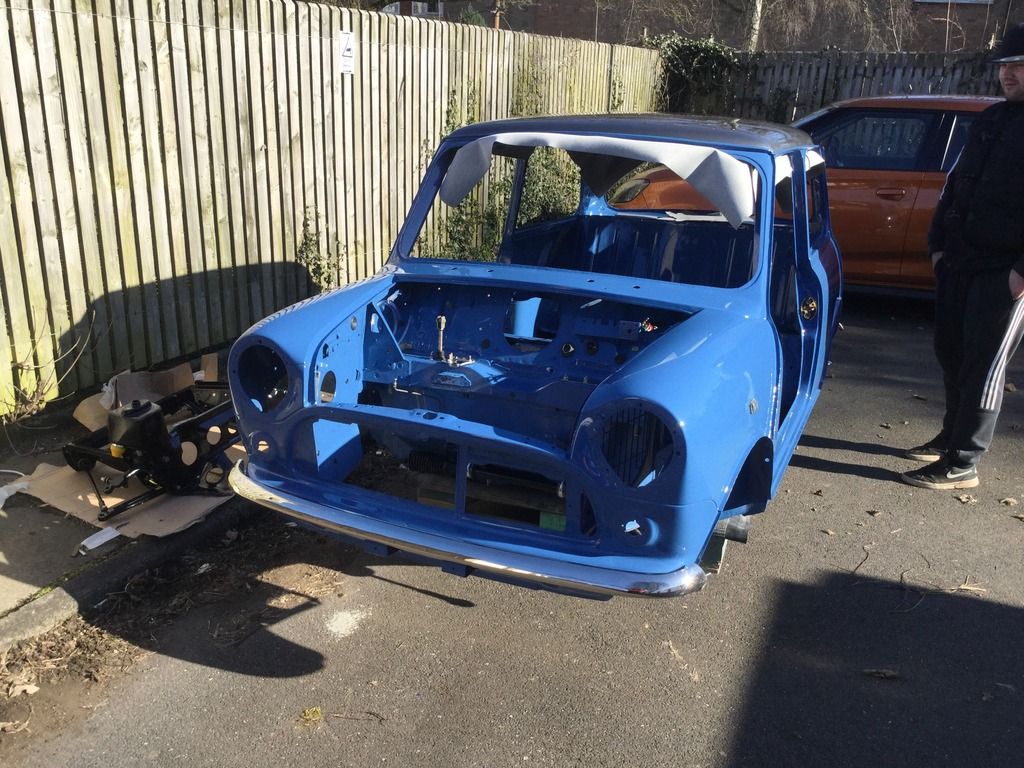
Nice work i bet you cant wait to see the panels all hung on the car
Thanks buddy
Yes looking forward to it looking like a car again its been way way too long 😄
#214
Marco1972
-
- Members
-
- 822 posts
One Carb Or Two?
- Location: Birmingham
Posted 16 January 2018 - 02:40 PM
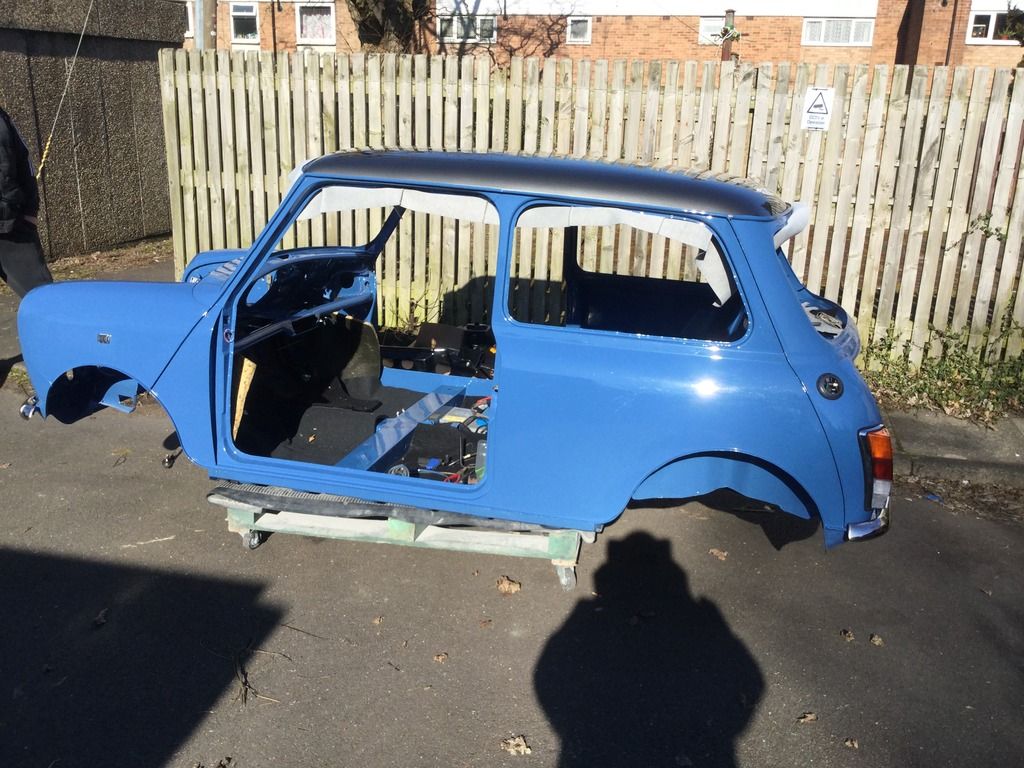
Great work. Nice colour too.
Thank you 👍🏻
I was in 2 minds to change the colour but I do like the Henley blue and Im trying to keep it original-ish
#215
Marco1972
-
- Members
-
- 822 posts
One Carb Or Two?
- Location: Birmingham
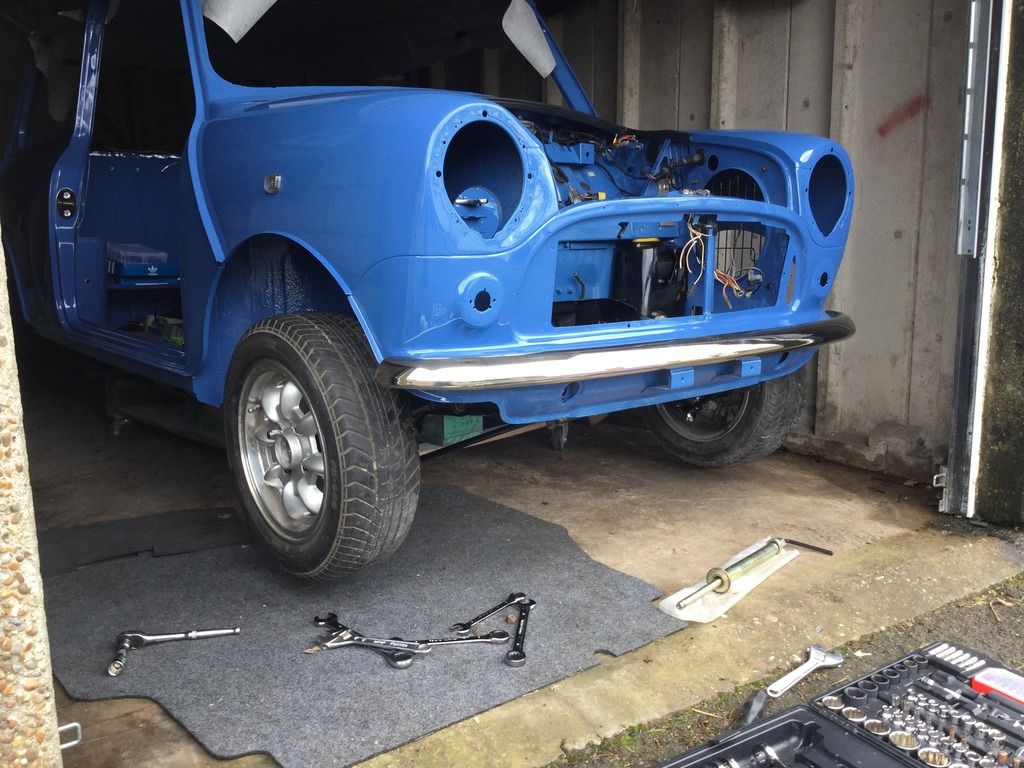
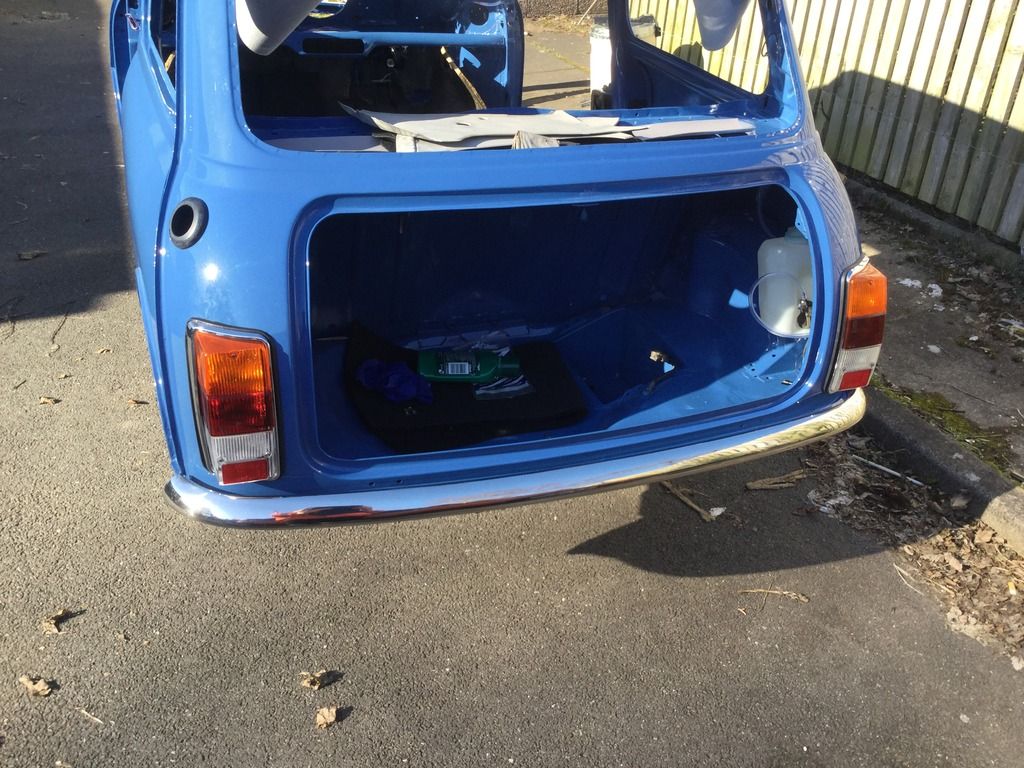
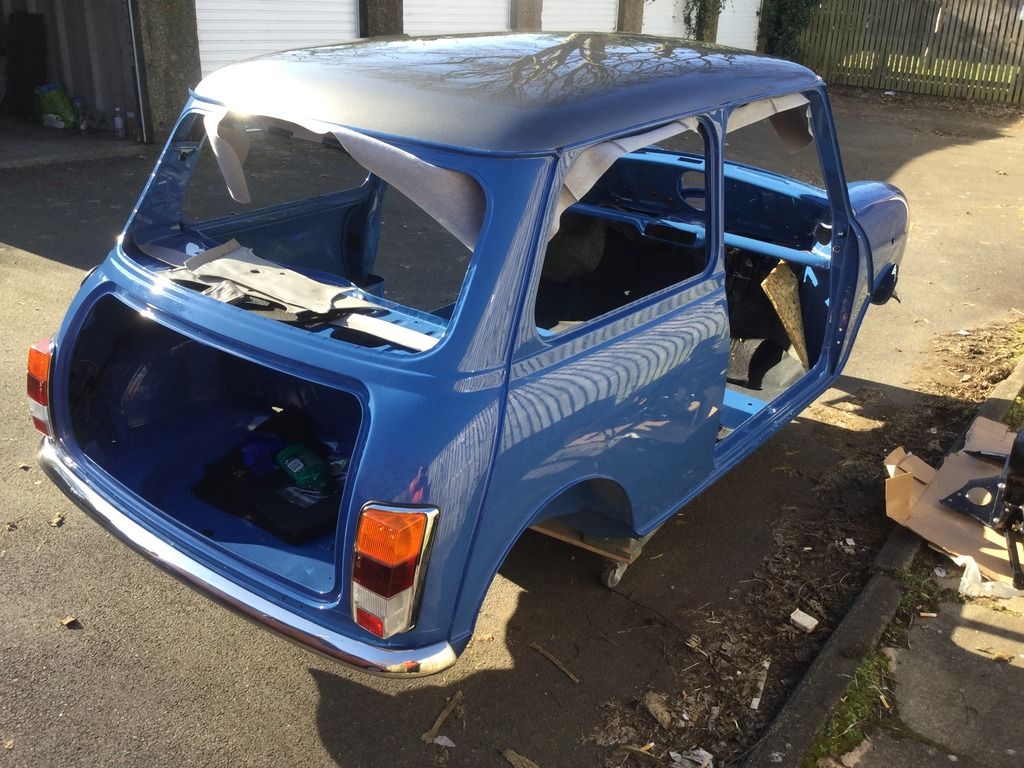
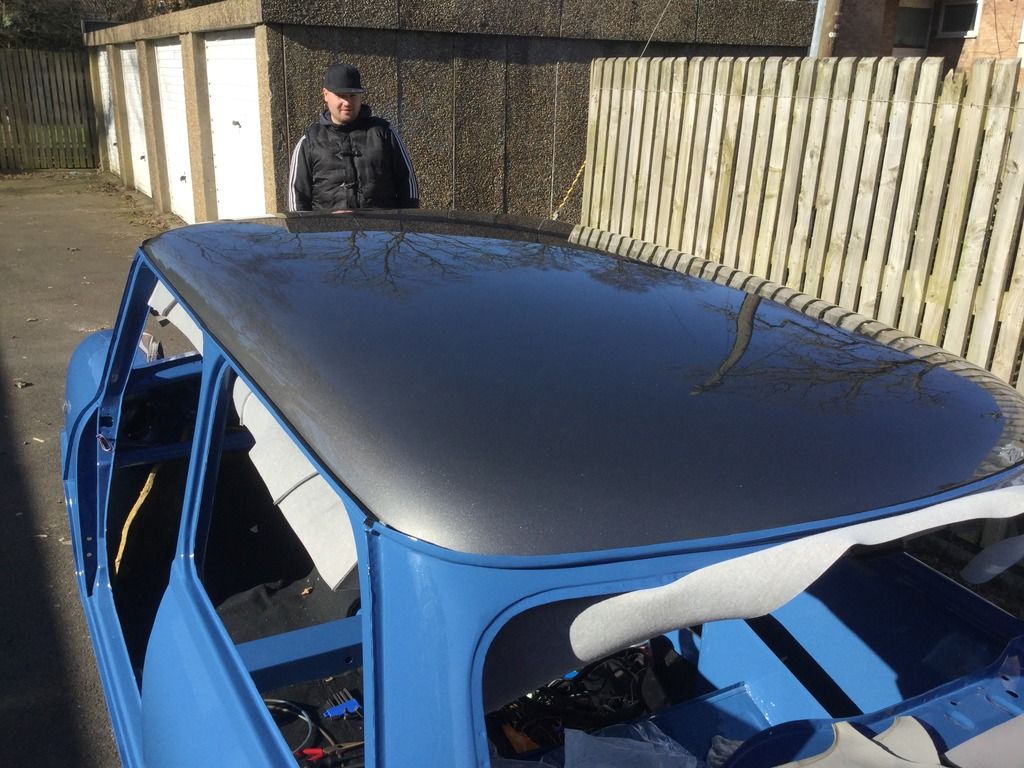
Posted 06 February 2018 - 06:13 PM
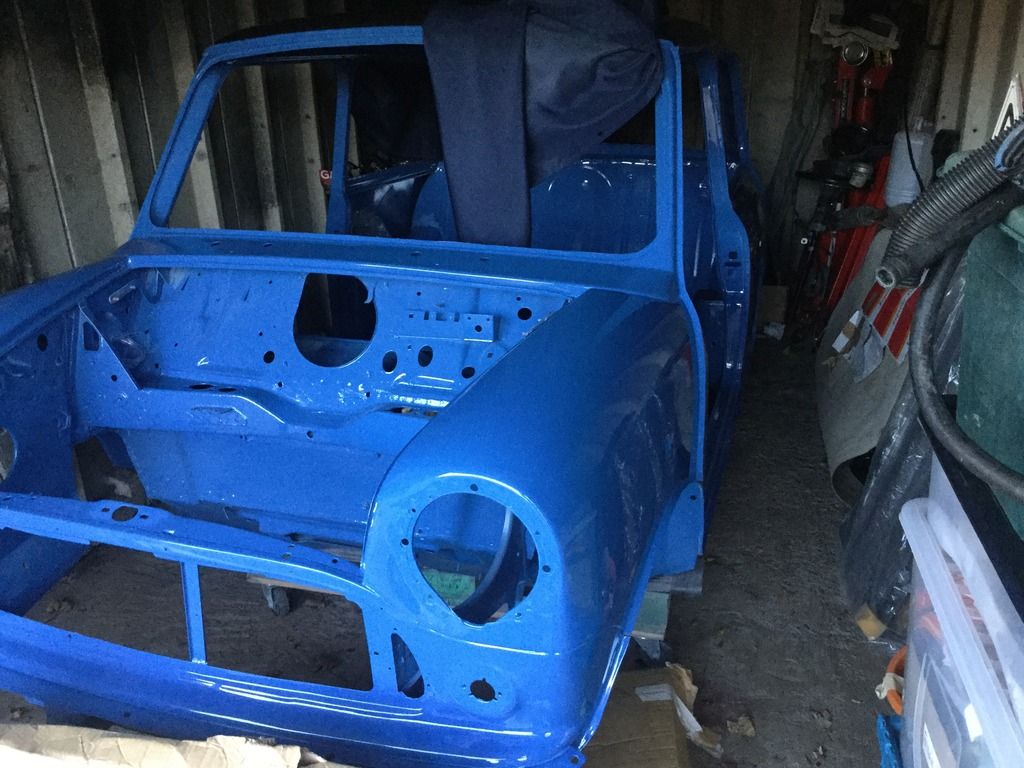
Finally back from the body shop
Long story dont ask 🤨
Time to book some time off and get this thing built
 4004BA45-DC03-48AD-82E9-48E7099FD068.jpeg 36.75K
1 downloads
4004BA45-DC03-48AD-82E9-48E7099FD068.jpeg 36.75K
1 downloads
Long story dont ask 🤨
Time to book some time off and get this thing built
4004BA45-DC03-48AD-82E9-48E7099FD068.jpeg 36.75K
1 downloads
Edited by Marco1972, 06 February 2018 - 06:17 PM.
#216
Ben_O
-

- Paint Doctor
-
- 9,794 posts
Mill Road Garage
- Location: Isle of Wight
Posted 06 February 2018 - 08:19 PM
wahey!
#217
minimissions
-
- Members
-
- 3,427 posts
Up Into Fourth
- Location: North West
- Local Club: M.M.O.C
Posted 07 February 2018 - 06:52 AM
Get those nice clean and shiny bits on 
#218
Marco1972
-
- Members
-
- 822 posts
One Carb Or Two?
- Location: Birmingham
Posted 10 February 2018 - 07:15 PM
Get those nice clean and shiny bits on
Cheers
Im looking forward to it mate been a long time coming 👍🏻
#219
Marco1972
-
- Members
-
- 822 posts
One Carb Or Two?
- Location: Birmingham
Posted 10 February 2018 - 07:33 PM
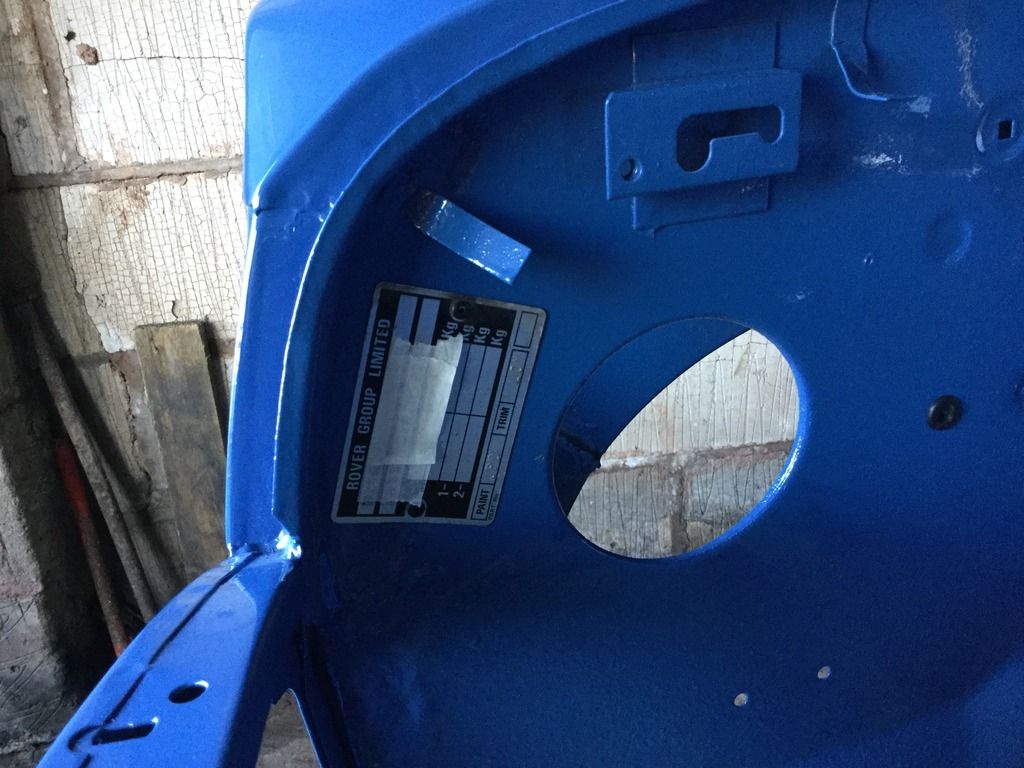
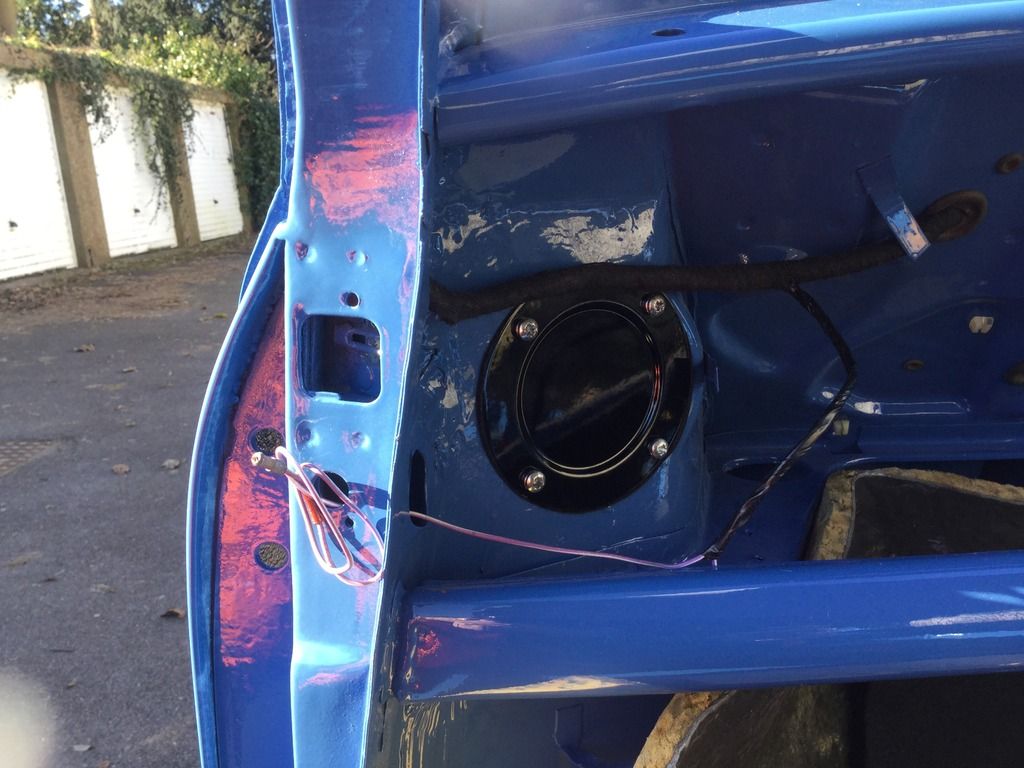
Made a start sticking bits back on today ( excuse the pics )
Front to rear loom
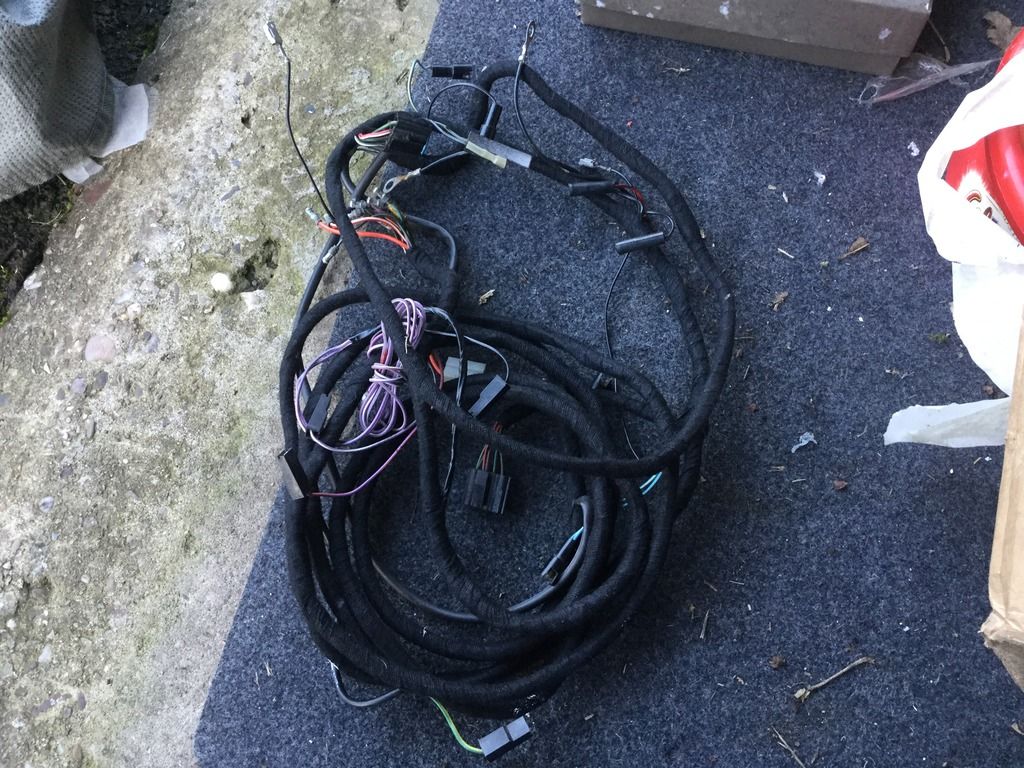
Random bulk head grommets
76E4061F-4D46-4B5C-9B64-B2C20DAAA84E.jpeg 27.42K
0 downloads
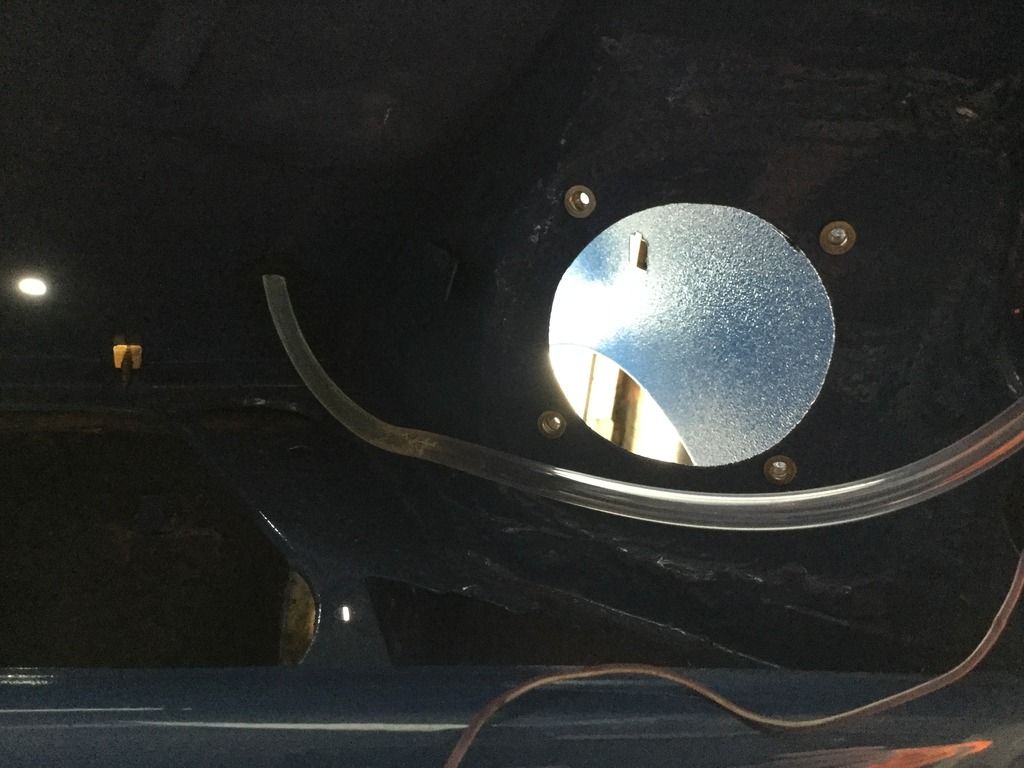
Popped in the washer bottle
46E900E0-3615-4B59-8CF5-8DC73CF7BF64.jpeg 19.17K
0 downloads
Washer tube sorted
936C86C6-60D6-473B-99E7-FAC3E72D2F1B.jpeg 30.83K
0 downloads
Ill be cracking on with the headliner tomorrow
Mark
Front to rear loom

Random bulk head grommets
76E4061F-4D46-4B5C-9B64-B2C20DAAA84E.jpeg 27.42K
0 downloadsPopped in the washer bottle
46E900E0-3615-4B59-8CF5-8DC73CF7BF64.jpeg 19.17K
0 downloadsWasher tube sorted
936C86C6-60D6-473B-99E7-FAC3E72D2F1B.jpeg 30.83K
0 downloadsIll be cracking on with the headliner tomorrow
Mark
#220
Marco1972
-
- Members
-
- 822 posts
One Carb Or Two?
- Location: Birmingham
Posted 19 March 2018 - 07:05 AM
Big update coming soon
Lots done but uploading the pics is a real pain
Bloody weather has been a real pain in the ass too
Pics coming soon
Mark
#221
Marco1972
-
- Members
-
- 822 posts
One Carb Or Two?
- Location: Birmingham
Posted 19 March 2018 - 10:43 PM
Right then
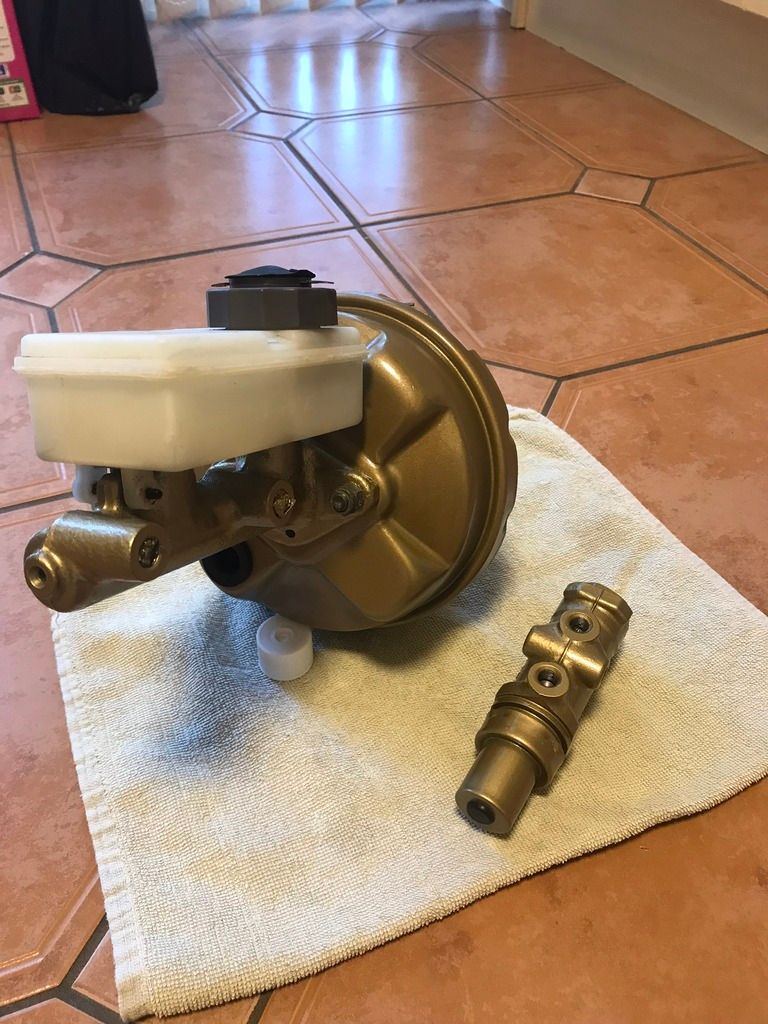
Update time
slowly working my way through the last bits that need refurbing
Servo , master cylinder and brake valve
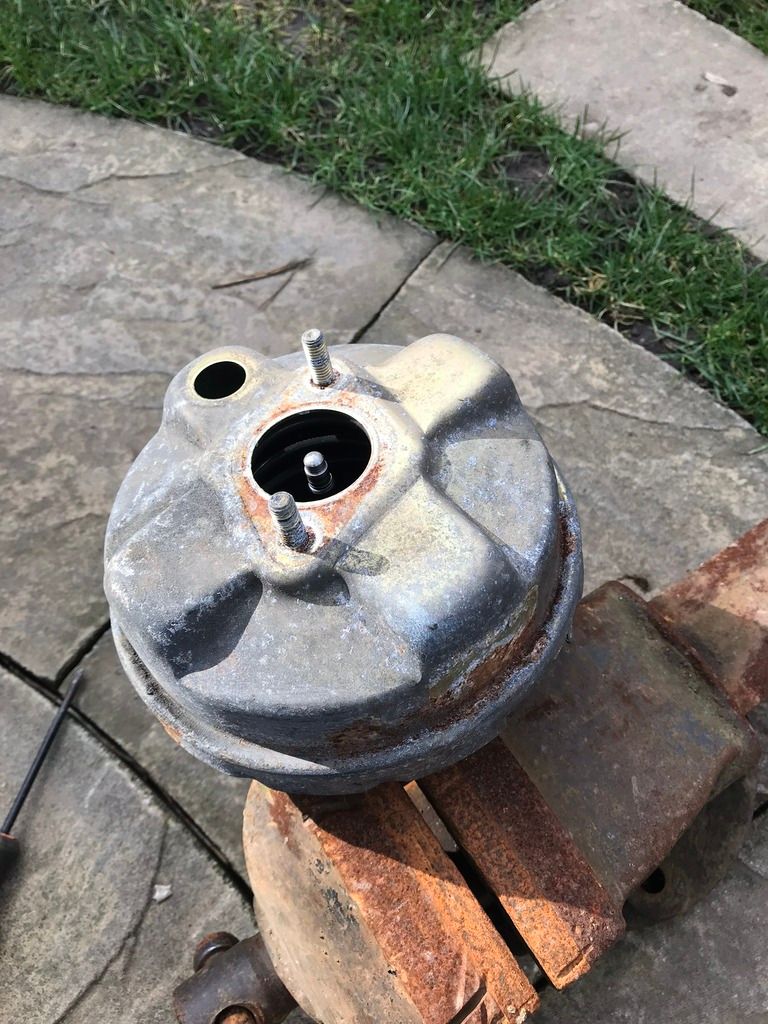
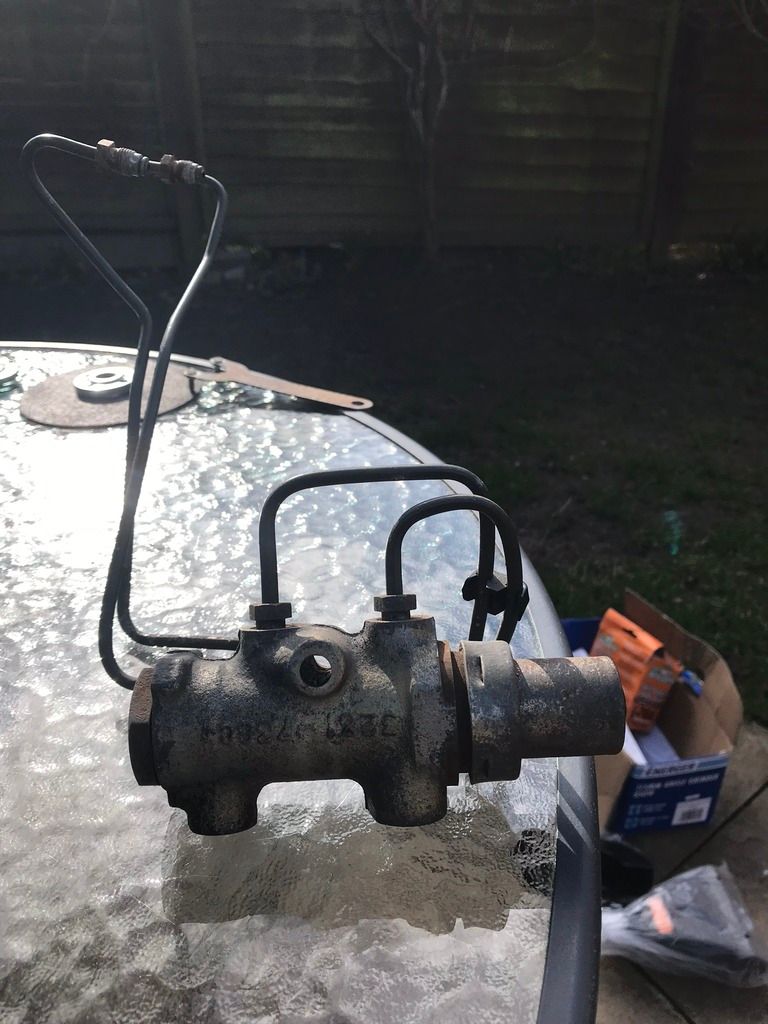
Splash of zinc primer
Done
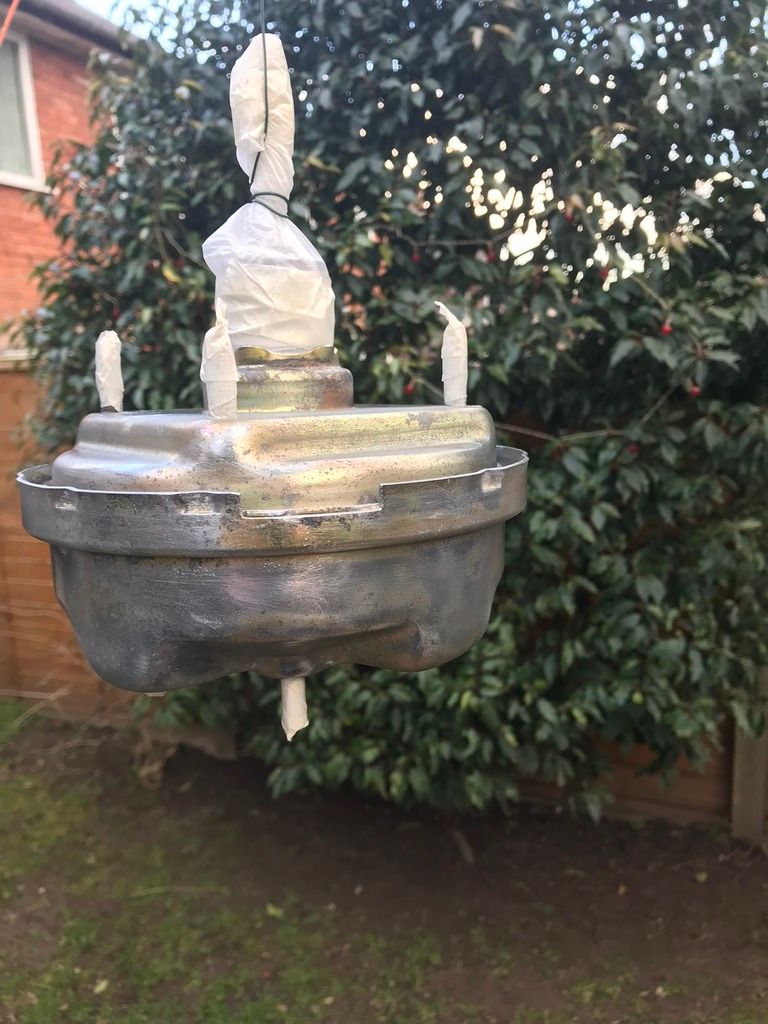
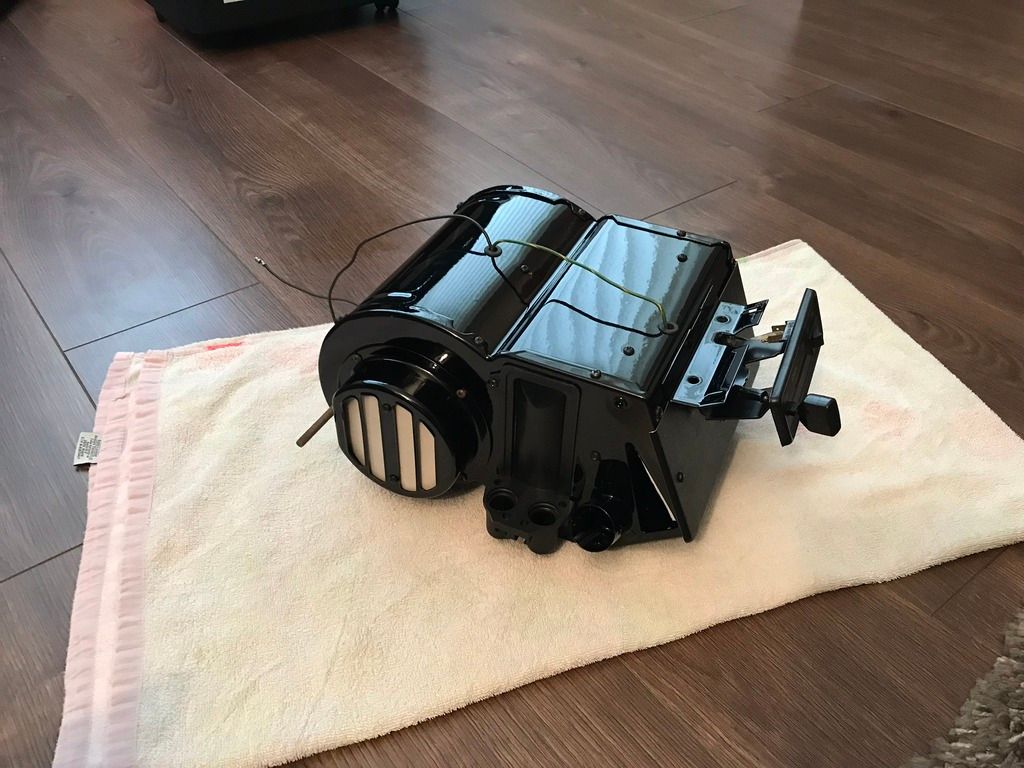
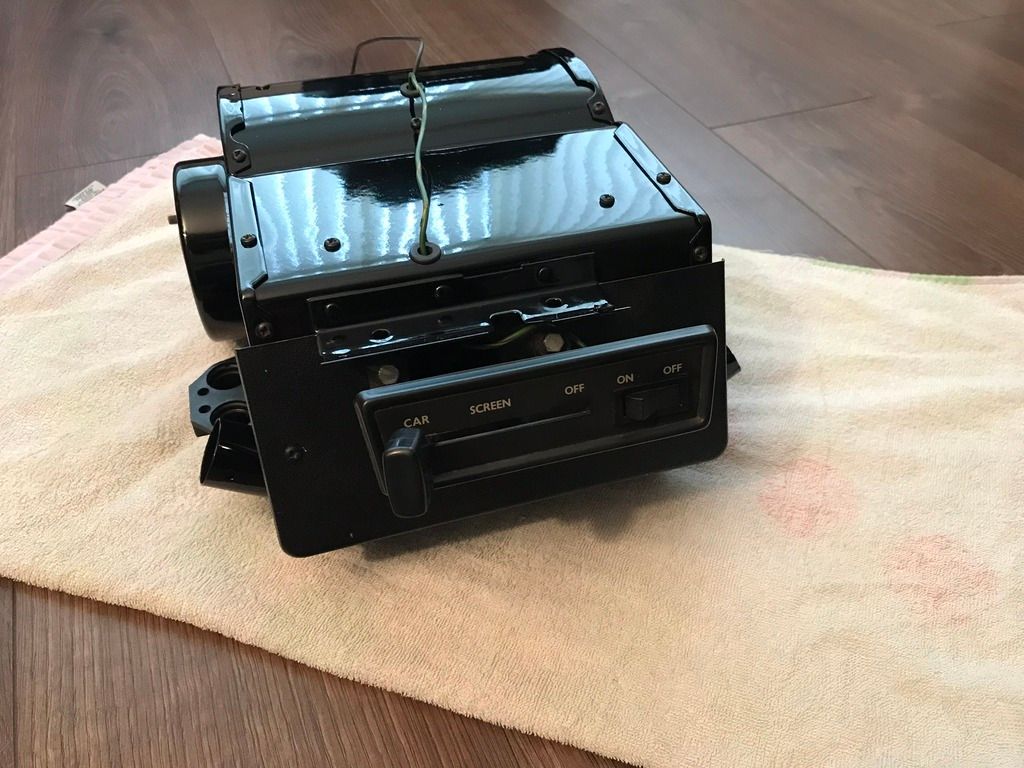
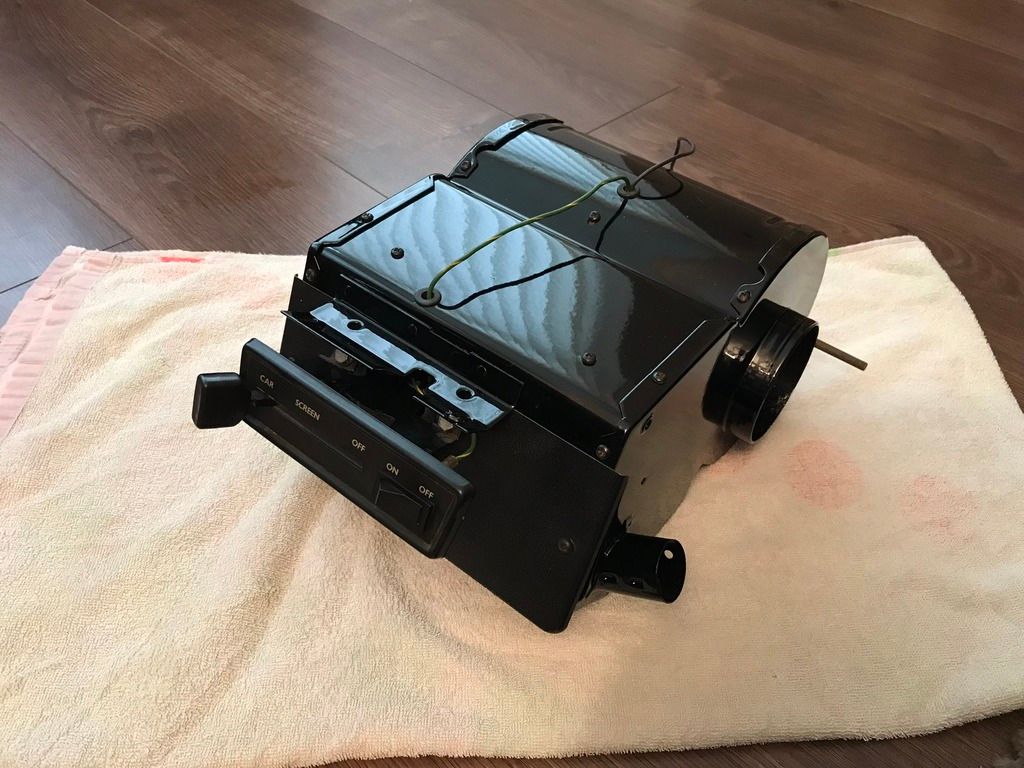
Next heater unit
Stripped down and powder coated
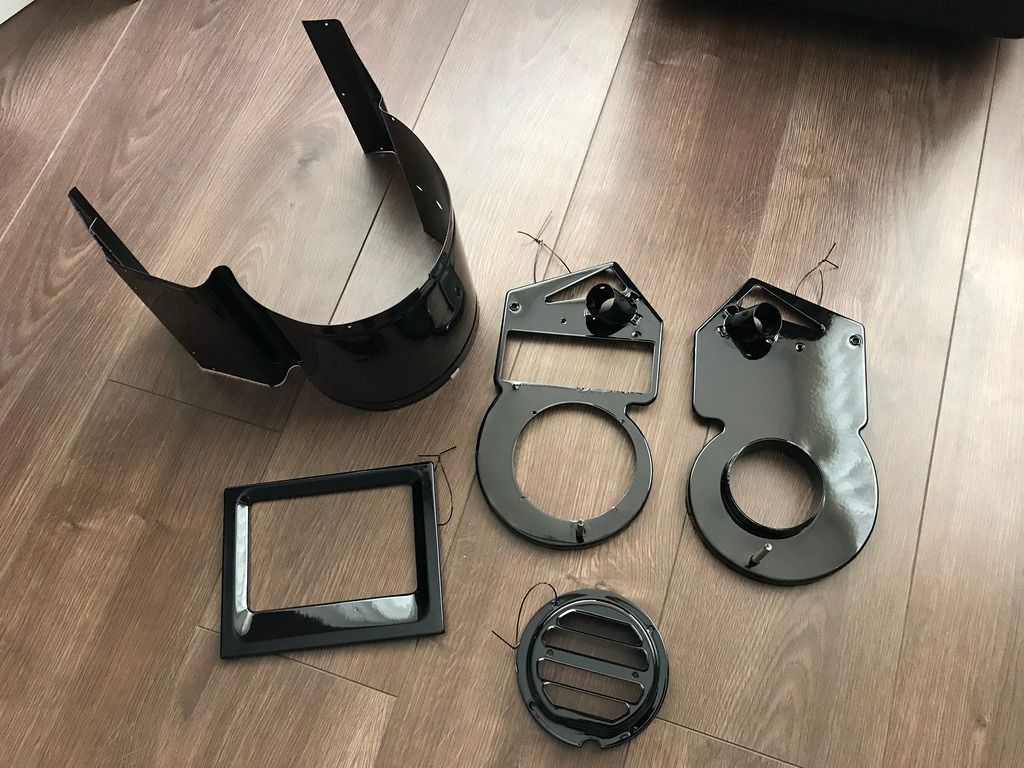
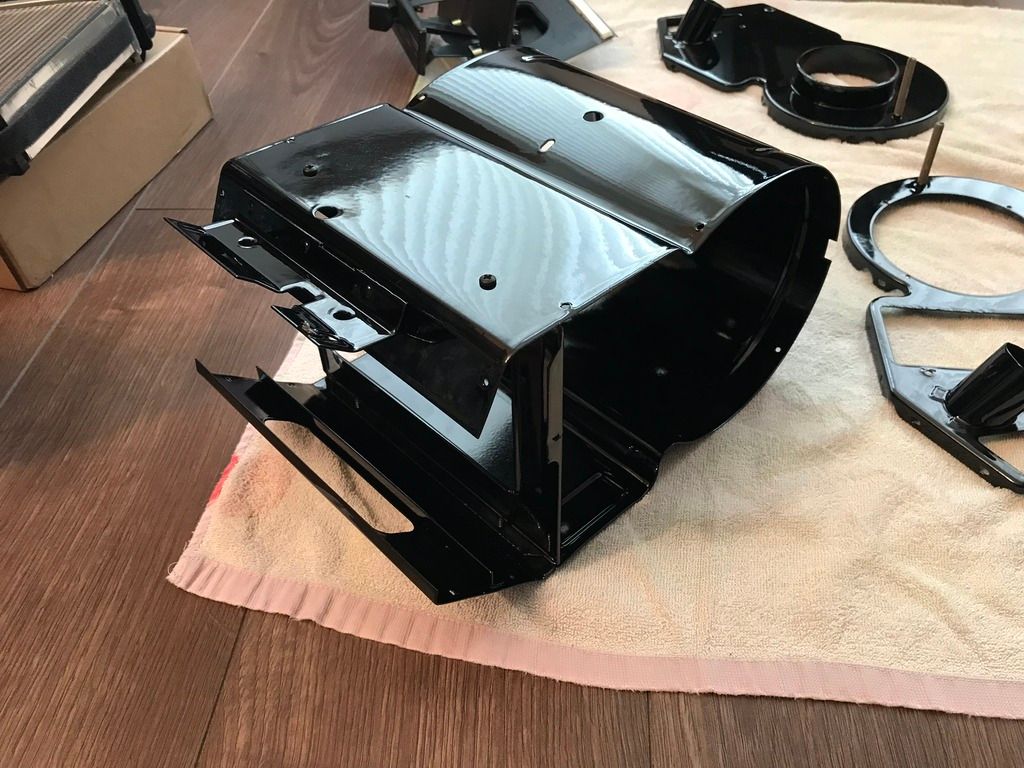
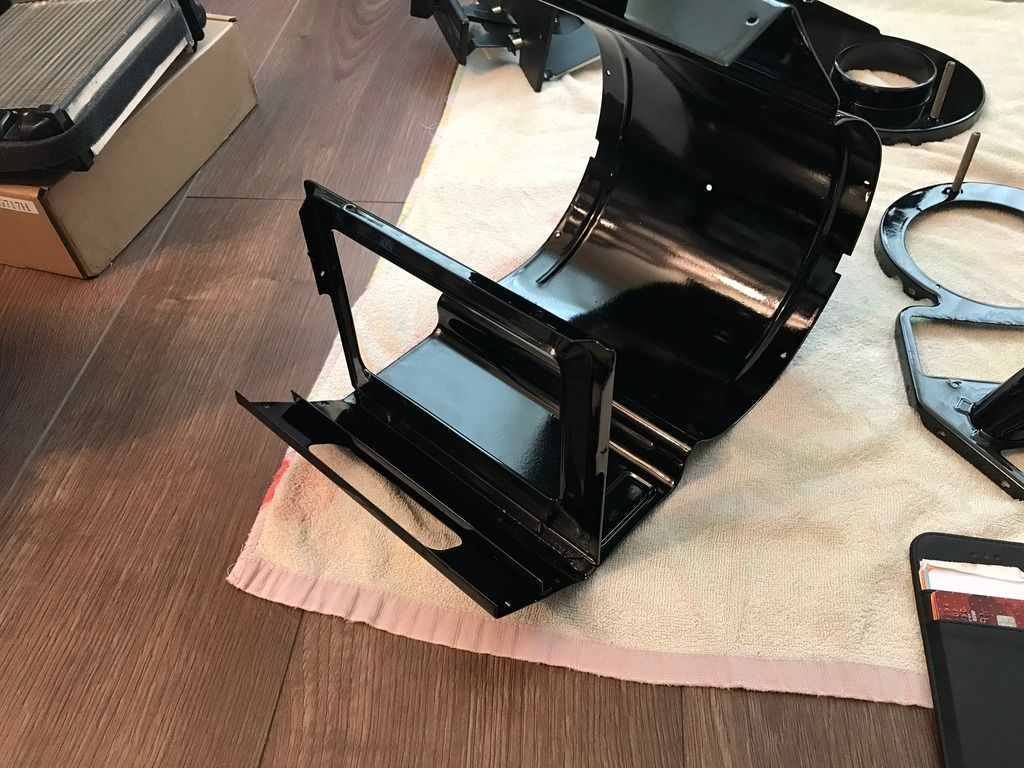

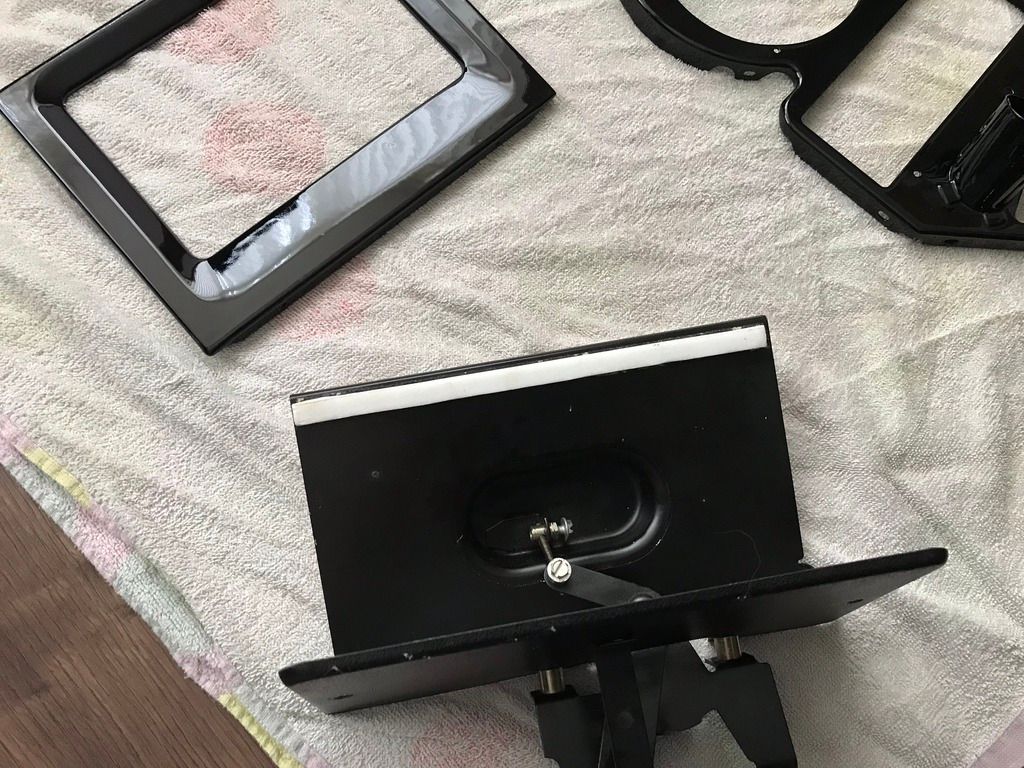
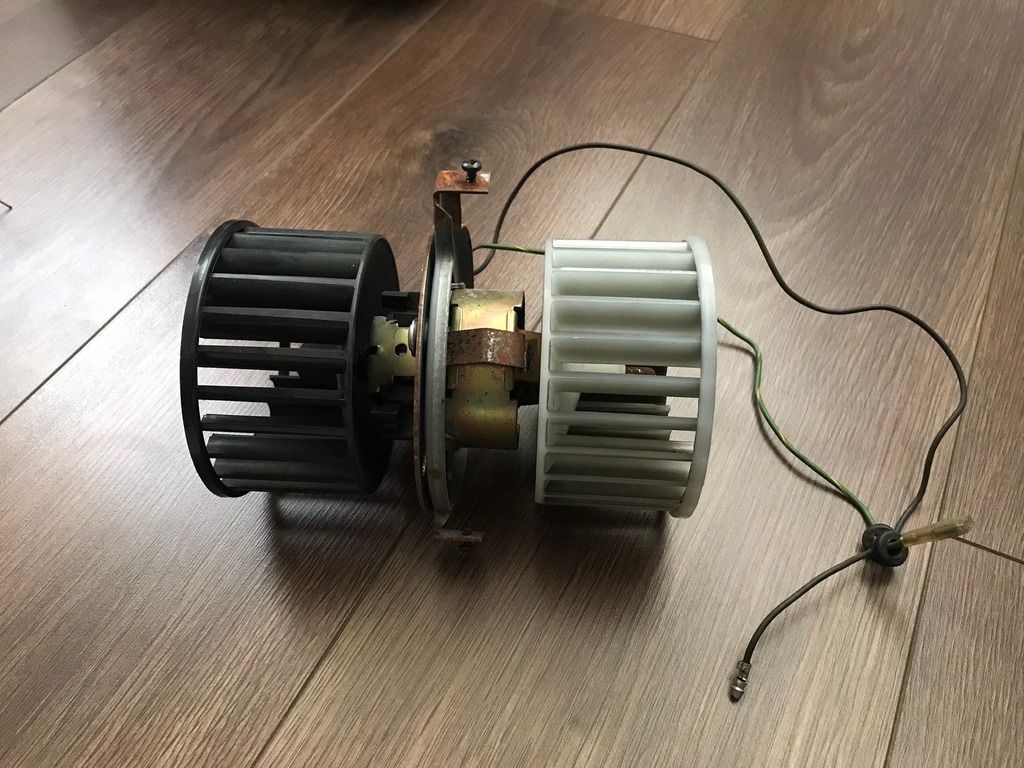
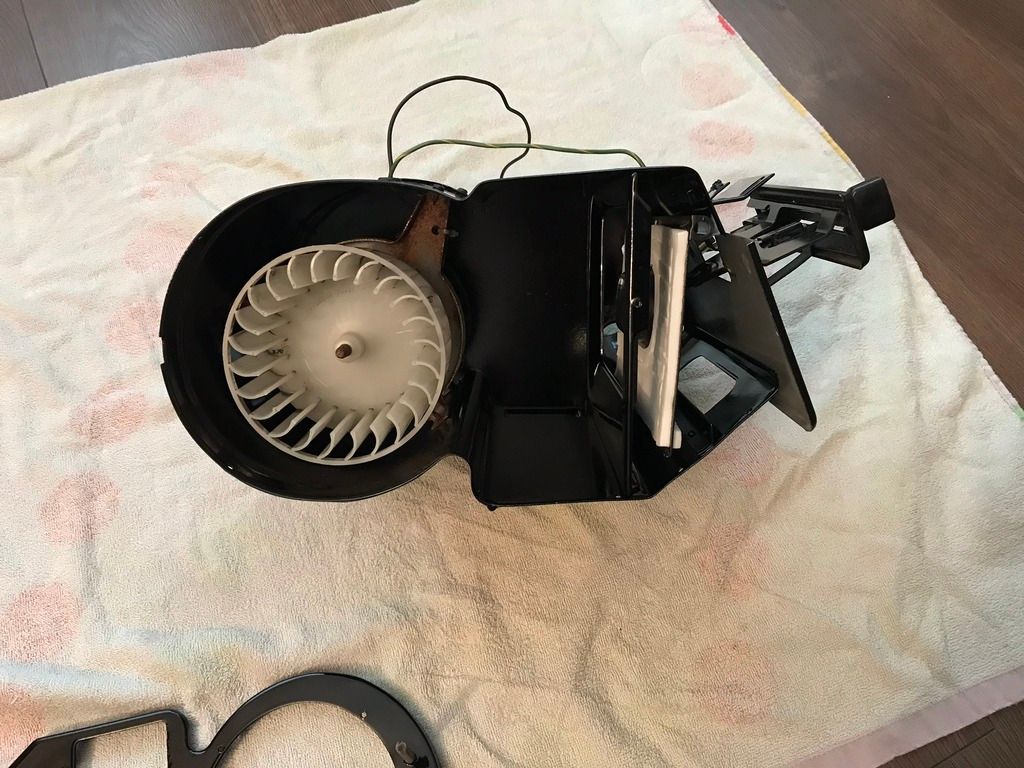
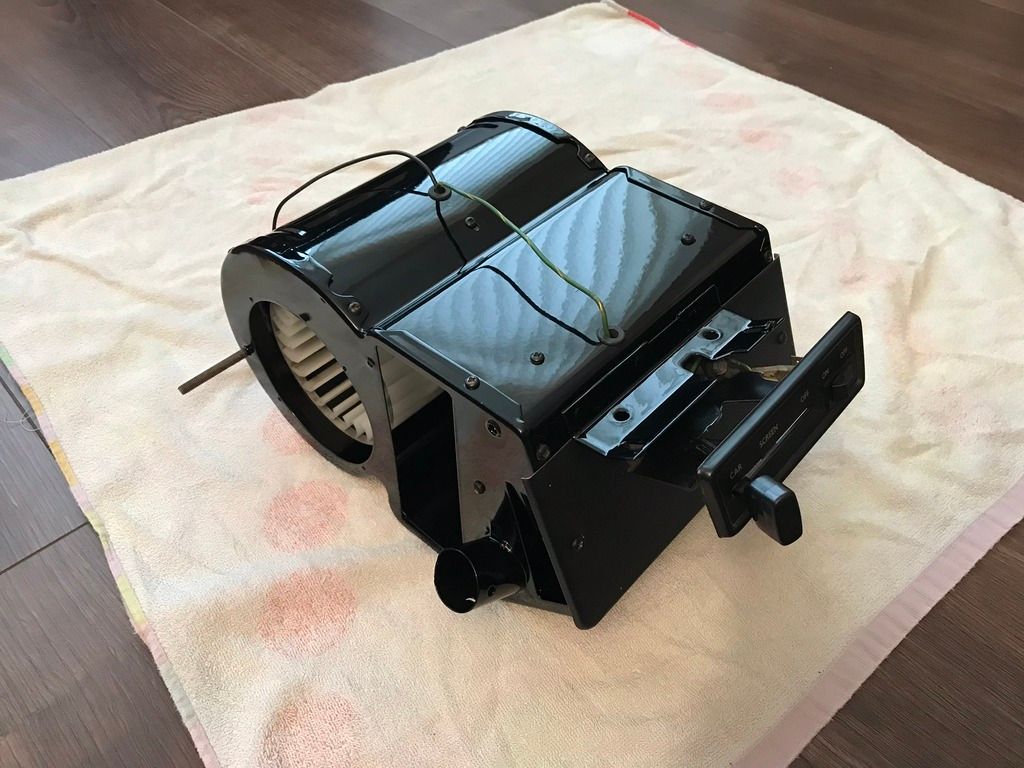
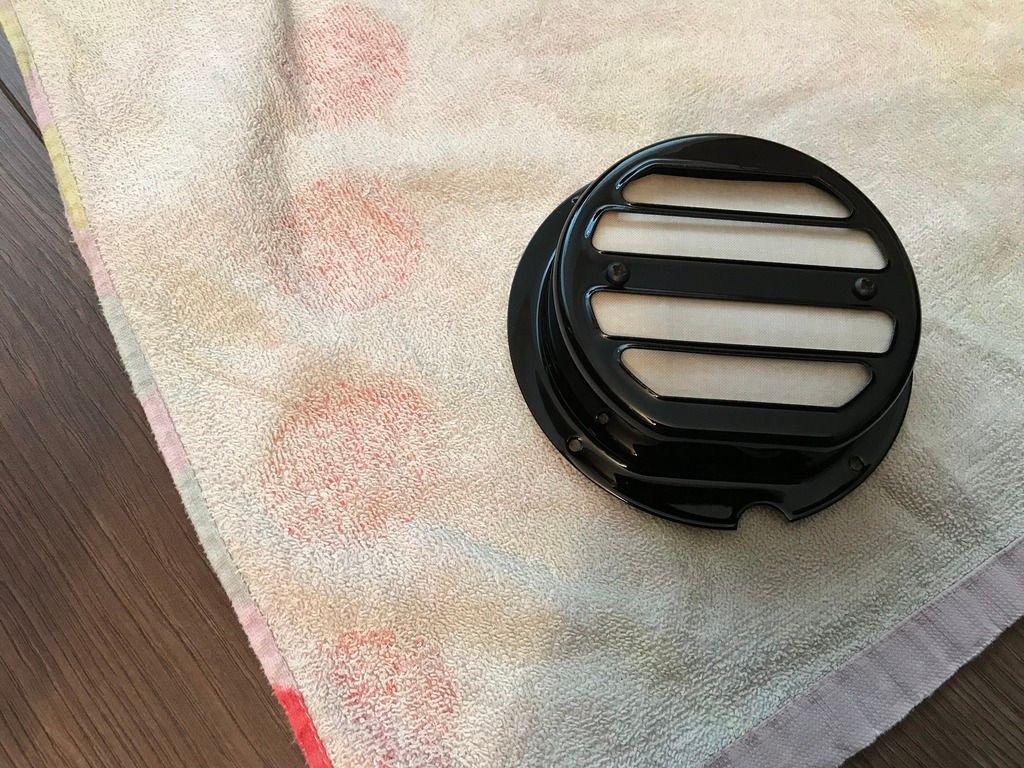
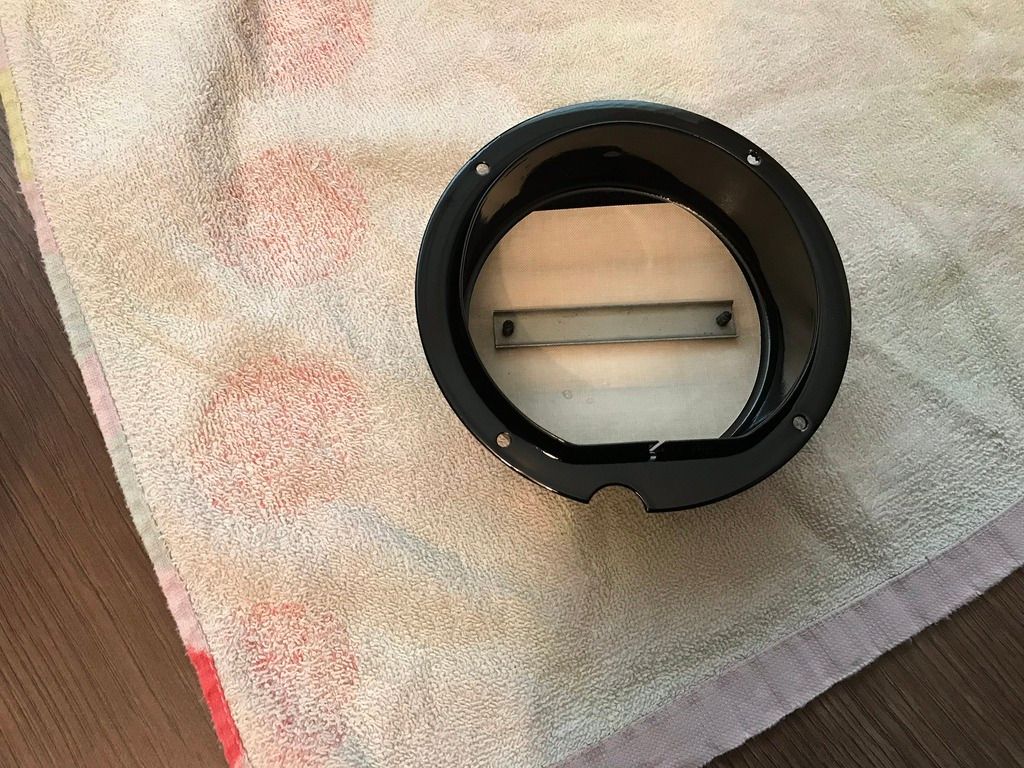
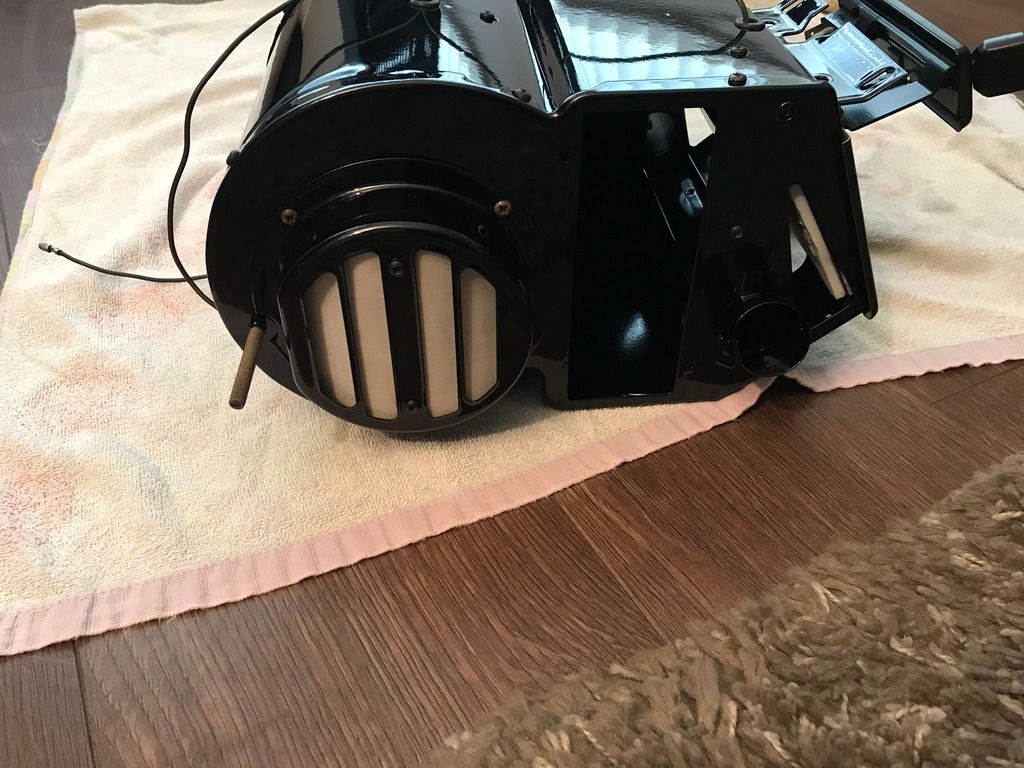
Old matrix was cheese
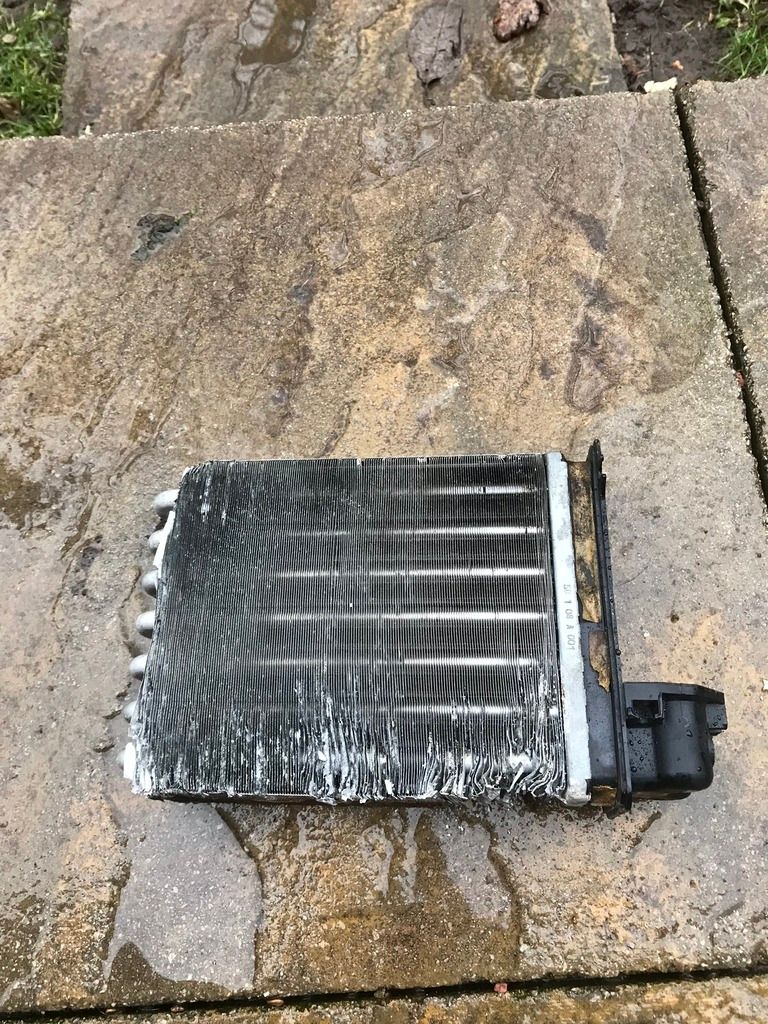
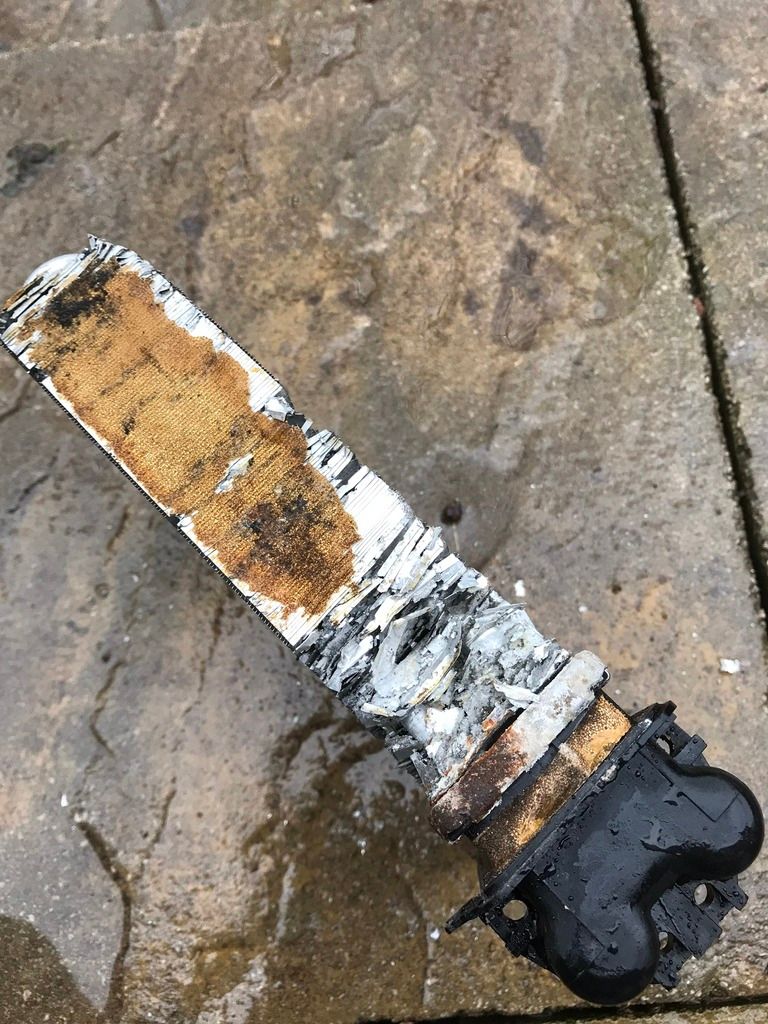
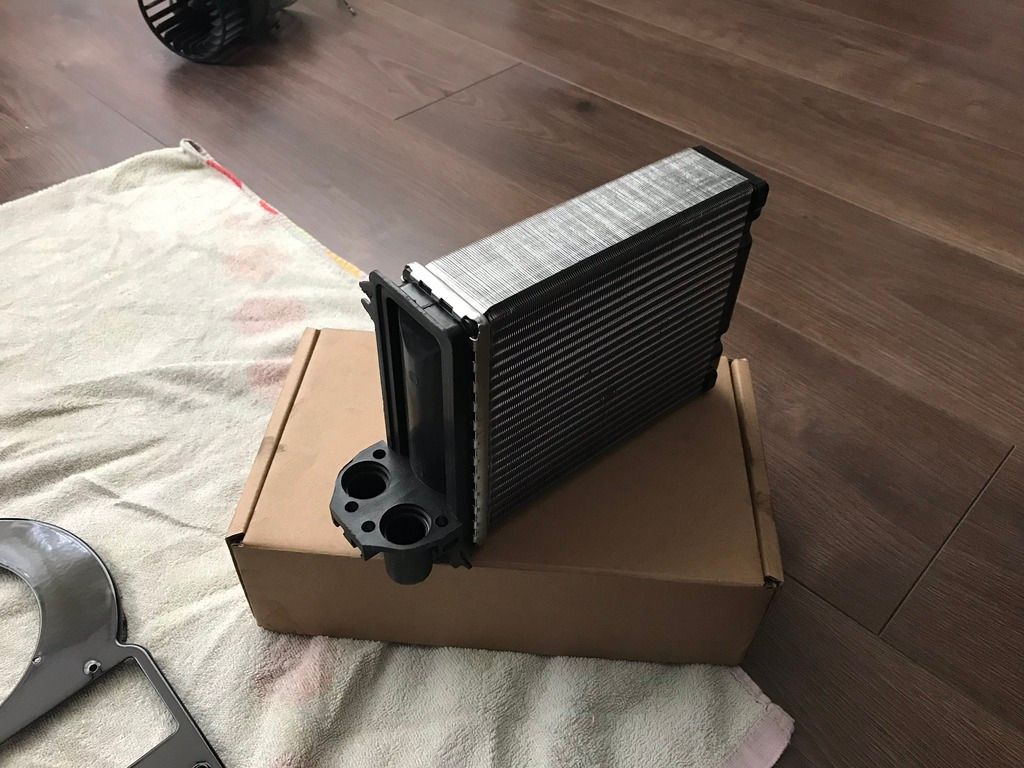
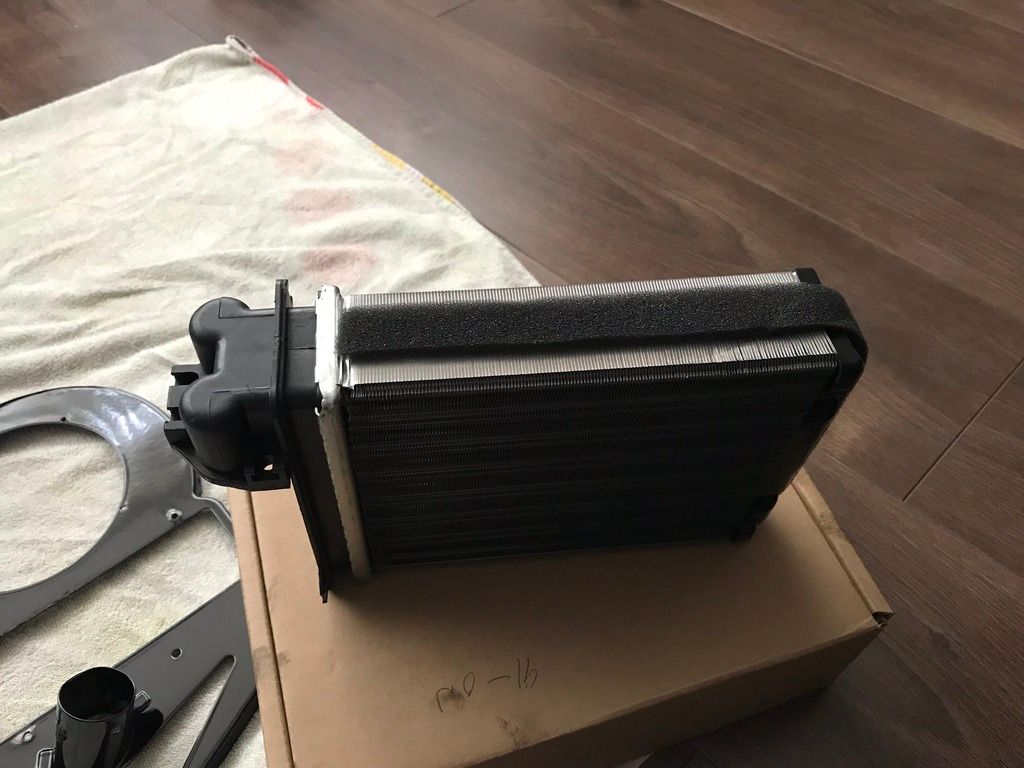
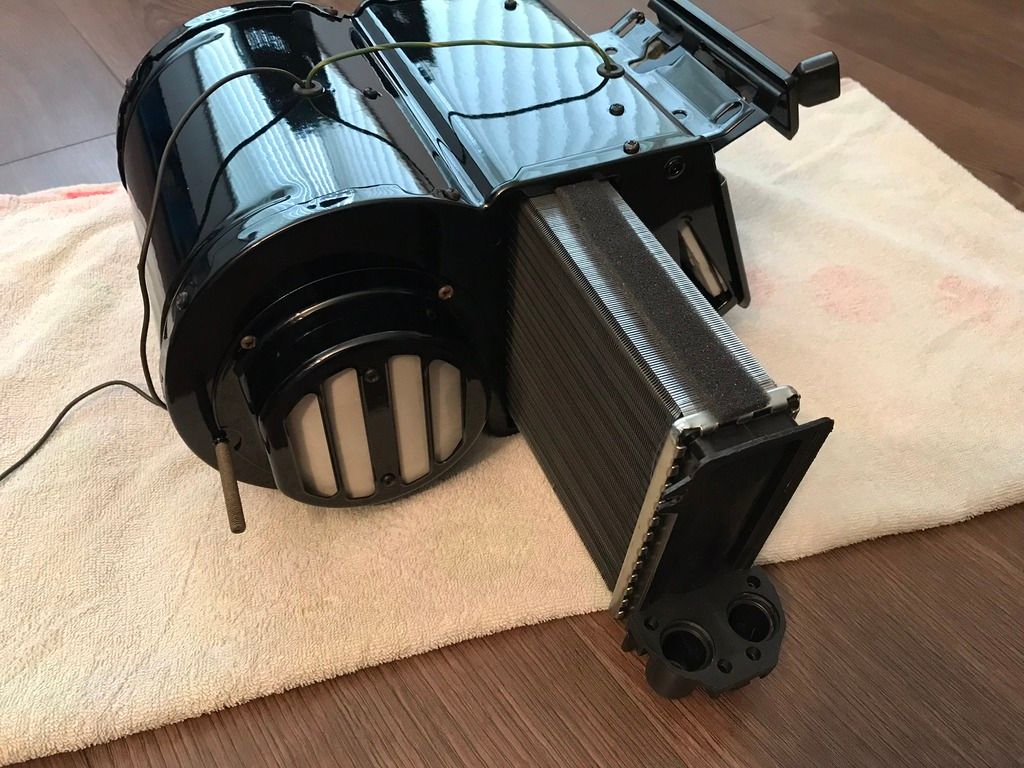
Job done
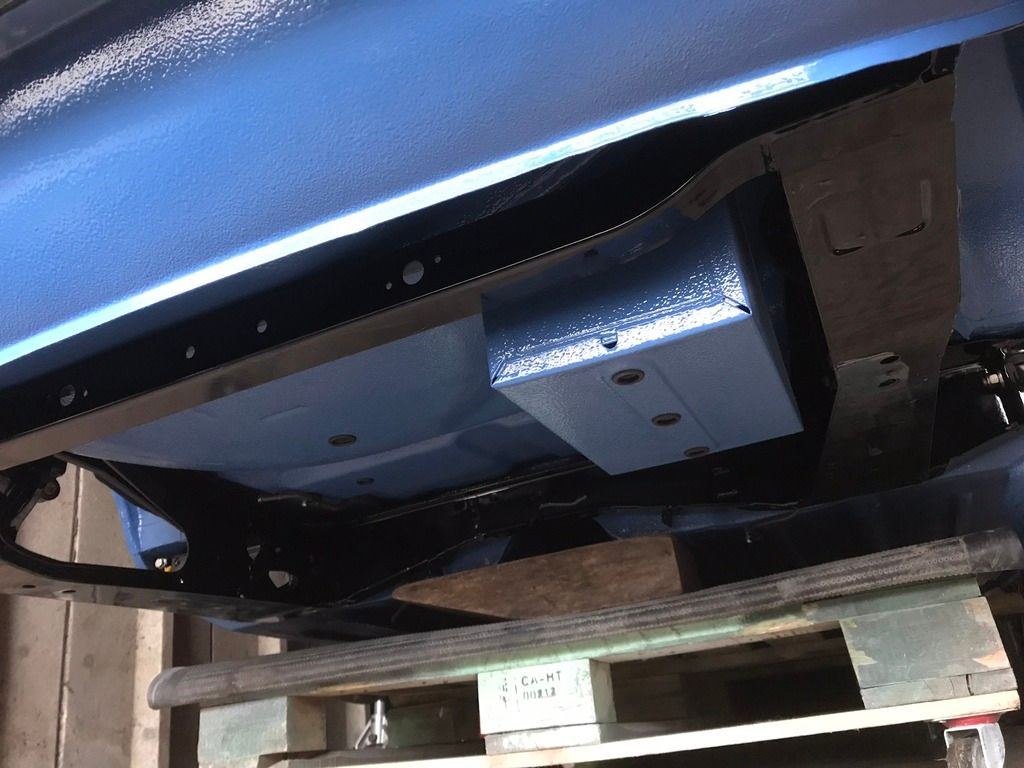
Small parcel from Minispares
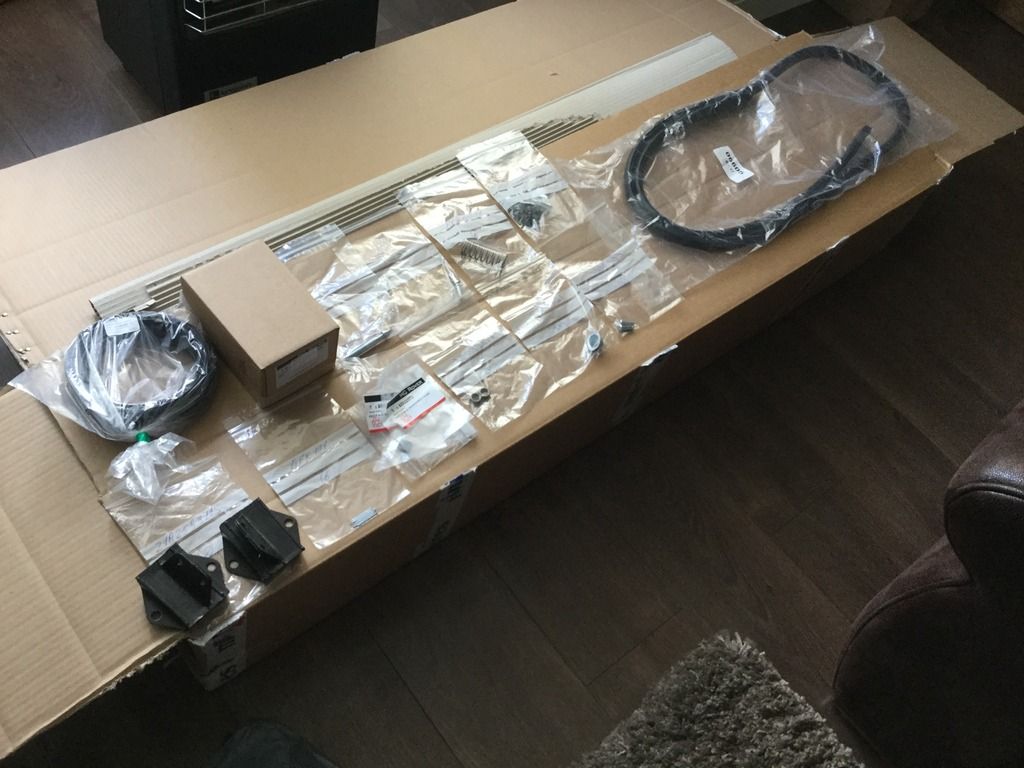
Boot lid seal fitted
That done work on the shell got started
Stuck this back in
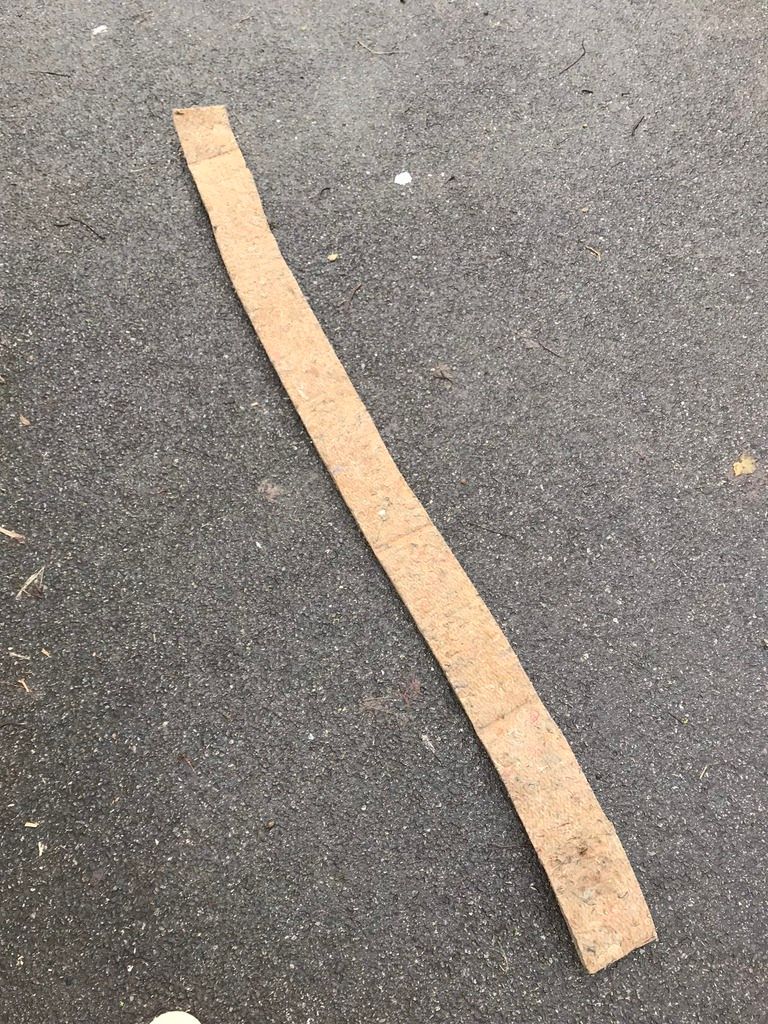
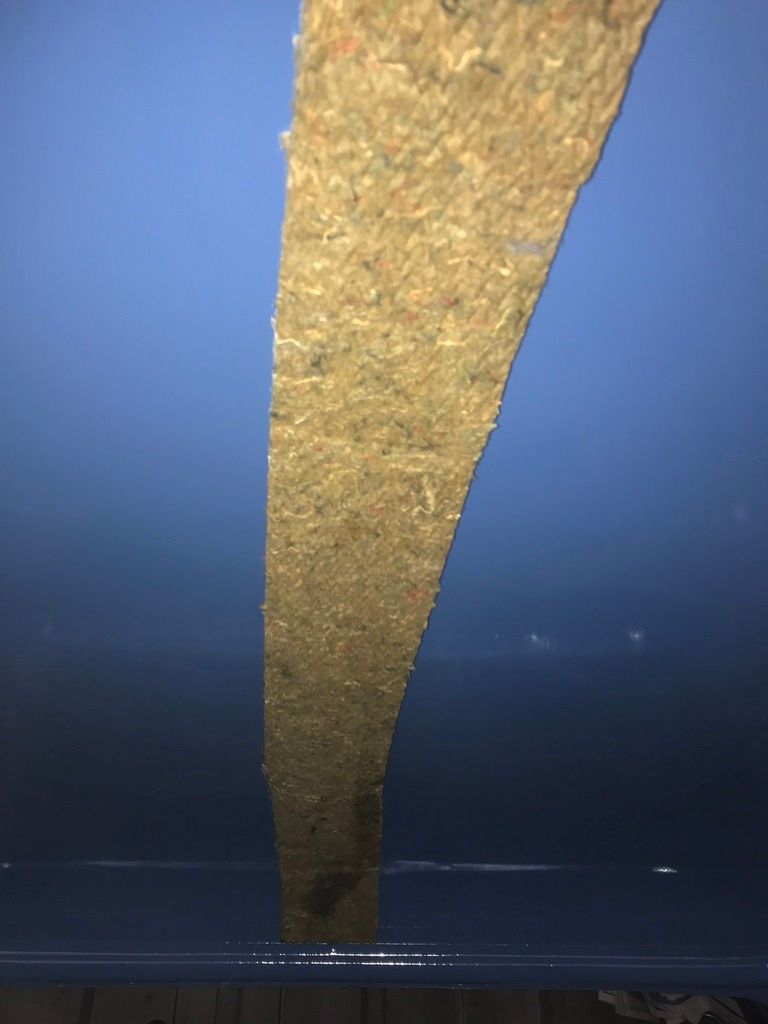
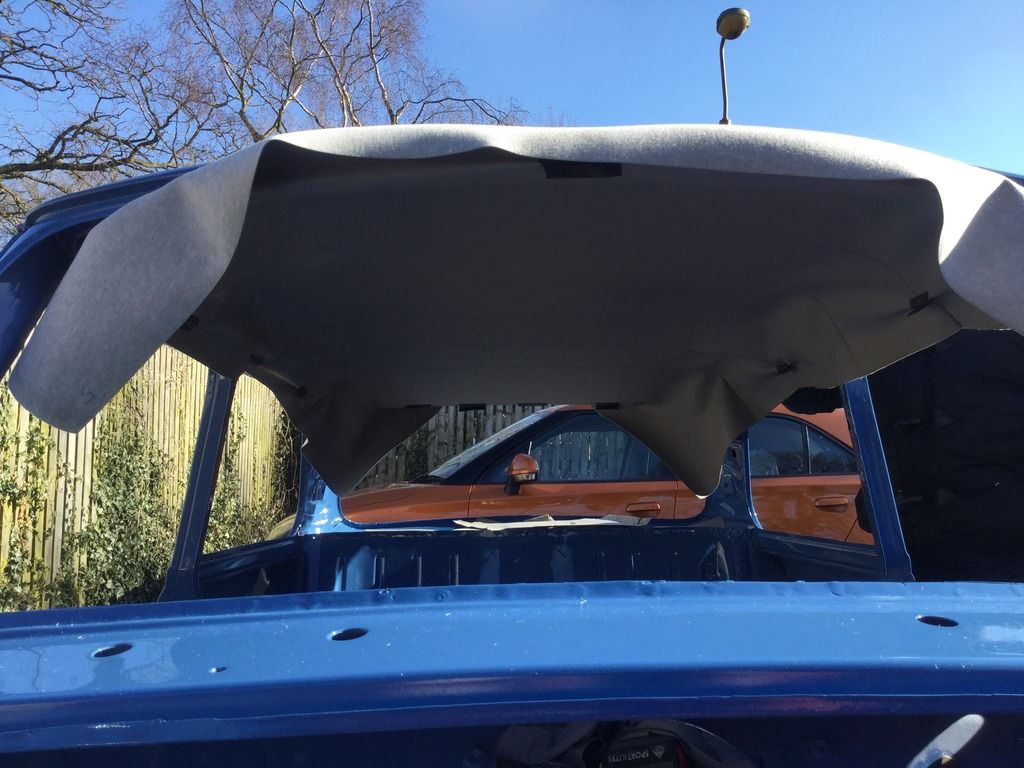
Had a play with the headliner
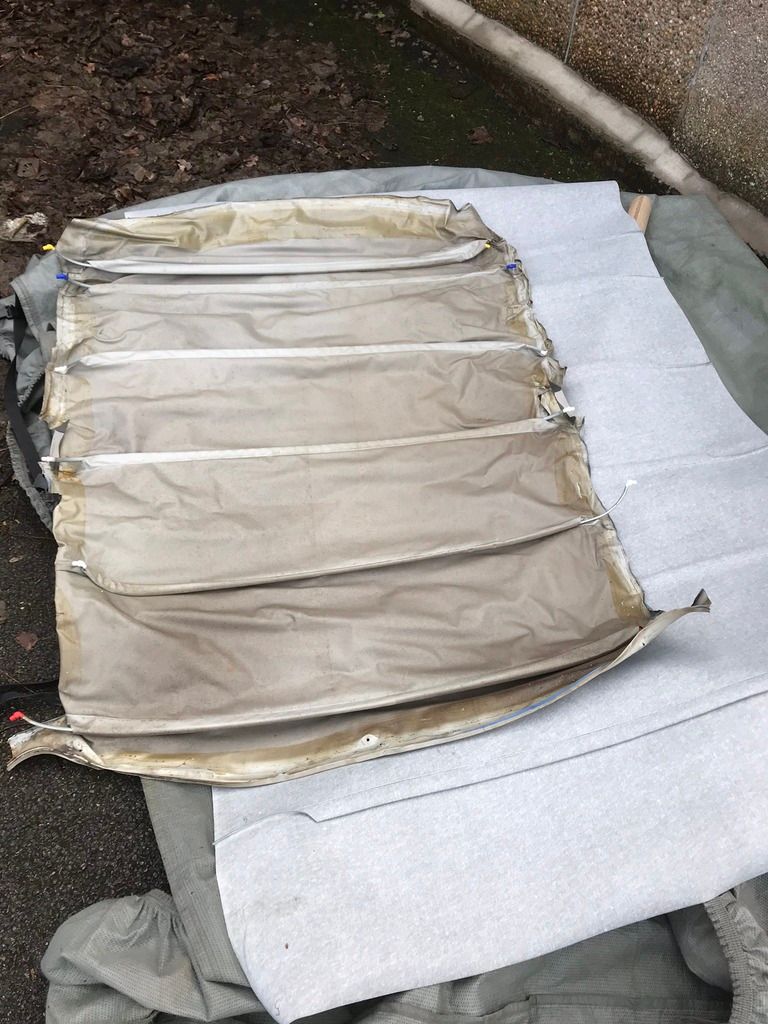
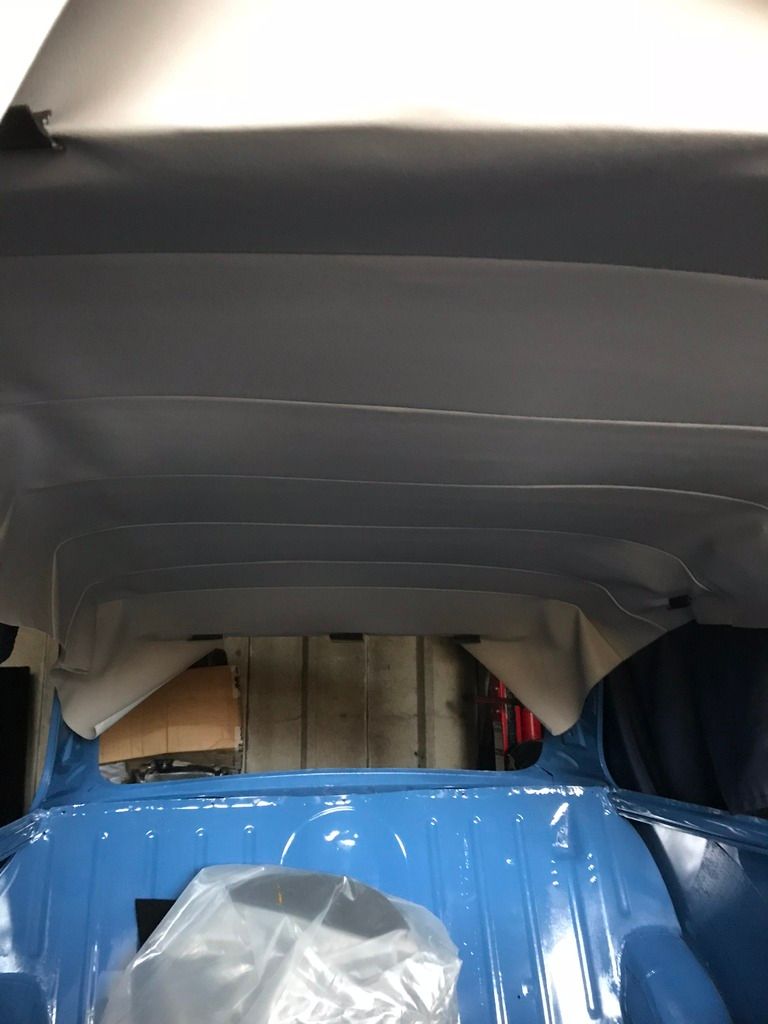
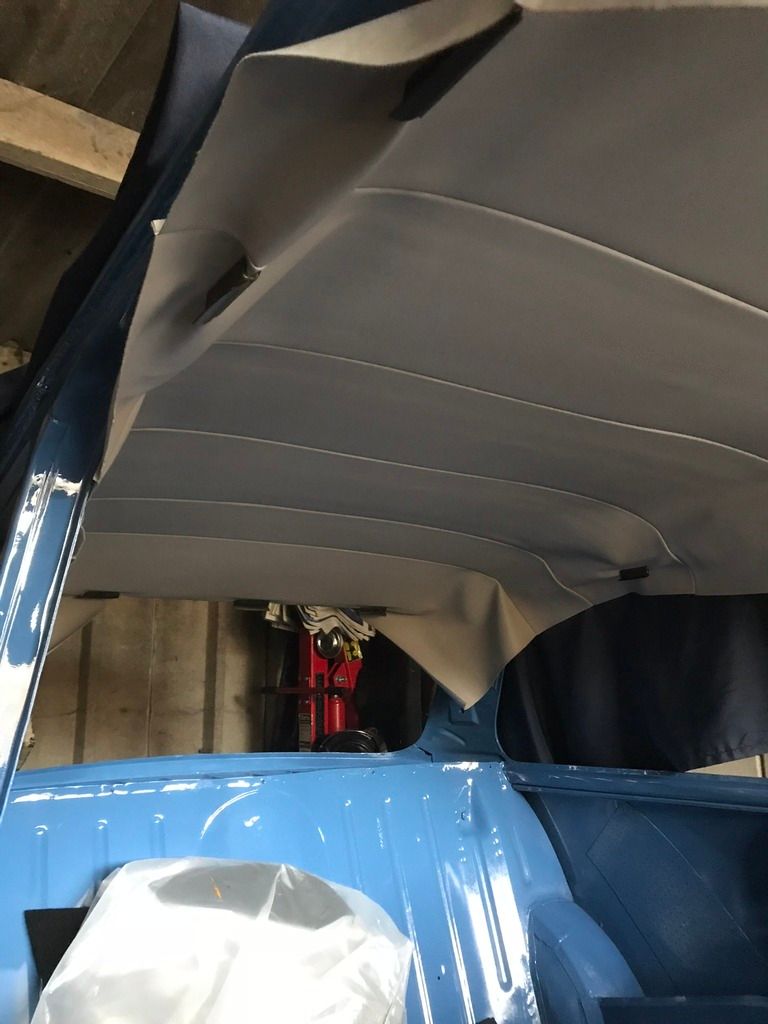
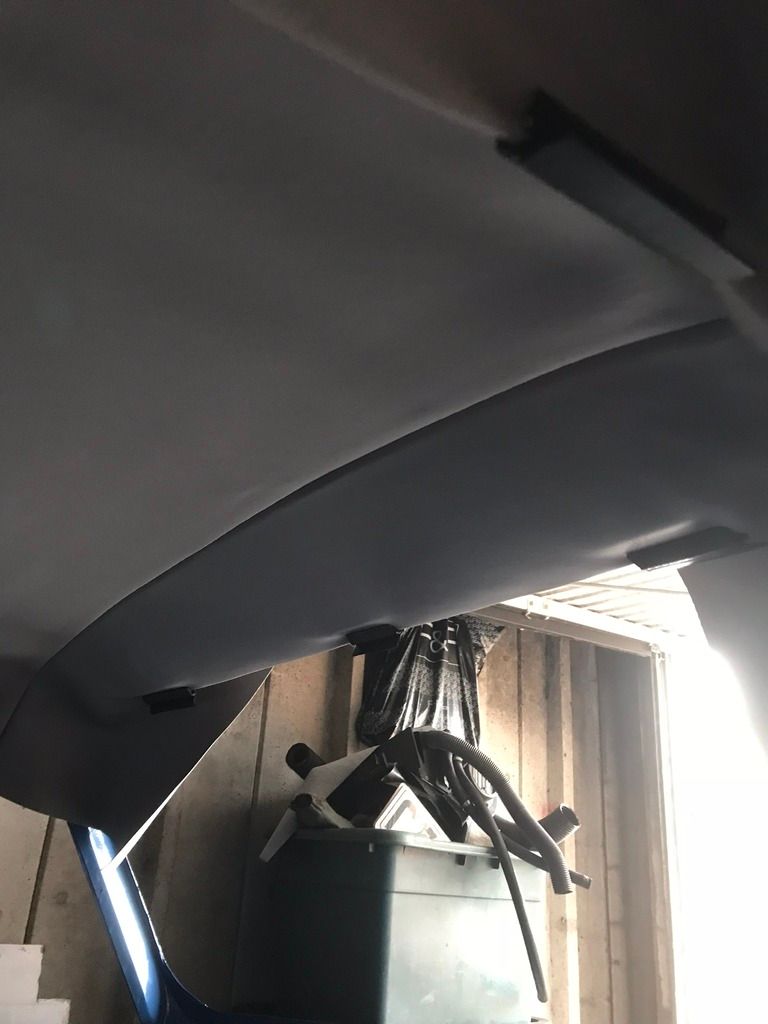
Left that in place to get the creases out
Bit of bling
Pedal box time
Bit more bling

Popped this back on
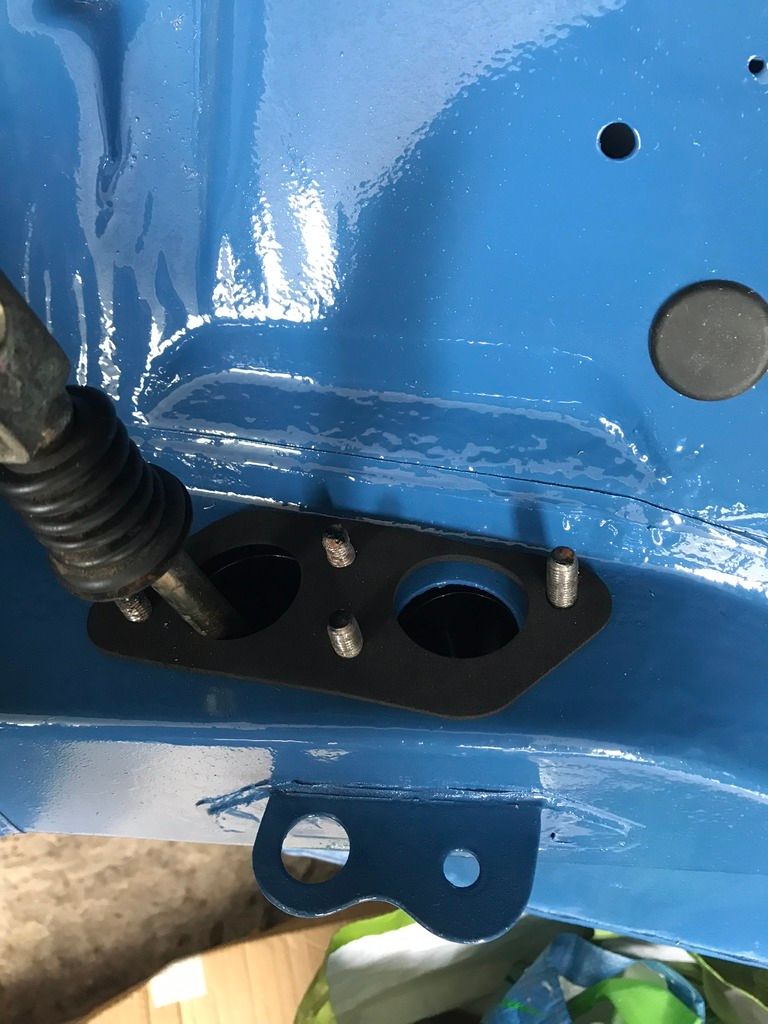
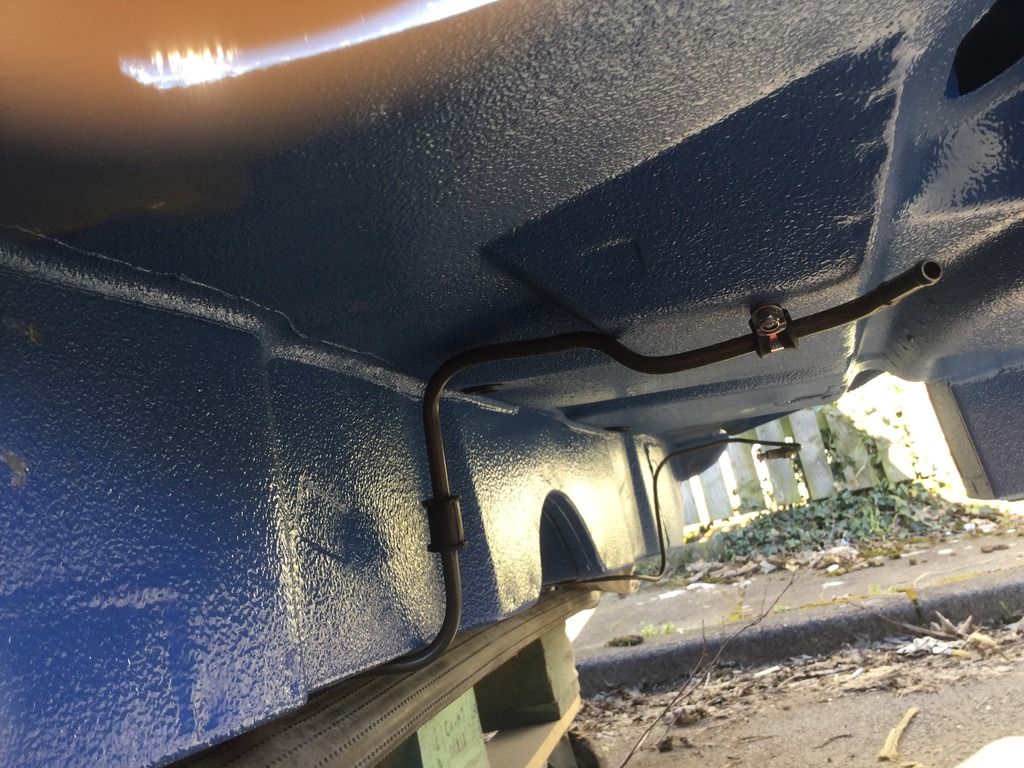
Fuel and brake lines
http://i1355.photobu...psl3xscufo.jpeg
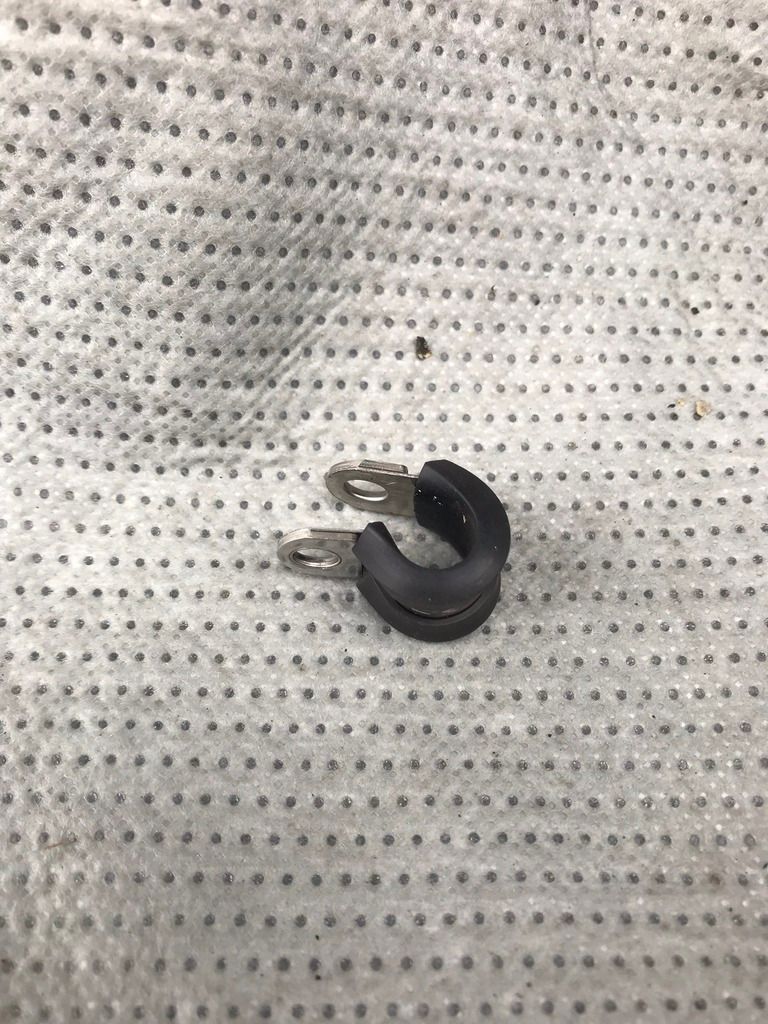
Held on with stainless P clips
http://i1355.photobu...psqqhcpi4e.jpeg
http://i1355.photobu...psarb8zqi5.jpeg
http://i1355.photobu...psshtlilze.jpeg
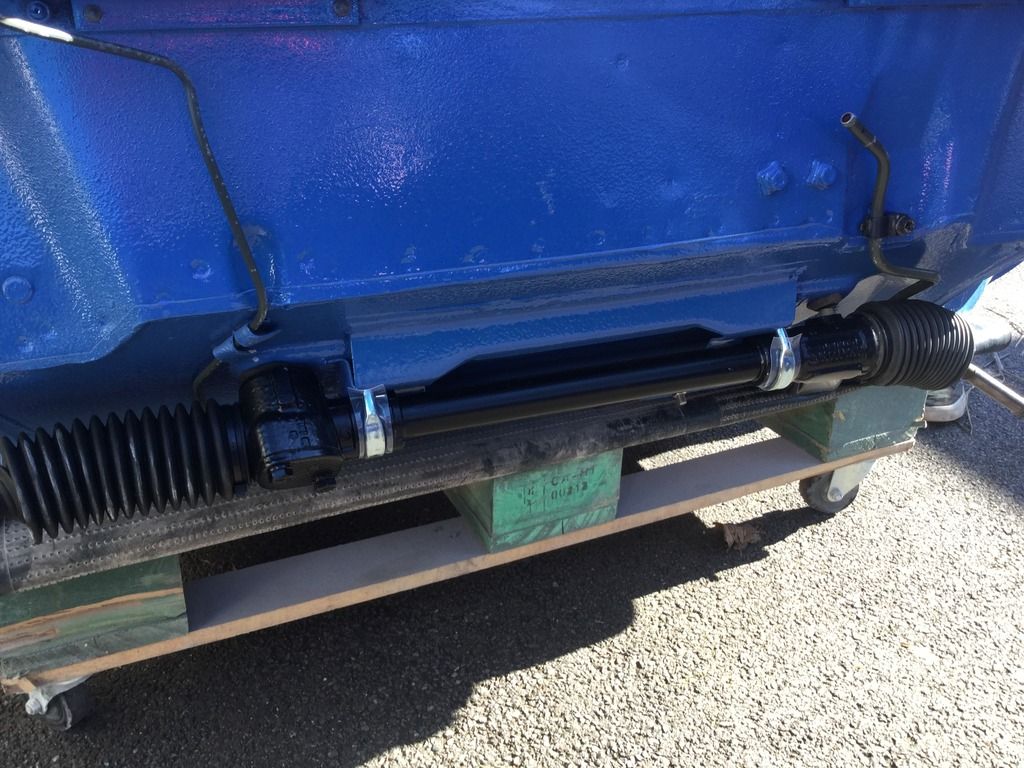
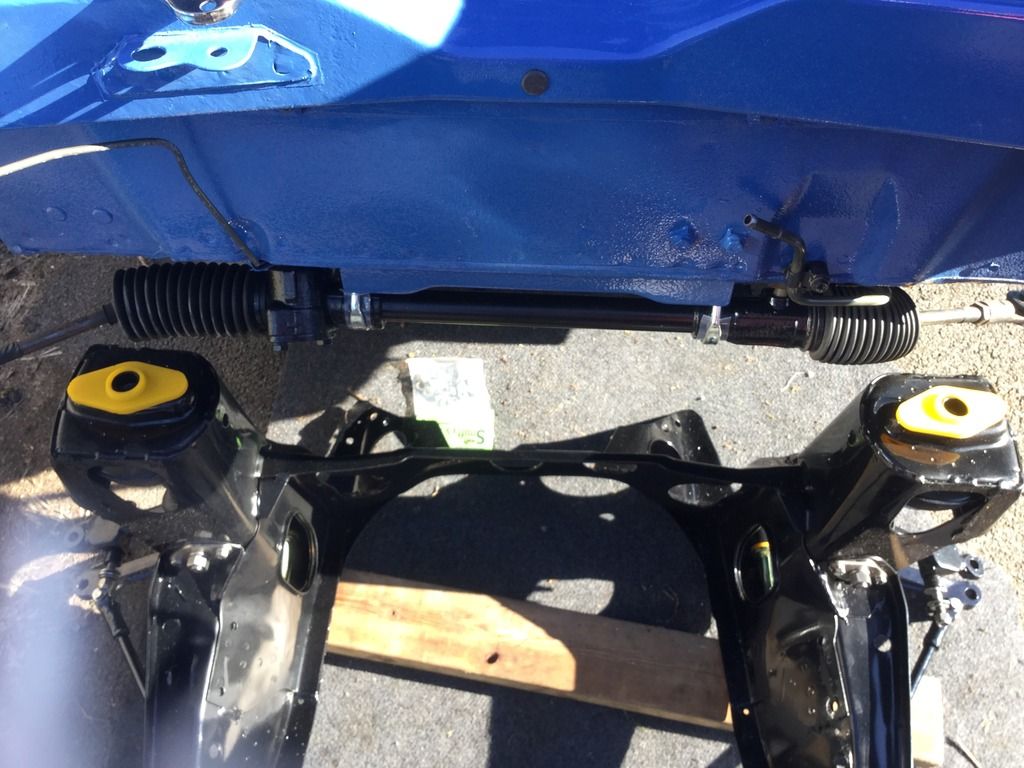
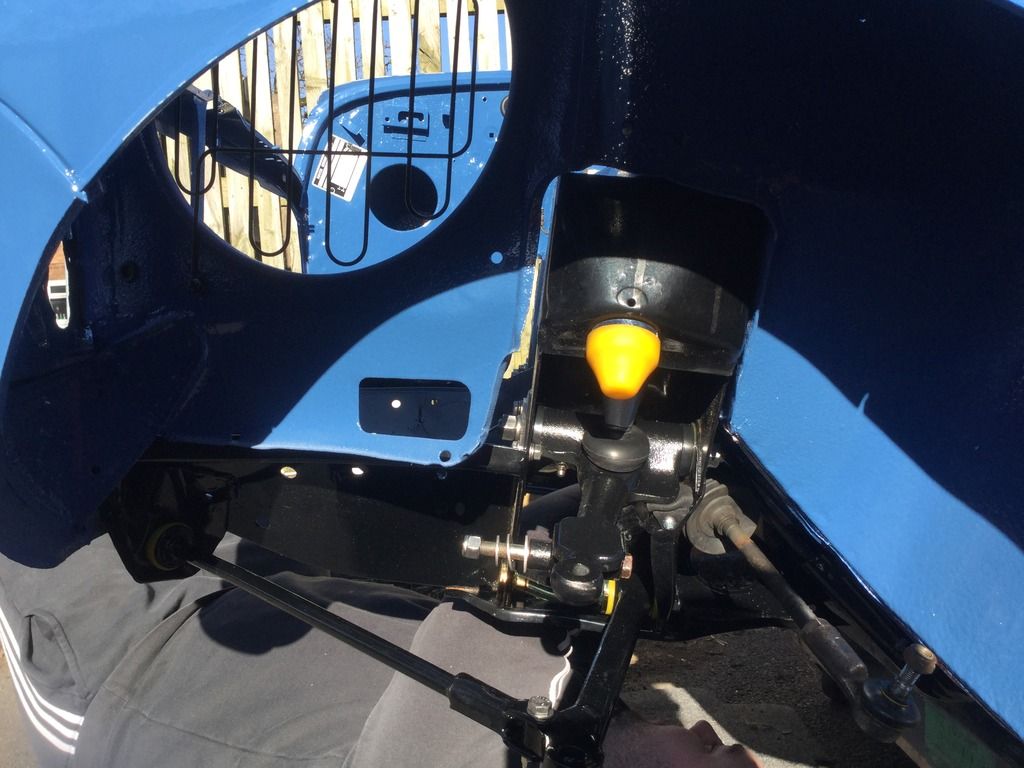
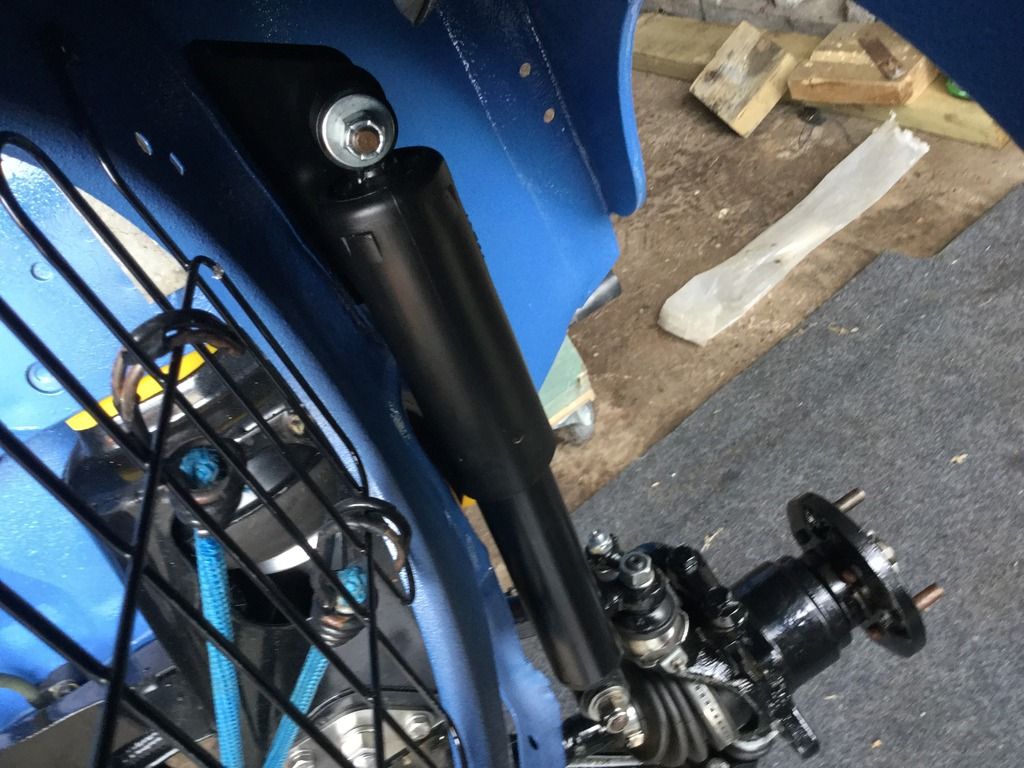
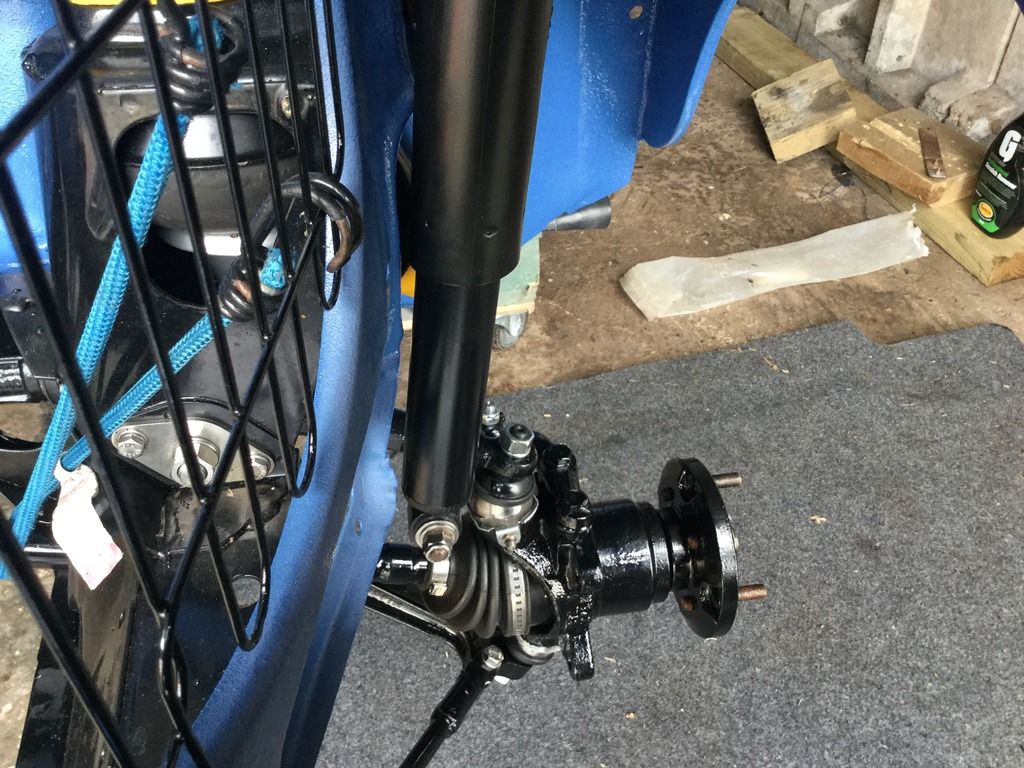
Steering rack fitted
http://i1355.photobu...psu04hfmcq.jpeg
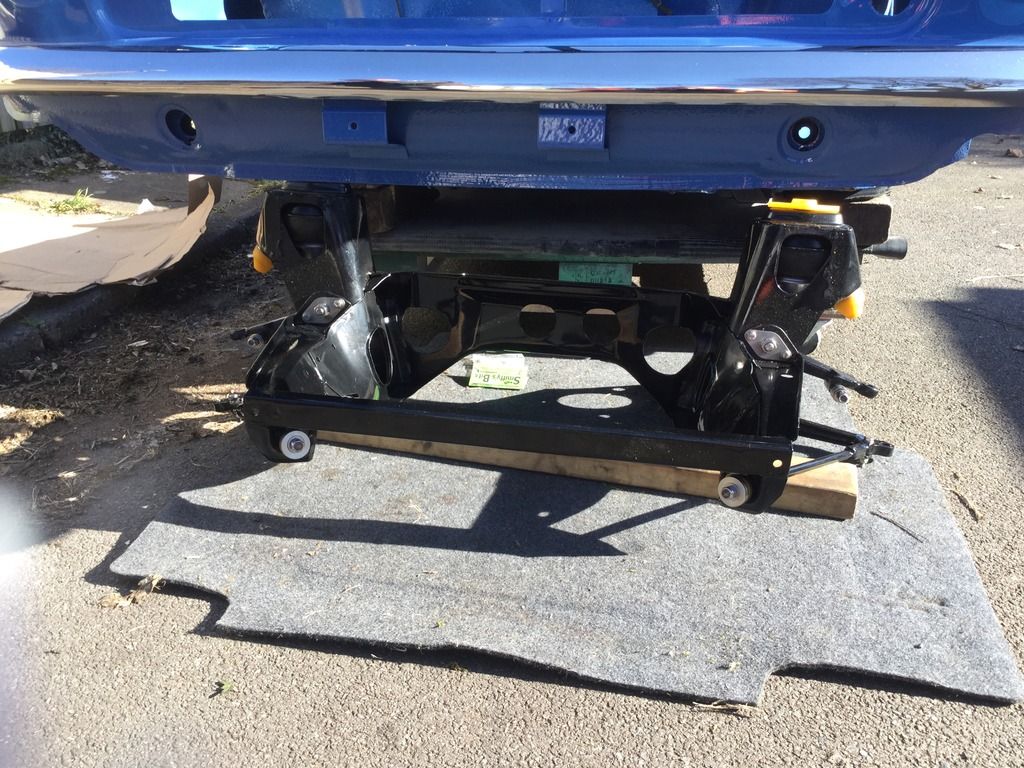
Front subby time
http://i1355.photobu...psvd8imuko.jpeg
http://i1355.photobu...ps6kfrs9kj.jpeg
http://i1355.photobu...ps51zuaac7.jpeg
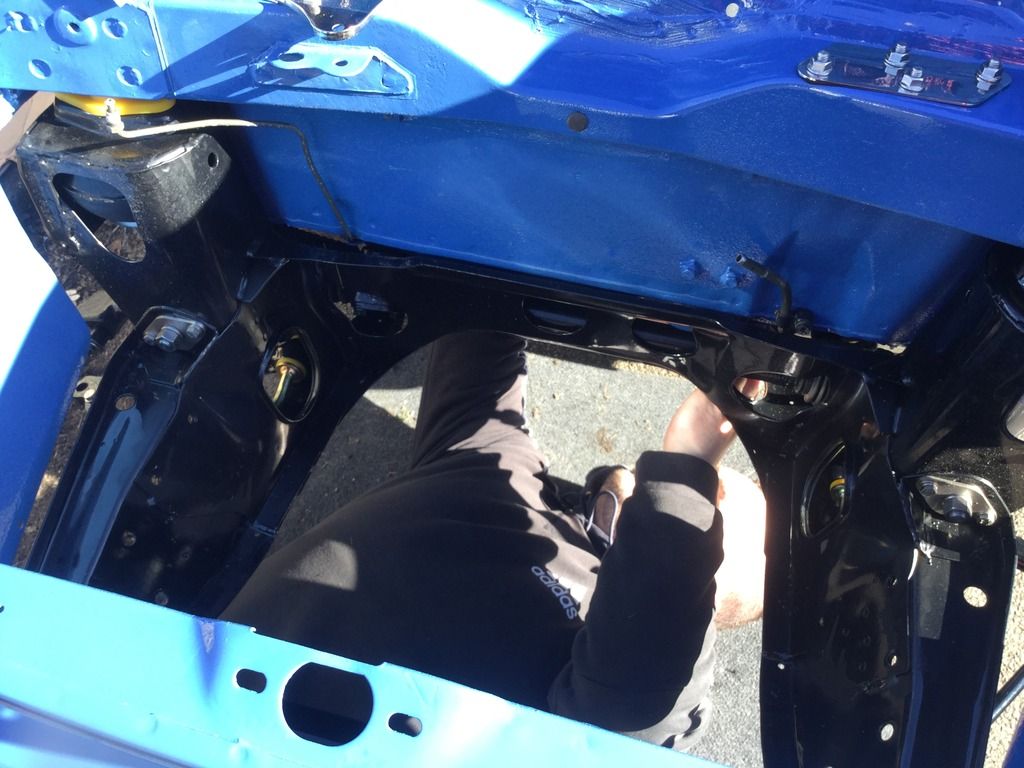
In with the help of Jay
http://i1355.photobu...psia2ziiyp.jpeg
http://i1355.photobu...psfcojjdmc.jpeg
http://i1355.photobu...psawtjvbiq.jpeg
More to come
Mark
Update time
slowly working my way through the last bits that need refurbing
Servo , master cylinder and brake valve


Splash of zinc primer

Done

Next heater unit
Stripped down and powder coated


Old matrix was cheese


Job done


Small parcel from Minispares


Boot lid seal fitted

That done work on the shell got started

Stuck this back in


Had a play with the headliner


Left that in place to get the creases out
Bit of bling


Pedal box time

Bit more bling

Popped this back on

Fuel and brake lines
http://i1355.photobu...psl3xscufo.jpeg
Held on with stainless P clips
http://i1355.photobu...psqqhcpi4e.jpeg
http://i1355.photobu...psarb8zqi5.jpeg
http://i1355.photobu...psshtlilze.jpeg
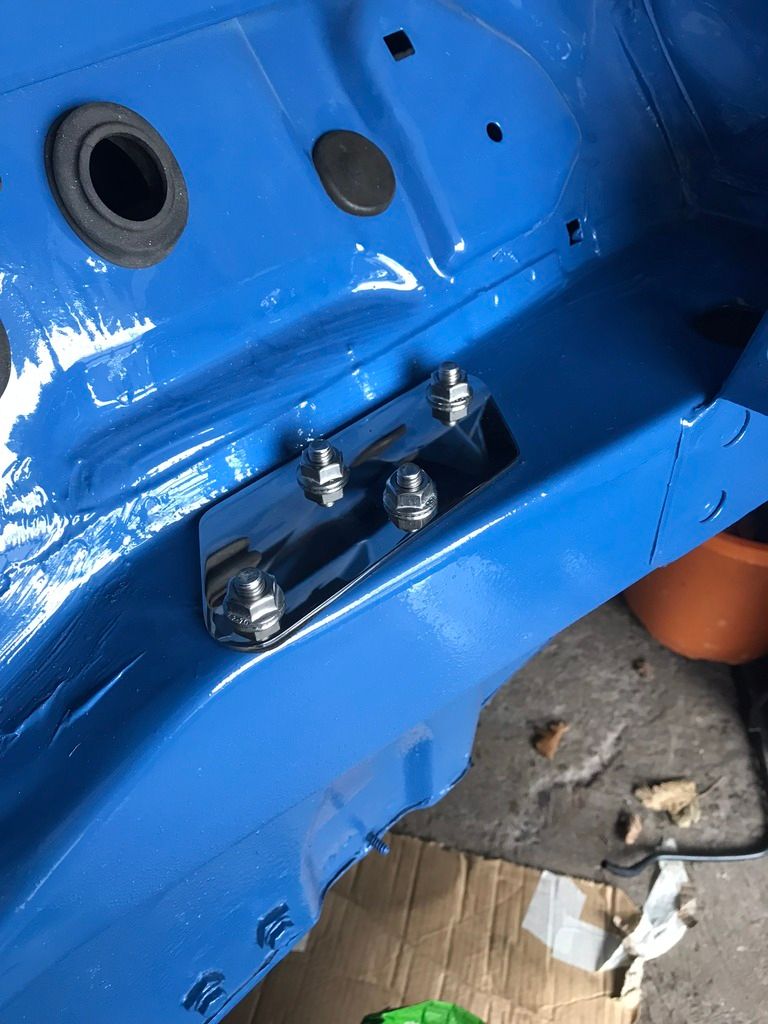
Steering rack fitted
http://i1355.photobu...psu04hfmcq.jpeg
Front subby time
http://i1355.photobu...psvd8imuko.jpeg
http://i1355.photobu...ps6kfrs9kj.jpeg
http://i1355.photobu...ps51zuaac7.jpeg
In with the help of Jay
http://i1355.photobu...psia2ziiyp.jpeg
http://i1355.photobu...psfcojjdmc.jpeg
http://i1355.photobu...psawtjvbiq.jpeg
More to come
Mark
#222
Marco1972
-
- Members
-
- 822 posts
One Carb Or Two?
- Location: Birmingham
Posted 19 March 2018 - 10:56 PM
Bugger
That didnt go to plan bloody Photobucket 🤬
Fuel and brake line
P clips
Rack fitted
Front subby time
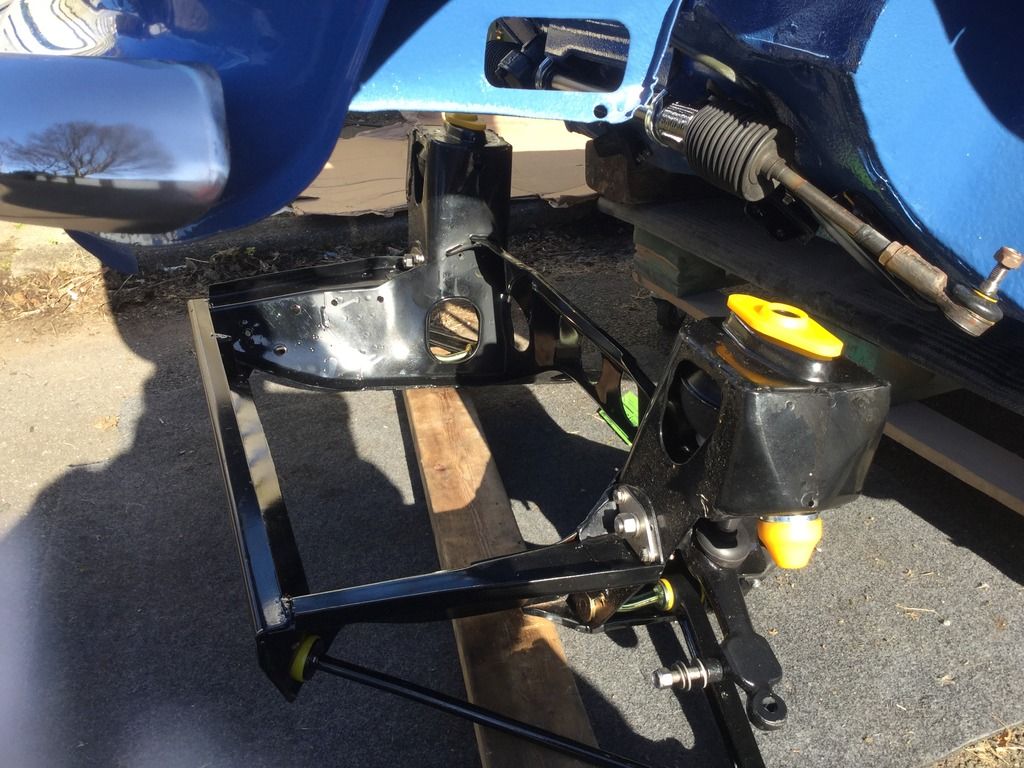
In with the help of Jay
More to come
Mark
That didnt go to plan bloody Photobucket 🤬
Fuel and brake line

P clips


Rack fitted

Front subby time


In with the help of Jay


More to come
Mark
#223
Marco1972
-
- Members
-
- 822 posts
One Carb Or Two?
- Location: Birmingham
Posted 19 March 2018 - 11:43 PM
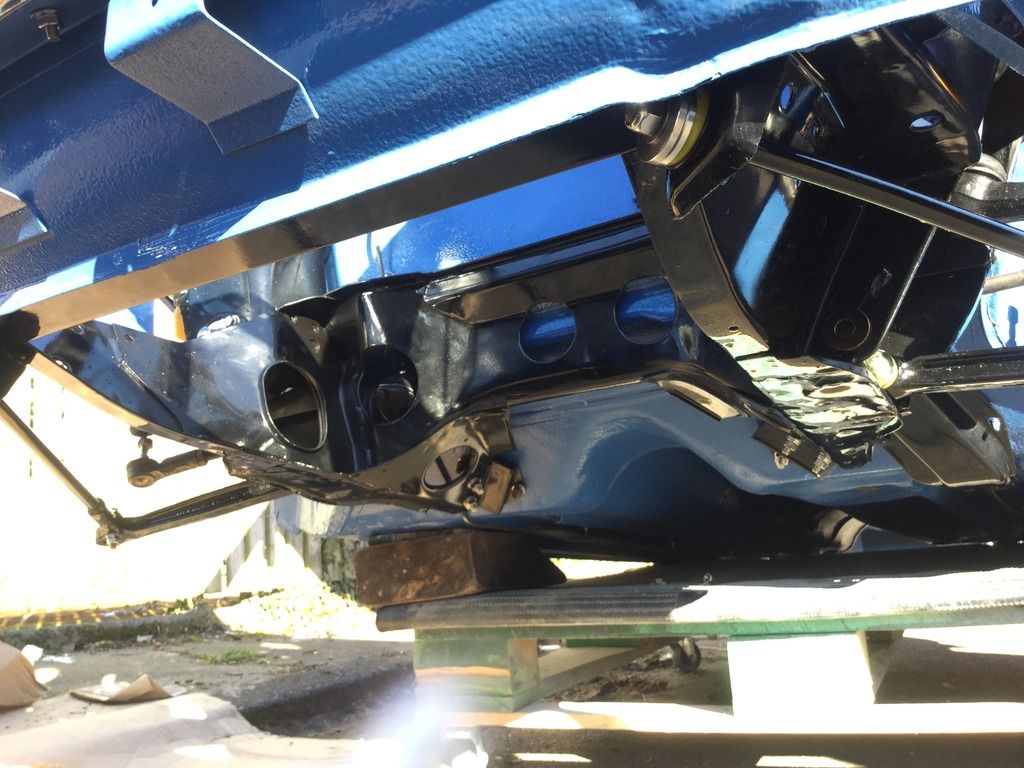
Rear subby time
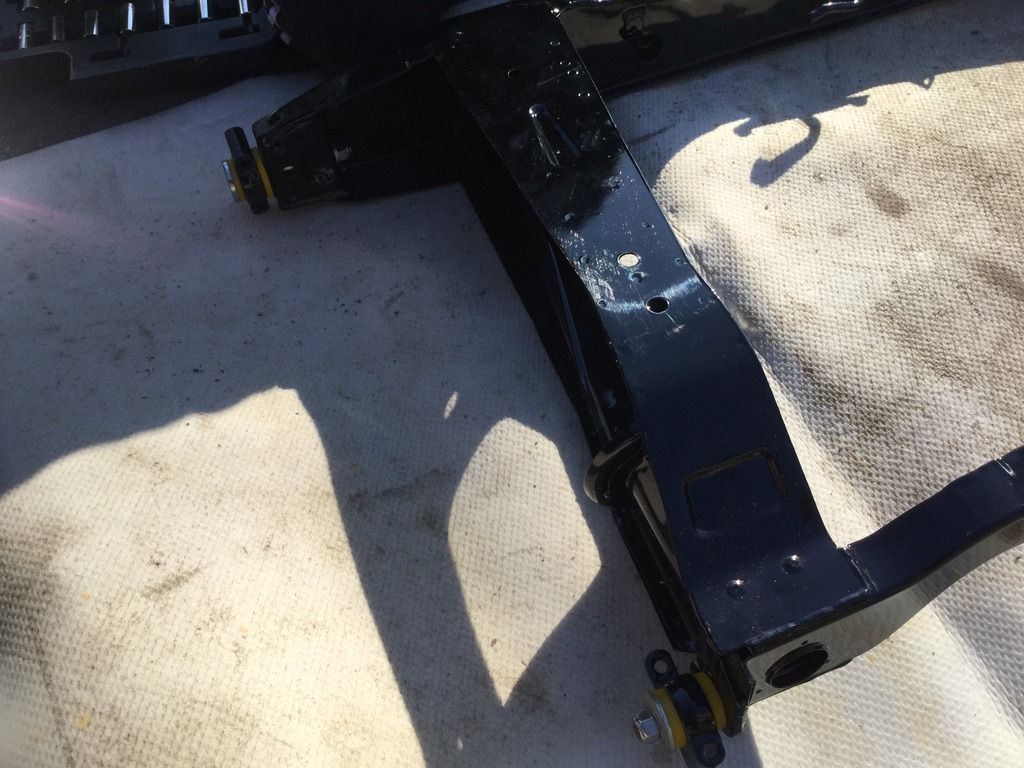
Poly bushed

Sorted

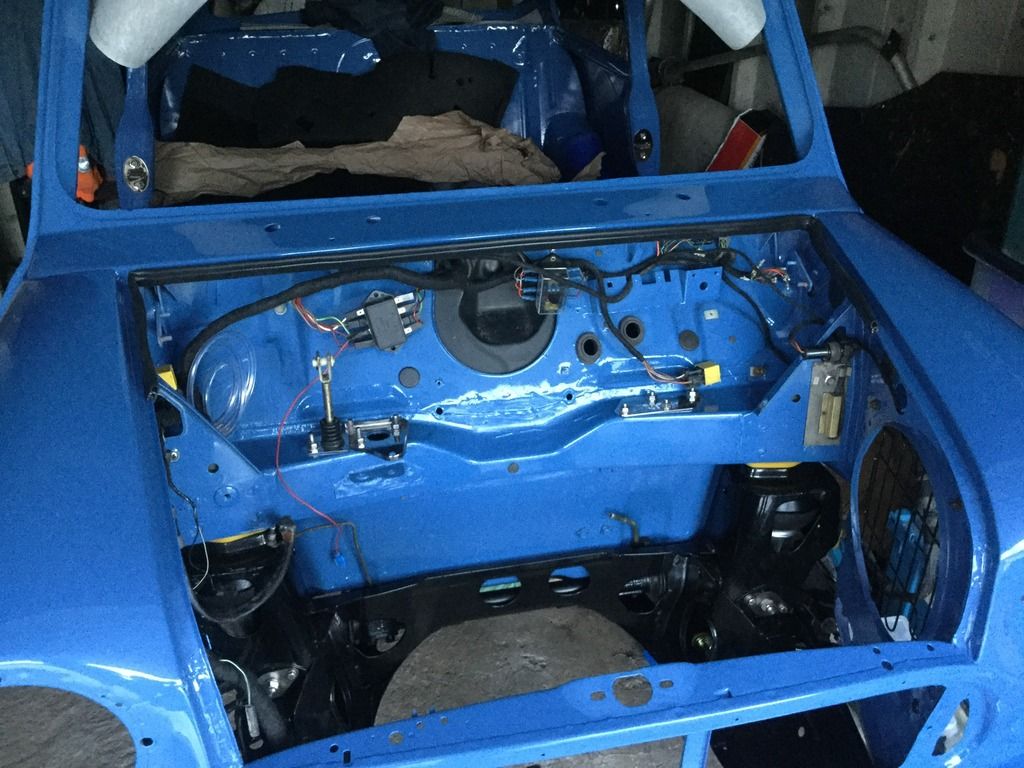
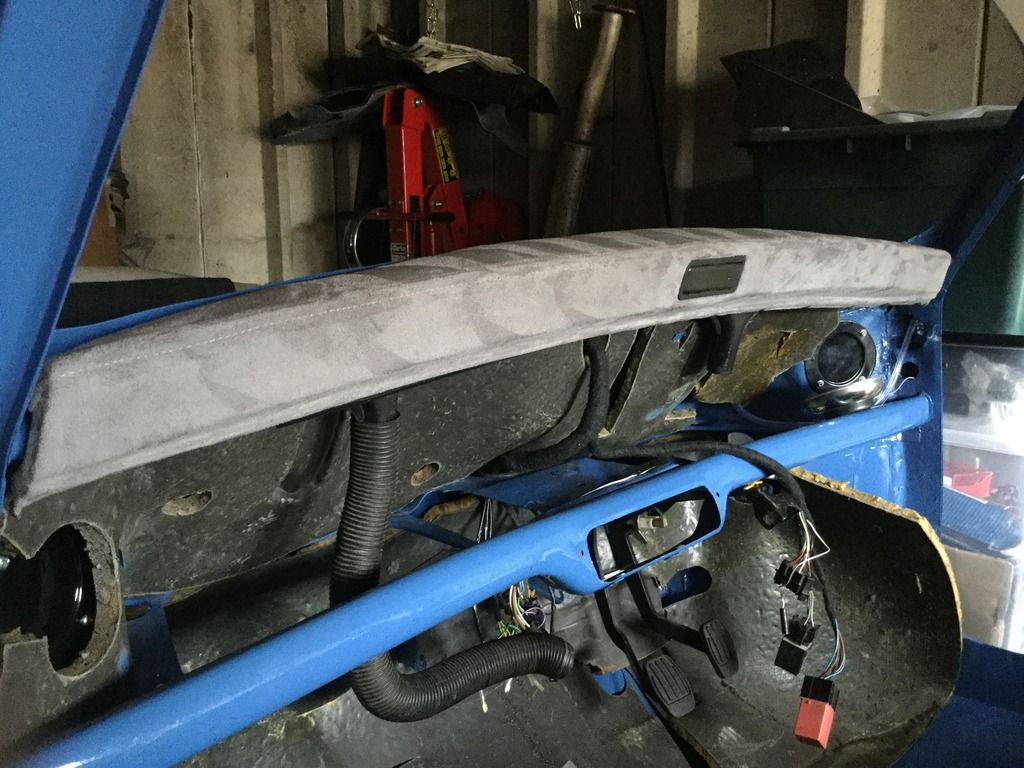
Main loom
I used none setting putty to seal it to the bulkhead similar to what the factory used

Another job off the list
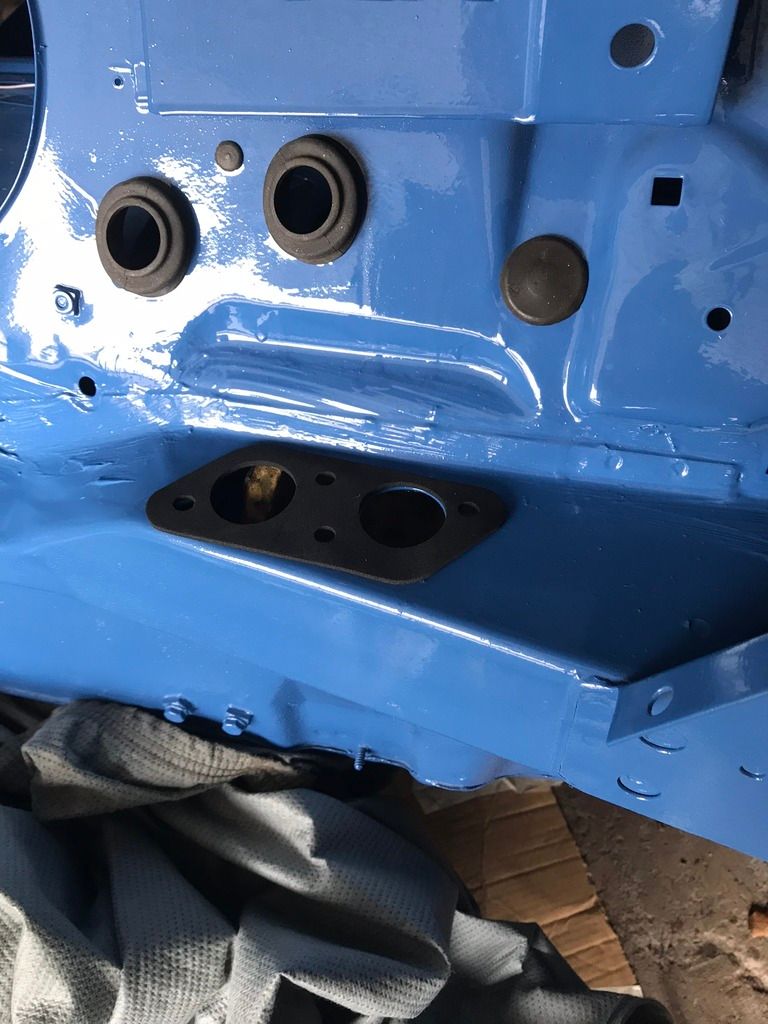
Time to blank these off
I used riv nuts on the driver side as its been repaired
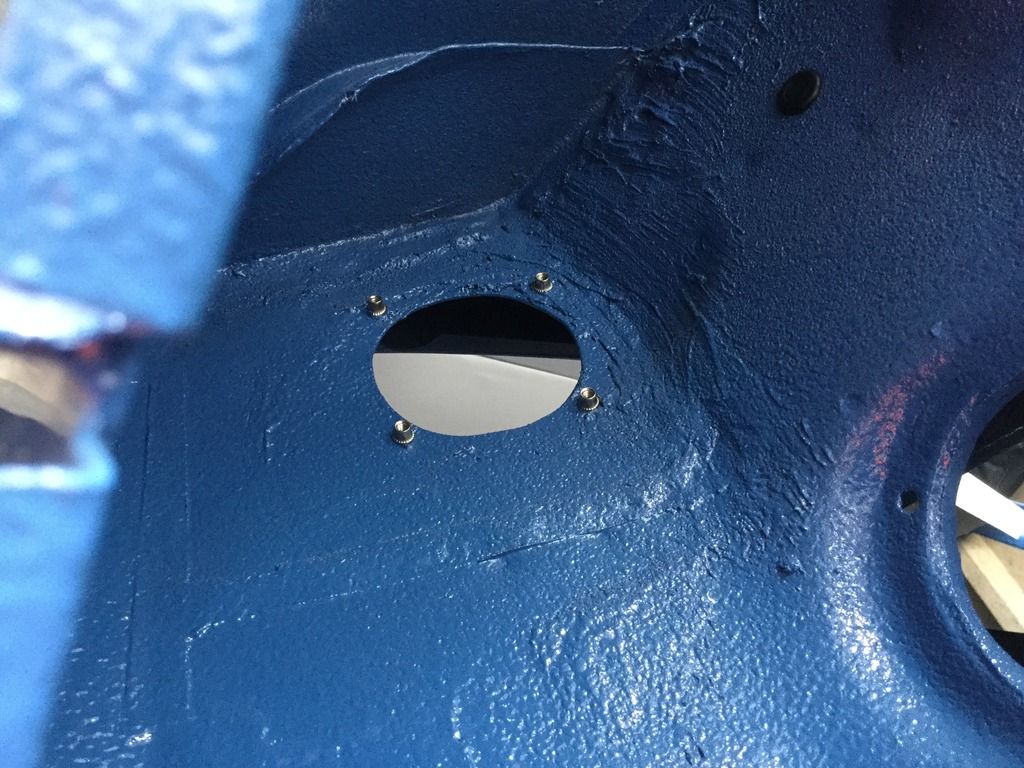
Went a bit mad at this point 😆
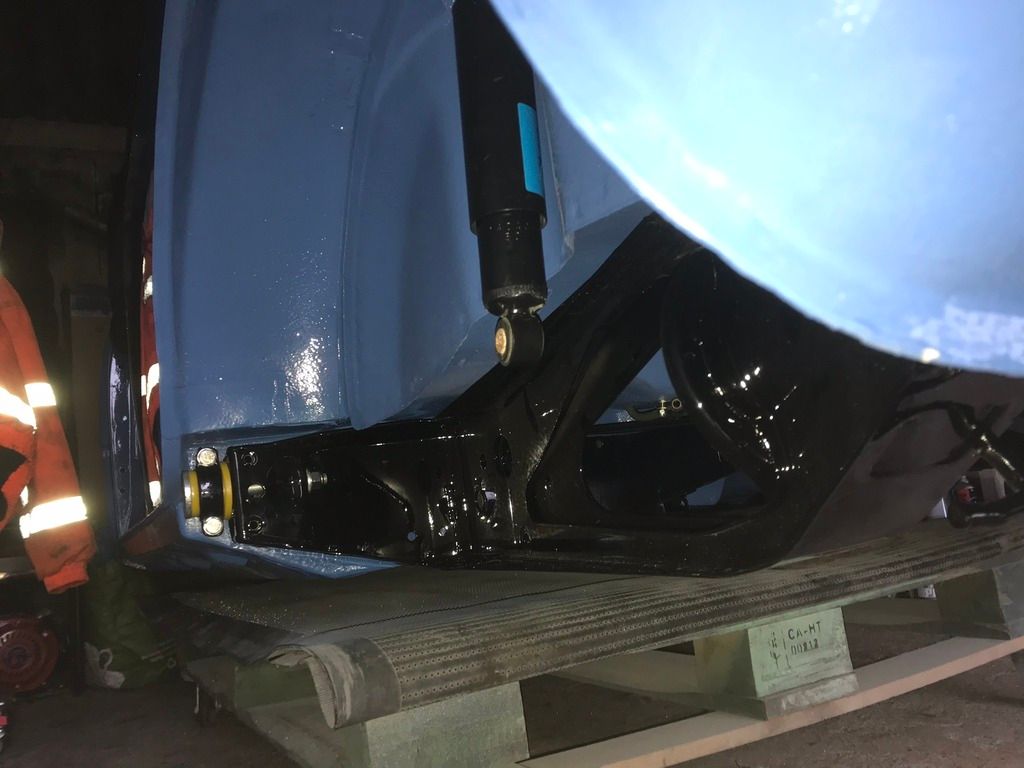
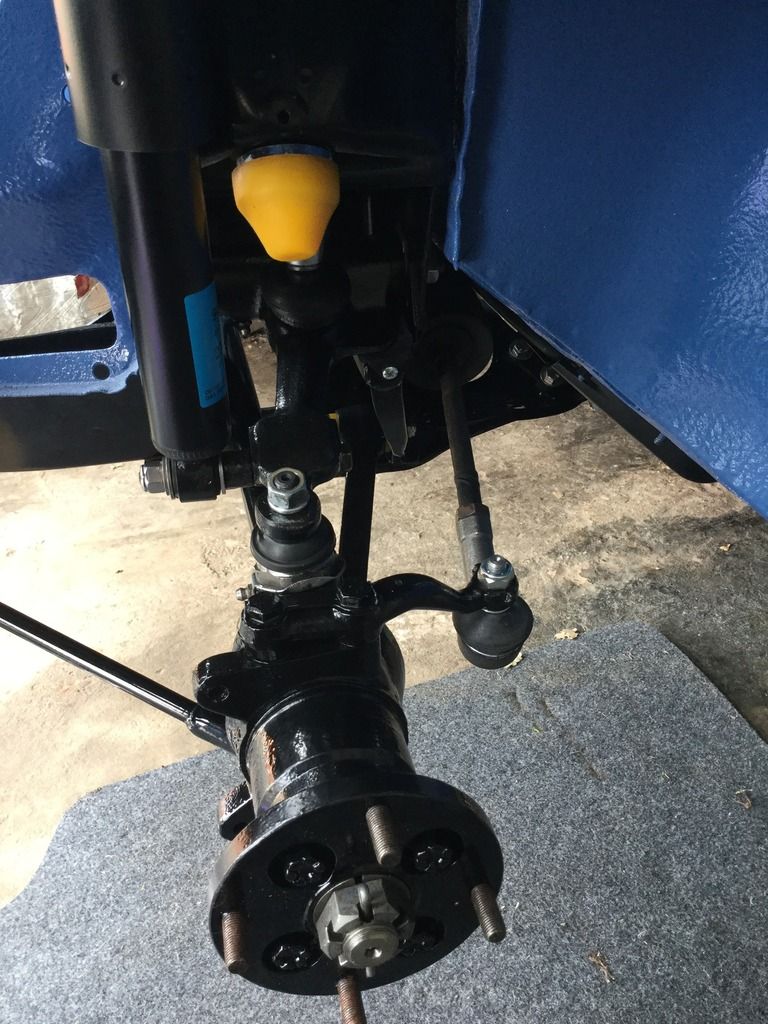
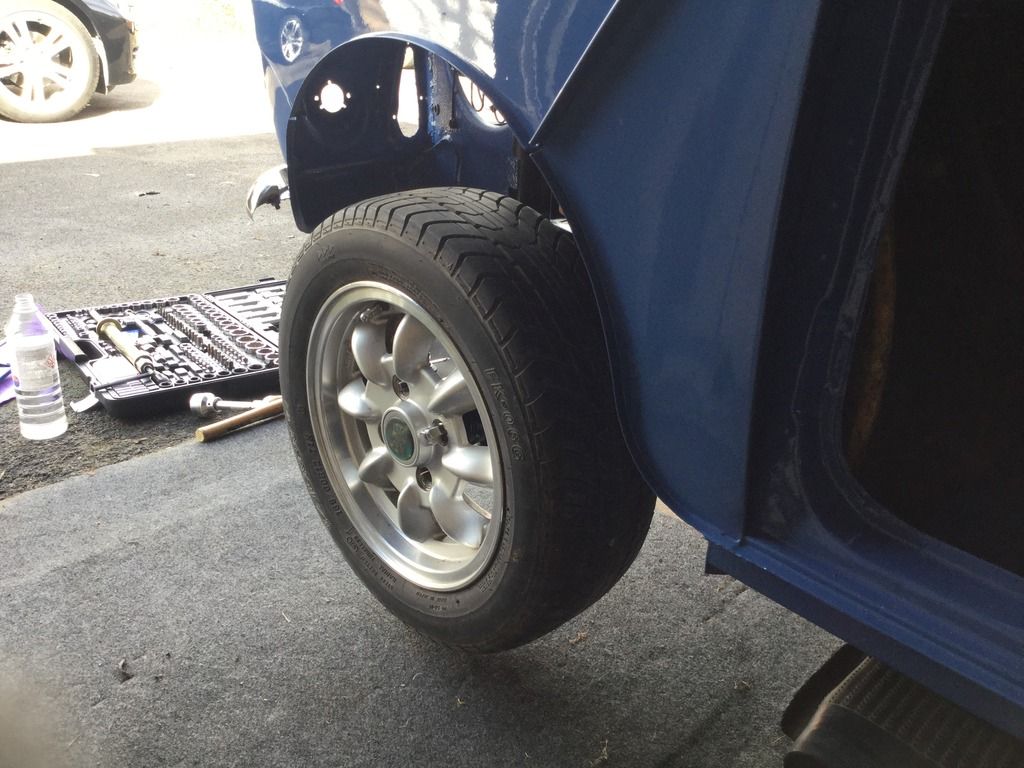
Started on the front running gear
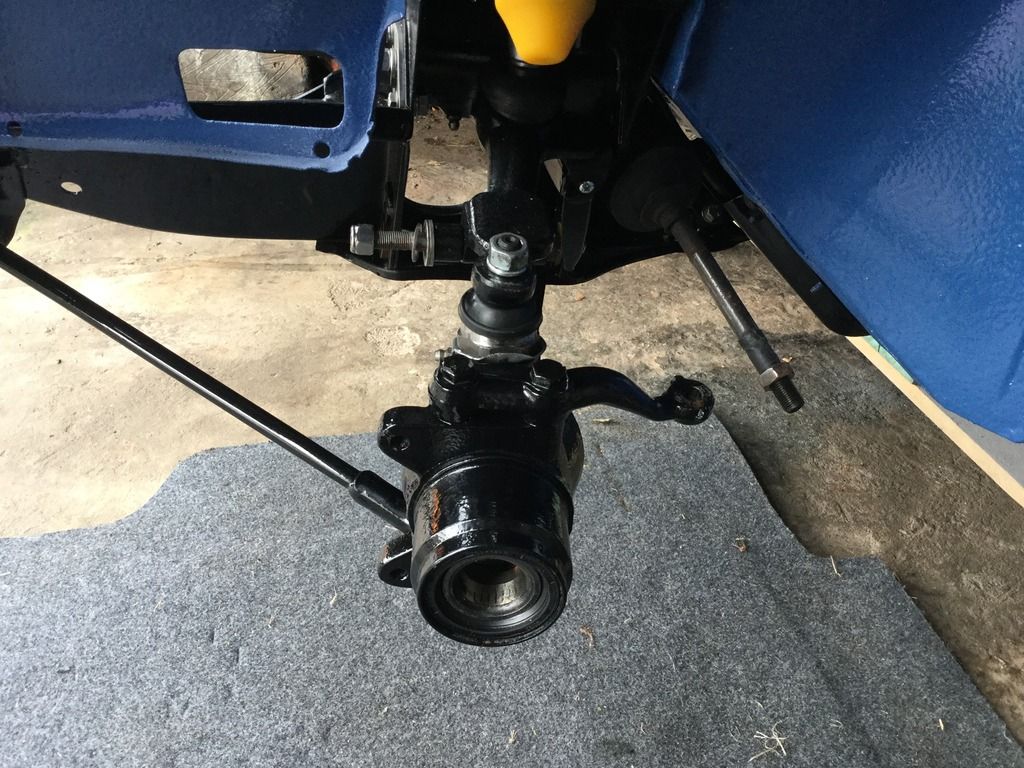
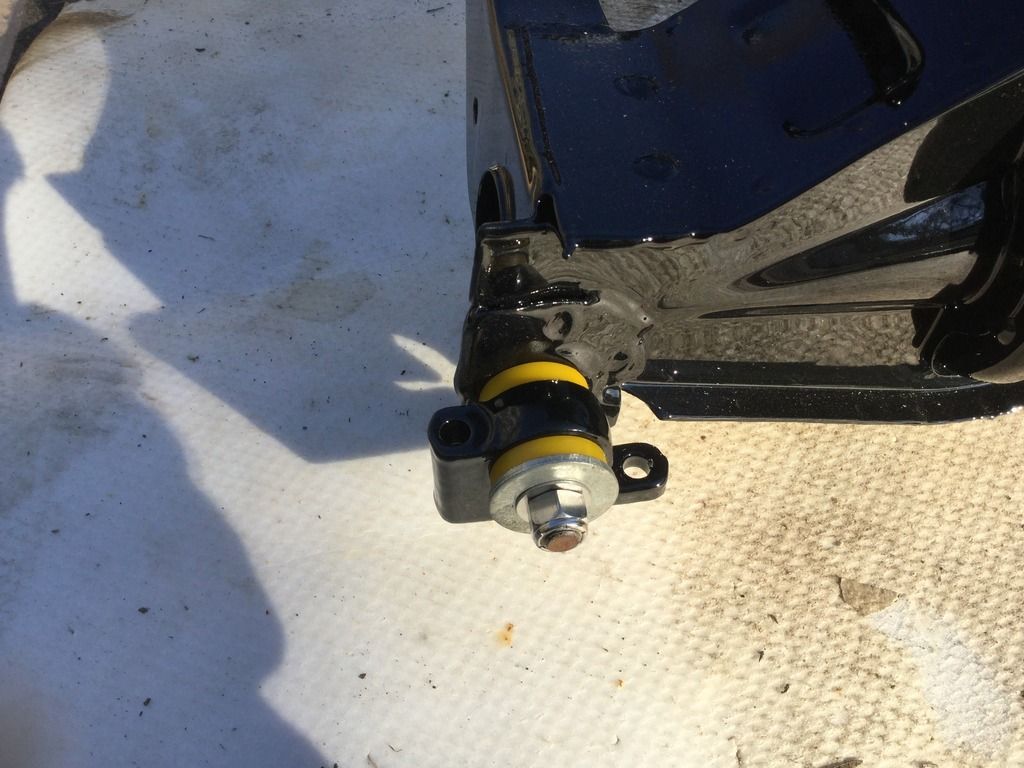
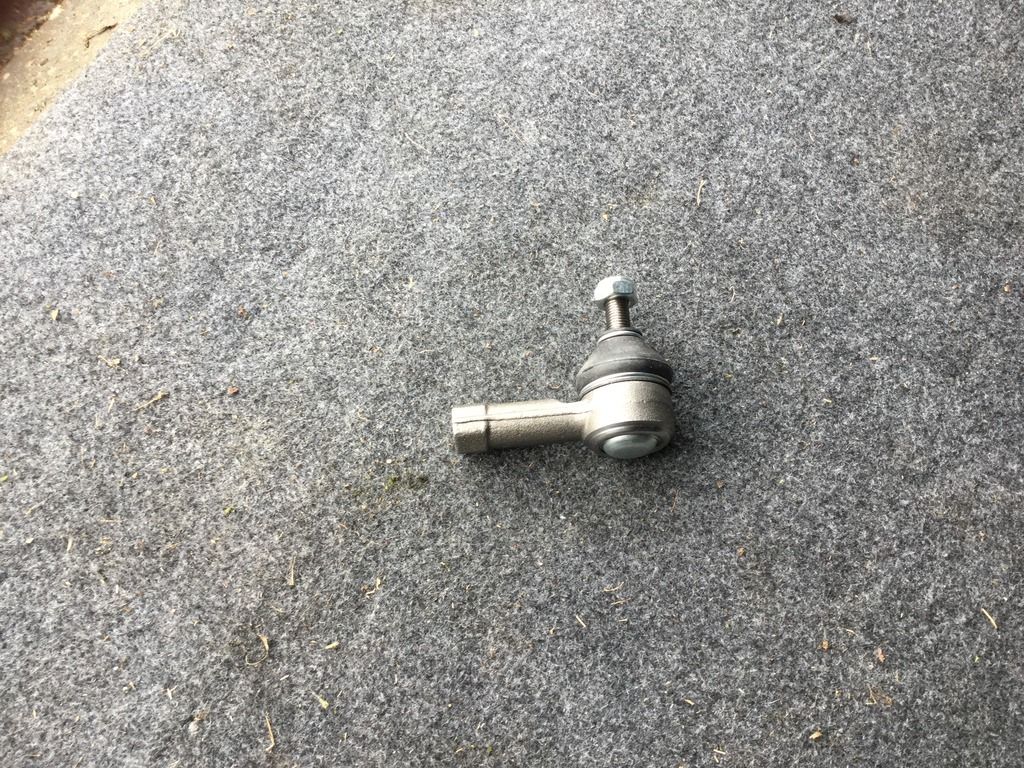
New track rod ends
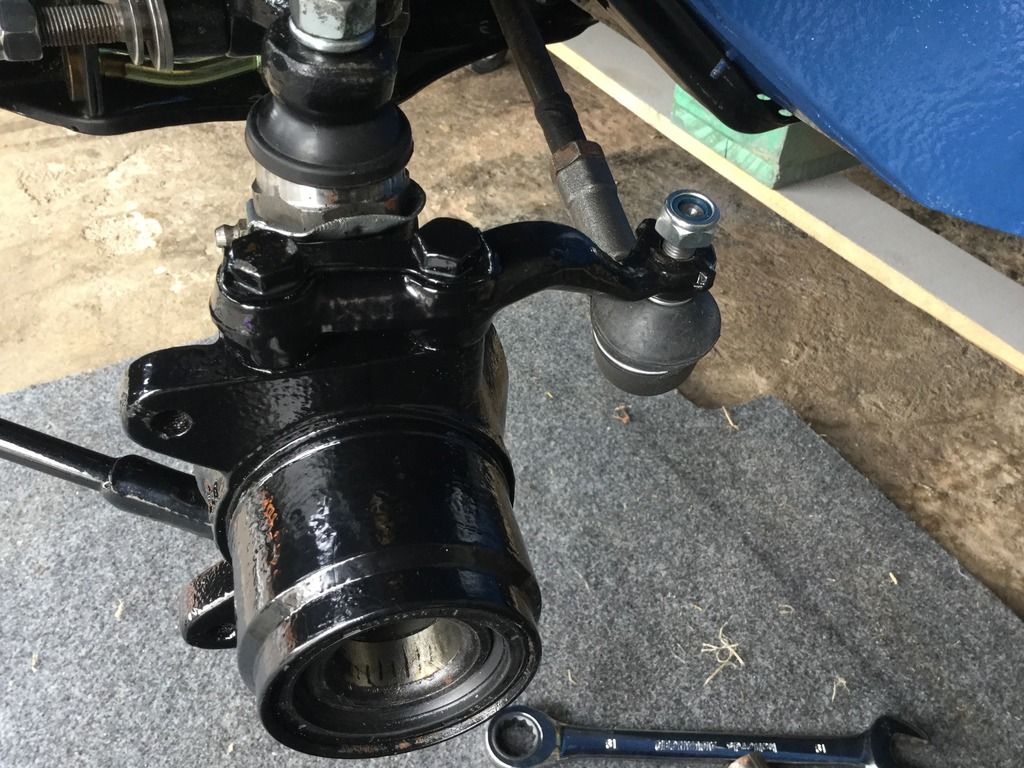
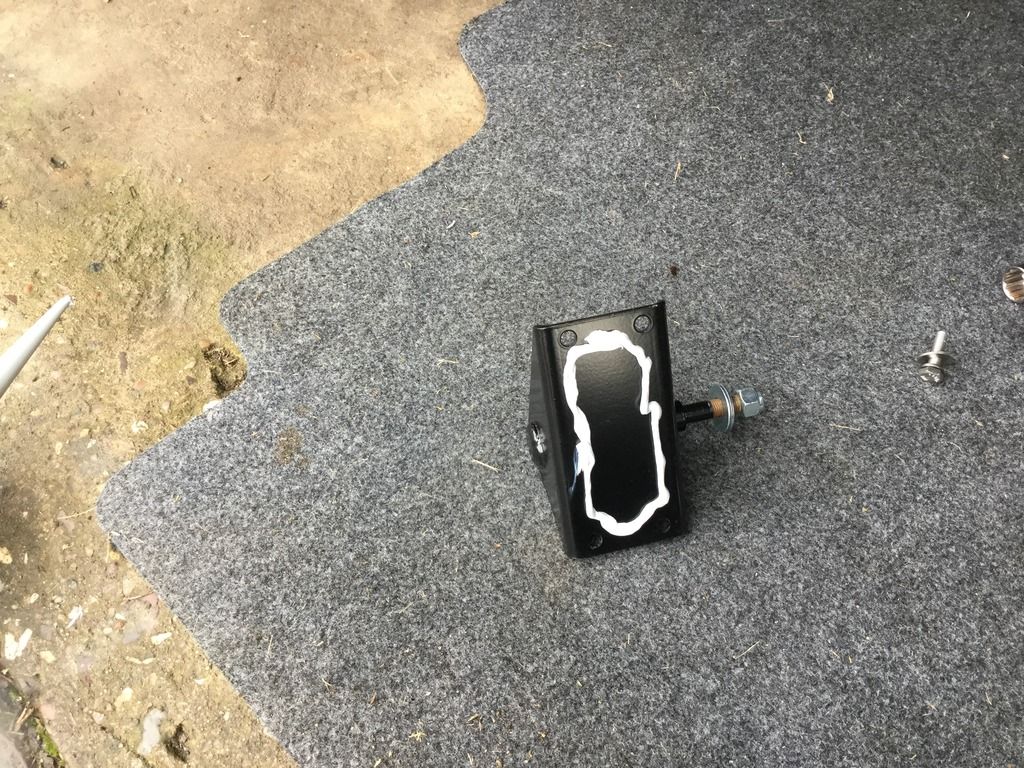
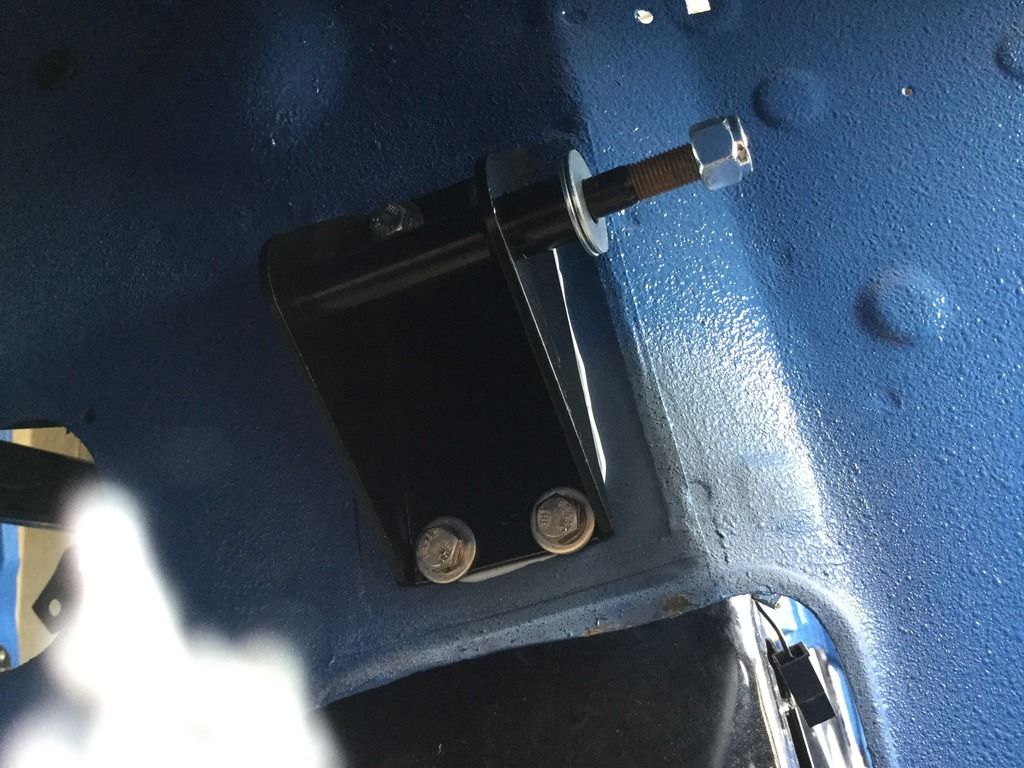
Shock mounts
Used a bead of PU sealer to keep the water out this cars not going to suffer rotten shock mount syndrome
Popped in the drive shaft and hub
Couldnt resist
Well why not 😁
Getting carried away again 😉
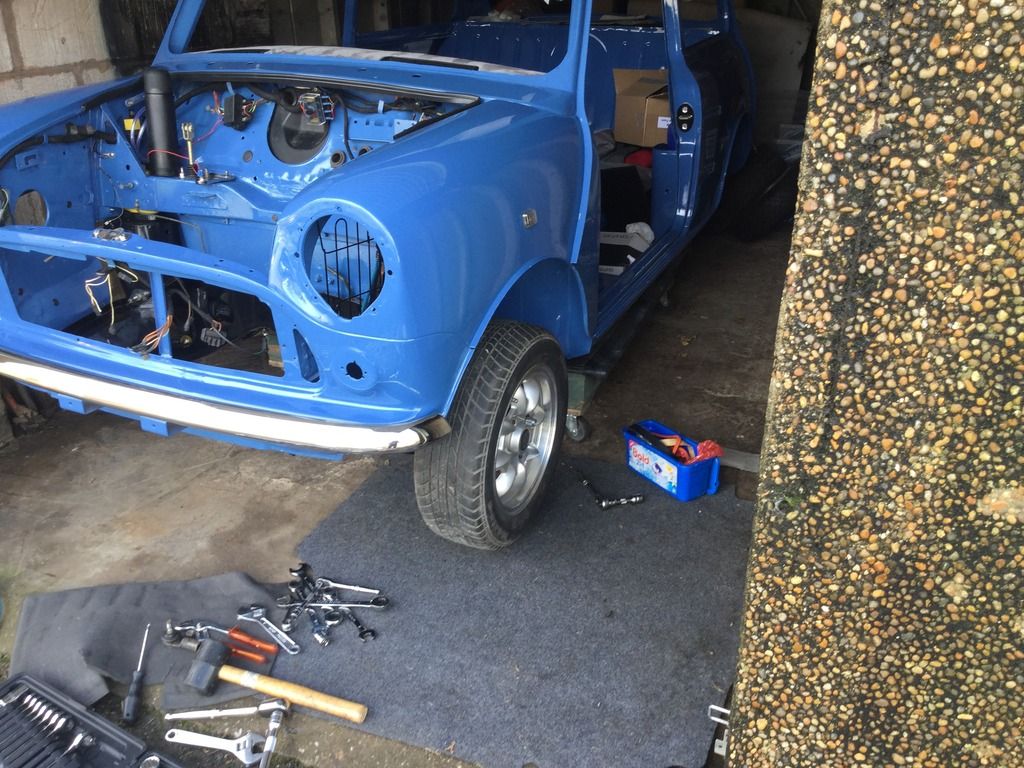
Time to make her bum look nice
Couple of random shots
Time to put it back to bed
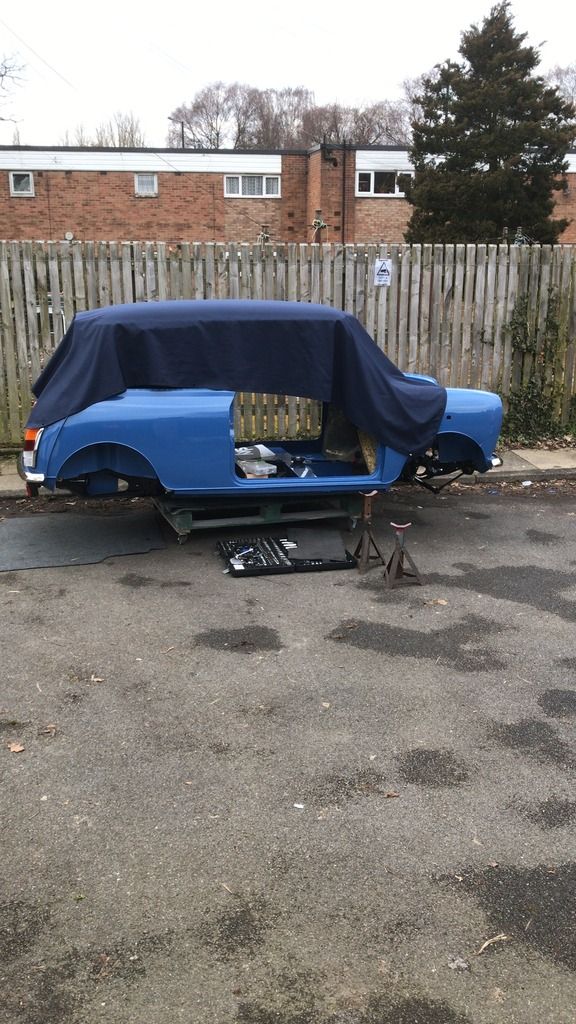
Thats it for now
Mark

Poly bushed


Sorted


Main loom
I used none setting putty to seal it to the bulkhead similar to what the factory used

Another job off the list

Time to blank these off

I used riv nuts on the driver side as its been repaired


Went a bit mad at this point 😆

Started on the front running gear

New track rod ends


Shock mounts
Used a bead of PU sealer to keep the water out this cars not going to suffer rotten shock mount syndrome


Popped in the drive shaft and hub


Couldnt resist


Well why not 😁

Getting carried away again 😉
Time to make her bum look nice


Couple of random shots


Time to put it back to bed

Thats it for now
Mark
#224
minimissions
-
- Members
-
- 3,427 posts
Up Into Fourth
- Location: North West
- Local Club: M.M.O.C
Posted 20 March 2018 - 06:44 AM
Wow she is looking awesome man!
All that hard work has defo paid off and the fun part of building her up is well underway.
I cant wait to see her all done 
#225
Steve8274
-
- Members
-
- 580 posts
Super Mini Mad
- Location: Wigan (north west)
Posted 20 March 2018 - 10:41 AM
Looks very nice. Im at the same stage, just got car back from paint and putting it all back together. Its a bit daunting but at least all the stuff is clean going back on


1 user(s) are reading this topic
0 members, 1 guests, 0 anonymous users


