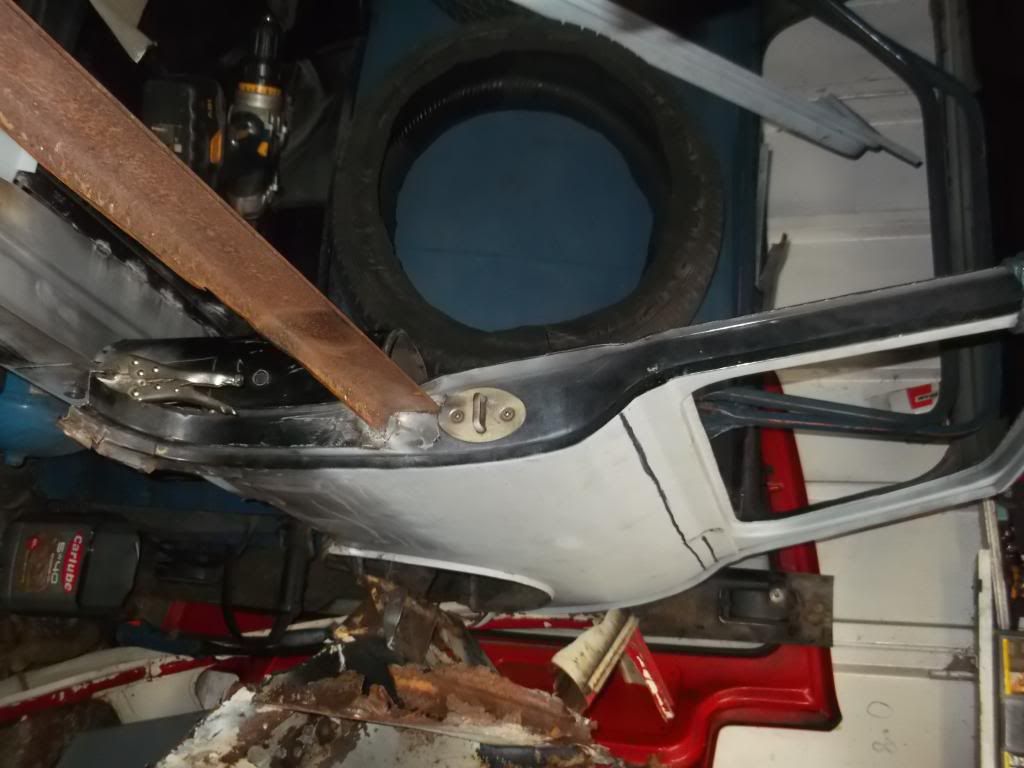
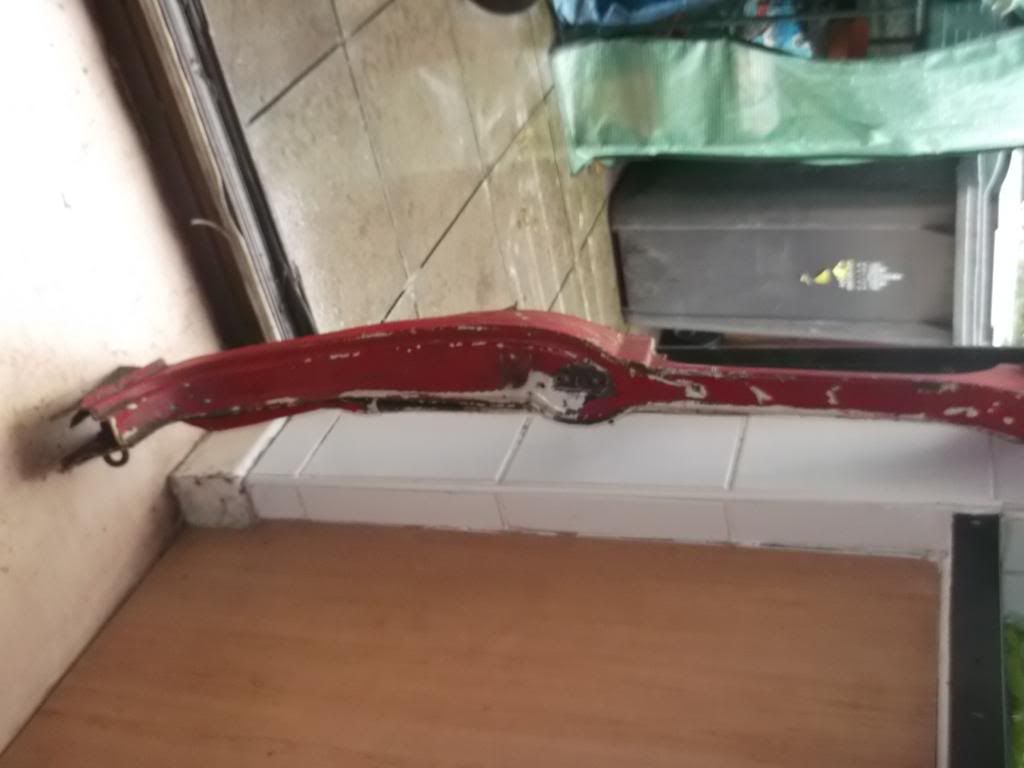
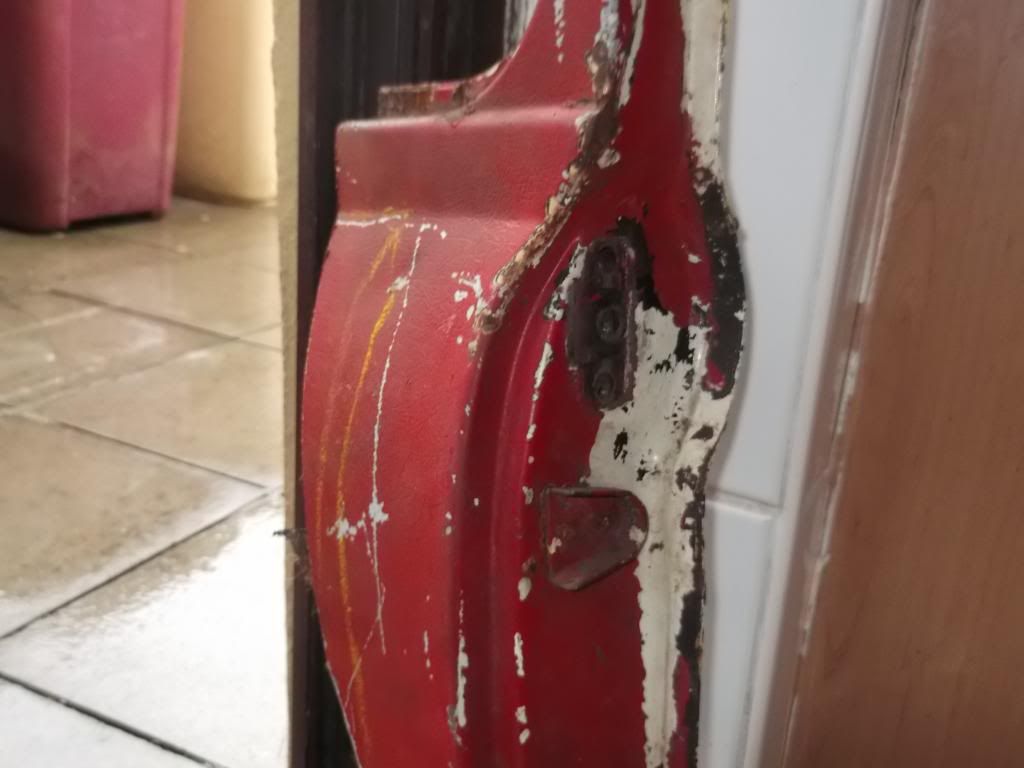
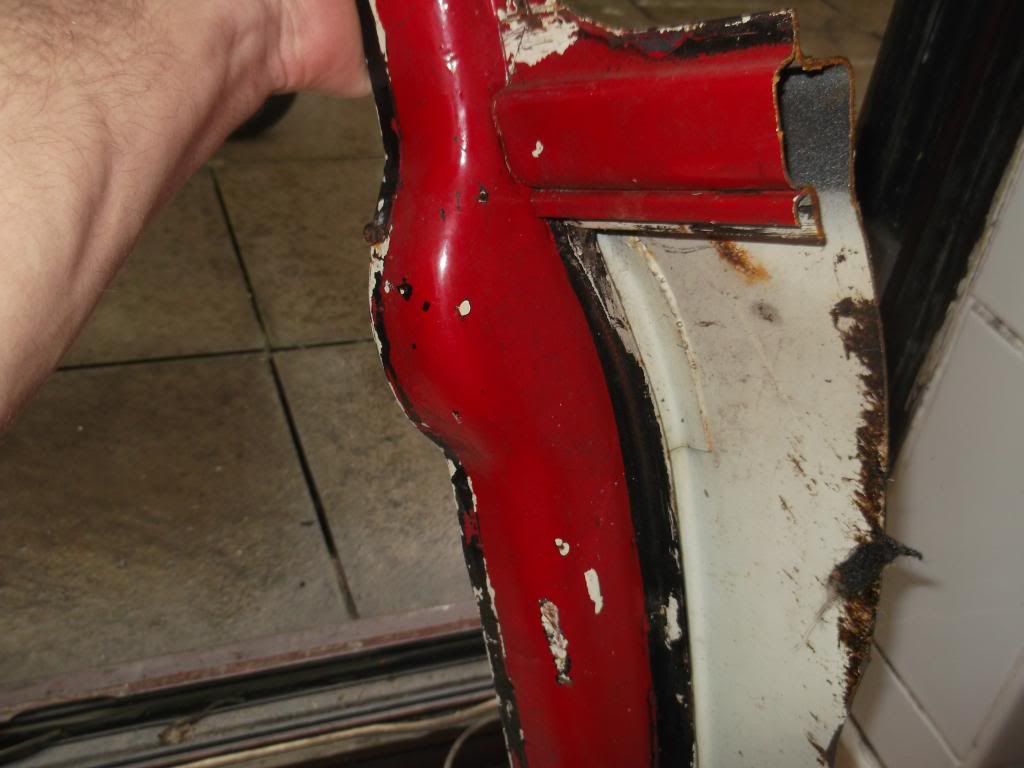
up to you mate if you are not busy that would be great on a list and i will get it all ready. also do you do step by step manuals?? ![]() and as for the spot welding i dont have one. but i was thinking if i drill holes and i have seen these welding tips you can buy and it gives you perfect spot welds? only thing is are all welding tips the same? damn your going to hate me after this project lmao.
and as for the spot welding i dont have one. but i was thinking if i drill holes and i have seen these welding tips you can buy and it gives you perfect spot welds? only thing is are all welding tips the same? damn your going to hate me after this project lmao.
Will These Rear Quarters Fit A Mk1 Mini?
#31

Posted 31 July 2013 - 03:24 PM
#32

Posted 31 July 2013 - 03:44 PM
up to you mate if you are not busy that would be great on a list and i will get it all ready. also do you do step by step manuals??
and as for the spot welding i dont have one. but i was thinking if i drill holes and i have seen these welding tips you can buy and it gives you perfect spot welds? only thing is are all welding tips the same? damn your going to hate me after this project lmao.
I'm un-employed and at collage soon so not really that busy to be honest (should really crack on with Project Checkmate haha), I'l get a few shots with panel names up by tonight for you, have my mk4 shell up right now so i'l get a few comparison shots in aswell.
I picked up a second hand spot welder off of e-bay fro £70, if you're doing it properly one of these makes it soooo much easyer and alot quicker, plug welding you can do without a special tip for the lance but might be something to try, there basically a normal lance shroud with little extra legs to hold it a certain distance away, you could however alter a stock shroud to do this the same (Again, saving you money ;) haha ).
Hmmm a guid you say ? might be a good idea haha
#33

Posted 31 July 2013 - 03:54 PM
up to you mate if you are not busy that would be great on a list and i will get it all ready. also do you do step by step manuals??
and as for the spot welding i dont have one. but i was thinking if i drill holes and i have seen these welding tips you can buy and it gives you perfect spot welds? only thing is are all welding tips the same? damn your going to hate me after this project lmao.
I'm un-employed and at collage soon so not really that busy to be honest (should really crack on with Project Checkmate haha), I'l get a few shots with panel names up by tonight for you, have my mk4 shell up right now so i'l get a few comparison shots in aswell.
I picked up a second hand spot welder off of e-bay fro £70, if you're doing it properly one of these makes it soooo much easyer and alot quicker, plug welding you can do without a special tip for the lance but might be something to try, there basically a normal lance shroud with little extra legs to hold it a certain distance away, you could however alter a stock shroud to do this the same (Again, saving you money ;) haha ).
Hmmm a guid you say ? might be a good idea haha
im that good of a friend to you on here you might aswell lend me your spot welder ![]() i was up bolton yesterday and last night i stopped i could of popped in and got it this morning before coming back lol its all about the pennies mate every little helps in this project. thanks for your kindness and support
i was up bolton yesterday and last night i stopped i could of popped in and got it this morning before coming back lol its all about the pennies mate every little helps in this project. thanks for your kindness and support ![]()
#34

Posted 31 July 2013 - 05:06 PM
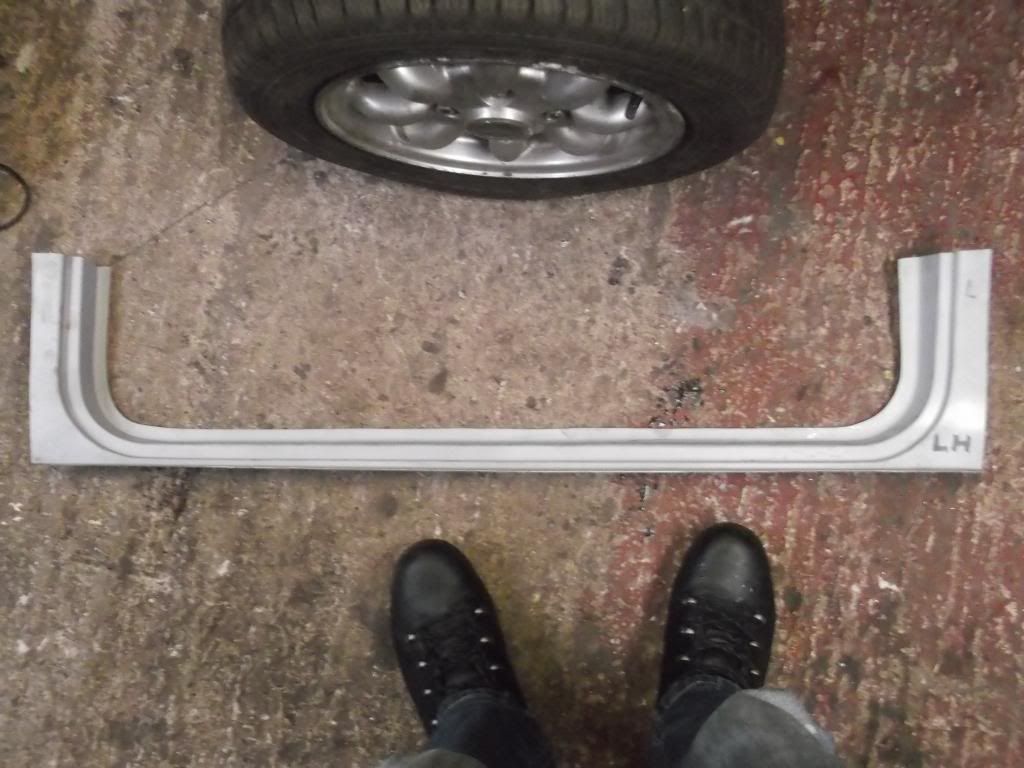
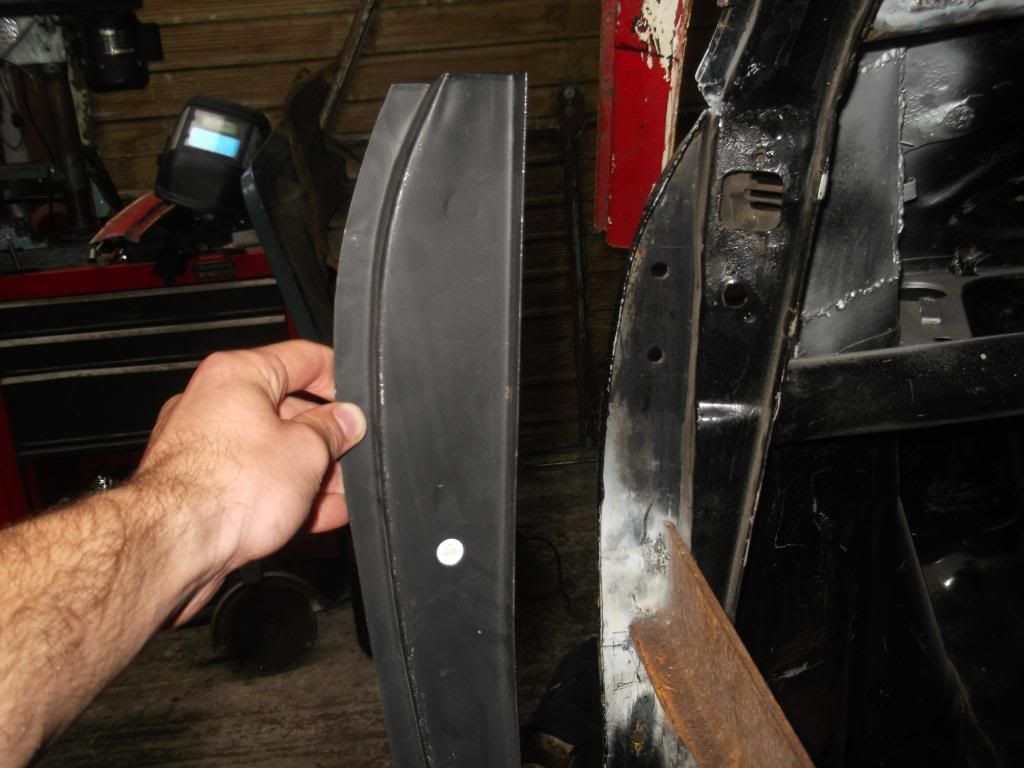
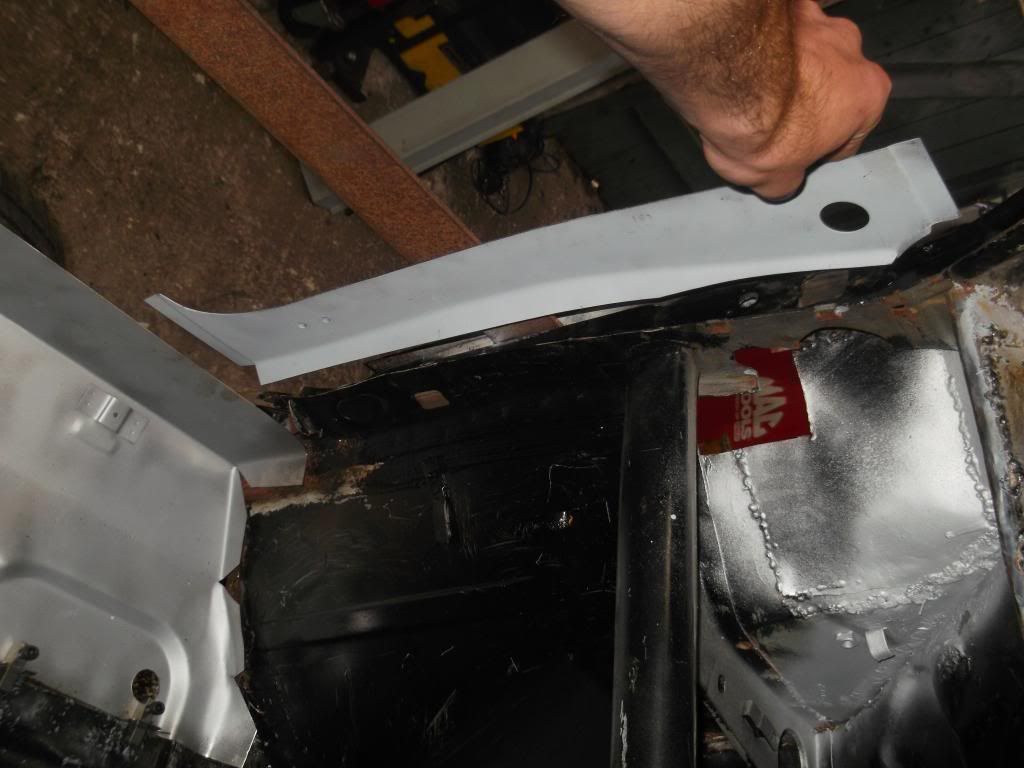
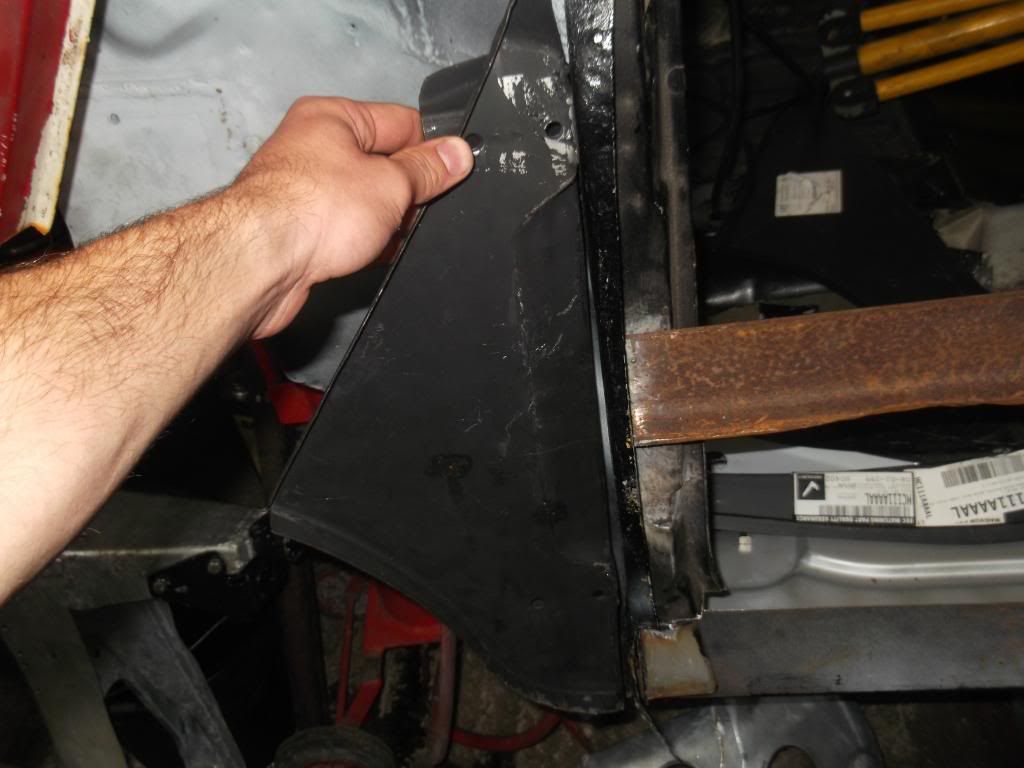
Righty-O, a few reference photos for you to save Tom...
Mk3 onward B-post:
Mk1/2 B-post:
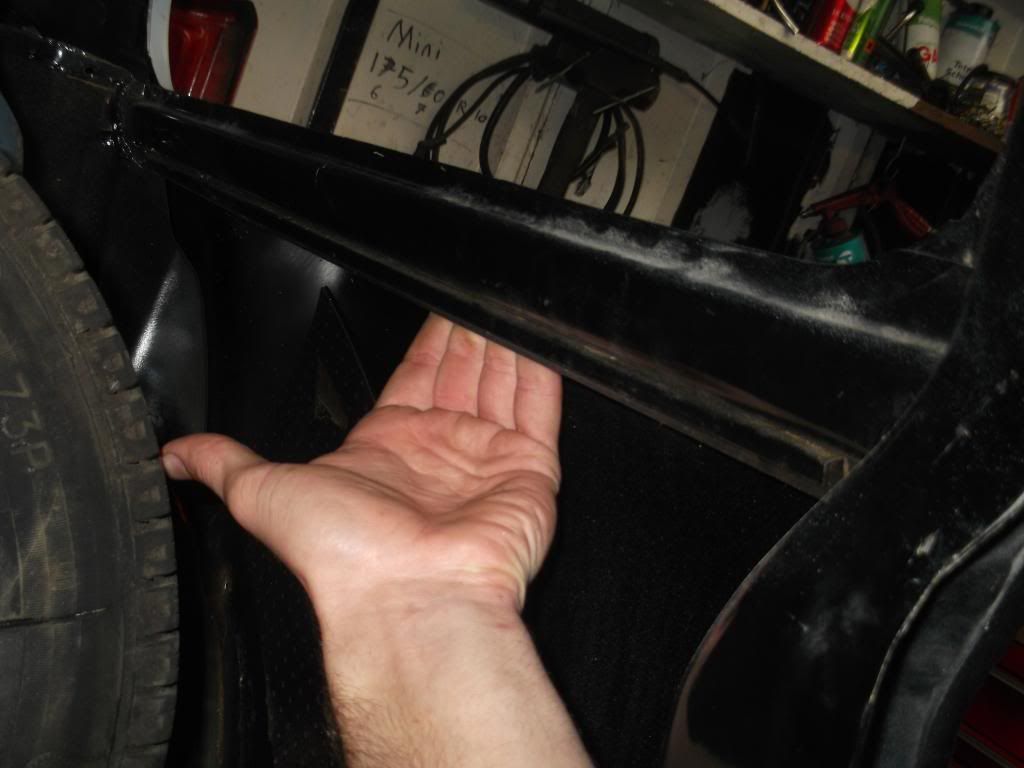
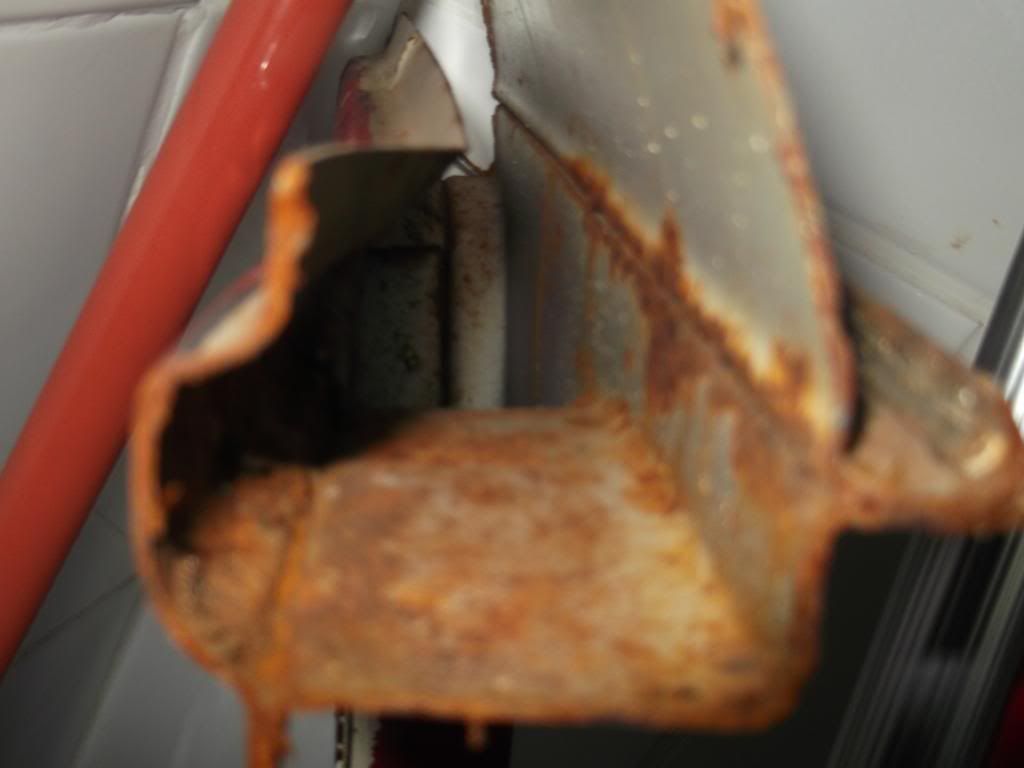
When i mentioned earlyer about what condition the inner was in i was refering to this on the inner surface, you can check to see if it's crusty by sticking your habd up like so ![]() :
:
If it is rusted out i'm not to sure if you can buy these parts anymore so best to save the mk4 shell ones
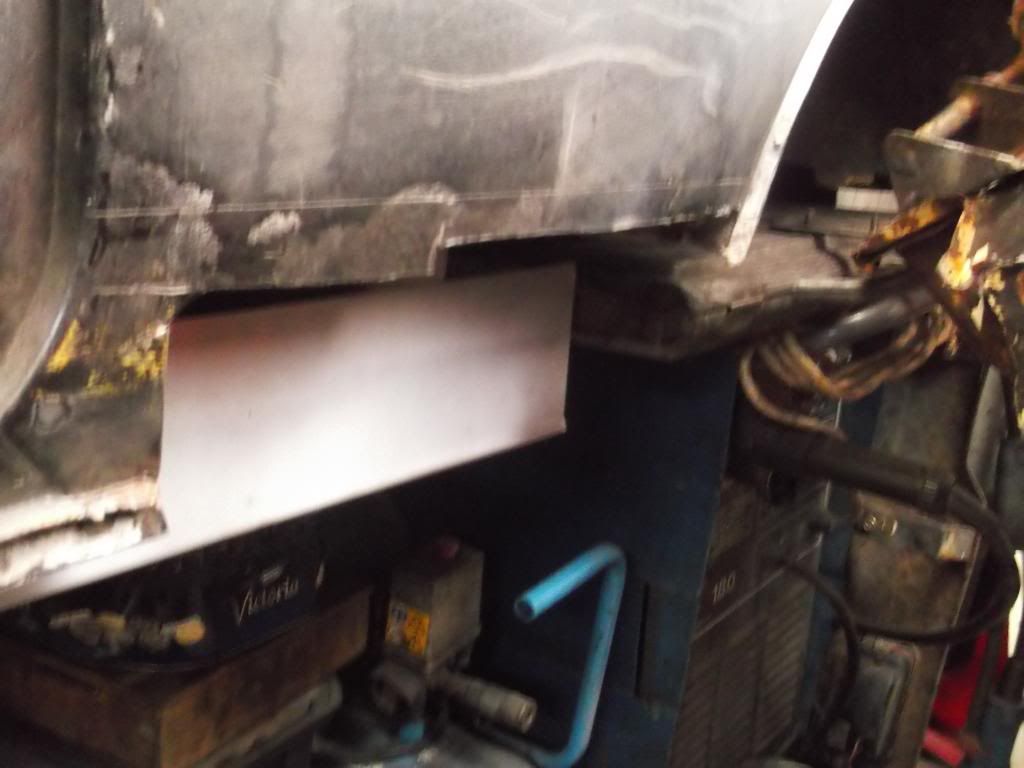
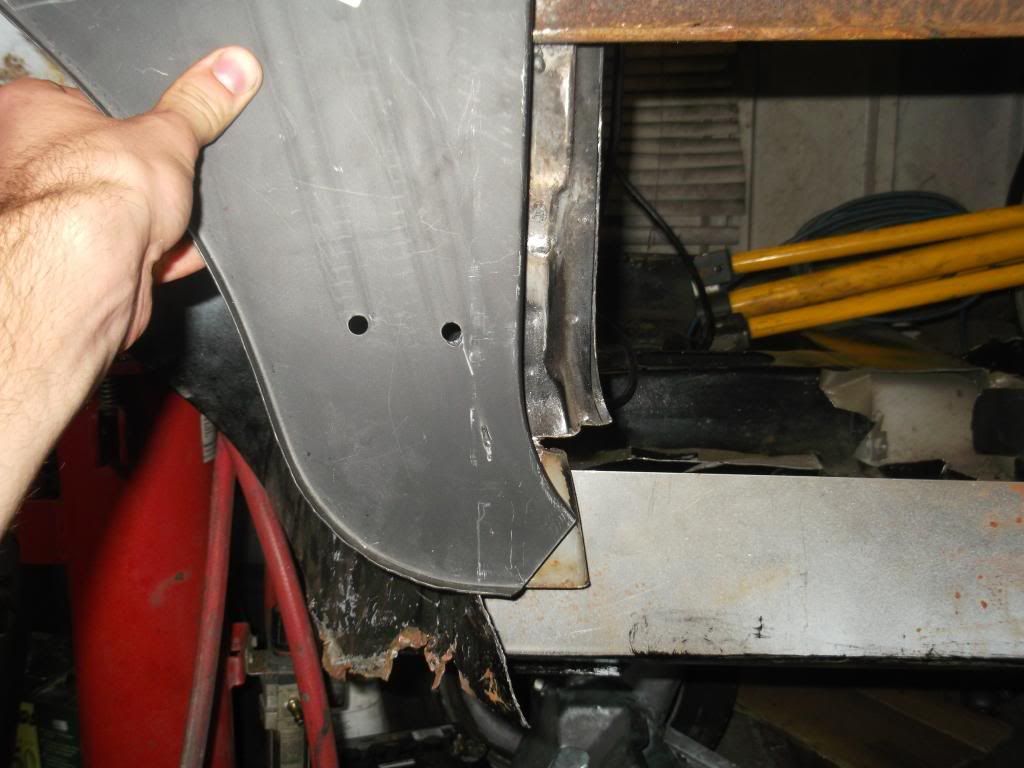
Lower rear quarter cut out:
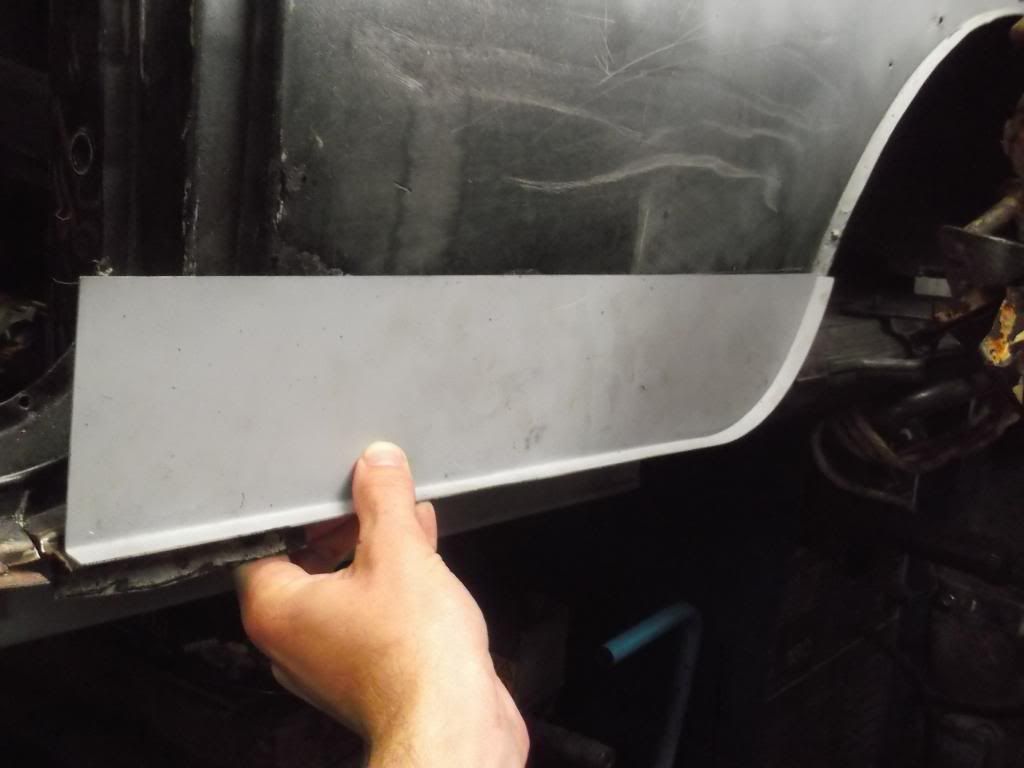
Repair panel mocked up:
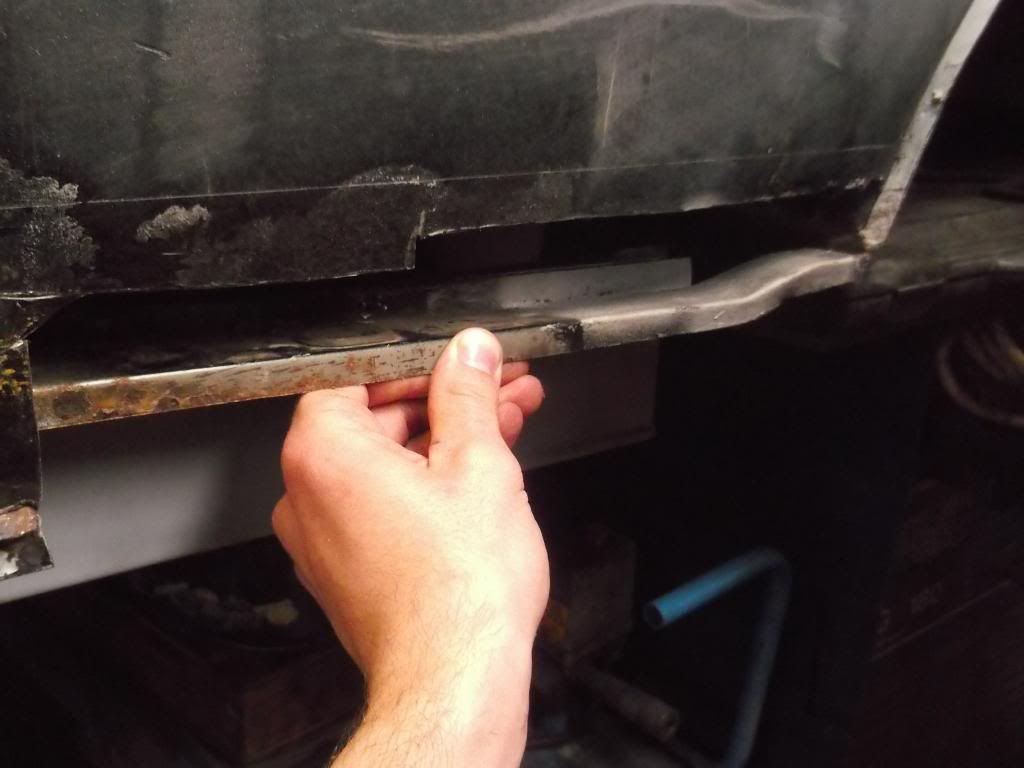
Inner sill stiffener:
M-machine mk1 saloon doorstep:
Mk1/2 Door post repair panel Inc switch hole:
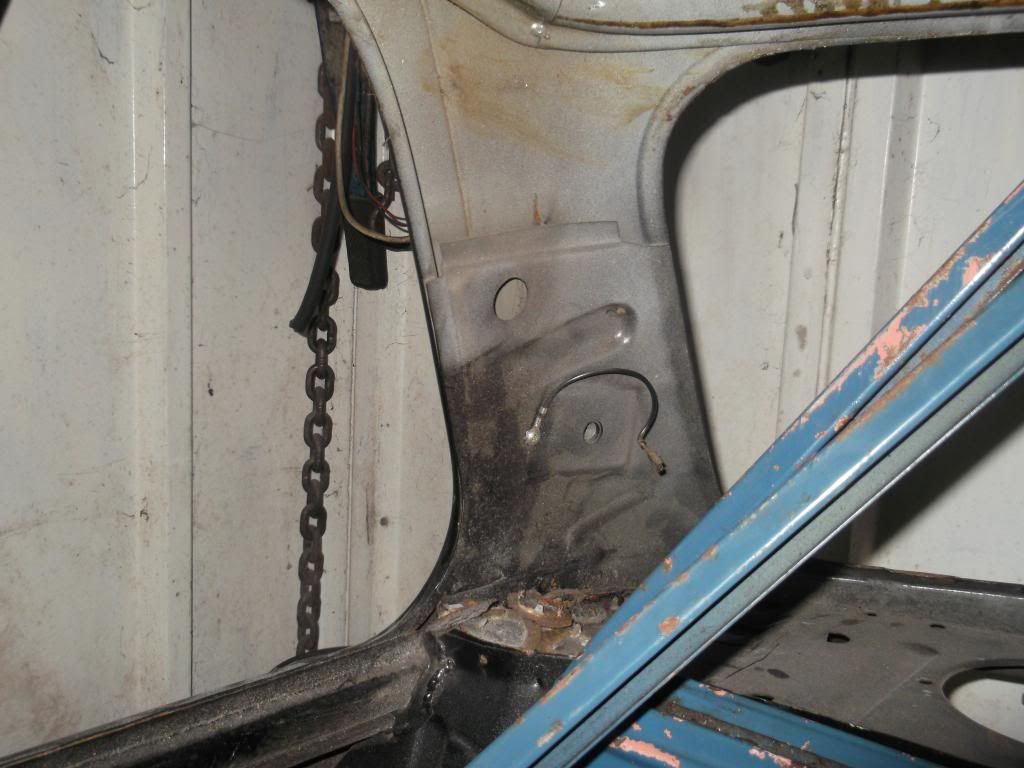
A-post stiffener:
Inner A-panel:
Outer A-panel, similar to mk3 A-panel apart from the curved bottom area and external hinge holes:
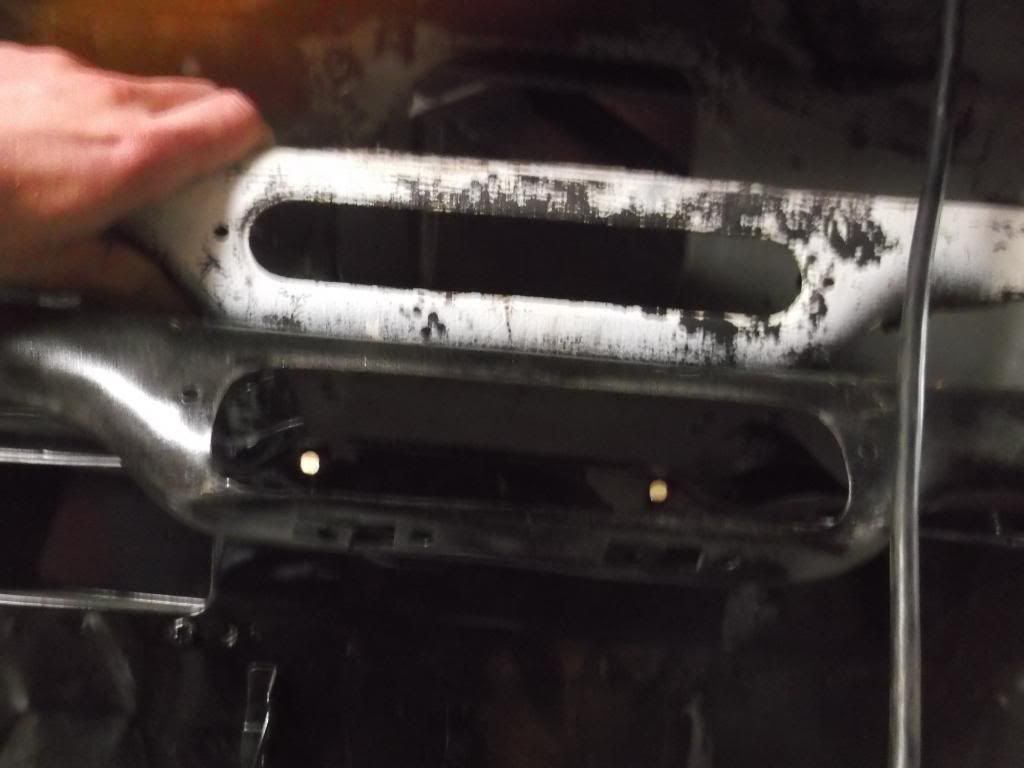
Mk1 switch panel compared to the much larger mk3>:
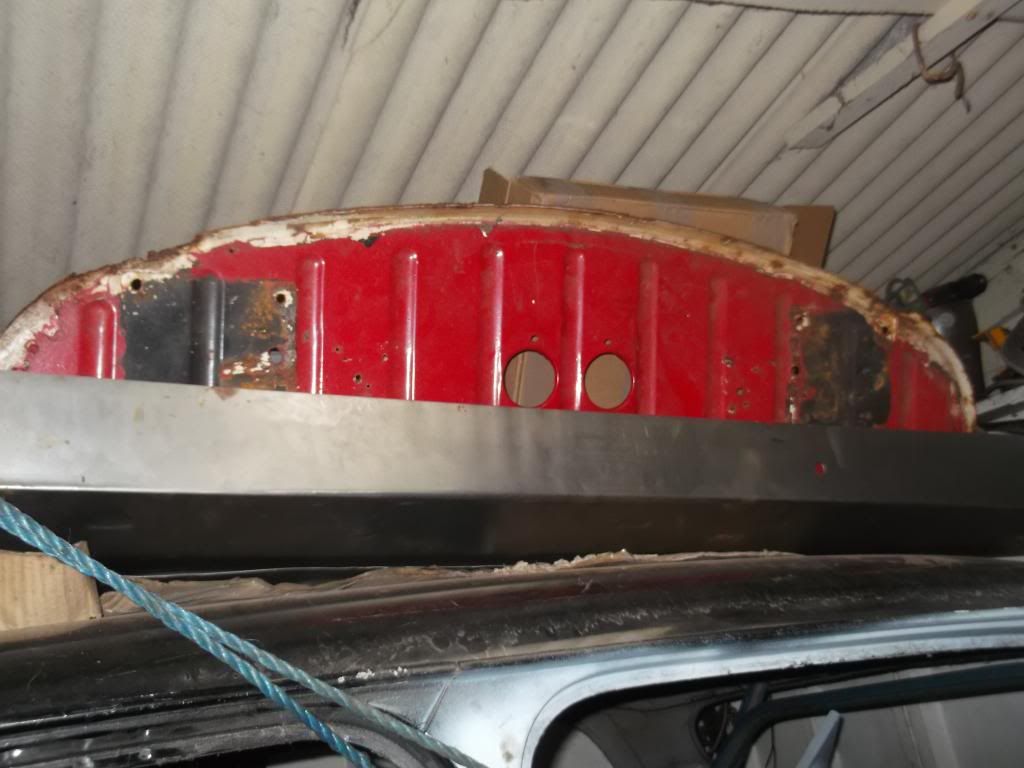
Mk1 Bulkhead:
Now heres the finer details that concorse guy's will see a mile off!...
The whole door frame on the mk1/2 minis is different, if you look at the shell frame and the mk1 door frame on the bonnet area theres a much bigger area on the mk1 part:
Same goes for the rear quarter window...
Mk3>:
Mk1:
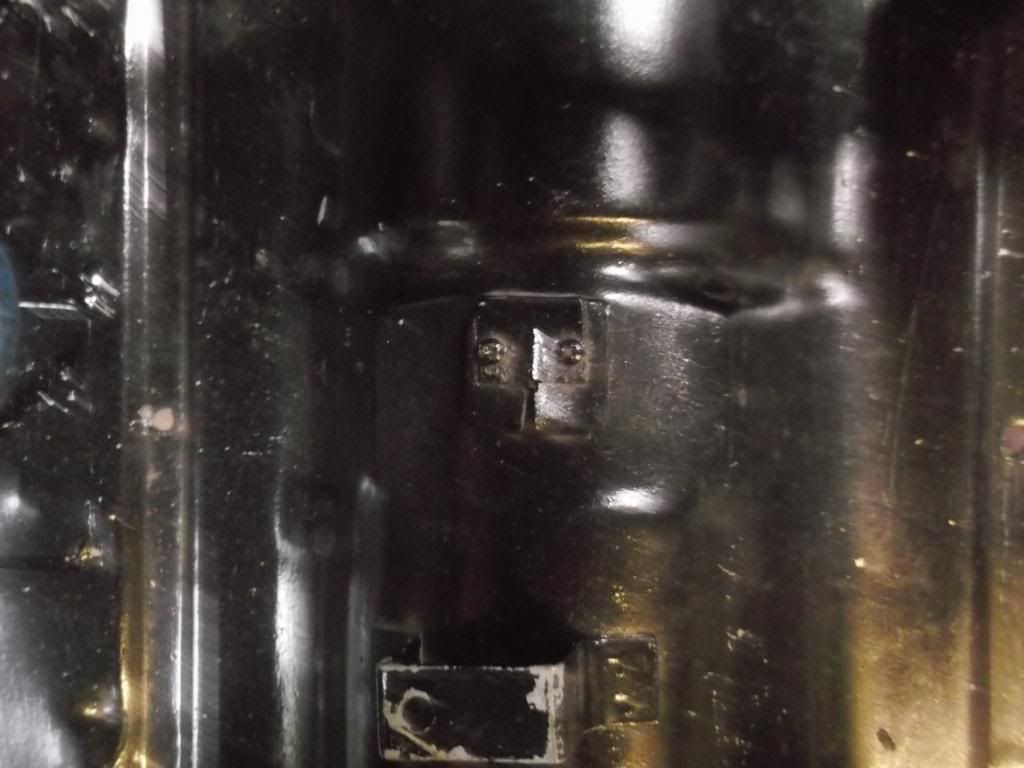
This is the area were the handbrake cable runs through as per mk3> minis, on the mk1's there are two of these rubber sandwich plates as the rear handbrake is individualy lined:
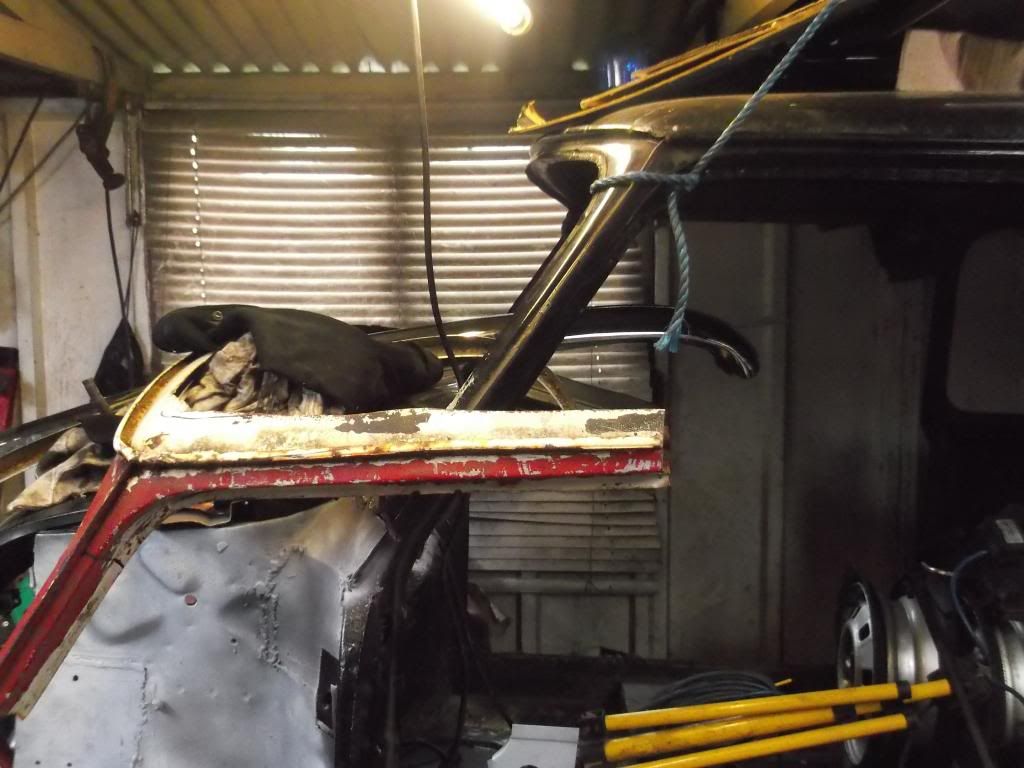
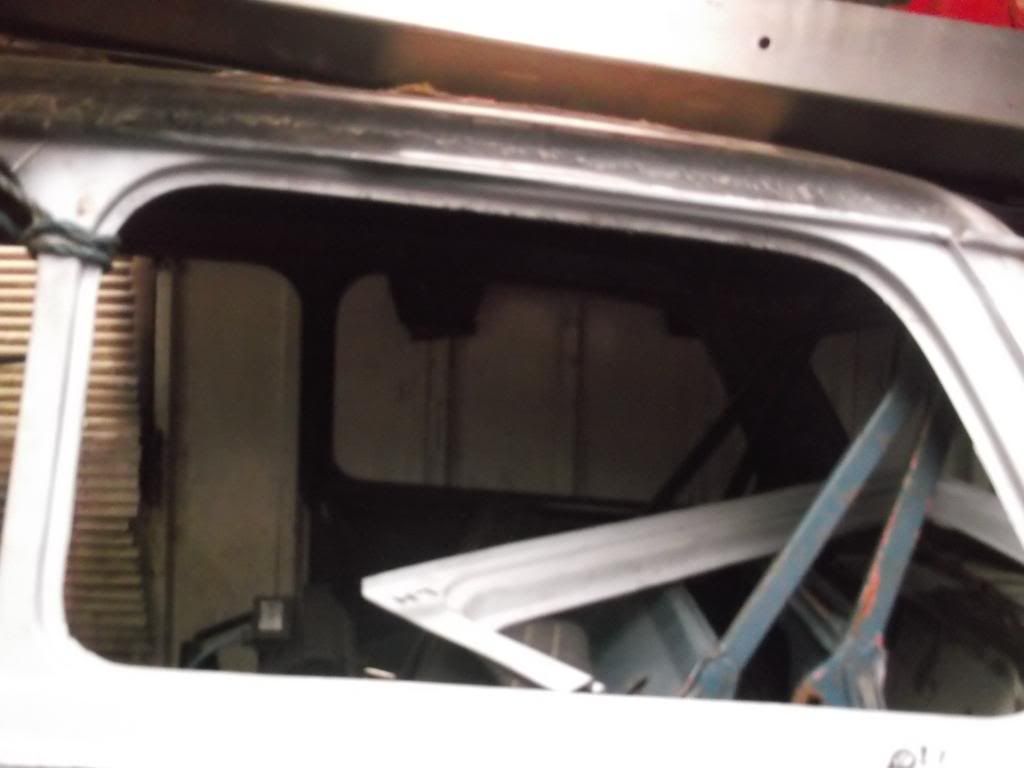
If you have a look on both shells tom you'll see that the mk1 inner roof frame is different to the picture below:
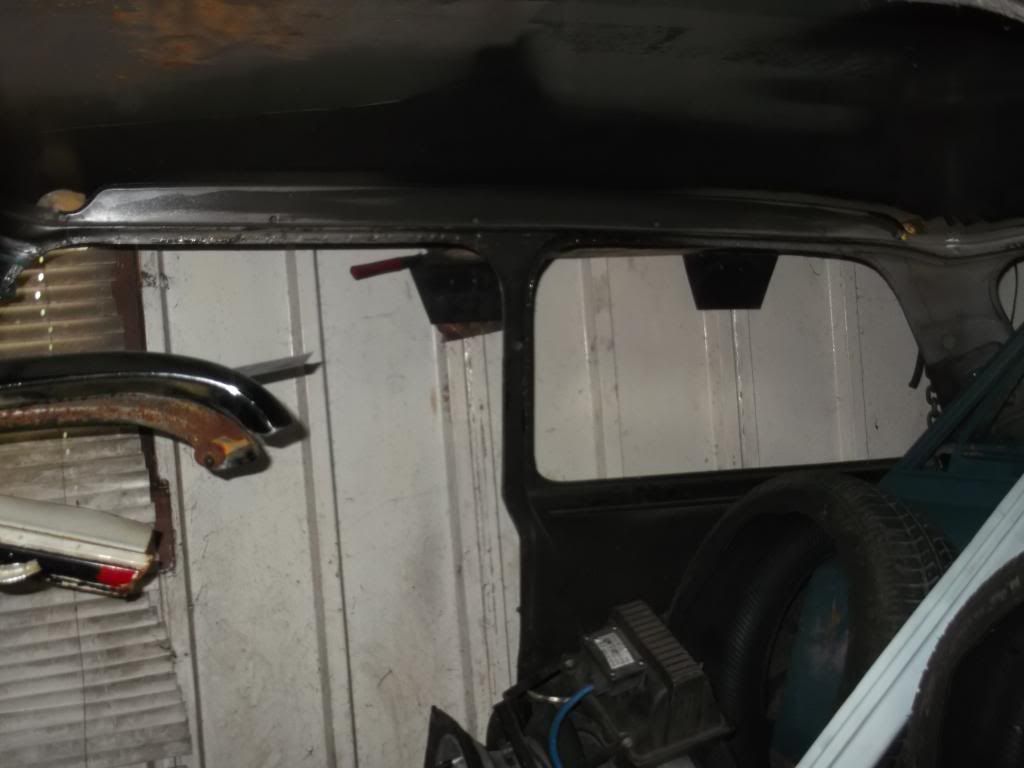
Terrible picture but thats a mk1 parcel shelf still atached to the rear bulkhead which is also different to mk3> mini's:
Rear seat belt panel on the C-pillar in later minis:
Did this come with your mk1 tom ? think you had not much boot floor so maybe not haha:
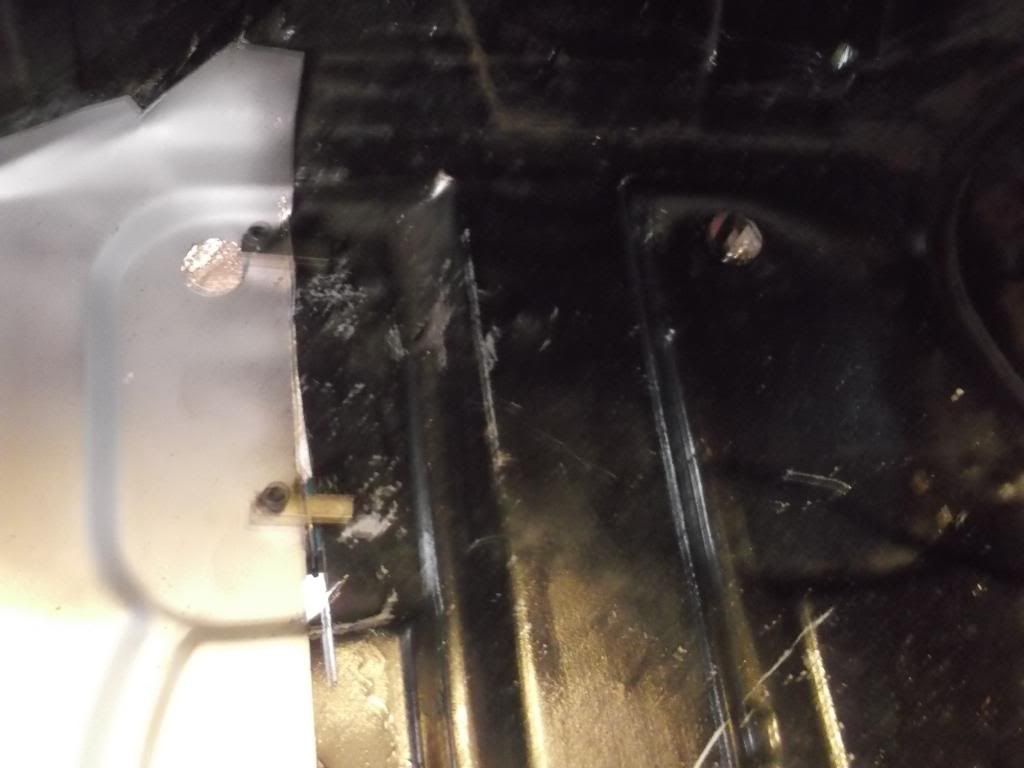
This ridge in the passenger floor pan needs removing and making uniform as per the drivers side:
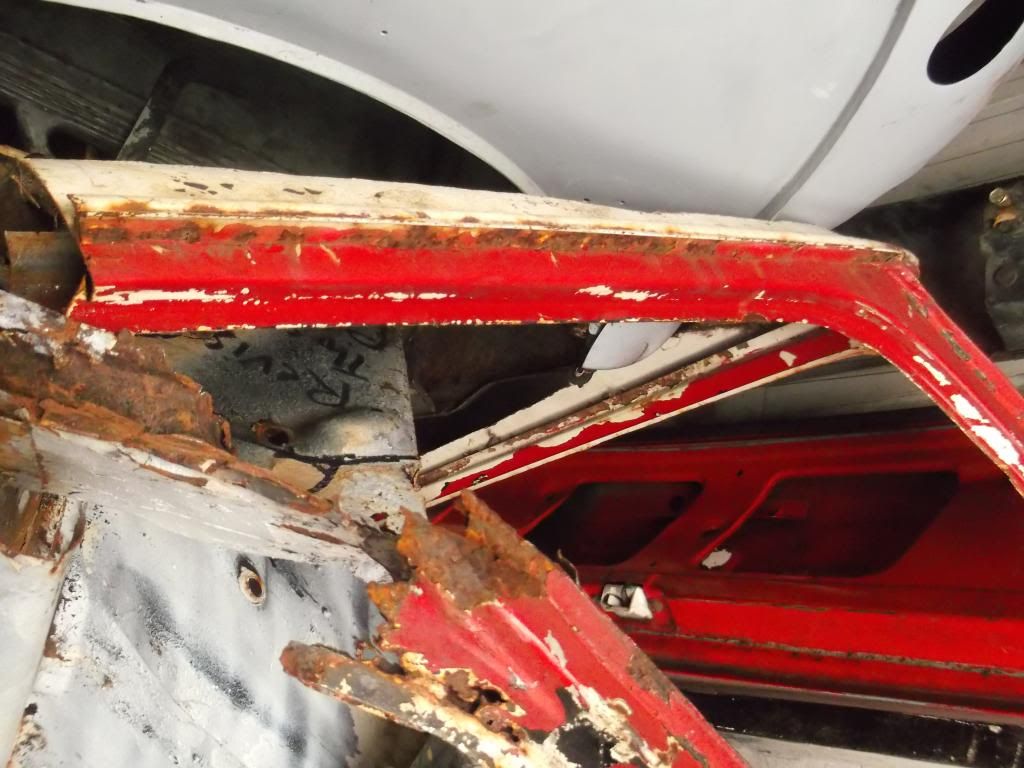
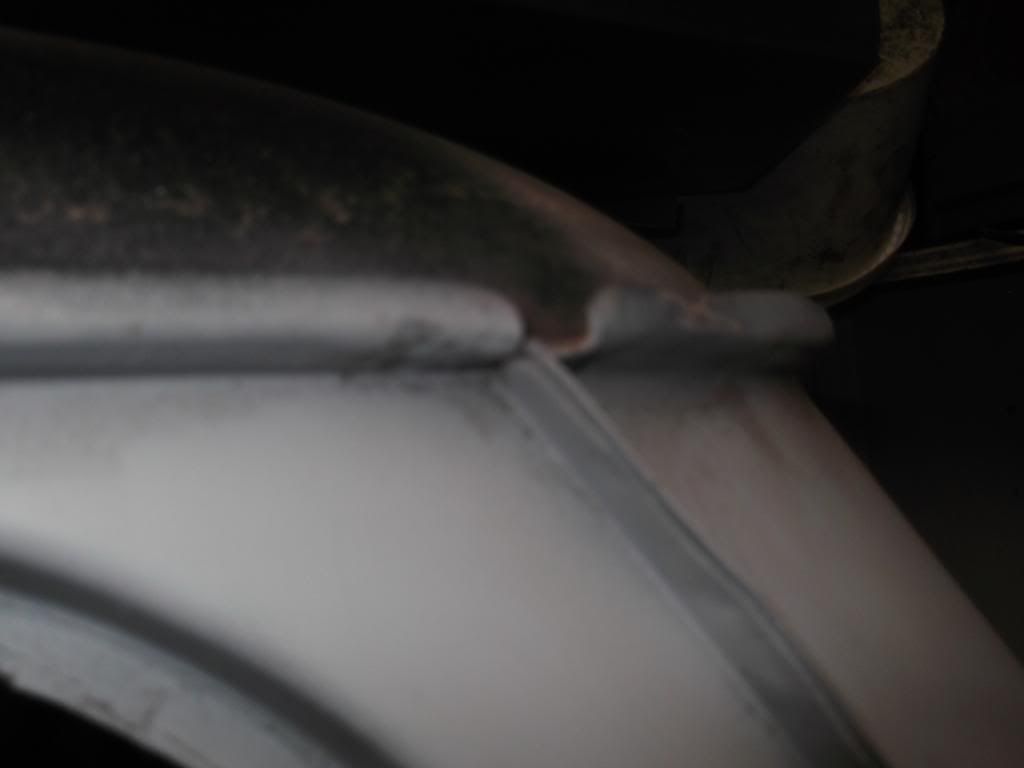
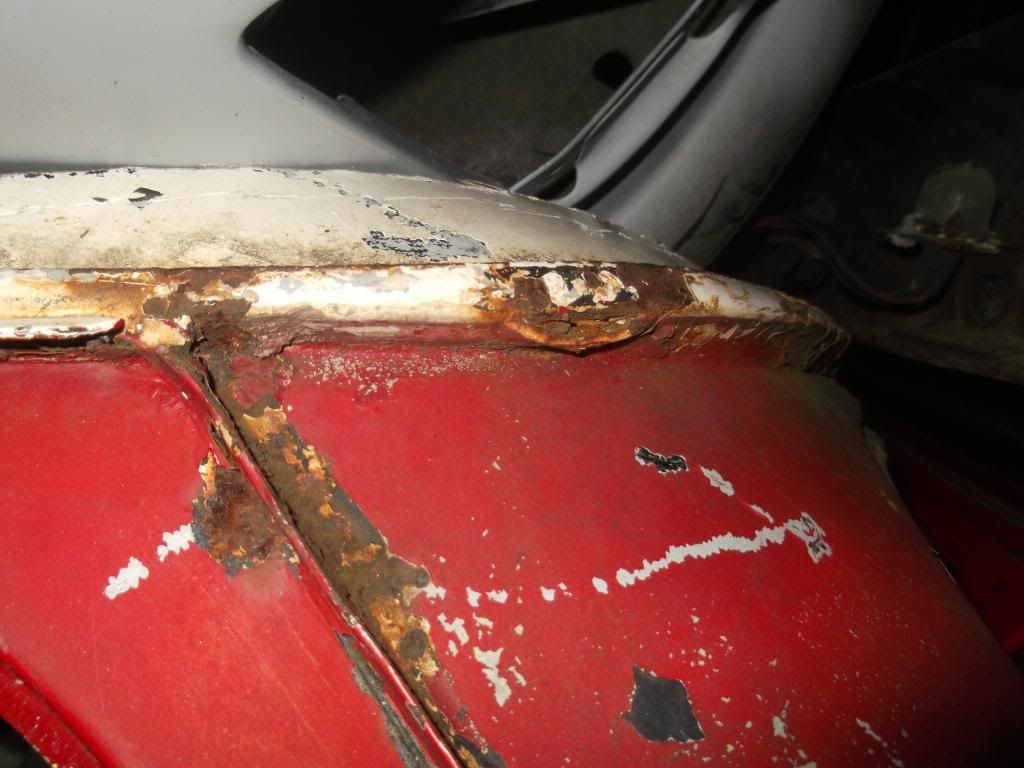
Front and rear roof guttering differences:
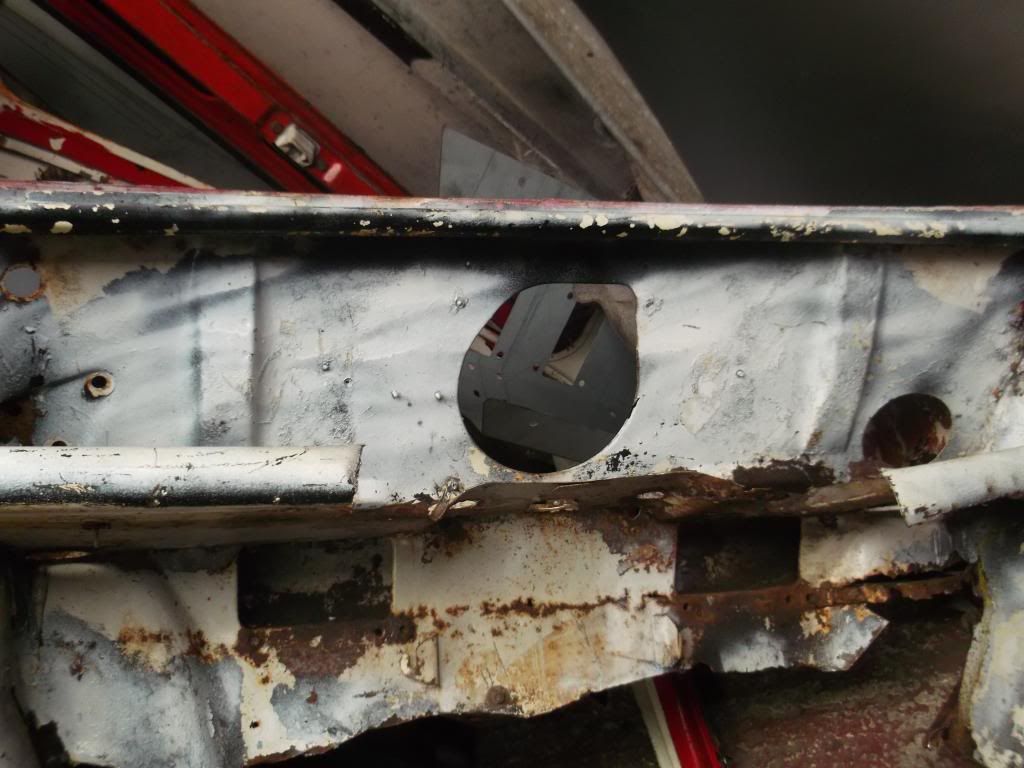
Although a little crusty this shows he inner structure of the bulkhead crossmember inners were the tower bolts run through on mk1/2 mini's:
I think i,ve covered most things there
Hope this helps
Cliff
Edited by rally515, 31 July 2013 - 05:08 PM.
#35

Posted 31 July 2013 - 05:29 PM
wow! cheers pal that is very useful to me i can see whats what now. the inner panel has rotted away on mine but i will be taking the ones out the mk4 as i havent seen any for sale and they are in excellent condition on the mk4. most of the things like the b post will be stoping in on the shell i will keep those as they are not in bad condition. the door repair panel i have brought today and on the mini i dont have a hole there? is it best for me to keep it that way or shall i put the light there? i want it as original as a super deluxe was. the spare wheel clamp i did keep but it is really rusty maybe i can re use it or if they make new ones i will just buy one. the a post stiffner will that be built in with the new inner flitch panels? the dash rail will be stopping in the mk1 shell and the bulkhead will as its in good condition apart from a few rust spots. when you said the ridge in the floor what do you mean? are they not the same? thanks matey.
#36

Posted 31 July 2013 - 05:59 PM
wow! cheers pal that is very useful to me i can see whats what now. the inner panel has rotted away on mine but i will be taking the ones out the mk4 as i havent seen any for sale and they are in excellent condition on the mk4. most of the things like the b post will be stoping in on the shell i will keep those as they are not in bad condition. the door repair panel i have brought today and on the mini i dont have a hole there? is it best for me to keep it that way or shall i put the light there? i want it as original as a super deluxe was. the spare wheel clamp i did keep but it is really rusty maybe i can re use it or if they make new ones i will just buy one. the a post stiffner will that be built in with the new inner flitch panels? the dash rail will be stopping in the mk1 shell and the bulkhead will as its in good condition apart from a few rust spots. when you said the ridge in the floor what do you mean? are they not the same? thanks matey.
You're welcome Tom, ahh glad you,ve got another to hand, they might still make them but more than likely not as a single piece without the BMH shell at 5k haha
The B-posts are different so you have no option but to keep them ![]()
The holes is purely for a courtesy switch so as the interior light (if fitted) would come on when you open the door and the switch is released, not a major job to just drill a hole and feed a wire through.
Well if you want it as original as possible to a super deluxe then its best to find a couple mk1 door light switchs and stik them in, when you get a new loom it should have the lighting wires in it.
I think M-machine actualy still make these, even think they do the screw in clamp to hold the wheel down haha: http://www.m-machine.../catalogue.html
As the mk1 shell is now it might be a bob on idea for you to put all the A-post stiffener, door post and inner/outer A-panel on before you start the bigger job of welding in the floor, the A-post stiffener will be your biggest problem as its welded over by the lowere dash rail, again some photos of this area on your mk1 would help with knowing what way to go about it
The ridge i,ve pictured above on the passenger floor pan is there on later mini's for the brake and fuel lines to tuck up in so they dont have to go under in a fully exposed manner, in terms of work needing doing i wouldn't worry about it just yet haha
#37

Posted 31 July 2013 - 06:18 PM
yes mate thats my plan i was going to get the floor ready put that to the side on my mothers drive in the way lol and then get the shell solid with out the floor and then once thats done i will weld the shell to the floor then do my tunnel as it would be stronger welded to the shell and then once all the welding is complete i will get the shell dipped then to see if there is any other places that will need doing to make it perfect and solid. once thats done it on to the spraying questions witch will happen in 2 years time haha cheers mate ile let you no saturday night what the first step is.
#38

Posted 31 July 2013 - 06:22 PM
Might be a good idea to do the top and bottom as seperate projects haha then bring the two together finally in say.....2 years time ? ![]()
![]()
I'l just get a photo of one of those hidden nasties that you cant get to atall even with a sandblaster! its impossible i say ![]()
![]()
#39

Posted 31 July 2013 - 06:26 PM
lol if i can get it in paint this time next year that would be great. yeh lol i might do that.
#40

Posted 31 July 2013 - 06:28 PM
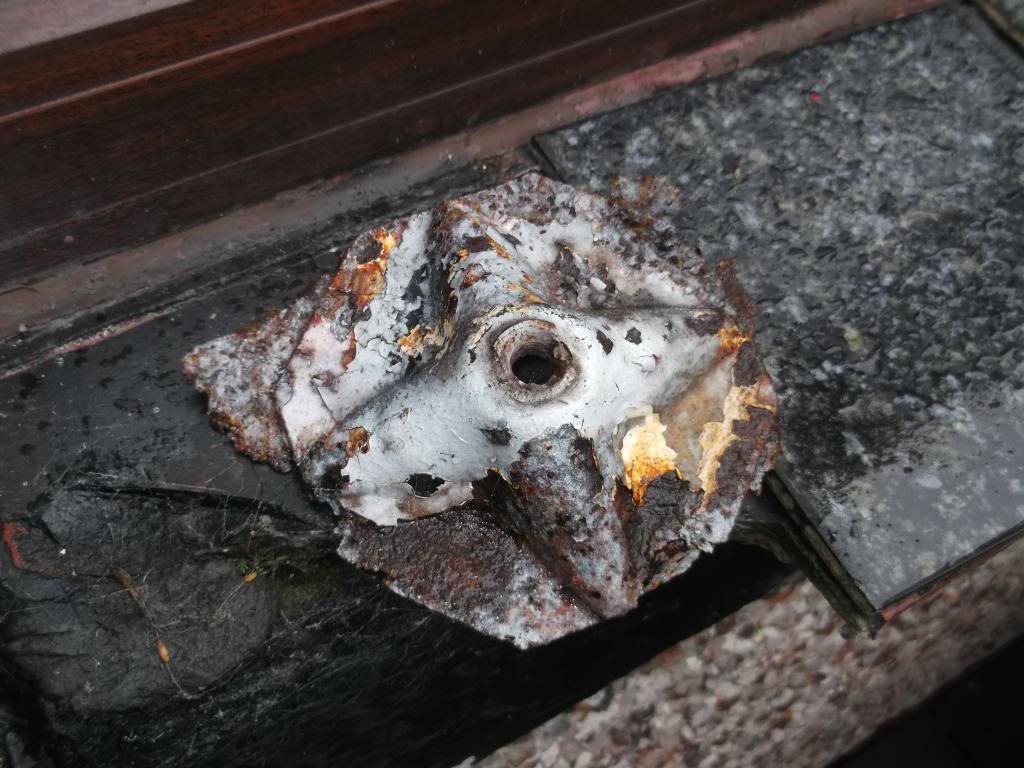
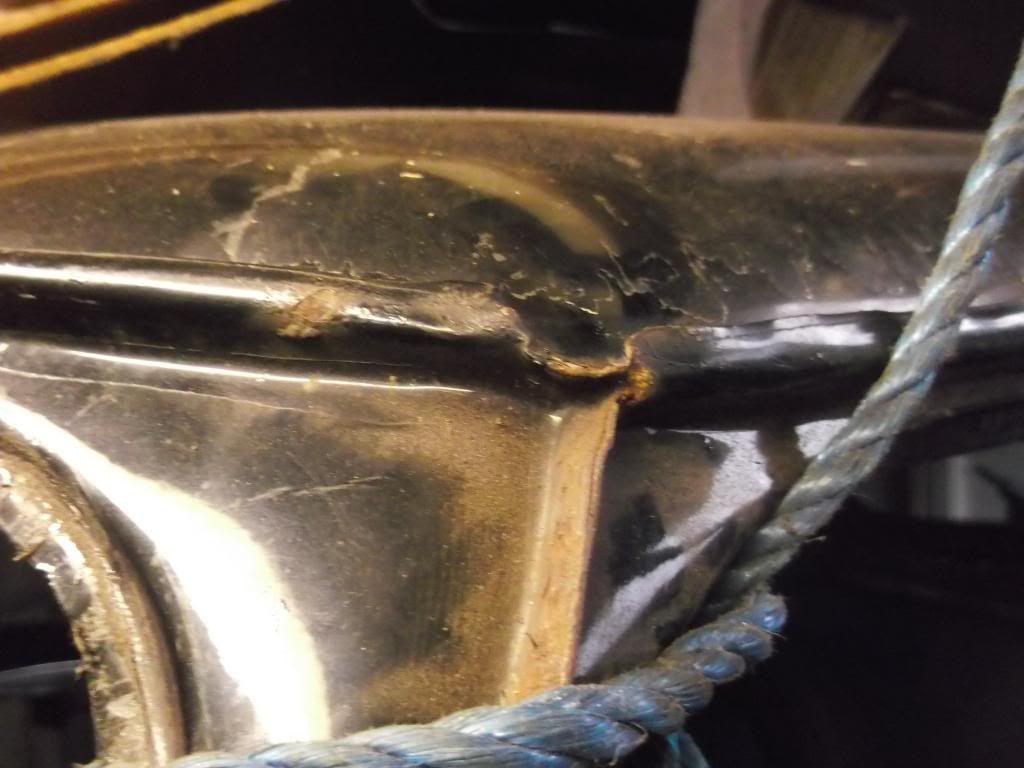
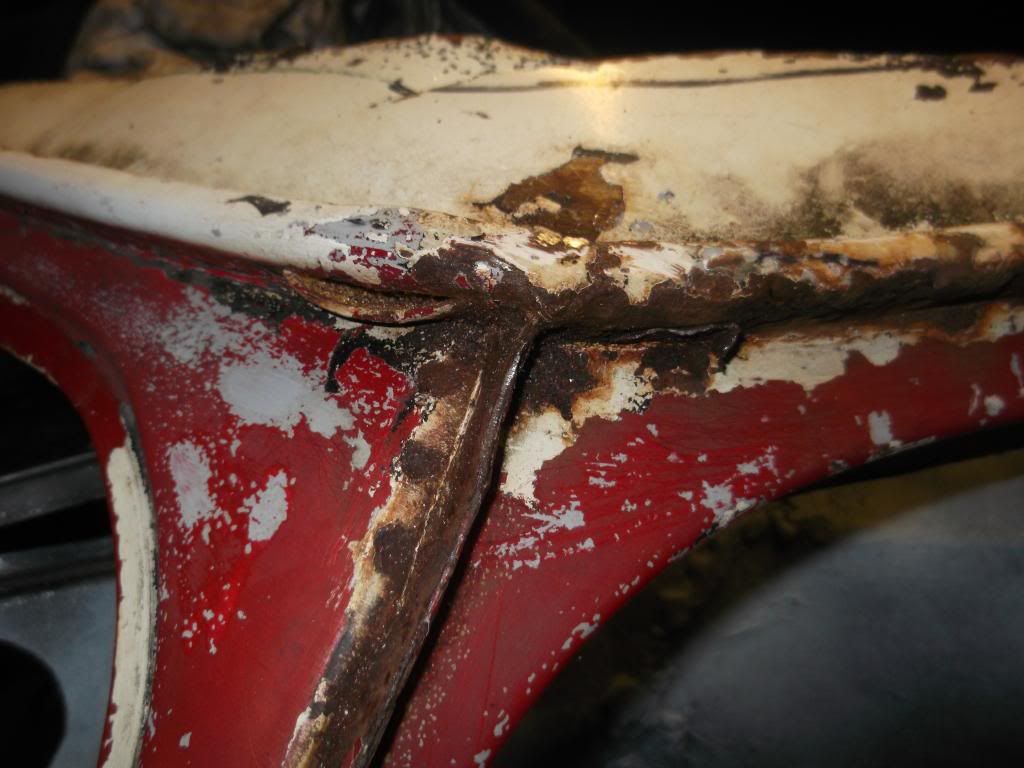
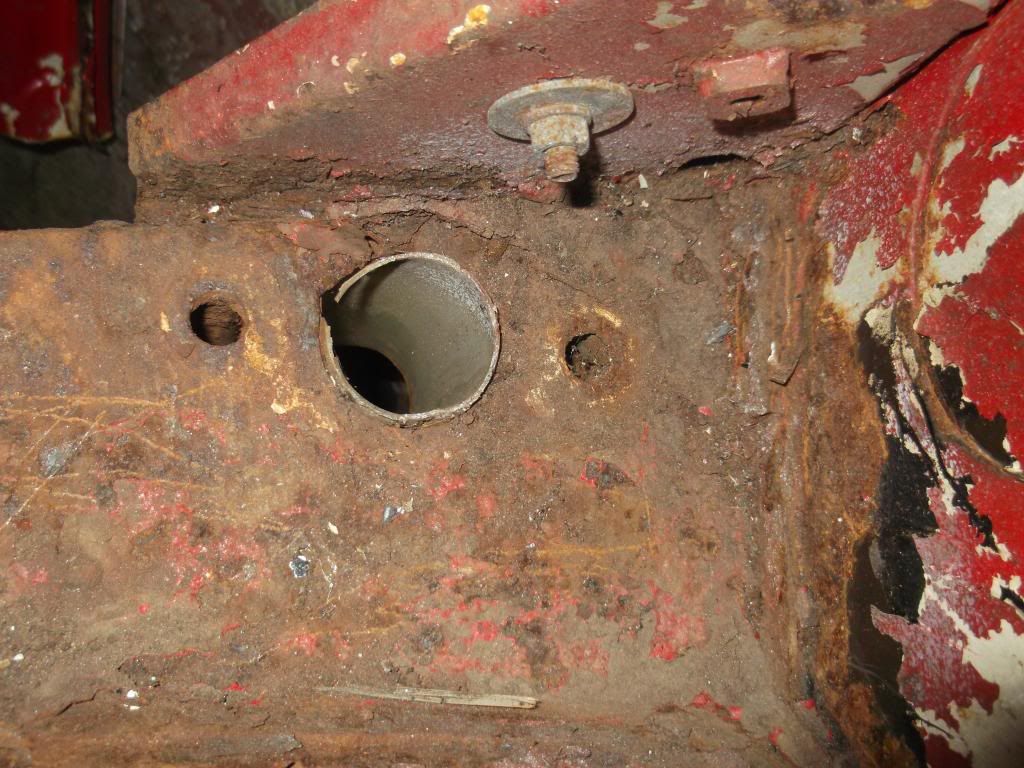
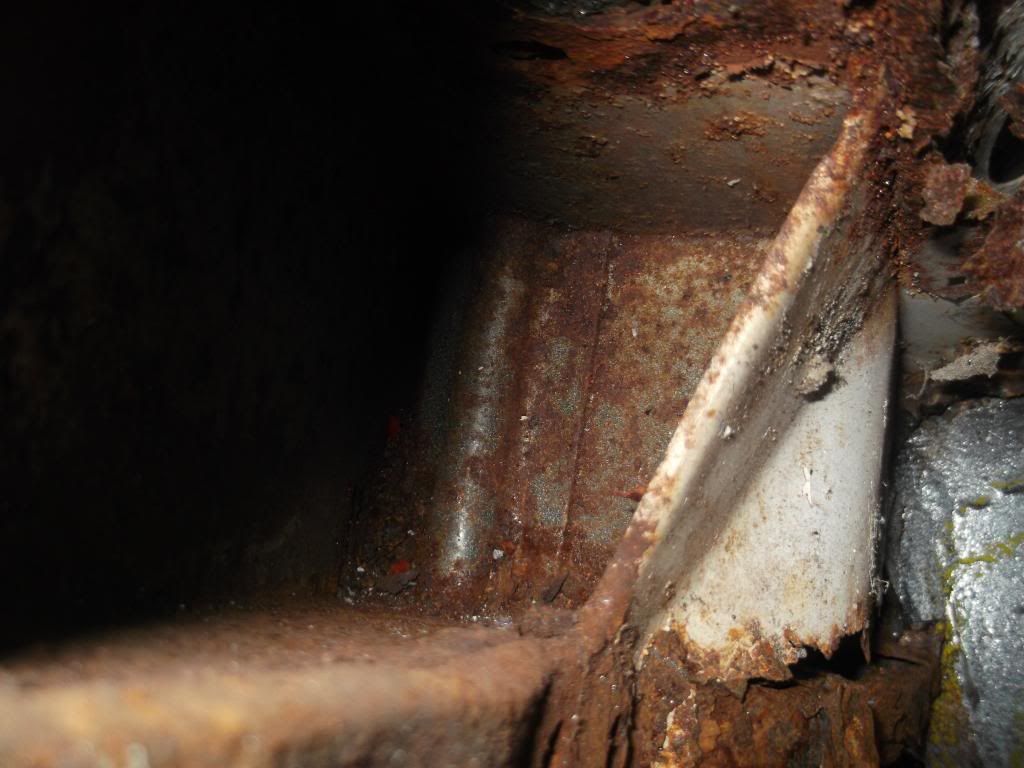
Here you go, this is the top of the B-post on the inner surface, dipping the shell will remove this and leave a nice clean slate:
Only issue is re-coating it to stop the rust coming back, best solution is to funnel primer and paint id down the B-post and catch it at the bottom iinto a small tub or something, the over spray should help coat it aswell
#41

Posted 31 July 2013 - 06:29 PM
lol if i can get it in paint this time next year that would be great. yeh lol i might do that.
Bet you could get the floor in paint in a few months ey ![]() haha
haha
#42

Posted 31 July 2013 - 06:32 PM
how about if i put it up side down and tip paint down it? as i will be getting a spit/jig thingy majigy
#43

Posted 31 July 2013 - 06:38 PM
how about if i put it up side down and tip paint down it? as i will be getting a spit/jig thingy majigy
The way the mk1 inner roof frame is made means it'l never be able to drain back out, its like a little moat for the paint to gether in when its upside down, another idea would be to use a spray nozel like the type used for underseal spraying
#44

Posted 31 July 2013 - 06:53 PM
sound mate i will i will try and get a torch and have a look to see how bad it is before i start welding the panels on. cheers for all this much appreciated. i cant wait to get the grinder out lol
#45

Posted 31 July 2013 - 07:27 PM
Just don't jump the gun with you eagerness to do something Tom haha
Invest in a Inspection scope, i,ve got one fthat plugs in via USB and has built in LED lights its great gets in all the little gaps
Cliff
1 user(s) are reading this topic
0 members, 1 guests, 0 anonymous users


