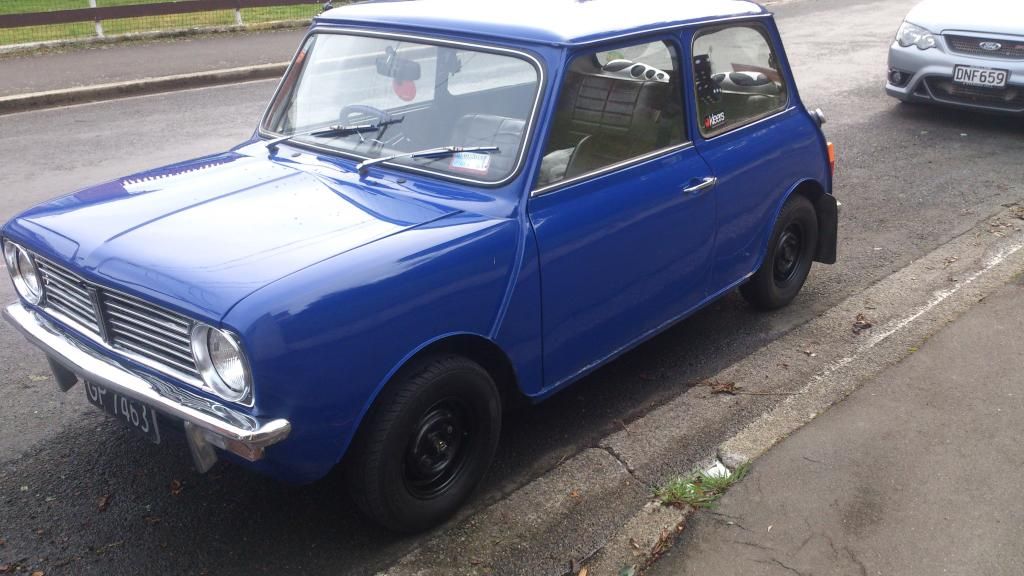
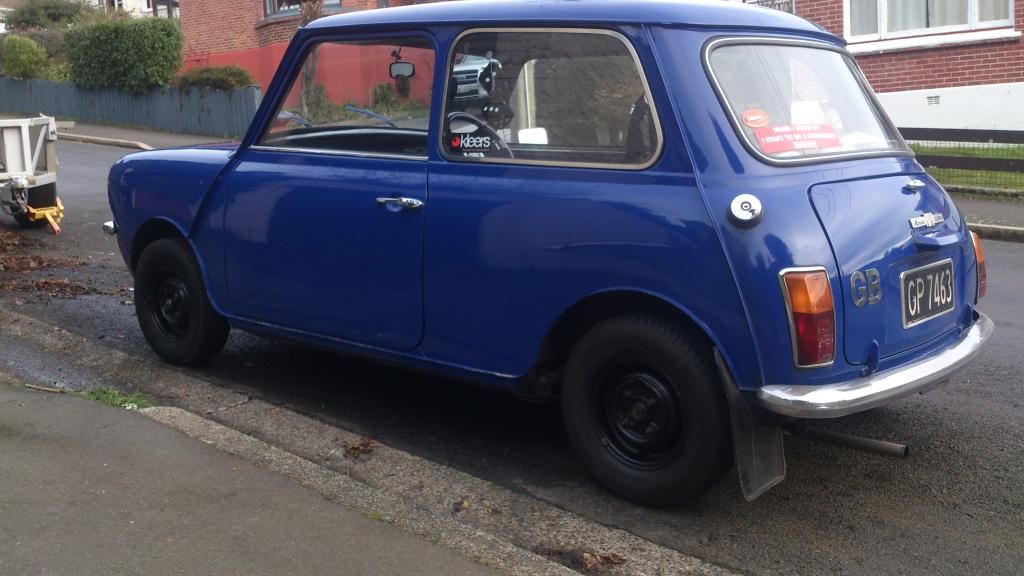
See page 1 ;)
#61

Posted 05 July 2014 - 09:46 AM
#62

Posted 05 July 2014 - 04:15 PM
See page 1 ;)
My bad, one of those days ![]()
#63

Posted 11 July 2014 - 07:20 AM
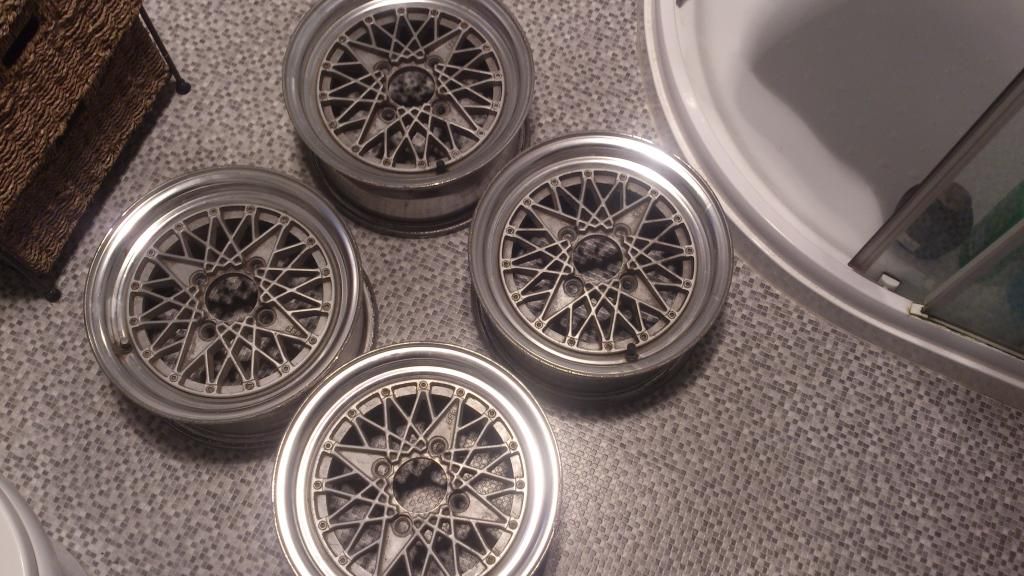
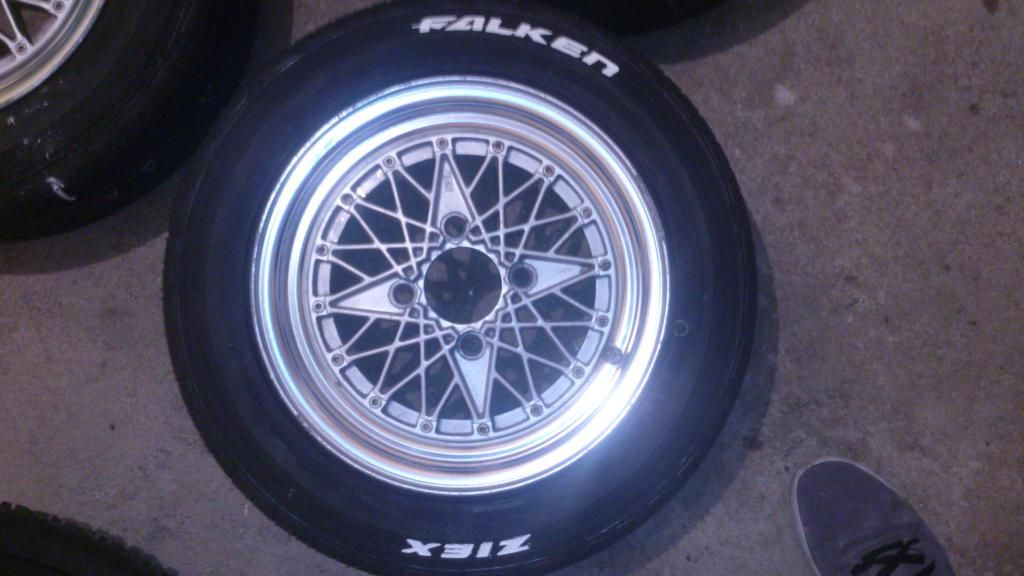
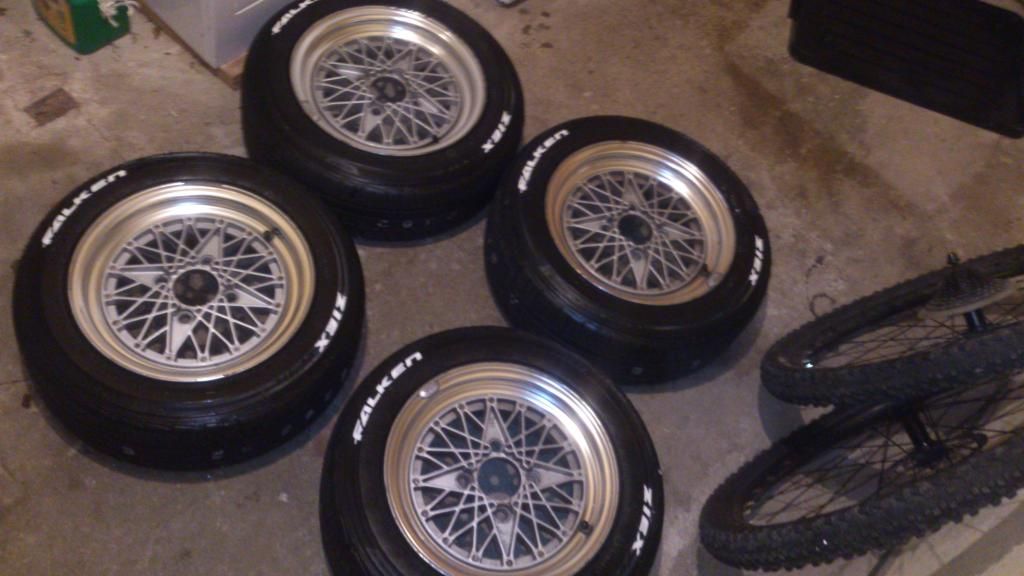
WHEELS ARE IN THE COUNTRY!! They should be on a truck from Auckland to Dunedin next week, can't wait to get them trial fitted ![]() Then it's a case of picking out the right flares...
Then it's a case of picking out the right flares...
Finally going in to get the engine mount done and my wobbly steering looked at, hoping its not another big bill...
#64

Posted 19 July 2014 - 03:04 AM
Wobbly steering fixed. Belts had shifted in the right front tyre and caused it to bulge, shame as it had plenty of tread left ![]() New tyre on after spending a day with my horrible rock solid brown Dunlop crossply on as a spare
New tyre on after spending a day with my horrible rock solid brown Dunlop crossply on as a spare ![]() no more wobble, no more vibration at motorway speed, i'll call this one a success
no more wobble, no more vibration at motorway speed, i'll call this one a success ![]()
Clutch is well out of adjustment now, it was bearable before but attempting to use it normally now is just a waste of time, so it's a case of putting the old Eaton Roadranger skills (read: double clutching and float shifting ![]() ) to good use until Tuesday, when it goes in for a bleed, line replacement, adjustment, and that bloody engine mount is getting done too (FINALLY!)
) to good use until Tuesday, when it goes in for a bleed, line replacement, adjustment, and that bloody engine mount is getting done too (FINALLY!)
Wheels have left Auckland, I'm far too excited for these. From the photos, they appear to be in good nick, but I may hold off fitting them so I can have them polished and possibly powdercoated if they're looking a bit dull, they're about my age... possibly older, 26 if you're wondering...
Also got my eye on a couple of 1275 engines in need of some love, hopefully I can get them for a steal and find somewhere to store them, as I don't think the olds will appreciate a dirty smelly oily old A-series sitting in their garage ![]()
Starting to really enjoy this again, seeing progress, and being able to see and feel improvements in the car overall has really lifted my enthusiasm for it again, to be honest, once the wheels are on and it's sitting nice and low with new flares I reckon it'll be a keeper for a long time yet... Speaking of which, once all the works completed, that'll be my next purchase, either some Bilstein B36, AVO or WFO Type Wotona "Cat Leg" (gotta love Japanese names ![]() ) shocks, and a Hi-Lo kit. Holding off on flares until the 12's have been trial fitted with new tires so I know exactly how wide I need to go, nothing worse than flares that overhang the wheels too much in my opinion, some people may not like the look but perfectly flush is what I'm aiming for.
) shocks, and a Hi-Lo kit. Holding off on flares until the 12's have been trial fitted with new tires so I know exactly how wide I need to go, nothing worse than flares that overhang the wheels too much in my opinion, some people may not like the look but perfectly flush is what I'm aiming for.
#65

Posted 19 July 2014 - 11:25 AM
So glad to see you've got some progress and you've come to your senses about keeping the car ![]()
#66

Posted 20 July 2014 - 04:13 AM
I know I'd instantly regret selling ![]()
Boredom got the better of me today, and I decided i'd had enough of the horrid, dull silver on my factory wheels, it was chipped, flaking and the rust was showing through so out came the spray cans this arvo and in the space of 15 minutes they looked top notch again ![]() Couldn't decided on colour initially, considered white but they'd be a pain to clean, gloss black looks tacky and matte just looks rough, so I settled on the happy medium of satin black for the "factory" look:
Couldn't decided on colour initially, considered white but they'd be a pain to clean, gloss black looks tacky and matte just looks rough, so I settled on the happy medium of satin black for the "factory" look:
Debating whether or not I should re-fit the hubcaps, I quite like the look of the car without them :) Also hunting for another set of steelies to widen, one, for spares, and two, to throw semi slicks on for track days ![]()
#67

Posted 21 July 2014 - 06:41 AM
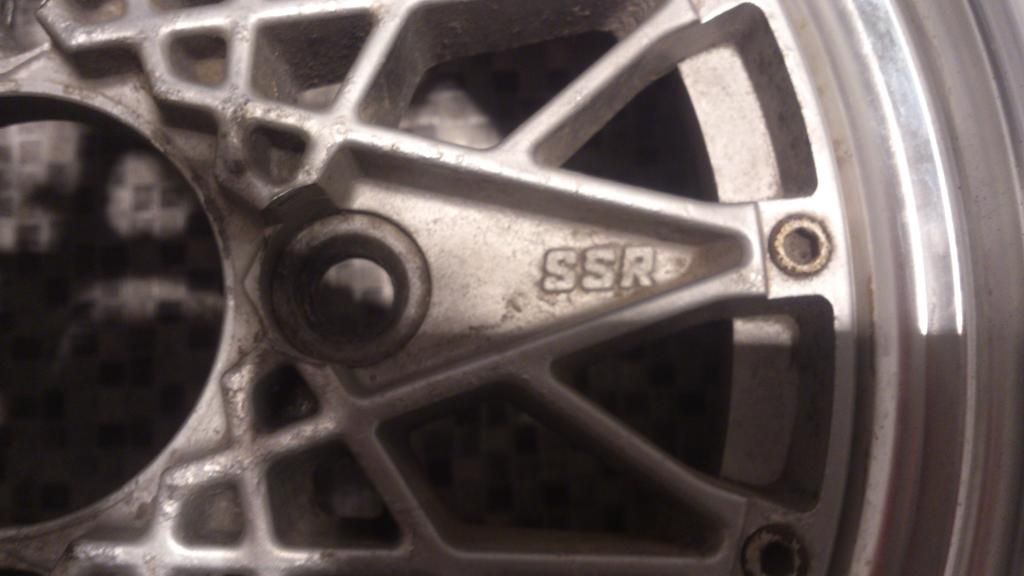
For anybody wondering, here's some specs:
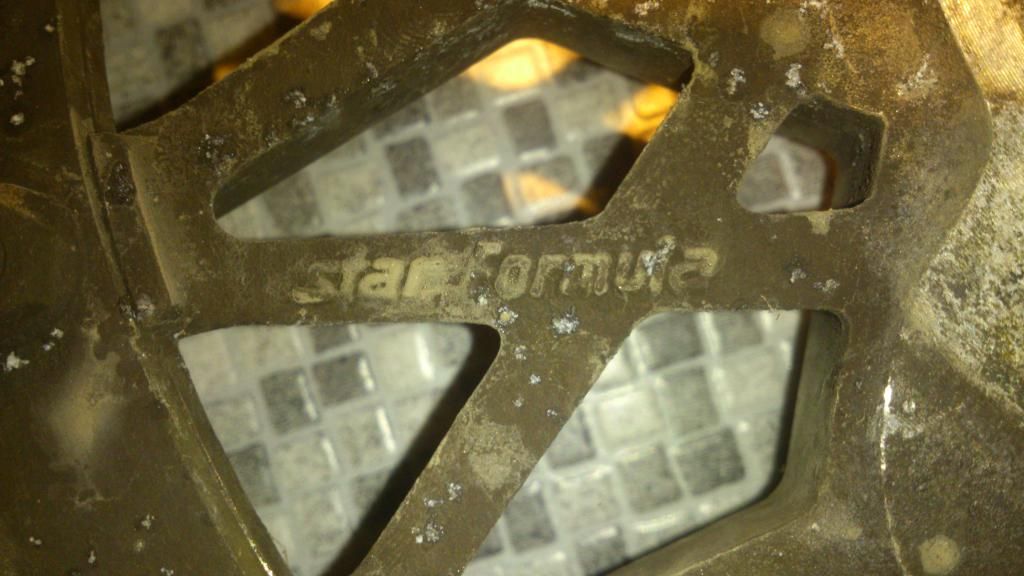
Brand: SSR (Speedstar Racing Japan)
Model: Formula Mesh/Star Formula
Size: 12 inch
Width: 6 inch
Offset: TBC
#68

Posted 23 July 2014 - 05:59 AM
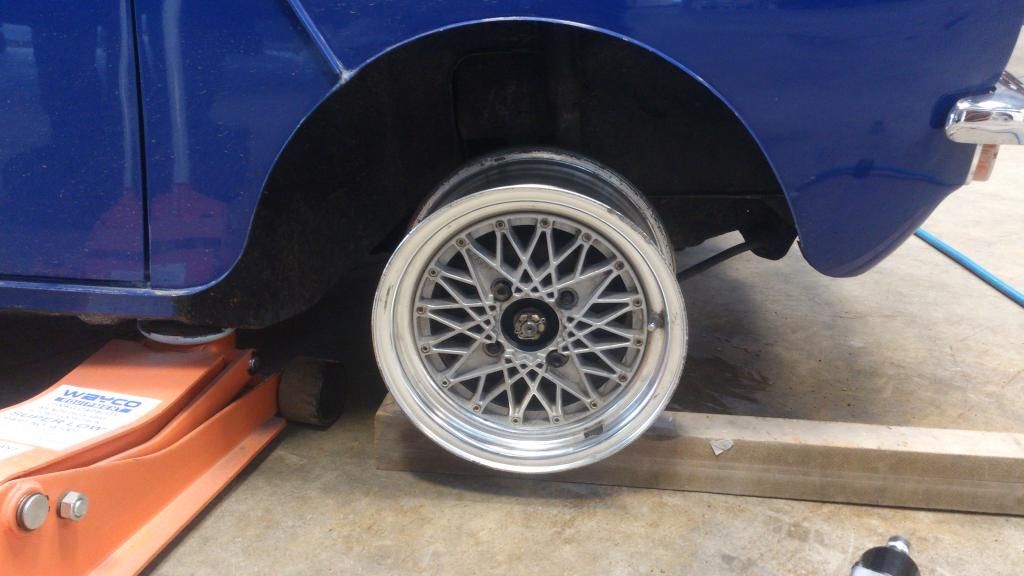
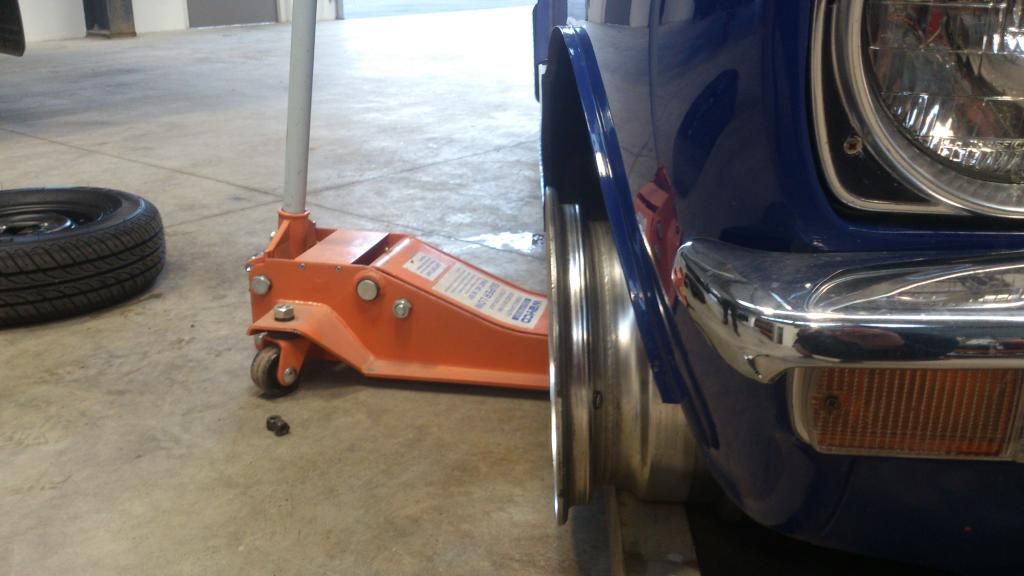
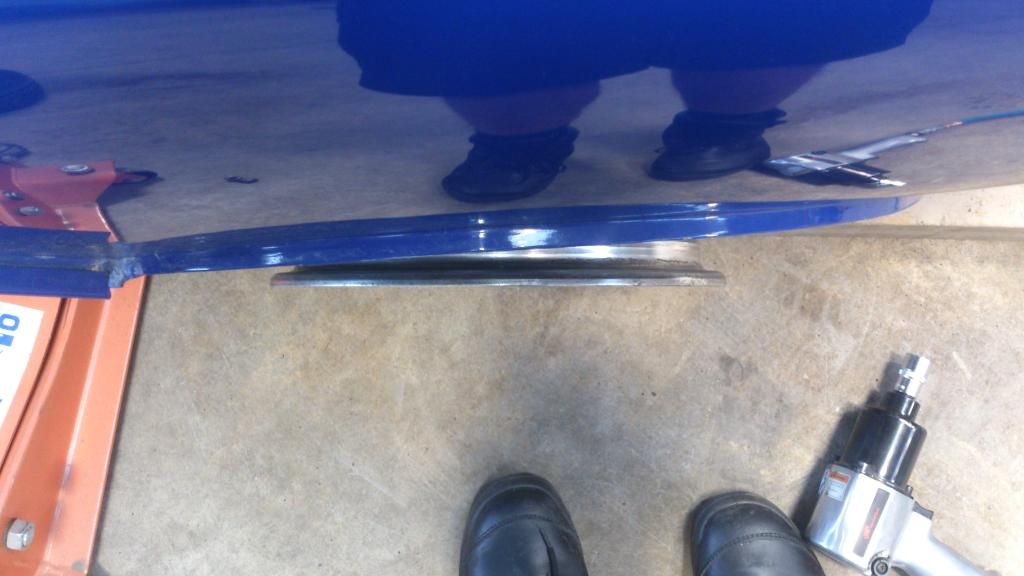
Took a wheel down to be trial fitted today, with pretty tasty results ![]()
Not a bad fit at all, I may not even need to run flares if I buy a camber kit for the front as the rears tuck by another 1/2", give or take. Pretty happy with that!
Biggest problem is sourcing tires, 145/70's are mostly cheap chinese crap here and there are only 4 165/60's left in the country, and I cant afford them at the moment, and I sure as hell won't be paying nearly 200 quid for shipping from the UK for 4 tires! More than what they're worth. Falken NZ have no plans to get anymore in as theyre such an uncommon tyre and no one else makes anything in that size, Yokohama NZ are saying the same thing. Bit of a conundrum.
#69

Posted 23 July 2014 - 06:11 AM
That looks really good! Pity about the tyre situation . . .
#70

Posted 23 July 2014 - 07:14 AM
Yeah it's unfortunate, hopefully I can sort something out...
#71

Posted 23 July 2014 - 11:35 PM
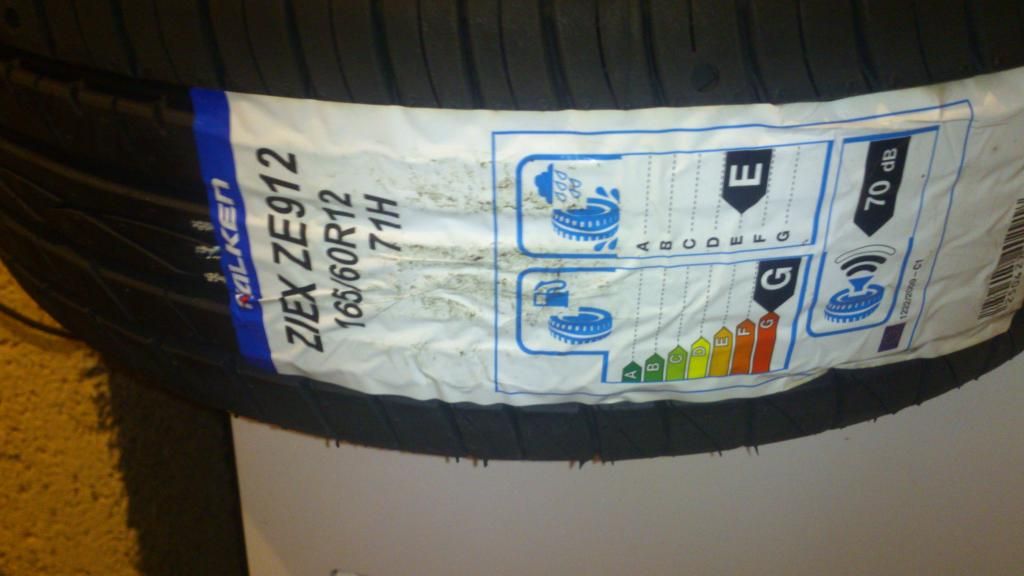
Tyre situation sorted! Minibitz in Auckland come through once again and even shipped the length of the country, they're still cheaper than the ones in Christchurch ![]() Set of 4 Falken 165/60/12's and a set of black plastic flares, as the fatter tyre won't quite tuck enough to be legal... Time to source a set of Cooper S or Superfin drums for the rear to push the wheels out a little and get everything sitting how I want it, and so begins... the snowball effect
Set of 4 Falken 165/60/12's and a set of black plastic flares, as the fatter tyre won't quite tuck enough to be legal... Time to source a set of Cooper S or Superfin drums for the rear to push the wheels out a little and get everything sitting how I want it, and so begins... the snowball effect ![]()
#72

Posted 24 July 2014 - 05:53 AM
Copied from my other build thread, with some editing ![]()
Today was a good day. I fitted two new door seals, so I don't get wet when it's raining and so I can actually wash my car without having a soaking wet floor.
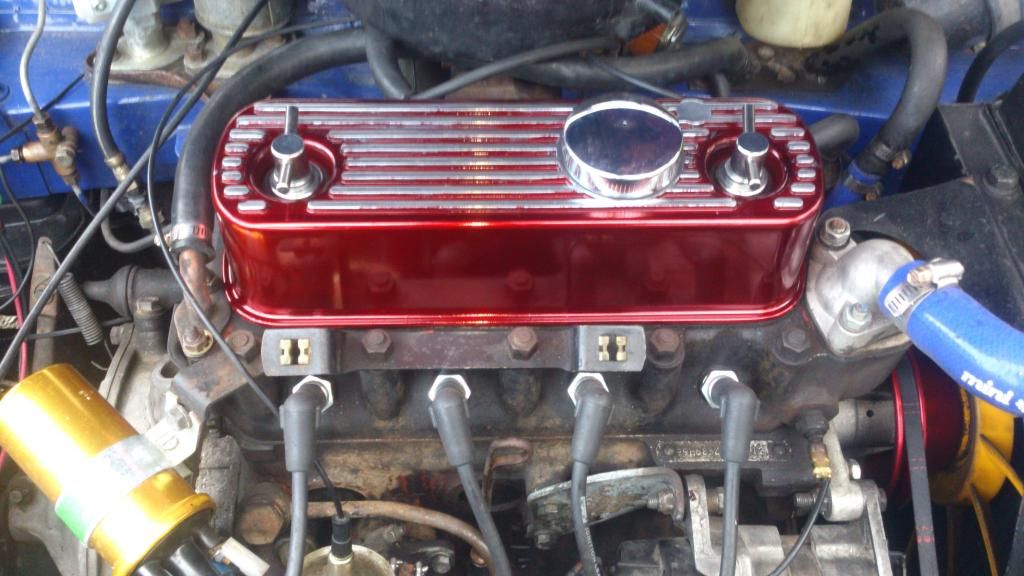
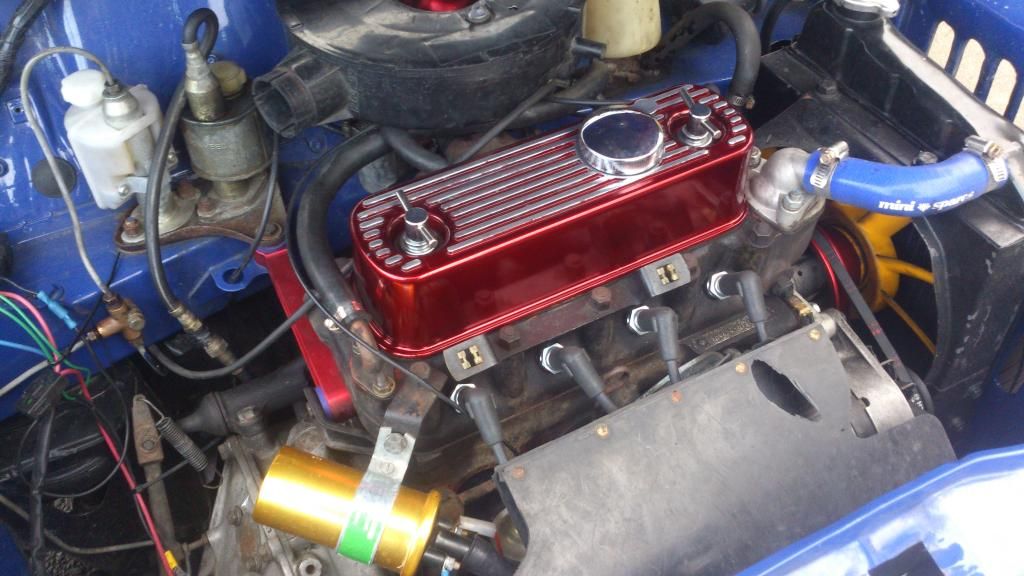
Also decided I'd had enough of the tappet cover going dull and needing polished to remove fingerprints and general grubbiness all the time, so I painted it.
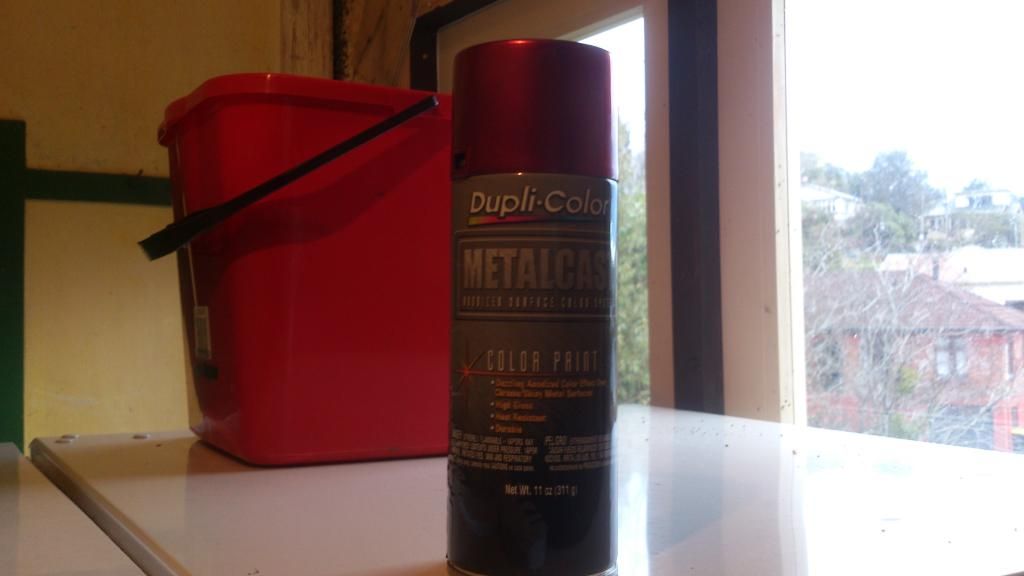
Paint:
Been a long time fan of this stuff, used it several times on my first Minis tappet cover, it was never the same colour for more than a couple of months but this red was by far my favourite ![]() Matches my water pump pulley and engine stay bar too.
Matches my water pump pulley and engine stay bar too.
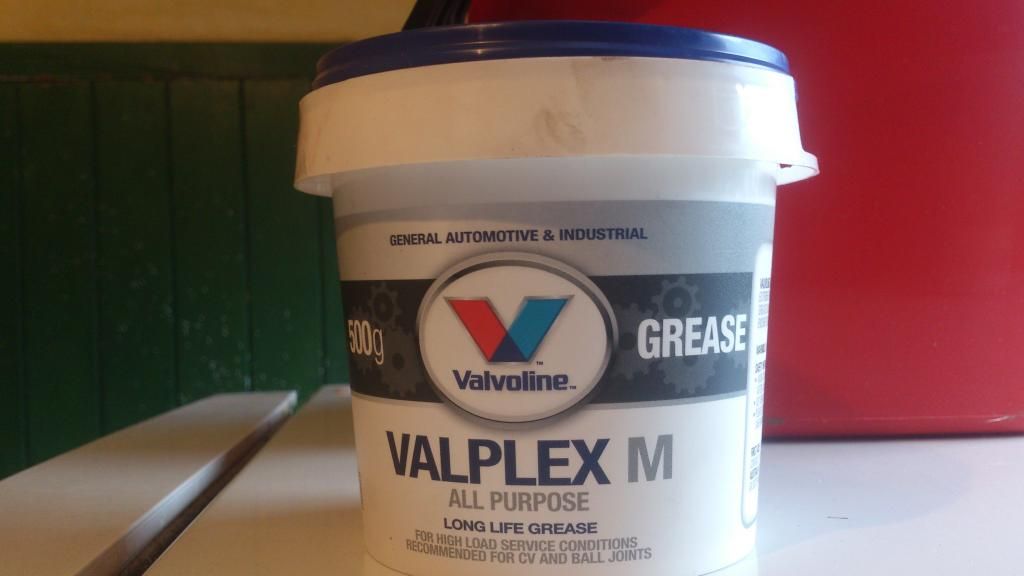
I wanted to leave the fins raw, so masking was required. Rather than piss around with tape, the quickest solution is to simply use this:
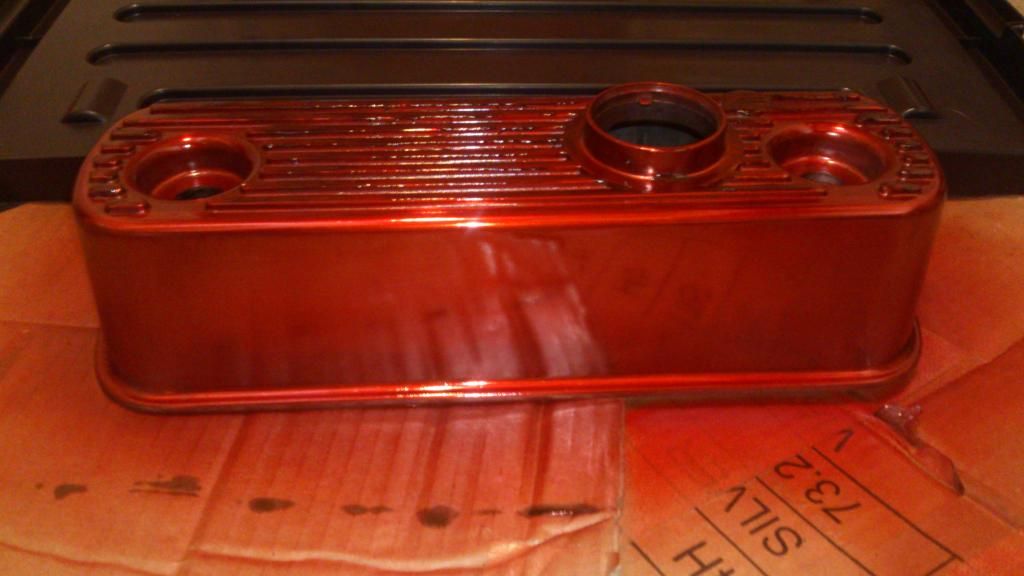
Normal everyday grease, or anything similar that wipes off easily and doesn't allow paint to adhere to the surface. This is best applied by either fingertip, or preferably, a small modelling paintbrush for more intricate jobs, one of those days I wish I still had one... Anyway, I cracked on, and carefully applied a thin film of grease to each fin. After that, paint time:
That was the first coat. I did my best beforehand to remove any contaminants, dirt and old oil, but unfortunately the prepsol didn't quite get it all, so there is some reaction in the finish, luckily, its on the reverse side, which you never see as the carb and filter is in the way, plus the PCV line and choke cable rub on it anyway, so no biggy.
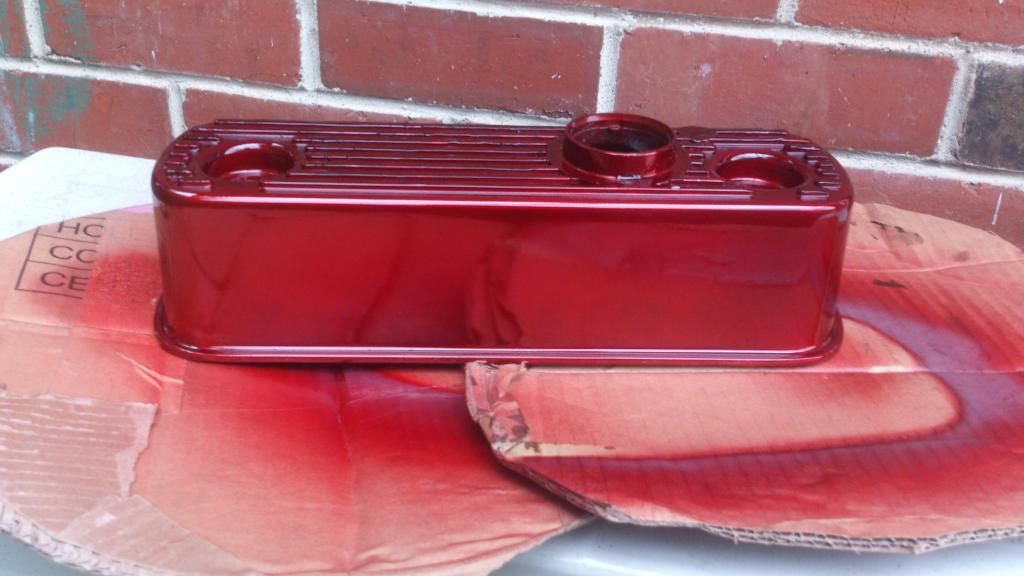
Three coats later, I had a nice blood red:
I didn't have any clear on hand, which sucks, but that can always be done later, if I feel the need. The motor was still warm, so I sat the cover back on the head and shut the bonnet for half an hour to help cure the paint, after that, came down with a rag, and wiped the grease and paint off the fins, doesn't look bad at all, will clean out the the crusty paint once the finish has finally cured so I dont wipe off my hard work. Lush colour I reckon:
Sometimes the simplest things make the biggest difference ![]() Mightn't be to everyones taste, but i'm more than happy with it.
Mightn't be to everyones taste, but i'm more than happy with it.
#73

Posted 24 July 2014 - 03:57 PM
Great news on the tyres ![]()
#74

Posted 27 July 2014 - 08:31 AM
Tires will be leaving Auckland next Thursday :)
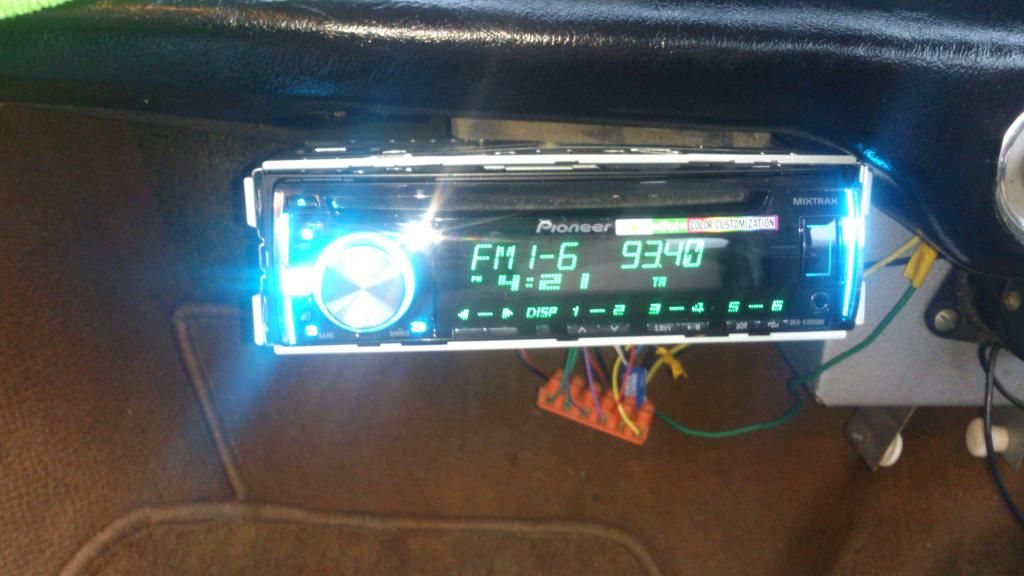
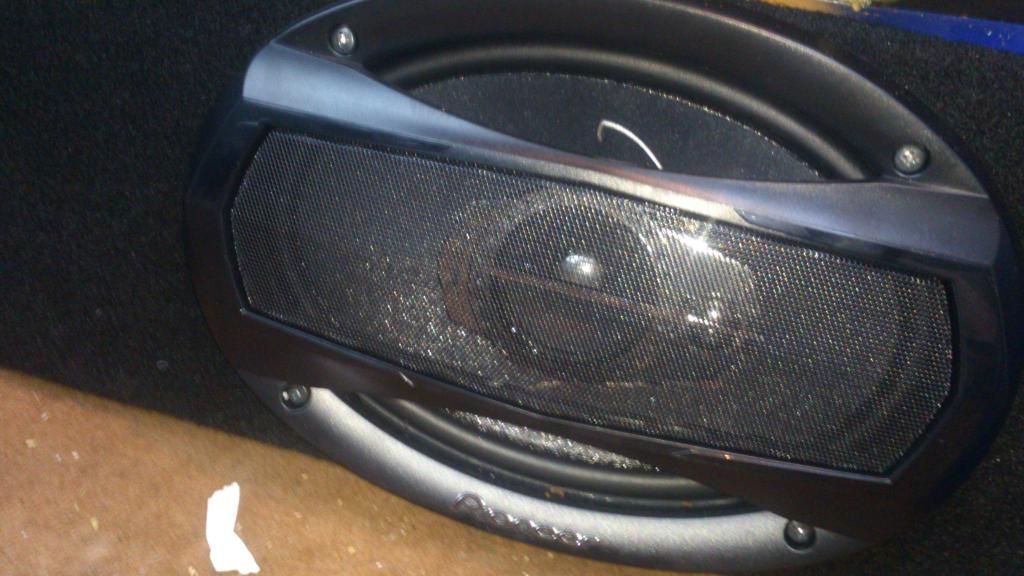
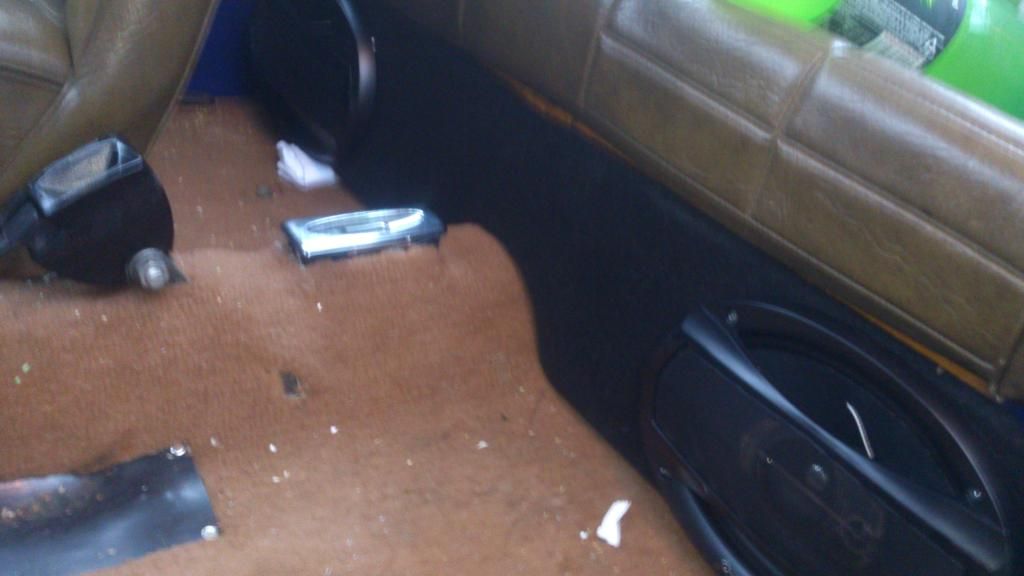
Decided to pull all my old sounds out of the Mini last night and replace them with my new ones. The stuff that was in there was Pioneer, and the new gear is no different. A new USB/AUX/Bluetooth headunit, a pair of 6x9's (400W from memory), and a brand new under seat speaker board. Took me all of 2 hours. The board isn't secure yet, as I need to steal someones drill for 10 minutes in order to bolt it to the vertical bracket under the rear seat, but the weight of the speakers, some neat origami and hopes and dreams seem to be holding it up fine for now ![]()
Excuse the poor photo quality and mess in the back of my car ![]() Overdue for a good clean and hoover methinks... Everything works extremely well, the new headunit is a pleasure to use compared to the old one, and has a tonne of different colour options, electric blue and mint green it is for now
Overdue for a good clean and hoover methinks... Everything works extremely well, the new headunit is a pleasure to use compared to the old one, and has a tonne of different colour options, electric blue and mint green it is for now ![]() 6x9's provide excellent punch and mid with decent top end, despite not being amped, I may not bother with an amp now unless I get front components. The headunit is only mounted temporarily, this is where the old one was, however I really dont like the fact the cage is just hanging off a block of wood with two screws, so i'll be buying a center console for this, stat. Means I'll have somewhere to stick an oil pressure gauge, my ciggy lighter socket so I can FINALLY use my GPS, cup holders and of course the headunit.
6x9's provide excellent punch and mid with decent top end, despite not being amped, I may not bother with an amp now unless I get front components. The headunit is only mounted temporarily, this is where the old one was, however I really dont like the fact the cage is just hanging off a block of wood with two screws, so i'll be buying a center console for this, stat. Means I'll have somewhere to stick an oil pressure gauge, my ciggy lighter socket so I can FINALLY use my GPS, cup holders and of course the headunit.
Seems to have used a bit of oil since I did an oil change last, weird as it's thicker than what was in there originally (20W60 currently), and there is no sign of oil on the plugs... perhaps my rod change seals are getting worse and it's time to get them done... hoping that's all it is. Can't really afford an overhaul or new engine at the moment!
#75

Posted 07 August 2014 - 08:56 AM
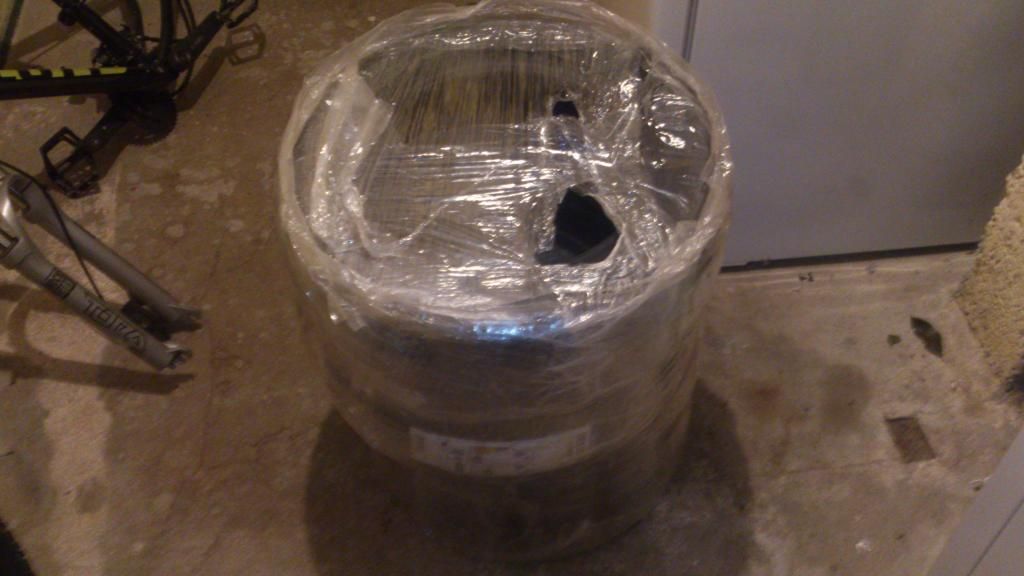
Well, some forward progress, and a few steps back too in the last week or so. Good news is, my tires arrived!!
Was greeted with this last night when I got home
![]()
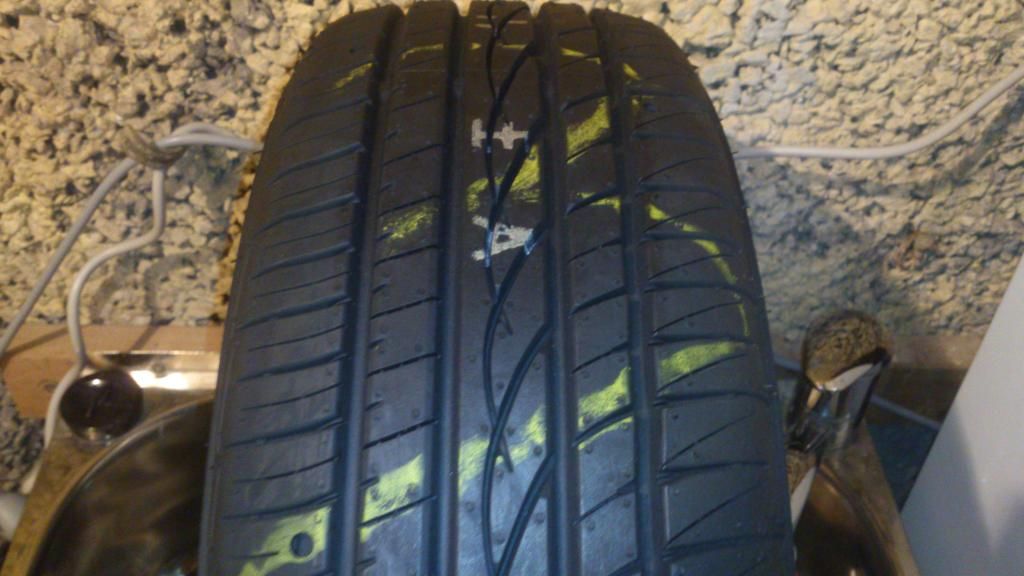
I had no idea they were an asymmetric tyre until I had a good look. They feel a lot stiffer than the floppy 145R10 Kumho/Zetums fitted to the standard wheels at the moment, absolutely chomping at the bit to get them fitted to the car so I can feel the difference in handling ![]()
Got the paint pen out, and did my lettering... good god, never again, what a FIDDLY job... As you can see, I had them fitted to the rims today too.
We started to get them on the car and ooooh hell do they look good on it, well, they did, til we got to the rears... They foul the suspension arms, so Cooper S/GT drums will be ordered tomorrow as well as a set of 8 elongated studs. The fronts sit so perfectly though, I don't even need flares :)
Not all good news though, my head gasket has finally given up on life, and will be replaced as soon as my new parts arrived. I've got a copper headgasket and all the other necessary gaskets required for a head-off job, ARP studs and nuts, and the head will go in to E&S Dunedin for planing if required, new valve seats (if required) and a valve grind/reseating, as well as all the carbon and crap removed from the valves.
The cooling system is also full of rust again, and my brand new radiator has some pretty nasty chunks floating around in it ![]() Time for a good flush...
Time for a good flush...
Also tagged with one or more of these keywords: clubman
Projects →
Mini Saloons →
Black 1979 1275GtStarted by StuaR32t , 15 Feb 2025 |
|

|
||
Projects →
Mini Saloons →
Cape Town 🇿🇦 1275HleStarted by JAYO , 28 Feb 2021 |
|

|
||
Projects →
Mini Saloons →
Budget Mini Clubman Shell Restoration For £1500Started by minimissions , 13 Nov 2019 |
|

|
||
Projects →
Mini Saloons →
1275Gt Tarmac Rally Car - From ScratchStarted by KRM_Simon , 26 May 2019 |
|

|
||
Projects →
Mini Saloons →
1275Gt Resto - From Flip To FactoryStarted by Verderad , 12 Mar 2018 |
|
|
1 user(s) are reading this topic
0 members, 1 guests, 0 anonymous users


