Jump to content


Photo
- - - - -

Another Cg13 Conversion


  • Please log in to reply
129 replies to this topic

#31 zebigfatman

zebigfatman

    Mini Mad

  • Just Joined
  • PipPipPipPip
  • 159 posts
  • Location: Gwynedd
  • Local Club: Snowdon minis

Posted 16 March 2015 - 08:04 PM

Mmmmm... I've been looking at a MINT cooper sportspack at work today (only done 5000 and been garaged its entire life). Anyhow I noticed when it was up on a ramp that the outer sills were open at the bottom and my heart kind of sank because this car has never had a replacement panel...


I have been reading up on this and I think I have oversills, :(  I am pretty sure my sills are entirely closed. I will check this next time I am at my dads, but if they are oversills would you recomend removing them?  I have read horror stories about them so I am kind of scared to look. What kind of job is it to replace the "real ones" if they are still in there?


#32 ibrooks

ibrooks

    One Carb Or Two?

  • Members
  • PipPipPipPipPipPipPip
  • 1,017 posts
  • Location: Darwen, Lancashire
  • Local Club: Leyland Mini Club

Posted 17 March 2015 - 01:39 PM

The sills should have vents in them. Coversills just have square bulges. Replacing them isn't a big job - what tends to make it turn into a nightmare is the rot that's festering under them. Even if whoever fitted them did remove the rusty originals and cleaned everything up behind them before fitting the oversills you'll often find nasties under there in fairly short order for two reasons.


They don't have vents so condensation inside the box section results in water forming inside the box section.


They extend much further under the car so there is quite a large area where the floor and the sill are touching. Water creeps in this ares due to capillary action and then it's held there to cause rust. This difference is also bad because the sill is no longer a proper box-section as designed and it's not as strong as the original.


Iain


#33 zebigfatman

zebigfatman

    Mini Mad

  • Just Joined
  • PipPipPipPip
  • 159 posts
  • Location: Gwynedd
  • Local Club: Snowdon minis

Posted 28 March 2015 - 03:13 PM

I have good news!! My sills are normal, just me being paranoid. Also I got my rack off with a hammer, screwdriver and a lot of pulling. After that I established that there is a reason for the existence of spot weld drill bits by removing the steering rack bracket with normal bits. 

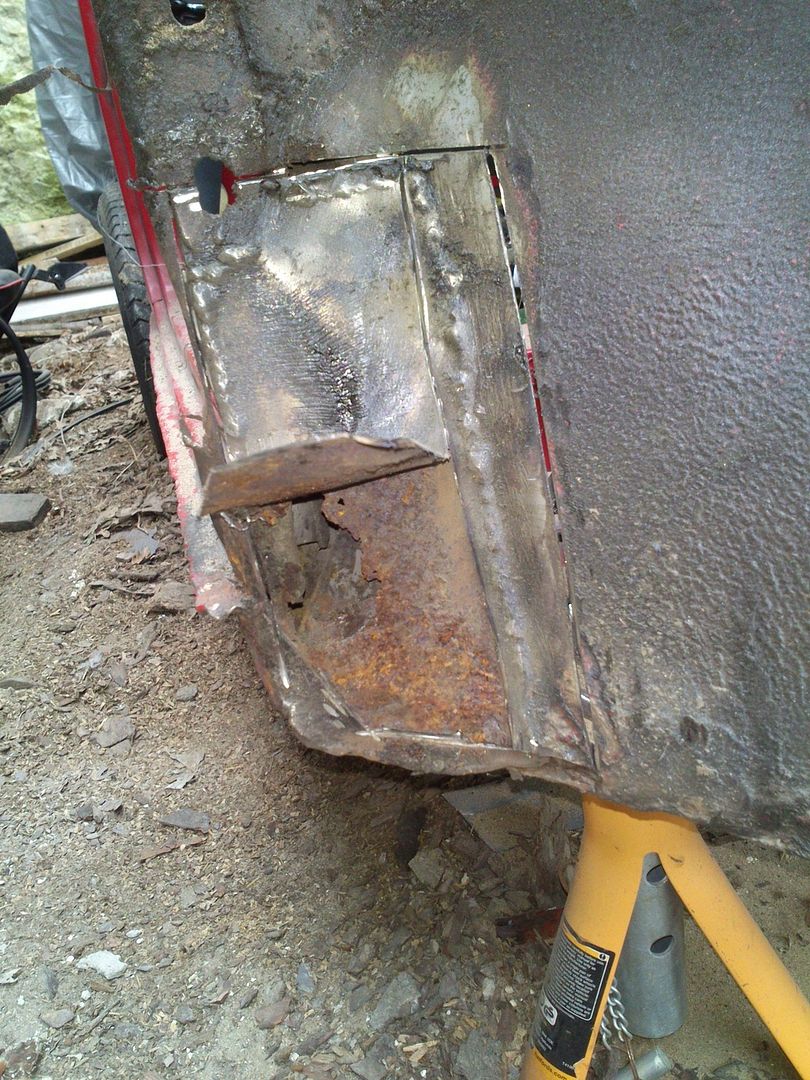
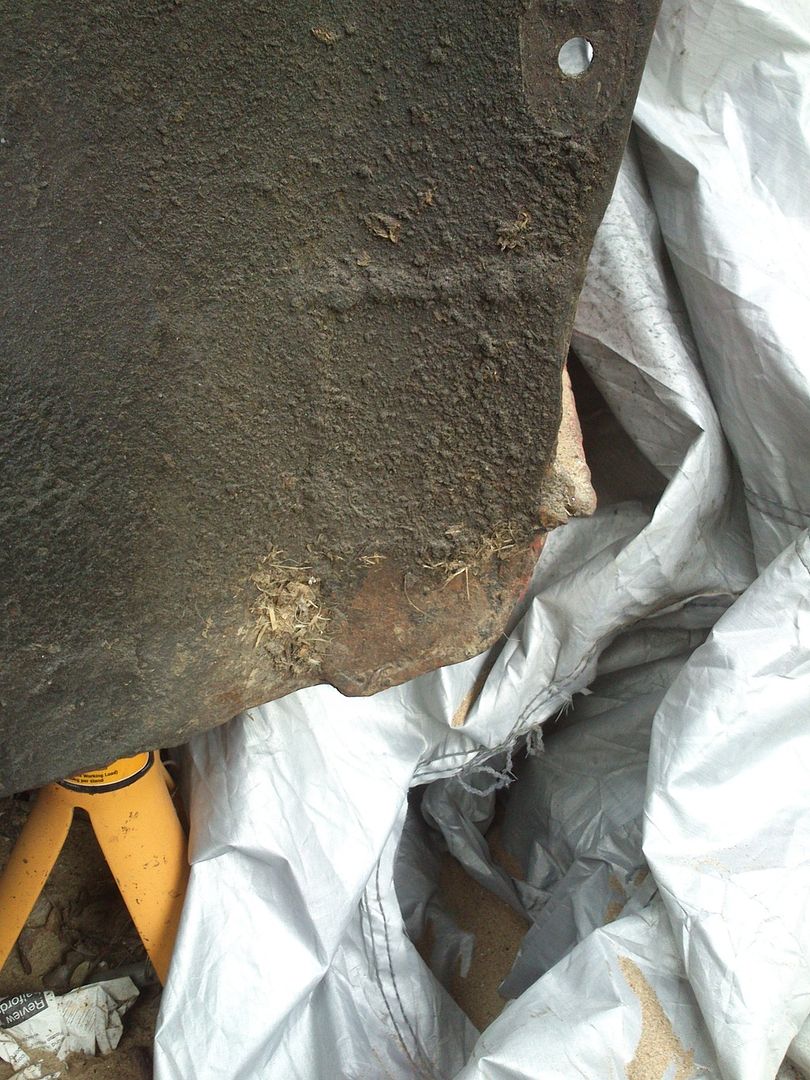
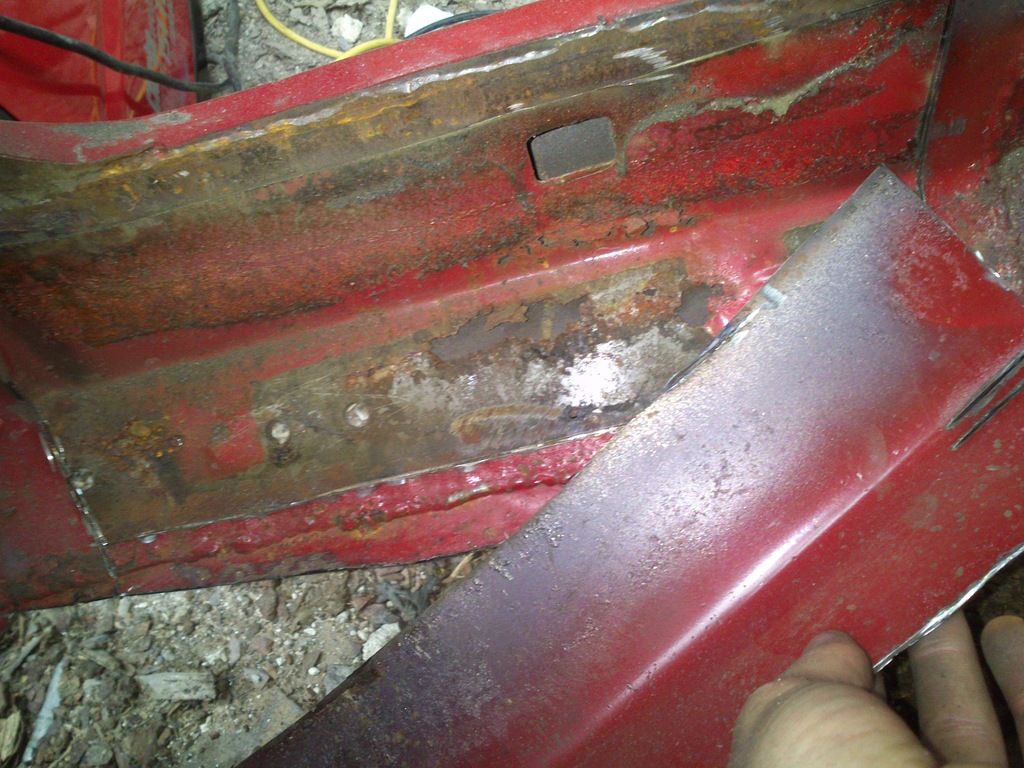
 I then started to grind back the paint and sealer on the bulkhead and toeboard and my fears were confirmed, the seam where they meet is full of rust and another layer of metal? Not sure that should be there so I suspect it was a lazy repair in the past. (the picture really isn't clear)


Attached File  11096578_721850701269737_452191340873331620_n.jpg   63.28K   11 downloadsAttached File  10422070_721850661269741_7038702633396508138_n.jpg   55.02K   11 downloads

Attached File  11081169_721850621269745_1725668783402789812_n.jpg   75.84K   10 downloads


The less good news is my fund that I was saving up for the subframe now has to go towards a new everyday car  :( (rear chassis legs have no metal in them and the boot floor which I was trying to patch needs to be welded to them).


Edited by zebigfatman, 28 March 2015 - 03:14 PM.


#34 zebigfatman

zebigfatman

    Mini Mad

  • Just Joined
  • PipPipPipPip
  • 159 posts
  • Location: Gwynedd
  • Local Club: Snowdon minis

Posted 18 April 2015 - 10:55 AM

Ok, managed to patch that after welding up most of it following the labels on the wire speed and power knobs which were the wrong way around and wandering why my welding was so bad.


Attached File  IMGP0177.resized.JPG   70.34K   12 downloads


I decided to invest in TMF+ and buy many panels due to all this


Attached File  IMGP0169.resized.JPG   57.26K   4 downloads Attached File  IMGP0170.resized.JPG   63.47K   5 downloads Attached File  IMGP0171.resized.JPG   59.15K   1 downloads Attached File  IMGP0172.resized.JPG   84.87K   0 downloads Attached File  IMGP0173.resized.JPG   72.37K   2 downloads Attached File  IMGP0174.resized.JPG   63.39K   2 downloads Attached File  IMGP0176.resized.JPG   65.86K   0 downloads Attached File  IMGP0178.resized.JPG   59.7K   2 downloads Attached File  IMGP0182.resized.JPG   47.67K   3 downloads Attached File  IMGP0186.resized.JPG   55.82K   2 downloads


#35 evansisgreat

evansisgreat

    One Carb Or Two?

  • Members
  • PipPipPipPipPipPipPip
  • 1,095 posts
  • Local Club: Not yet

Posted 20 April 2015 - 08:34 PM

That lot doesn't look too bad, what panels do you reckon you'll need?

Also if you're uploading photos like that youll soon run out of space, I'd open a photobucket account and start posting them using the [img] code. Means they come up bigger too.


Edited by evansisgreat, 20 April 2015 - 08:44 PM.


#36 zebigfatman

zebigfatman

    Mini Mad

  • Just Joined
  • PipPipPipPip
  • 159 posts
  • Location: Gwynedd
  • Local Club: Snowdon minis

Posted 05 May 2015 - 05:41 PM

Ok, been a little while since my last post but here is what I've ordered.

3/4 of the floor pan non genuine (rust between seams of the old ones and various other panels and quite a few patches in them).

2 new flitch panels, also non genuine (the lip the A panel sits on is gone at the bottom on either side, and the top next to the air vent holes is very rusty)

inner A post drivers side genuine (I think the one on the car is a replacement as a check strap could not be fitted due to it not lining up with the door properly see picture above)

Toe board genuine (rust in seams all around it) Dont worry, the next step will be to brace everything around the panel and make a jig thing so the new one goes on in exactly the same place.


A lot of etch primer and weld through primer

2m of CDS tube

some 1.5mm sheet steel


What I will need when I have saved a bit more is a new scuttle panel

scuttle closing panels

The A post section of the door frame.


I think I will just fabricate 2 new inner wings because the shock mount area is nasty and I suspect there are nasties between the inner wings and the bulkhead crossmenber. I would only end up cutting the new ones in half and I will be running coilovers so I could design them with that in mind as well as the clearance issues with the Allspeed subframe mentioned above by 666junky.


Hopefully this weekend I can make the toebord jig and brace the front of the car prior to removal. I would appreciate some advice on where to place the axle stands while I do this because I cant really leave them in the current locations without them bending the car when the panel comes out.


Cheers guys


Also I didnt know there was a space limit for the pictures. Thanks for the advice.


Edited by zebigfatman, 05 May 2015 - 05:47 PM.


#37 zebigfatman

zebigfatman

    Mini Mad

  • Just Joined
  • PipPipPipPip
  • 159 posts
  • Location: Gwynedd
  • Local Club: Snowdon minis

Posted 21 May 2015 - 06:16 PM

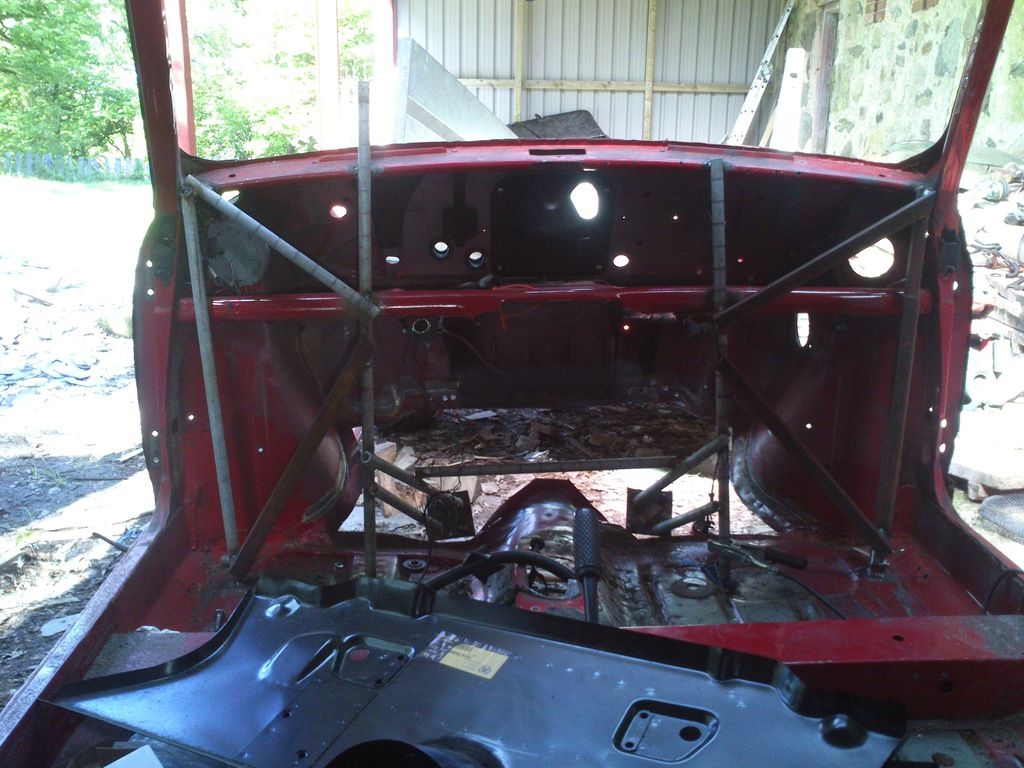
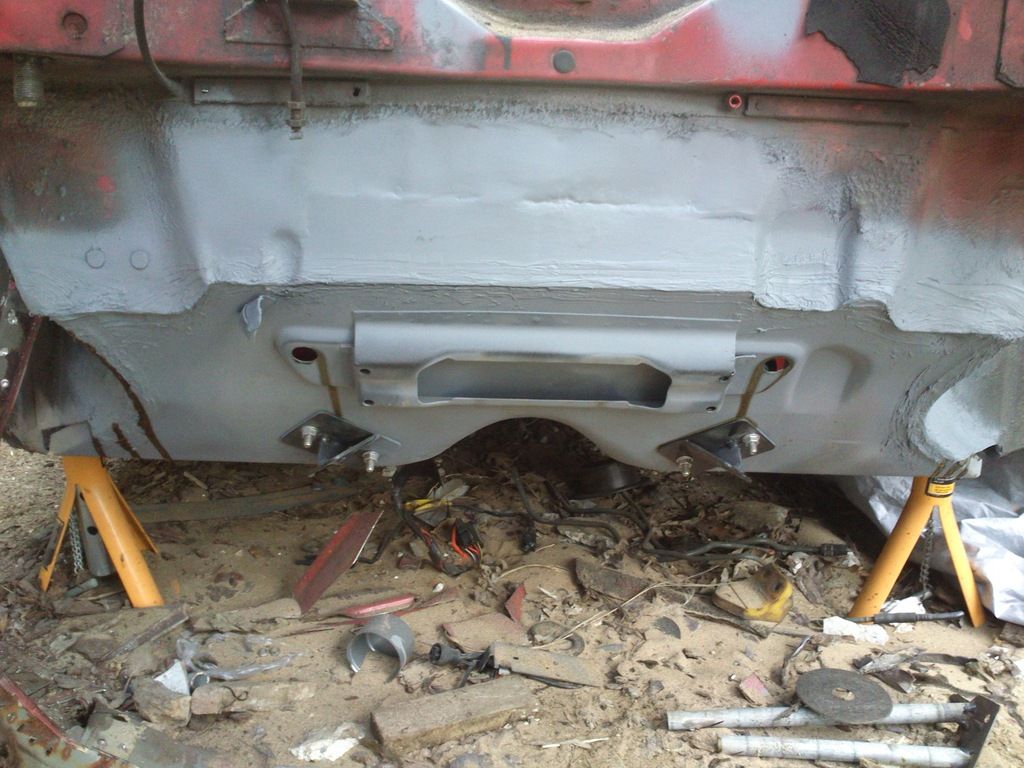
Ok so a small update. lots of bracing welded in and the plates at the bottom have bolts welded in, in the exact locations of the old subframe holes. And obviously the toe board is cut out. Just need to remove all the spot welds (of which there are many) that are around the edge of the panel and clean up the faces before lining up the new one.


DSC_0070_zpslkswrxhf.jpg


#38 miniobsessed

miniobsessed

    Mini Mad

  • Members
  • PipPipPipPip
  • 211 posts
  • Location: My Workshop

Posted 22 May 2015 - 02:32 AM

Can't say much else but an inspirational (hopefully) "Looking good!" :-)

#39 zebigfatman

zebigfatman

    Mini Mad

  • Just Joined
  • PipPipPipPip
  • 159 posts
  • Location: Gwynedd
  • Local Club: Snowdon minis

Posted 29 May 2015 - 10:37 PM

Ok, so those locating brakets are in the way... The toeboard needs to go on from the inside so In order not to loose those all important subframe mounting positions I came up with a solution which involves one of my favorate things, Lasers just because everything is solved/improved by them :)


Plan is to grind off the locating bolts on one of my locating brackets so there are 2 holes. Then have 4 lasers attached to to the top bar of the rear part of the roll cage and have 2 pointing at each hole of the bracket. I will make sure the beams cross over at the exact point the hole is then cut said braket out. Hopefully I will only need to cut one side out in order to get the panel in, But I may have to do the same for the other side as well.


I will take pictures when all the bits arrive


Edited by zebigfatman, 29 May 2015 - 10:38 PM.


#40 zebigfatman

zebigfatman

    Mini Mad

  • Just Joined
  • PipPipPipPip
  • 159 posts
  • Location: Gwynedd
  • Local Club: Snowdon minis

Posted 25 June 2015 - 11:22 PM

Ok! I have good news, the toeboard is in! Not got any pictures yet but I started hacking other bits off and found a few "repairs" a previous owner has done which have not been done properly. I will dig into these tomorrow


DSC_0102_zpsexlfslx0.jpg


DSC_0103_zpsuwks7vrf.jpg


#41 zebigfatman

zebigfatman

    Mini Mad

  • Just Joined
  • PipPipPipPip
  • 159 posts
  • Location: Gwynedd
  • Local Club: Snowdon minis

Posted 26 June 2015 - 05:06 PM

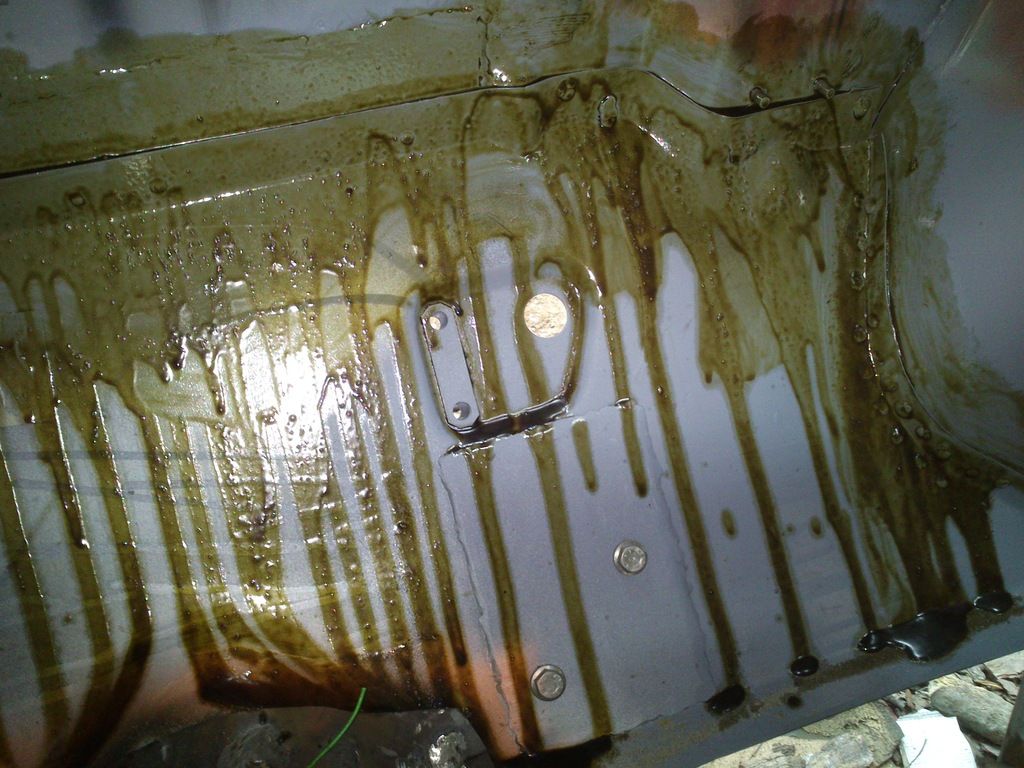
So here is a piccy of the toebaord in place. I mixed some waxoyl and old engine oil up and dribbled it down the seams on the inside, not sure if this is a good idea but it has happened now


DSC_0110_zpseoqeeit7.jpg


DSC_0104_zpsltur353k.jpg


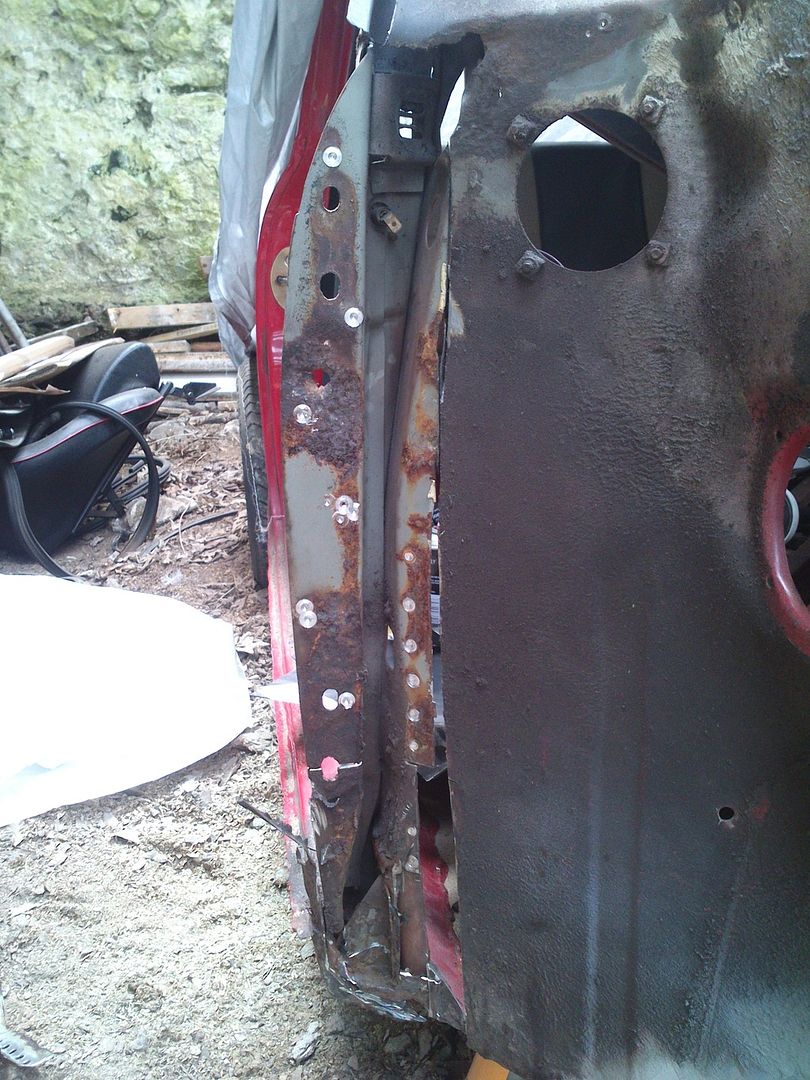
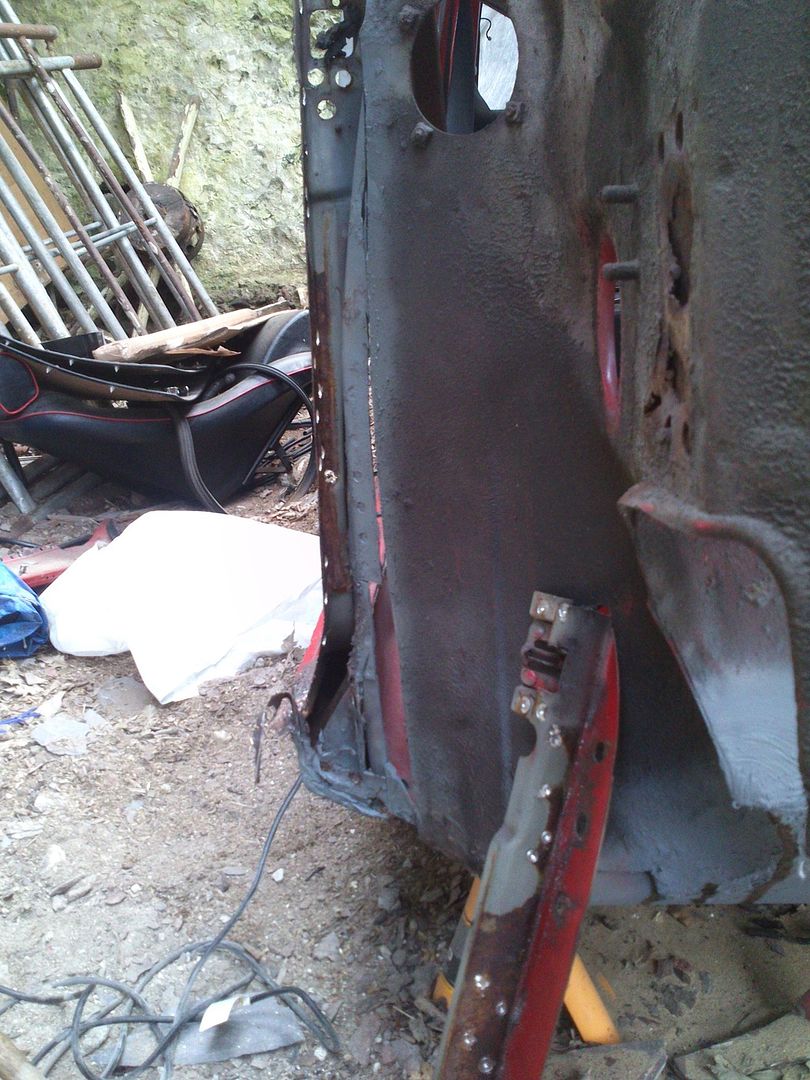
and here are some pics of the rust and big hole I made


DSC_0106_zpshc3sun92.jpg


DSC_0109_zps4wqyidmu.jpg


DSC_0107_zpsjy6enea8.jpg


DSC_0111_zpsnjncrmtk.jpg


#42 miniobsessed

miniobsessed

    Mini Mad

  • Members
  • PipPipPipPip
  • 211 posts
  • Location: My Workshop

Posted 26 June 2015 - 06:00 PM

Cracking job mate! Keep up the good work :)

#43 zebigfatman

zebigfatman

    Mini Mad

  • Just Joined
  • PipPipPipPip
  • 159 posts
  • Location: Gwynedd
  • Local Club: Snowdon minis

Posted 26 June 2015 - 10:03 PM

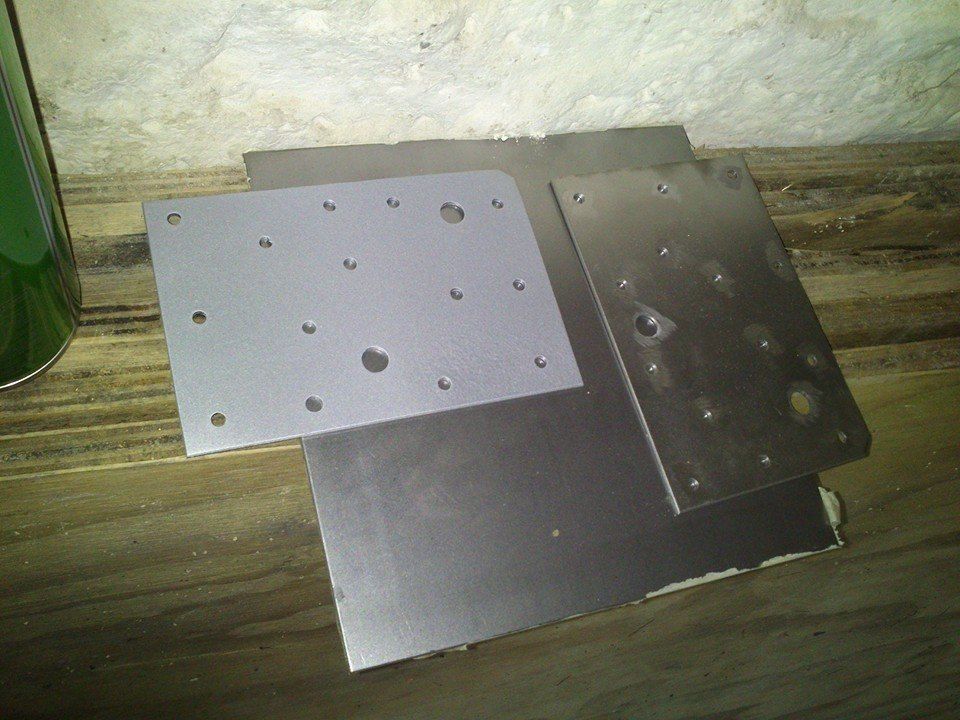
Cheers, miniobsessed. I forgot to mention. As I am solid mounting the subframe I wanted to strengthen the lower subframe mounting points (I read somwhere on here that it causes cracking of the mounting points) so I drilled uot the old flimsy 1mm plates and made these out of 2.5mm steel. Should keep the subframe where it should be :D


11390256_757039487750858_444558648603461


#44 zebigfatman

zebigfatman

    Mini Mad

  • Just Joined
  • PipPipPipPip
  • 159 posts
  • Location: Gwynedd
  • Local Club: Snowdon minis

Posted 27 June 2015 - 08:13 PM

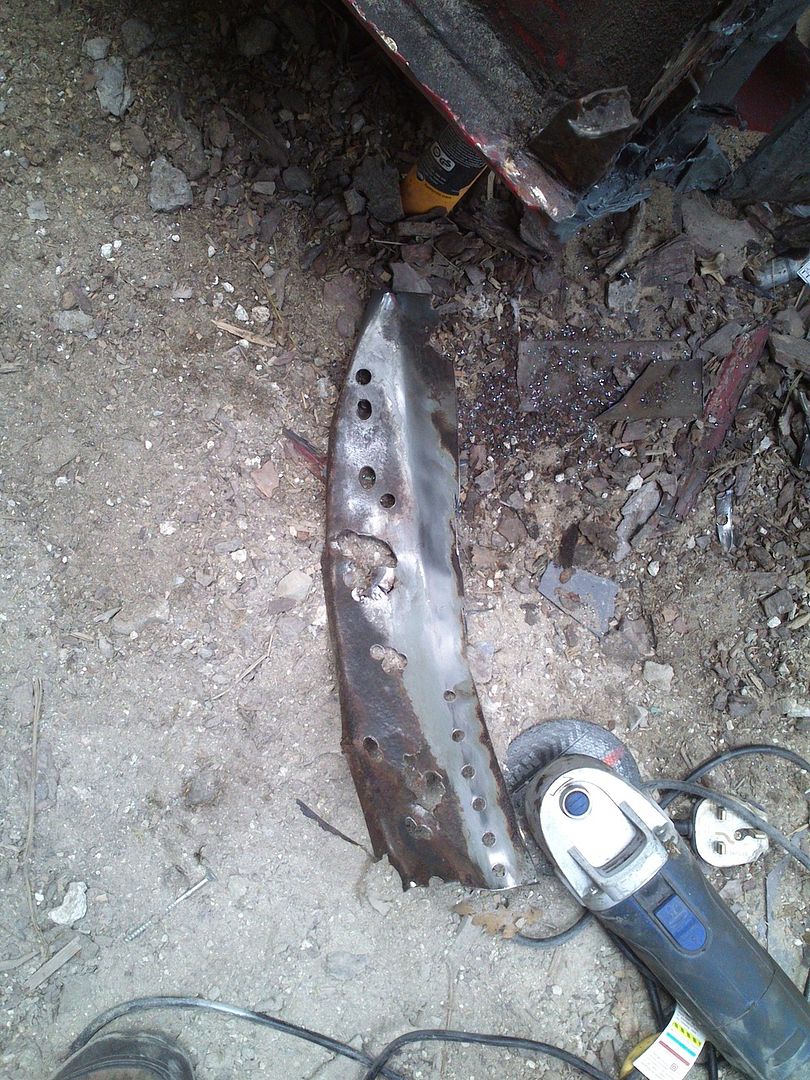
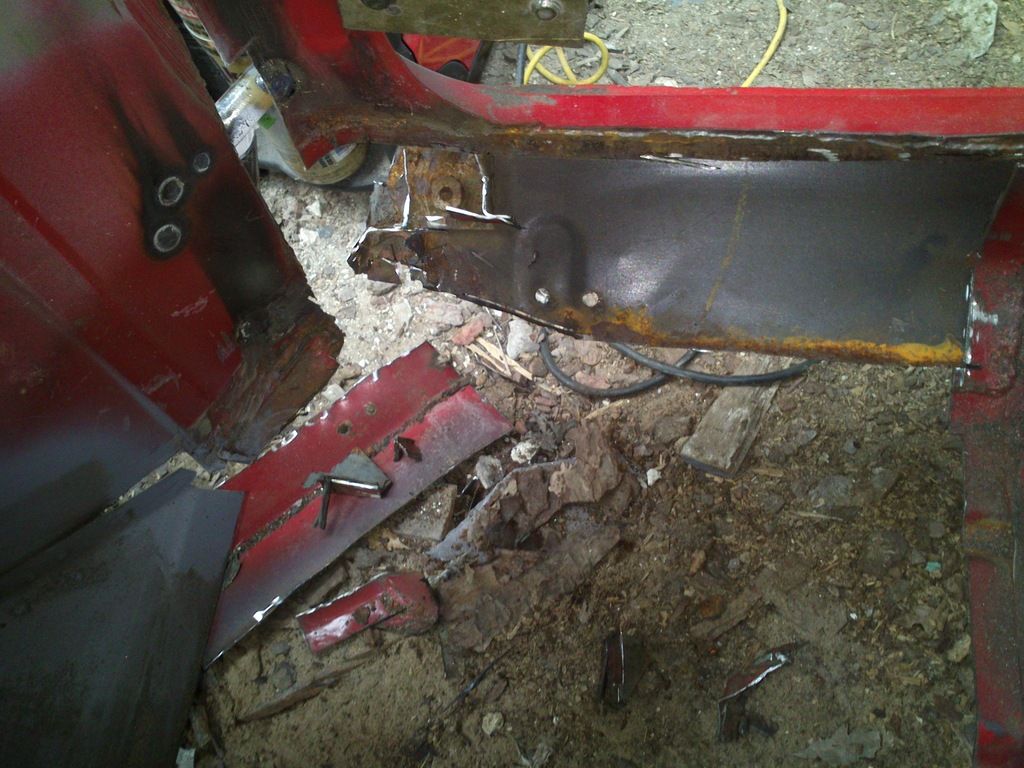
Looking into the sill today through the hole I made, I can see some rust which will probably surface on the outside in a year or 2 so I may as well go all the way and replace the sill as well.


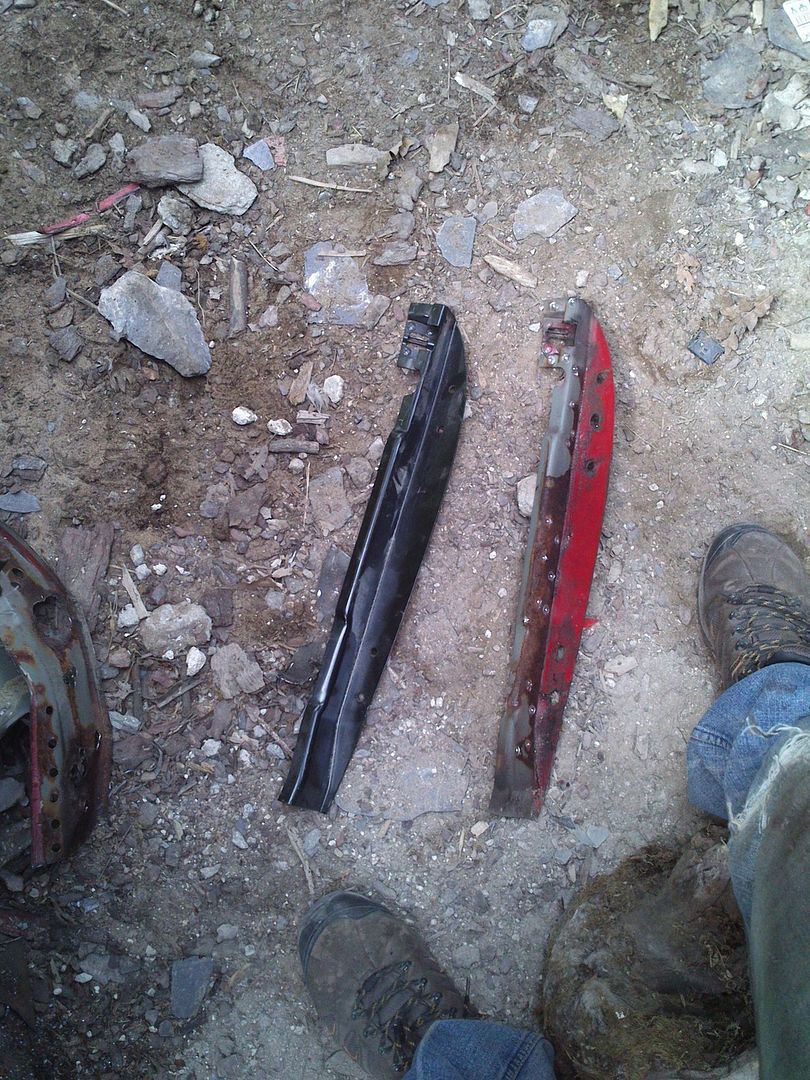
Looks like someone left part of the old outer sill attached to the doorstep when they replaced them :( . If I do this I will know everything has been done to my satisfaction, I can weld in some "real" jacking points and I can go to town rust proofing everything.


#45 zebigfatman

zebigfatman

    Mini Mad

  • Just Joined
  • PipPipPipPip
  • 159 posts
  • Location: Gwynedd
  • Local Club: Snowdon minis

Posted 07 July 2015 - 08:44 PM

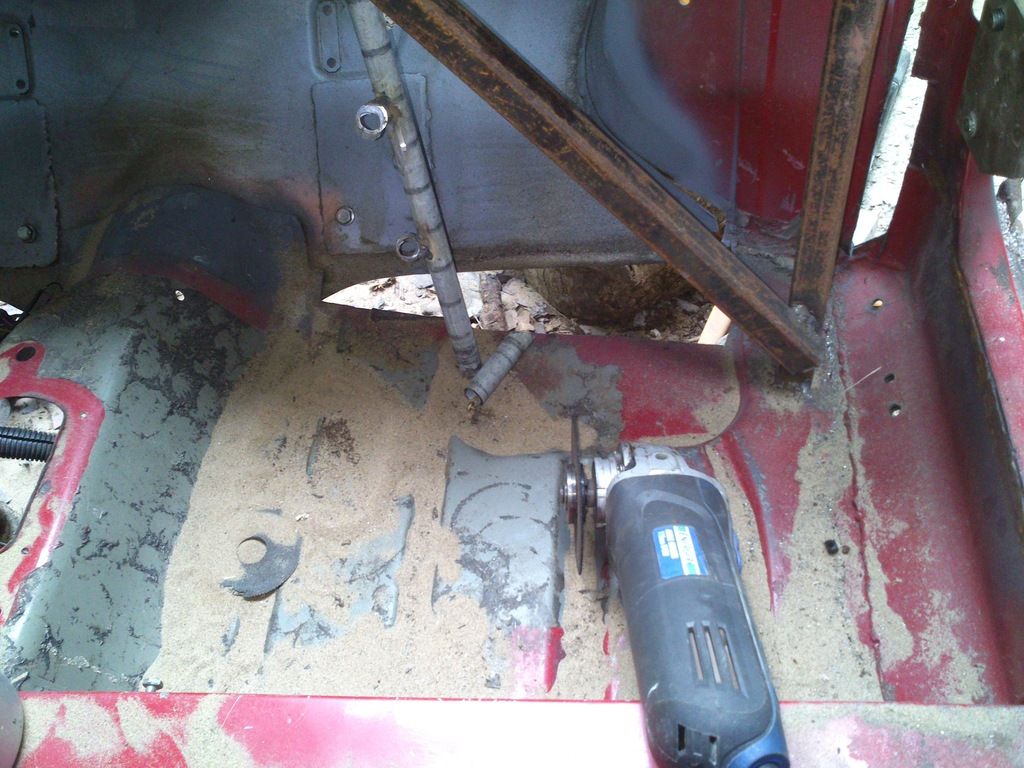
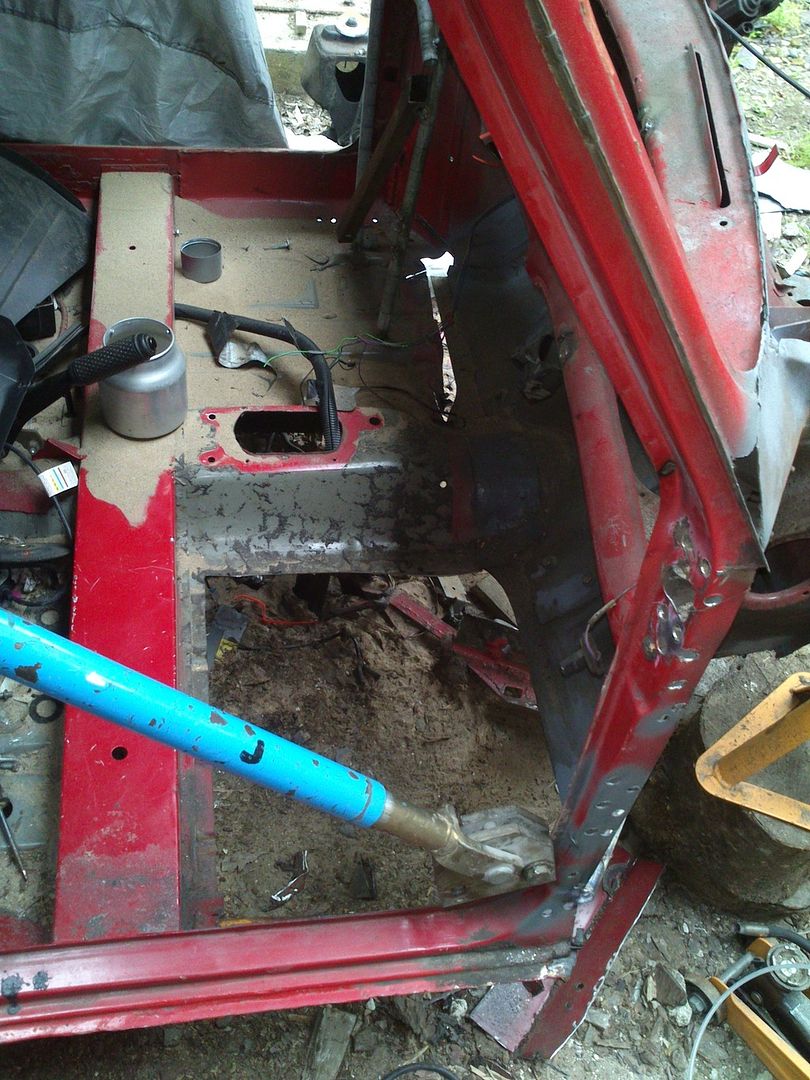
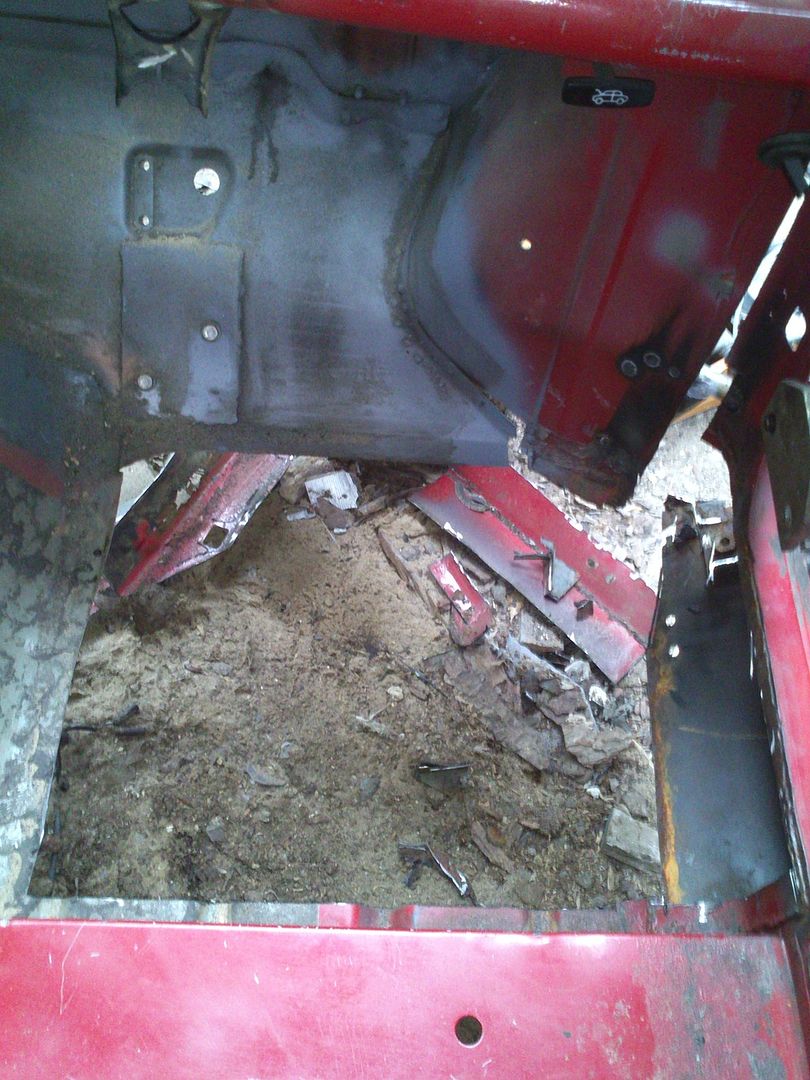
Been advised by one of the guys at work to do the floor, sills, then the A post so here are a few more pictures of the drivers side front floor pan coming out


DSC_0117_zpsqertq4li.jpg


DSC_0121_zpsn5cynlnl.jpg


DSC_0119_zpsf9hhbcrm.jpg


Yet another patch covering up the real problem


DSC_0122_zpsipxb0gny.jpg


Welded in some bracing to keep the A post and outer sill where they should be because they are now pretty floppy


DSC_0120_zpsvrkekmjl.jpg


I am thinking of cutting some holes in the inner sill section of the floor and welding captive nuts behind them to make removable inspection blanks which I can use to squirt waxoyl and other stuff in when it is done. Not sure as to the legality of it though. I think if I weld in a long pole on the inside of the sill as I am planning, then in theory (if I make a good job of it) no strength will be lost. I will also weld in some captive nuts for the roll cage so I dont have drill holes all the way through the sill.


Another thing, I ordered an allspeed subframe and arms today! LOT o moneys but should be worth it :)


Edited by zebigfatman, 07 July 2015 - 08:53 PM.


0 user(s) are reading this topic

0 members, 0 guests, 0 anonymous users