

Hello folks,
This wasn't supposed to be a project (how many times has that been said?!); to start with I was just repairing a thumb-sized hole in the rear floorpan ... and then things got a little out of hand! So I thought I'd share how I've been getting on 

Mini_no-reg by Sabre75, on Flickr
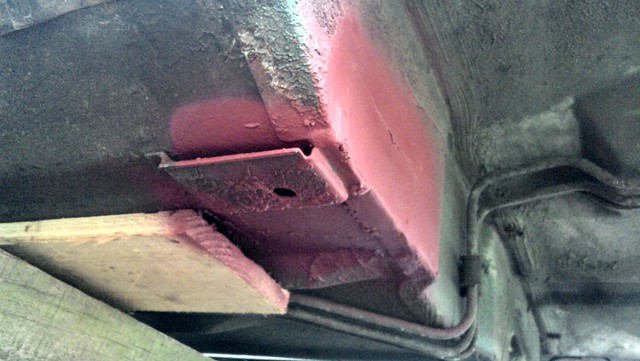
First of all here's what started everything. 'Hamish' is my partner's car and I'd been sorting it so she could take him to be MOT'd. I was pretty-much done when I spotted this under the passenger-side rear seat ...
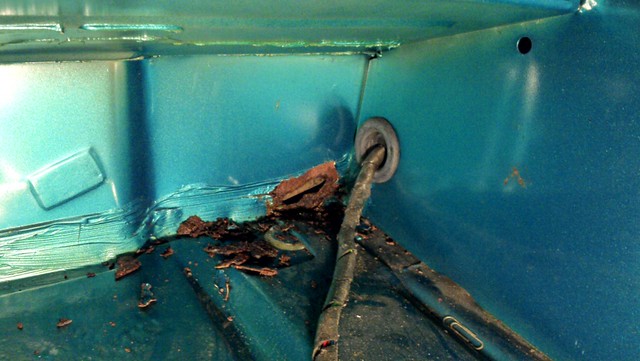
hole_under_rear_seat by Sabre75, on Flickr
Me being me I could leave it alone so of course I prodded the rust ... and it went through. And given that the back of this panel is flat against the rear subframe's front cross-member there was no way I could repair this properly without dropping the frame ... so that's what I did.
Once the frame was off I could see exactly what'd happened; where the flange folds up the vertical it hadn't been flattened & sealed properly and so water & mud had gathered and rotted through. In the end I had to cut out some of the floor as well as the upright section to get it all repaired.
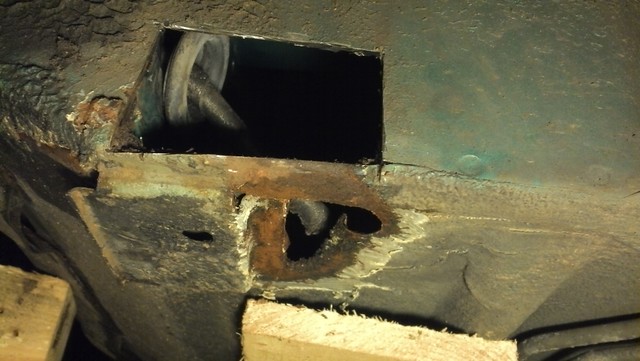
hole_under_rear_seat_enlarged by Sabre75, on Flickr
hole_under_rear_seat_no-rust by Sabre75, on Flickr
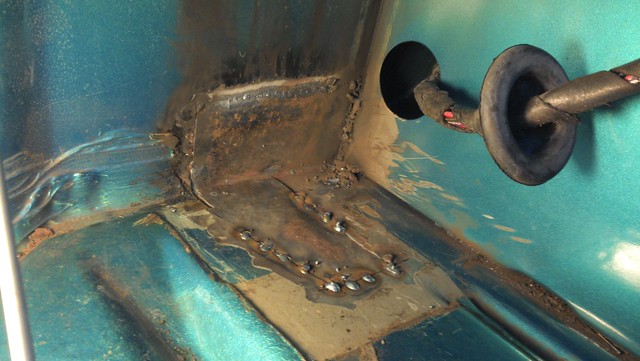
hole_under_rear_seat_patched by Sabre75, on Flickr
hole_under_rear_seat_patched_and_painted by Sabre75, on Flickr
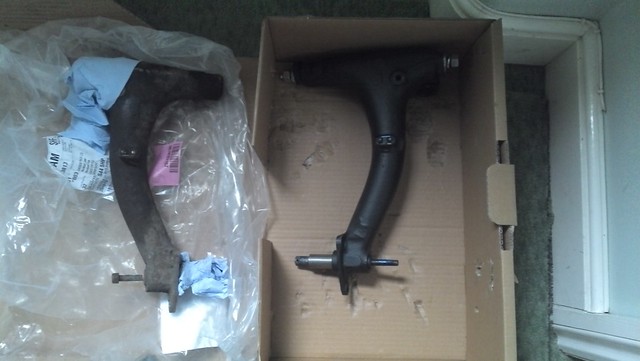
Taking the subframe out gave me the chance to have a proper look at it. In-situ it'd looked ok ... but out in daylight there were a few bits I wasn't happy with. And the more I looked the more I found (I know; I should probably just have stopped looking!  ). My other thread here: [http://www.theminifo...er-some-advice/] covers the work on the subframe, but basically I ended up half-rebuilding it!
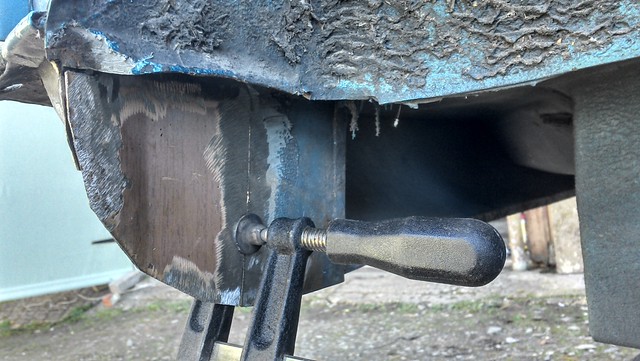
At this point it all got too much so I ran away for a month (!) but once I was back I got the subframe all painted & ready to go back in. Here's how it's looking now; rebuilt & repainted.
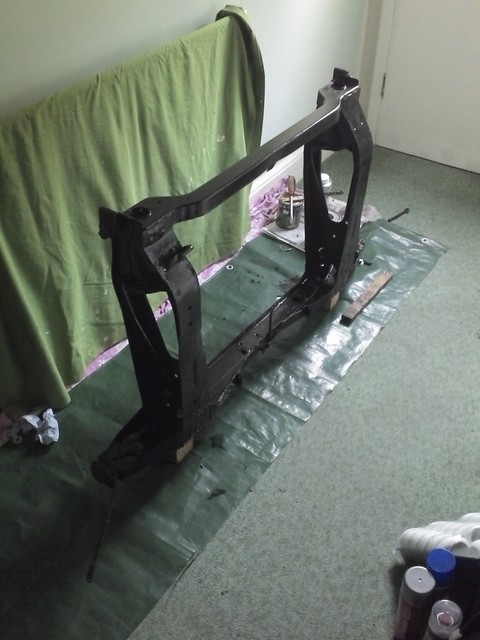
rear_subbie_painted by Sabre75, on Flickr
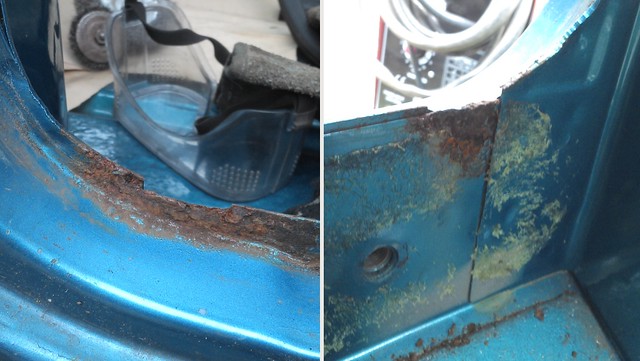
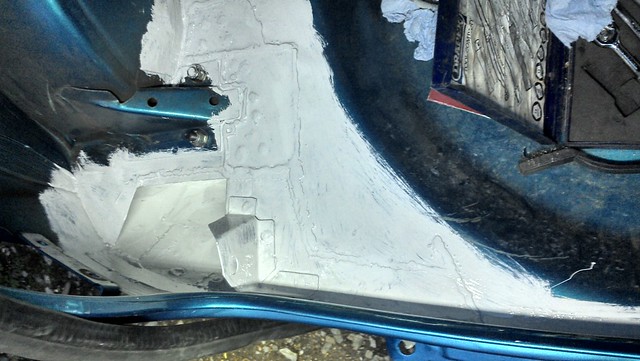
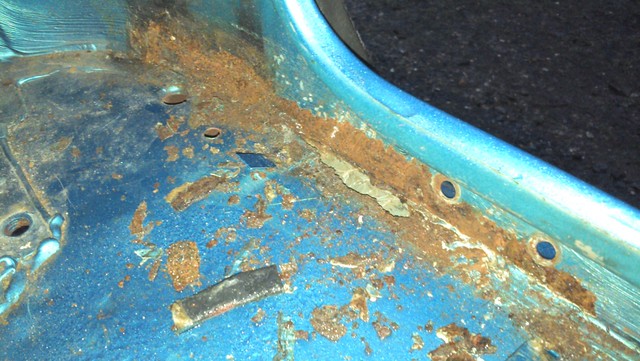
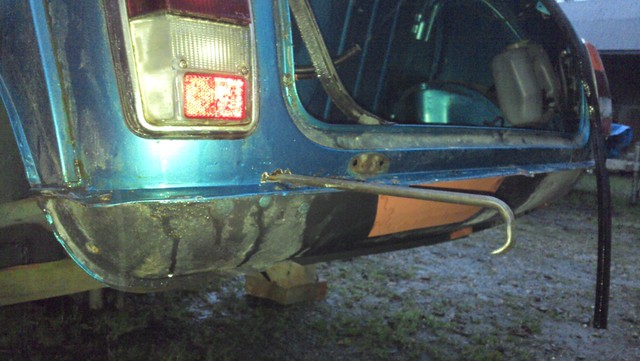
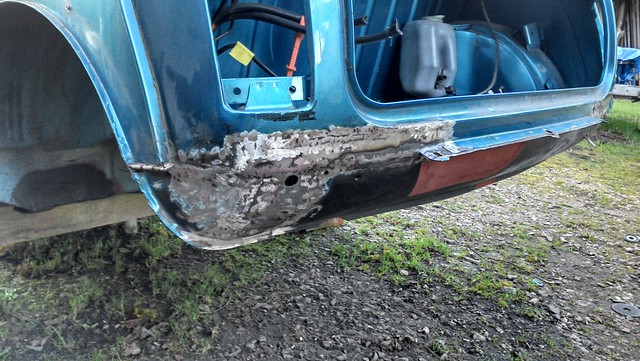
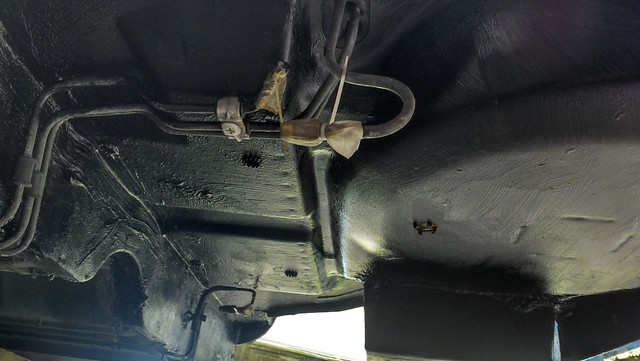
While it was out I decided it would be sensible to get a coat of underseal into the rear 'well' where the frame fits. So during the highly unpleasant job of lying under the car scrubbing cr*p off above your head with degreaser solution I spotted the driver-side rear wheelarch had a bit of rust; again I prodded it - you'd have thought I'd have learnt my lesson by now wouldn't you? 
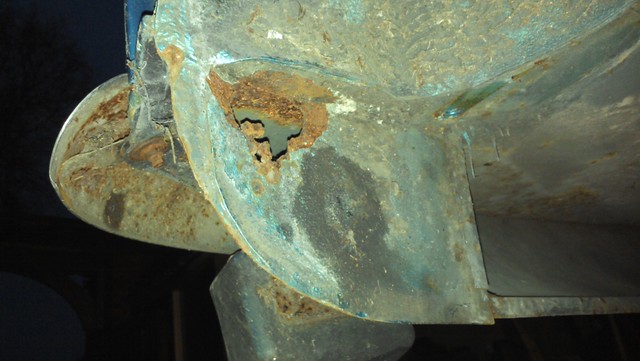
ds_rear_wheelarch_damge by Sabre75, on Flickr
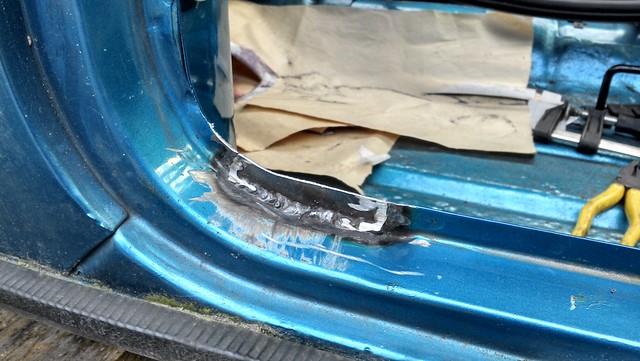
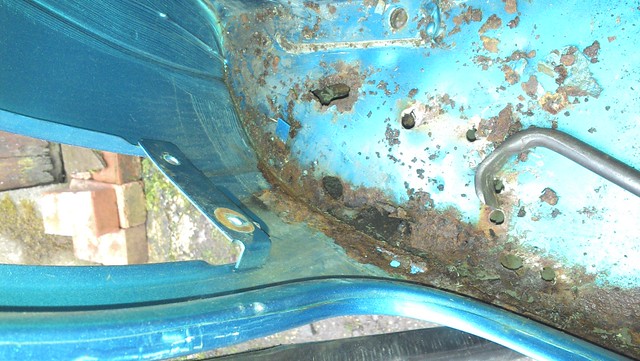
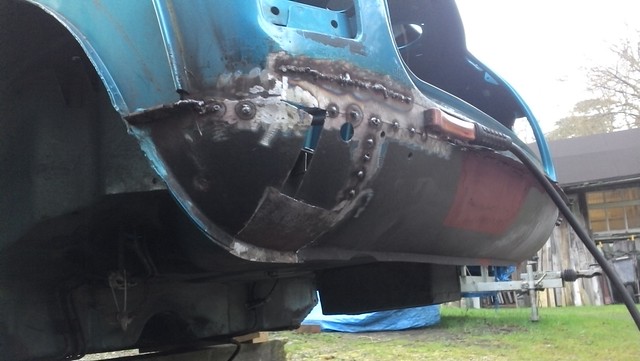
Anyway this didn't look like too bad a repair, so I cut out the rust, made a template and then made a repair panel up. While preparing the surrounding area to weld in the repair however I realised I wasn't grinding metal anymore ...

ds_rear_corner_filler_in-situ by Sabre75, on Flickr
ds_rear_corner_damage by Sabre75, on Flickr
... because the rear panel at that point was made of a prodigious quantity of filler 
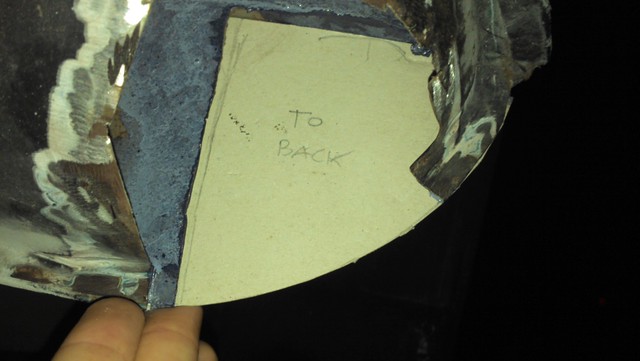
ds_rear_wheelarch_repair_template by Sabre75, on Flickr
ds_rear_wheelarch_repair-testfit by Sabre75, on Flickr
So after getting rid of that, cleaning up & prepping the surrounding area and welding in the original repair panel in I made up another template and cut another panel. Given that this is the rounded corner I wasn't sure I would be able to create the shape properly, but my dad persuaded me to (quite literally) give it a bash (hah!) and it actually came out far better than I'd expected; I was quite chuffed with this 
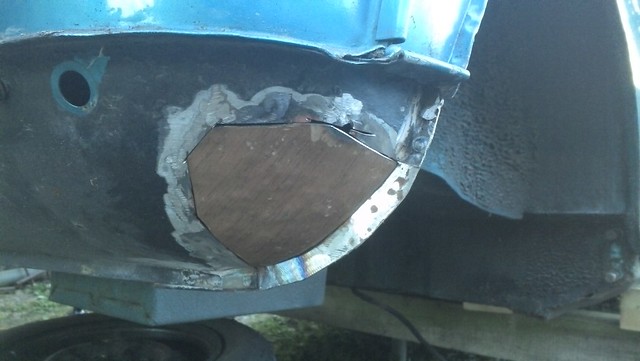
ds_rear_corner_repair-testfit by Sabre75, on Flickr

ds_rear_corner_repair-tacked by Sabre75, on Flickr
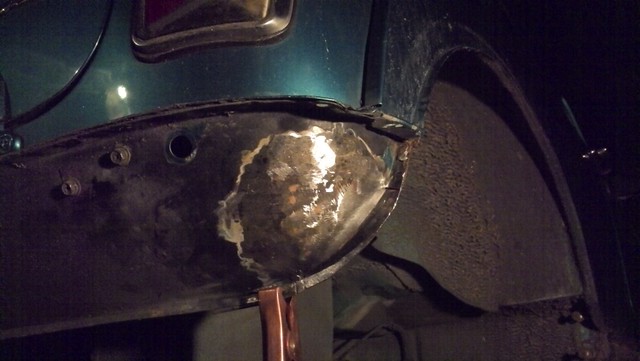
ds_rear_corner_repaired_dark by Sabre75, on Flickr
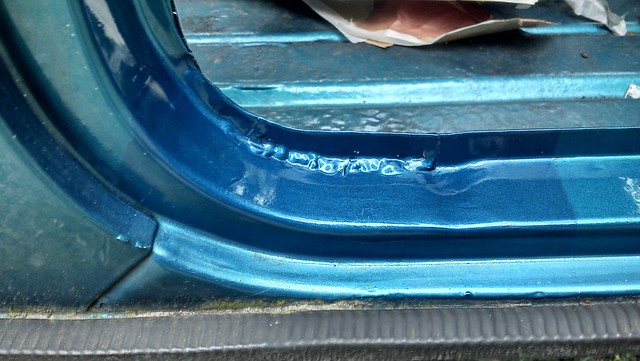
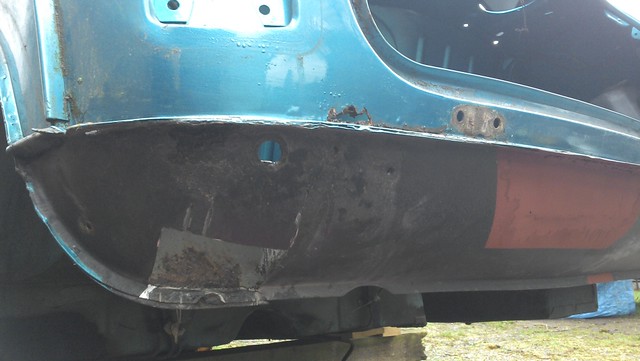
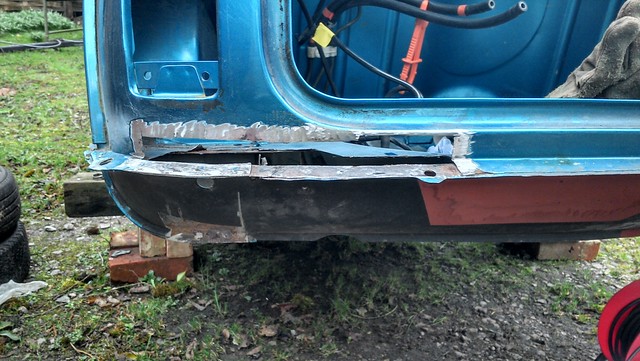
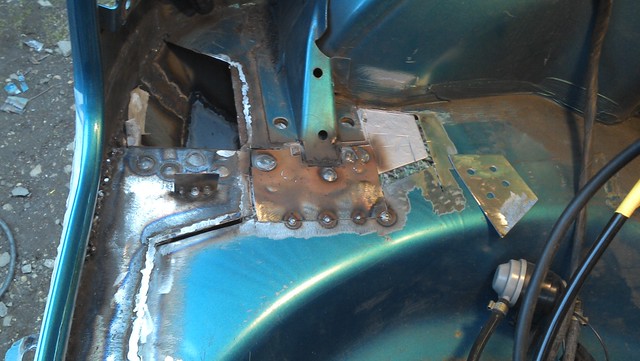
Another day, another patch of filler - standard drill: grind-back, cut out, prep, template, panel, weld, grind back.
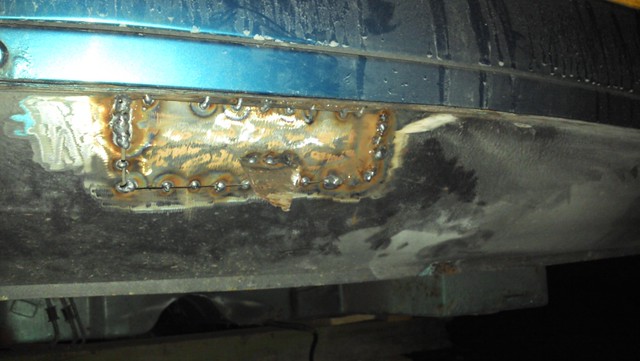
rear_lower_panel_repair-tacked by Sabre75, on Flickr

rear_lower_panel_repaired by Sabre75, on Flickr
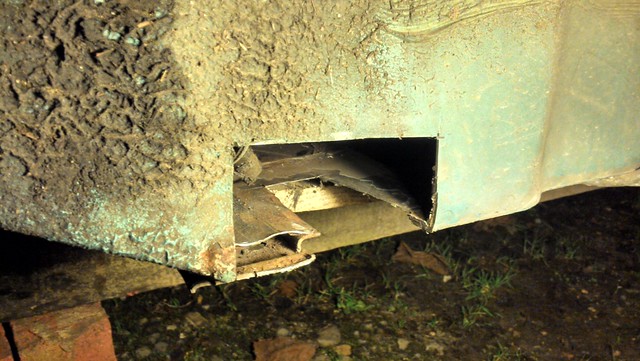
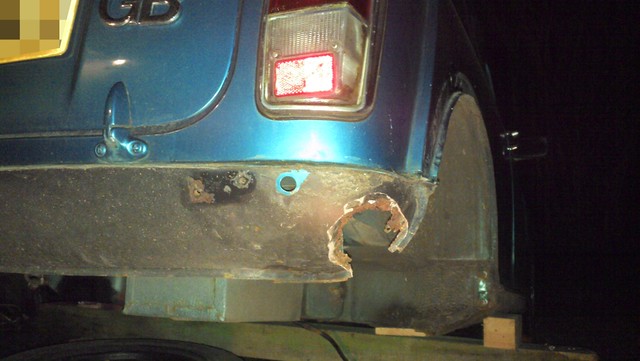
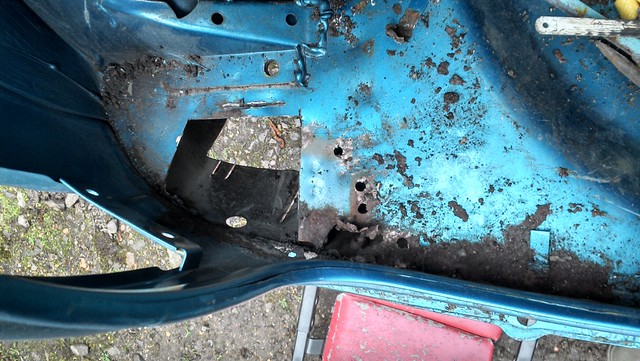
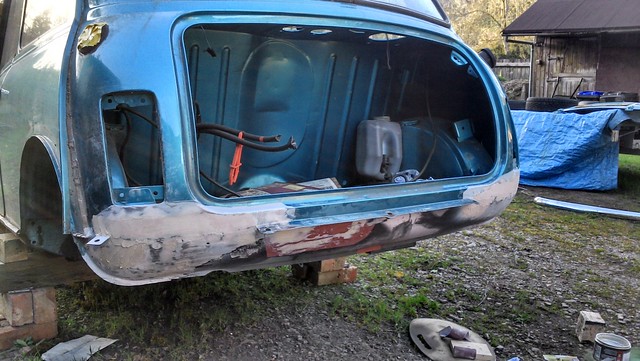
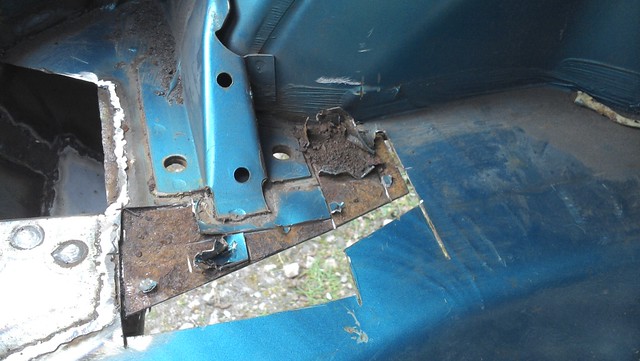
I thought I was nearly there at this point; silly boy. I checked the boot floor at the back ... and found it rotten in both corners; it'd even gone through the back of the car under the passenger-side rear light. I started on the passenger-side, where the worst of the rust was, and after removing the fuel-tank retaining strap bracket I cut the rust out ... to find the passenger-side corner had gone through and been filled just like the driver's side! So I cut that out too.
boot_floor_and_upright_ds_corner-rust_damge by Sabre75, on Flickr
boot_floor_ps_corner-rust_damge by Sabre75, on Flickr
boot_floor_ps_corner-rust_cutout by Sabre75, on Flickr
rear_scuttle_ps-rust_cutout by Sabre75, on Flickr
... so that's where I was this morning. I've got a cunning plan to stop the rust in these water-traps reoccurring; more on that once I've got a bit further with it tomorrow ... working around the BTCC coverage of course!
Thanks for reading and wish me luck!
Tom 


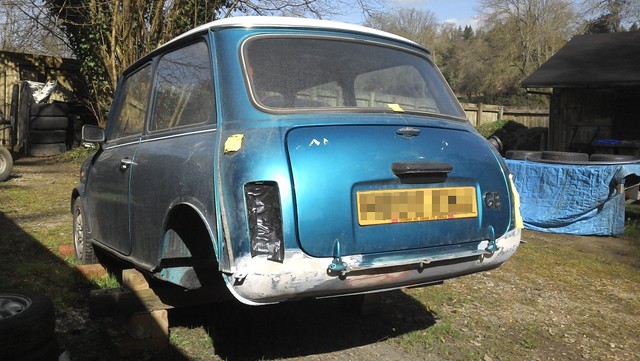

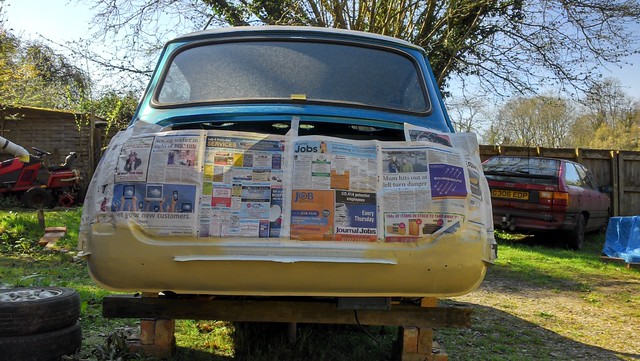
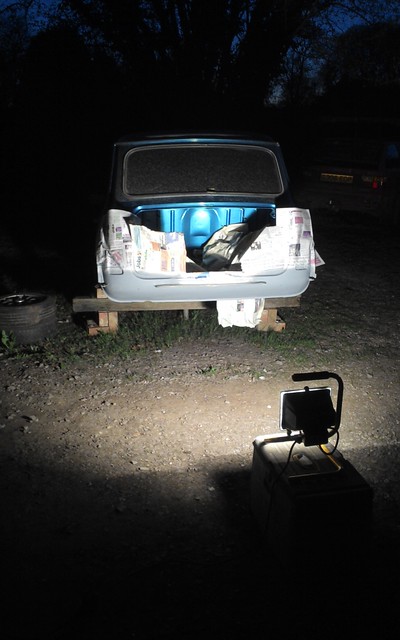
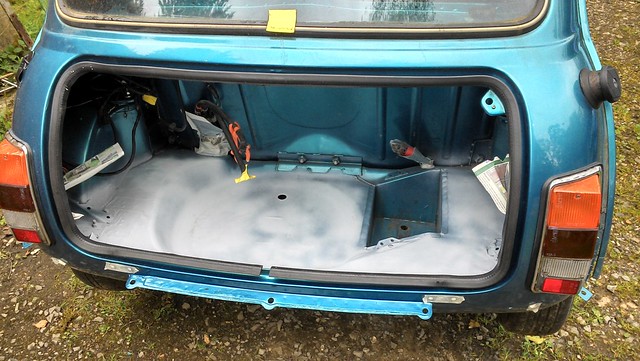
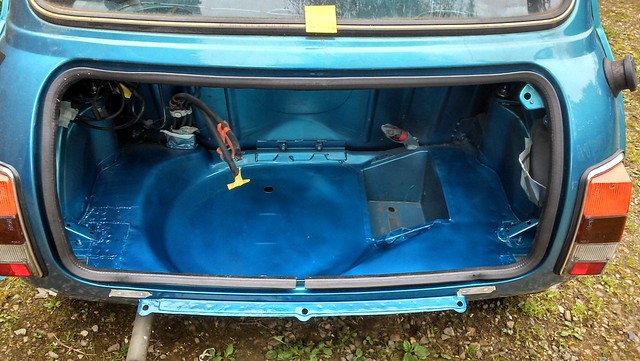
 in time for the weekend. Luckily I managed to get the final primer coats on on Tuesday night, 3 coats of Kingfisher blue on on Wednesday night and the lacquer on on Thursday night, and Hamish is looking rather smart. I haven't got a picture of the lacquer coat, but here's the Kingfisher blue - as you can see the colour match is pretty good,and that's from Halfords spray cans
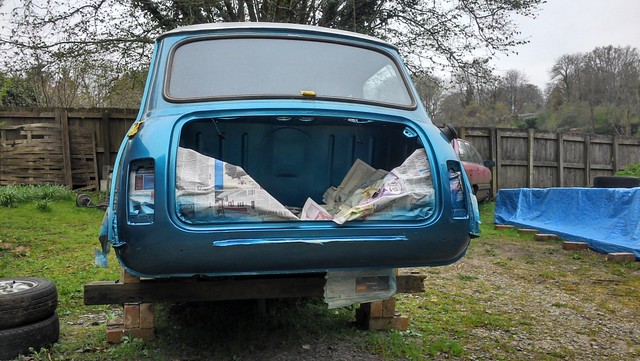

 it would have been great to see what happened to it. I sold it years back in your neck of the woods.