Jump to content


Photo
- - - - -

Mini 93 Scratch Build...

roundnose

  • Please log in to reply
28 replies to this topic

#16 Carlos W

Carlos W

    Mine is purple, but I have been told that's normal

  • TMF+ Member
  • PipPipPipPipPipPipPipPipPipPipPip
  • 10,110 posts
  • Location: Sittingbourne, Kent

Posted 21 May 2016 - 08:11 PM


http://www.theminifo...ig-information/


this isn't the one I was looking for, but it'll probably do for now. 


I'll keep searching

Nice one Carlos that jig picture will be a massive help. I wish i had found it before making mine!!!


The other one is from the Haynes manual


#17 Joshfman

Joshfman

    Passed Test

  • Noobies
  • PipPip
  • 33 posts
  • Location: South Wales

Posted 23 May 2016 - 04:19 PM


http://www.theminifo...ig-information/


this isn't the one I was looking for, but it'll probably do for now. 


I'll keep searching

Nice one Carlos that jig picture will be a massive help. I wish i had found it before making mine!!!


The other one is from the Haynes manual


Yeah i got the Haynes one. Hey Carlos.. The jig info you linked me to is incredible! Iam assuming its from the factories. You dont have any other kind of paper work that goes with the one you sent do you? it will be a massive help.


#18 Zeemax Adventure

Zeemax Adventure

    Speeding Along Now

  • TMF+ Member
  • PipPipPipPipPip
  • 301 posts
  • Location: Llandudno

Posted 27 May 2016 - 09:39 AM

Fair play you really have gone the whole hog with it.  And as has been said before its all about patience so take your time and good luck...dont let it beat you :)


#19 Joshfman

Joshfman

    Passed Test

  • Noobies
  • PipPip
  • 33 posts
  • Location: South Wales

Posted 03 June 2016 - 06:46 PM

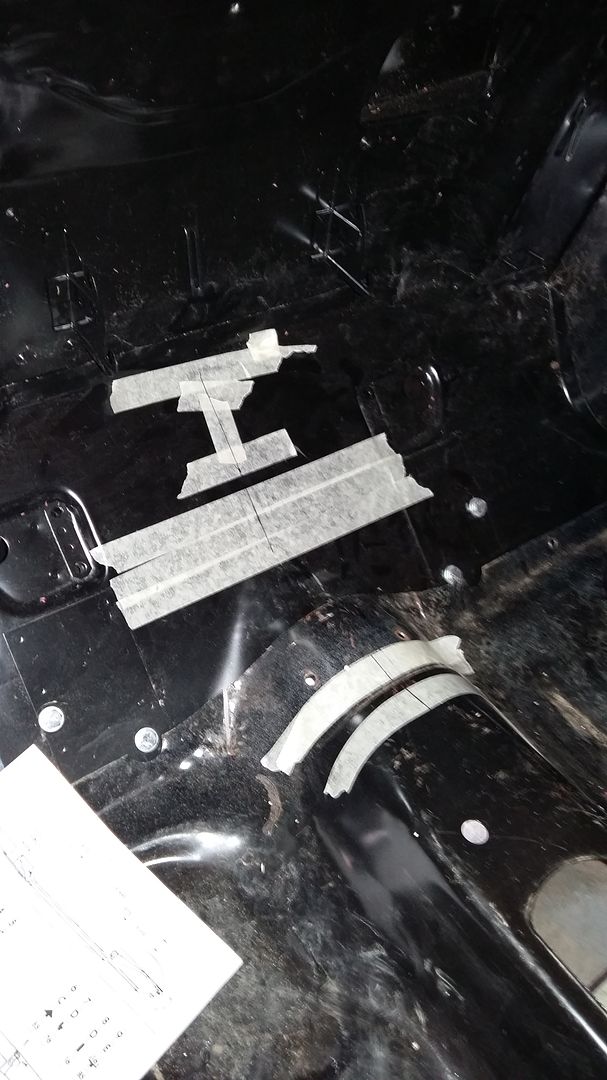
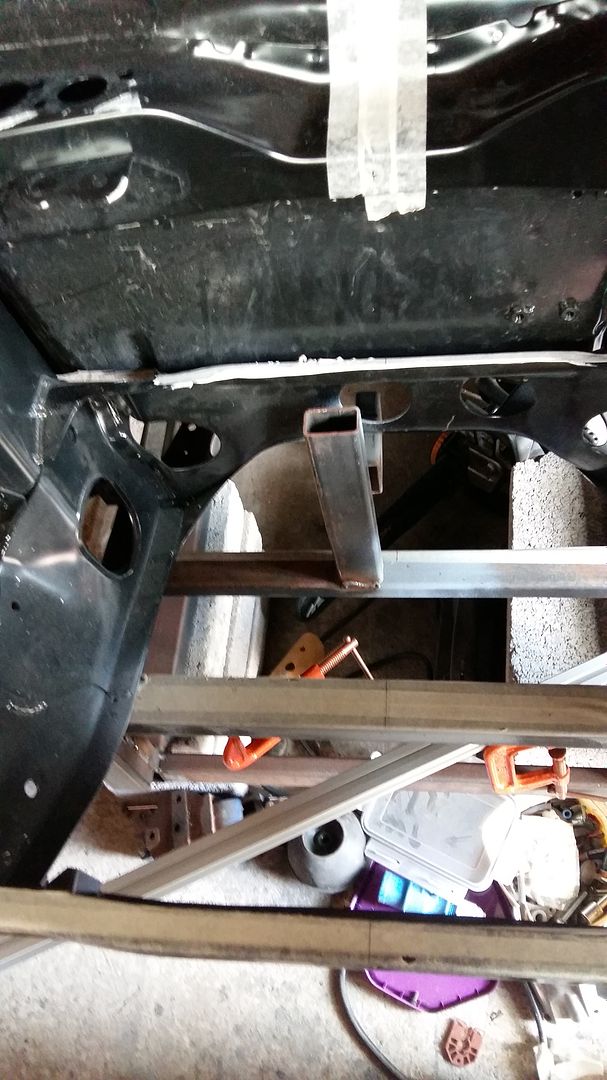
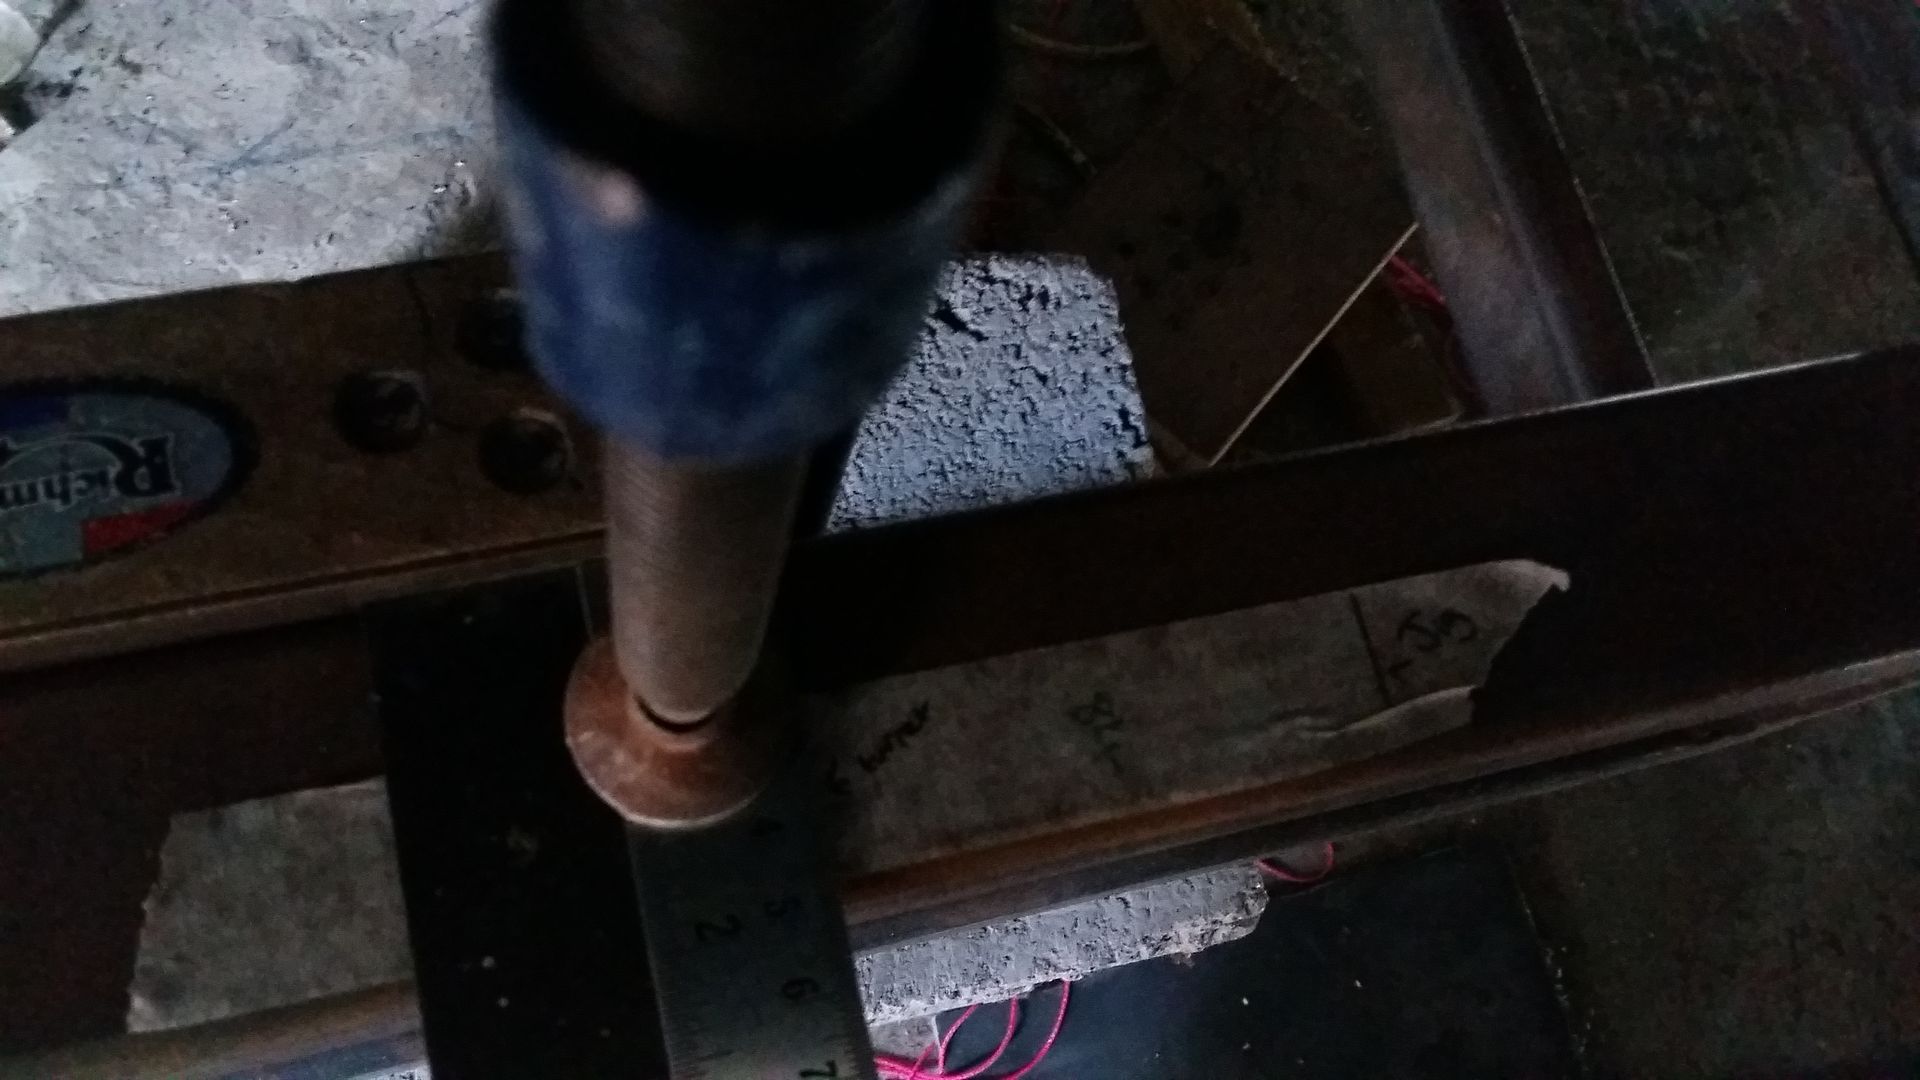
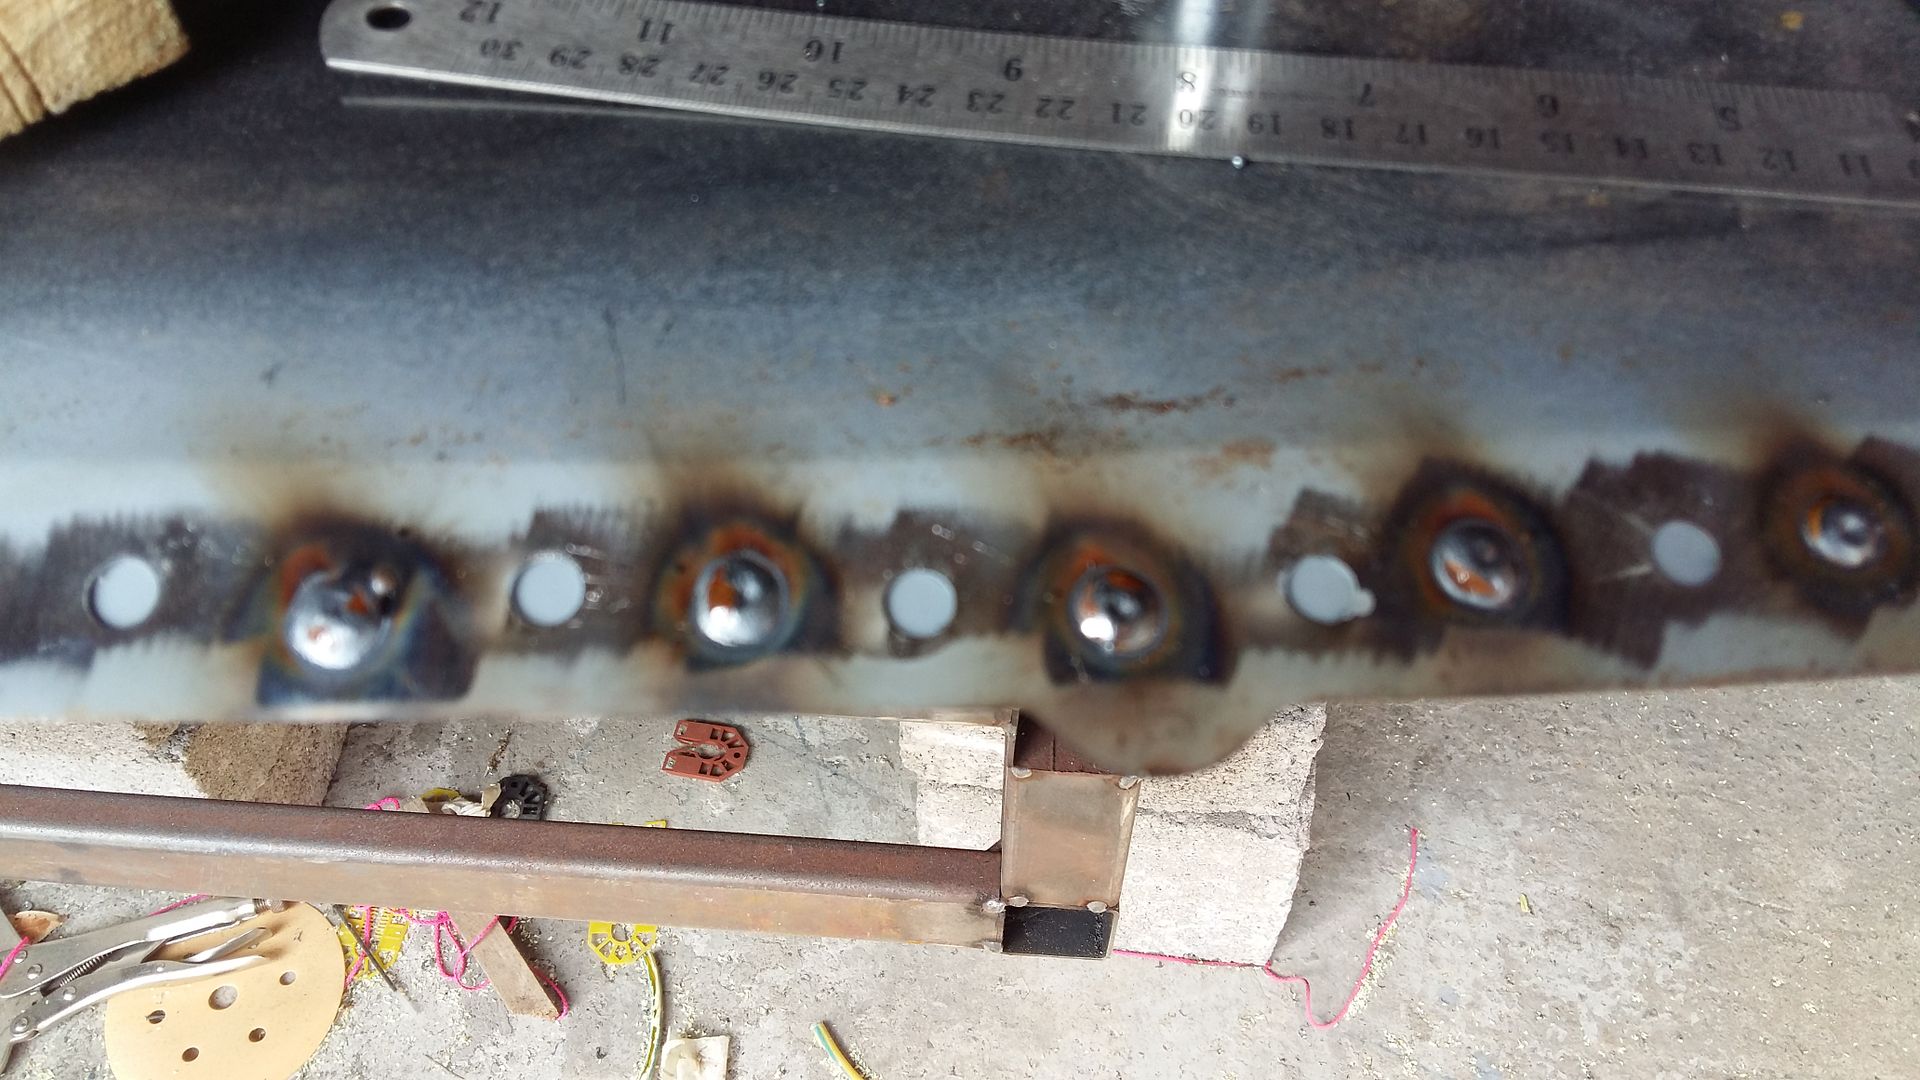
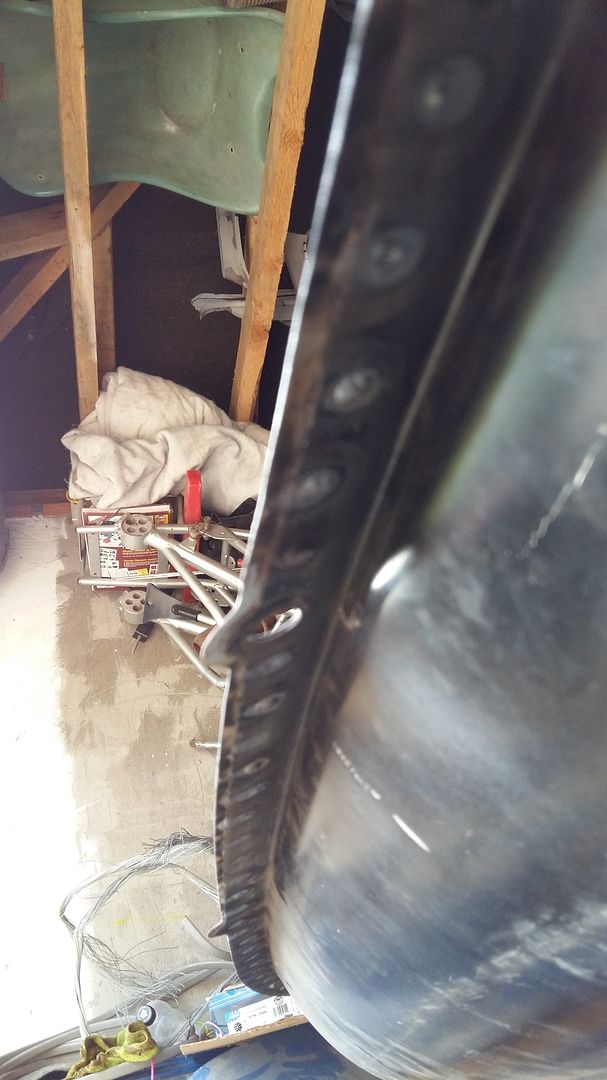
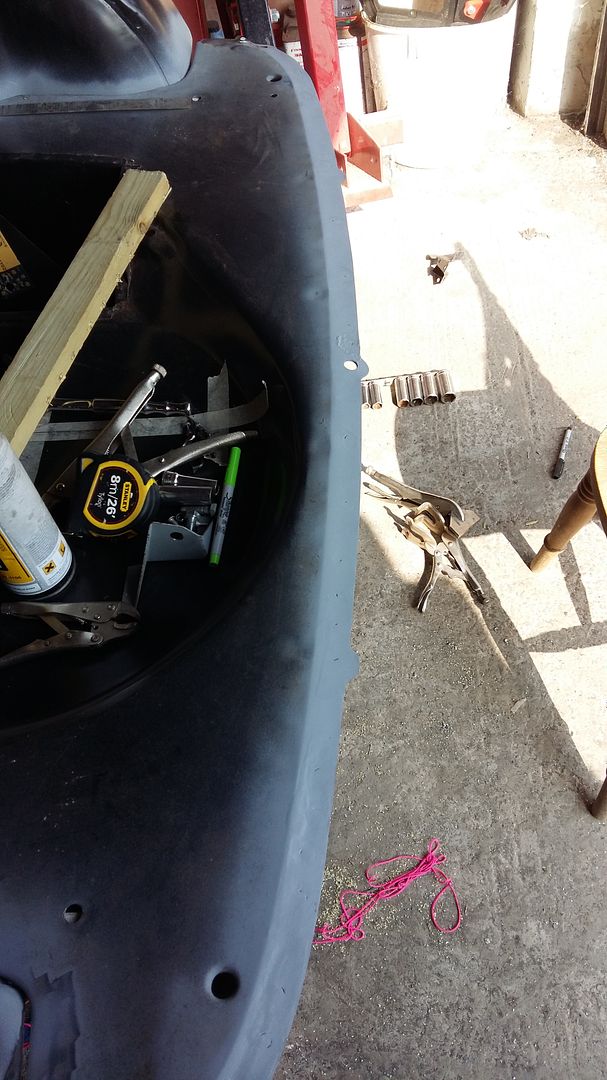
Well guys. i ve been doing a some work on the car this week due to having it off work! Since carlos has linked me to a manufacture diagram I have been re measuring making sure its all true and the subframes are still aligned...All is good. so ive been wondering where to make a start and i feel its best i work from the rear-forward. I started with the companion boxes which have been welded in along with the strange looking inner sill stiffner and the rear clousure panel. Also the two rear arches have been welded in. I finshed the valance today minus the closures. Looks like i will be starting on the rear working towards the quater panels tomorrow....


#20 Joshfman

Joshfman

    Passed Test

  • Noobies
  • PipPip
  • 33 posts
  • Location: South Wales

Posted 03 June 2016 - 06:54 PM

This is my vertical laser that i have used to pen a straight line. It has been set so the laser pens directly down with no offsets at different distances from the beam source. I used this to align my jig and my two subframes and matched the measurements to drawings.20160531_160732.jpg


#21 Joshfman

Joshfman

    Passed Test

  • Noobies
  • PipPip
  • 33 posts
  • Location: South Wales

Posted 03 June 2016 - 06:58 PM

Once every thing was in place the laser was fired down the floor pan boot pan and bulk head. I got the bulkhead central by bolting it to the front subframe towers (which had been lasered) and putting the laser across the front bulk head and making some marks.

20160531_160746.jpg


#22 Joshfman

Joshfman

    Passed Test

  • Noobies
  • PipPip
  • 33 posts
  • Location: South Wales

Posted 03 June 2016 - 07:00 PM

http://i1051.photobu...0531_160852.jpg more markings...


#23 Joshfman

Joshfman

    Passed Test

  • Noobies
  • PipPip
  • 33 posts
  • Location: South Wales

Posted 03 June 2016 - 07:00 PM

20160531_160852.jpg


#24 Joshfman

Joshfman

    Passed Test

  • Noobies
  • PipPip
  • 33 posts
  • Location: South Wales

Posted 03 June 2016 - 07:04 PM

Ive put some body panels together here just to make sure iam not a million miles away with the fits etc. This must be the 100th time ive assembled it looked at the fits and gone through the proccess. Measure twice cut once


20160602_173344.jpg


#25 Joshfman

Joshfman

    Passed Test

  • Noobies
  • PipPip
  • 33 posts
  • Location: South Wales

Posted 03 June 2016 - 07:09 PM

Ive been able to make sure my arches are the same both sides by dropping plumb lines off jigging points from the rear subframe to the main datum line on my main jig. This gives a fixed point (same for both sides.) i then dropped a plumb line through the shock mounts on the arches and measuring the distances between the jig plmb line and the shock plumb line.... sory for a crap picture...


20160531_160822.jpg


#26 Joshfman

Joshfman

    Passed Test

  • Noobies
  • PipPip
  • 33 posts
  • Location: South Wales

Posted 03 June 2016 - 07:12 PM

Some plug welds....


20160603_161244.jpg


Pretty sure there was penetration...


20160603_165335.jpg


The finished article...


20160603_165335.jpg


#27 Joshfman

Joshfman

    Passed Test

  • Noobies
  • PipPip
  • 33 posts
  • Location: South Wales

Posted 03 June 2016 - 07:14 PM

Will have some more tomorrow guys i will take some pictures of the arches and closures tomorrow. Sorry for the poor write ups guys. Iam terrible for putting things into words lol. Any questions or advice please feel free infact any advice would be a pleasure!!


#28 Joshfman

Joshfman

    Passed Test

  • Noobies
  • PipPip
  • 33 posts
  • Location: South Wales

Posted 03 June 2016 - 07:15 PM

my bad... this is the finished article.


20160603_165316.jpg


#29 pete l

pete l

    One Carb Or Two?

  • Members
  • PipPipPipPipPipPipPip
  • 1,355 posts
  • Location: East of France

Posted 06 June 2016 - 12:59 PM

Brave man, taking it back that far, I wouldn't have the guts to go that far.


Keep the pics coming.


Also tagged with one or more of these keywords: roundnose

1 user(s) are reading this topic

0 members, 1 guests, 0 anonymous users