Jump to content


Photo
- - - - -

Mini Dis-Advantage Project


  • Please log in to reply
477 replies to this topic

#61 Avtovaz

Avtovaz

    One Carb Or Two?

  • Members
  • PipPipPipPipPipPipPip
  • 1,132 posts
  • Location: widnes

Posted 10 August 2018 - 07:19 PM

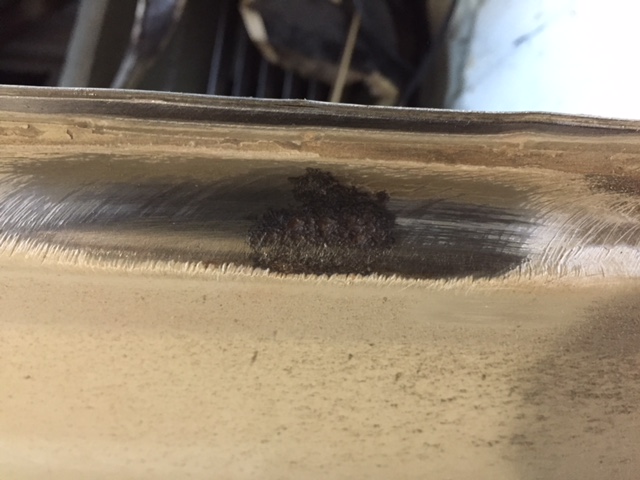
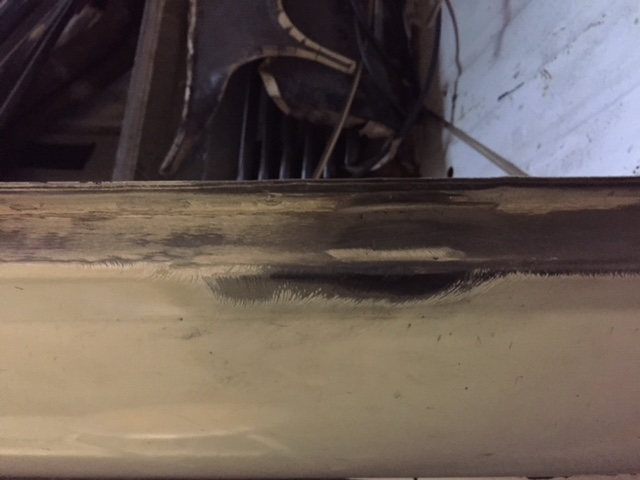
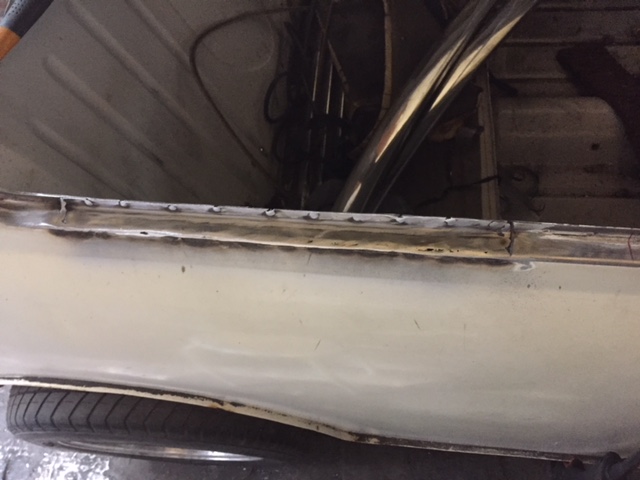
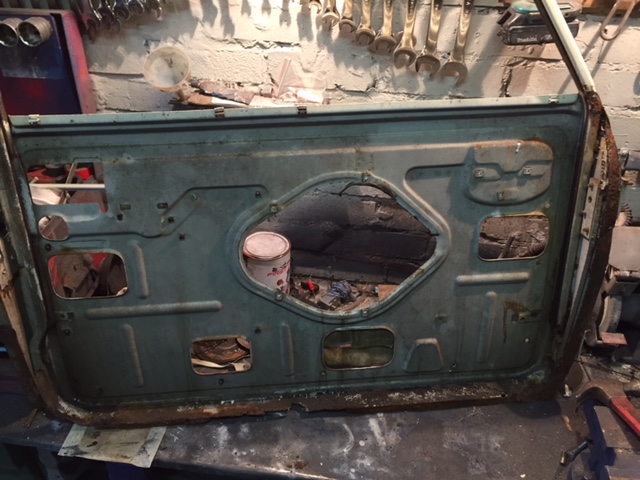
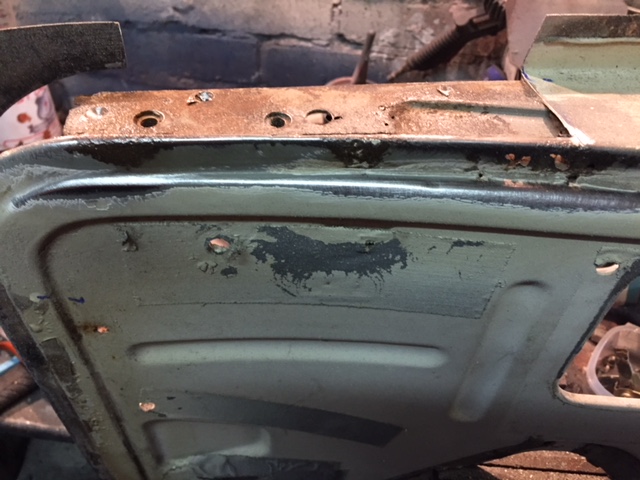
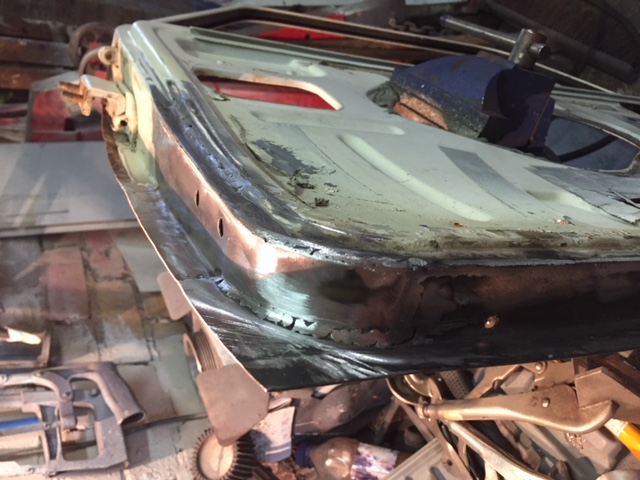
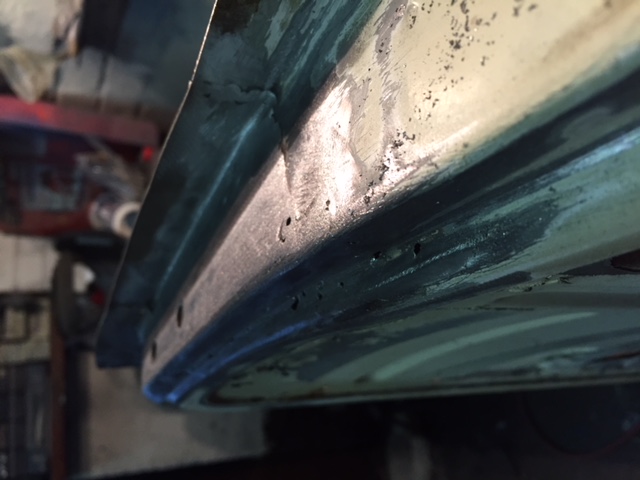
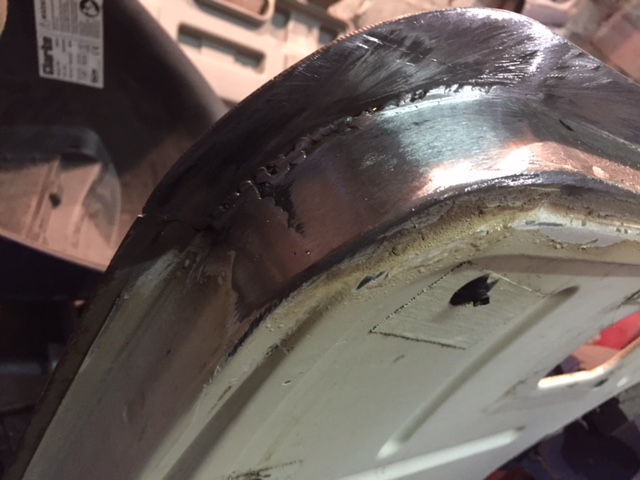
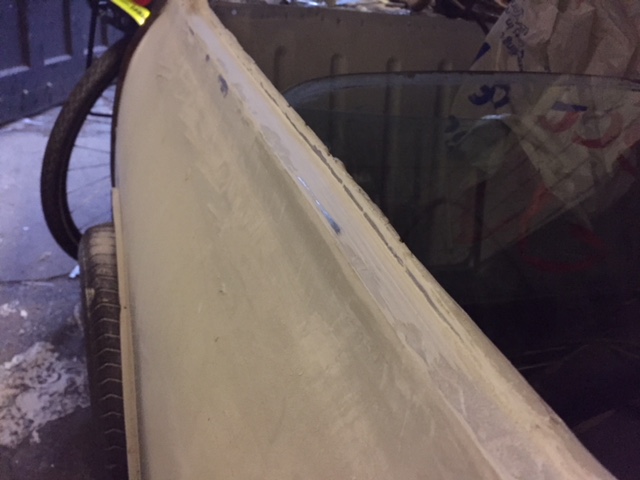
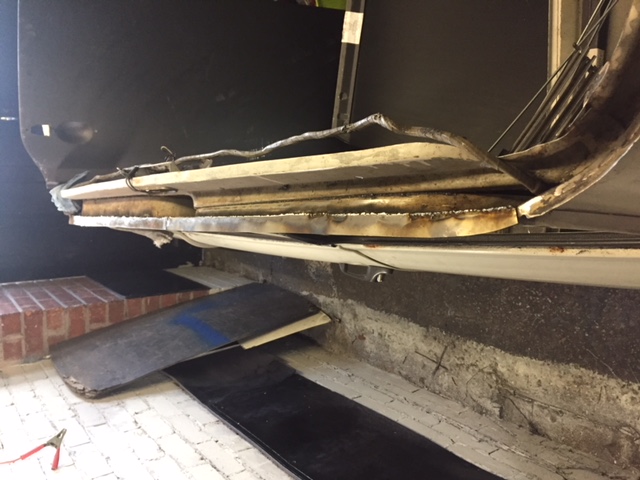
So... This is what the gutter looked like under the roof i had tried to fit in a rush!
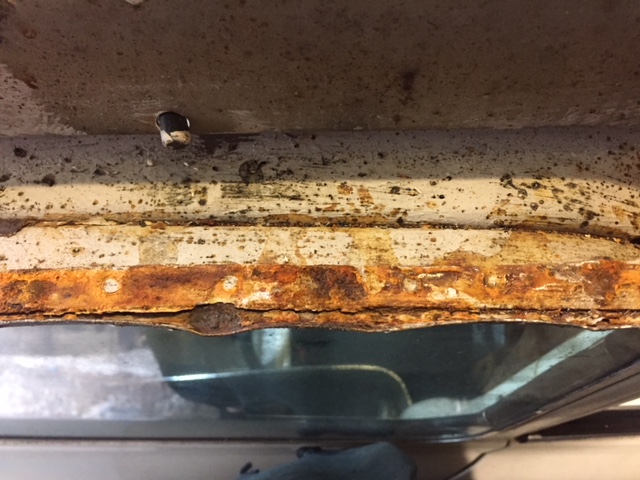
 

IMG_2622.JPG


Not so nice is it!


I decided it was rotten, and that if i just flatten out the gutter, id loose nothing, there was deep rust init, and id have to replce it..


IMG_2623.JPG


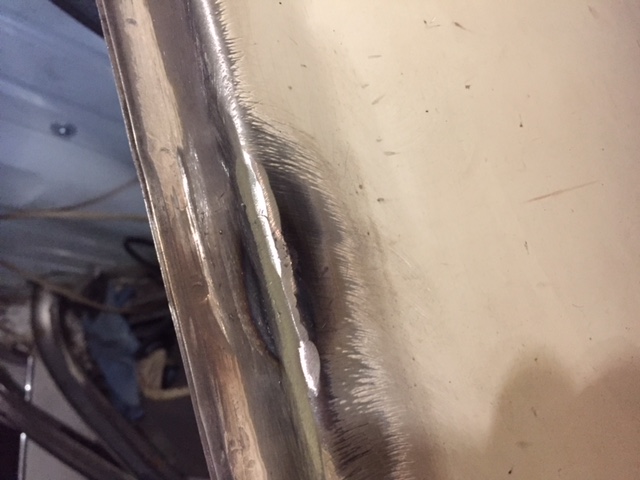
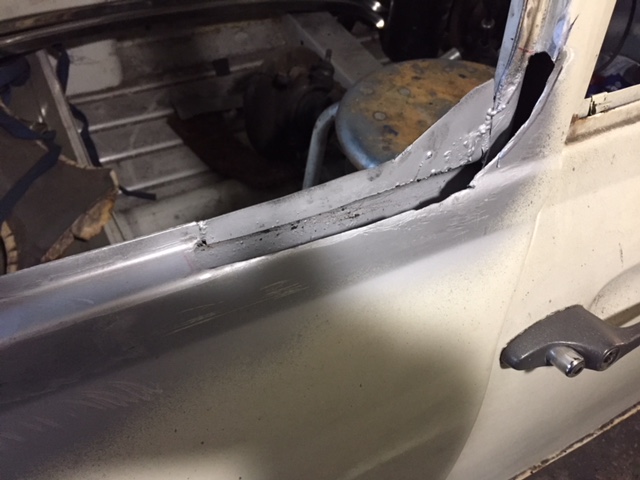
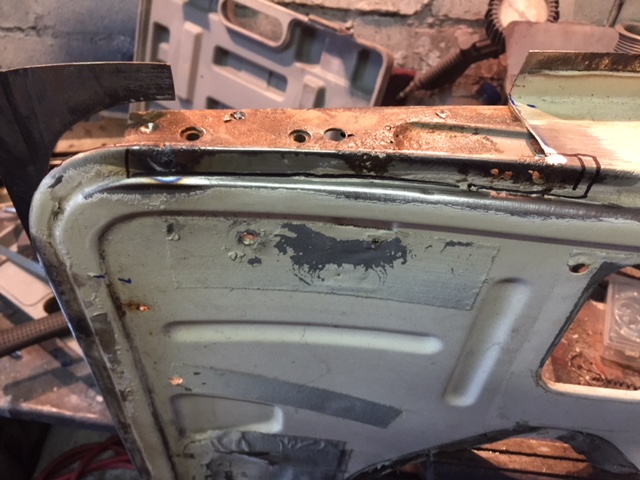
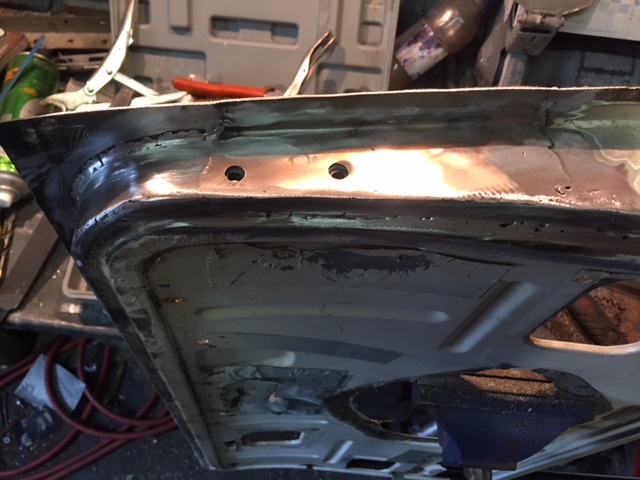
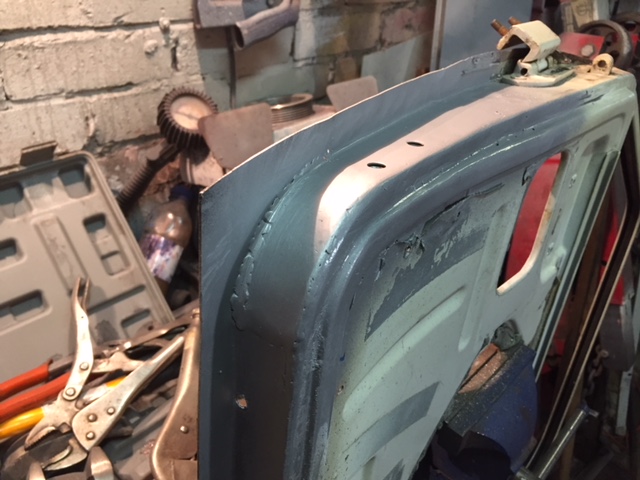
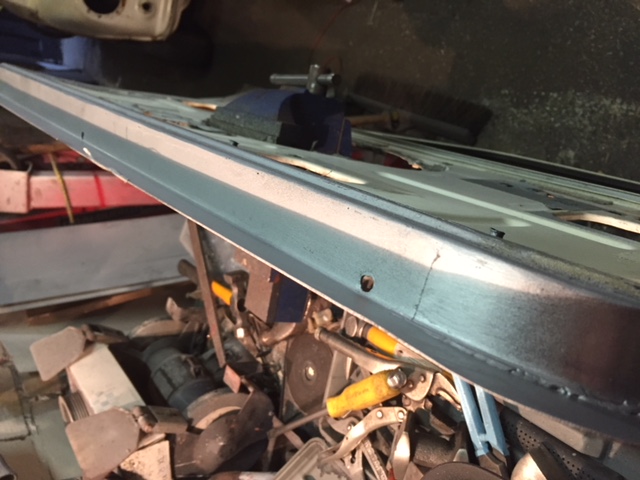
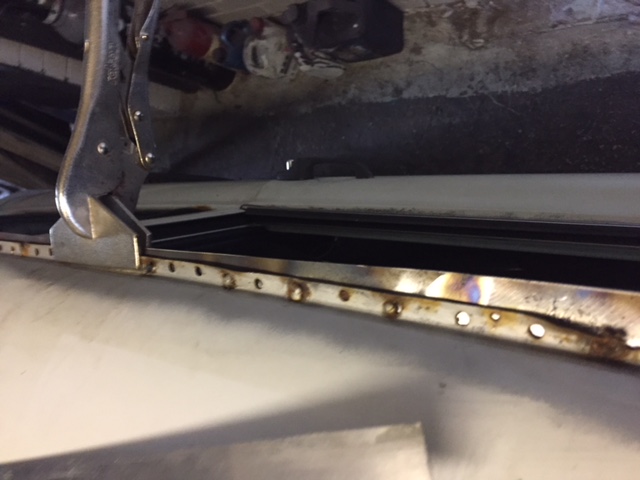
wish a good grind with a soft pad it came up like this


IMG_2624.JPG


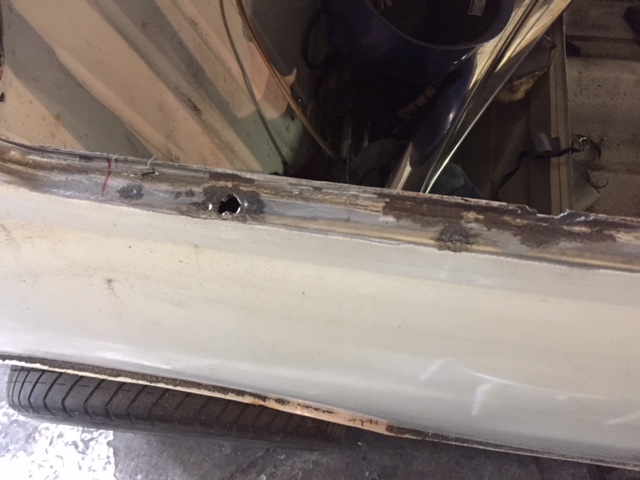
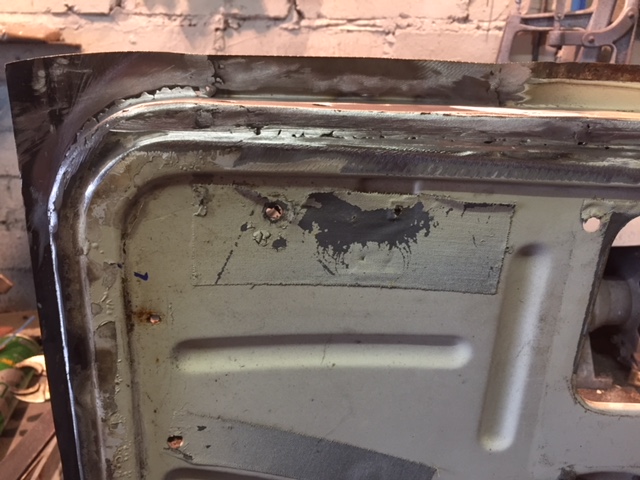
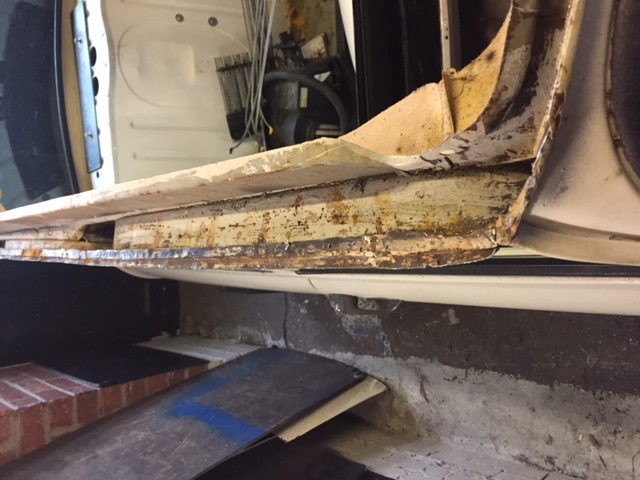
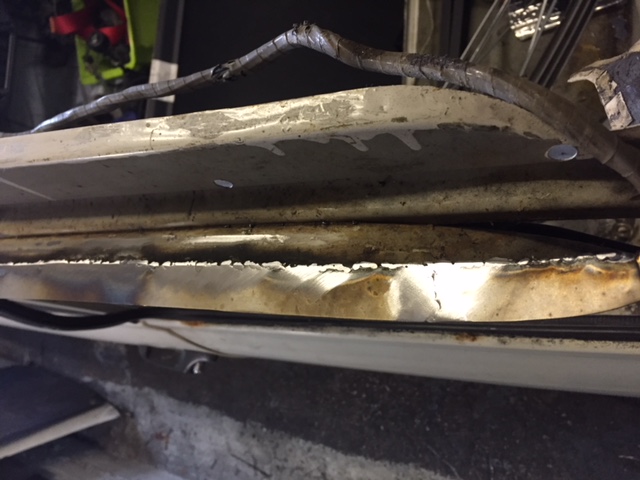
the other side was thin and just went to nothing in places


IMG_2627.JPG


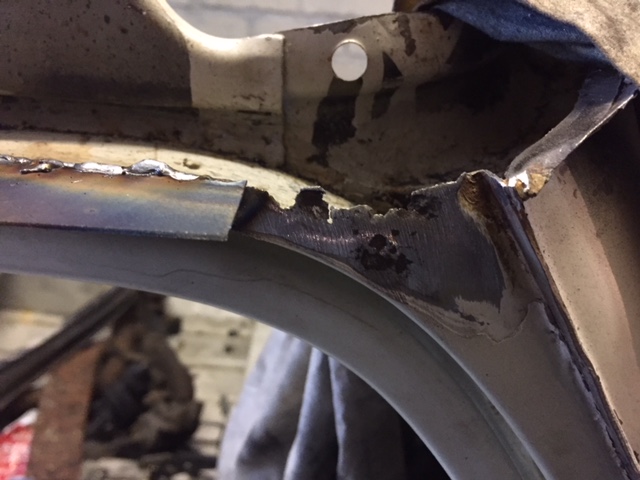
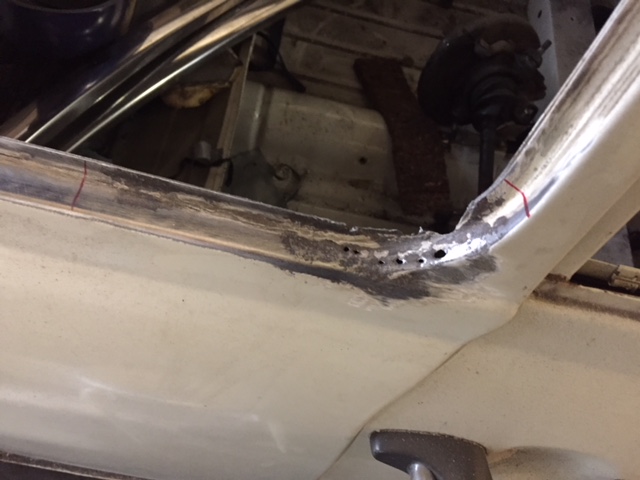
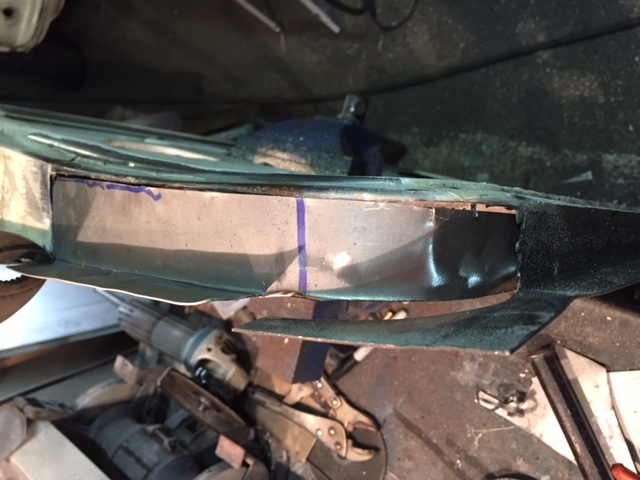
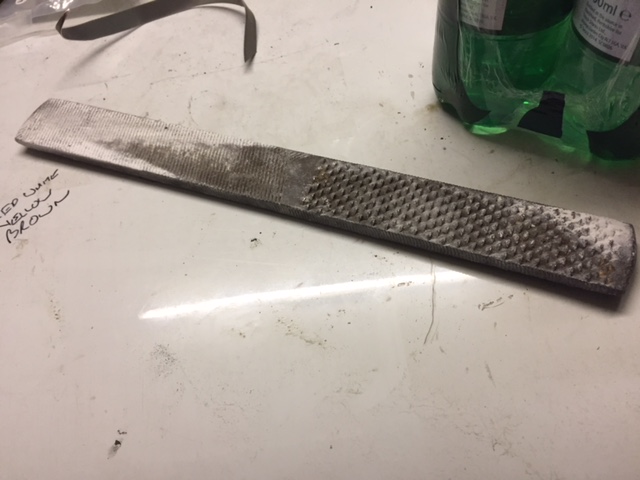
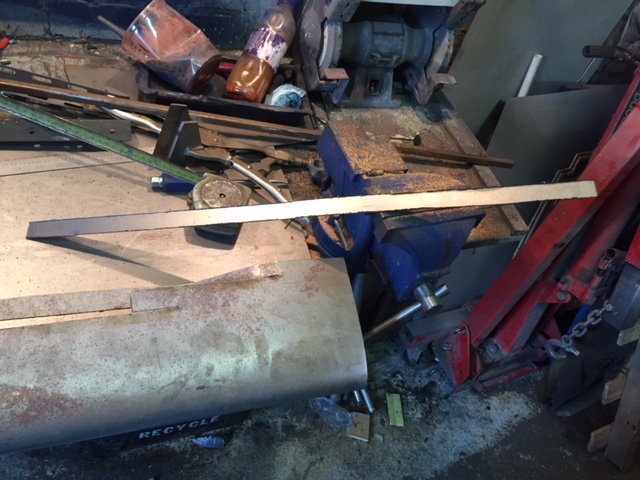
SO i decided i had to be brave! cut it all out, and make some bits to weld in. So i got my sheet of steal, thin grinder blade, and cut out some strips.


IMG_2628.JPG


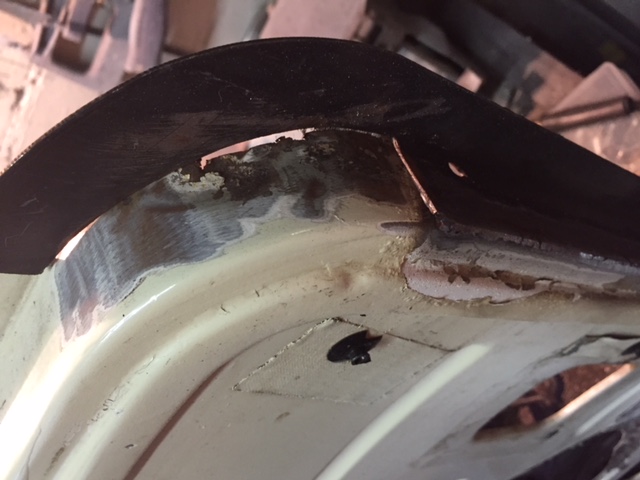
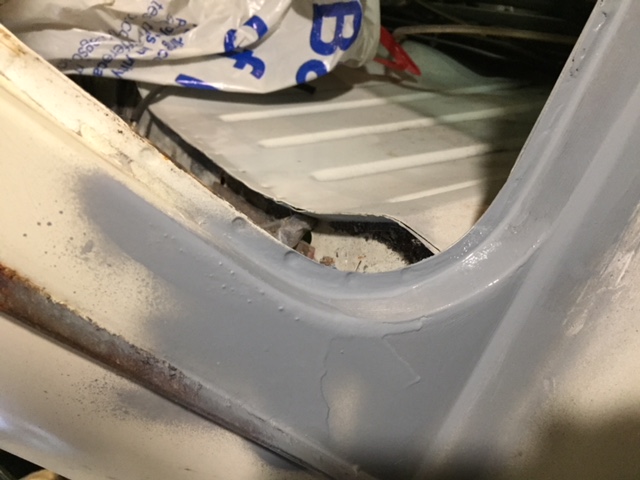
Its hard to make out in the pic, but you can see how much is missing on this side. It was a lot worse than i had thought, and remember i had tried to weld the roof back to this!!


IMG_2629.JPG


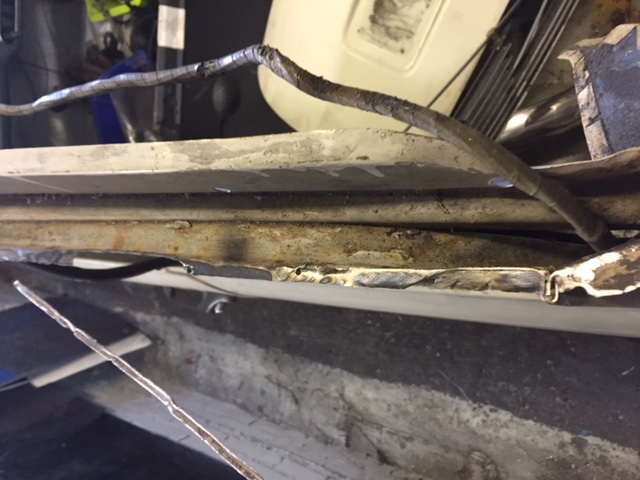
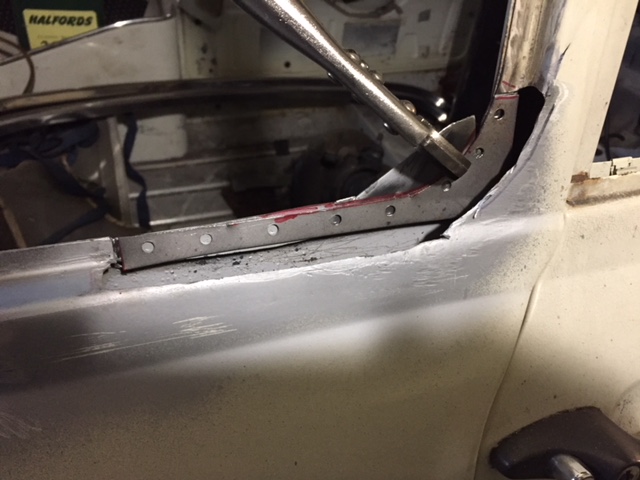
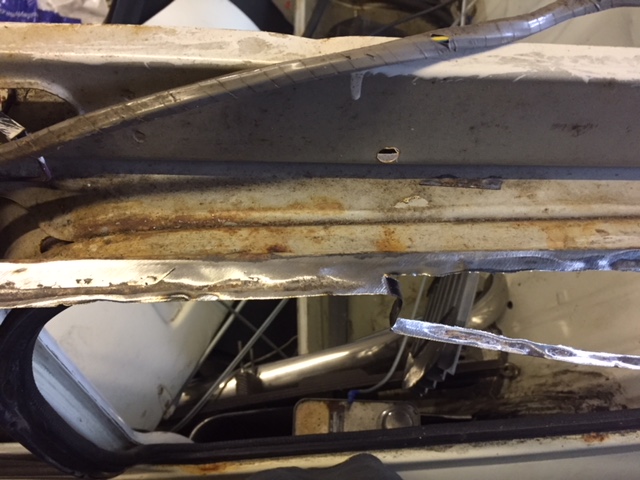
So i cut the lot off


IMG_2630.JPG


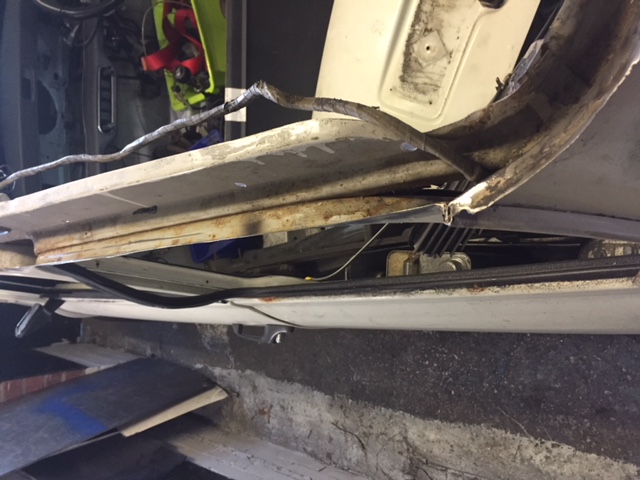
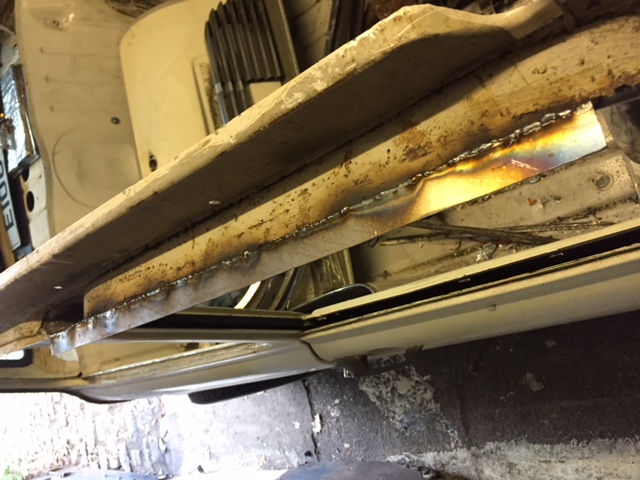
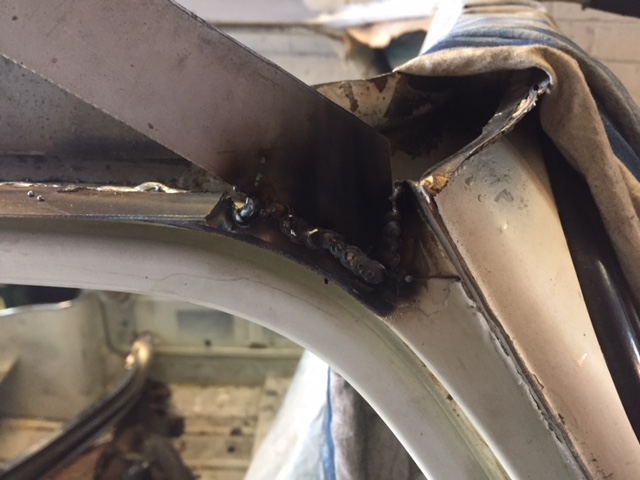
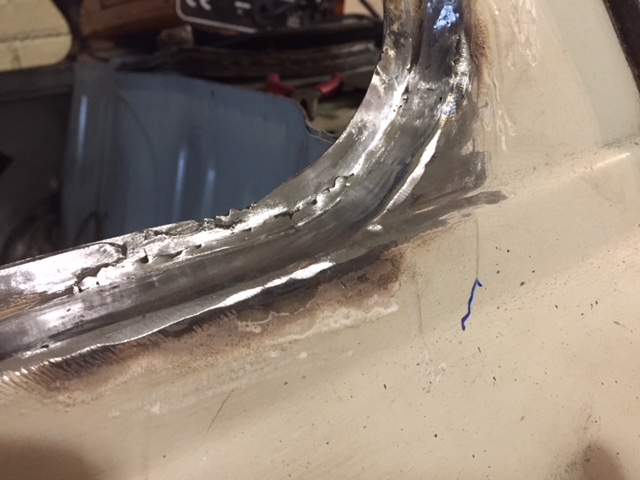
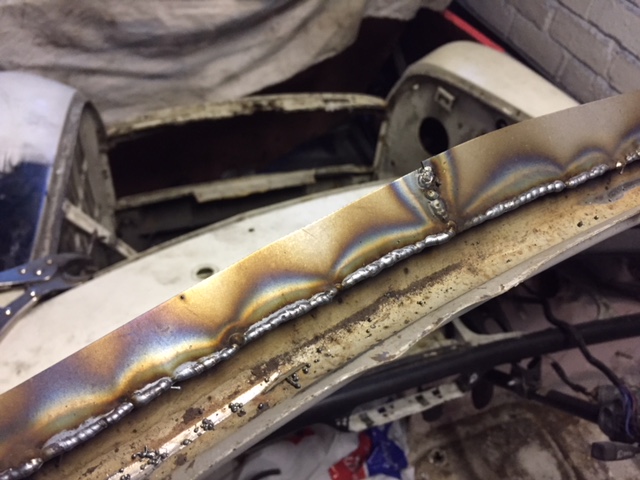
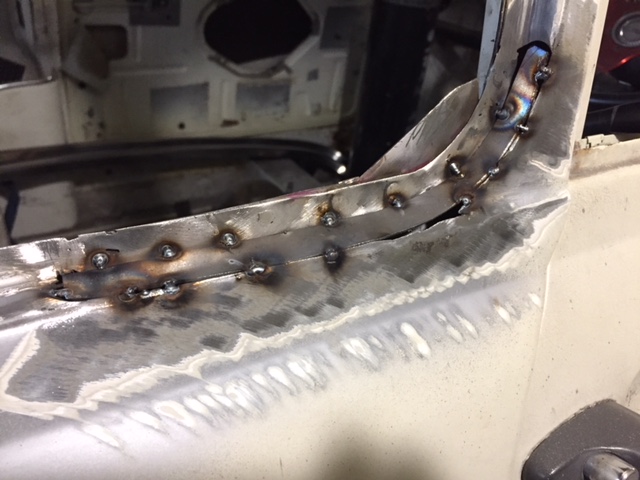
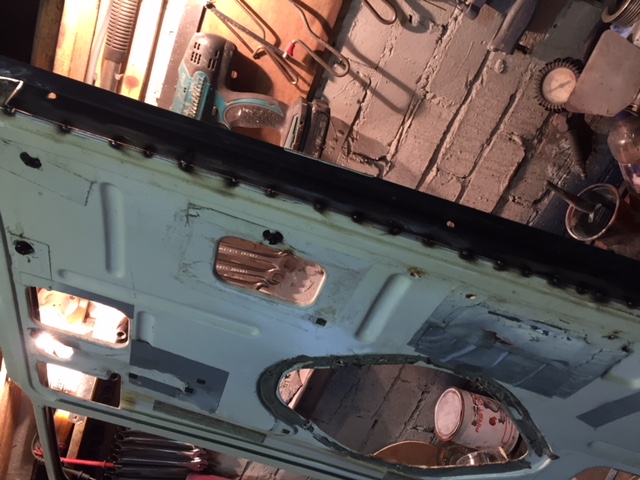
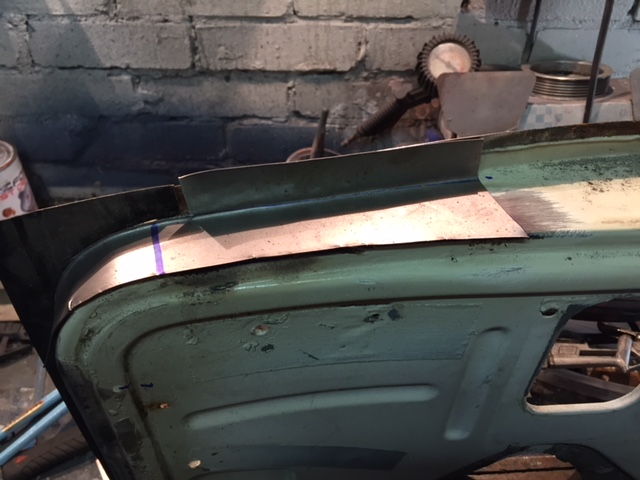
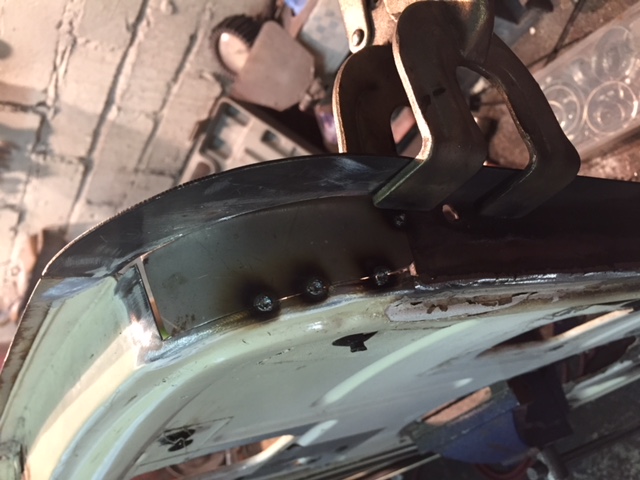
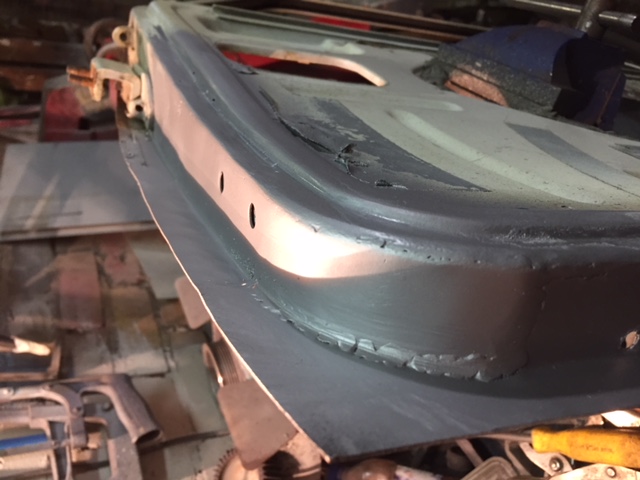
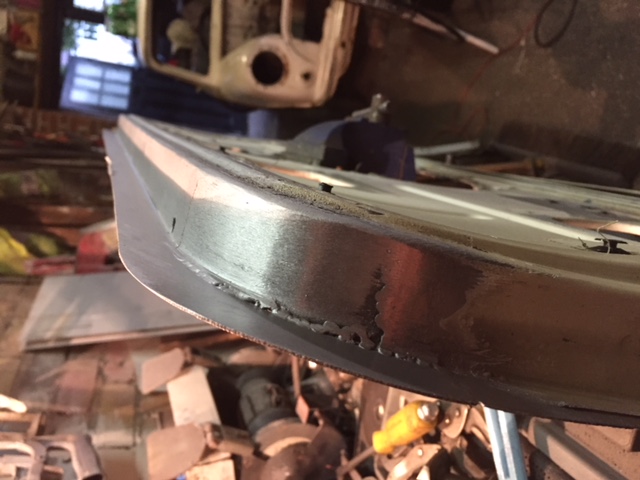
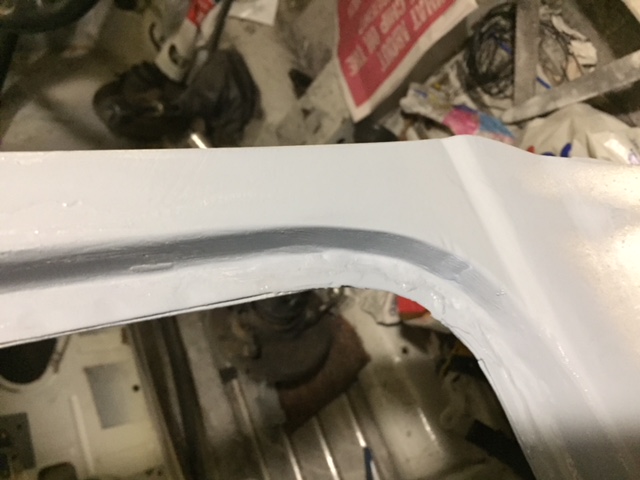
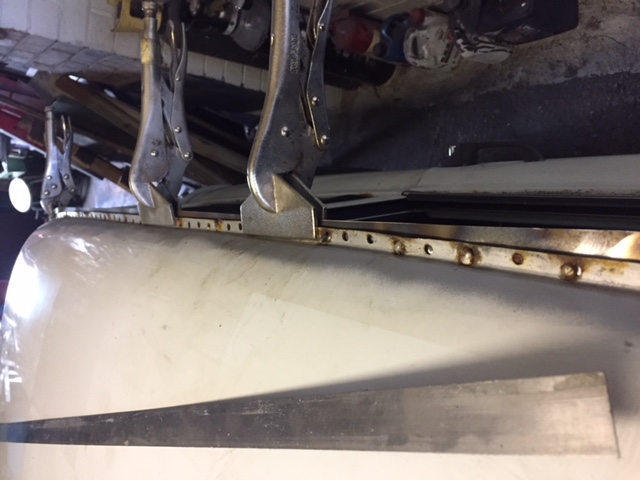
tacked my new stip on
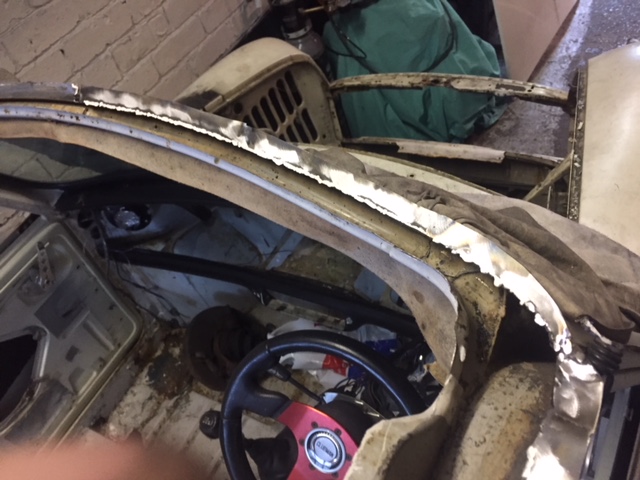
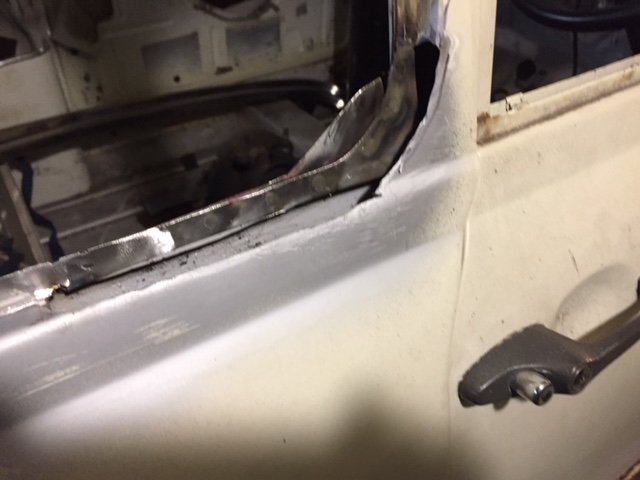
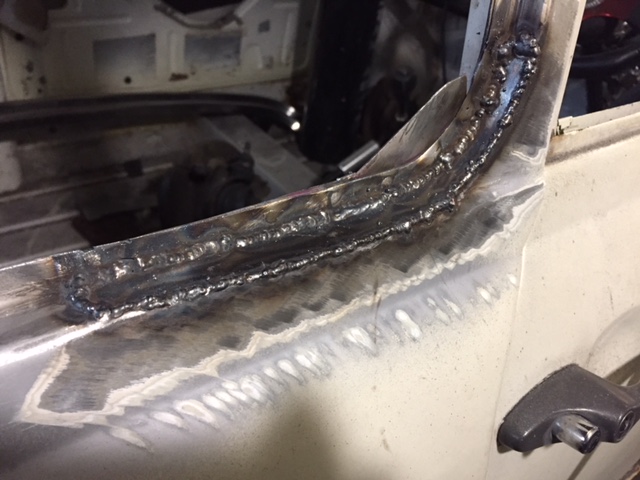
 

IMG_2631.JPG


welded it in


IMG_2632.JPG


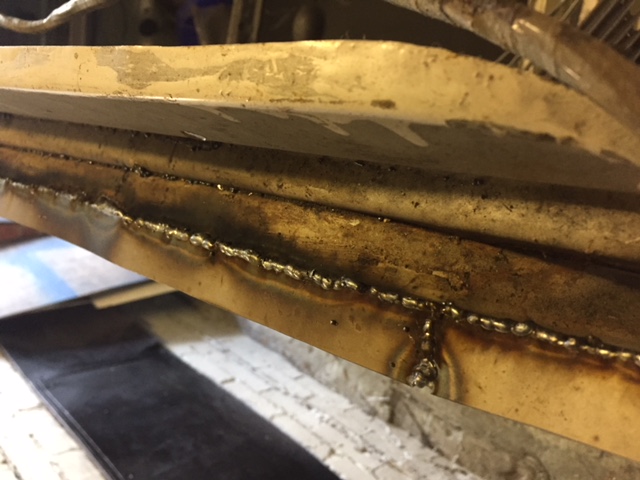
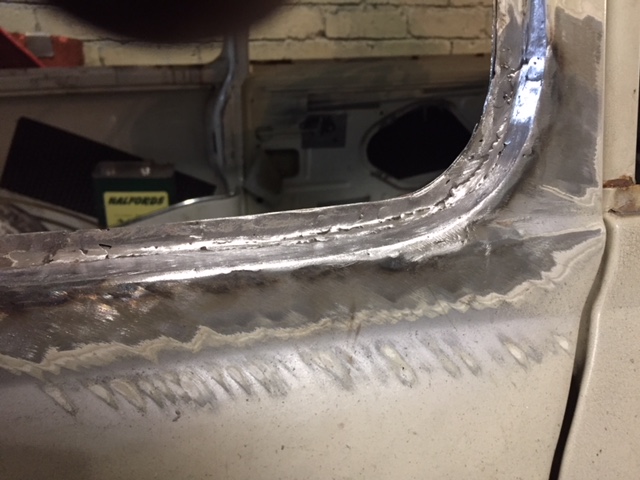
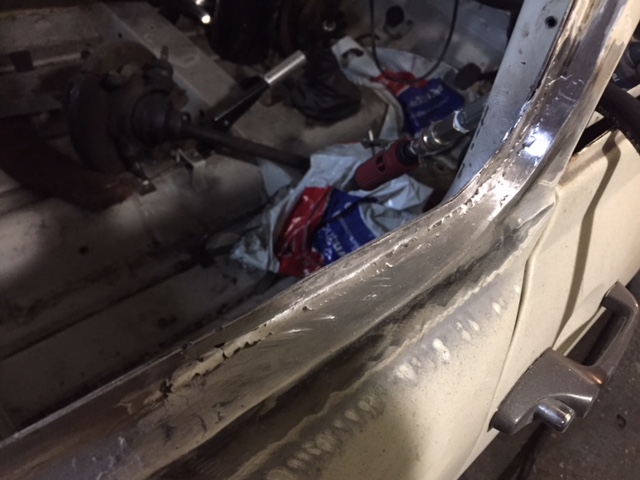
and ground the top of it off, not into the side as you will never see it with the roof on and also itll give it just a little bit more strangth


IMG_2633.JPG


IMG_2634.JPG


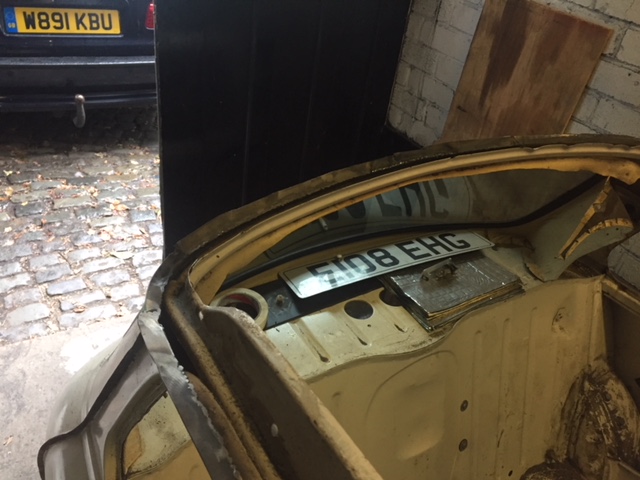
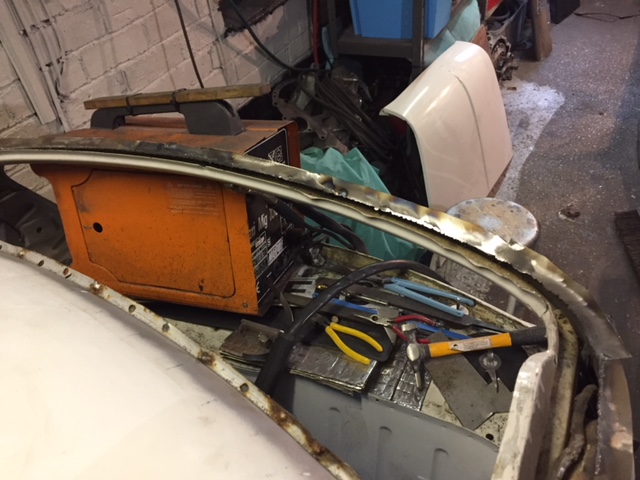
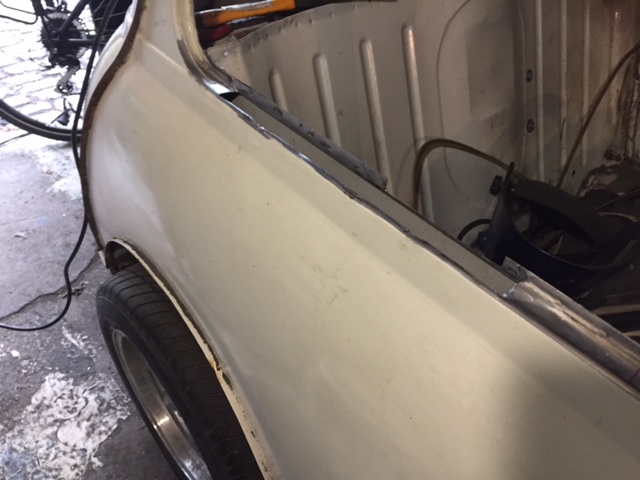
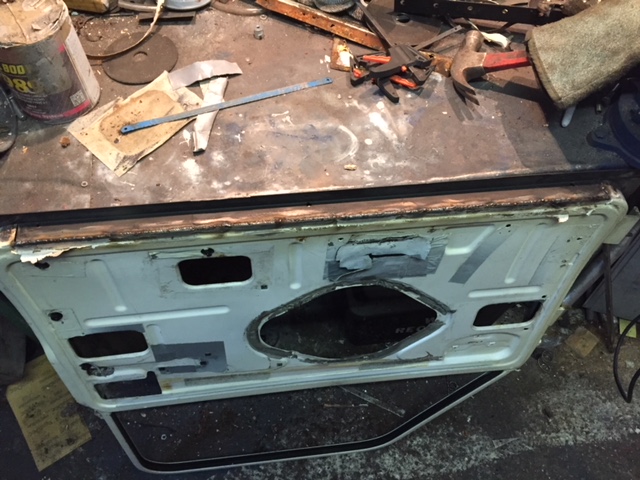
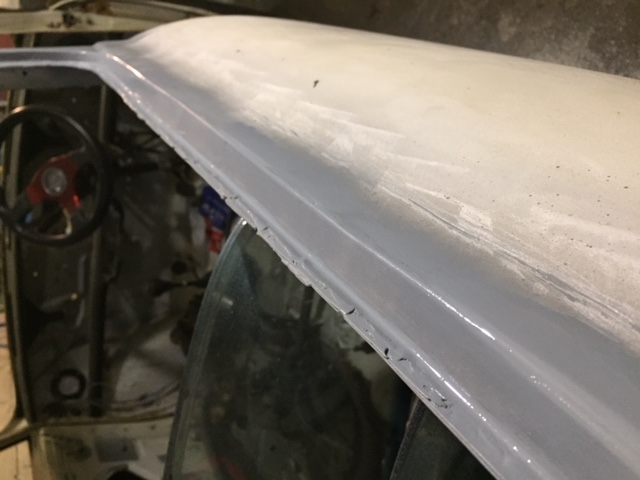
I tried the roof on and it didnt fit very well


IMG_2639.JPG


It was like bulging out in the middle, and i had a think about it, and maybe either the roof with me taking it on and off a few times had bent a bit, or the center of the car has come in a little bit as its been driven around with the roof only tacked in on 4 corners for however long. So if i push the roof in and pull the center post out, the roof lines up


IMG_2640.JPG


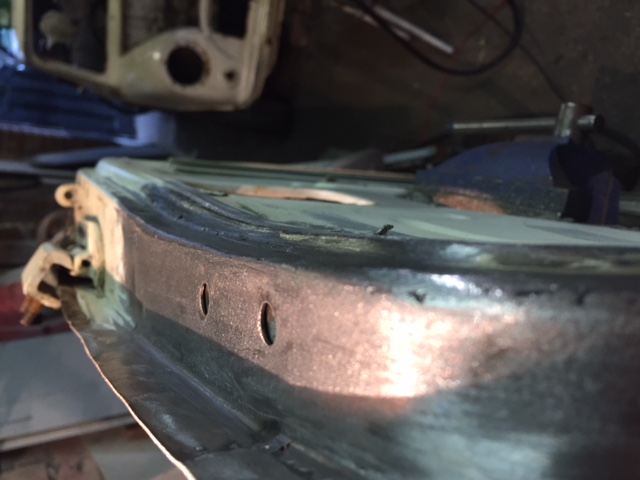
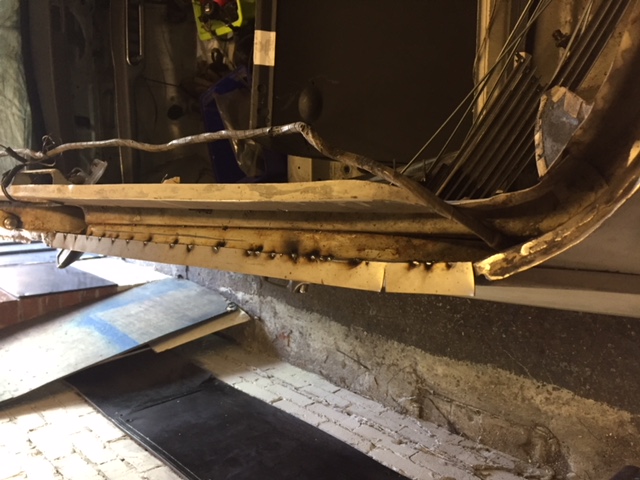
I dont know if this is the best way to have fixed the roof but it looks like it should work. Im not sure how ill sort the rear gutter out yet, its edges are missing in places, so maybe just weld them up with some copper behind and grind them back..


Im going to make something to clamp into the gutter, and then i can hammer them back up, but ill get it all welded up first.


#62 Avtovaz

Avtovaz

    One Carb Or Two?

  • Members
  • PipPipPipPipPipPipPip
  • 1,132 posts
  • Location: widnes

Posted 11 August 2018 - 07:48 PM

bit more done today... stripped it down as much as i could and put all the bits i didnt need in our loft above the kitchen, not the biggest space, but enough to fit all the bits in i dont need right now.


IMG_2643.JPG


IMG_2644.JPG


I also started to weld up the other side of the gutters, but time was getting on so i only did a bit.


IMG_2646.JPG


Found a bit of rot above the door which can easily be sorted.


IMG_2647.JPG


Once the side s of the roof are sorted, i havnt made my mind up what to do with the front and rear, maybe make oversize pieces and try to cut them straight on the car, or weather to make a strip and try to bend it around some how, either by heating it or stretching it some how. I need to get some advice on this please? 


Hopefully get the side gutters sorted tomorrow and maybe grind up the welds on the roof panel, it defo easier having the gutters flat when working on the roof this way...


#63 Avtovaz

Avtovaz

    One Carb Or Two?

  • Members
  • PipPipPipPipPipPipPip
  • 1,132 posts
  • Location: widnes

Posted 12 August 2018 - 08:26 PM

so yea, welded up the hole above the door,


IMG_2648.JPG


looking at the front and rear gutters, the rear was a bit thin int he middle so i decided to see what it would weld like, and it jsut went threw, and was chasing it and chasing it. So i decided again to be brave, and cut the lip out. Ive basically done all the lip now apart from 1/4 of the front one and 1/4 of the rear one, will turn the car around to make it easier to do


IMG_2649.JPG


IMG_2650.JPG


Now, i tried the roof on, and it was really close to the edge in places on the front and back, but i have repaired the roof to the same size as what it was before. Now, either i have the roof on in the wrong place or ive done something wrong. I think its the roof, but ill carry on and if it dosnt fit, ill cut it off again and re do it.


#64 Avtovaz

Avtovaz

    One Carb Or Two?

  • Members
  • PipPipPipPipPipPipPip
  • 1,132 posts
  • Location: widnes

Posted 14 August 2018 - 07:08 PM

not that much happened to the car, decided to stop on the roof for a little bit and have a think about it, but noticed some rust on the nsr quarter panel under the window. Basically 3 patches. I thought id have a go and see what happened.


IMG_2652.JPG


Just drilled into it with a 1/2" bit, then used my die grinder to make it kinda square, and welded it up


not the best pic but..


IMG_2653.JPG


There was quite a bit in the corner , 2 plates required, not the best , but im still learning and as its all ever so slightly low, i can just give it a slight skim of filler, and hopefully itll look ok


IMG_2654.JPG

That isnt finished by the way, just on its way..


and one of the other patches...


IMG_2657.JPG


I may even fill them now and prime them, just so i can get an idea of how good or bad my work is at this stage. I have 2k epoxi ill use on this car, i think its really good.


Edited by Avtovaz, 14 August 2018 - 07:09 PM.


#65 minimissions

minimissions

    Up Into Fourth

  • Members
  • PipPipPipPipPipPipPipPipPip
  • 3,427 posts
  • Location: North West
  • Local Club: M.M.O.C

Posted 15 August 2018 - 05:39 AM

Nice work, cant be long now to try that roof on for size...


#66 Avtovaz

Avtovaz

    One Carb Or Two?

  • Members
  • PipPipPipPipPipPipPip
  • 1,132 posts
  • Location: widnes

Posted 15 August 2018 - 06:59 PM

yes, actually not far off at all! maybe Saturday now. Decided to make more room for error on the gutter repairs, so i finished the rear and finished the front tonight.


IMG_2658.JPG


IMG_2659.JPG


Now my 'idea' Is to try the roof, clamp it up as much as i can, see if the gutter will work how ive done it, then take it off and prime it with 2k epoxi, then weld the roof on, then make some form of tool that can set my grinder to 20mm say and chop off the roof gutter excess, and then with another tool hammer the gutter up. If this looks any good at all ill be well shocked to be honest, but at least under the roof skin will be solid and i can sort the gutter out later on some how.


This for me will be the hardest part of the build as it has to look right, if i put a floor pan in wrong or something then you wont really see it, but the roof is a big one.


#67 minimissions

minimissions

    Up Into Fourth

  • Members
  • PipPipPipPipPipPipPipPipPip
  • 3,427 posts
  • Location: North West
  • Local Club: M.M.O.C

Posted 16 August 2018 - 05:32 AM

I completely understand what your saying I cant see there being an issue once than roof is in some sort of position its a case of making the gutter look right and you can do wonders with grinder/sander! Its nice to see someone save a mini like this and not give up on it.


#68 Avtovaz

Avtovaz

    One Carb Or Two?

  • Members
  • PipPipPipPipPipPipPip
  • 1,132 posts
  • Location: widnes

Posted 16 August 2018 - 07:40 PM

thanks mate, car isnt that bad at all as you saw, it just needs a few big bits, gutter is the hardest i think.


Not had chance to do any more tonight, will do some more tomorrow i think. Was hoping to get some panels fur underneath but just got the bill for that b230 motor, maybe have to wait a month now LOL!


#69 Avtovaz

Avtovaz

    One Carb Or Two?

  • Members
  • PipPipPipPipPipPipPip
  • 1,132 posts
  • Location: widnes

Posted 26 August 2018 - 10:13 PM

doing all the " ive got no money atm for panels but have a lovely b230 volvo motor going in a bmw " bits. So the quarter on the o/s needed some doing


IMG_2679.JPG


IMG_2680.JPG


IMG_2682.JPG


IMG_2683.JPG


IMG_2684.JPG


Think i will put some filler on this now, and see how it looks, only because, im still learning and want this to look right. So if im doing something that i think is ok now, but further down the line isnt, i want to know now.


started on the corner but didnt finish it...


Talked to a few people about the roof, and im going to cut it off, new roof joined that the pillars. I know i have a chance of getting it right that way, but as i say, it all a learning curve...


Edited by Avtovaz, 26 August 2018 - 10:14 PM.


#70 CharlieNZ

CharlieNZ

    Stage One Kit Fitted

  • Noobies
  • PipPipPip
  • 69 posts
  • Location: Auckland

Posted 27 August 2018 - 06:27 AM

Looks decent to me, shouldn't be hard to get it tidy. You're doing great work!

#71 Avtovaz

Avtovaz

    One Carb Or Two?

  • Members
  • PipPipPipPipPipPipPip
  • 1,132 posts
  • Location: widnes

Posted 27 August 2018 - 07:24 PM

Bit more done today. Did the rot further up...


IMG_2685.JPG


IMG_2686.JPG


IMG_2687.JPG


IMG_2688.JPG


IMG_2689.JPG


IMG_2690.JPG


IMG_2691.JPG


Not perfect, but i epoxy primed it and will fill it hopefully tomorrow and see how it looks. So the i decided as really i need to turn the car on its roof, but cant atm, n o where to put the subframes and bits atm, i thought id do the doors. Not looking forward to this at all!


Didnt look that bad at first, but the more ive got into it the more rot i can see. But i can fix it, it jsut takes time


IMG_2696.JPG


Ground around the edges and chiselled the spots off.

IMG_2697.JPG


Bottom repair had already been bought months ago and also skins!


IMG_2698.JPG


IMG_2699.JPG


Didnt think id be repairing this much but the more i got into it the more rot i found... More repair panels need making yet


IMG_2700.JPG


IMG_2702.JPG


IMG_2701.JPG


IMG_2703.JPG


IMG_2704.JPG


piece not finished yet, just trying to get it something like.


Edited by Avtovaz, 27 August 2018 - 07:26 PM.


#72 minimissions

minimissions

    Up Into Fourth

  • Members
  • PipPipPipPipPipPipPipPipPip
  • 3,427 posts
  • Location: North West
  • Local Club: M.M.O.C

Posted 28 August 2018 - 05:33 AM

Awesome work! Your making those repairs look easy!


#73 Avtovaz

Avtovaz

    One Carb Or Two?

  • Members
  • PipPipPipPipPipPipPip
  • 1,132 posts
  • Location: widnes

Posted 28 August 2018 - 07:07 PM

Thanks! I can see things im doing wrong, like not spending as much time as i should making the repair piece, and little things i never noticed before, like welding pulls the panels down. Im using the back of a hacksaw blade now quite a bit to see where is high and low. Really useful, and good when welding too to align the bits up.


Put some filler on the quarter tonight, not very good with filler, but again will learn. Ive just left it, was watching a vid from trevs blog about filler and he was saying leave it to settle like overnight if you can, dont rush it or itll sink. Will see how this works out.


#74 Avtovaz

Avtovaz

    One Carb Or Two?

  • Members
  • PipPipPipPipPipPipPip
  • 1,132 posts
  • Location: widnes

Posted 02 September 2018 - 07:10 PM

Did a bit more today, ill just show the pics and you can see what ive done.


IMG_2714.JPG


IMG_2715.JPG


IMG_2716.JPG


IMG_2717.JPG


IMG_2718.JPG


IMG_2719.JPG


IMG_2720.JPG


This is the rear corner of the door repair now


IMG_2721.JPG


IMG_2722.JPG


IMG_2723.JPG


IMG_2724.JPG


IMG_2725.JPG


IMG_2726.JPG


Im very happy with what i have done so far. But i know i can get it even better, instead of using teh grinder all the way as ive done before, i have been grinding the weld down so its still there, then using the bastard file to finish it off, Seems to make a much better job of it than any other way ive done before. Down side its psychical work LOL! Ive never done it like that before, and as i keep saying, im learning still.


So with my door something like, i went in for tea, then went out again and started on the filler on the quarter.


again decided to sue the bastard file on the filler and it worked out much easier for me!


IMG_2727.JPG


IMG_2729.JPG


IMG_2730.JPG


IMG_2731.JPG


Now im more than happy with what im doing, and the way im doing it. So i cut the rot out, weld the bit in, make sure its at the right height with a saw blade, weld it in, use the saw blade again to see how the metal has moved, grind off most of the weld, use the bastard file to finish it off checking with the saw blade....


Is this file for lead loading? I rescued it from my dads scrap pile when i was about 5, and never used it, but its ace for filler...


IMG_2728.JPG


#75 minimissions

minimissions

    Up Into Fourth

  • Members
  • PipPipPipPipPipPipPipPipPip
  • 3,427 posts
  • Location: North West
  • Local Club: M.M.O.C

Posted 03 September 2018 - 05:39 AM

Nice work on that door and rear quarter. When is the roof going back on? or you not quite finished on the gutter work?


0 user(s) are reading this topic

0 members, 0 guests, 0 anonymous users