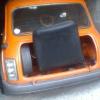
Hi mate , will be s new roof cut at the pillars now , won’t look right otherwise . Just waiting for Dave from whitchurch who brakes minis to get one in .


Mini Dis-Advantage Project
Started by
Avtovaz
, Jul 22 2017 04:42 PM
504 replies to this topic
#76

Avtovaz
-
- Members
-

- 1,312 posts
One Carb Or Two?
- Location: Babylon and Ting
Posted 03 September 2018 - 09:08 AM
#77
Avtovaz
-
- Members
-
- 1,312 posts
One Carb Or Two?
- Location: Babylon and Ting
Posted 06 September 2018 - 07:48 PM
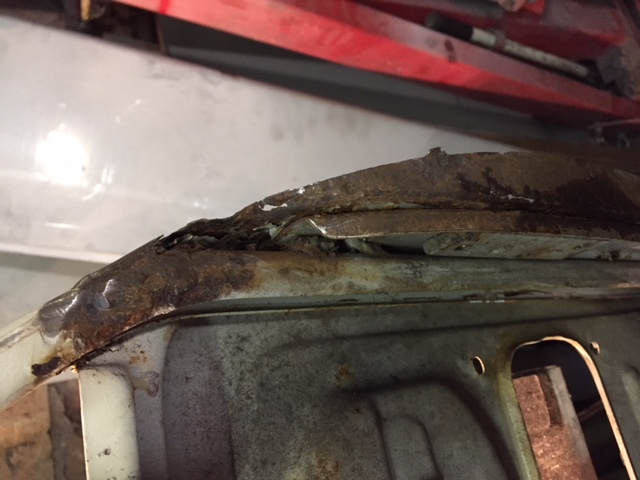
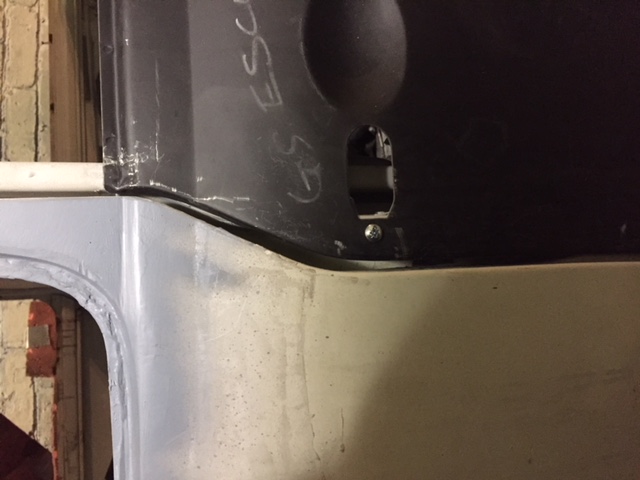
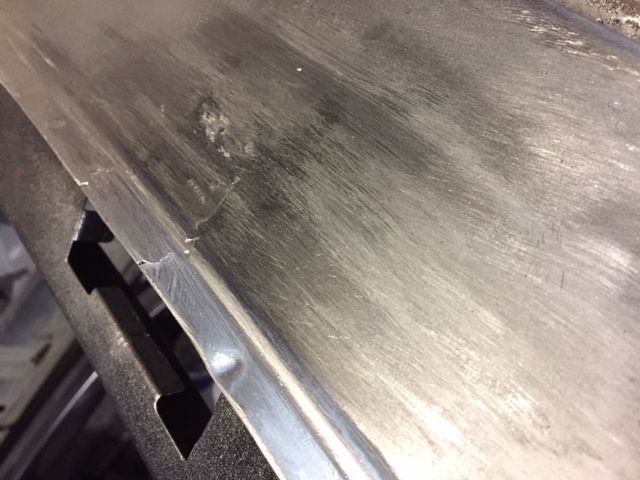
so found more rust higher in the door where the top hinge was... Repaired that and 2k epoxy primed the door. Will then flat it a bit and put some filler on teh little bits it needs...

adn the file i asked about, i asked my dad and he said it was for filing the leading edge off brake shoes when they are new to stop them squealing!!
#78
Risky
-

- Members
-
- 213 posts
Mini Mad
- Location: Zegge (The Netherlands)
Posted 07 September 2018 - 07:39 PM
Nice project! You definitely do the job thoroughly!
#79
Avtovaz
-
- Members
-
- 1,312 posts
One Carb Or Two?
- Location: Babylon and Ting
Posted 07 September 2018 - 07:54 PM
thankyou! im trying to get it as good as i can, no time limit on this, but id like to drive it some time soon !!
Did a little bit more today, not much as i had to goto the tip and the throttle pedal broke on my E39...
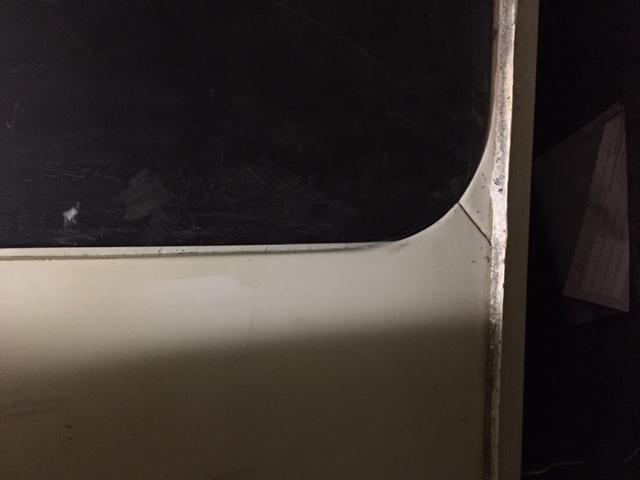
Door skin got some sound deadening, and also lightly fitted to the door, and tried on the car. Was quite surprised, the seam ligned up quite well first time off, but its hitting at the bottom rear edge, maybe that is because the skin isnt folded over properly there yet, and also, the gap at the top it rubbish. But this could be as its a magnum skin and ive no idea how good or bad they are until now!
Not exactly sure what to do yet but will be hopefully doing some tomorrow depending on how late im at work tomorrow.
#80
antidigerati
-

- Noobies
-
- 23 posts
Learner Driver
- Location: Victoria BC
Posted 08 September 2018 - 06:35 AM
Really enjoying your project. I have some rot by the windows of my corner panels as well. A local mechanic suggested just using some POR-15 and fibreglass matting from behind and then filler over the top to make it flush.
Seeing how you welded new patches in there gives me some confidence to attempt the same. Thanks!
#81
Avtovaz
-
- Members
-
- 1,312 posts
One Carb Or Two?
- Location: Babylon and Ting
Posted 08 September 2018 - 07:51 PM
Defo weld them if you can mate! better in the long run. Thanks for the comments ;)
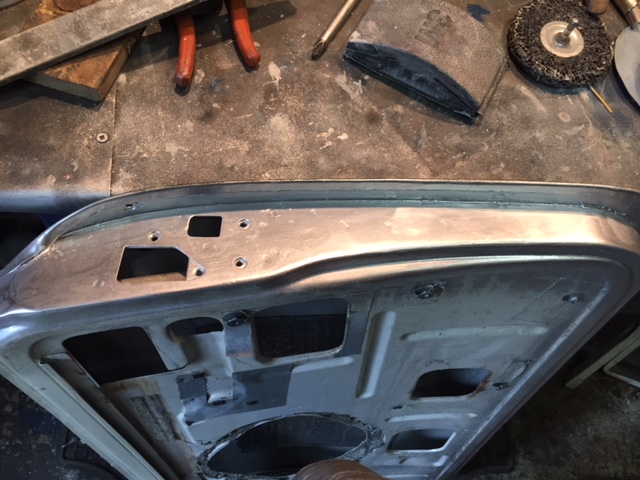
Did a bit more today, tapped the skin over a bit more and bolted the door back on with some packers that where there when i took the door off... When i put it on it fitted really well! Just around the handle curvy bit was not that good but i can sort that out.
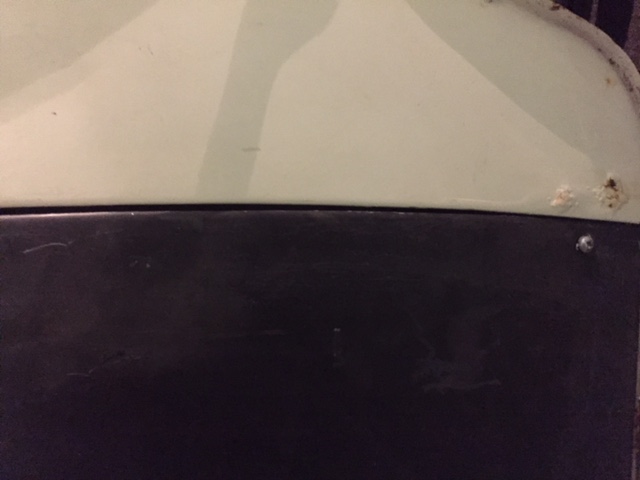
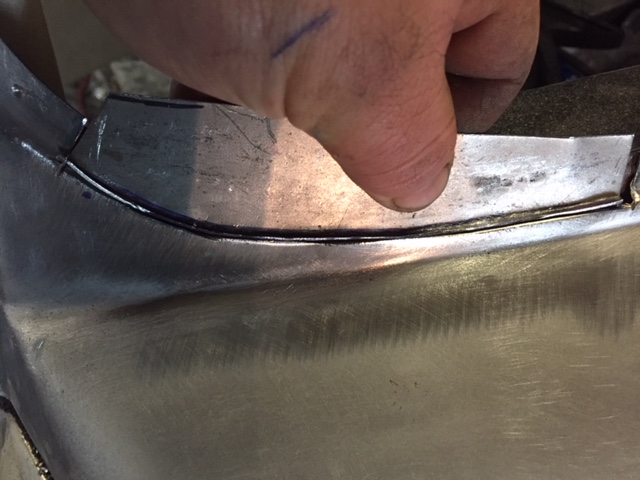
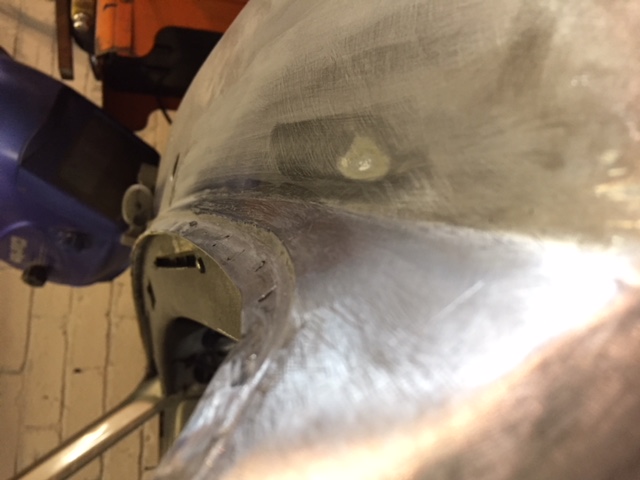
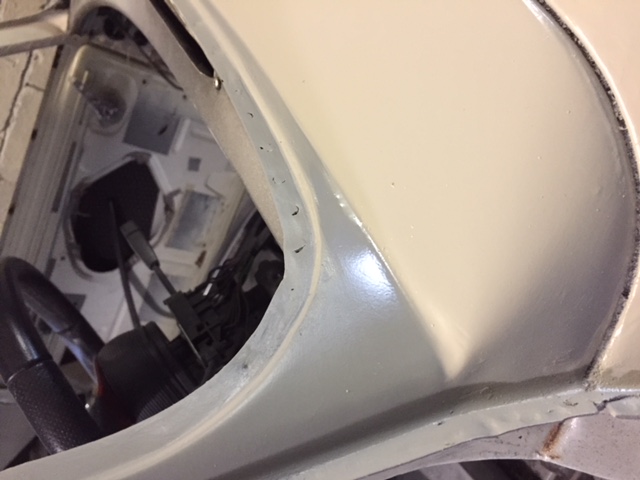
Put some filler in the door and decided to look at the scuttle as i know it needed at least one repair on the drivers side under the rubber, so i took all the paint off, and was expecting there to be filler and bodging but...
Only a little more rust found in the center that ill treat with some rust remover. I cant believe it, there is no rust in it and its the original one too!
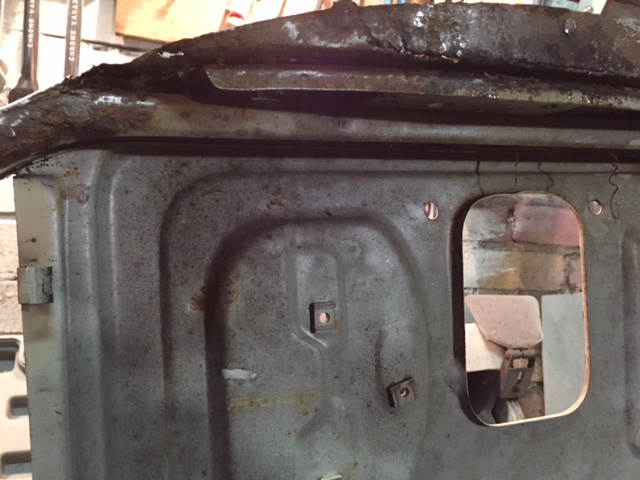
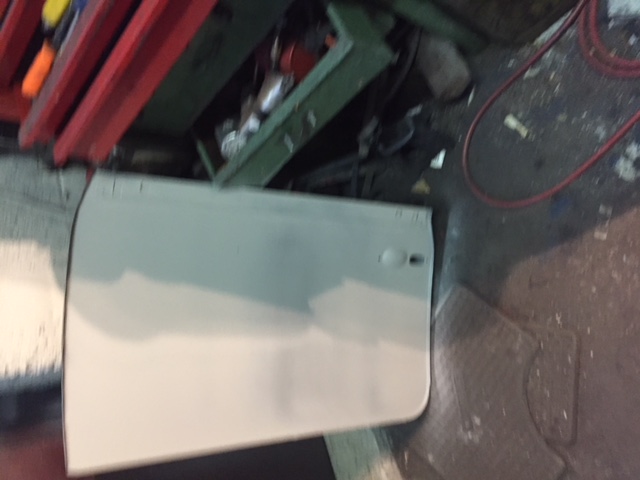
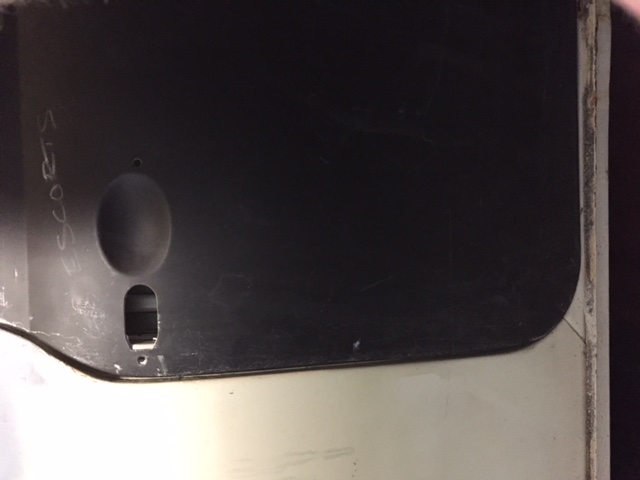
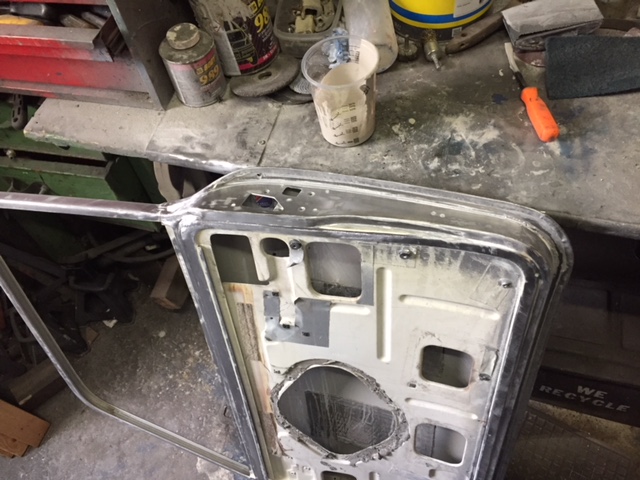
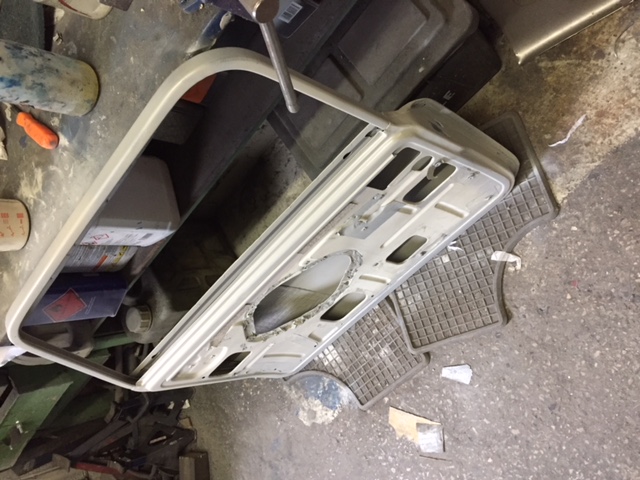
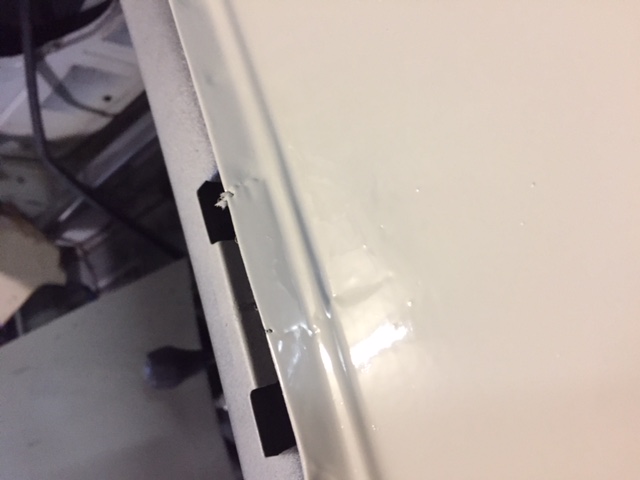
One pic of the door, thought i took more. Im no good with filler and i do hate doing it so i will leave it like this until i decide who is painting the car. EIther ill do it bit by bit here at home, or ill take it into work and pay someone
#82
Risky
-
- Members
-
- 213 posts
Mini Mad
- Location: Zegge (The Netherlands)
Posted 09 September 2018 - 05:45 AM
It's important to really treat the area thoroughly around your windscreen. When doing mine I also found rust on the same spot as yours, and I also treated it with rust converter.
But after a few years the rust is coming back unfortunately.
#83
mini_matt_106
-
- Members
-
- 599 posts
Super Mini Mad
- Location: Andover
Posted 09 September 2018 - 01:28 PM
Looking really good buddy!
#84
Avtovaz
-
- Members
-
- 1,312 posts
One Carb Or Two?
- Location: Babylon and Ting
Posted 09 September 2018 - 06:12 PM
thanks ;)))
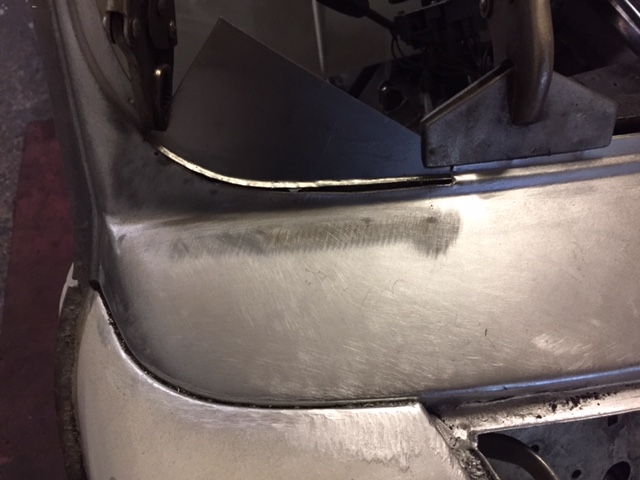
bit more done today...
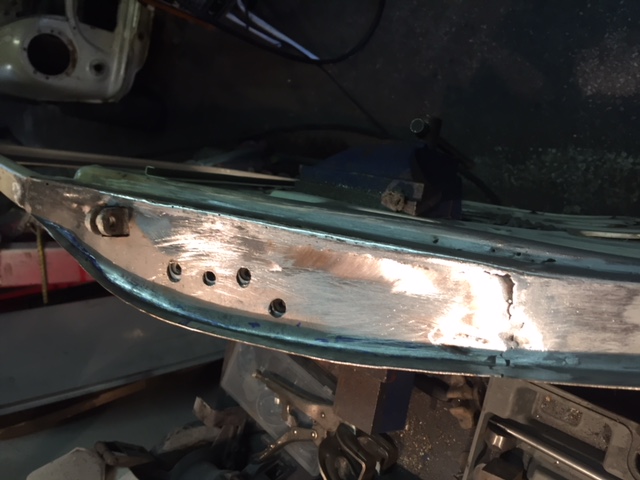
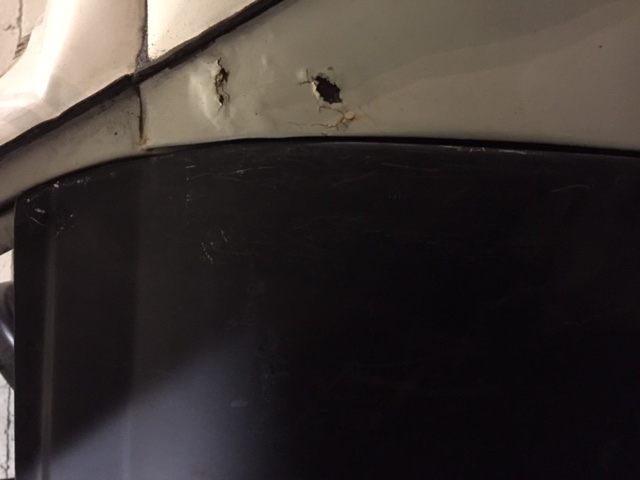
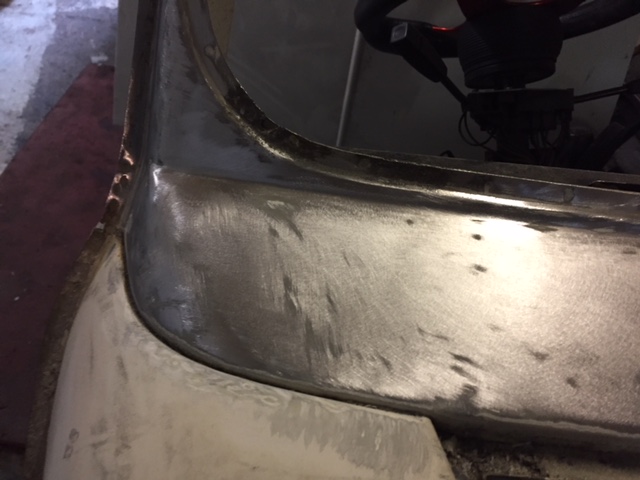
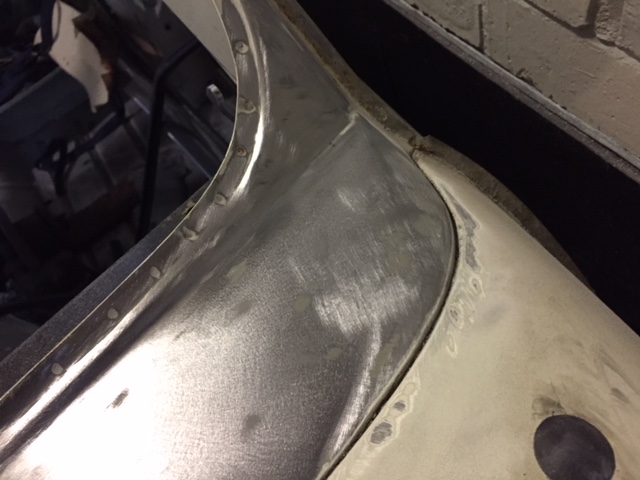
did the scuttle, wasnt looking forward to this as of the recess for the screen in the panel and always when they are not done right they stand out as everyone knows to look there. So here we went!
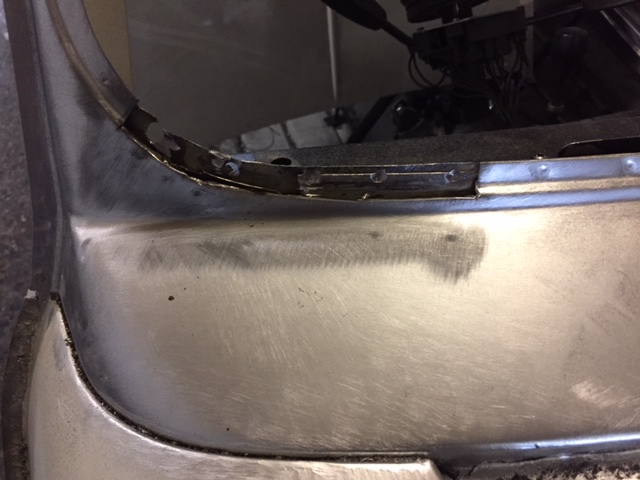
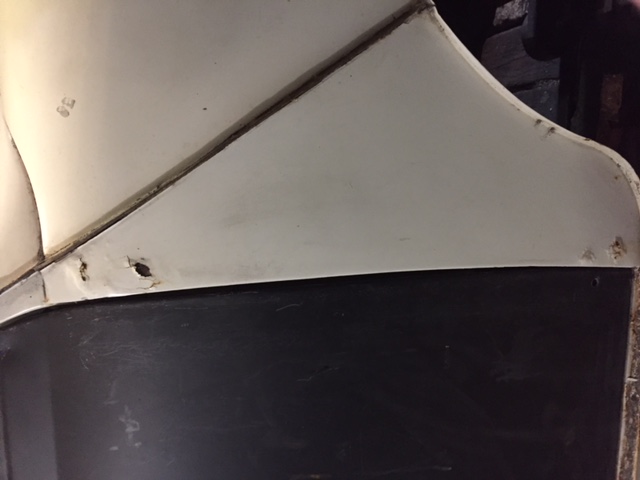
made this repair piece but it didnt quite fit right, so i made another one
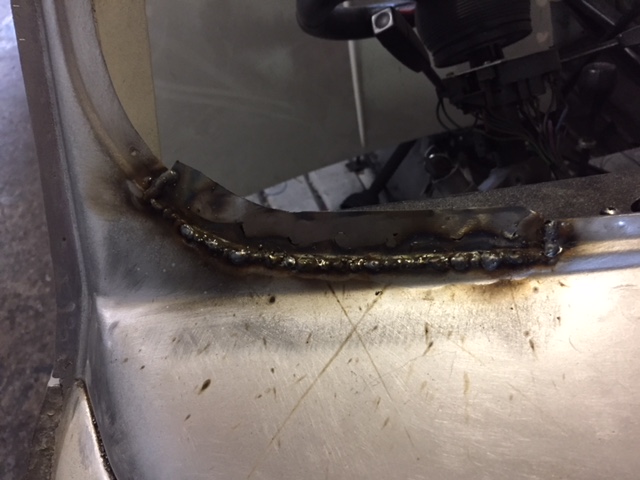
wasnt too bad at that stage, but i kept at it with the file and got it lots better
need to get the lump out
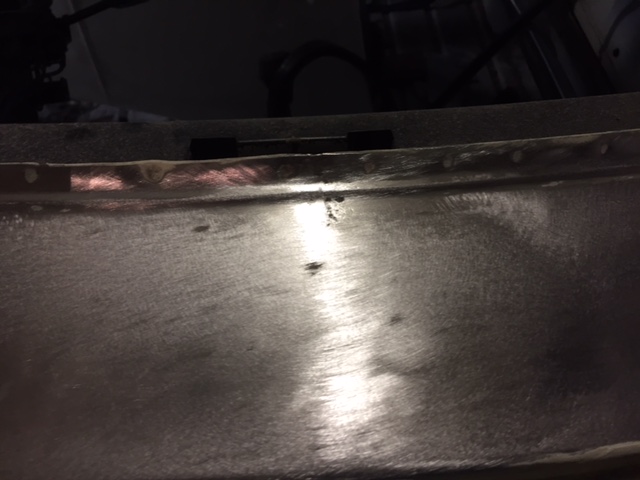
the little bit of rust in the middle...
not perfect but when its filled over as its low itll be ok
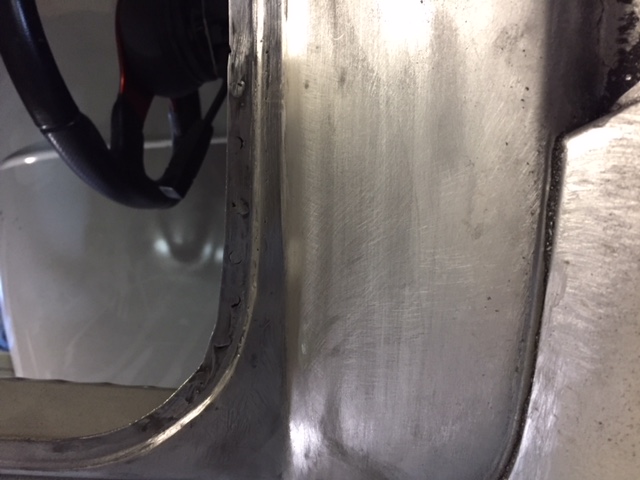
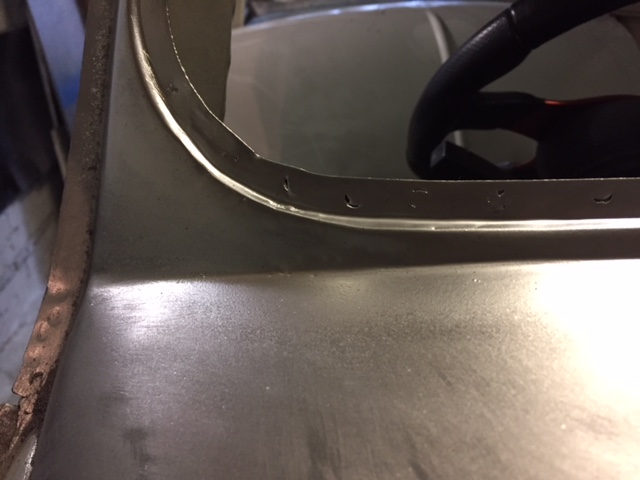
then stripped all the paint and the filler i put in the door yesterday LOL!
epoxy primed the door and the scuttle
ill see how it looks tomorrow...
#85
Ben_O
-

- Paint Doctor
-
- 9,794 posts
Mill Road Garage
- Location: Isle of Wight
Posted 09 September 2018 - 08:26 PM
Looking good!
#86
minimissions
-

- Members
-
- 3,427 posts
Up Into Fourth
- Location: North West
- Local Club: M.M.O.C
Posted 10 September 2018 - 05:30 AM
Nice repairs there mate...
#87
Risky
-
- Members
-
- 213 posts
Mini Mad
- Location: Zegge (The Netherlands)
Posted 10 September 2018 - 02:32 PM
Looking good!
#88
Avtovaz
-
- Members
-
- 1,312 posts
One Carb Or Two?
- Location: Babylon and Ting
Posted 11 September 2018 - 07:30 PM
thanks for the comments! first time doing this, some of it seems to be working out quite well, but there is a big job on its way now!
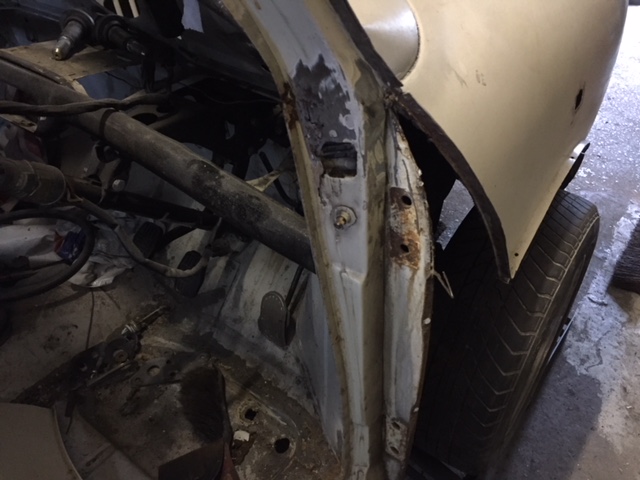
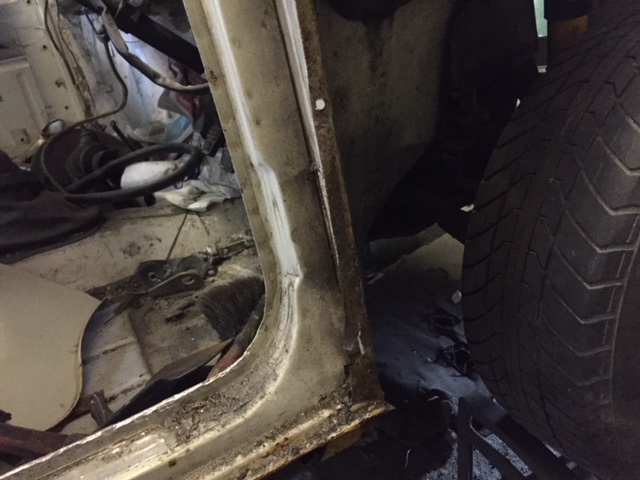
Now the guy i bought the car off was selling it for his mate who had cancer he said, so it wasnt the actual guy who owned it i bought it off. Now, he said the actual words to me " its never been welded " now while the shell is actually really sound in some surprising places, its got over sills on it.. So today i cut one off as i only had a few mins to work on the car.
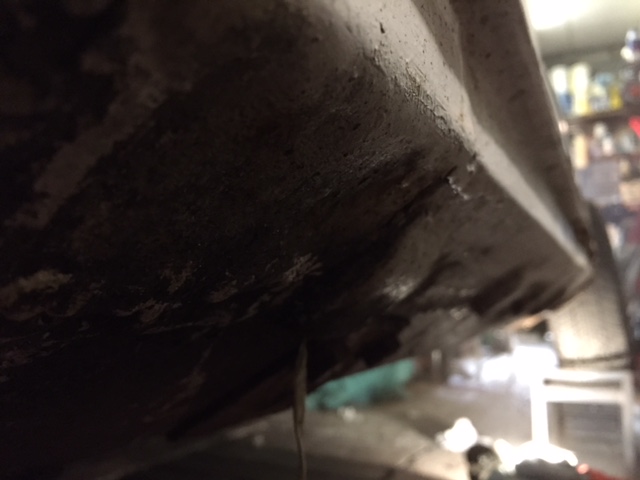
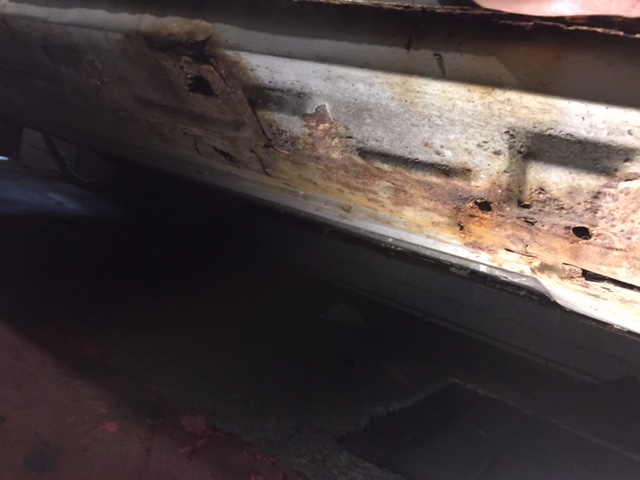
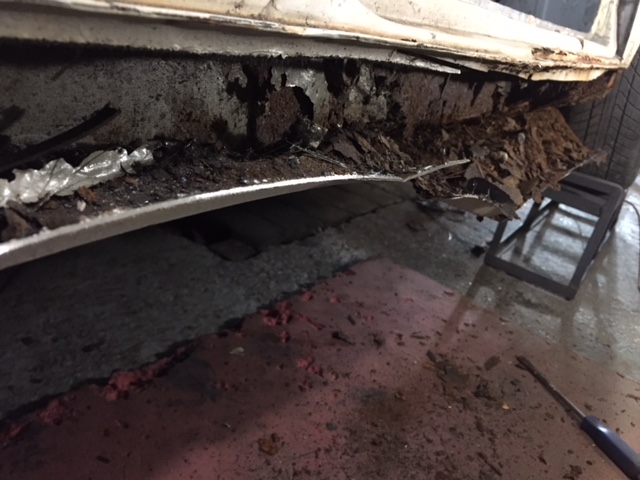
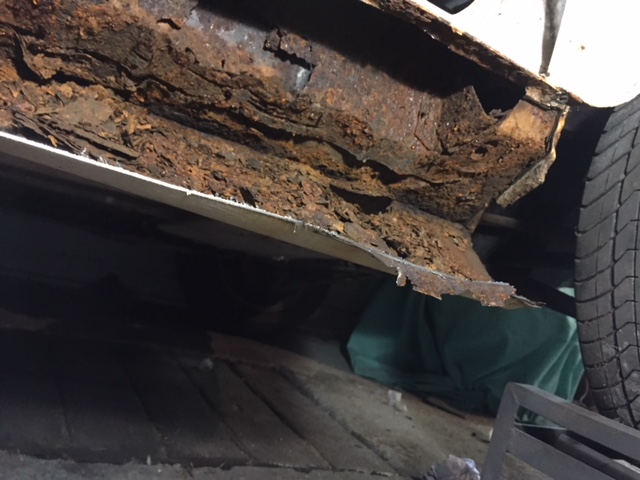
inner sill had patches on it well disguised!

So im going to order some of the full sill assembly’s, to the first rib of the floor. Ive watched the vids matgreen16v did on this and it cant be too hard, he used magnum panels and said they fitted quite well...
#89
minimissions
-
- Members
-
- 3,427 posts
Up Into Fourth
- Location: North West
- Local Club: M.M.O.C
Posted 12 September 2018 - 05:36 AM
mmm crusty mini I have seen and owned to many of these haha
#90
Avtovaz
-
- Members
-
- 1,312 posts
One Carb Or Two?
- Location: Babylon and Ting
Posted 15 September 2018 - 07:38 PM
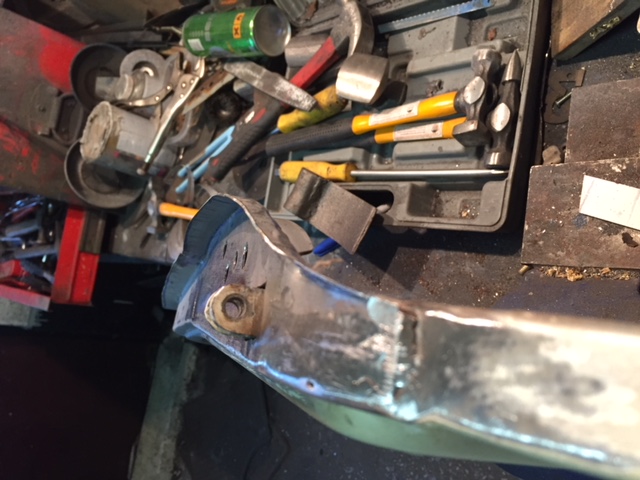
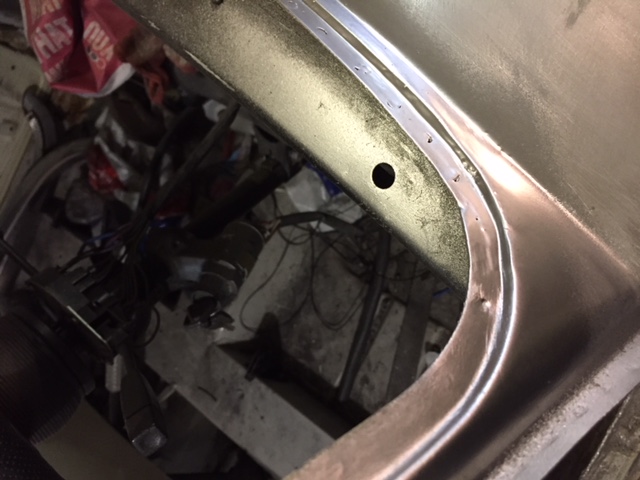
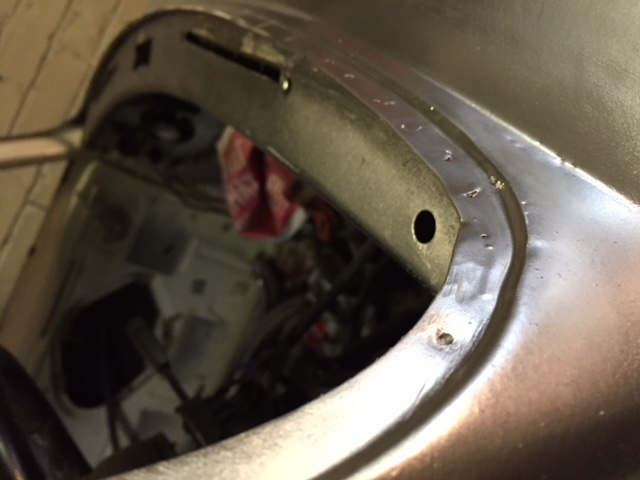
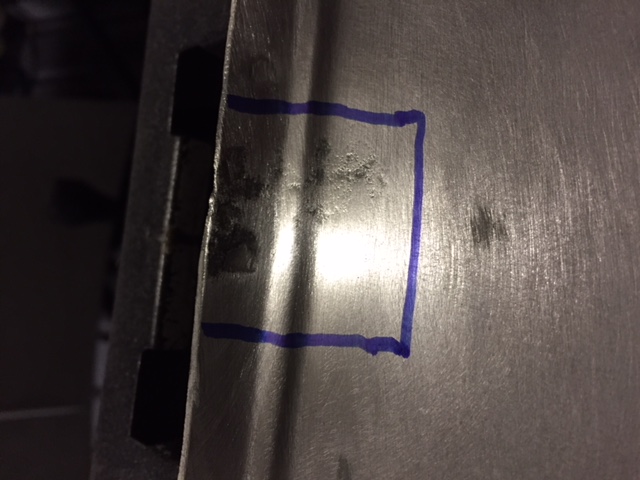
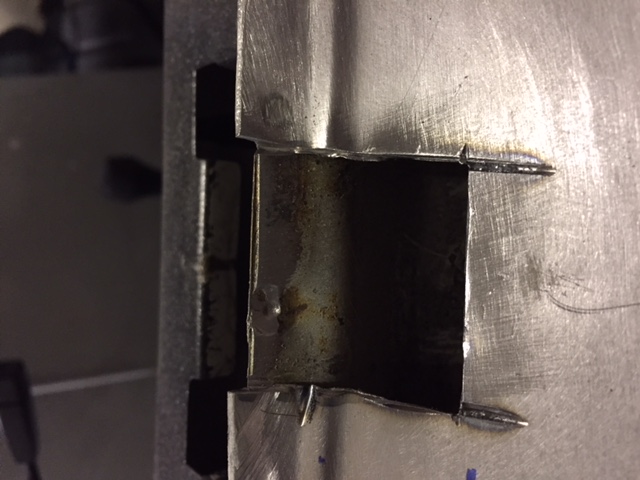
did a little bit more today... Started on the engine bay, sills etc have been ordered but not here yet.
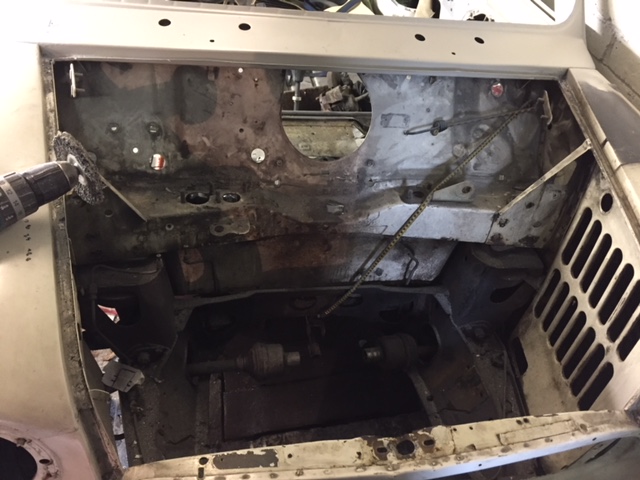

cut the steady bracket off to get the rust out

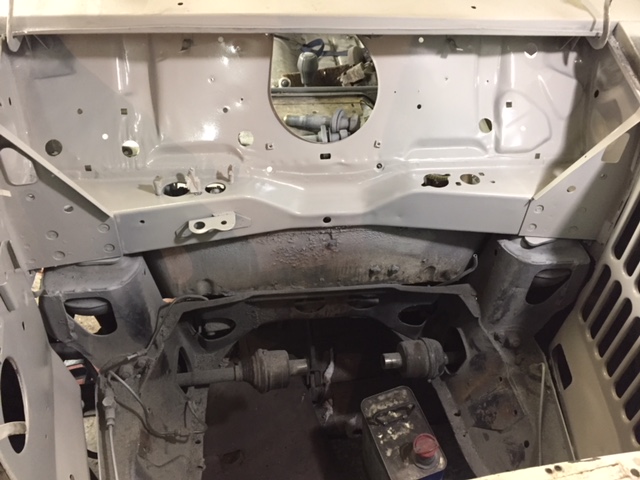
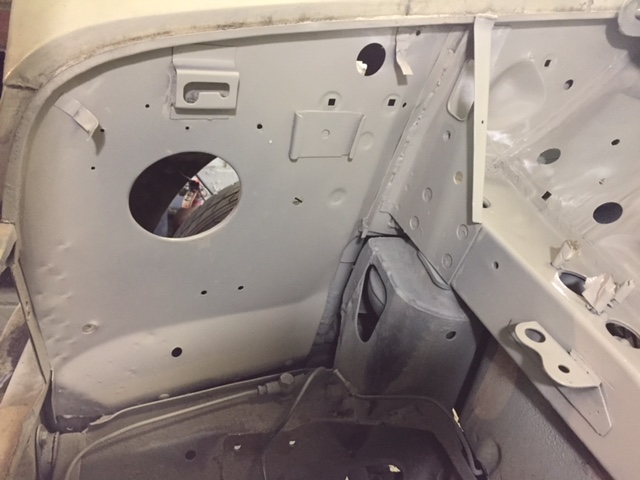
Not 100% right but only a few little bits to redo,,,
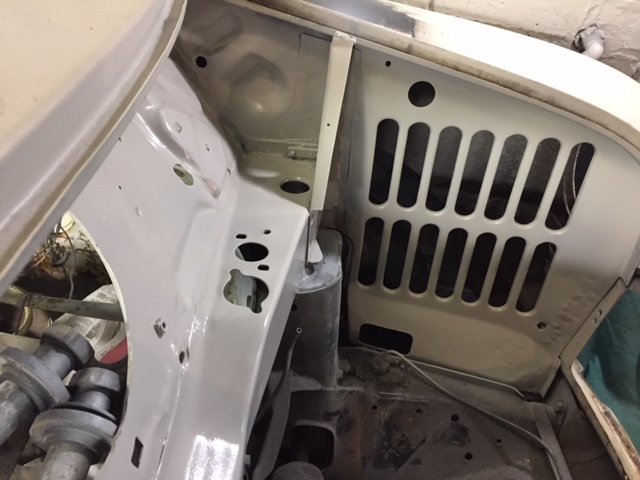
A panel off
post needs some repairs...
Will crack on tomorrow


0 user(s) are reading this topic
0 members, 0 guests, 0 anonymous users


