

Hi All,
Since I truly enjoy reading about all your rebuilds I decided to give you a peek into mine.
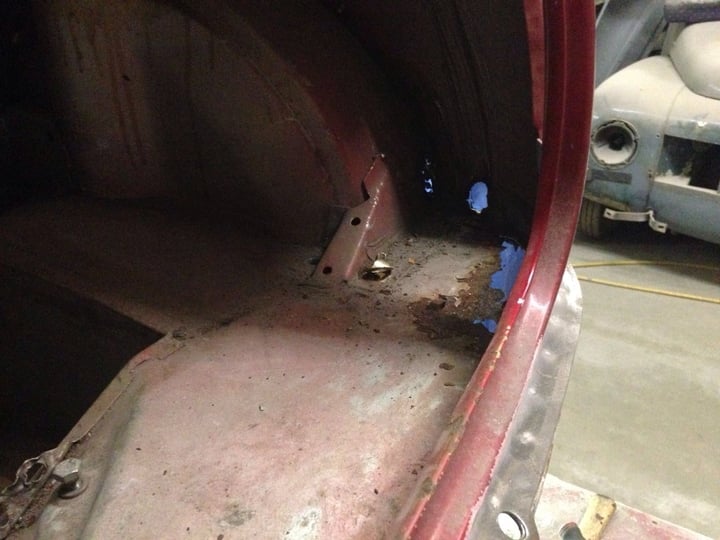
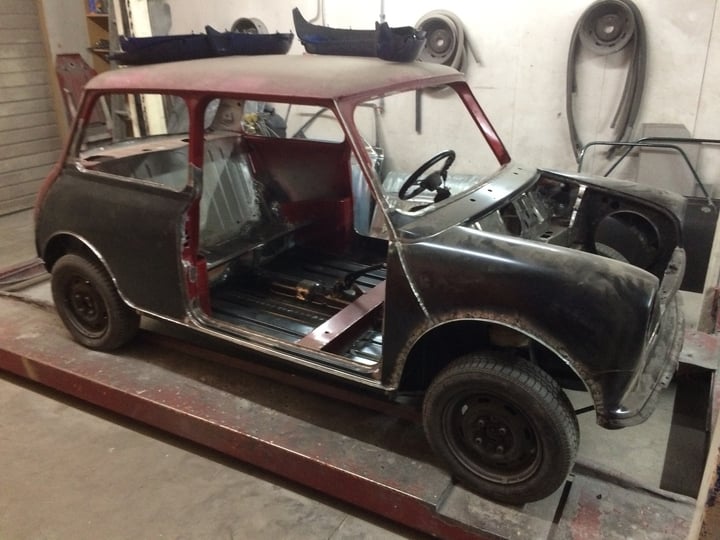
I bought this car back in 2008, drove it around for two years and than put it away in garage because rust was making it impossible to keep it roadlegal.
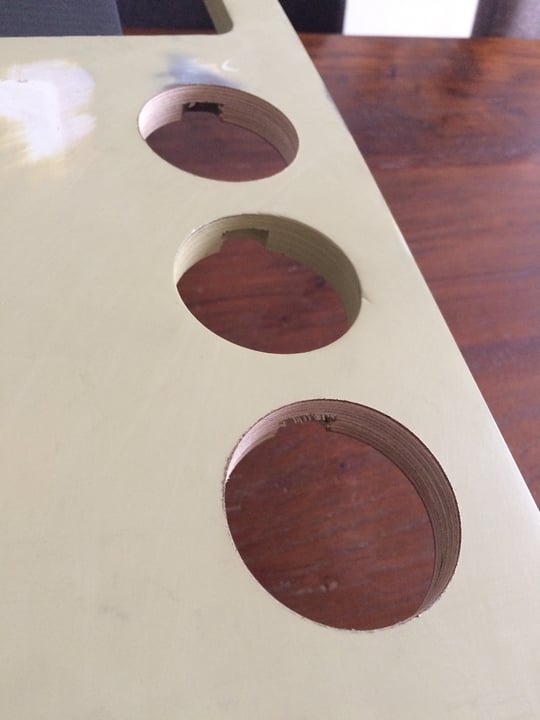
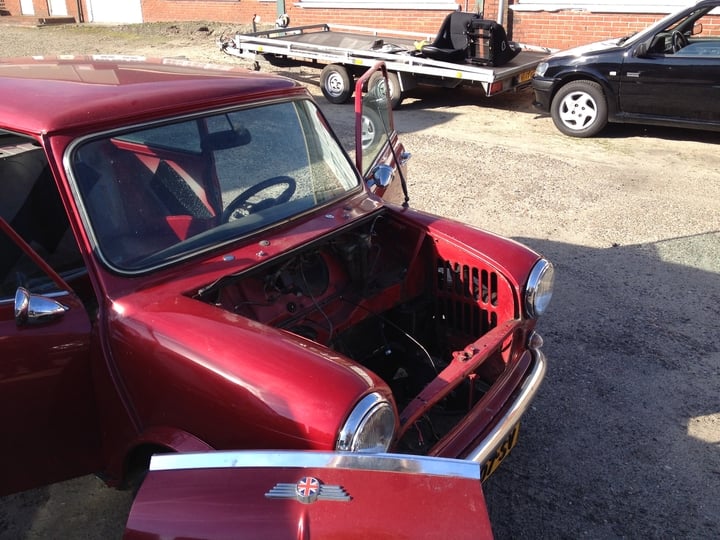
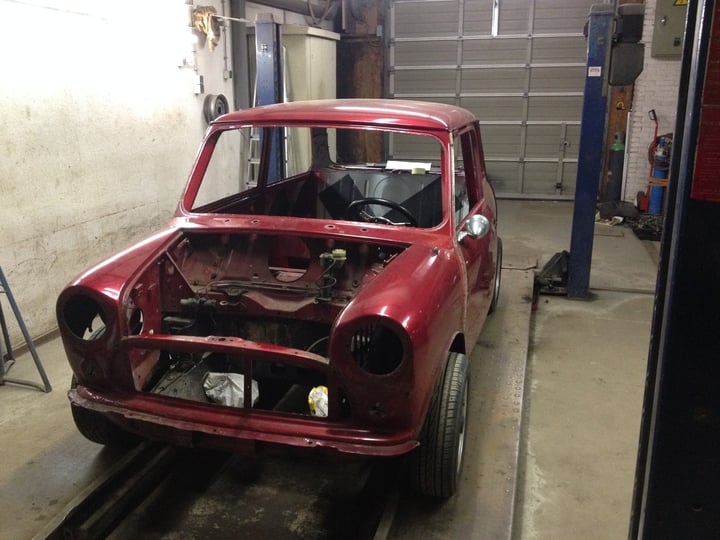
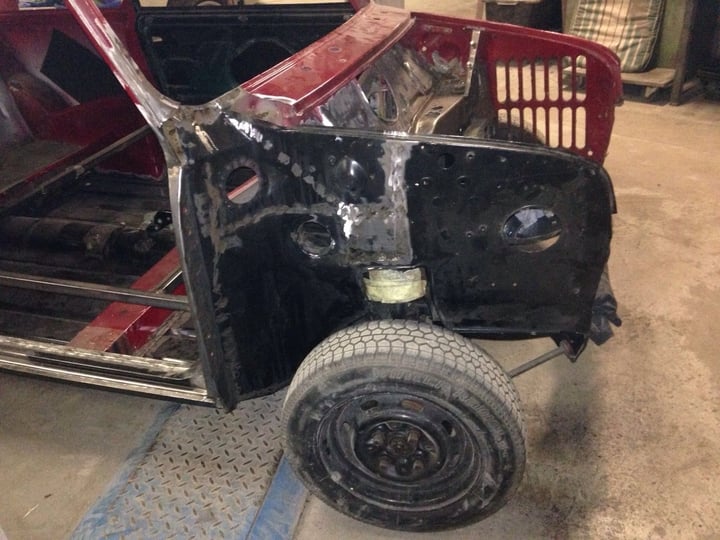
As you can see the car had been redone by a previous owner, not the best work i've seen and missing a lot of the original parts.
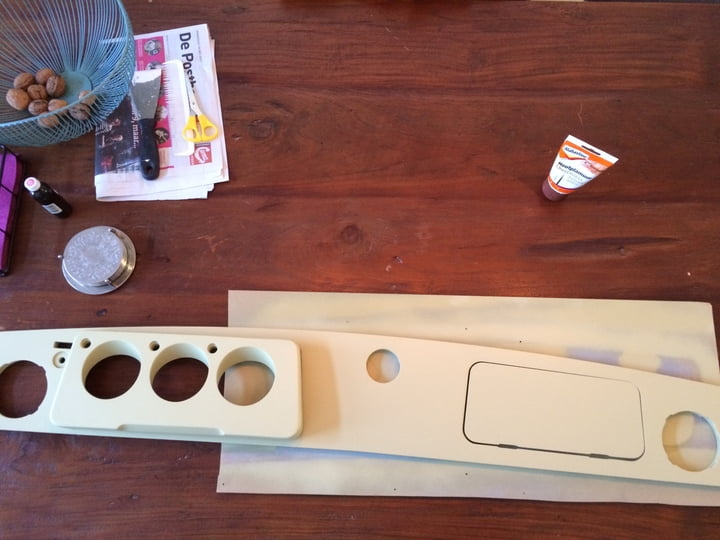
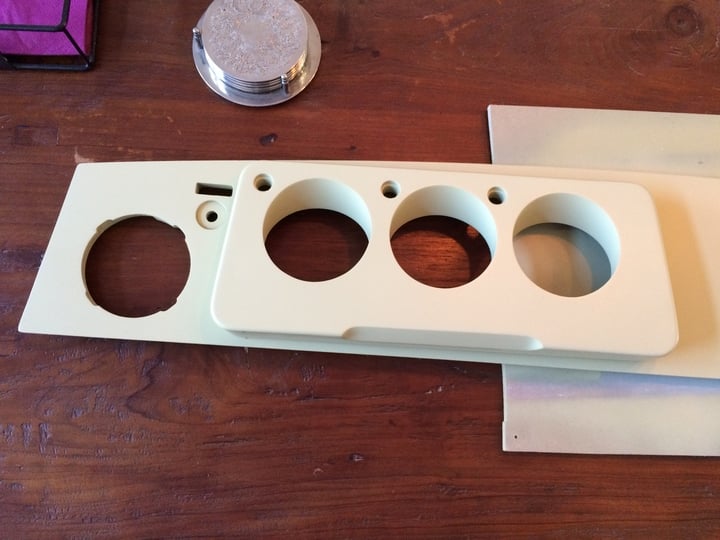
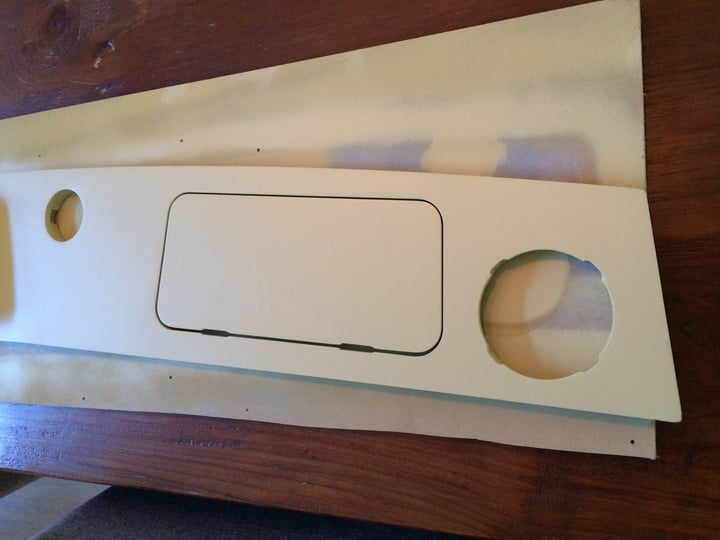
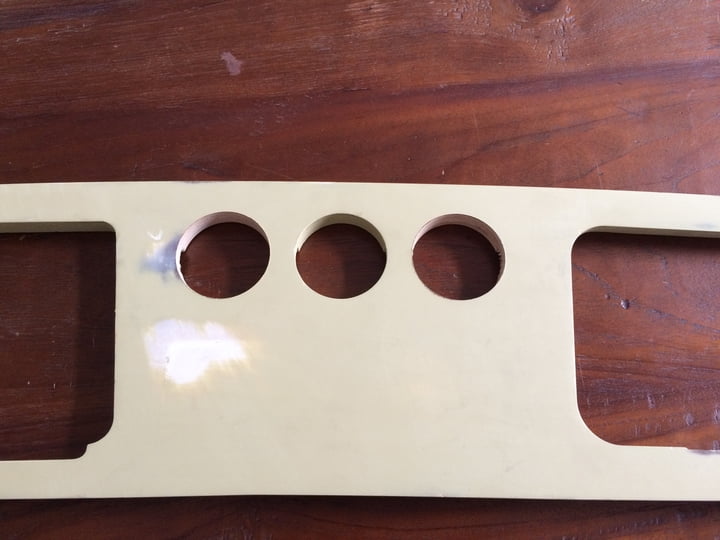
the only original interior parts were: the rear seat and the dashboard.
Eventhough i have collected most of the original parts I am not going back to original, the plan is:
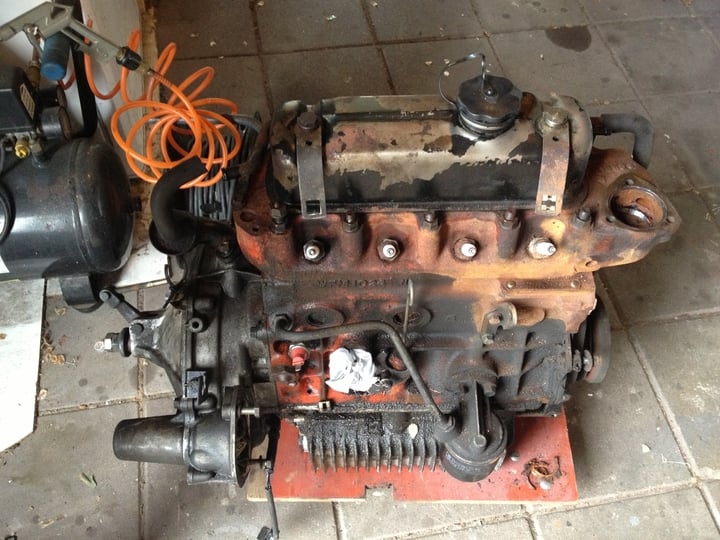
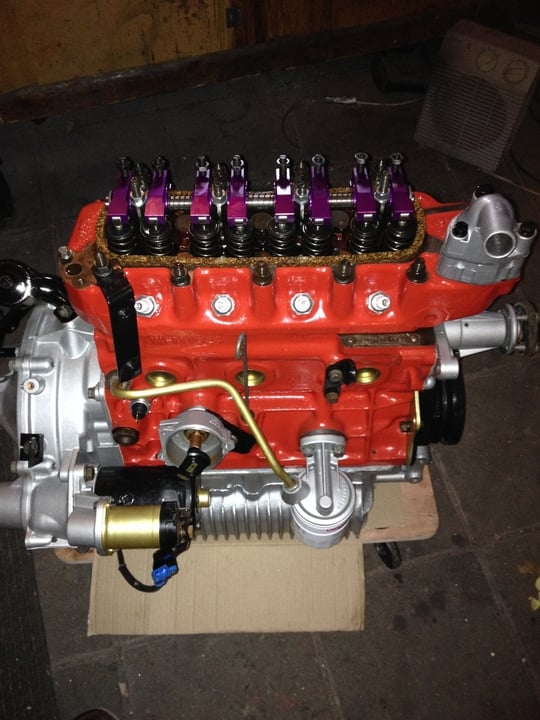
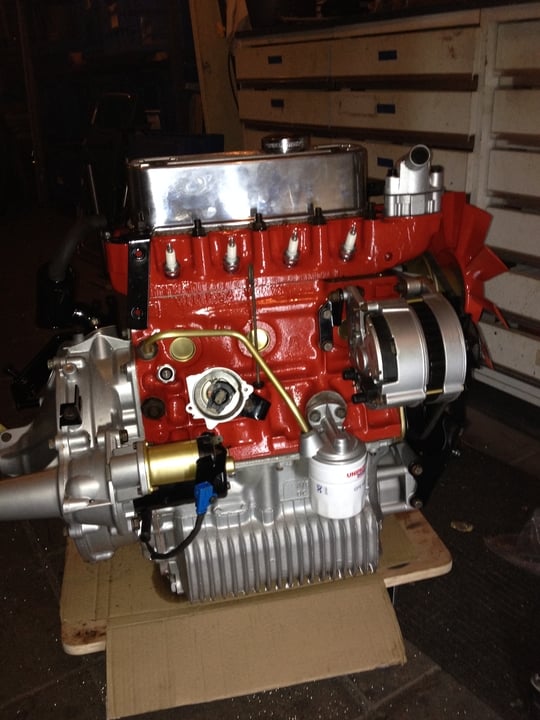
1275 SPI engine
black MPI interior (including MPI dash with magnolia cauges)
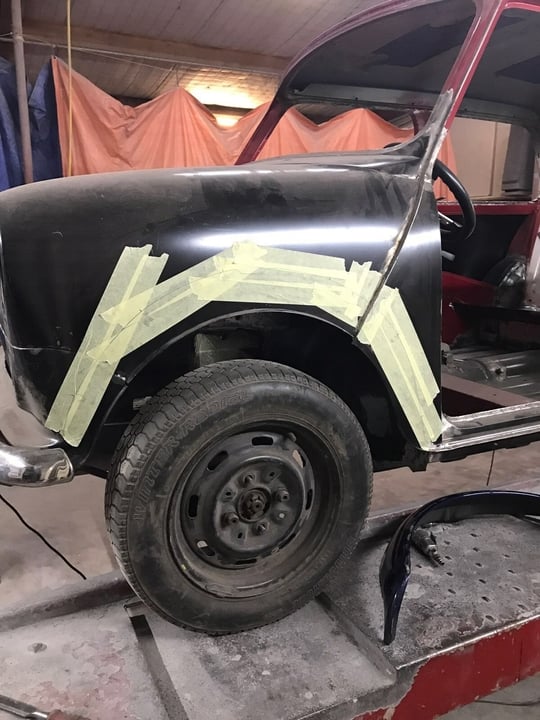
sportpack wheelarches
13 inch performance supalite
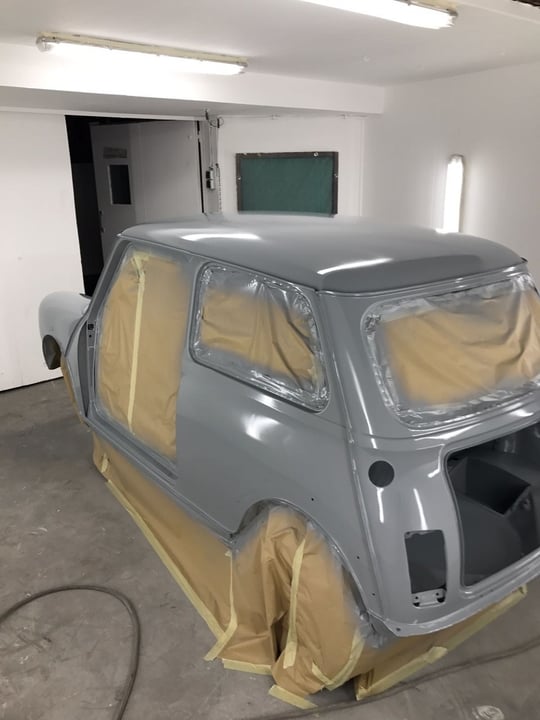
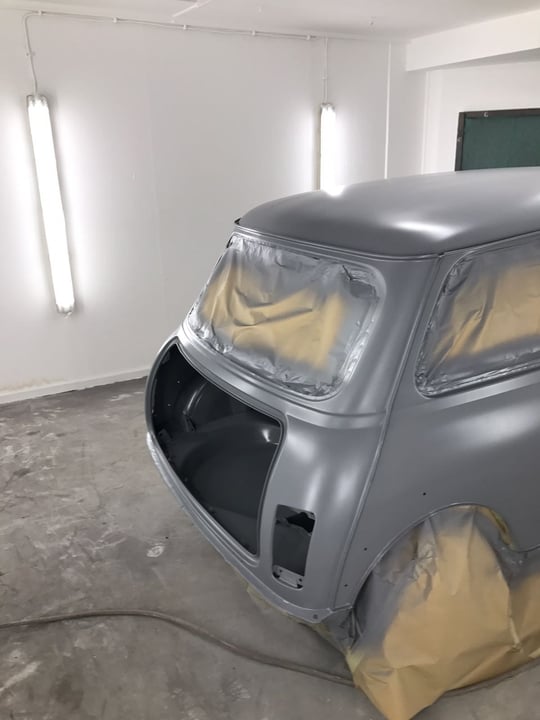
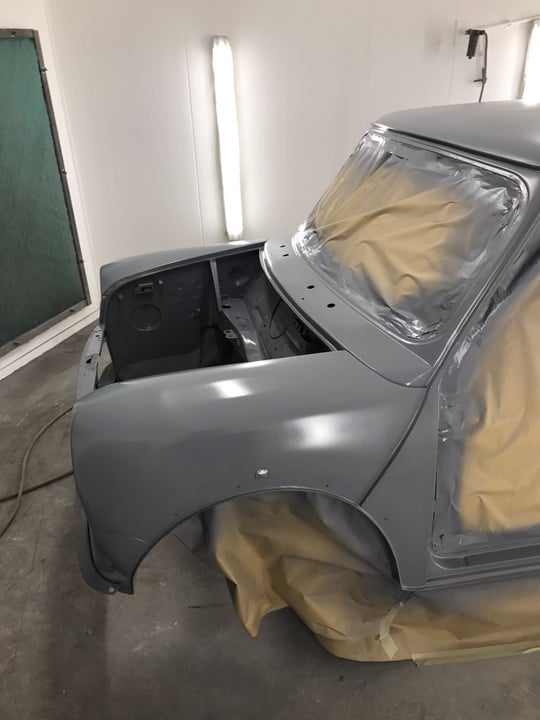
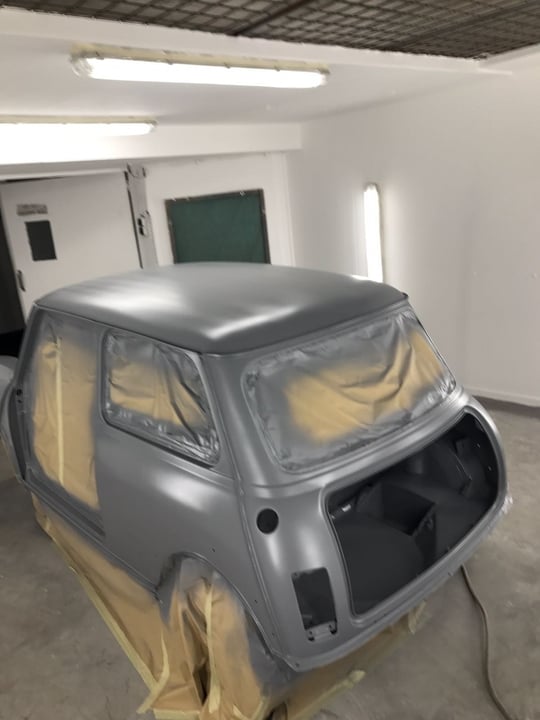
Platinum Sylver ( MNX ) (mini 40)
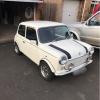
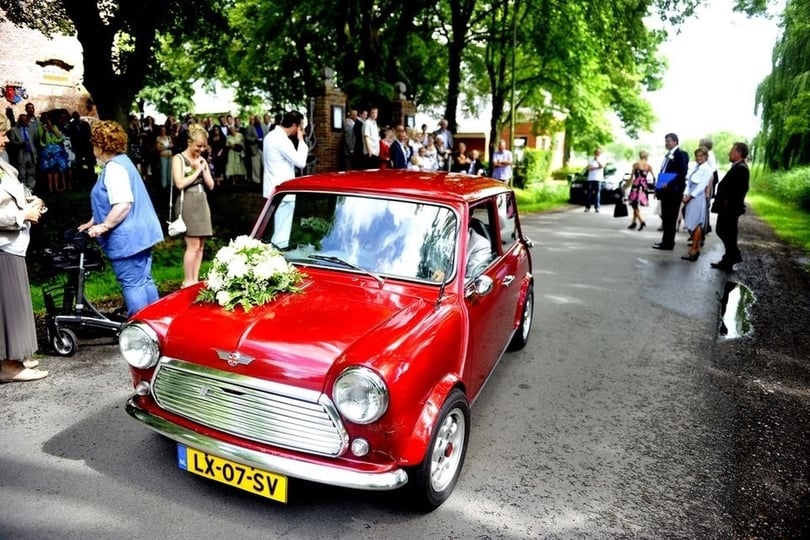
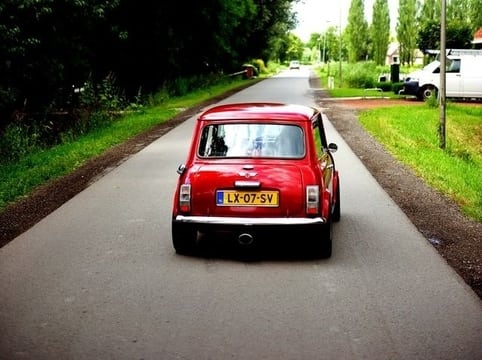
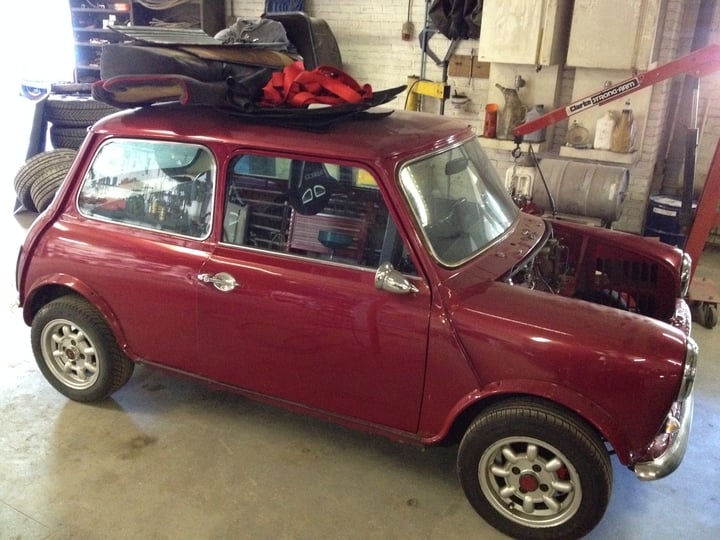
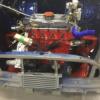
This is what it looked like on its last ride: (not my wedding)
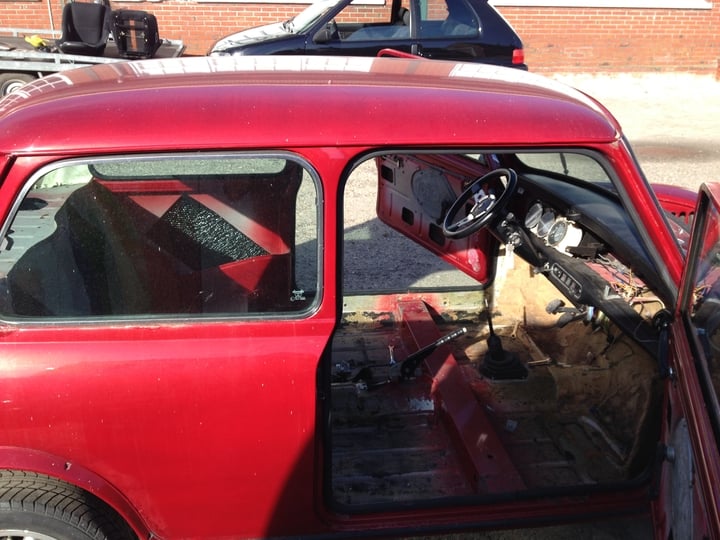
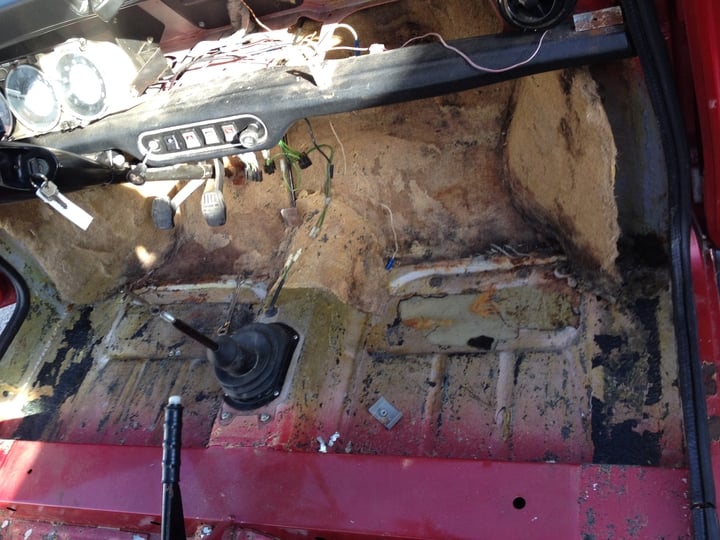
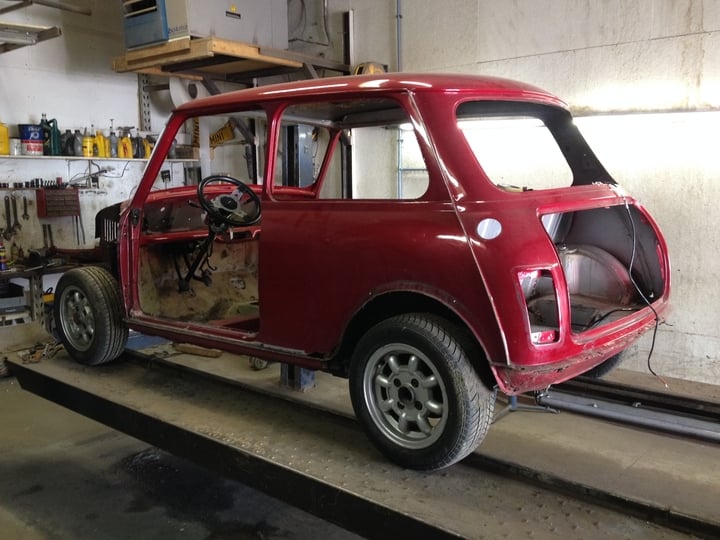
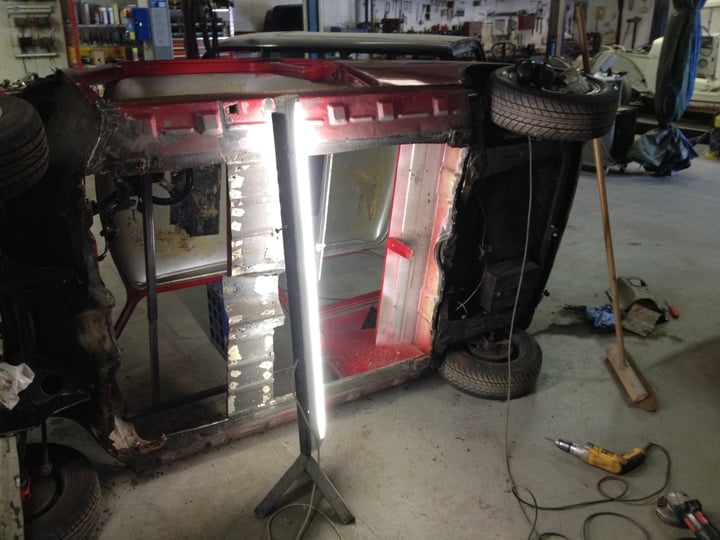
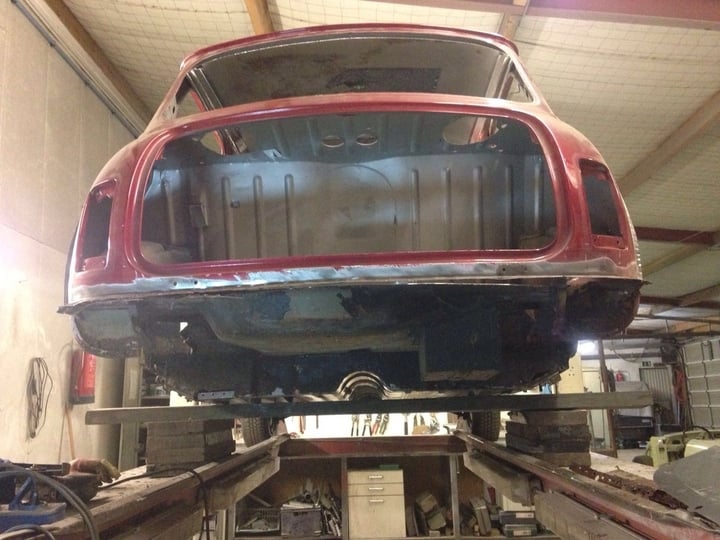
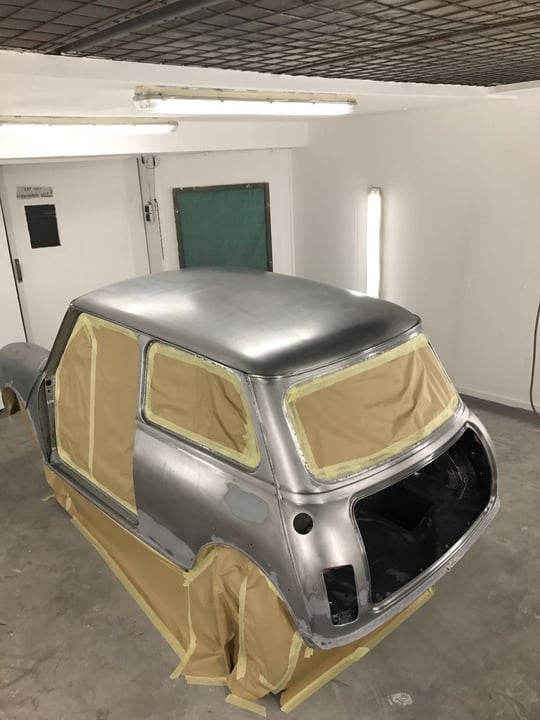
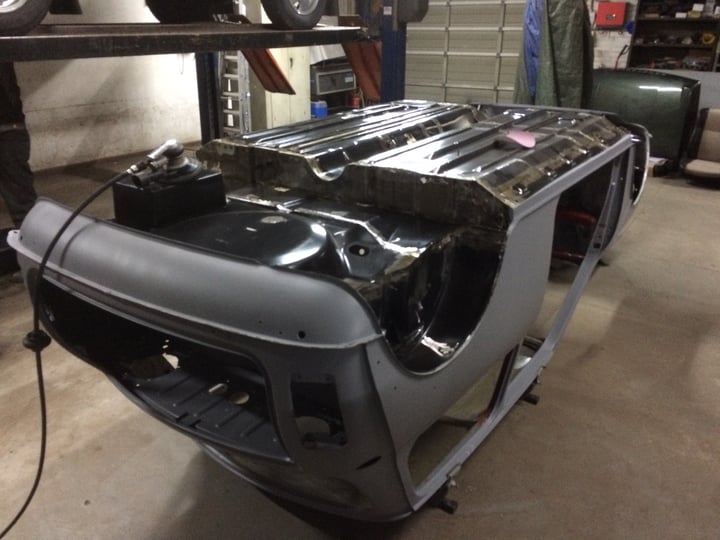
started stripping down the car:
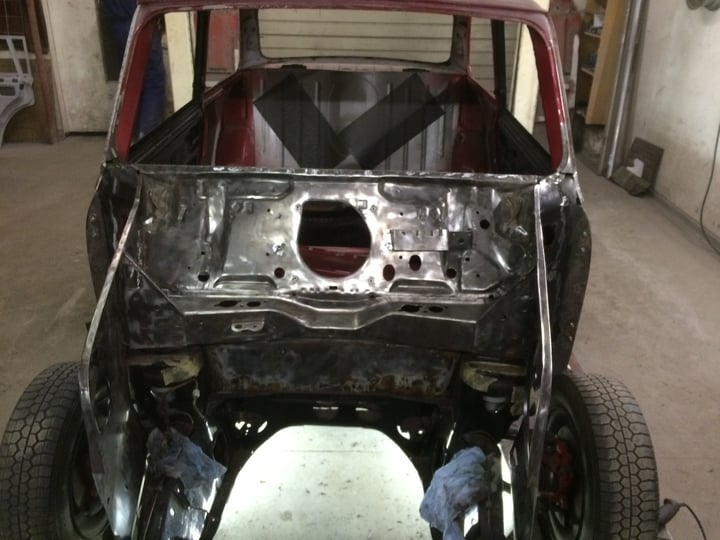
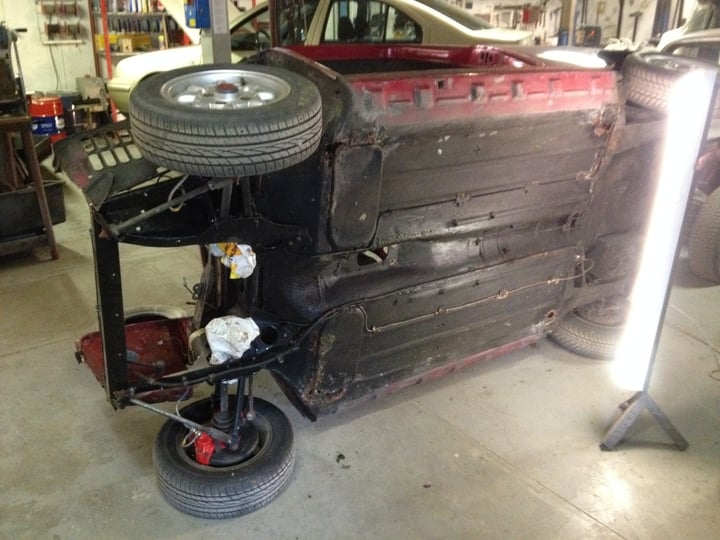
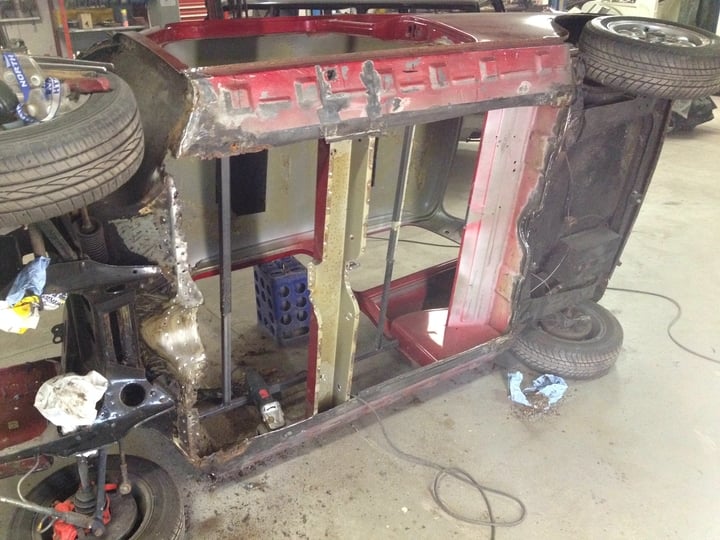
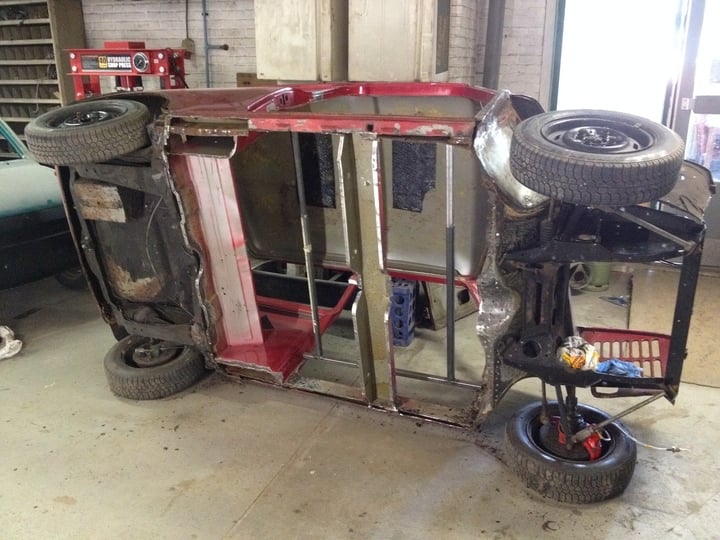
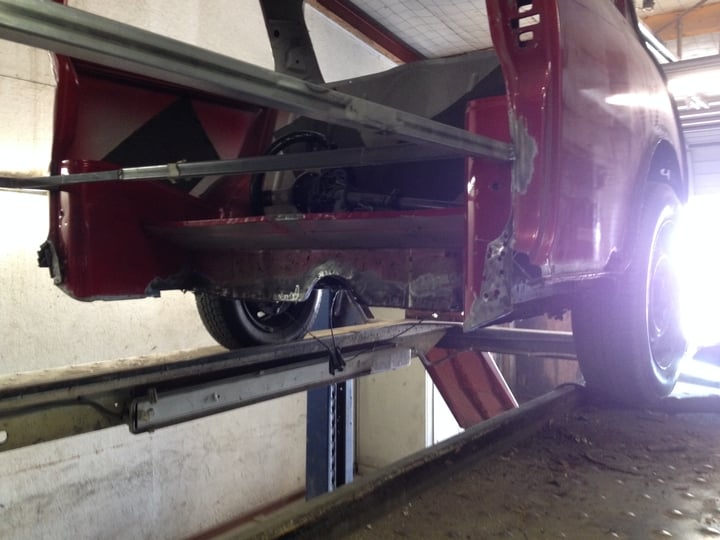
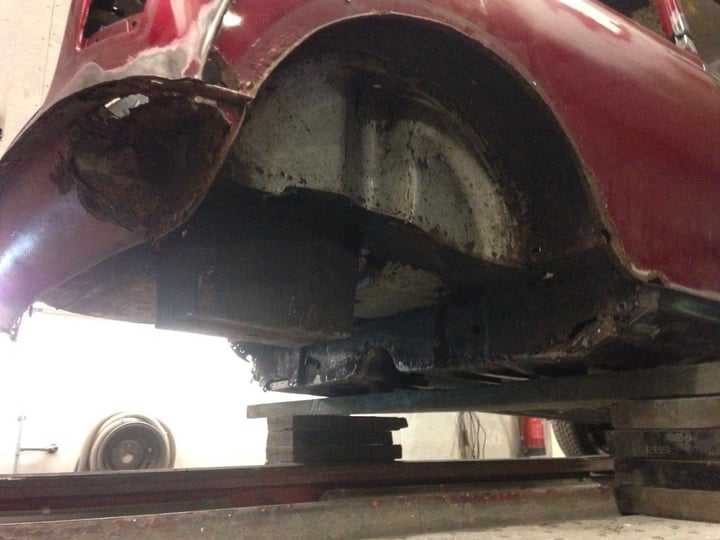
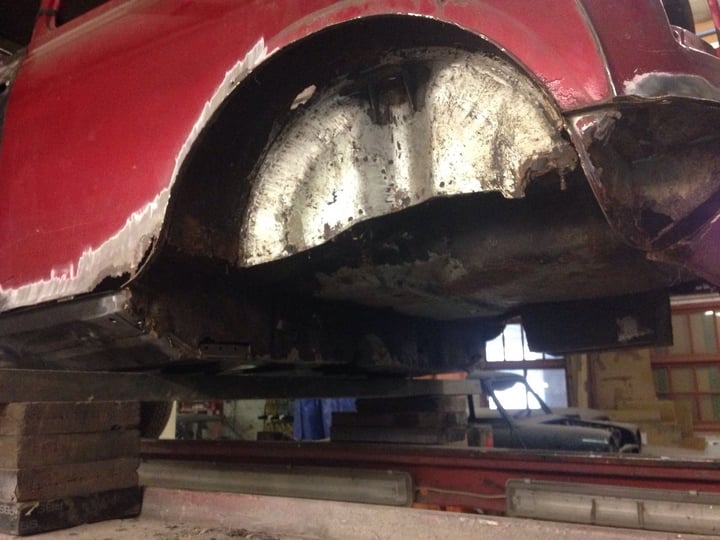
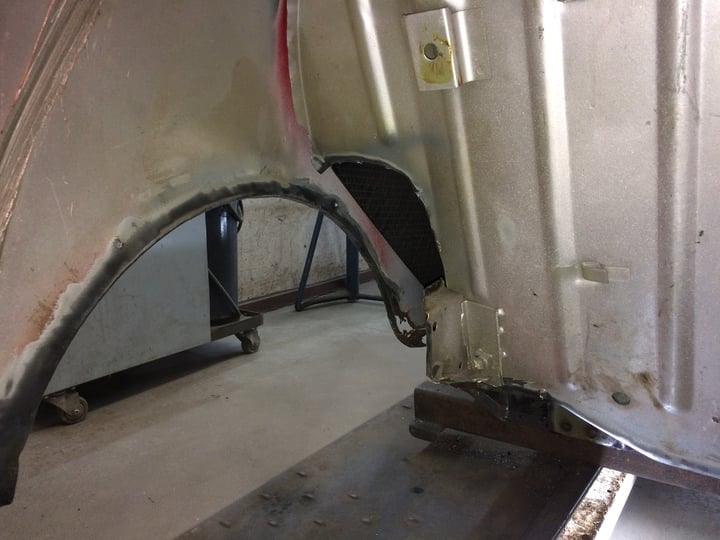
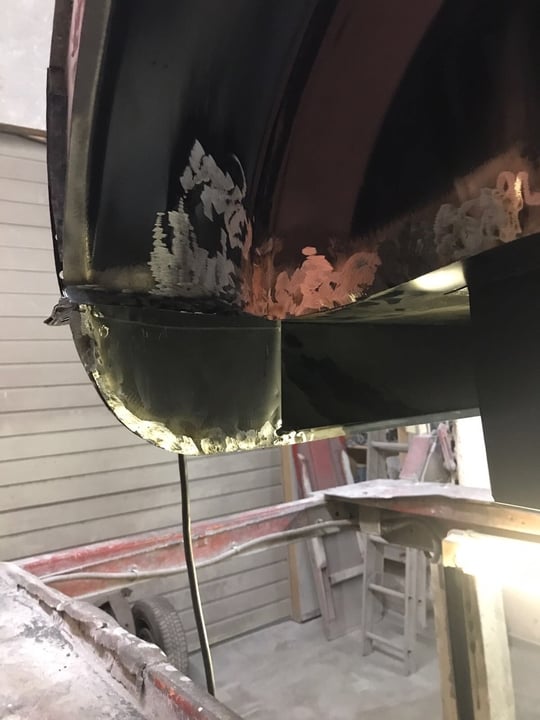
Time for some chopping:

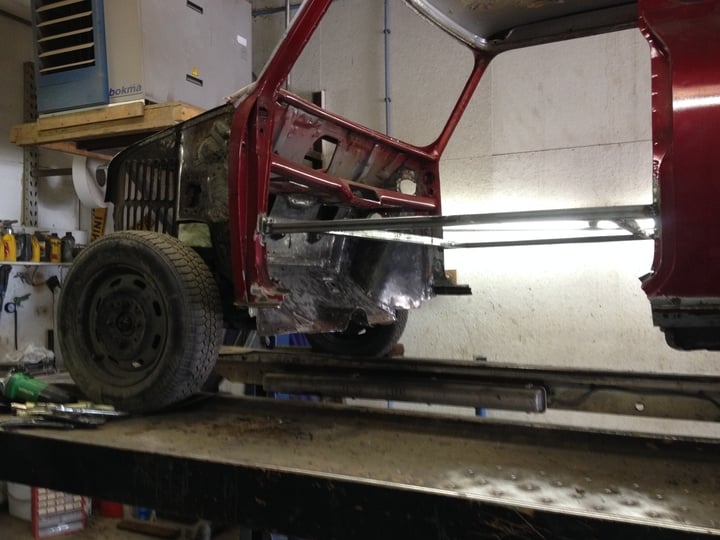
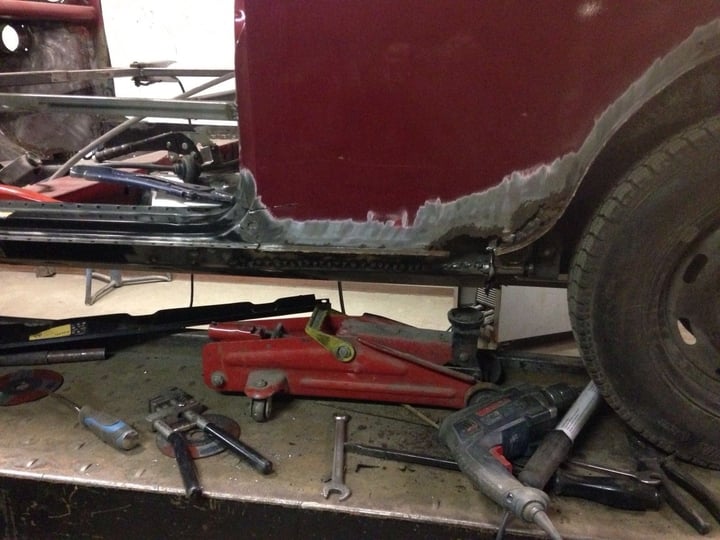
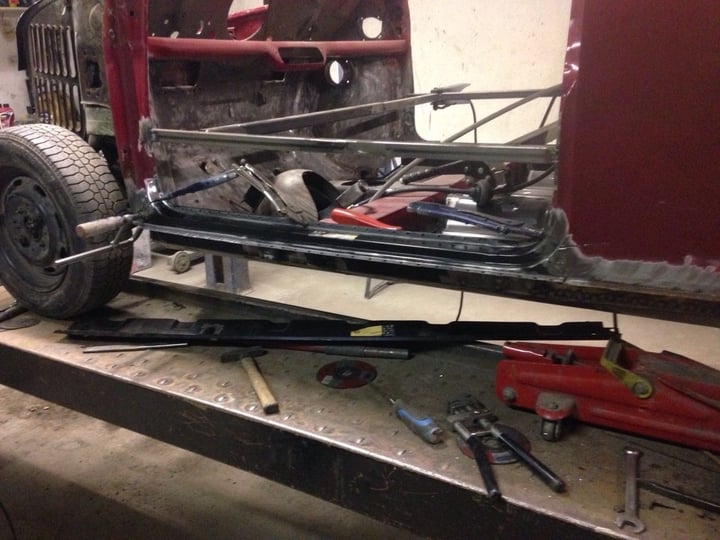
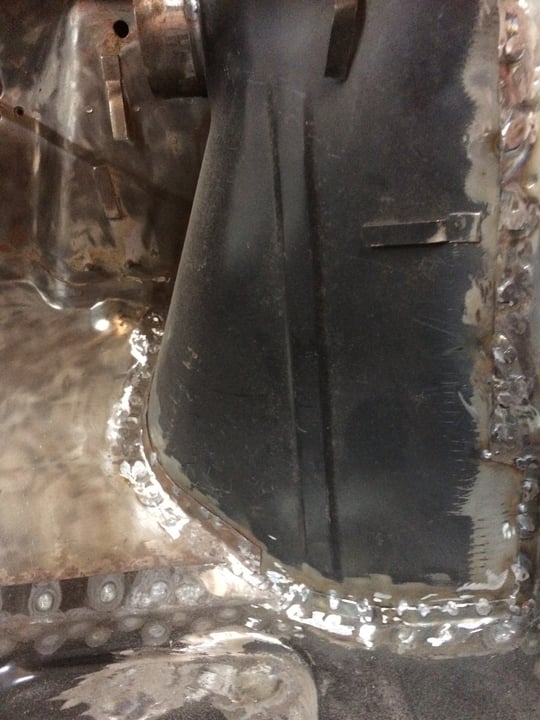
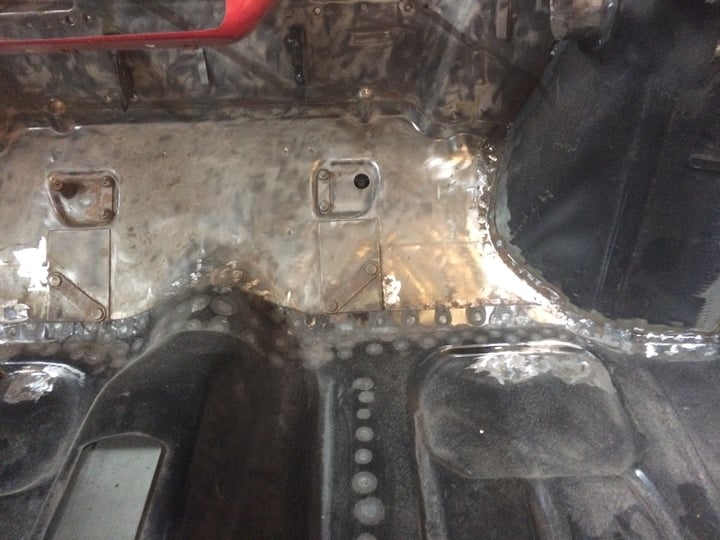
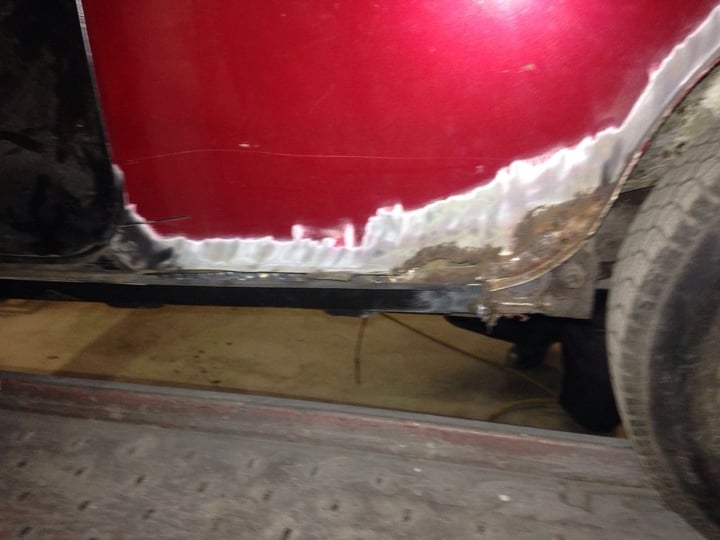
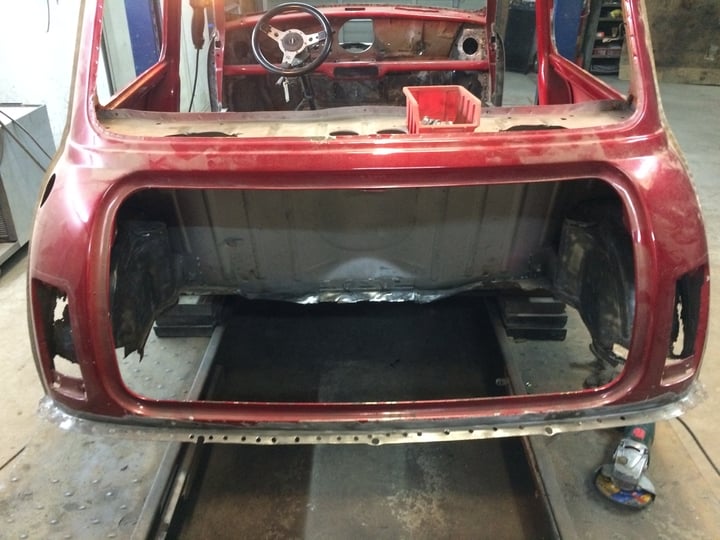
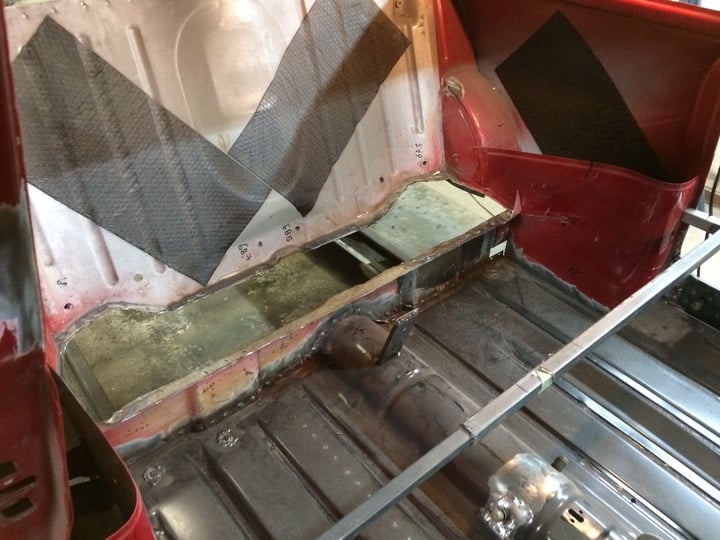
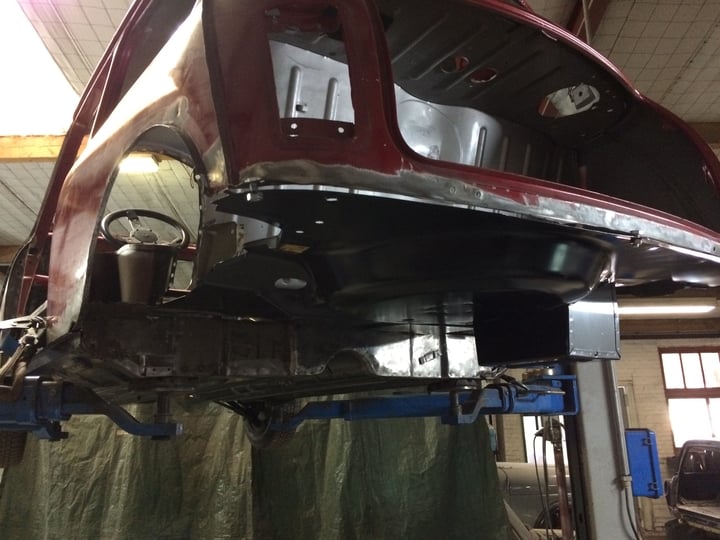
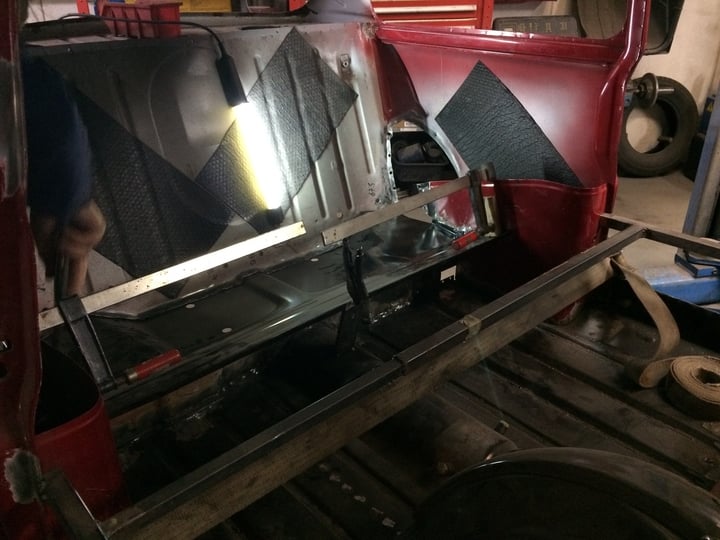
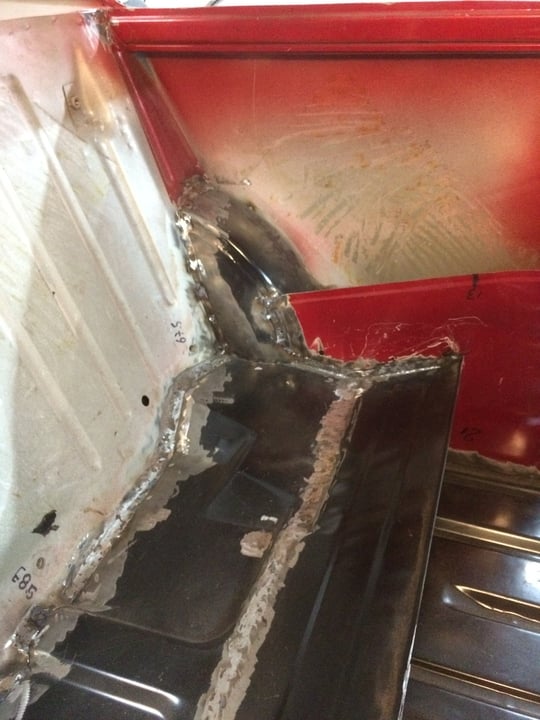
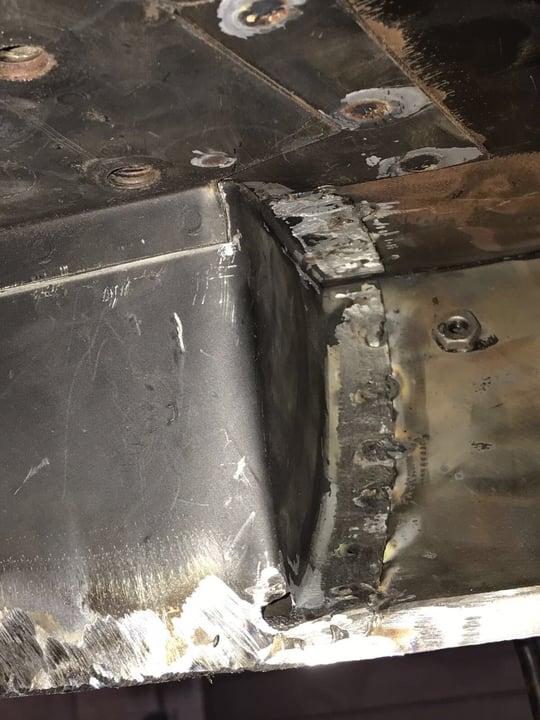
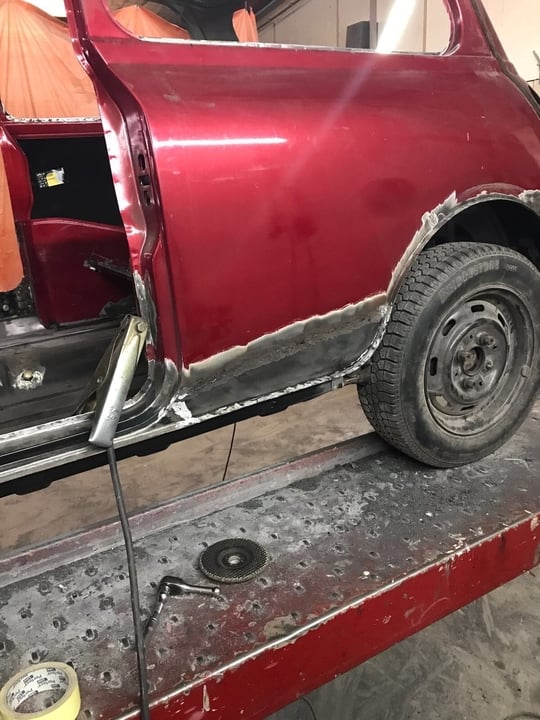
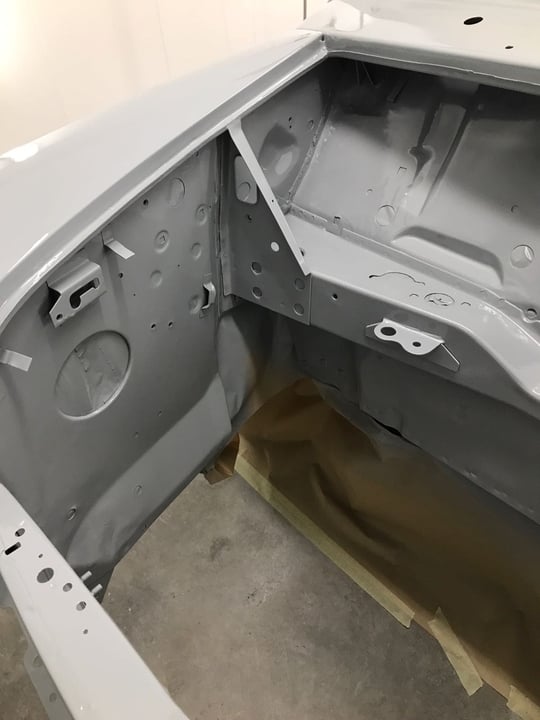
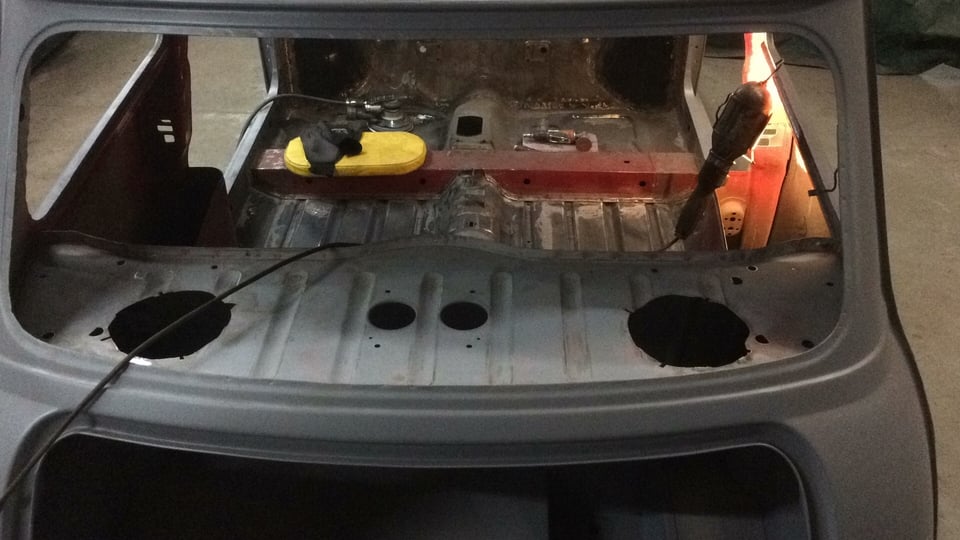
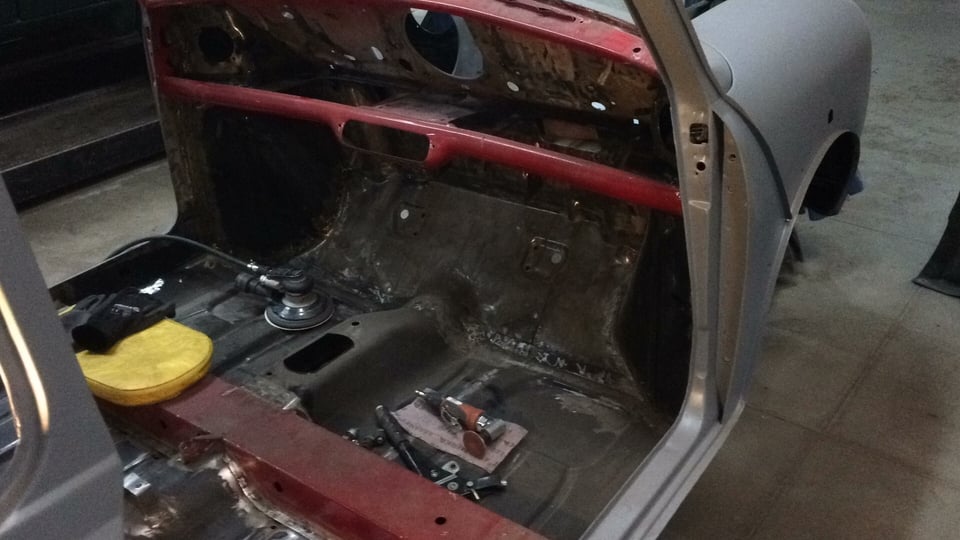
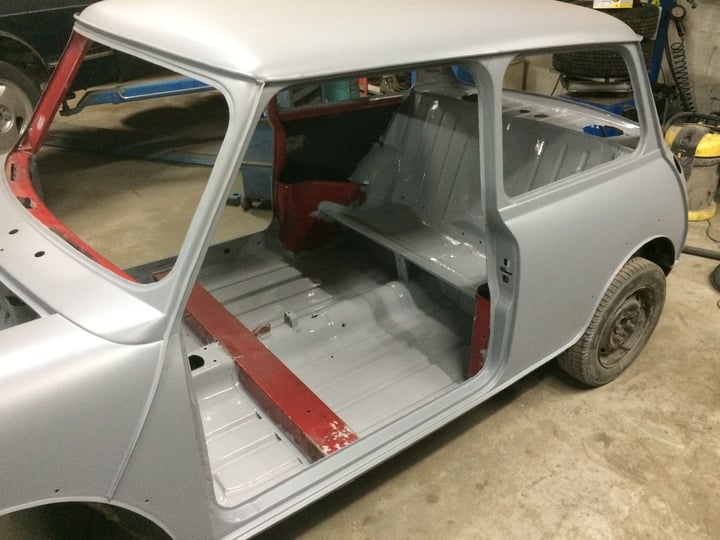
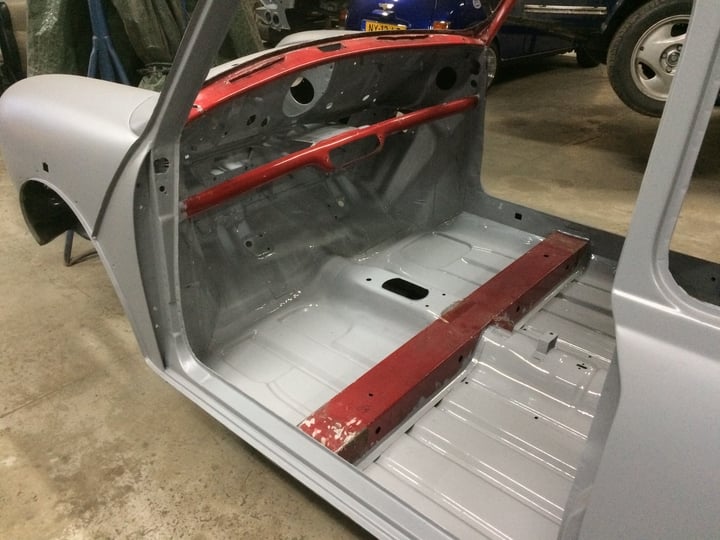
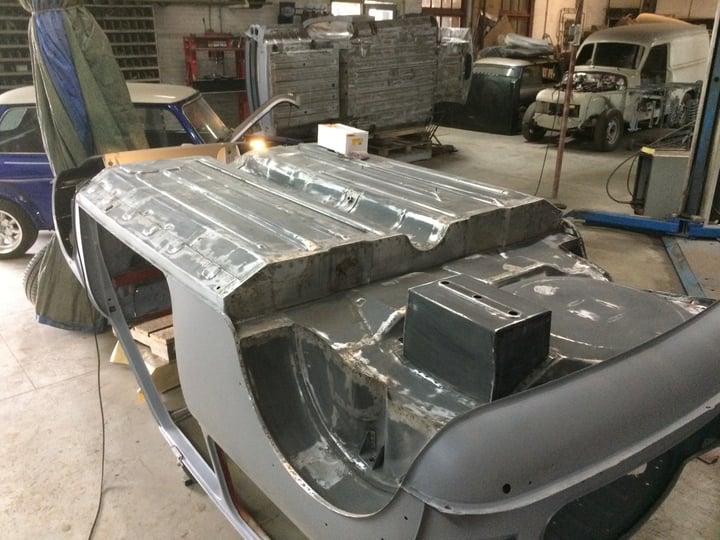
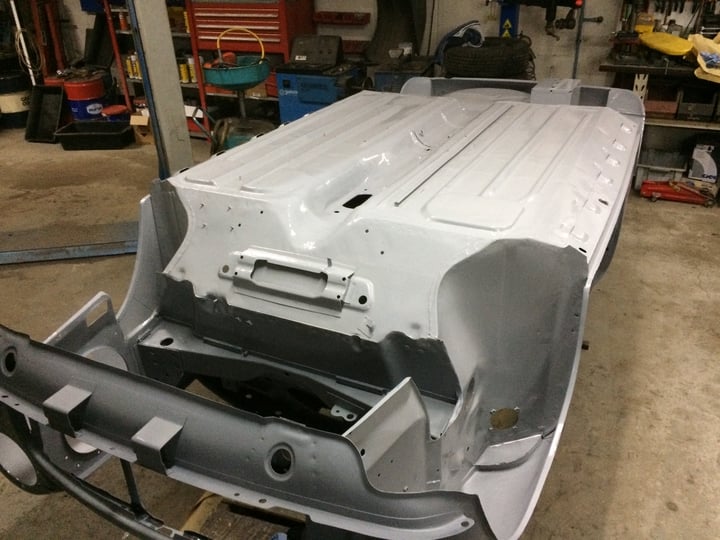
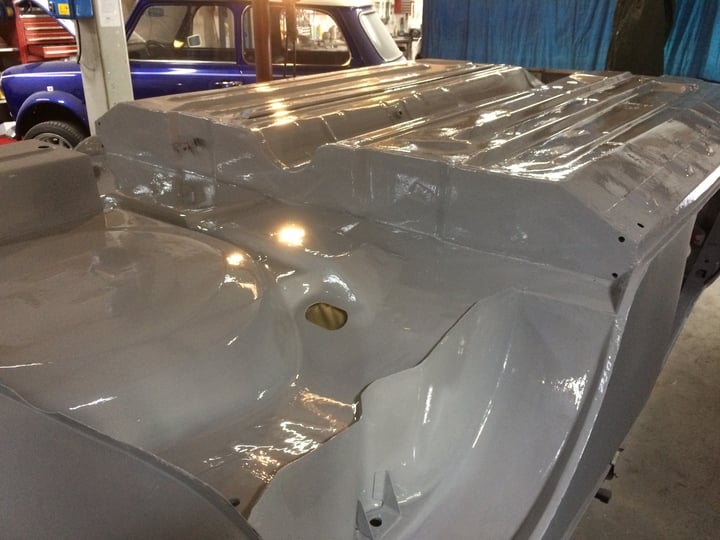
first of all a new floor, doorstep, etc.:
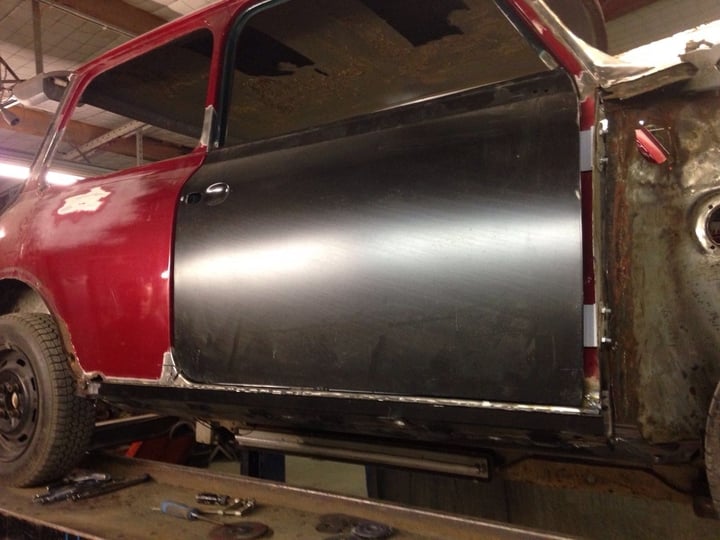
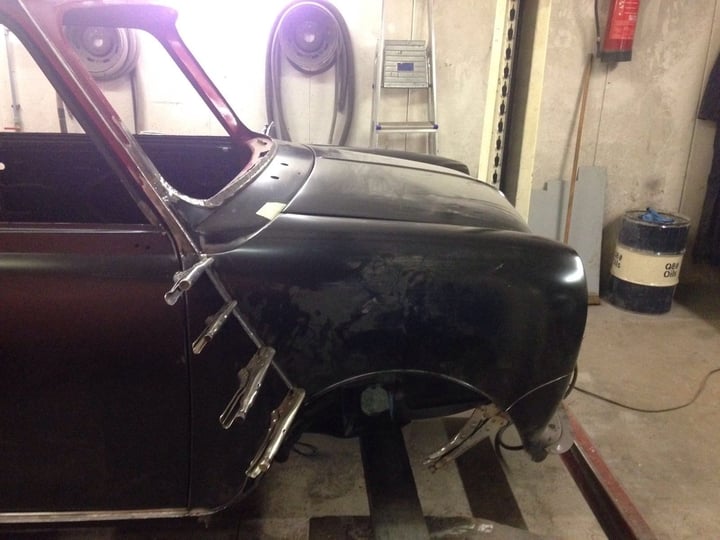
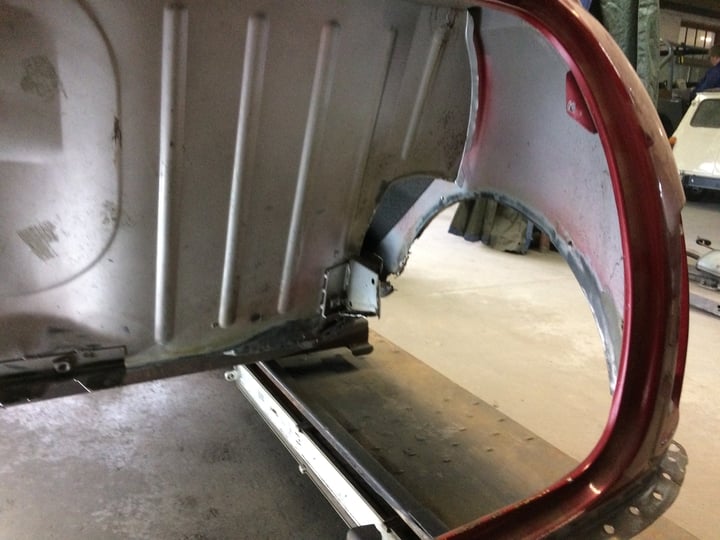
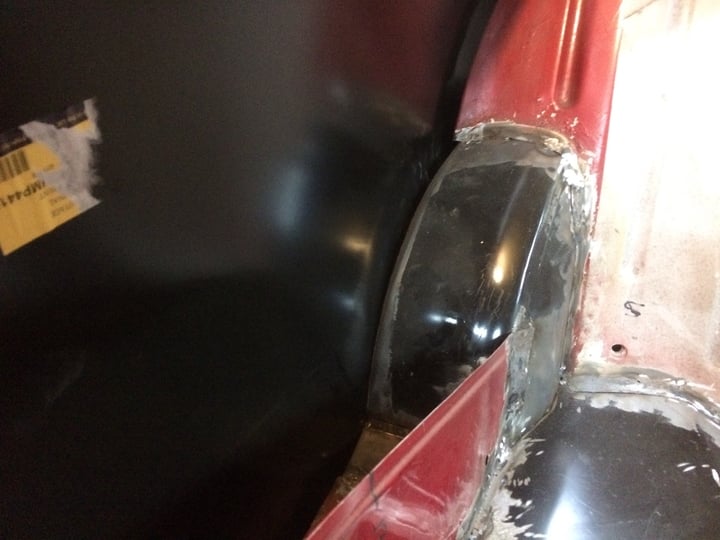
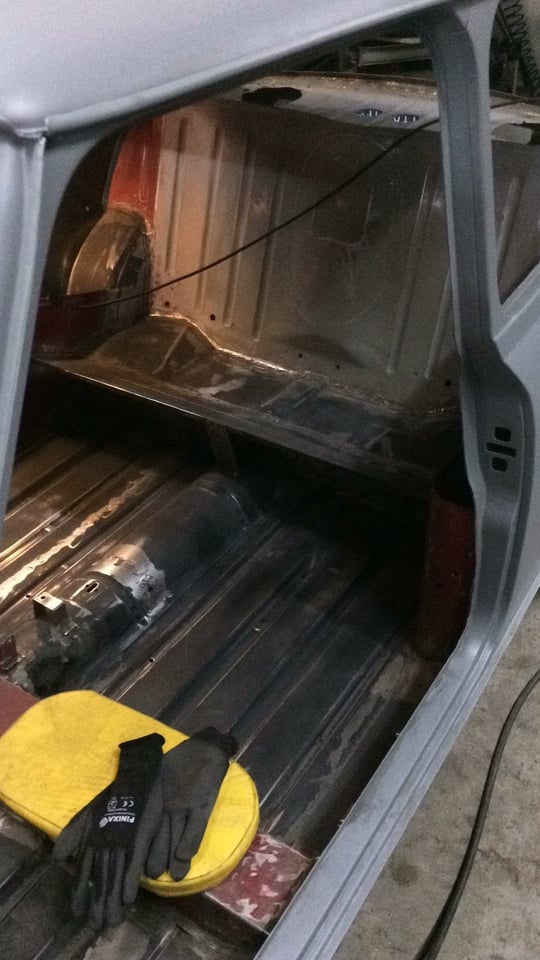
fitting door with new door skin:
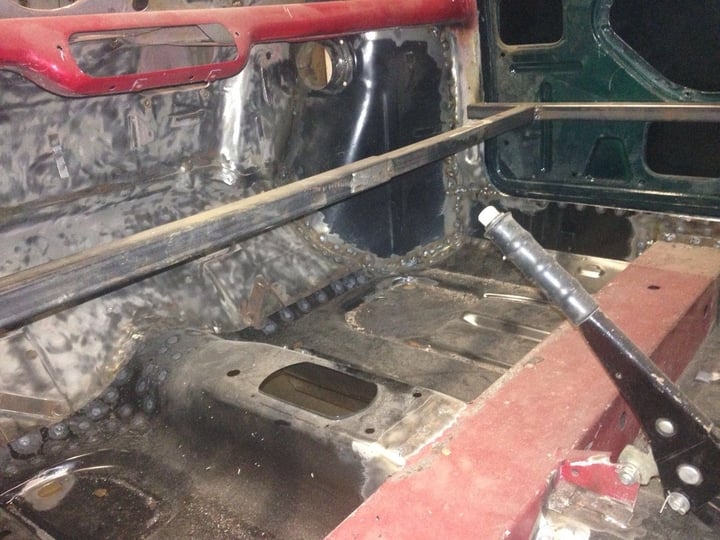
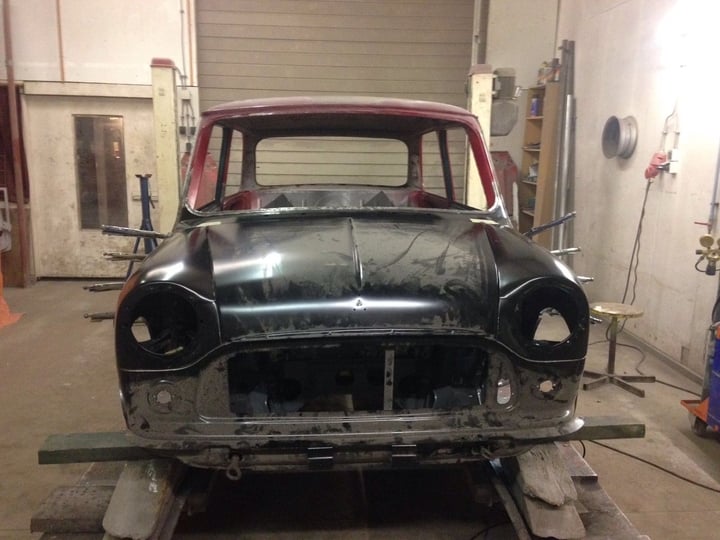
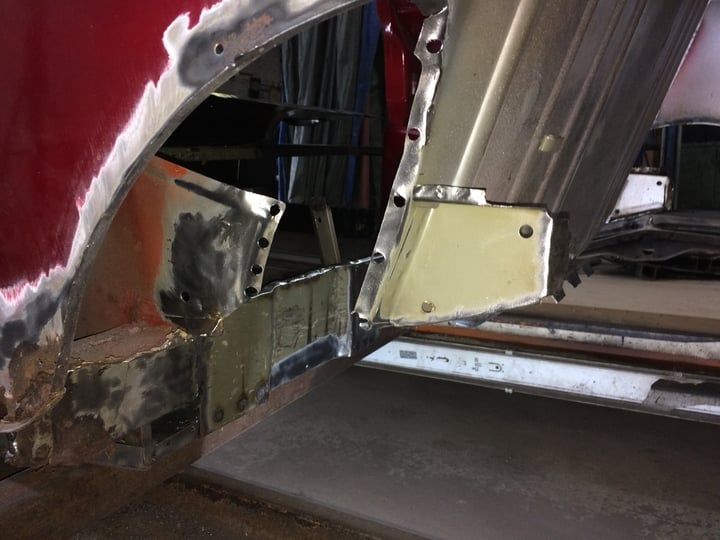
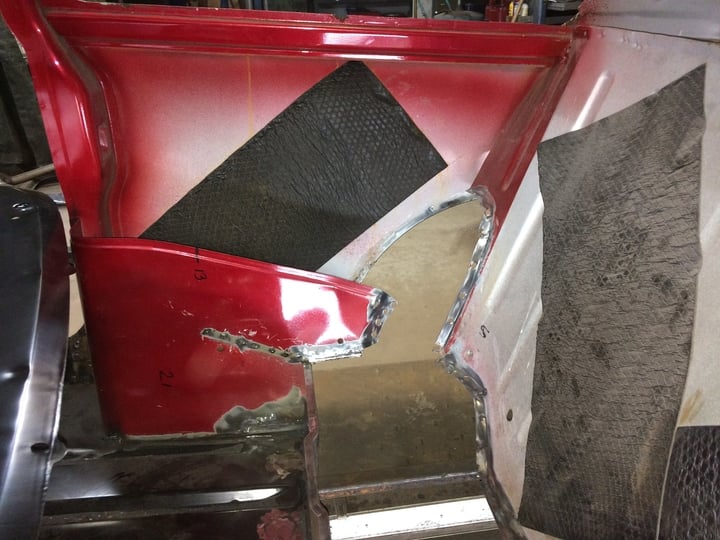
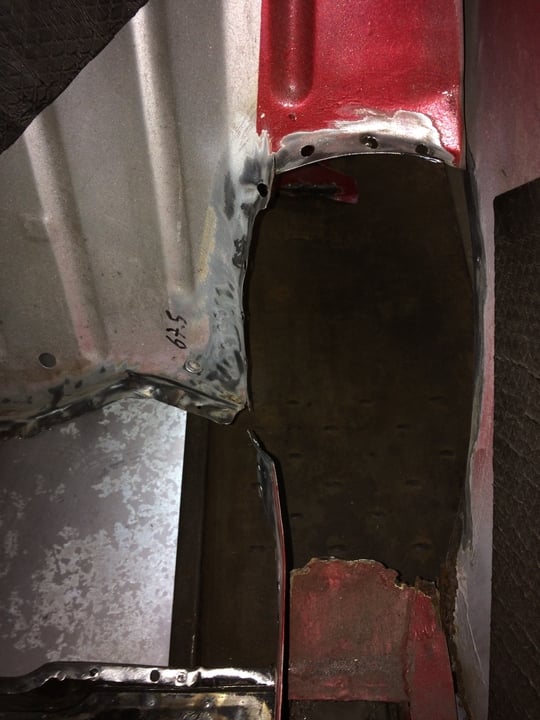
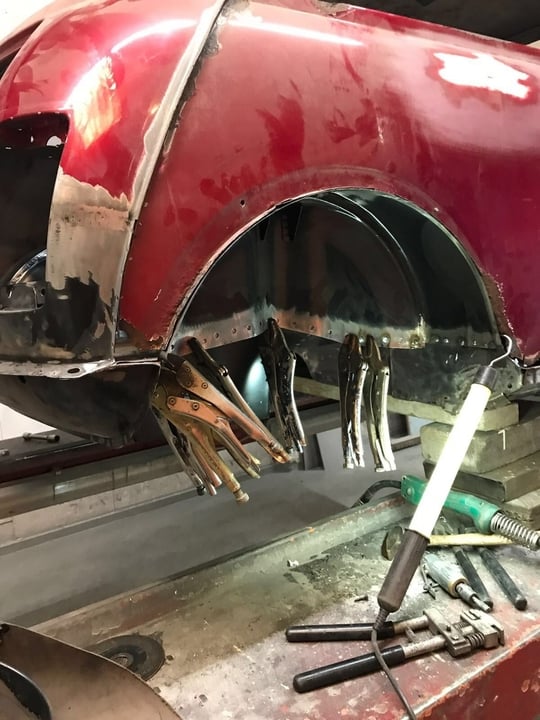
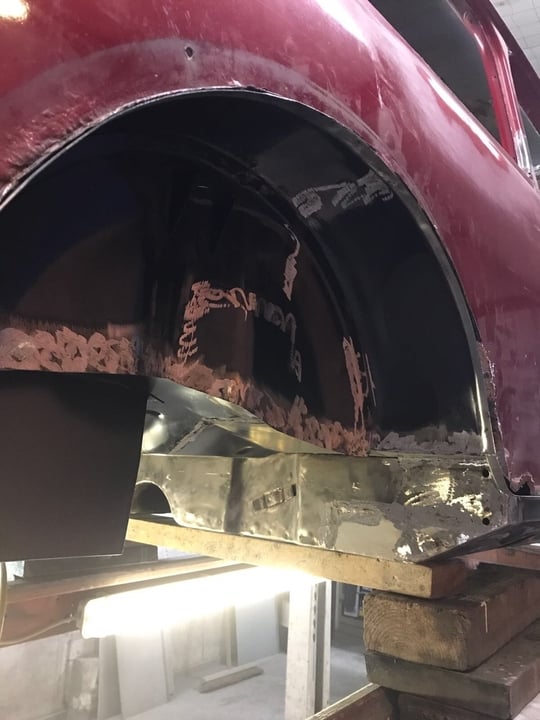
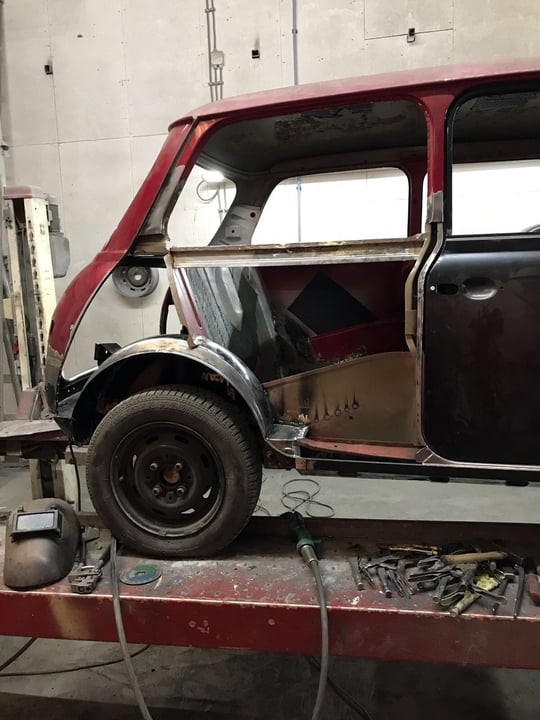
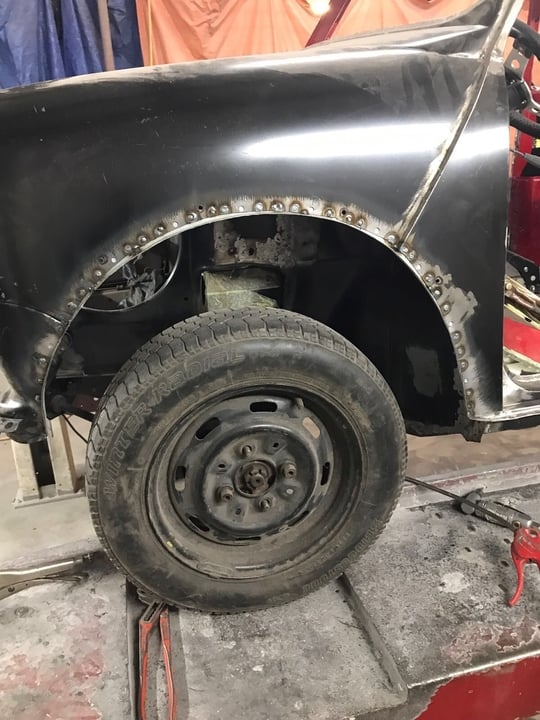
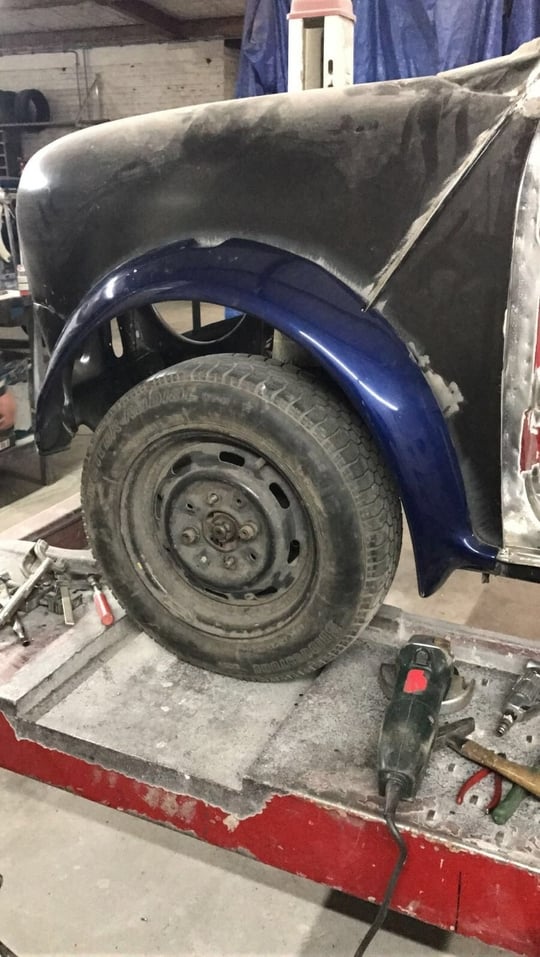
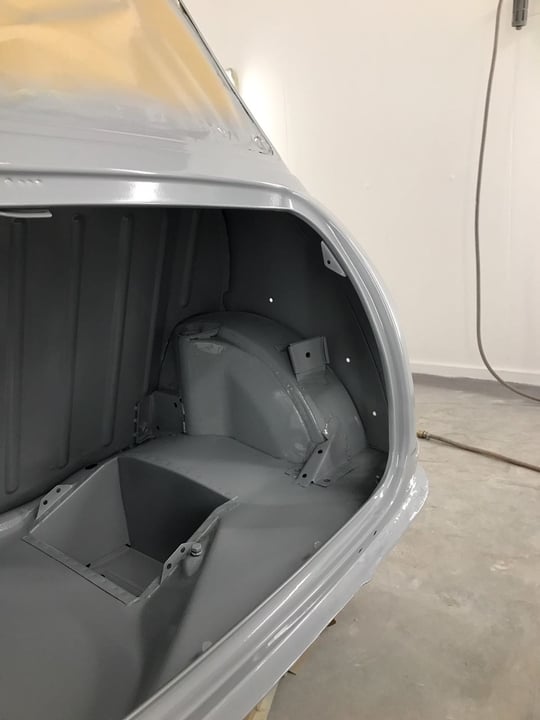
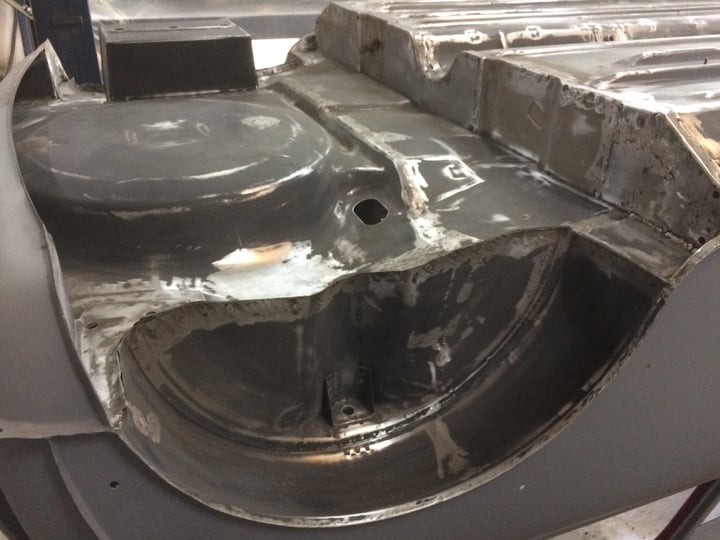
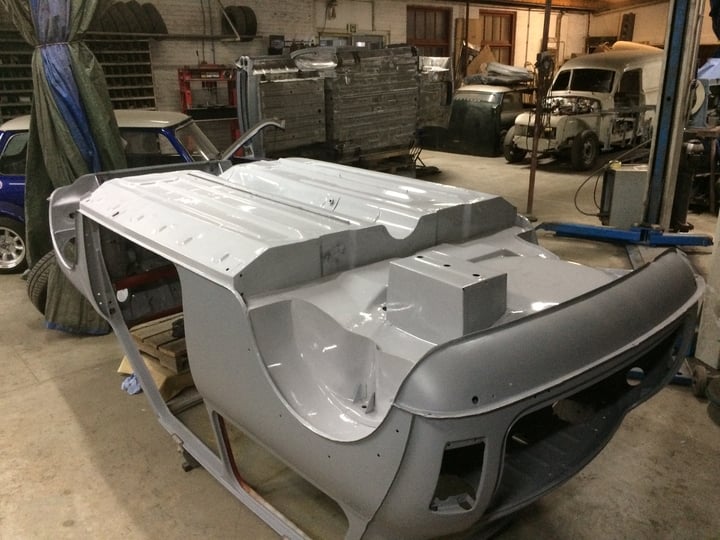
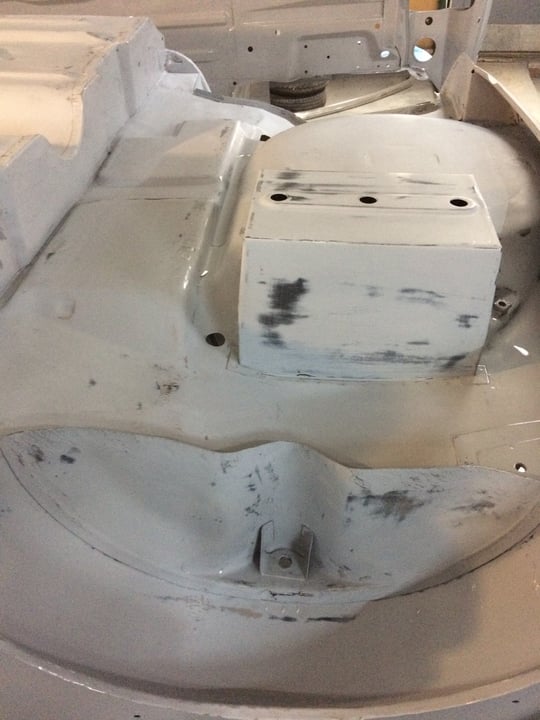
like i mentioned before, there will be a SPI engine in it, so the bodypanels that go with it are fitted:

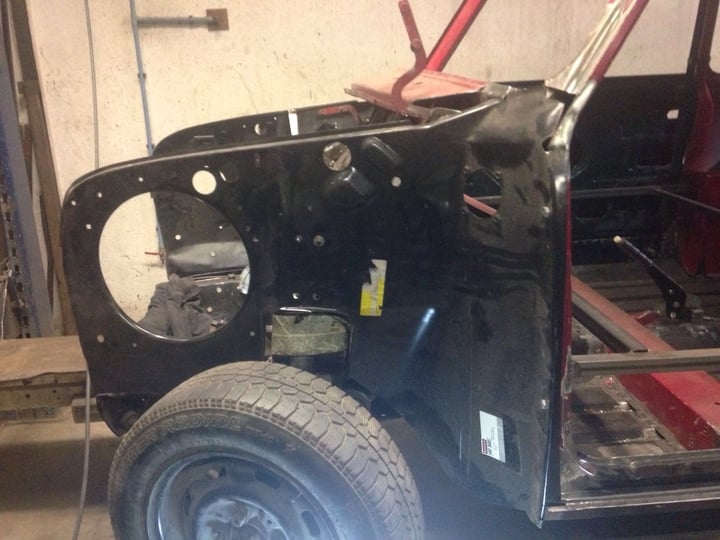
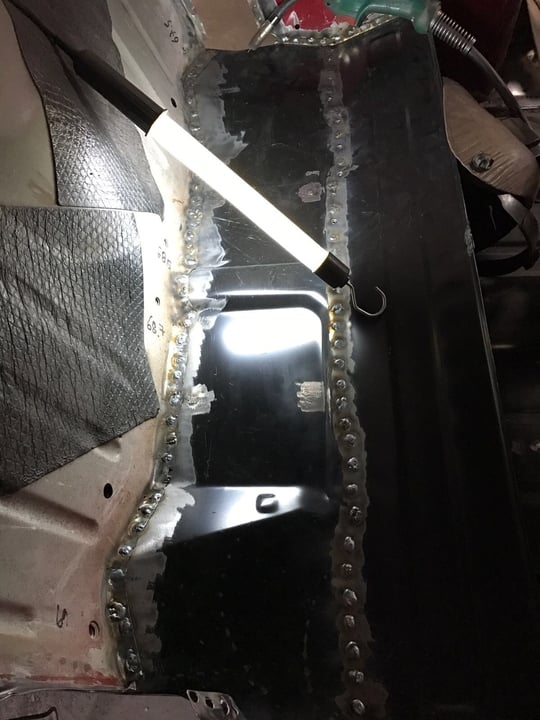
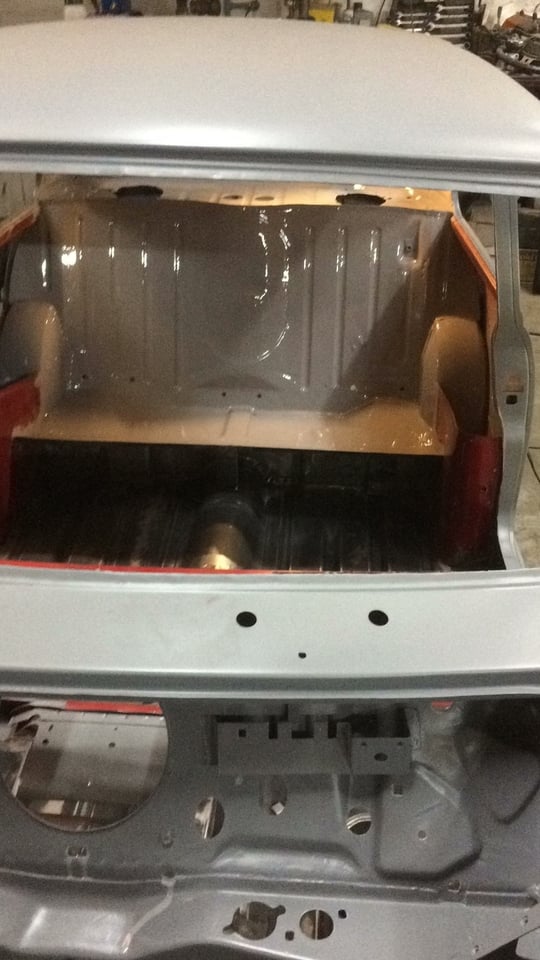
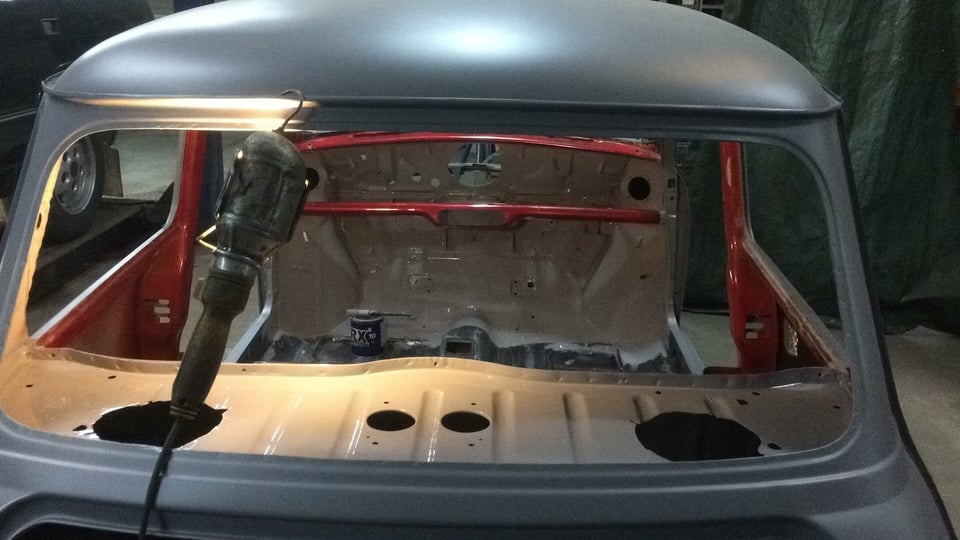
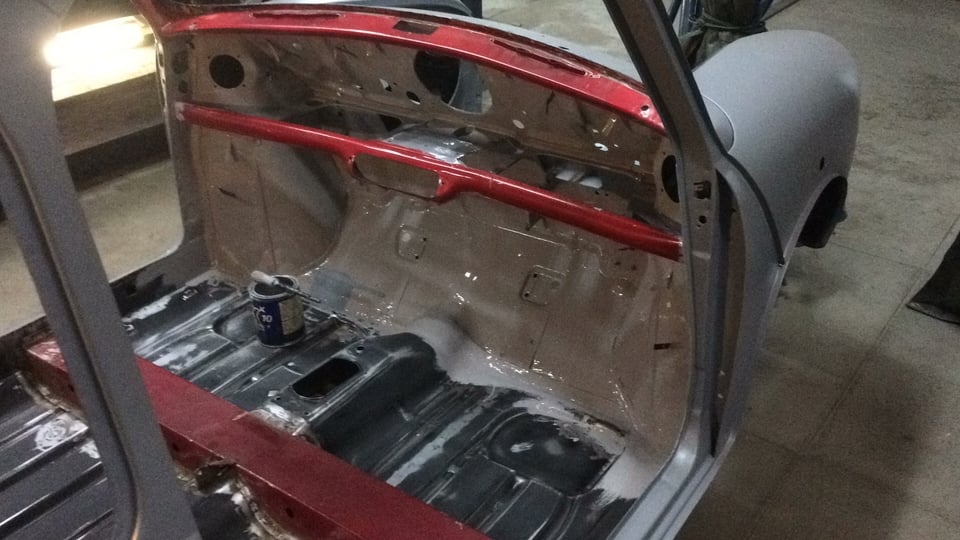
from the inside:
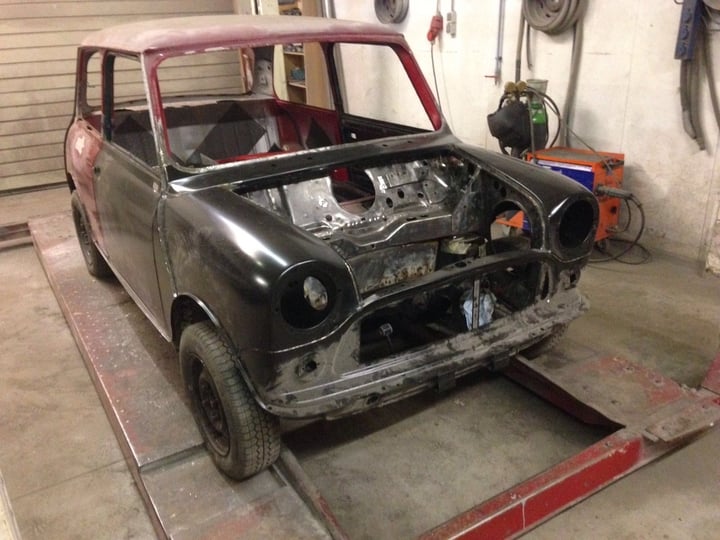
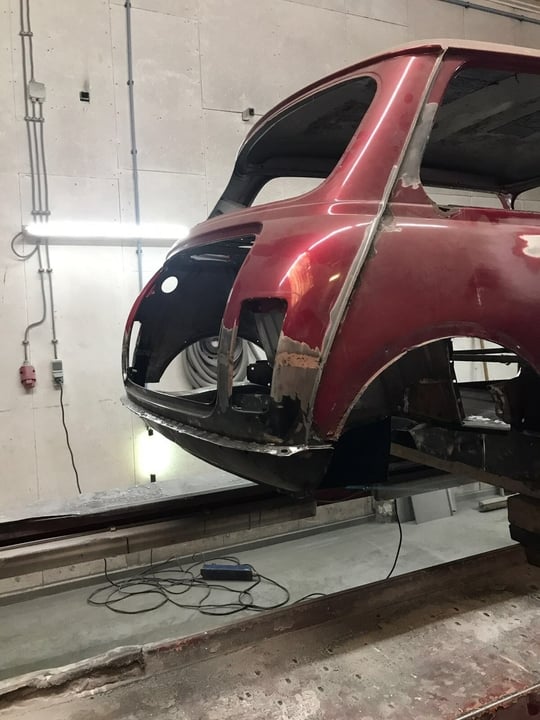
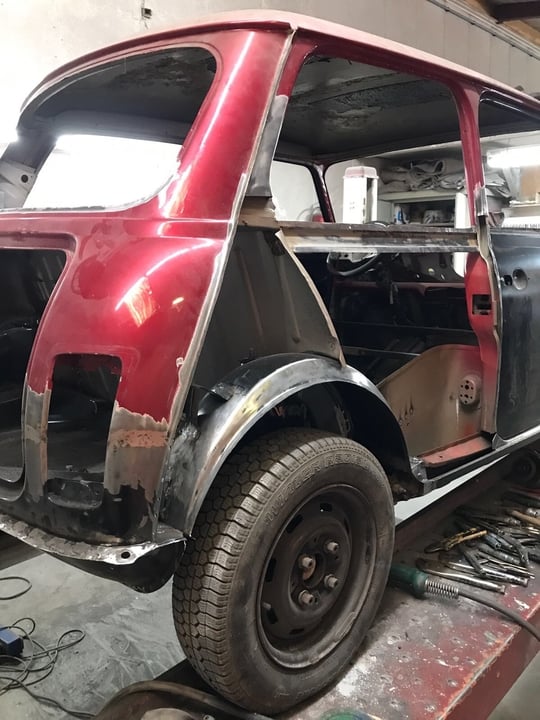
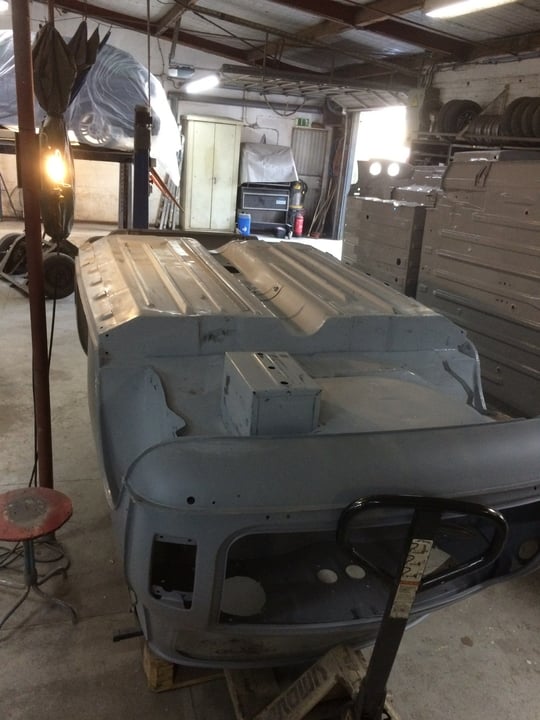
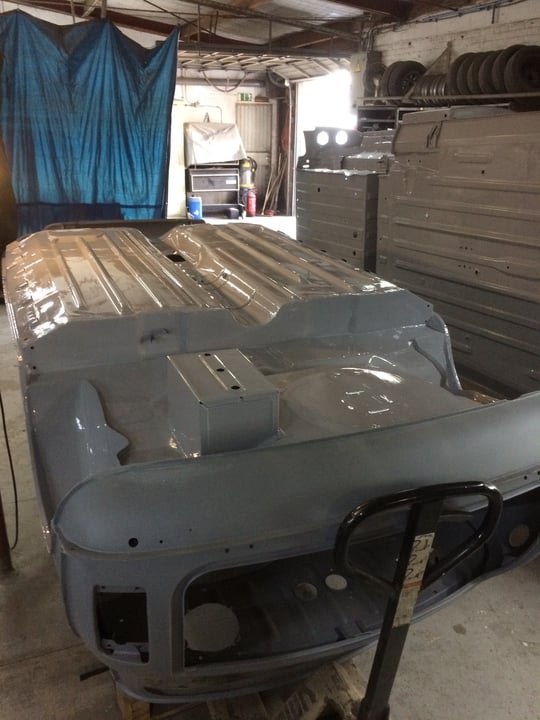
front going on:

Edited by Dutchdave's25, 23 July 2018 - 07:08 AM.


 .
.