Jump to content


Photo
- - - - -

Monty the Rwd R1 engined tarmac eating Minus


  • Please log in to reply
654 replies to this topic

#406 Alburglar

Alburglar

    Das Pingu's

  • Members
  • PipPipPipPipPipPipPipPipPip
  • 3,331 posts
  • Location: Dover Kent
  • Local Club: Kentish Mini Club

Posted 25 May 2007 - 01:30 AM

Courier picked up my diff today to send back to Z's. I 've decided to do for the full race gripper diff as I intend to use the car for sprints , trackdays and start racing SEMSEC next season. However this diff is gonna take a couple of weeks to arrive. :withstupid:
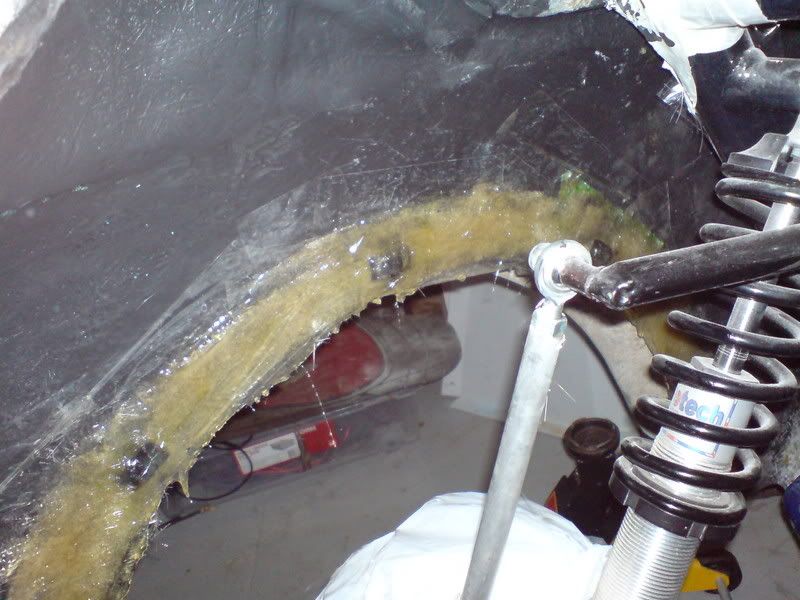
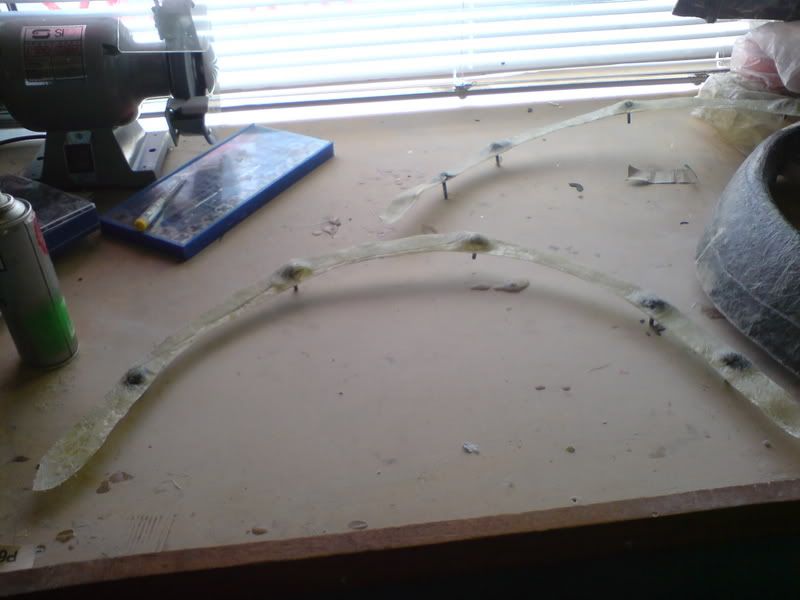
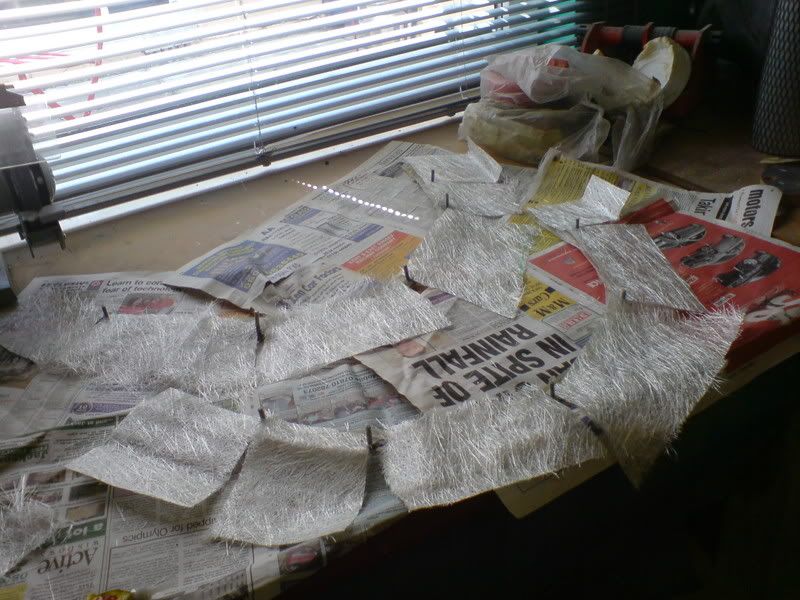
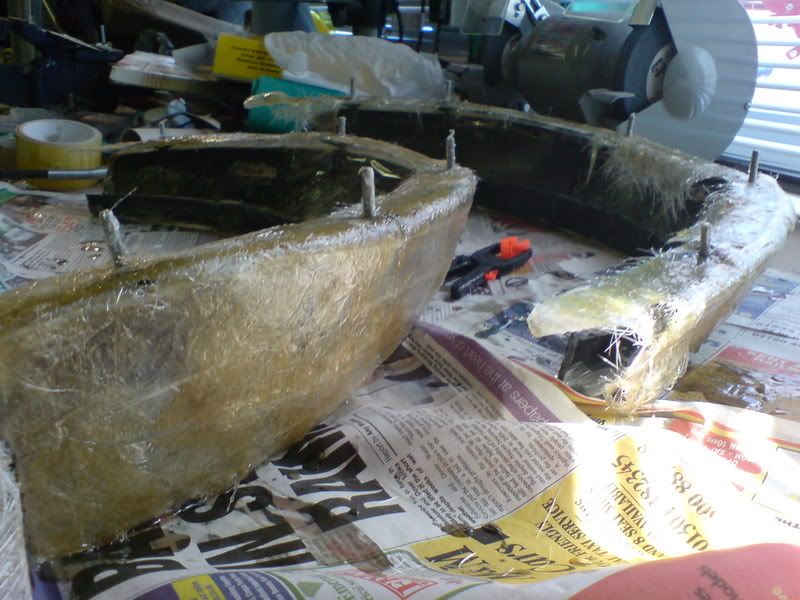
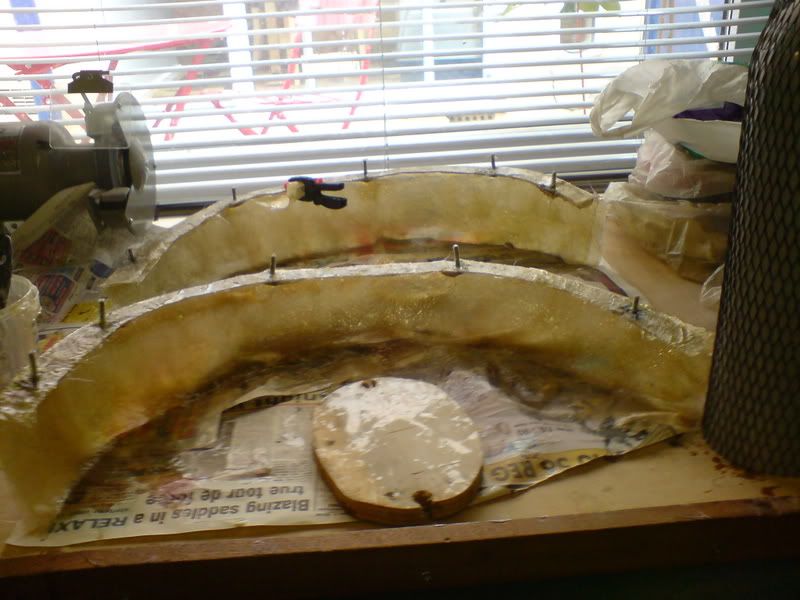
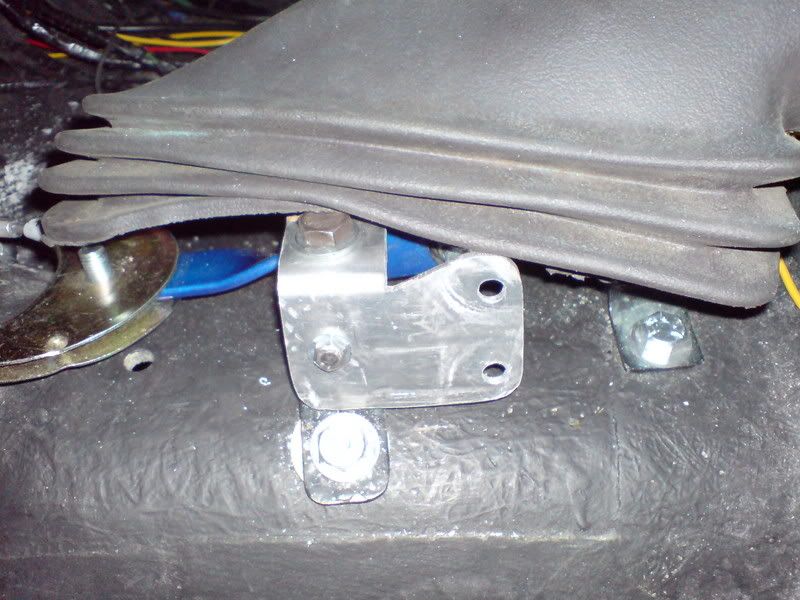
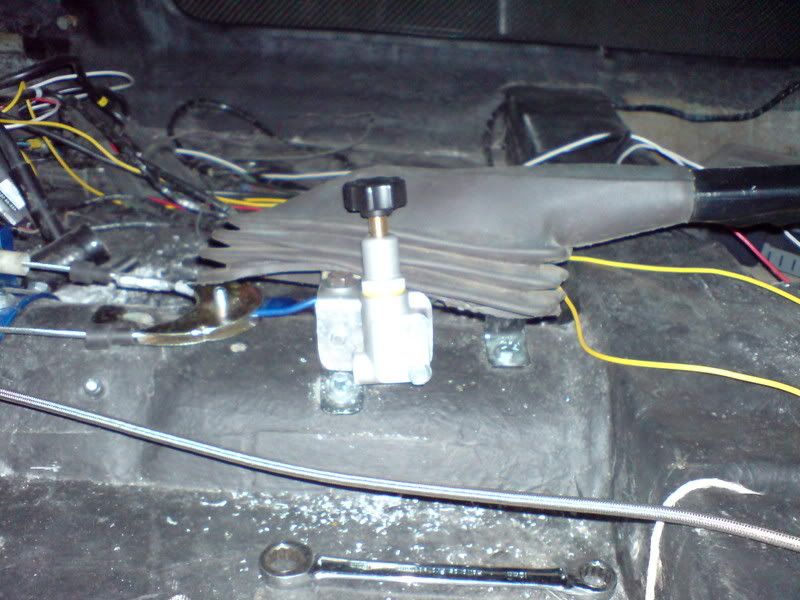
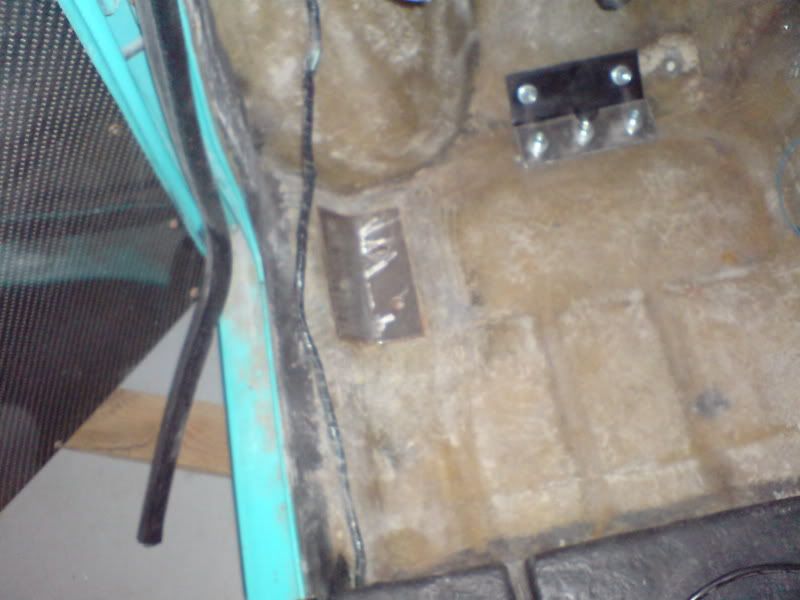
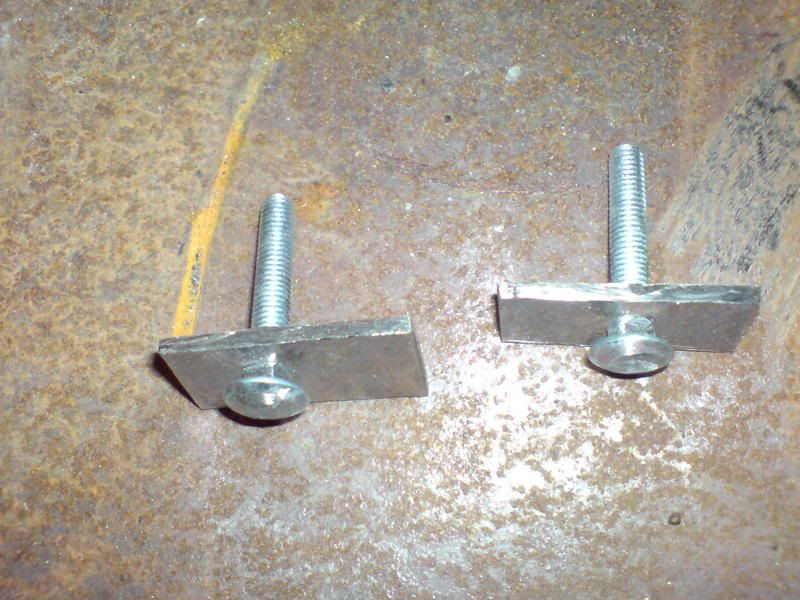
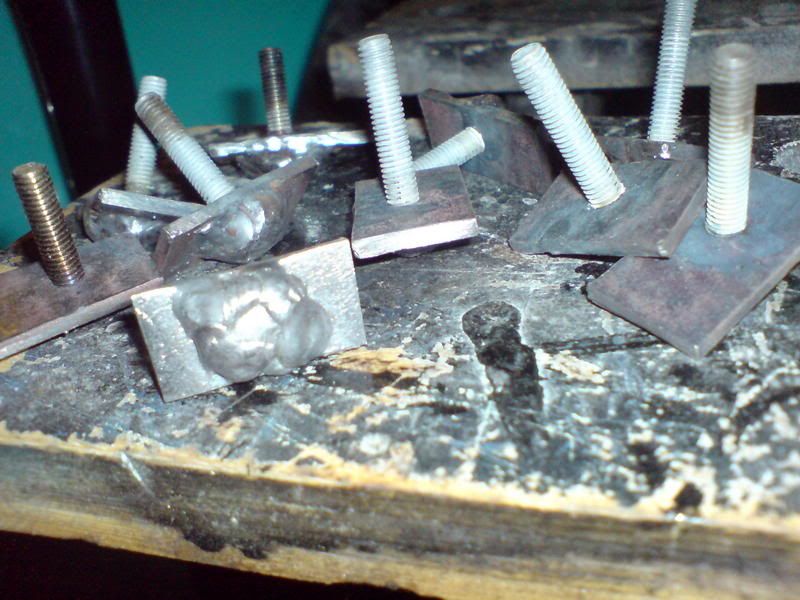
Latest progress: I've made up the studs I need to make my inner arches. Nothing special just some bolts welded to steel plate to stop the studs from turning inside the fibreglass when I do the nuts up.
Posted Image
Posted Image
Next I fitted a baffle to the sump. I bought one off ebay. It turned up with vague instructions so I'll go into some detail here for the benifit of others. It is a laser cut, but I had to file it down in numerous places to get it to fit, overall tho I'm happy with it. In order to fit I had to:
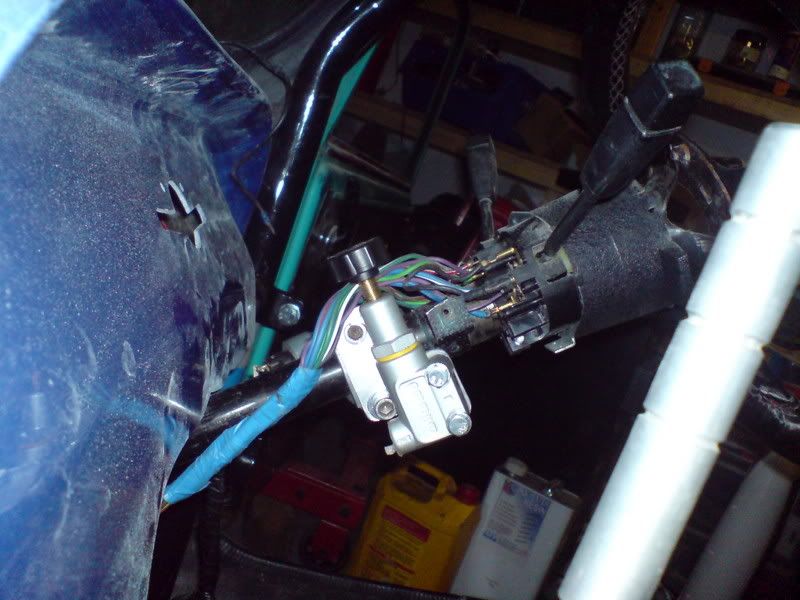
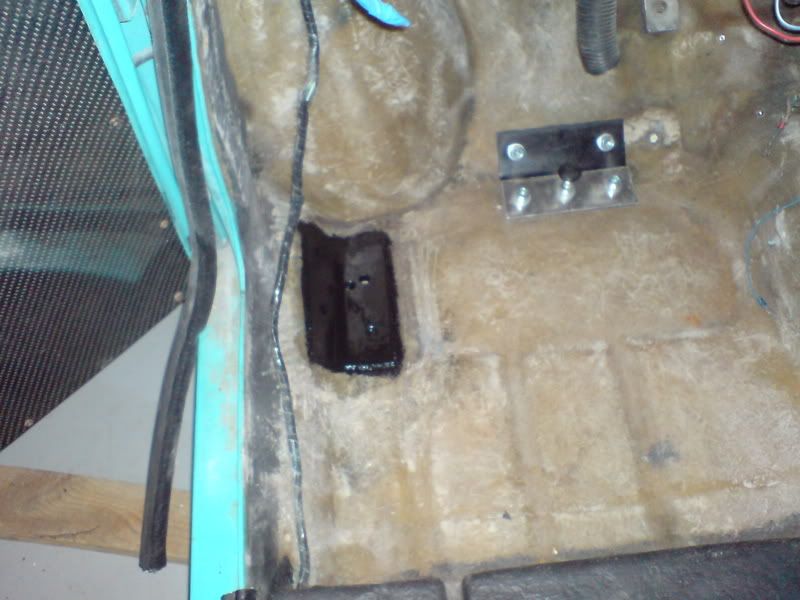
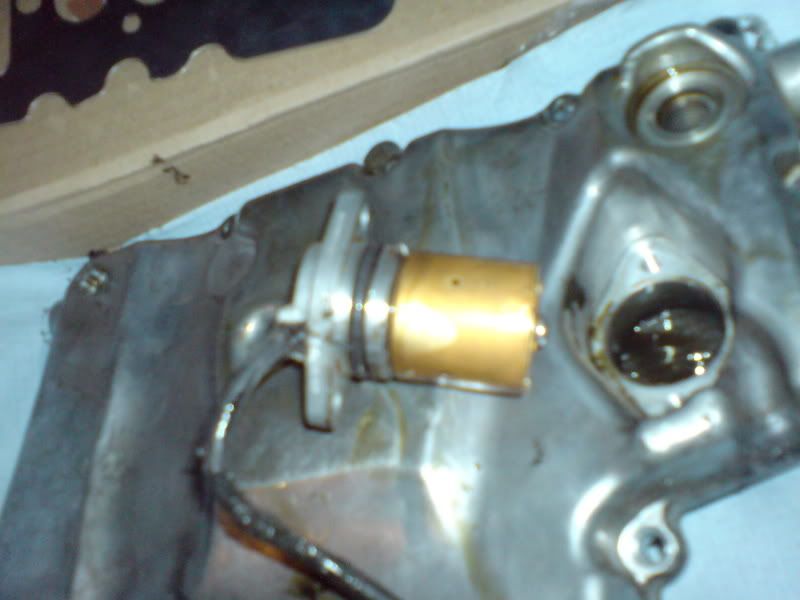
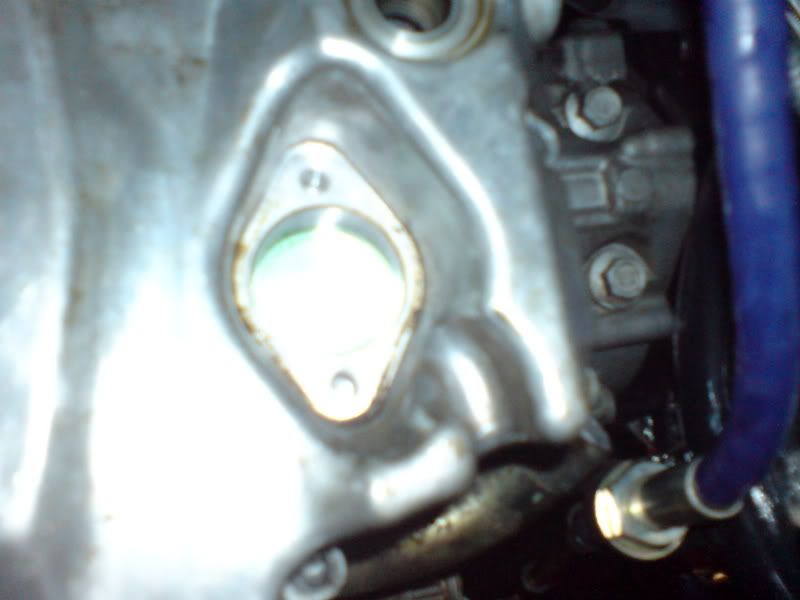
Remove sump. Note the oil level sender. The instructions said that the cylindrical sender parts needs to be discarded and the rest of it used just to plug the hole in the sump. I didn't fancy that so I modified the baffle plate some more.
Posted Image
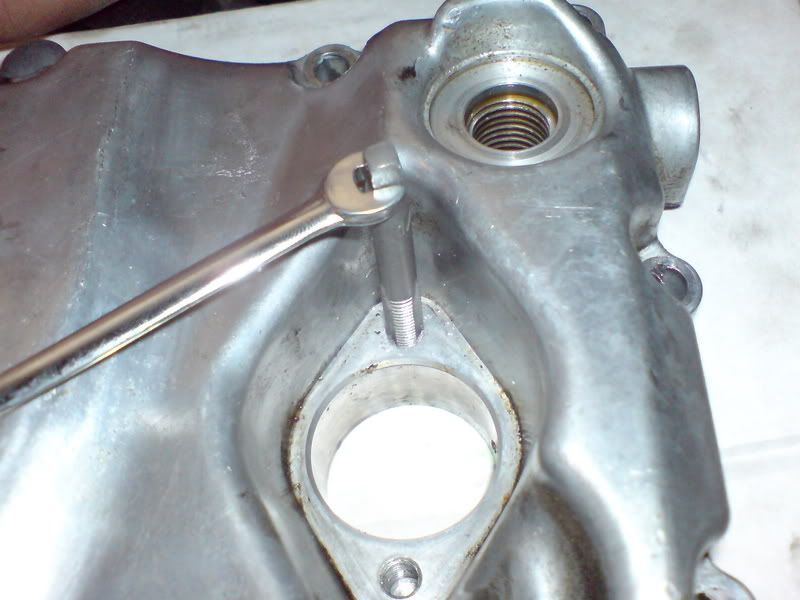
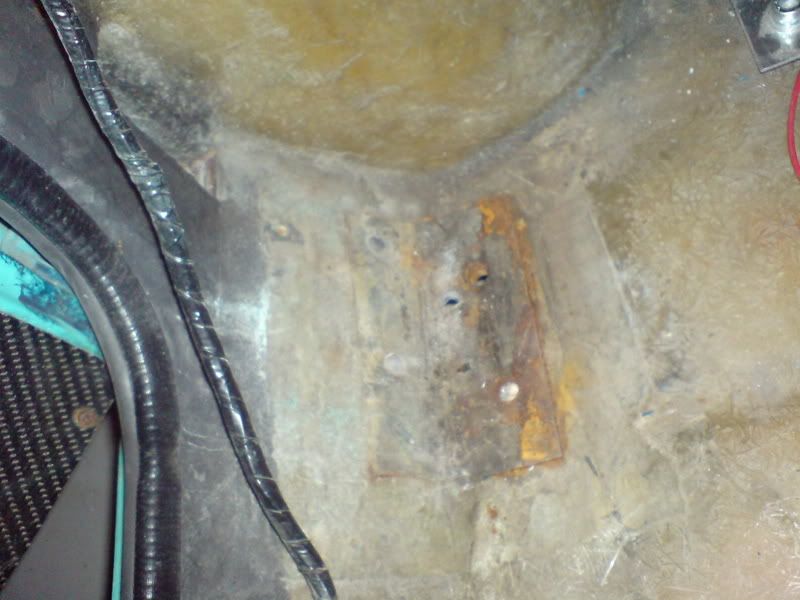
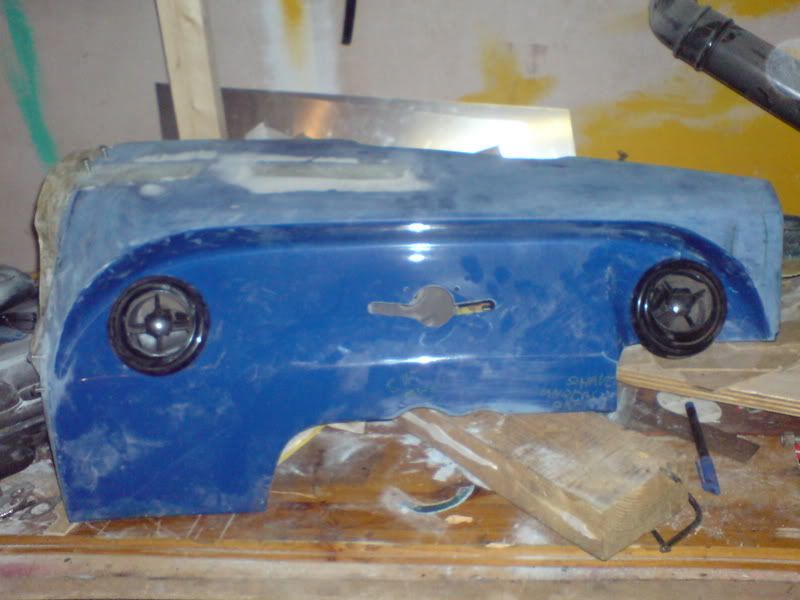
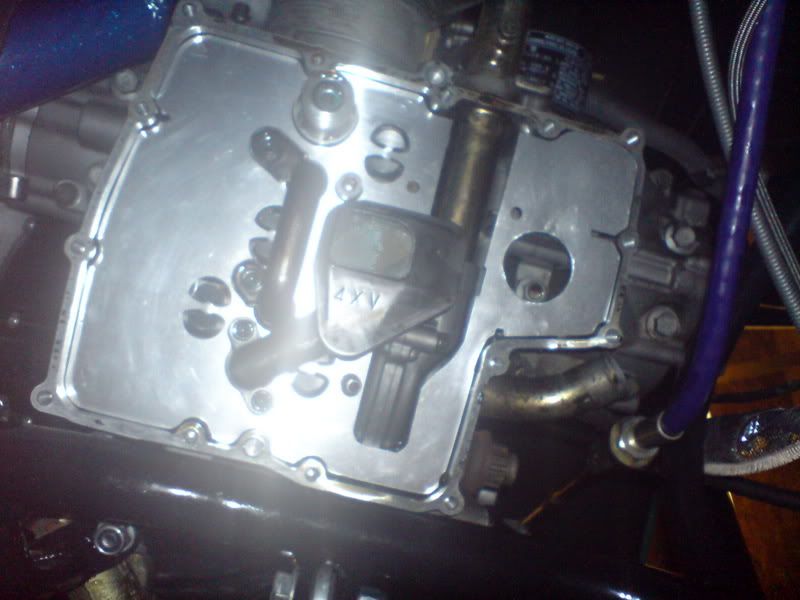
This is what the engine side of the sump looks like
Posted Image
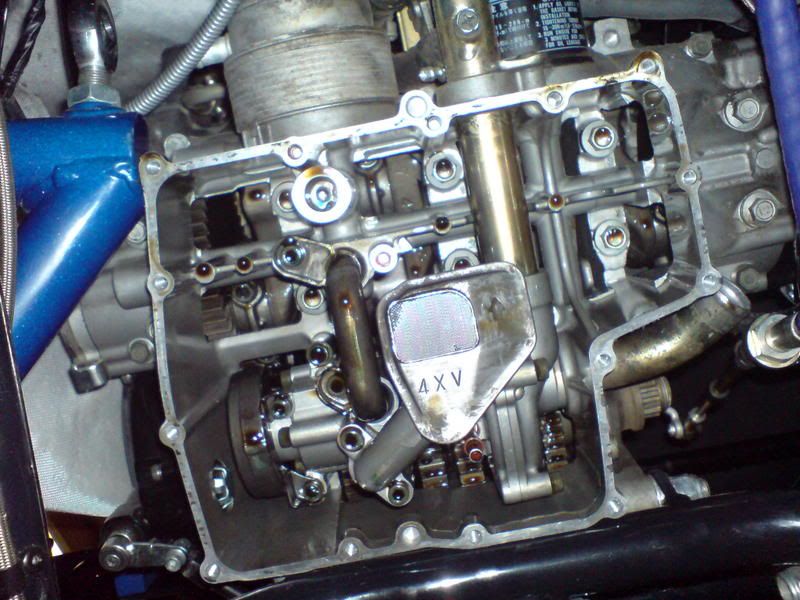
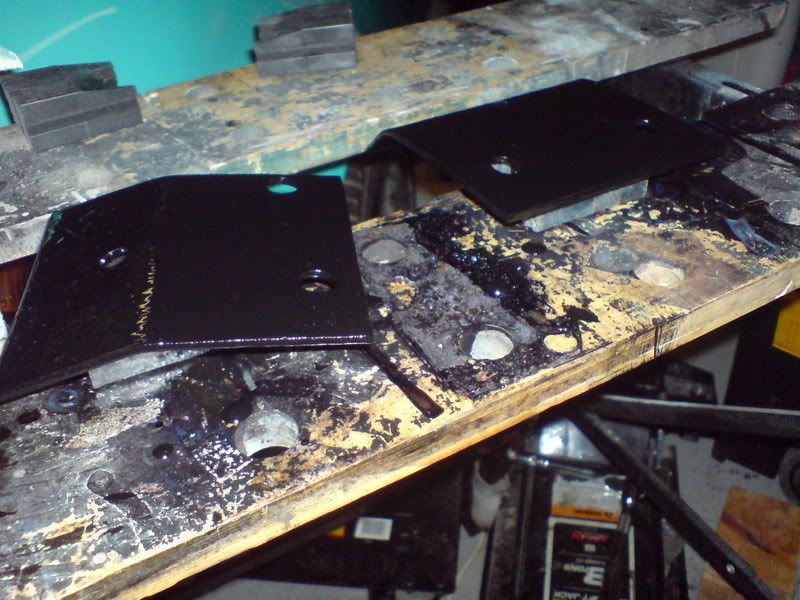
You need to remove these bits:
Posted Image
Posted Image
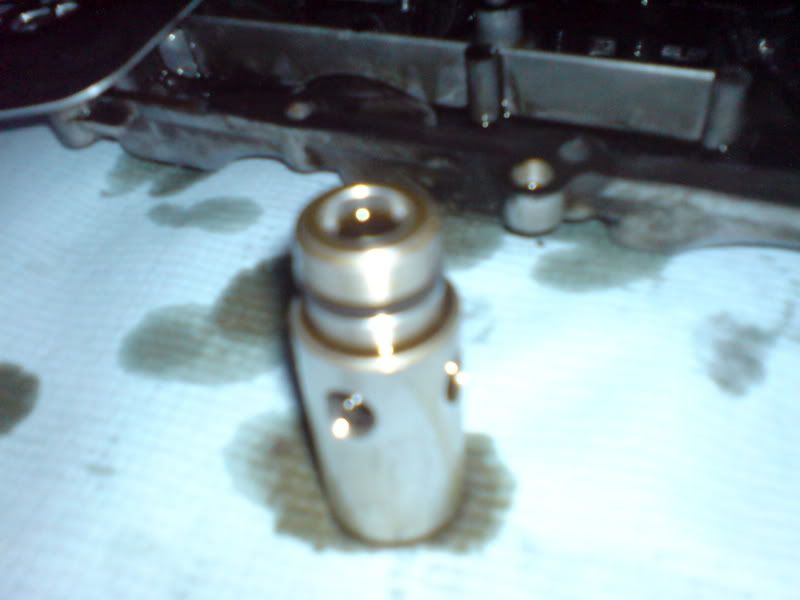
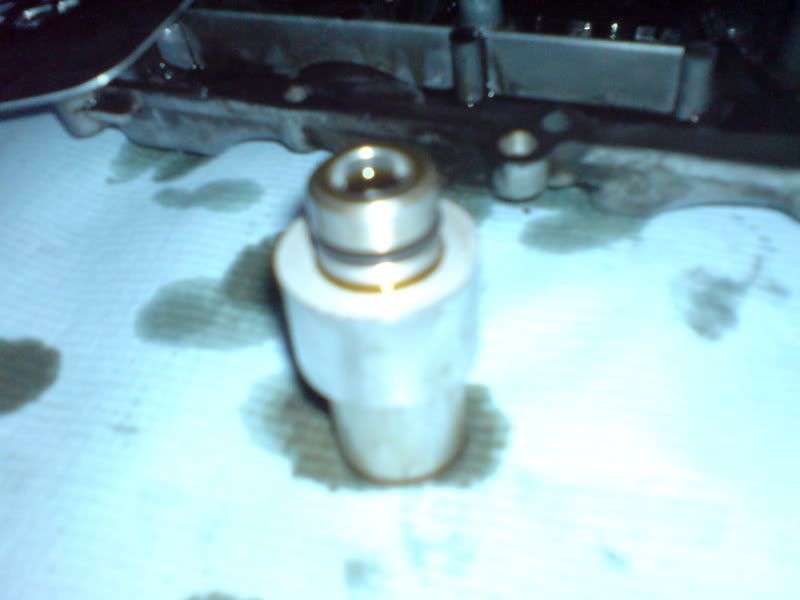
The kit cam with a collar to fit over the pressure relief valve
Posted Image
In order to modify the baffle plate, I trial fitted it and put the sump back on with the oil sender removed. I then drew round the hole with a marker pen, so I knew where to make a hole in the plate.
Posted Image
I took it all apart again and cut the hole out, refitted all the bits and this is what it looks like
Posted Image
Just need to get a new sump gasket. before I refit the sump.

#407 Alburglar

Alburglar

    Das Pingu's

  • Members
  • PipPipPipPipPipPipPipPipPip
  • 3,331 posts
  • Location: Dover Kent
  • Local Club: Kentish Mini Club

Posted 25 May 2007 - 01:45 PM

Went to buy the sump gasket and found out that there are 3 different versions for carb R1's - no wonder the plate didn't fit without modifying it.

Edited by Alburglar, 31 May 2007 - 03:07 PM.


#408 Alburglar

Alburglar

    Das Pingu's

  • Members
  • PipPipPipPipPipPipPipPipPip
  • 3,331 posts
  • Location: Dover Kent
  • Local Club: Kentish Mini Club

Posted 30 May 2007 - 09:24 PM

went to torque everything up today and stripped the thread on one of the oil level sender bolts so I've had to tap it out a slightly larger size. Apart from that tho, it is all back together with new sump gasket, ready for some oil plus overfill.
Posted Image

#409 Alburglar

Alburglar

    Das Pingu's

  • Members
  • PipPipPipPipPipPipPipPipPip
  • 3,331 posts
  • Location: Dover Kent
  • Local Club: Kentish Mini Club

Posted 31 May 2007 - 03:05 PM

filled it up with oil today and completed the first stage of making some decent inner arches. I layed up over the studs I had made.
Posted Image

Edited by Alburglar, 31 May 2007 - 03:13 PM.


#410 Pie

Pie

    Crazy About Mini's

  • Banned
  • PipPipPipPipPipPipPipPipPipPip
  • 7,695 posts
  • Local Club: GoGoAuto

Posted 01 June 2007 - 06:26 PM

you do like to make life difficult for yourself dont you Ali?

Stripping the thread off all these bolts lol

#411 Alburglar

Alburglar

    Das Pingu's

  • Members
  • PipPipPipPipPipPipPipPipPip
  • 3,331 posts
  • Location: Dover Kent
  • Local Club: Kentish Mini Club

Posted 02 June 2007 - 03:39 PM

I then removed the suds that were too short from inner arches mk1 and and matched them up to the longer studs form inner arches mk2.
Posted Image
Posted Image
I then super glued some CSM to the longer studs, to keep it in place.
Posted Image
...and then aplied the resin.
Posted Image
Despite this the CSM didn't stay where it should, but at least I have the general shape sorted and fixed to the studs. Once dry I will seperate the old sports pack copies and bin them, the tidy up whats left and lay on loads more matt and resin for strength.

Edited by Alburglar, 02 June 2007 - 03:42 PM.


#412 Alburglar

Alburglar

    Das Pingu's

  • Members
  • PipPipPipPipPipPipPipPipPip
  • 3,331 posts
  • Location: Dover Kent
  • Local Club: Kentish Mini Club

Posted 04 June 2007 - 11:57 PM

Have added some more fibreglass to the inner arches and they are taking shape ok.
Posted Image
Plus in keeping with the racing modifications I have made an ally bracket and fitted a brake bias. it took a while for me to decide where to put it, because it needed to be easily adjustable from the drivers seat, but not get in the way of anything else.
Posted Image
I just need get some different fittings for my brake lines before I plumb it in.

#413 miniboo

miniboo

    Lord of Original Thinking

  • Members
  • PipPipPipPipPipPipPipPipPipPip
  • 9,327 posts

Posted 05 June 2007 - 01:46 PM

I think i read somehwhere that it was illegal to be able to adjust the brakes whilst in the car. it may just be an sva thing but i am sure my mate who was building a car had to put it in the engine bay near the brake master cylinder. also i doubt anyone will pick up on it. so my whole reply was pretty much worthless

#414 Alburglar

Alburglar

    Das Pingu's

  • Members
  • PipPipPipPipPipPipPipPipPip
  • 3,331 posts
  • Location: Dover Kent
  • Local Club: Kentish Mini Club

Posted 06 June 2007 - 09:54 AM

Very true. You will not get through an SVA if you can adjust the bias from in the car. However - I am not SVAing the car.

#415 Alburglar

Alburglar

    Das Pingu's

  • Members
  • PipPipPipPipPipPipPipPipPip
  • 3,331 posts
  • Location: Dover Kent
  • Local Club: Kentish Mini Club

Posted 06 June 2007 - 04:34 PM

Had to move the brake bias, i was planning to use a 90 degree banjo fitting to kit the lines nice and tidy, but the fitting is 1/8 NPT (stupid bloody american poop) and tapered, so it was never gonna work. This way is easier and I don't know why I didn't think of it before.
Posted Image
Easily adjustable and I can use the normal straight braided line ends you buy from wilwood.
Posted Image

#416 Alburglar

Alburglar

    Das Pingu's

  • Members
  • PipPipPipPipPipPipPipPipPip
  • 3,331 posts
  • Location: Dover Kent
  • Local Club: Kentish Mini Club

Posted 30 July 2007 - 05:54 PM

I have extended my inner arches, they just need offering up for final position before I graft on the vertical part of them that will stop road crud getting on my suspension and sprockets, etc.
Posted Image
I have modified the gear change bracket to fit around the cross member bulge on the underside of a minus that is flat on a mini. The bracket needed to be about an inch shorter and I made a nylon bush for one side to make it fit the normal part of the exhaust tunnel.
Posted Image
My diff is finally back from DR engineering and is in bar one drive shaft.
Posted Image
I've been doing a lot of head scratching regarding 4 wheel alignment as the rears are not symetrical compared with the body. I have had it apart (again) and tried the frame in various different positions to no avail. Either the rear wheels are in line with the front wheels and the body has moved or the zcars 4 wheel alignment wasn't up to much. If so, I may need to make new spacers for the rear arms. I'm gonna use the old faithfull string measurement technique to check the alignment, but I'm gonna get on with other stuff until I can figure it out.
...so I've stripped the front cage out to restore or replace (if needs be) all the integral steelwork in the body in the front floor pans, and another layer of grp as I have already done with the rear half of the shell.
-A before shot:
Posted Image

Edited by Alburglar, 30 July 2007 - 06:04 PM.


#417 Alburglar

Alburglar

    Das Pingu's

  • Members
  • PipPipPipPipPipPipPipPipPip
  • 3,331 posts
  • Location: Dover Kent
  • Local Club: Kentish Mini Club

Posted 01 August 2007 - 04:36 PM

I have now stripped the top layer of grp back in the front floor pans and the steel was in pretty good nick. I've dremel'd the surface rust of ready for some kurust to prime it.
Posted Image
I have put the other drive shaft in and put the whole diff assembly back together now, but I have 2 large washers left over. The only place I can think that they may have come from is the diff bolts, perhaps because the bolts are a mm too long for the thread in the diff carrier. Can people please check there diff bolts and see if you have one washer or two washers per bolt?
Posted Image

#418 nik1966

nik1966

    Learner Driver

  • Noobies
  • PipPip
  • 19 posts

Posted 01 August 2007 - 06:15 PM

I have now stripped the top layer of grp back in the front floor pans and the steel was in pretty good nick. I've dremel'd the surface rust of ready for some kurust to prime it.
Posted Image
I have put the other drive shaft in and put the whole diff assembly back together now, but I have 2 large washers left over. The only place I can think that they may have come from is the diff bolts, perhaps because the bolts are a mm too long for the thread in the diff carrier. Can people please check there diff bolts and see if you have one washer or two washers per bolt?
Posted Image


I have only one washer per bolt on my diff mounts

Nick

#419 Alburglar

Alburglar

    Das Pingu's

  • Members
  • PipPipPipPipPipPipPipPipPip
  • 3,331 posts
  • Location: Dover Kent
  • Local Club: Kentish Mini Club

Posted 05 August 2007 - 05:17 PM

cheers

#420 Alburglar

Alburglar

    Das Pingu's

  • Members
  • PipPipPipPipPipPipPipPipPip
  • 3,331 posts
  • Location: Dover Kent
  • Local Club: Kentish Mini Club

Posted 06 August 2007 - 12:52 PM

Integral steel has now been kurusted and hammerite'd ready to be recovered with grp, at the same time I will be covering any unwanted holes left from surplus bracketery etc in the front floor, bulkhead and exhaust tunnel.
Posted Image
I have properly primed and nearly finnished painting the front floor spreader plates.
Posted Image
I have also addresed the issue of fresh air into the cockpit, as I've been in a couple of these now and they get very hot in there! The vents will be fed by two ram-air type scoops and pipes from behind the front grill.
Posted Image


1 user(s) are reading this topic

0 members, 1 guests, 0 anonymous users