Edited by Alburglar, 16 April 2007 - 04:34 PM.
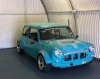

Monty the Rwd R1 engined tarmac eating Minus
Started by
Alburglar
, Aug 31 2004 08:06 PM
654 replies to this topic
#391

Alburglar
-
- Members
-

- 3,331 posts
Das Pingu's
- Location: Dover Kent
- Local Club: Kentish Mini Club
Posted 16 April 2007 - 04:22 PM
I work very strange shifts so progress comes as and when, plus it has to fit round a social life too, so sometimes It all fits in and I can get some work done. All my hoses have arrived, I will be cracking on with that shortly. I have just ordered a piece of 'S' shaped tube and some other bits so I can get my rear stabilizer bars sorted and have a go at fitting some inner arches too.
#392
Alburglar
-
- Members
-
- 3,331 posts
Das Pingu's
- Location: Dover Kent
- Local Club: Kentish Mini Club
Posted 16 April 2007 - 04:31 PM
- Fill petrol hole, sand rear half of roof interior and paint the lot.
-bolt cage back in.
- make a dash bar that also steadies the steering coloumn.
- strip back grp and restore all metal in front half of interior, then recover in grp (as i did with rear half).
- remove non ltd slip diff and exchange it for semi- race gripper diff and drive shafts.
- fit hoses (waiting for correct 25mm ones from Z's)
- refit tank
- fit dash and consoleand fix bloody great holes I put in it!
- fit exhaust manifold
- make a steady structure for rear end (body work wobbles a bit) and hang back box off it too.
- fit throttle position sensor.
- modify pedal and fit throttle cable
- fit gear cable.
- finish fitting brake hoses and rear fit clutch cable then bleed em.
- fit (and buy, come to think of it) sump baffle, change filter and fill put new oil in.
- make and fit bottom half side pieces of bulk head and then fit the whole thing.
- fit expansion tank
- make rear number plate bracket and light.
- fit battery cut off and wire instrument panel and rear lights.
- and final note to self...don't look at this list again as it's depressing. LOL.
-Fit scott oiler
-
- make a dash bar that also steadies the steering coloumn.
- strip back grp and restore all metal in front half of interior, then recover in grp (as i did with rear half).
- remove non ltd slip diff and exchange it for semi- race gripper diff and drive shafts.
- fit hoses (waiting for correct 25mm ones from Z's)
- refit tank
- fit dash and console
- fit exhaust manifold
- make a steady structure for rear end (body work wobbles a bit) and hang back box off it too.
- fit throttle position sensor.
- modify pedal and fit throttle cable
- fit gear cable.
- finish fitting brake hoses and rear fit clutch cable then bleed em.
- fit (
- make and fit bottom half side pieces of bulk head and then fit the whole thing.
- fit expansion tank
- make rear number plate bracket and light.
- fit battery cut off and wire instrument panel and rear lights.
- and final note to self...don't look at this list again as it's depressing. LOL.
-Fit scott oiler
#393
Alburglar
-
- Members
-
- 3,331 posts
Das Pingu's
- Location: Dover Kent
- Local Club: Kentish Mini Club
Posted 09 May 2007 - 08:56 PM
Well, I've had dash bar back from powder coaters a little while now and so have had the oppurtunity cut the dash down to fit over it.
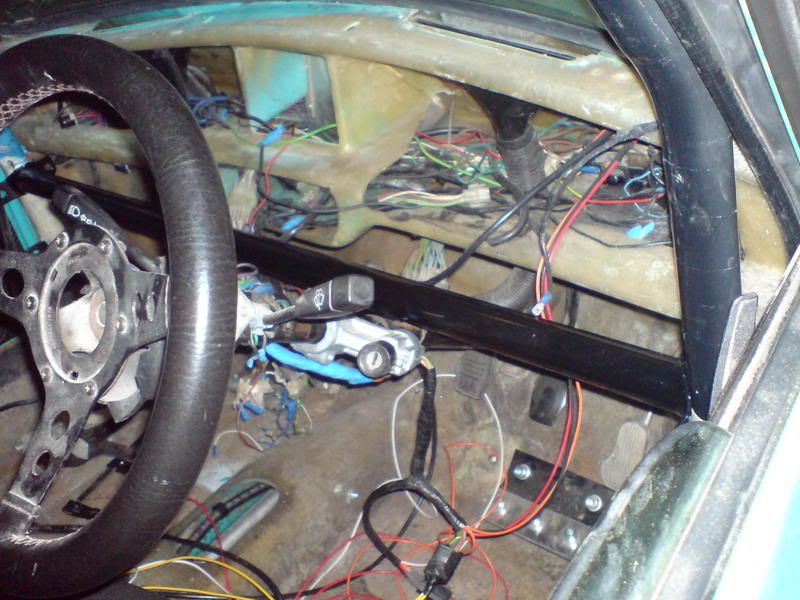
Also realised that I would have to remove roll cage to remove dash so set about modifying it so that it could be removed easily. I created a lip on the front face.
then cut the dash in half under the lip. I then drilled through the lip and fitted some steel plate with threaded inserts on the rear of the dash.
Then fibreglassed a lip in the rear of the dash that also fixed the plates in position. The dash now easily splits in two and is held together by four button head bolts. I'm very proud of the end result.
Edited by Alburglar, 09 May 2007 - 09:14 PM.
#394
Alburglar
-
- Members
-
- 3,331 posts
Das Pingu's
- Location: Dover Kent
- Local Club: Kentish Mini Club
Posted 09 May 2007 - 09:04 PM
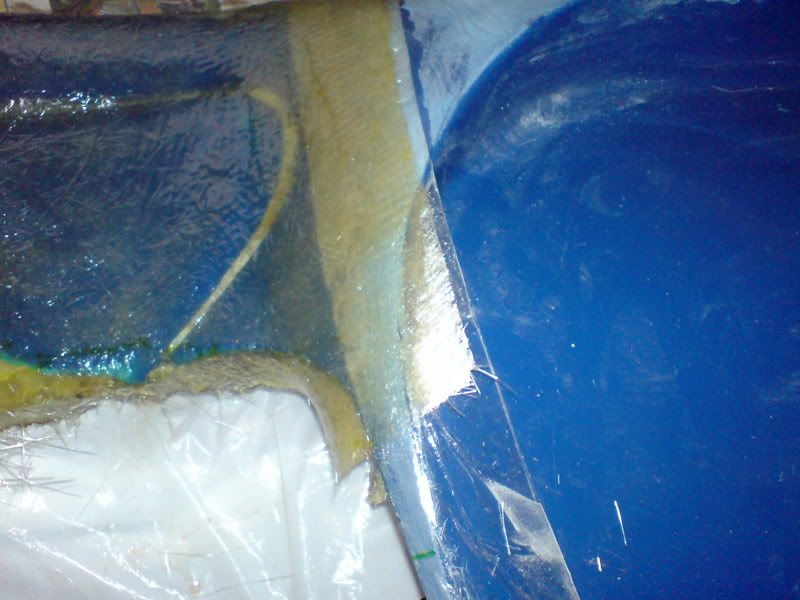
I started to make up some bulk head templates
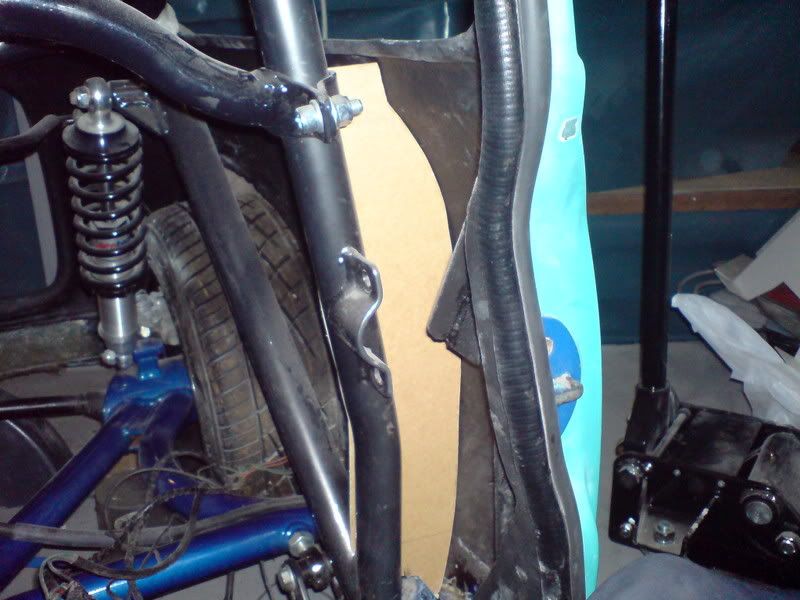
and realised that the angle iron set into the floor and the bottom of the integral roll hoop and seat belt fixings was getting in the way, so I set about chopping a section out on each side of the car.
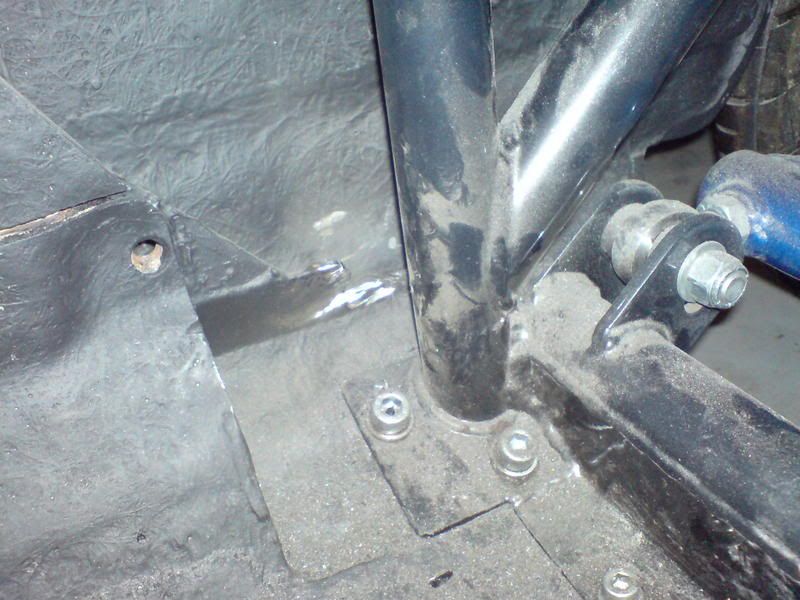
I rust treated and painted the steel and then grp'd over the top.
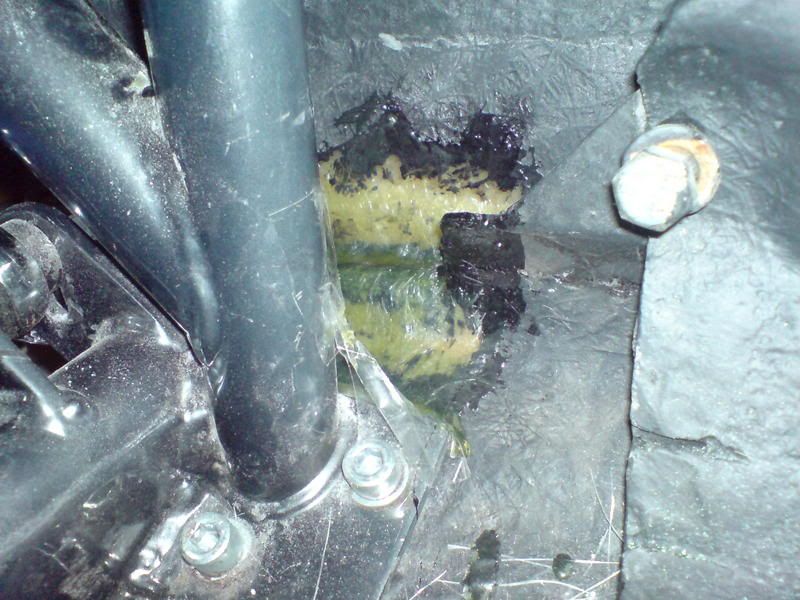
and realised that the angle iron set into the floor and the bottom of the integral roll hoop and seat belt fixings was getting in the way, so I set about chopping a section out on each side of the car.
I rust treated and painted the steel and then grp'd over the top.
#395
Alburglar
-
- Members
-
- 3,331 posts
Das Pingu's
- Location: Dover Kent
- Local Club: Kentish Mini Club
Posted 09 May 2007 - 09:12 PM
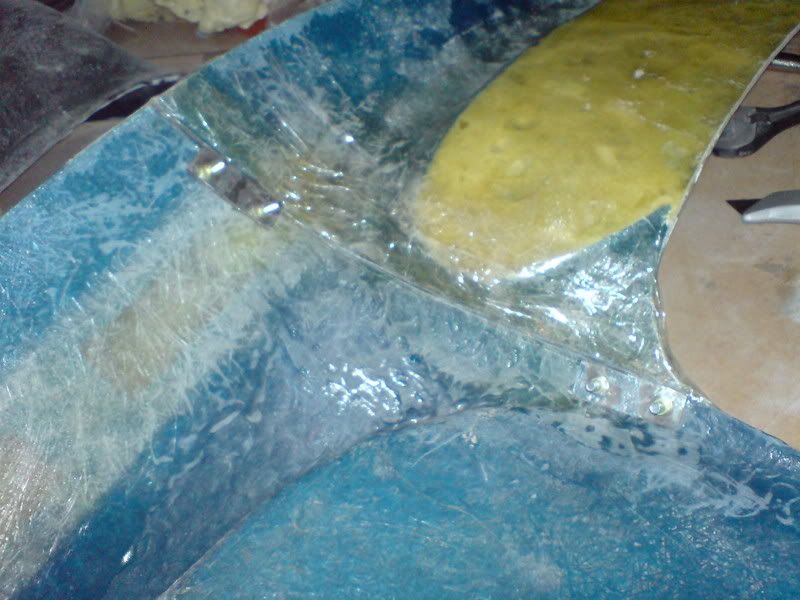
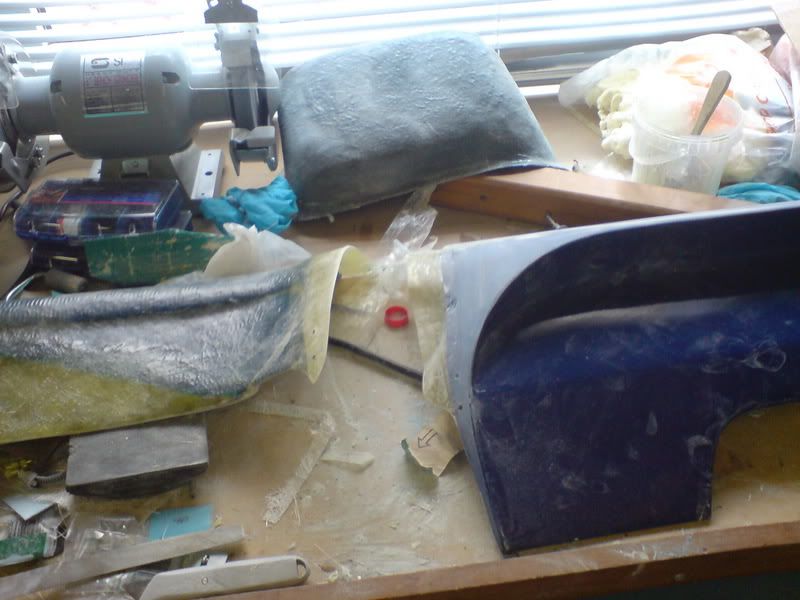
I bought a pair of crappy sports pack replicas at the Riv Run for a fiver and started to mod them to fit.
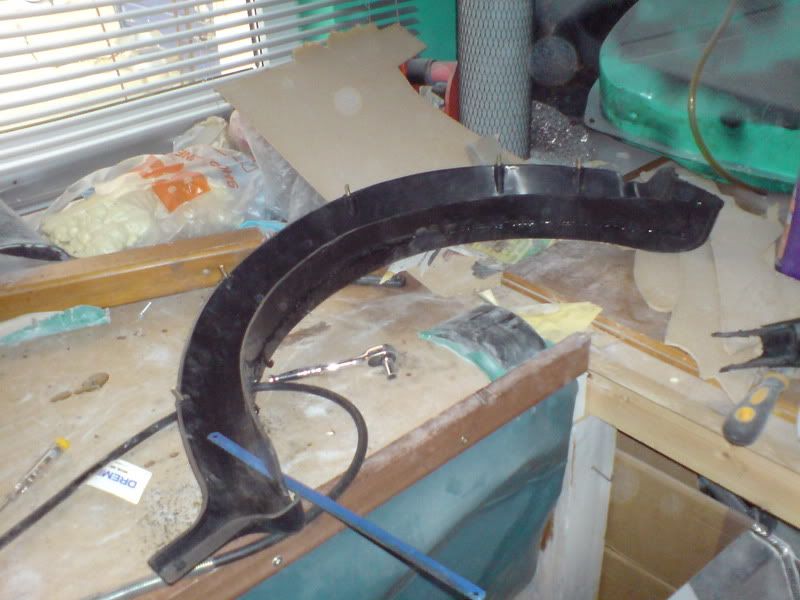
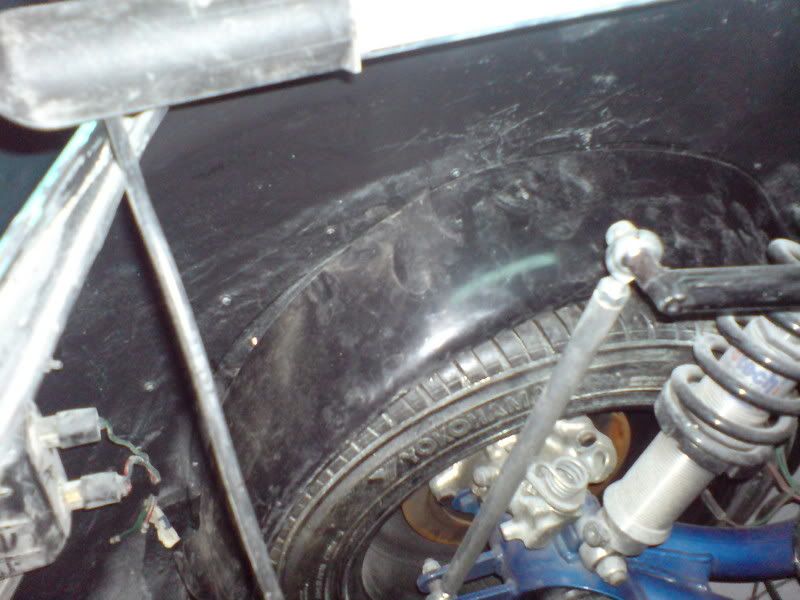
they don't quite do the trick as they are too narrow at the front and the studs are too short to get through the thicker grp shell. So once fitting exactly how I wanted, I've scuffed them up.
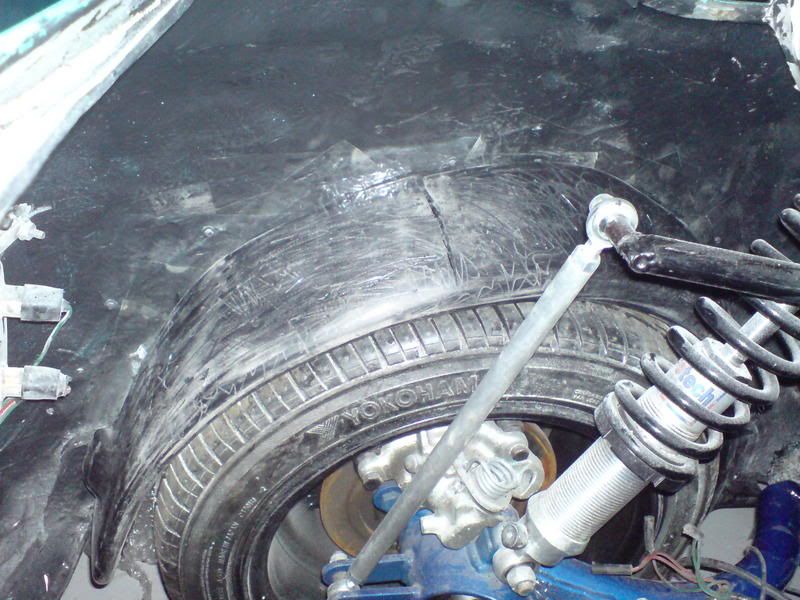
and layed some good old grp over them to stop them flopping about, so I can remove them and copy the stud pattern and create some longer stud arches.
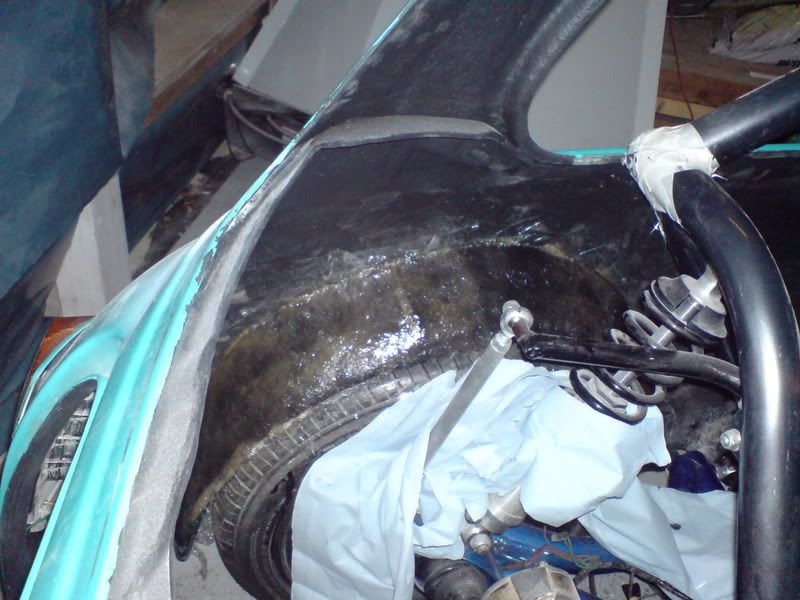
The studs come out under my blended-in outer arches so will be totally hidden.
they don't quite do the trick as they are too narrow at the front and the studs are too short to get through the thicker grp shell. So once fitting exactly how I wanted, I've scuffed them up.
and layed some good old grp over them to stop them flopping about, so I can remove them and copy the stud pattern and create some longer stud arches.
The studs come out under my blended-in outer arches so will be totally hidden.
Edited by Alburglar, 09 May 2007 - 09:19 PM.
#396
Alburglar
-
- Members
-
- 3,331 posts
Das Pingu's
- Location: Dover Kent
- Local Club: Kentish Mini Club
Posted 13 May 2007 - 12:56 AM
Went to remove the diff today to send off in exchange for gripper diff, but fell at the first hurdle. I don't have the right size socket to undo the rear hub nut - and on top of that I have lost the one that fits the front hub- doh!
But I did manage to refit all the cage minus the door bars to get the final position for the steering wheel... it was too far to the left so I modified a bracket to get it perfect.
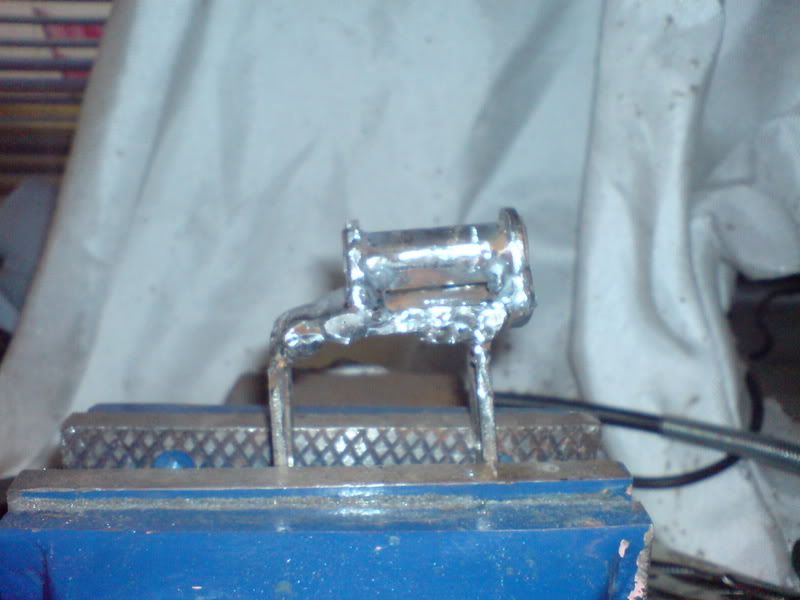
I have welded it up fully now and it is very strong. About a 1/4inch at the bracket moved the wheel about 2 inches across, which was perfect.
But I did manage to refit all the cage minus the door bars to get the final position for the steering wheel... it was too far to the left so I modified a bracket to get it perfect.
I have welded it up fully now and it is very strong. About a 1/4inch at the bracket moved the wheel about 2 inches across, which was perfect.
#397
Alburglar
-
- Members
-
- 3,331 posts
Das Pingu's
- Location: Dover Kent
- Local Club: Kentish Mini Club
Posted 14 May 2007 - 09:48 AM
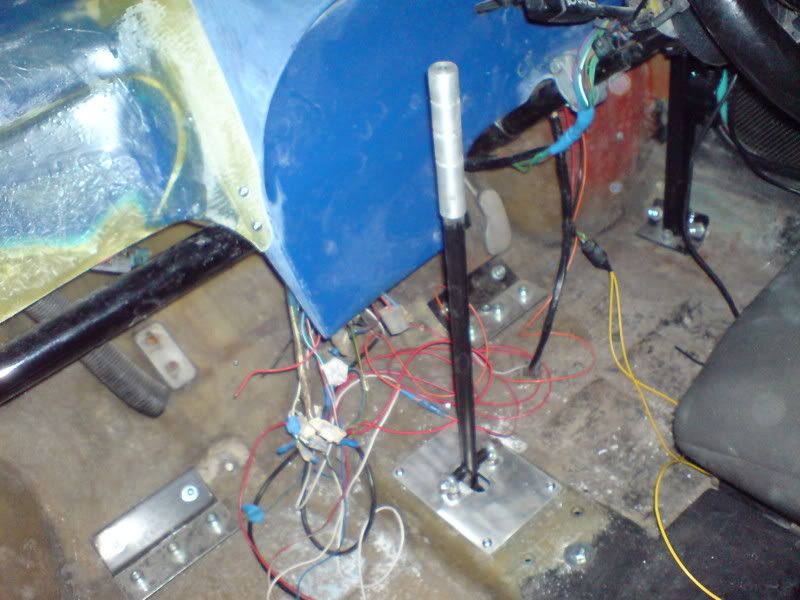
Not very useful, but I'm stuck till I get the 41mm socket to remove the rear hubs.
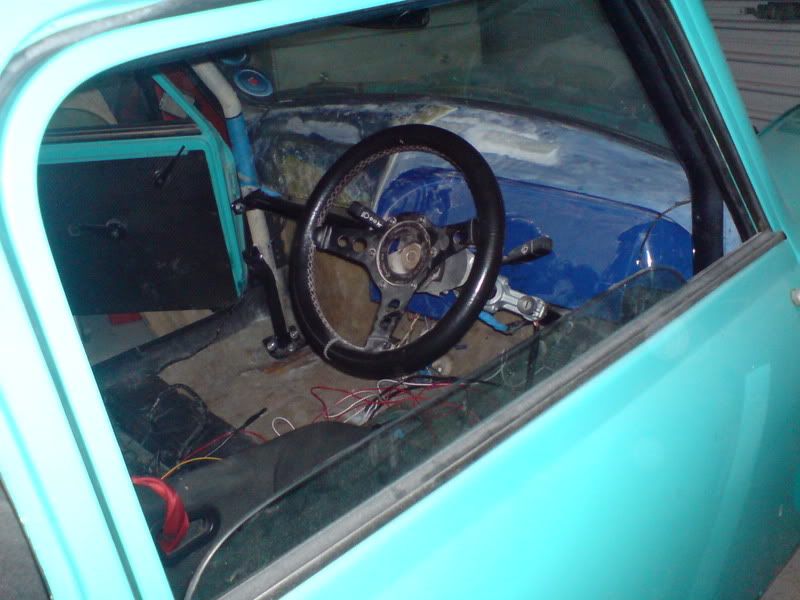
Painted steering column bracket.
I've fitted digi dash and buttons for power shifter - but nothing is wired in yet.
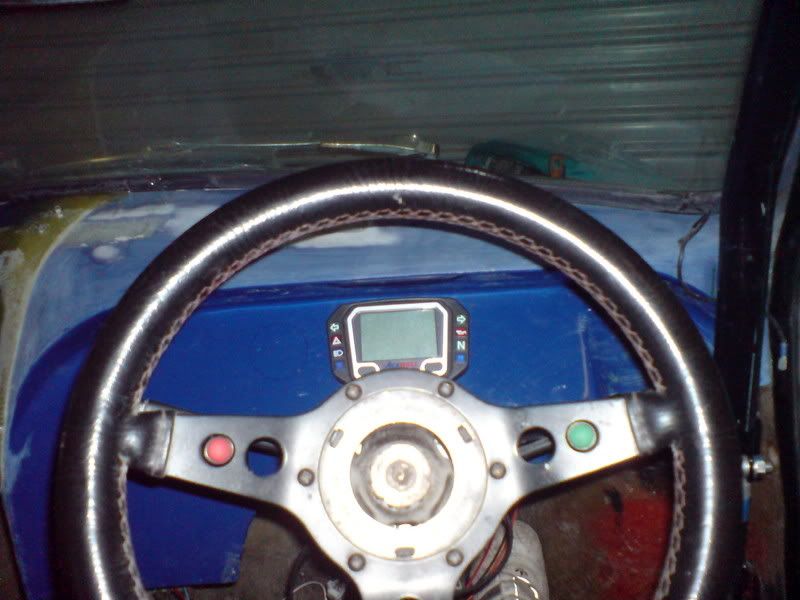
Painted steering column bracket.
I've fitted digi dash and buttons for power shifter - but nothing is wired in yet.
Edited by Alburglar, 21 May 2007 - 11:17 PM.
#398
Alburglar
-
- Members
-
- 3,331 posts
Das Pingu's
- Location: Dover Kent
- Local Club: Kentish Mini Club
Posted 16 May 2007 - 05:52 PM
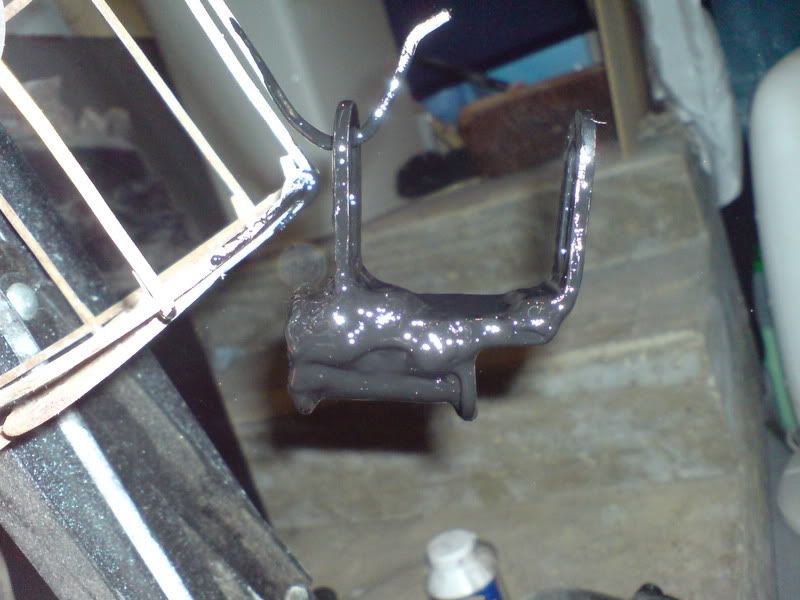
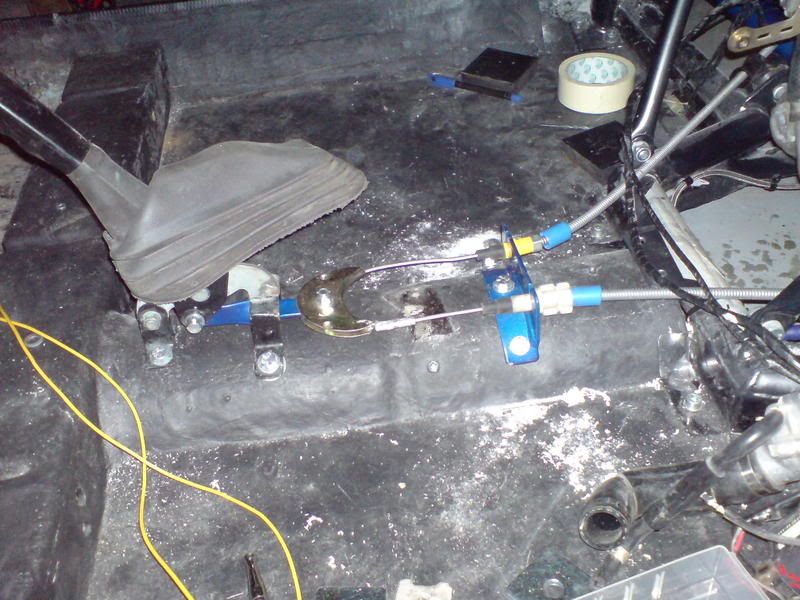
Gear linkage is sorted! - well rod change bit is atleast.
the bracket, as with everything in a minus, needed modifying because the grp cross member and another integral steel hoop protrude into the exhaust tunnel by about an inch. I've temporarily fitted it with using only one of the two bolt holes but will rectify this once the car is jacked up. but for time being it is all connected up and working.
I made some brackets from ally and nutserts to fit rod change base.
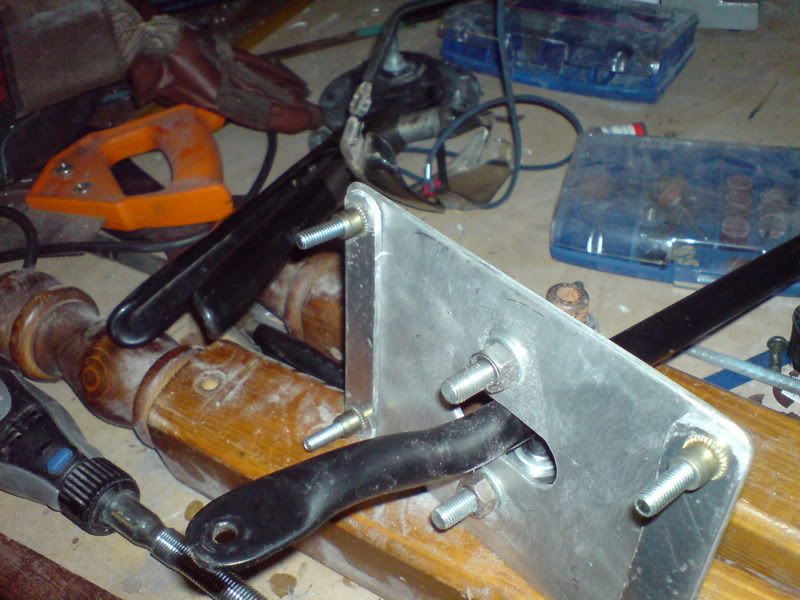
all in and it works nicely, although I have no idea what gear I'm in now? I'll have to make sure the clutch is depressed when I start it for the first time.
I've fitted the power shifter too, but I will have to modify the linkage to get it to work correctly and in tandem with the rod change, as you can see it is too long at the moment.
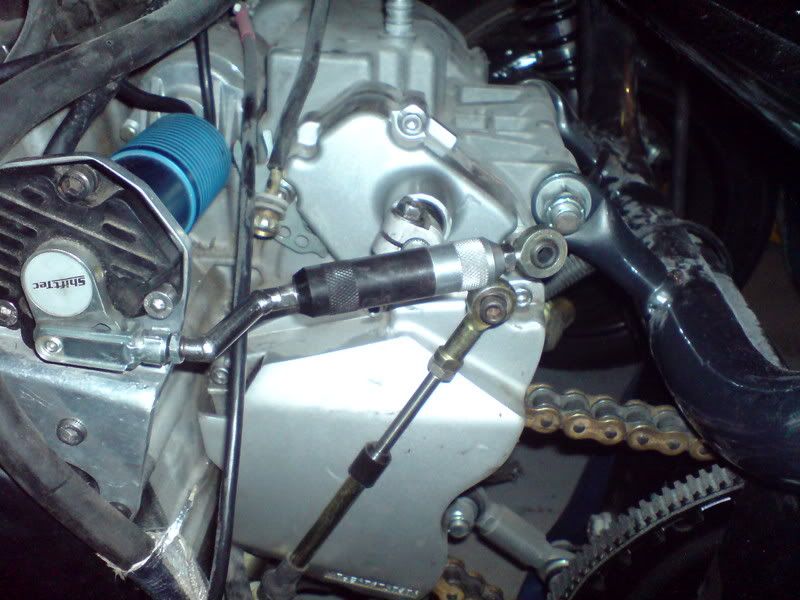
the bracket, as with everything in a minus, needed modifying because the grp cross member and another integral steel hoop protrude into the exhaust tunnel by about an inch. I've temporarily fitted it with using only one of the two bolt holes but will rectify this once the car is jacked up. but for time being it is all connected up and working.
I made some brackets from ally and nutserts to fit rod change base.
all in and it works nicely, although I have no idea what gear I'm in now? I'll have to make sure the clutch is depressed when I start it for the first time.
I've fitted the power shifter too, but I will have to modify the linkage to get it to work correctly and in tandem with the rod change, as you can see it is too long at the moment.
Edited by Alburglar, 16 May 2007 - 05:56 PM.
#399
Pie
-

- Banned
-
- 7,695 posts
Crazy About Mini's
- Local Club: GoGoAuto
Posted 16 May 2007 - 10:37 PM
Looking good Al. could have tidied that welding up on the bracket 
Getting worried abuot my build now. Started "Guestimating" the engine costs today and im looking in the region of £2500 and only 3months till bh2n!!
So far i have a bare block (1048cc) a slark head (34mm and 28.5mm valves, ported polished, gas flowed dbl valvesprings the lot) a rusty crank, and a single DCOE40 lol. So i have quite a bit to get, and as said before, IM GETTING WORRIED!!
Keep up the good work, and pop over and view your thoughts on my project, think you might like the pictures of the head, and the mk1 and mk2 escorts in worcester (page 9 - i think)
see you at brands.
Pie x
#400
Alburglar
-
- Members
-
- 3,331 posts
Das Pingu's
- Location: Dover Kent
- Local Club: Kentish Mini Club
Posted 16 May 2007 - 11:41 PM
Looking good Al. could have tidied that welding up on the bracket
Nobody's gonna see it pie, I wanted to make one out to steel to get the dimensions right and I'm now making one out of a solid block of ally.
#401
Alburglar
-
- Members
-
- 3,331 posts
Das Pingu's
- Location: Dover Kent
- Local Club: Kentish Mini Club
Posted 21 May 2007 - 06:58 PM
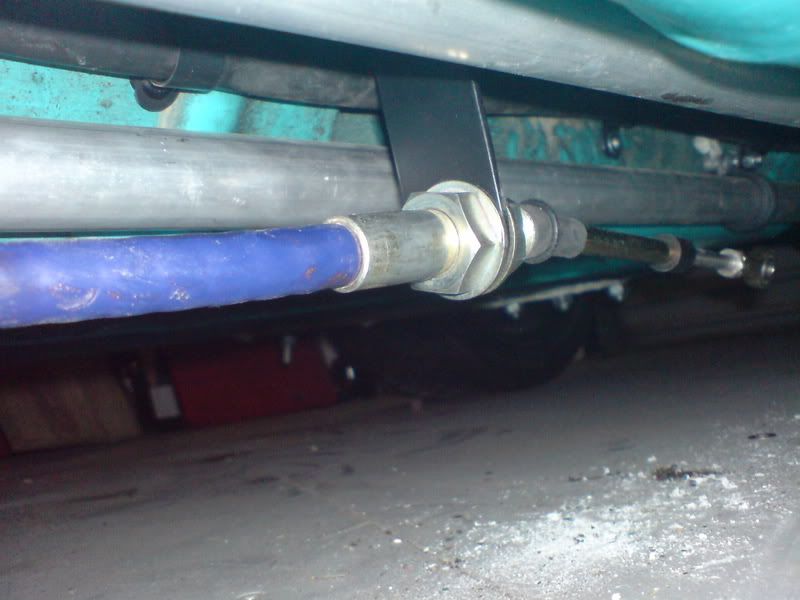
I've removed the power shifter because I can't be bothered with it right now. But mainly been having a nightmare trying to remove the rear hub nuts - 41mm - in case anyone wondered. I just can't find a way to lock the wheels whilst I undo the nut. So I've fitted the handbrake...
...and that didn't do the trick so ratchet strapped a rear wheel to the front and that didn't work, so I phoned Z's and they told me to fit the brake lines and try again with a mate on the footbrake too. Also told me that nearside hub is reverse thread too!
- so I fitted all my brake lines but the thread on one of the three ways was buggered and it threaded so need to order a new one.
Edited by Alburglar, 21 May 2007 - 11:19 PM.
#402
Alburglar
-
- Members
-
- 3,331 posts
Das Pingu's
- Location: Dover Kent
- Local Club: Kentish Mini Club
Posted 23 May 2007 - 12:00 AM
Well I managed to lock the wheel using a heath robinson two pieces of hard wood and a ratchet strap and first of all snapped my old torque wrench - at this point I should have realised that there was something a bit abnormal about this!

I managed to get the nut turning very slowly with my 2ft breaker bar and 2ft steel tube on the end - but it just kept turning and never came off! It was threaded and not budging. So...
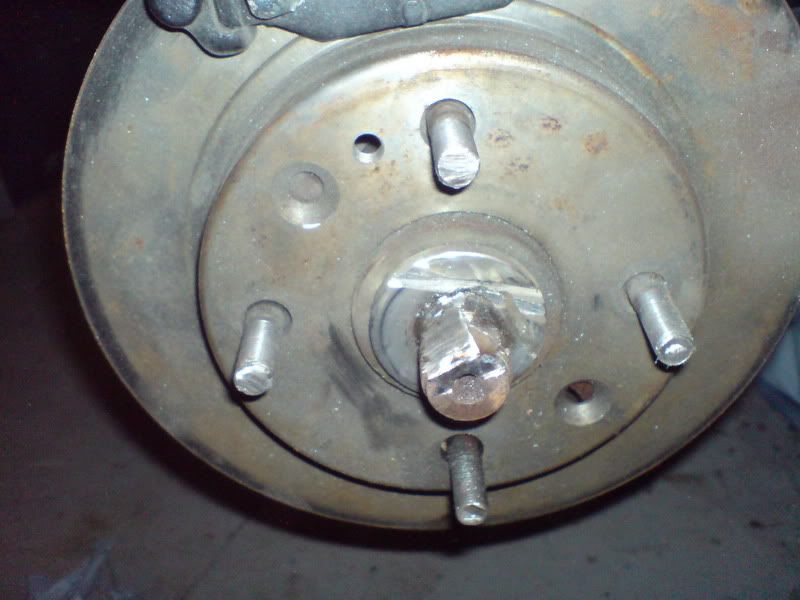
...I had to cut the basturd off, which is not that bad as the drive shafts need changing for the gripper diff anyway. But after a bit of good old blood sweat and tears the diff came out. What a relief.
I managed to get the nut turning very slowly with my 2ft breaker bar and 2ft steel tube on the end - but it just kept turning and never came off! It was threaded and not budging. So...
...I had to cut the basturd off, which is not that bad as the drive shafts need changing for the gripper diff anyway. But after a bit of good old blood sweat and tears the diff came out. What a relief.
Edited by Alburglar, 23 May 2007 - 12:01 AM.
#403
Jammy
-

- Members
-
- 25,397 posts
Moved Into The Garage
Posted 23 May 2007 - 11:34 AM
Oh dear Ali, you weren't using a torque wrench to undo nuts and bolts were you?! 
Glad you've managed to make progress on the diff through. Were there any clues as to why it wasn't coming off once you'd cut if off?
Glad you've managed to make progress on the diff through. Were there any clues as to why it wasn't coming off once you'd cut if off?
#404
dean_chad
-
- Members
-
- 733 posts
One Carb Or Two?
Posted 23 May 2007 - 08:49 PM
what side was you have trouble with Ali? One of the hub nuts on the rear frame on mine was oposite thread i.e and was clockwise to remove
#405
Alburglar
-
- Members
-
- 3,331 posts
Das Pingu's
- Location: Dover Kent
- Local Club: Kentish Mini Club
Posted 23 May 2007 - 09:22 PM
Torque wrench is an old knackered one which I use as a breaker.
reverse thread hub nut came off easy it was the standard thread nut that was causing the problems. The 'inside' half of the nut was threaded, could have been overtightened when the rear half of the cage was put together???
- it's all worth it tho because when I went to remove the chain the front sprocket fell off - it must have only been on by one remaining thread!
... Just goes to show that at heart she really is a MINI!


1 user(s) are reading this topic
0 members, 1 guests, 0 anonymous users


