My angle is on standby mate, but you first


Straight to the Point


Posted 11 January 2011 - 09:07 PM
One Carb Or Two?
Posted 13 January 2011 - 08:40 PM


Edited by ginger_monkey, 13 January 2011 - 08:41 PM.
Straight to the Point
Posted 13 January 2011 - 11:25 PM

One Carb Or Two?
Posted 14 January 2011 - 04:46 PM
Brave man! Good work though!
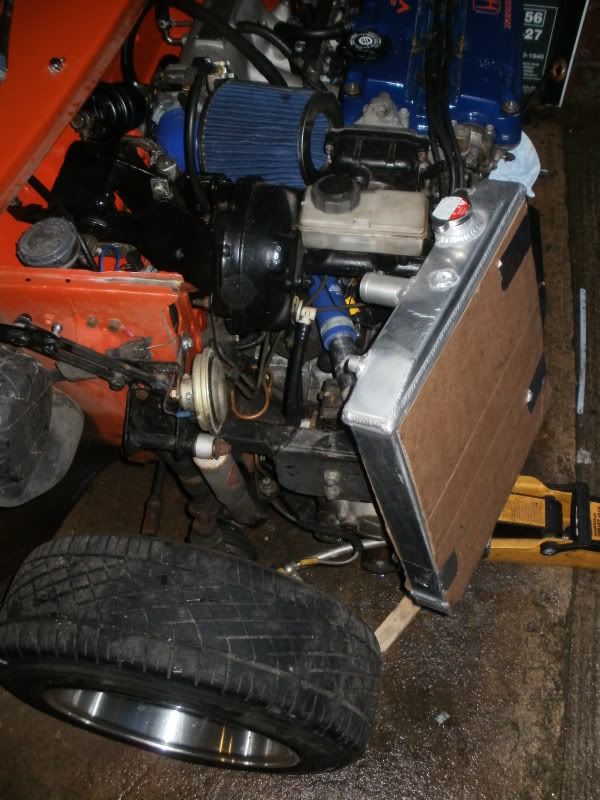
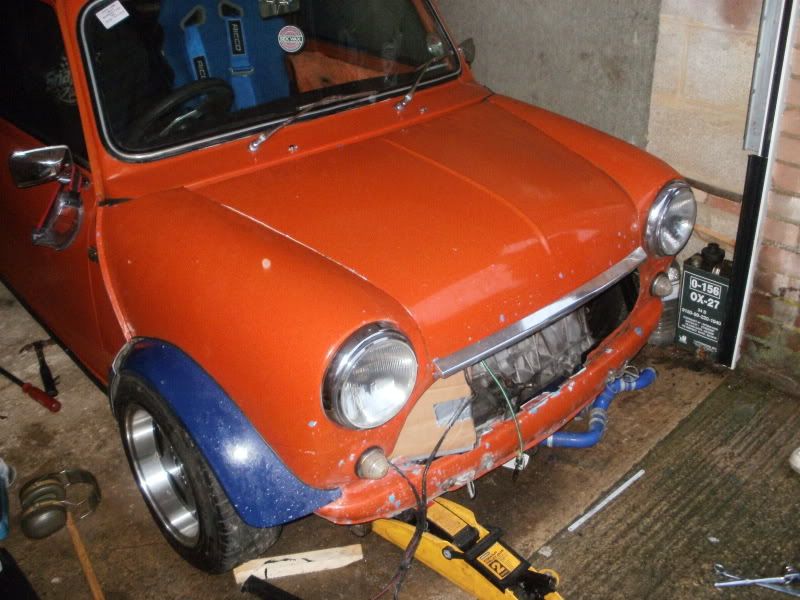
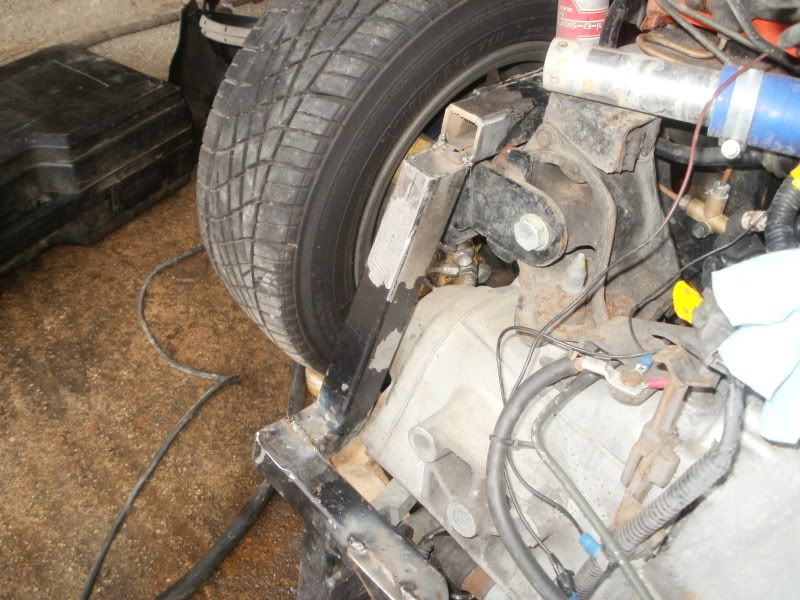
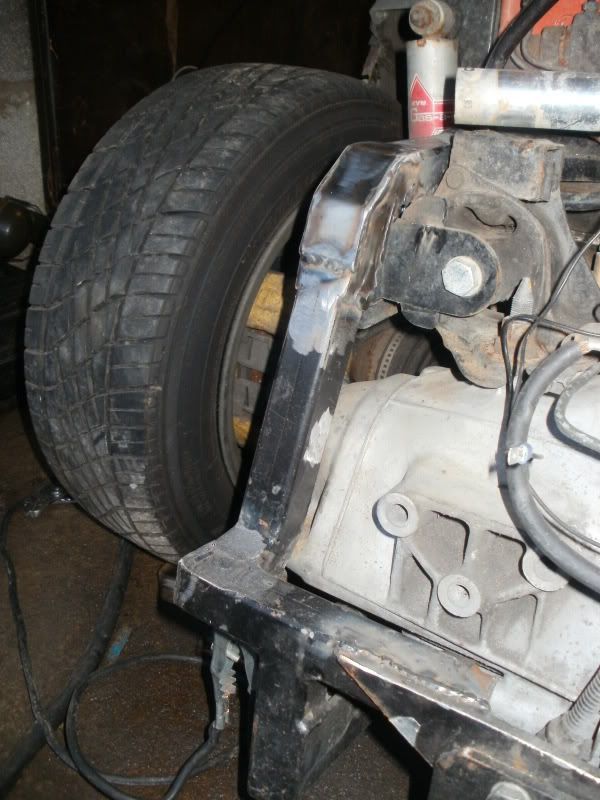
Is your fan on that rad? And does your grill fit?
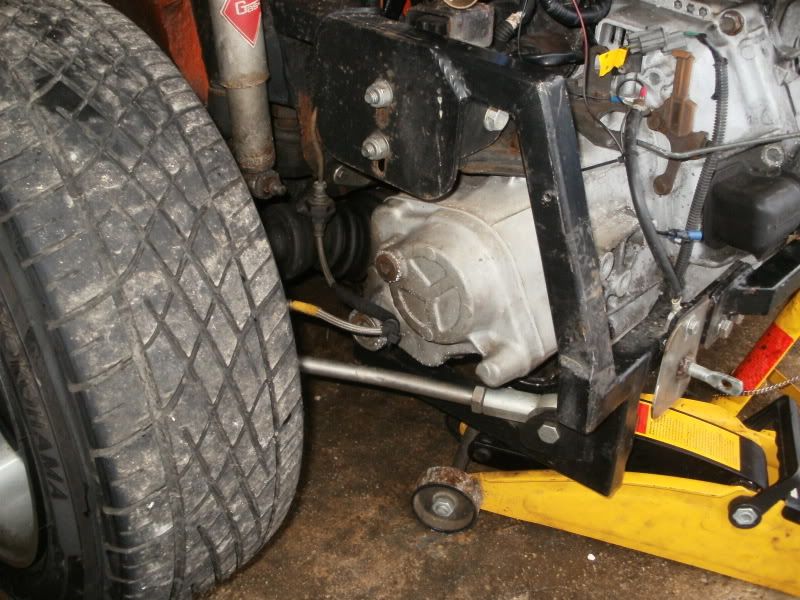
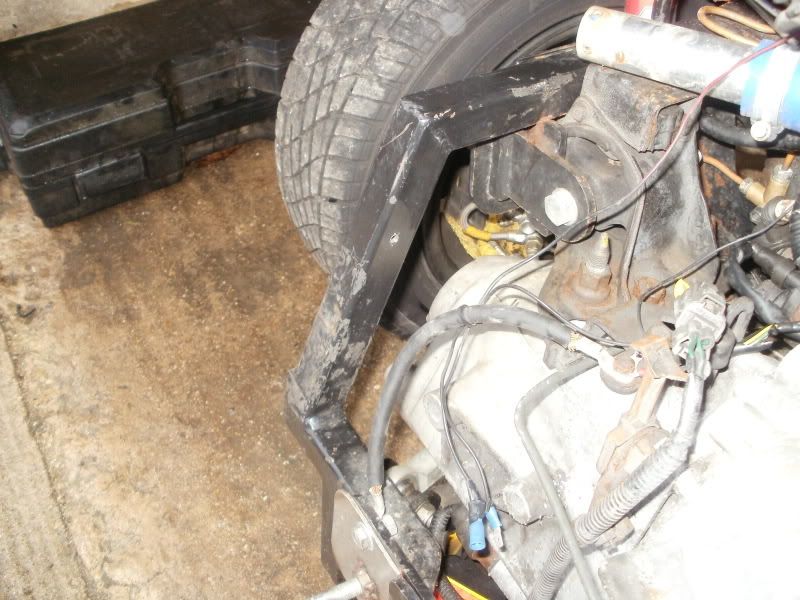
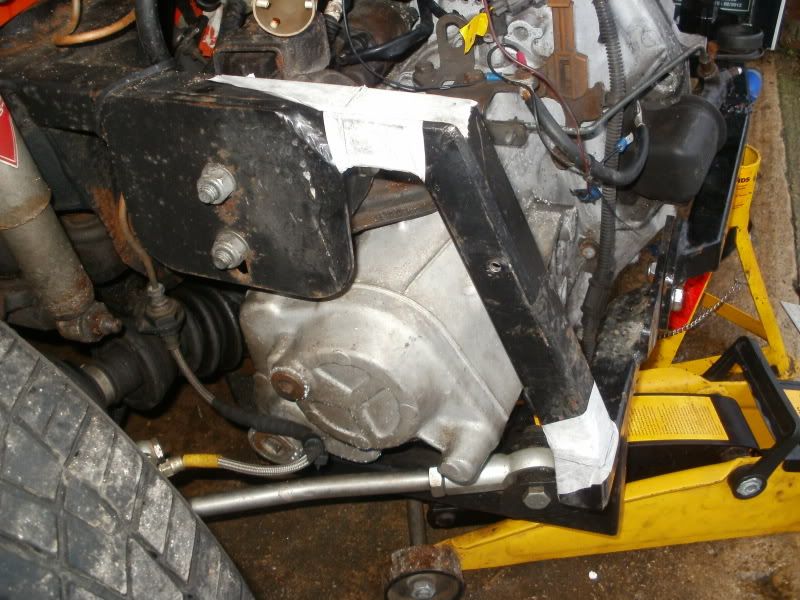
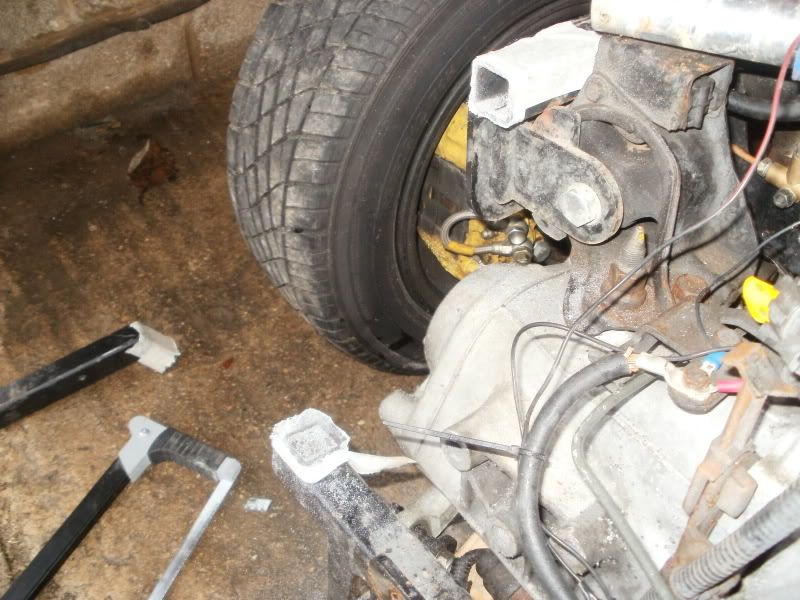
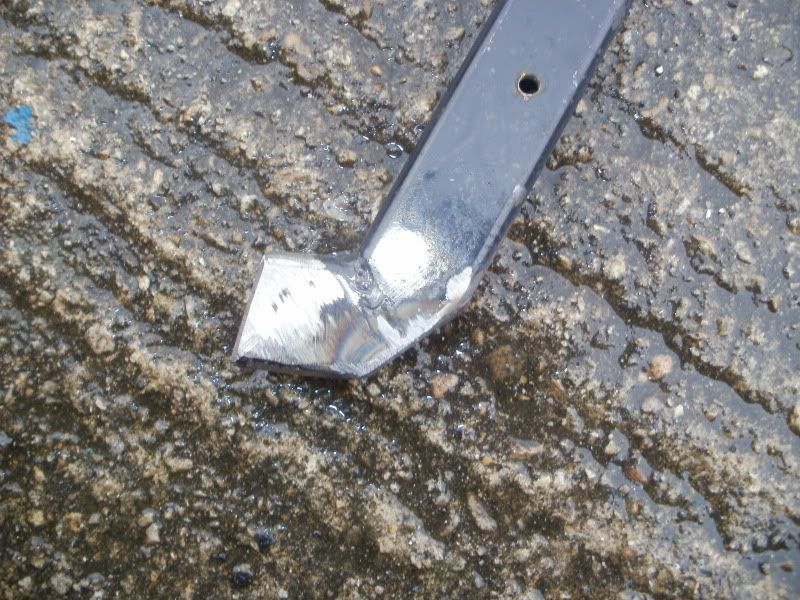
 ) So I trimmed the bottom corner and welded in a new plate so it had more room.
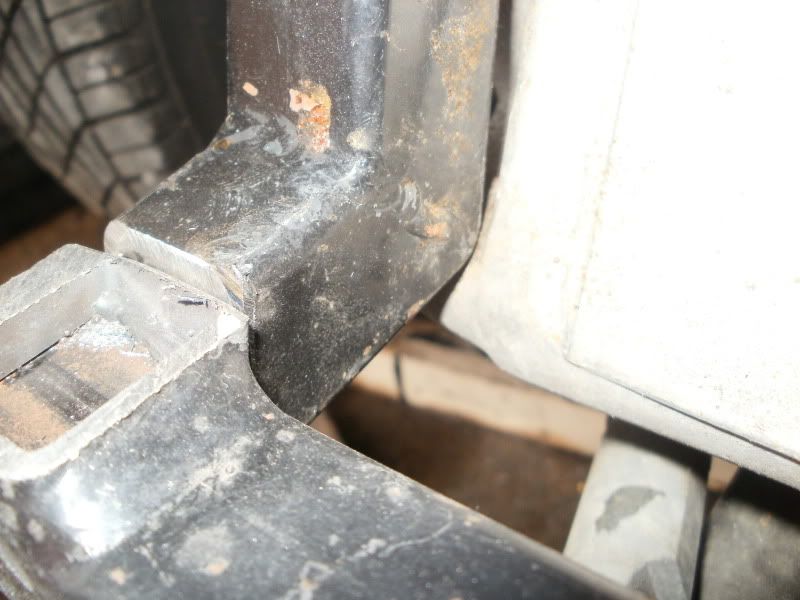
Has Ratchet, Will Make Noises

Posted 14 January 2011 - 05:05 PM
One Carb Or Two?
Posted 14 January 2011 - 05:49 PM
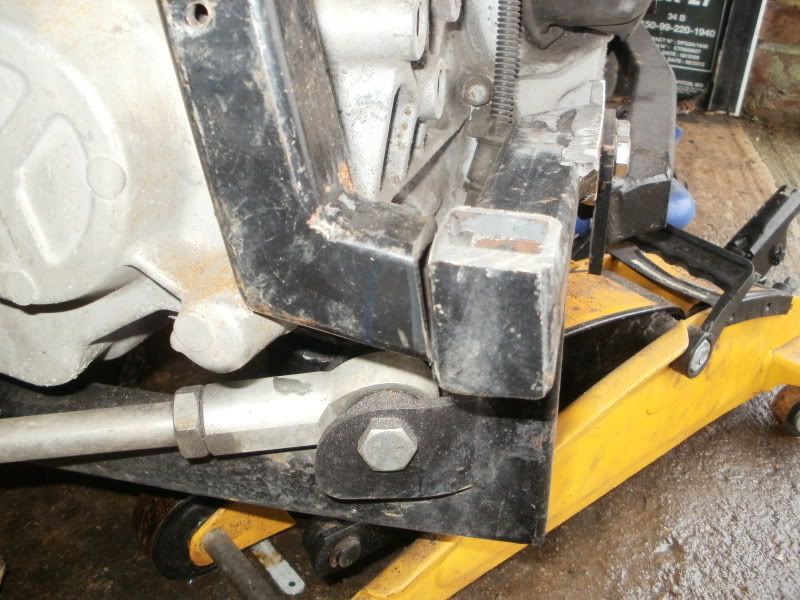
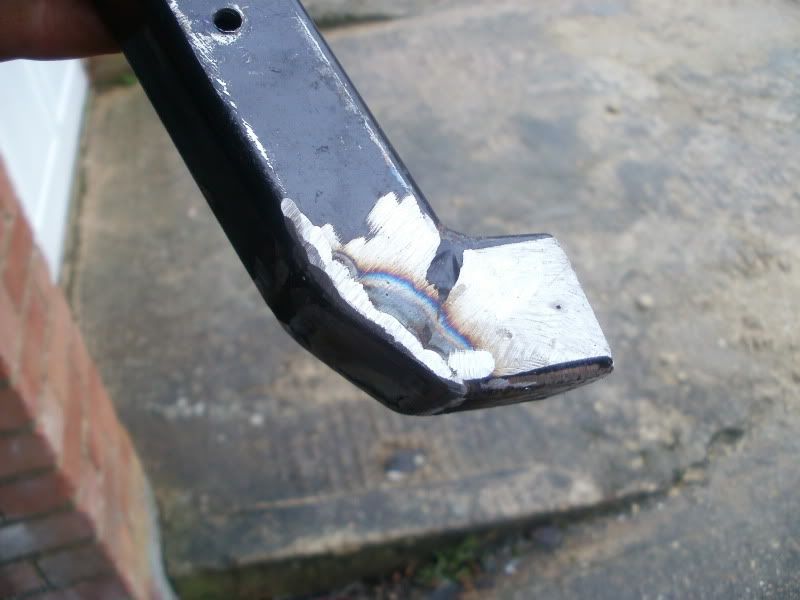
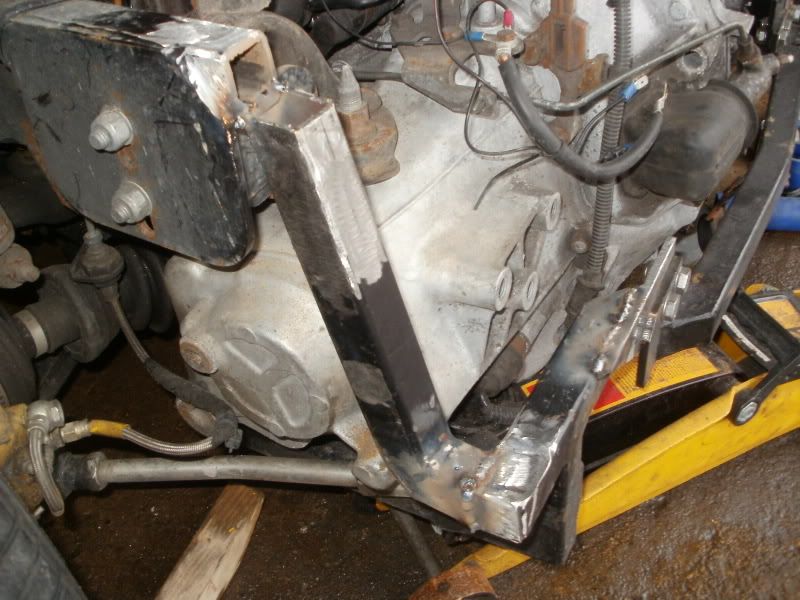
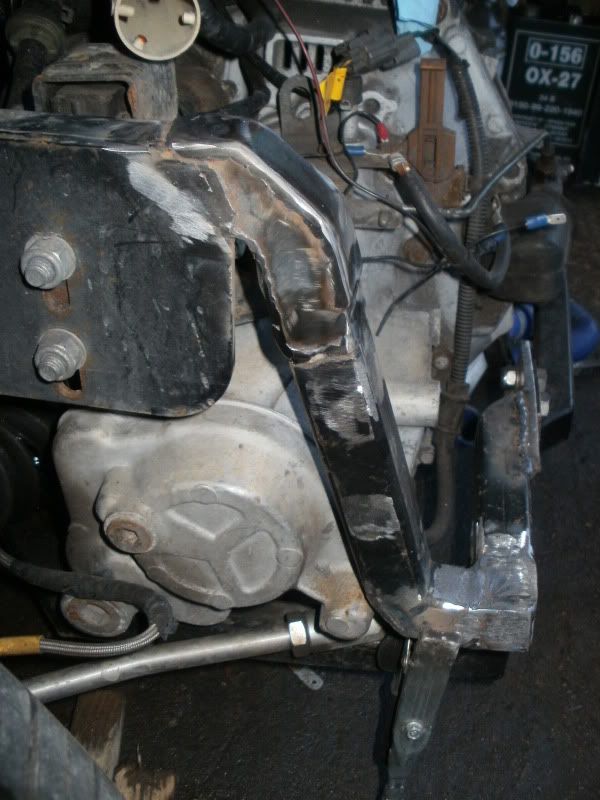
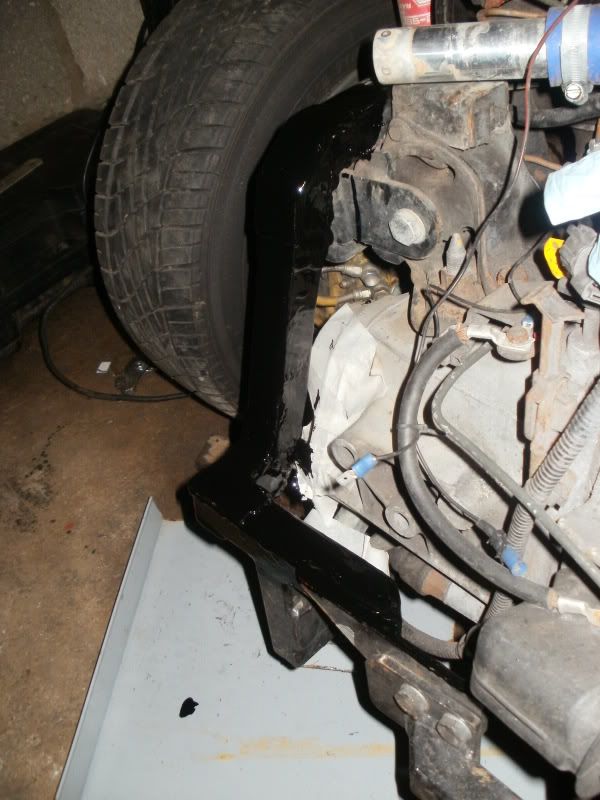
Them welds look good to me!
One Carb Or Two?

Posted 14 January 2011 - 05:55 PM
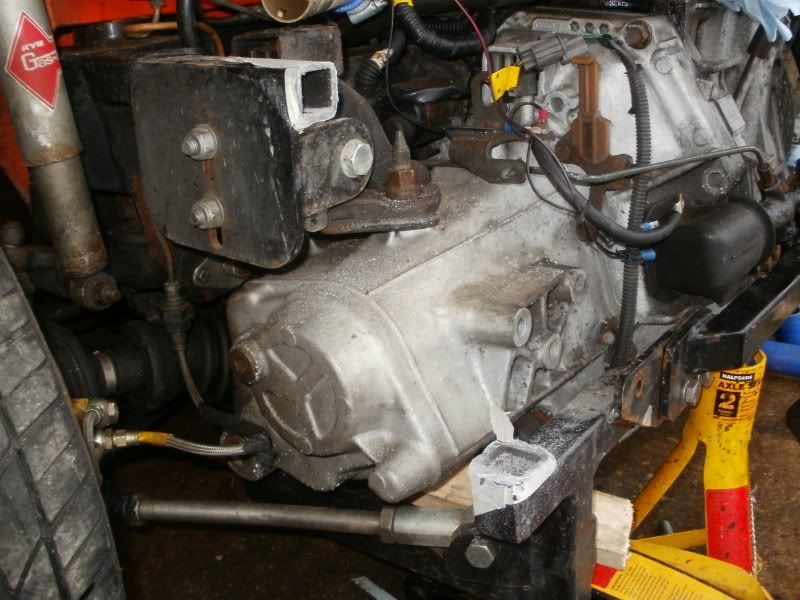
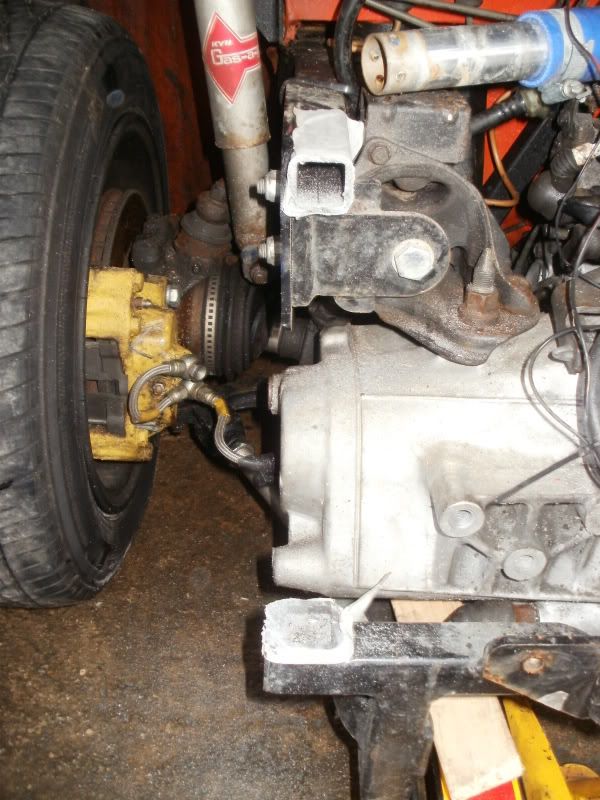
The bolt (that came off mine) only holds the rear part of the timing cover on behind the belt, you didn't remove yours did you? I thought you only took the two front sections off when you got them painted and changed the belt?
Also if that bolt does come off trust me you would know, when it drops it can only go one way......whichever way the belt is going! which means it will lodge itself somewhere and get trapped stripping the belt along the way!I know its a PITA mate to take off but you should take the water pump off and investigate, and if that bolt is still in there - take it out and thread lock it!
Also I think I've finally worked it out?
Your door cards make a bit more sense now!
One Carb Or Two?
Posted 14 January 2011 - 06:06 PM
Them welds look good to me!

One Carb Or Two?
Posted 14 January 2011 - 06:30 PM
Them welds look good to me!
You must have been blinded by pigeon poo lol
I wouldnt let the GingerMonkey near my mini with a welder or a grinder!!!!!!!!!!!!!! Oh wait a min i already have lol :thumbsup
Looking good Chris good progress from yesterday
Might just see you up the pub later if im aloud that is
Straight to the Point
Posted 15 January 2011 - 12:40 AM
One Carb Or Two?
Posted 15 January 2011 - 06:03 PM
 But I got there in the end. Looking forward to getting out there and getting the final position of the rad.
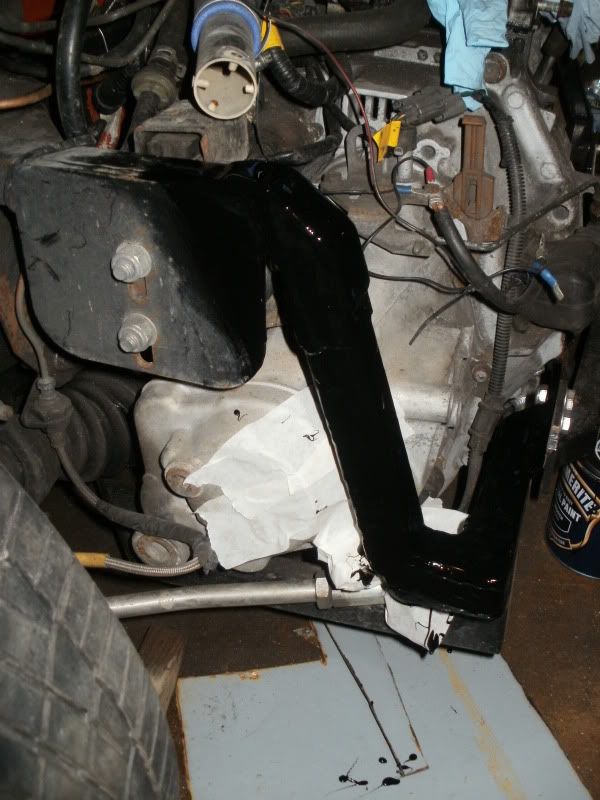

Straight to the Point
Posted 16 January 2011 - 12:59 AM
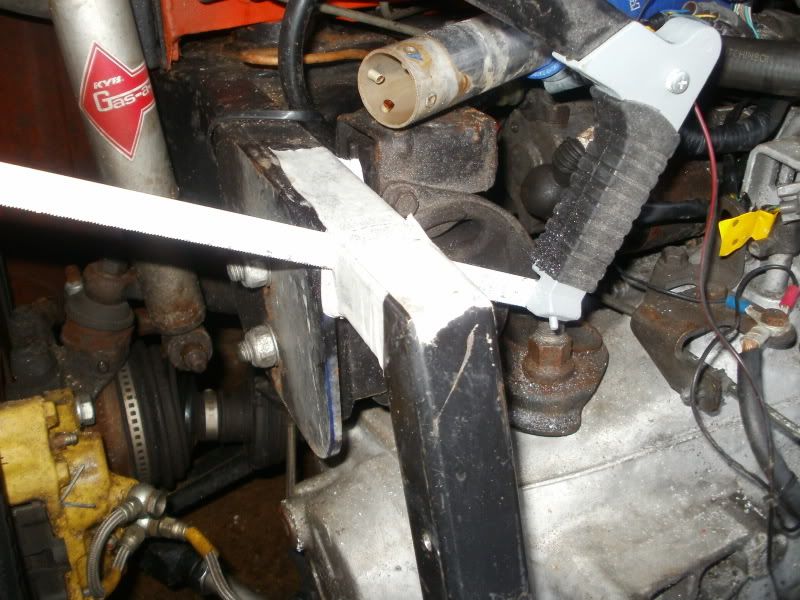
With your idea of going around the outside I was thinking it might get in the way of your wheel so you'd have less room to turn the wheels. Might be ok but it does look close
besides I'm gonna do my usual - measure once, cut twice, it'll be fine, trust me! One Carb Or Two?
Posted 16 January 2011 - 03:00 PM
Stage One Kit Fitted

Posted 17 January 2011 - 11:56 PM
One Carb Or Two?
Posted 19 January 2011 - 12:17 PM
Very very nice build.
Matt
But I'll get it working soon enough. Just got through a 12 inch rad fan too so that should be a lot better than the 9 inch one I was using on the old rad.


0 members, 2 guests, 0 anonymous users


