
i need a bigger garage first!  i hopefully wont have to take out the engine at any point this year around so i shall keep it upright at the mo

128 replies to this topic
#46

MrElliott
-
- Members
-

- 419 posts
Speeding Along Now
- Location: Surrey
- Local Club: Box Hill Mini Club
Posted 25 June 2014 - 07:36 PM
#47
Ben_O
-

- Paint Doctor
-
- 9,794 posts
Mill Road Garage
- Location: Isle of Wight
Posted 25 June 2014 - 07:43 PM
fair enough. if you are fitting the entire boot floor then it is easier to remove the sear brace panel first
#48
MrElliott
-
- Members
-
- 419 posts
Speeding Along Now
- Location: Surrey
- Local Club: Box Hill Mini Club
Posted 25 June 2014 - 07:56 PM
im just doing an inch backward of the seat belt mount brace back then as the rear seat is pretty mint. as is the heel board so i dont really want to go messing with that as i am bound to move the subframe mounts somehow
#49
MrElliott
-
- Members
-
- 419 posts
Speeding Along Now
- Location: Surrey
- Local Club: Box Hill Mini Club
Posted 26 June 2014 - 10:58 PM
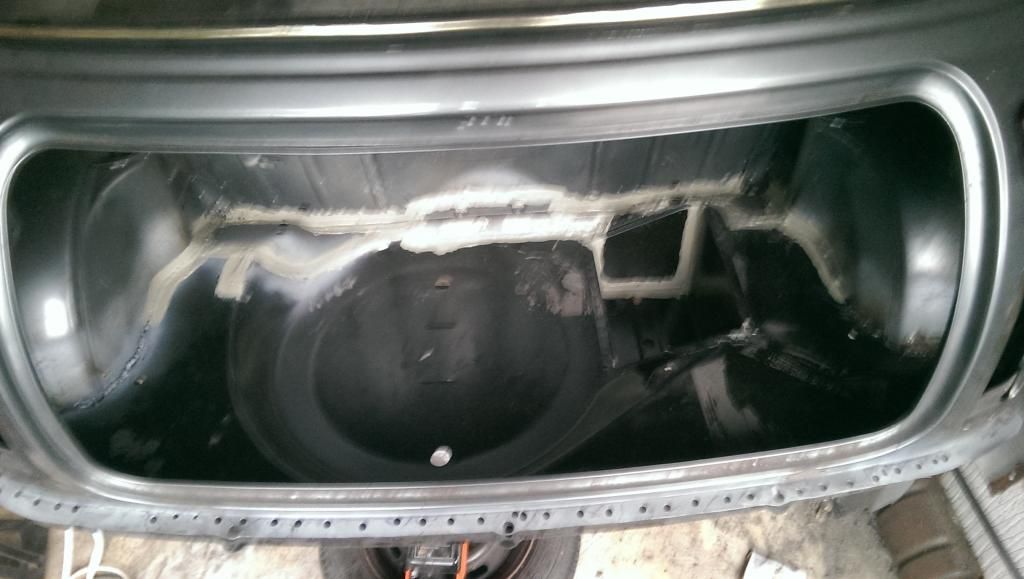
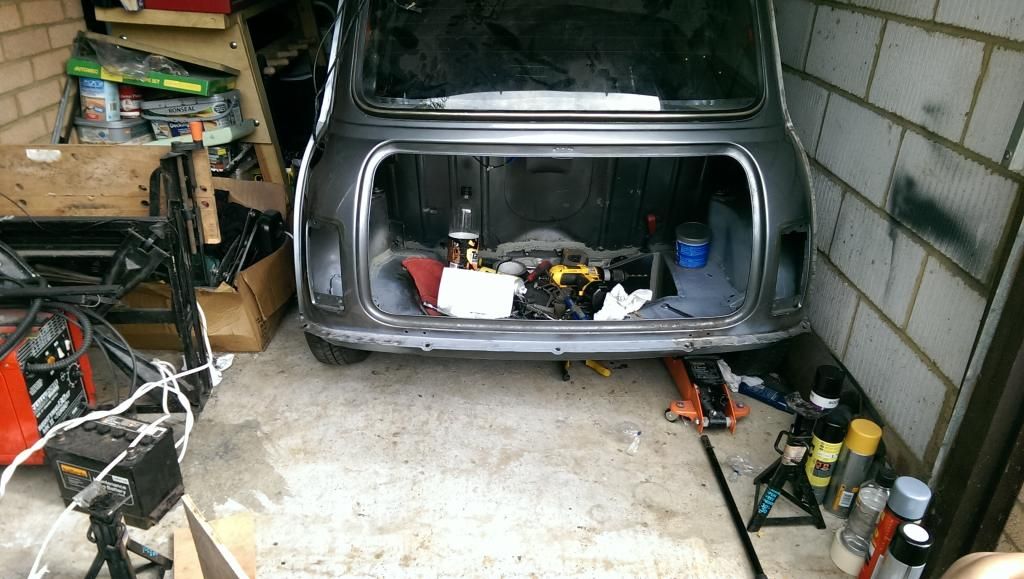
finally got the bulk of the boot floor out today
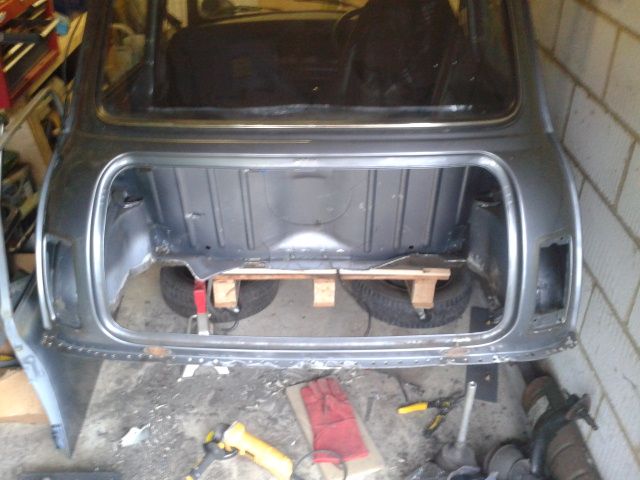
sadly i had to cut out the rear subframe mount which i was going to use to line up the new floor panel with. but i will just put the subframe in position screwed to the heelboard mounts and line it up from
also might have to repair the seam as it looks quite pitted 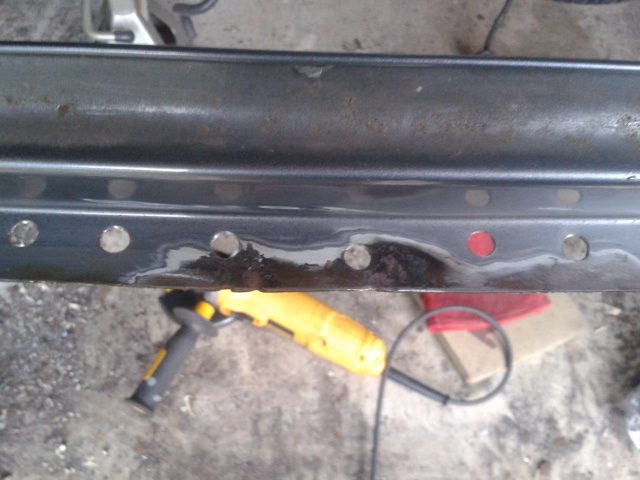 cheers Elliott
Edited by MrElliott, 26 June 2014 - 11:00 PM.
#50
MrElliott
-
- Members
-
- 419 posts
Speeding Along Now
- Location: Surrey
- Local Club: Box Hill Mini Club
Posted 02 July 2014 - 09:15 PM
lots of work since my last update. my phone died so i didnt have a camera to take pictures on but now i do :)
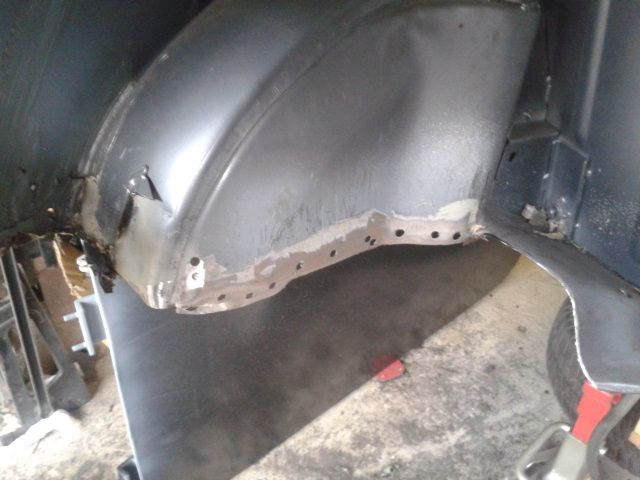
first off i did a couple of patches
then took the heel board back to bare metal to check for rot and there was very little and even that was just surface
another patch to the lip
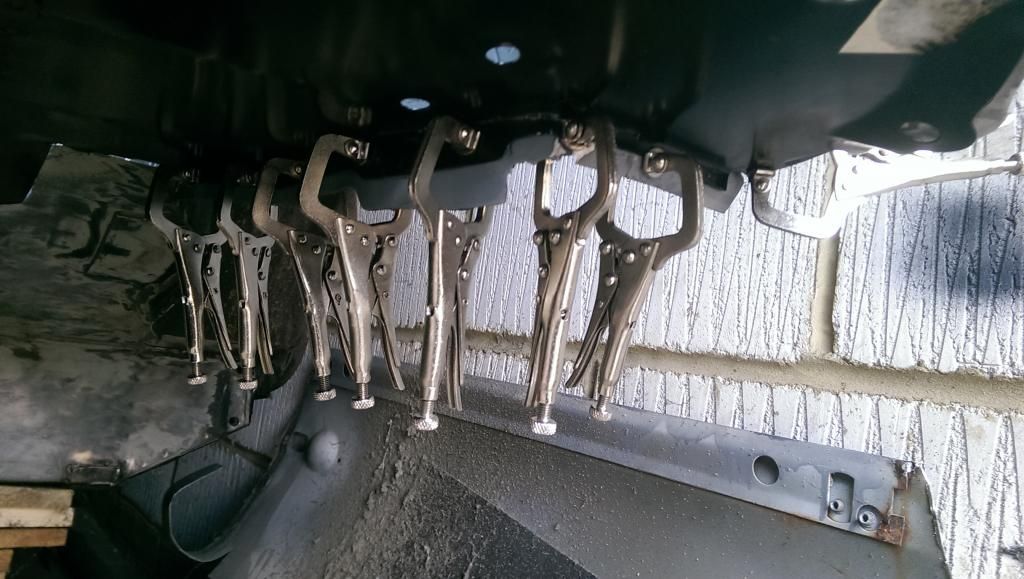
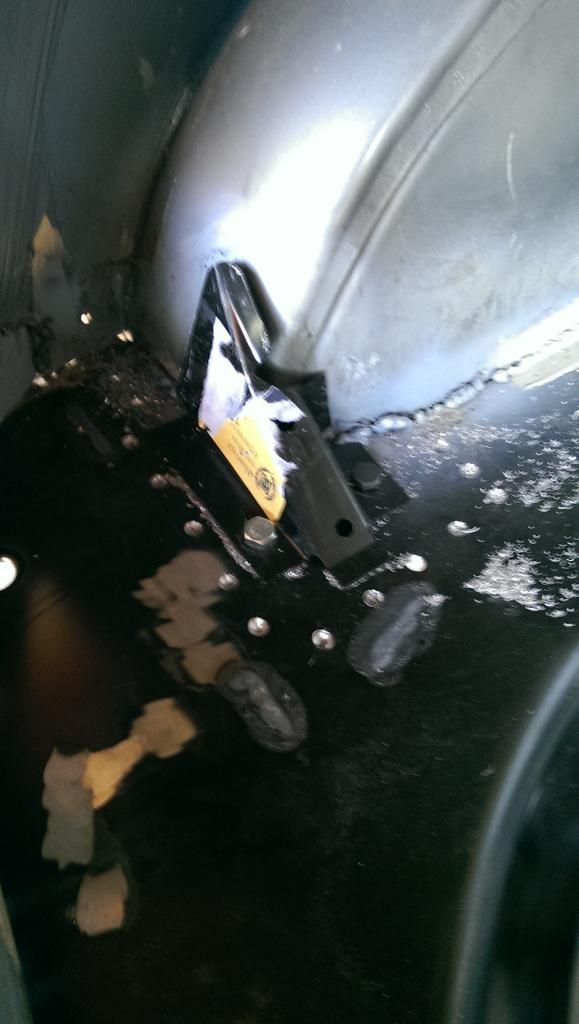
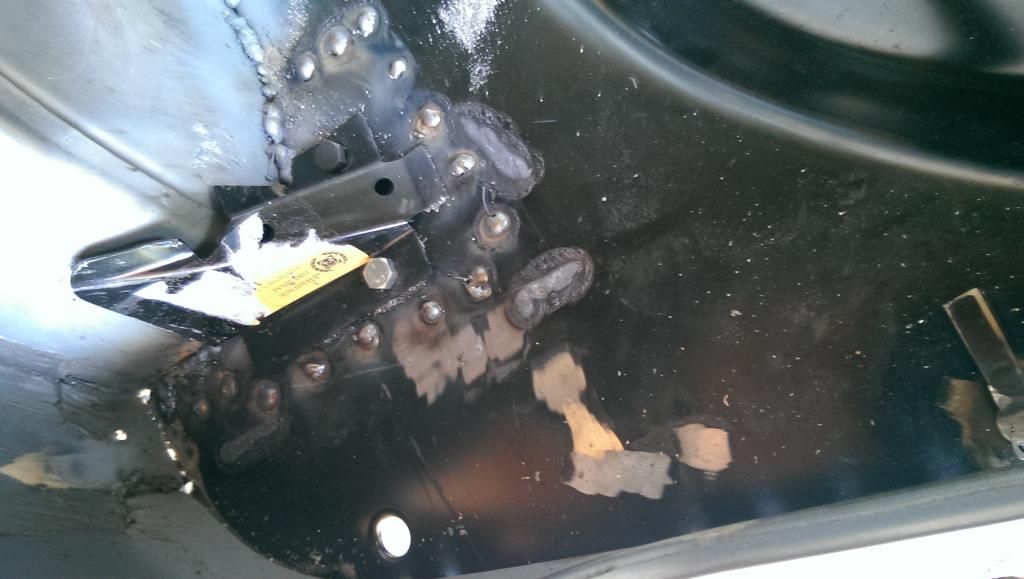
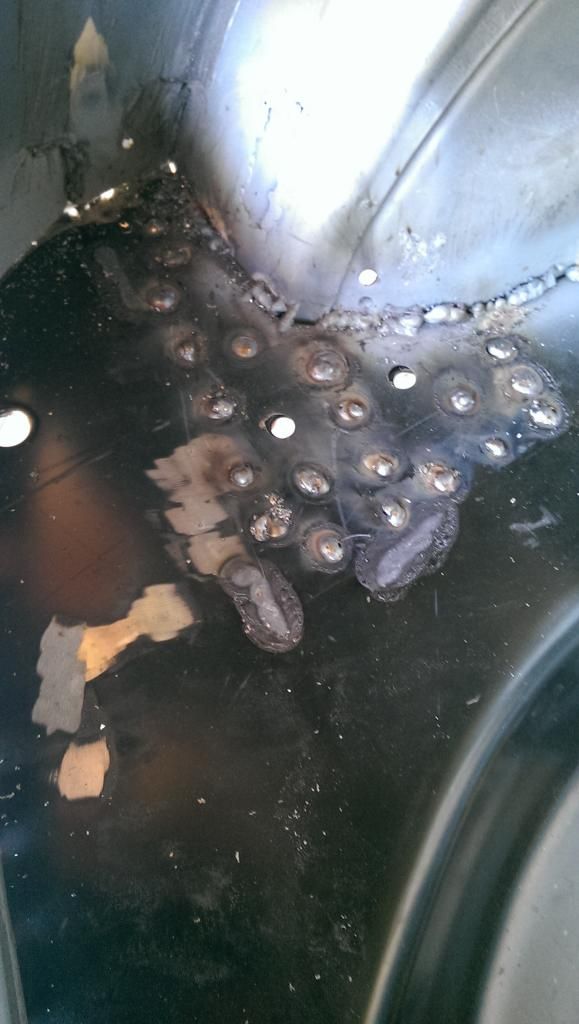
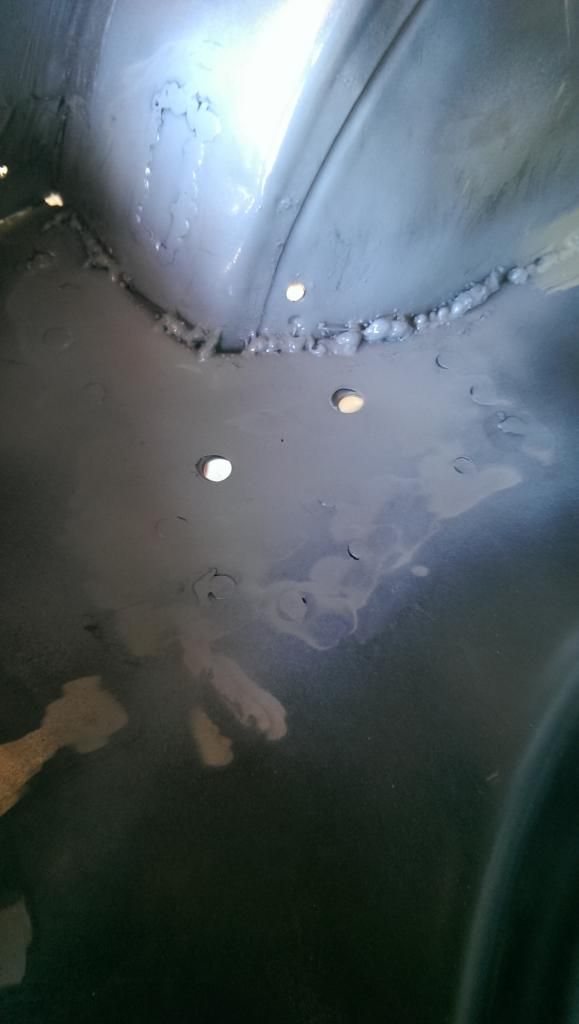
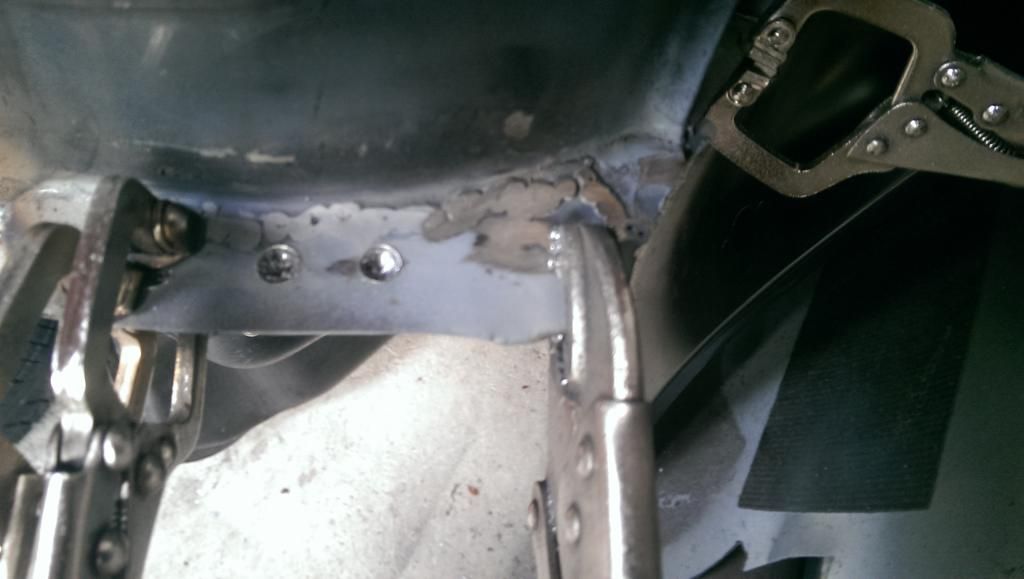
then lined up the boot floor for the millionth time and tack welded in place to be plug welded later
there's never too many of theses
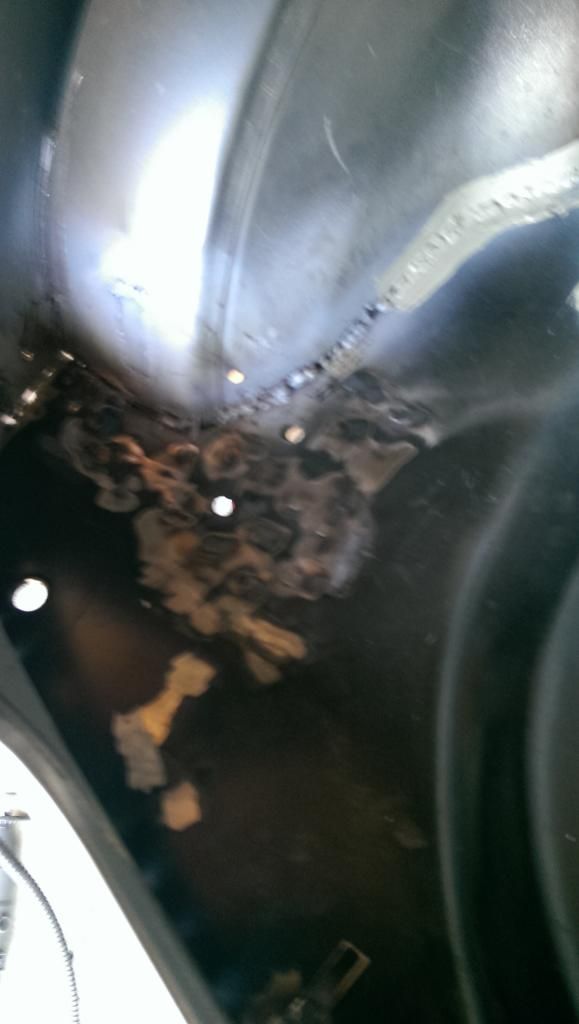
then seam welded to join between new and old boot floor and sealed half of the joins
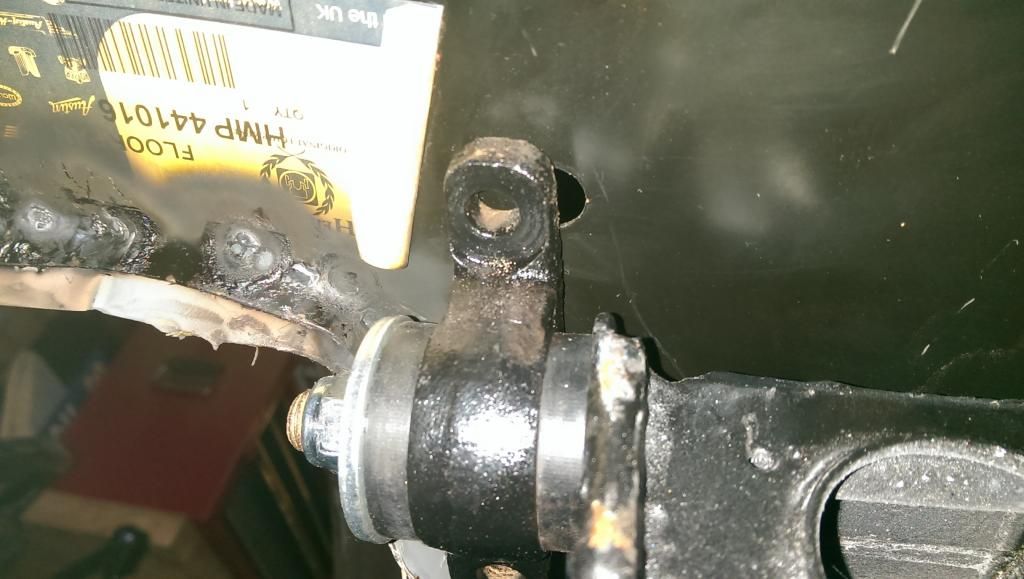
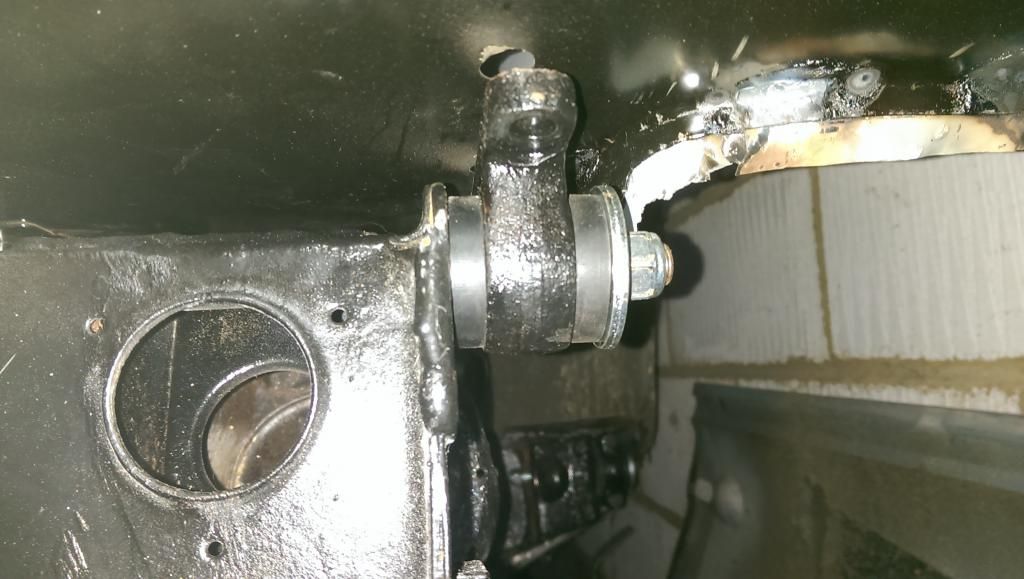
although i am now having issues with the subframe holes lining up :/
any suggestions as to where to go from here?
cheers
Elliott
Edited by MrElliott, 02 July 2014 - 09:17 PM.
#51
LosLandenos
-

- Noobies
-
- 75 posts
Stage One Kit Fitted
- Location: Gothenburg
Posted 02 July 2014 - 10:08 PM
Nice work! Looking good..
#52
Ben_O
-
- Paint Doctor
-
- 9,794 posts
Mill Road Garage
- Location: Isle of Wight
Posted 03 July 2014 - 11:17 AM
Hi mate,
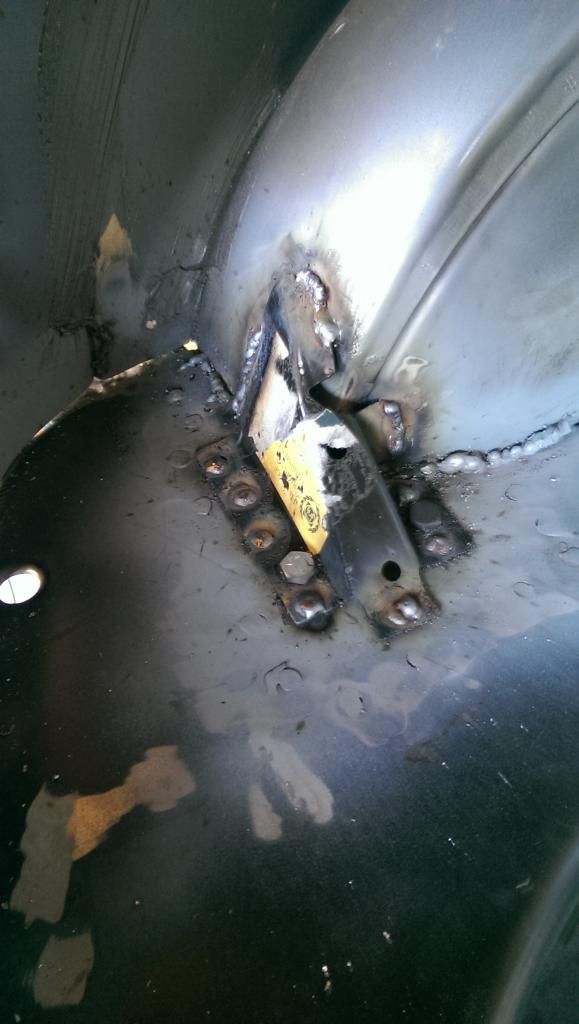
Some of that difference can be expected as you have new bushes which obviously will affect the fit somewhat, It looks to me like those nuts could do with pinching up a bit to squash the bush a bit more?
Both trunnions seem to want to go inbound slightly and i believe that would sort out your problem.
If you need to enlarge or move mounting holes, always make sure you have the subframe in square first and that you take careful measurements so you don't end up with a crooked subframe. If you do need to adjust the mounting holes you should only look to be doing it very very slightly. Once the holes are adjusted and the frame fits, you can fit the floor to arch braces in position so their frame mounting holes line up exactly with the frame. This will also need to be done with the under floor strengtheners/valence closing panels.
Don't worry, looks like a great job!
Ben
#53
MrElliott
-
- Members
-
- 419 posts
Speeding Along Now
- Location: Surrey
- Local Club: Box Hill Mini Club
Posted 03 July 2014 - 05:12 PM
thanks for your help and advise guys
progress  so i got up and had another look at the subframe and yer i was panicking a bit early as i needed to tighten the bushes up to pull the hangers in closer to the subframe and then wiggle the thing about to get the bolts in :) so with the boot floor alignment all okay i took the suby off so i could weld in the other plates and strengtheners in.
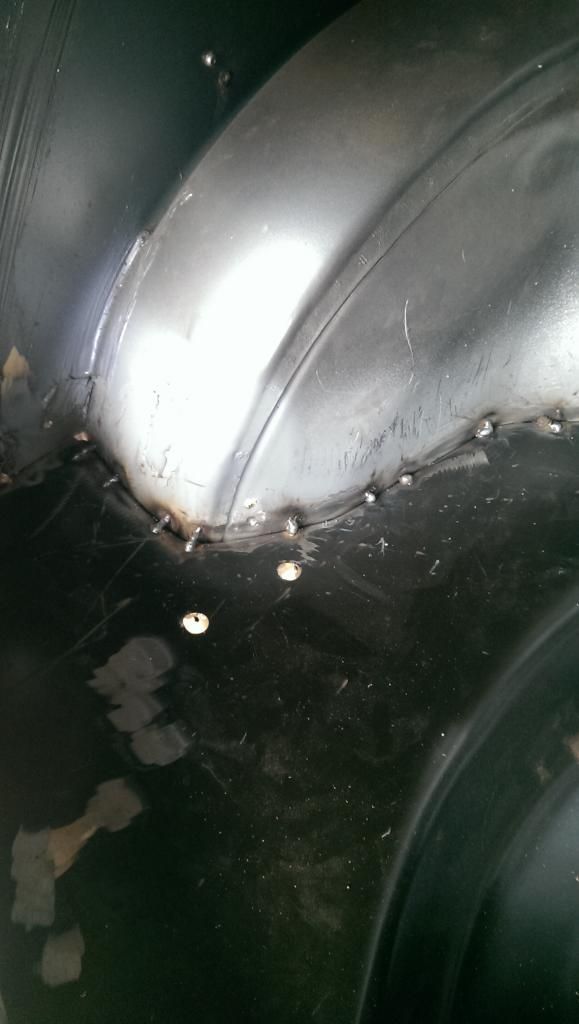
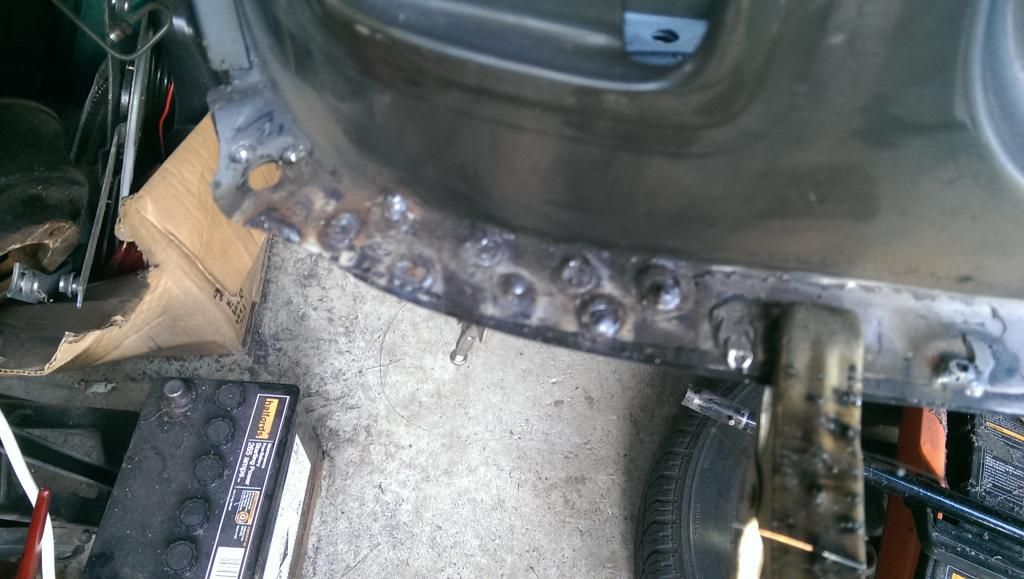
after a trip to mini speed i bolted the panels and strengtheners onto the boot floor
drilled holes
plug welded
top strengthener removed and more plug welds
ground back
primed
top brace plug welded in
then tidied up
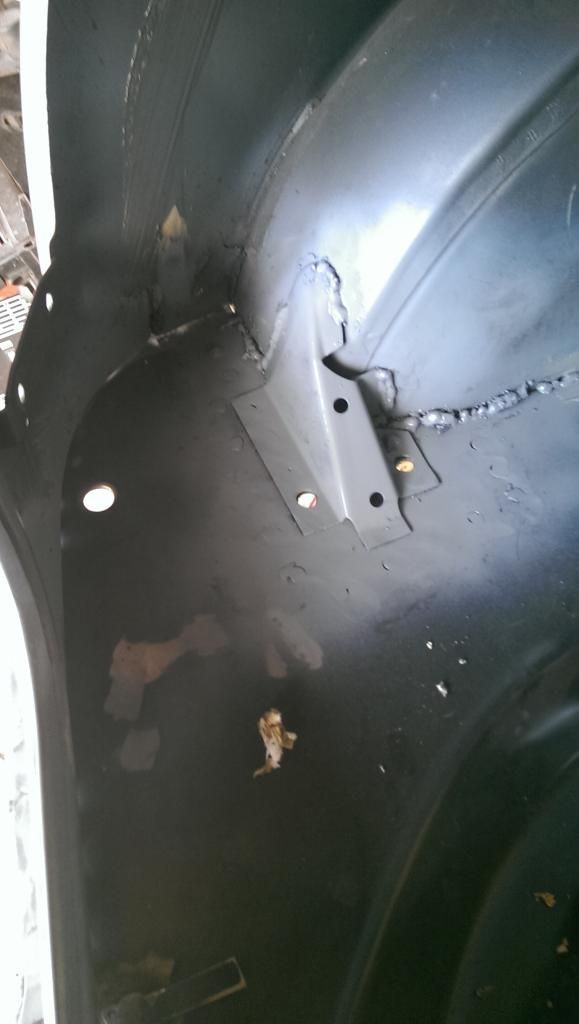
i have seam welded the plates that go under the floor for extra strength and i have seen a few other people do it on here.
the rear valence is in place and semi plug welded on but the welder ran out of gas so im calling it a day and about to go get some for work to resume on monday
cheers
Elliott
#54
Ben_O
-
- Paint Doctor
-
- 9,794 posts
Mill Road Garage
- Location: Isle of Wight
Posted 03 July 2014 - 06:03 PM


#55
MrElliott
-
- Members
-
- 419 posts
Speeding Along Now
- Location: Surrey
- Local Club: Box Hill Mini Club
Posted 07 July 2014 - 09:13 PM
more work today on the mini :)
between stripping down and rebuilding parts to go back on the rear subframe which i hope to get back on the car b the end of the week
i have been plug welding the rear valence on very slowly as the drill i am using needs to be recharged after every five holes drilled...
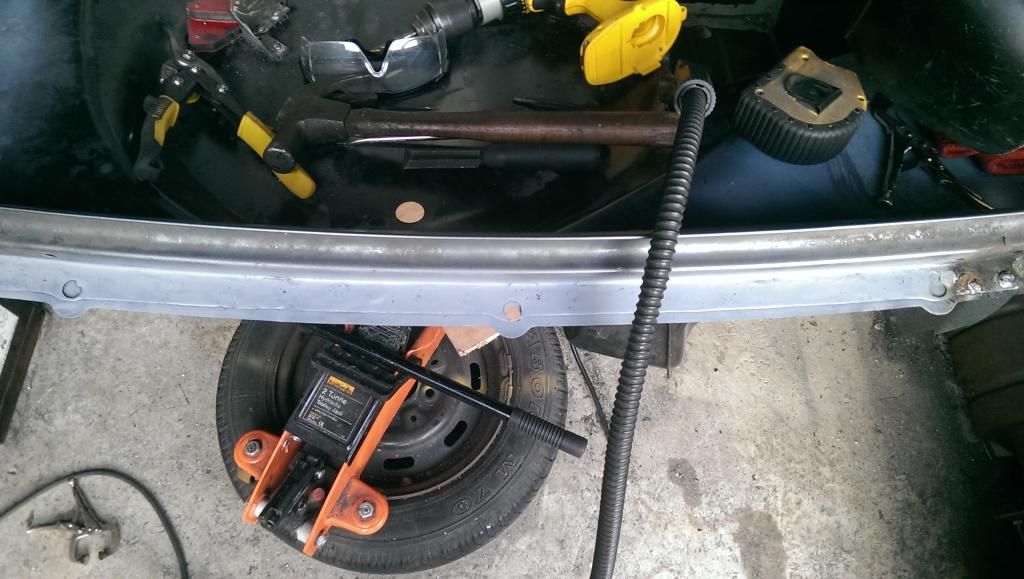
so very slow progress but its heading in the right direction :) hope to have the underside of the boot floor in paint by the end of tomorrow
hes almost got his bum back
Cheers
Elliott
Edited by MrElliott, 07 July 2014 - 09:16 PM.
#56
HarrysMini
-

- Members
-
- 3,352 posts
I do not have short legs!!!
- Location: .
Posted 08 July 2014 - 02:53 PM
Really good project this.
You're doing some really good work, good luck with it. It's looking good.
#57
MrElliott
-
- Members
-
- 419 posts
Speeding Along Now
- Location: Surrey
- Local Club: Box Hill Mini Club
Posted 08 July 2014 - 09:25 PM
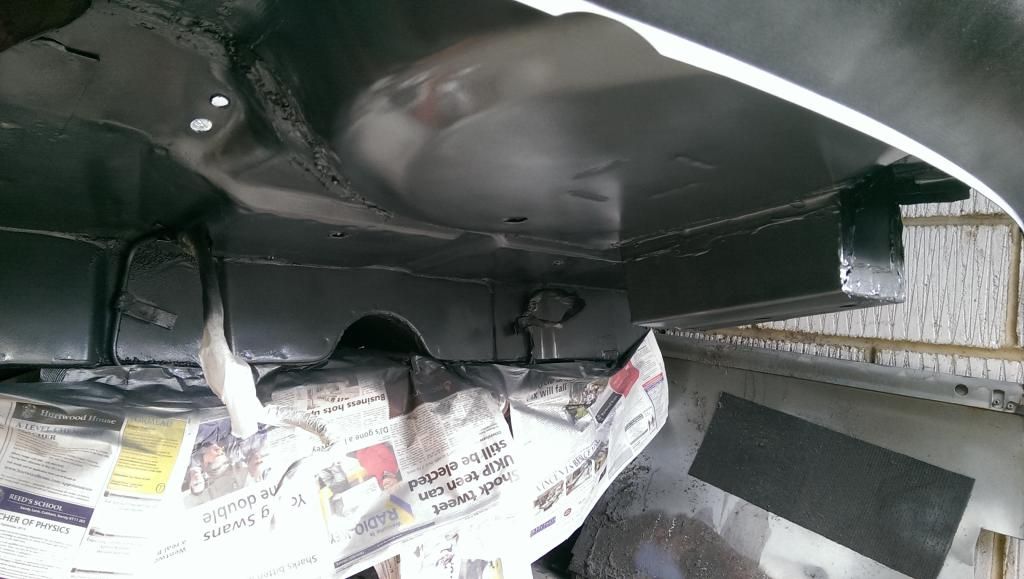
Almost finished welding the rear end now just a few more plug welds to go but i need to get some paint underneith the boot floor first so i can fit the subframe so i can roll the car out for better access.
#58
MrElliott
-
- Members
-
- 419 posts
Speeding Along Now
- Location: Surrey
- Local Club: Box Hill Mini Club
Posted 08 July 2014 - 10:32 PM
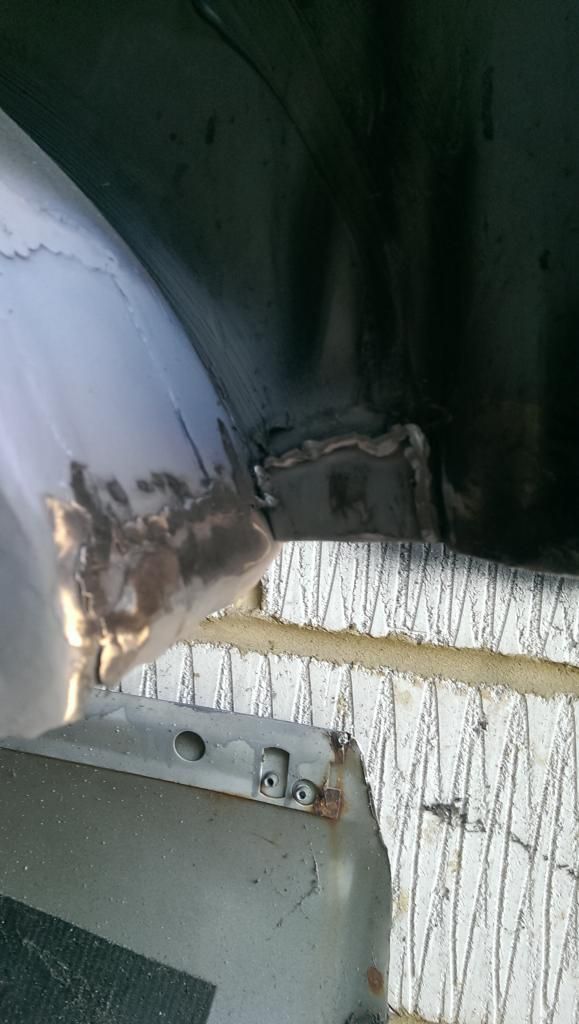
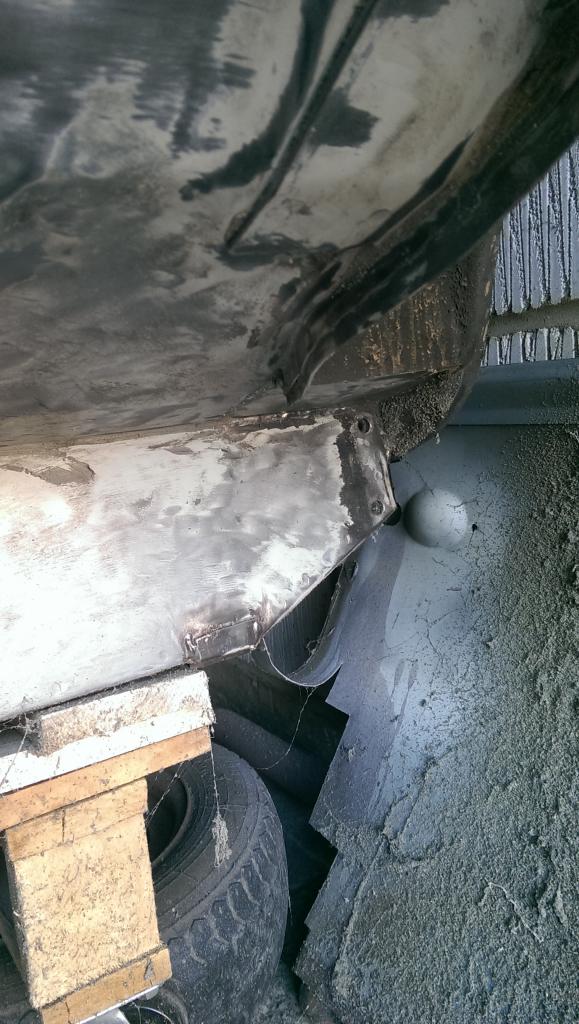
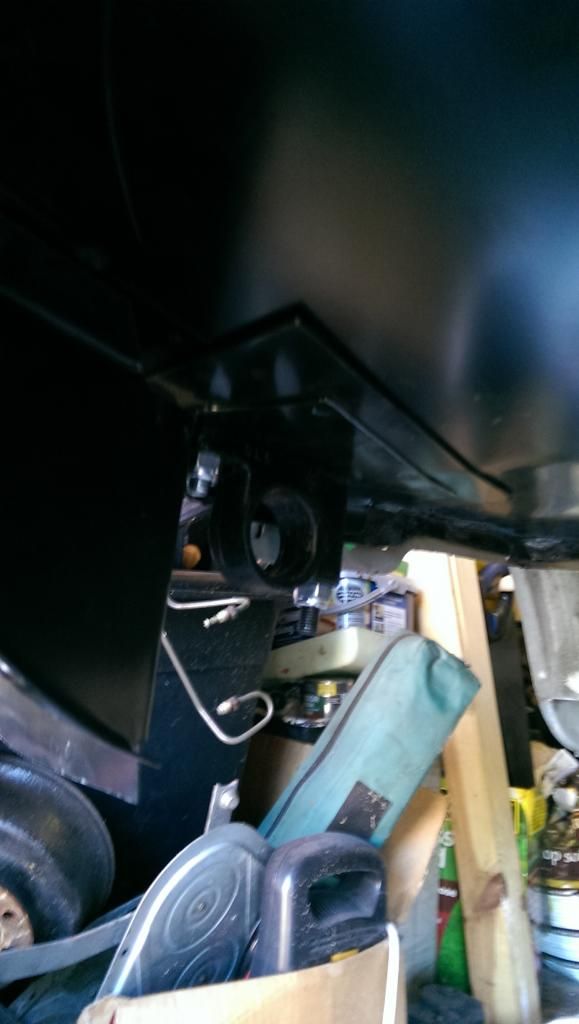
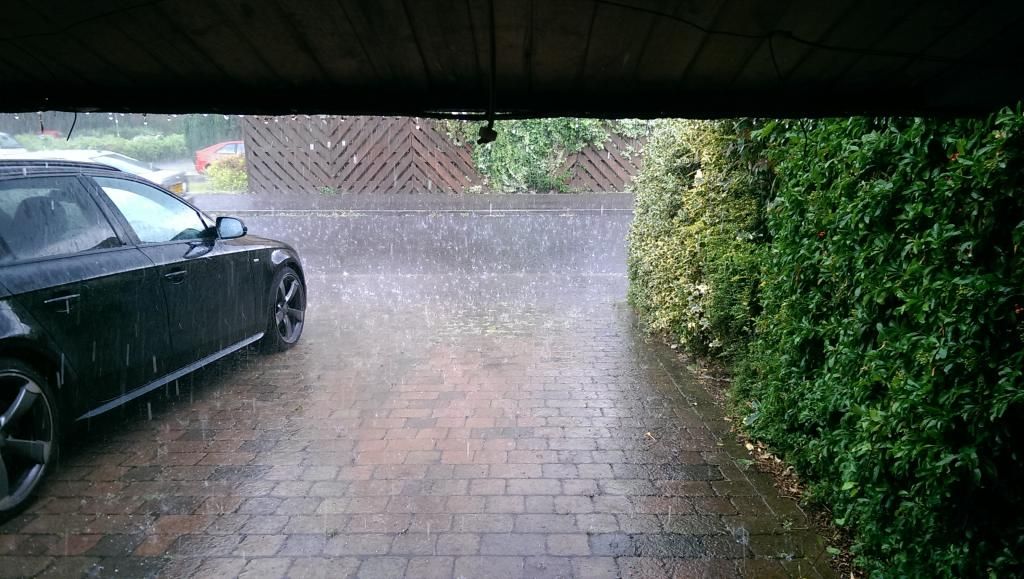
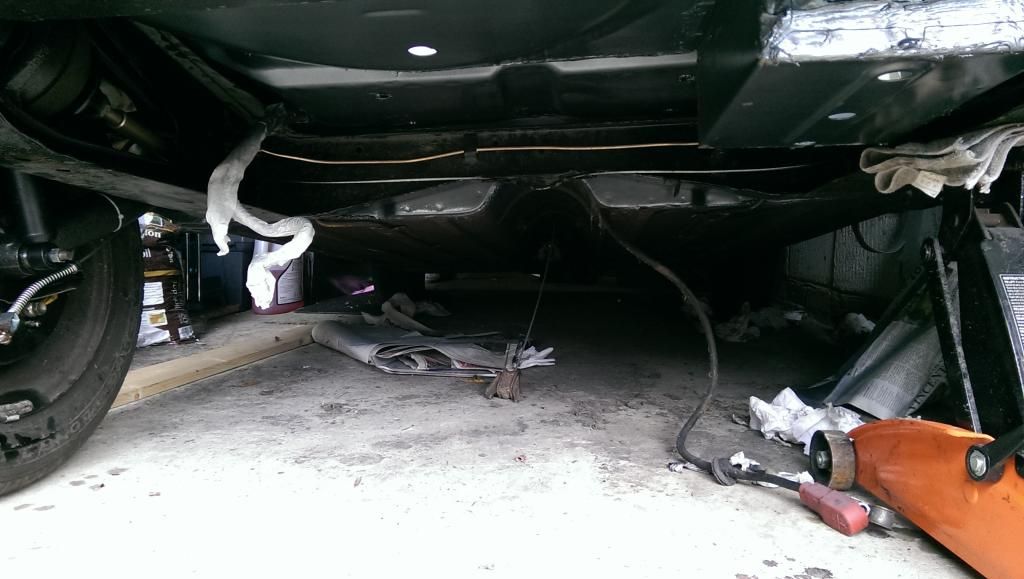
pic of the working conditions in the rain today... had almost 2 feet to move around in :)
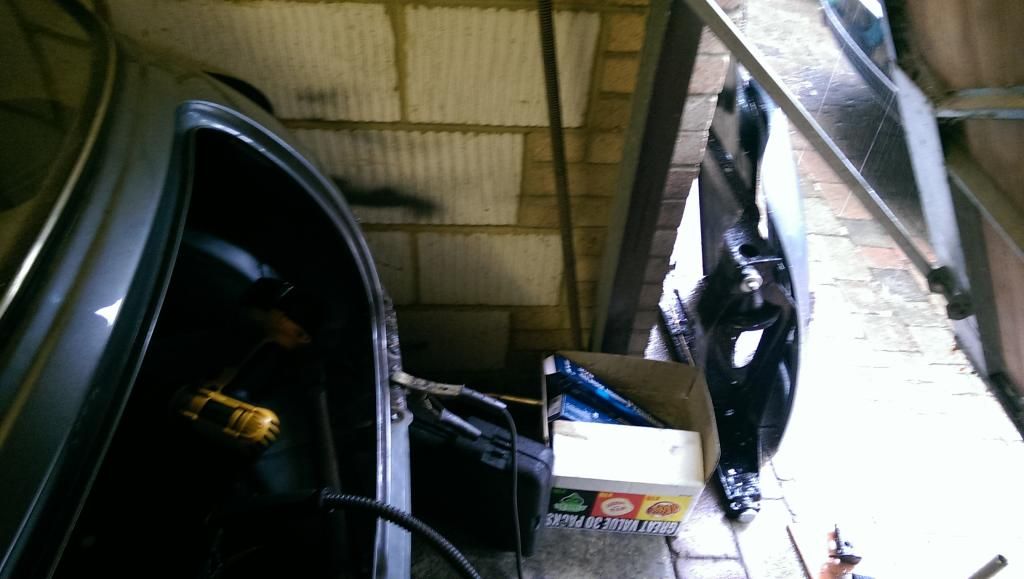
also burnt my arm welding upside down under the car. bloody rear valence closing plates!!
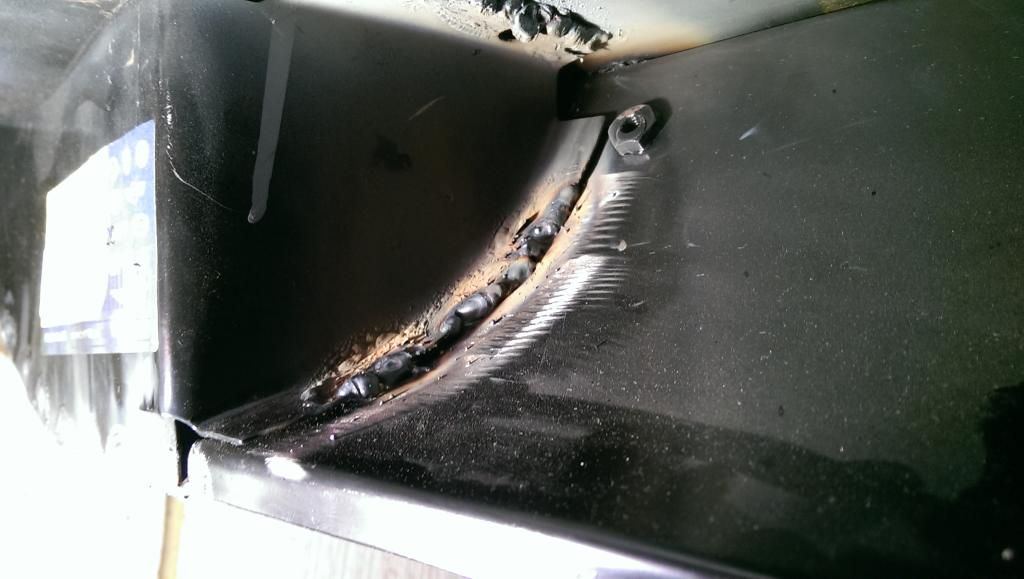
quite happy with that weld
cheers
Elliott
#59
MrElliott
-
- Members
-
- 419 posts
Speeding Along Now
- Location: Surrey
- Local Club: Box Hill Mini Club
Posted 09 July 2014 - 10:16 PM
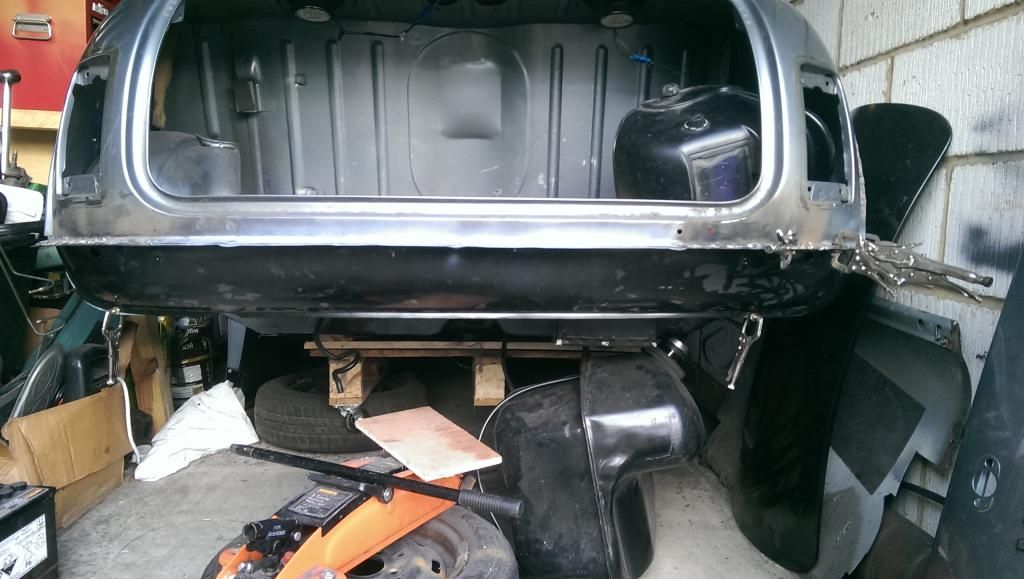
more progress and shiney parts of car actually on the car!!
so i primered, seam sealed, stone chipped, colour and clear coat the under side of the boot panel ready for the subframe to go back on
:) impressed with the quality stuff in rattle cans from Brownbros
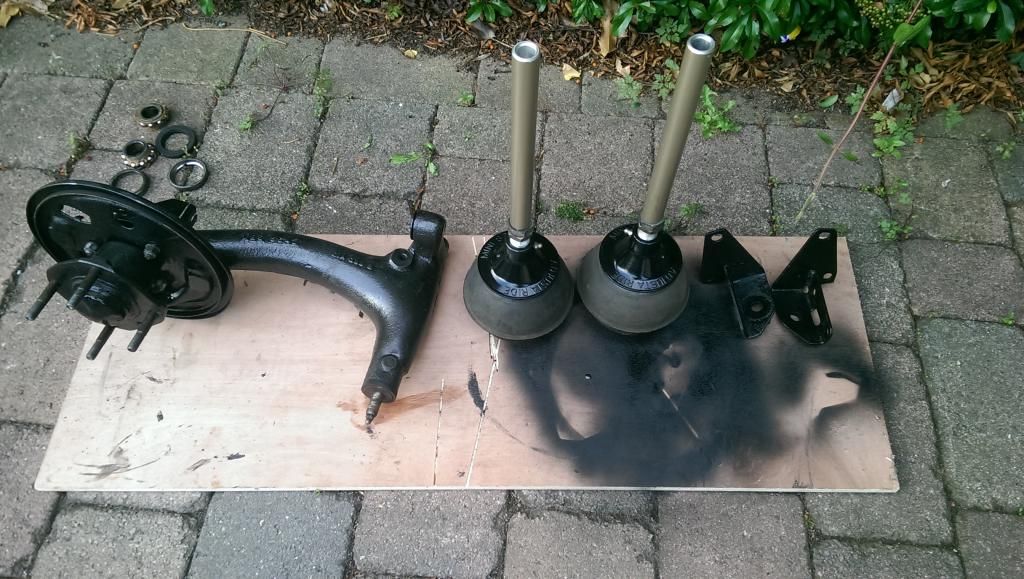
then the subframe got built up with all the recon parts and a new handbreak cable, brake lines, fitting kit and other bits
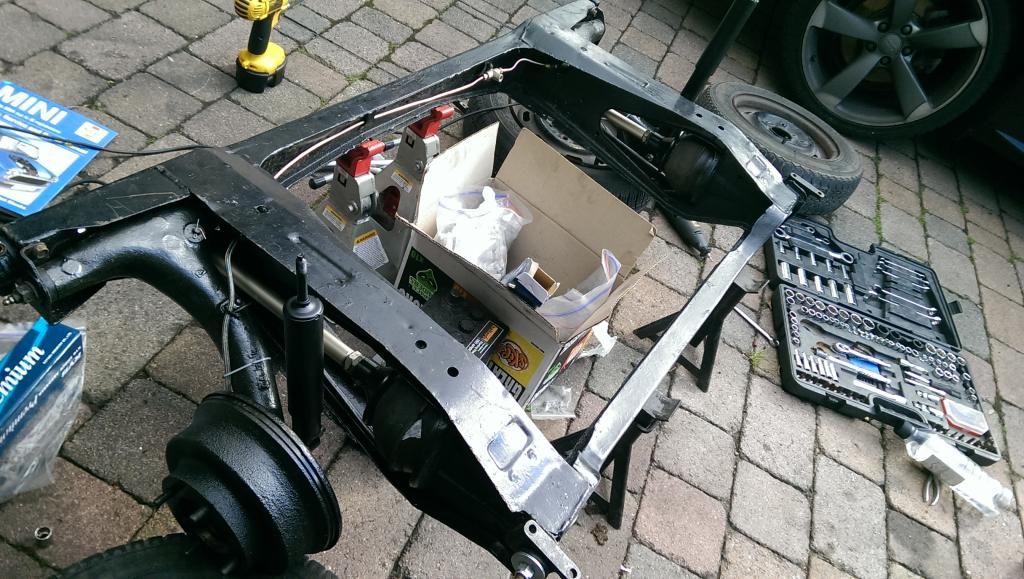
also painted the minisport adjustable suspension parts as they started to look a bit rough. then moved the subframe under the car and spent many hours trying to line the bloody thing up without damaging my lovely new paint
i got the heelboard bolts in but i need to make adjustments to fit the boot floor mounts.
cheers
Elliott
#60
MrElliott
-
- Members
-
- 419 posts
Speeding Along Now
- Location: Surrey
- Local Club: Box Hill Mini Club
Posted 10 July 2014 - 09:26 PM
subframe is on!! just took some wiggling and 2 hours of my life :/
bloody handbrake cable was a pain in the backside to loop together but i got it donw then lowered the car onto the ground... literally
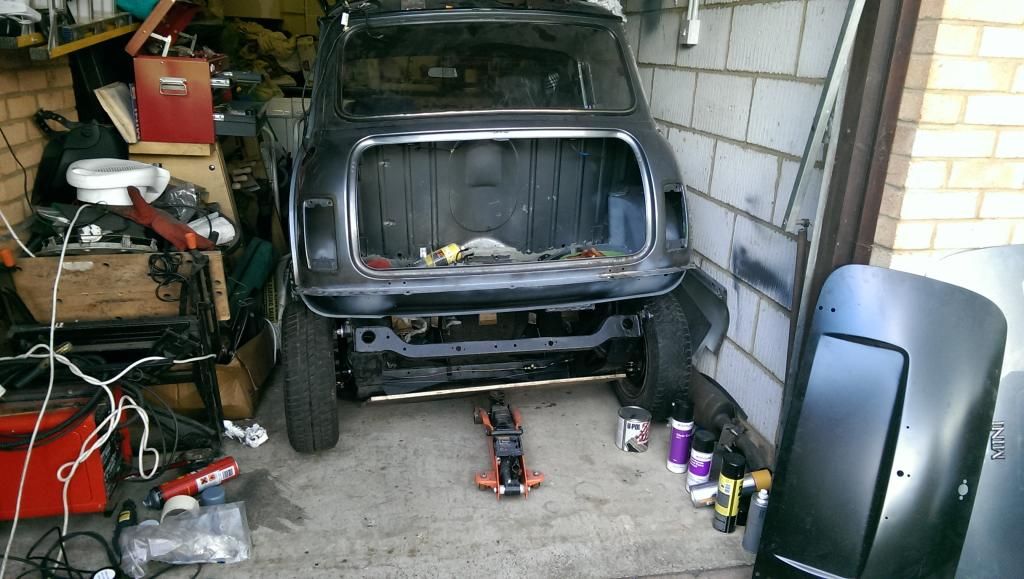
i forgot that i had the adjustable trumpets wound down to the lowest setting to help assembly so it ended up like this first time around
then to standard ish height
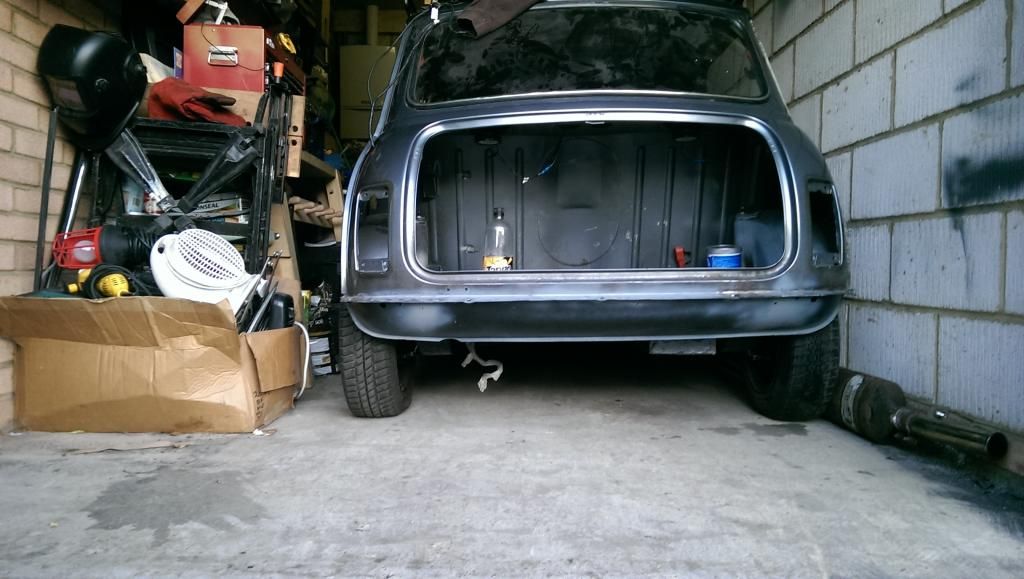
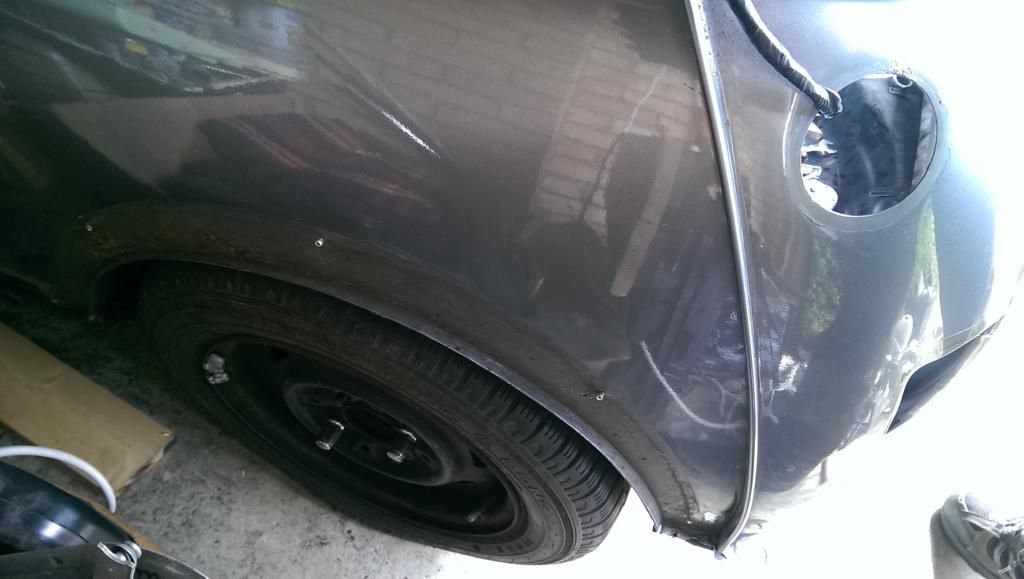
after this i didn't take any photos but i bled the brakes with a mate and rolled the car out of the garage onto my sloped driveway and began adjusting the drum brakes and cleaning up the underside of the wheel arch ready for some paint :) then had to push the car up hill into the garage which to be honest nearly killed me :/
Cheers
Elliott


Also tagged with one or more of these keywords: roundnose
Projects →
Mini Saloons →
1976 Mini 1000 Le "stripey"Started by cafeclassic , 03 Sep 2025 |
|

|
||
Projects →
Mini Saloons →
Mini Cooper Project - Finally StartsStarted by piphatch , 08 Jan 2025 |
|

|
||
Projects →
Mini Saloons →
1965 Austin Mini Restoration - Canadian Mk1Started by DoubleEh , 14 Nov 2022 |
|

|
||
Projects →
Mini Saloons →
Project Joe - 1991 Mini Mayfair 998Started by Eggers , 02 Jun 2022 |
|

|
||
Projects →
Mini Saloons →
Mpi Dashboad ProblemStarted by mikeprez , 22 Dec 2021 |
|

|
1 user(s) are reading this topic
0 members, 1 guests, 0 anonymous users


