
andrewblueboy - Yer I want to, only done patching before so a lot of practice before hand - There will be plenty of pictures.

290 replies to this topic
#31

ger
-
- Just Joined
-

- 233 posts
Mini Mad
- Location: The Land Of Song
- Local Club: M4 Minis
Posted 27 November 2014 - 01:50 PM
#32
ger
-
- Just Joined
-
- 233 posts
Mini Mad
- Location: The Land Of Song
- Local Club: M4 Minis
Posted 27 November 2014 - 02:02 PM
Ben_O - full scuttle, cross member, heelboard, lh&rh floor to wheel arck bkts, lh&rh front of rear arch closing panels, lh&rh A post inner boxin plates. Basicially some of the bits I needed that were on the Minispares discount atm. Unfortunately all the major panels I wanted - complete lh& rh floor pans, boot floor, doorstep/jamb repairs were not in the sale. However Moss Europe have now got a discount going so I'm going to be skint for Xmas 
#33
ger
-
- Just Joined
-
- 233 posts
Mini Mad
- Location: The Land Of Song
- Local Club: M4 Minis
Posted 29 December 2014 - 07:38 PM
Its been a bit slow for the past month with work and doing necessary jobs around the house but I'm now focused on the job in hand.
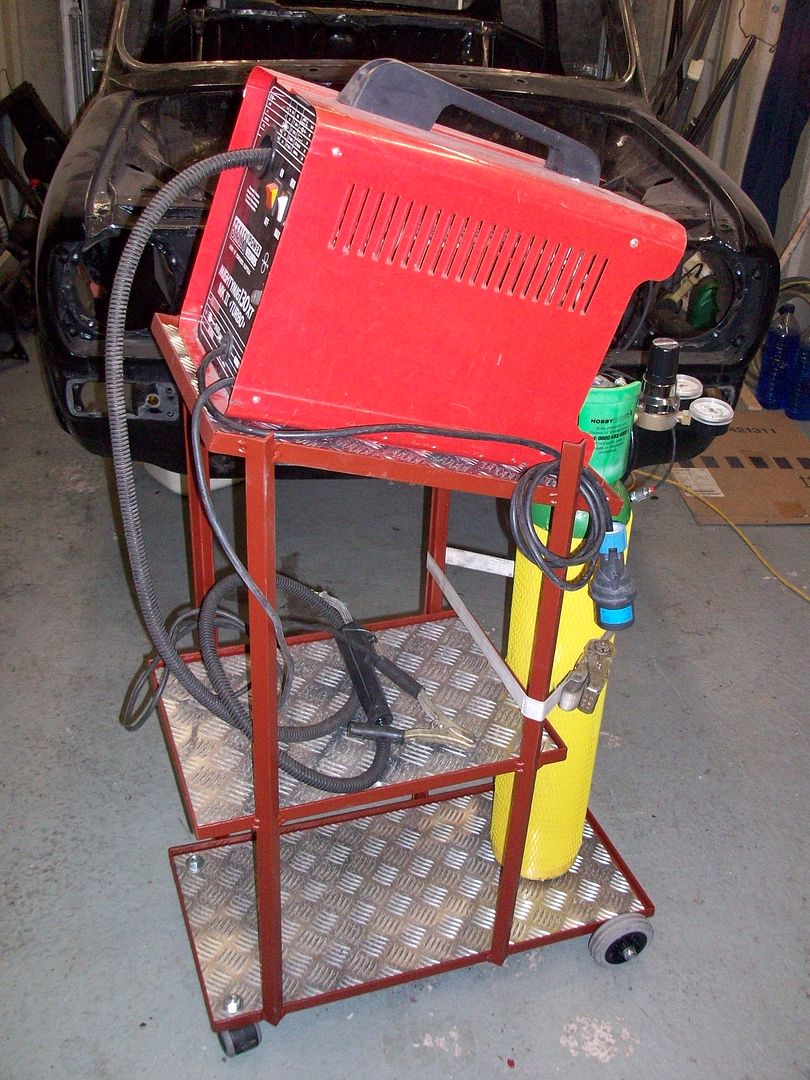
I've made myself one of these as I wasn't going to pay £60+ just for a bit of bent, painted tin and some wheels. Made from some scrap angle iron and checker plate I just happen to have found.
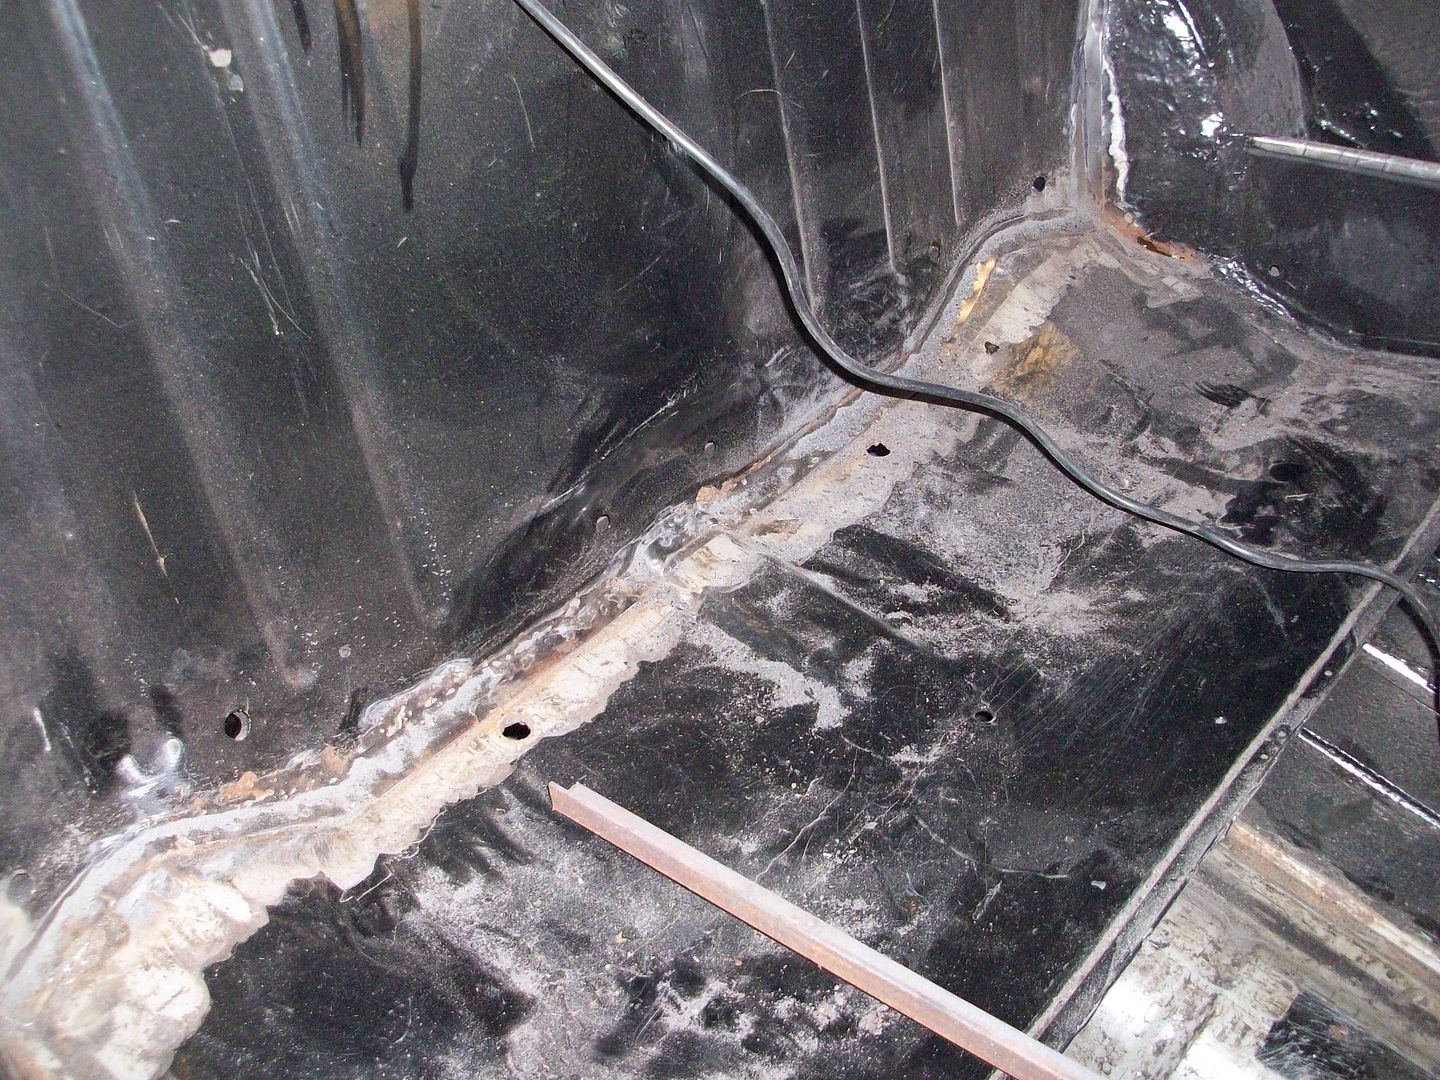
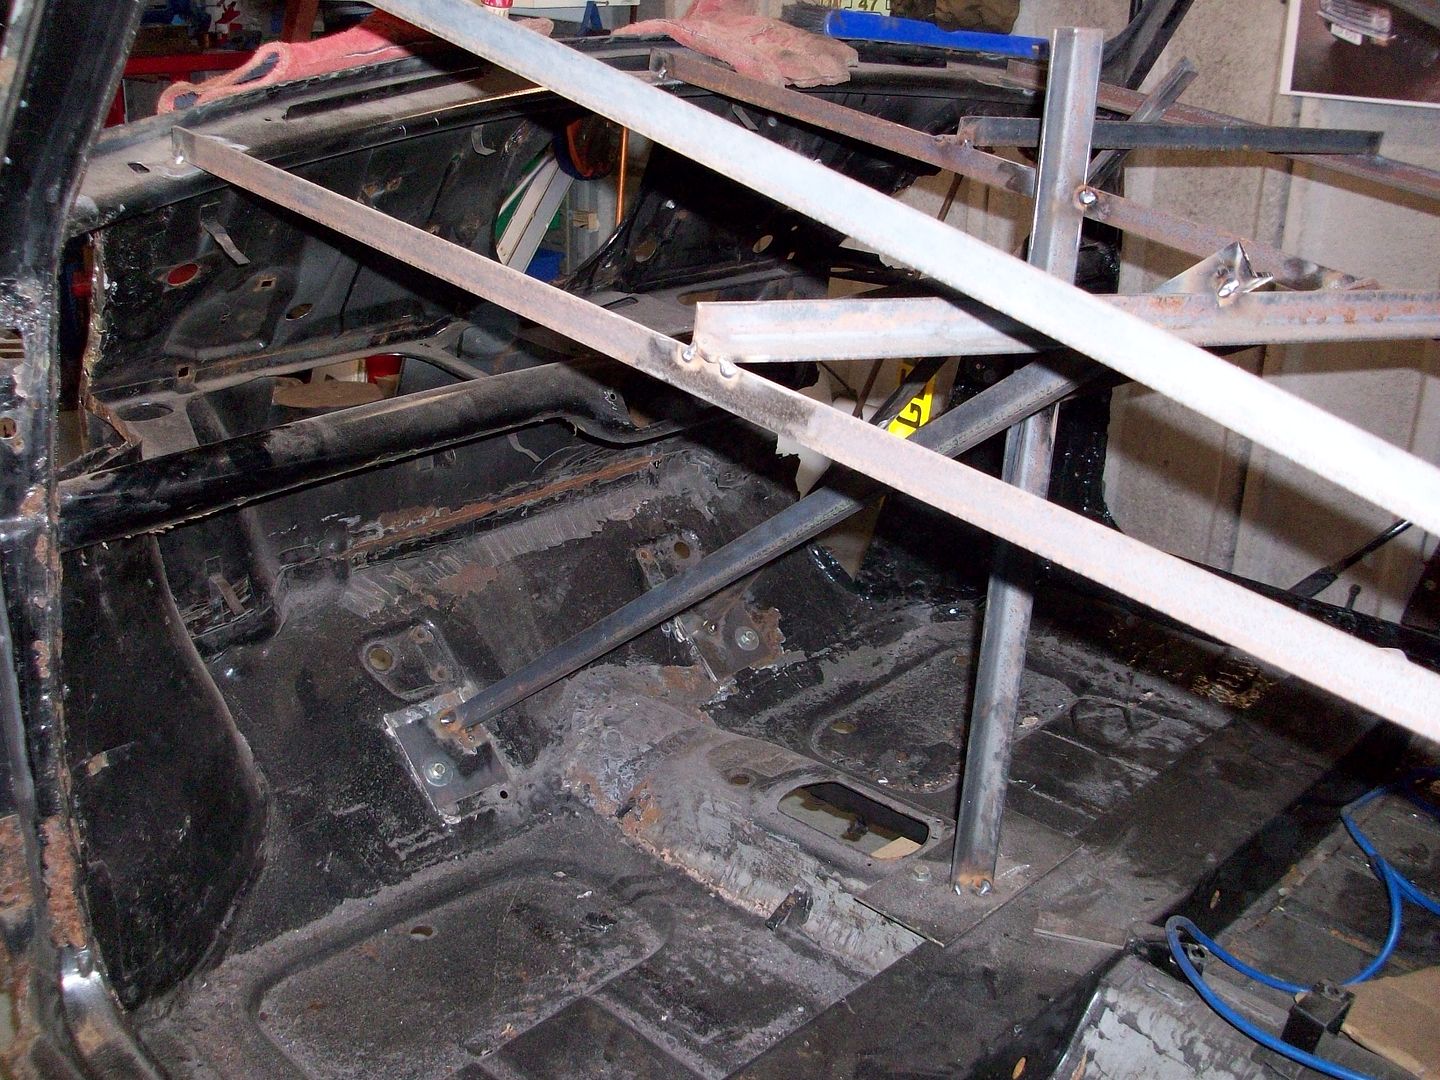
I've also braced the shell so hopefully nothing should move when I start to cut the rot out.
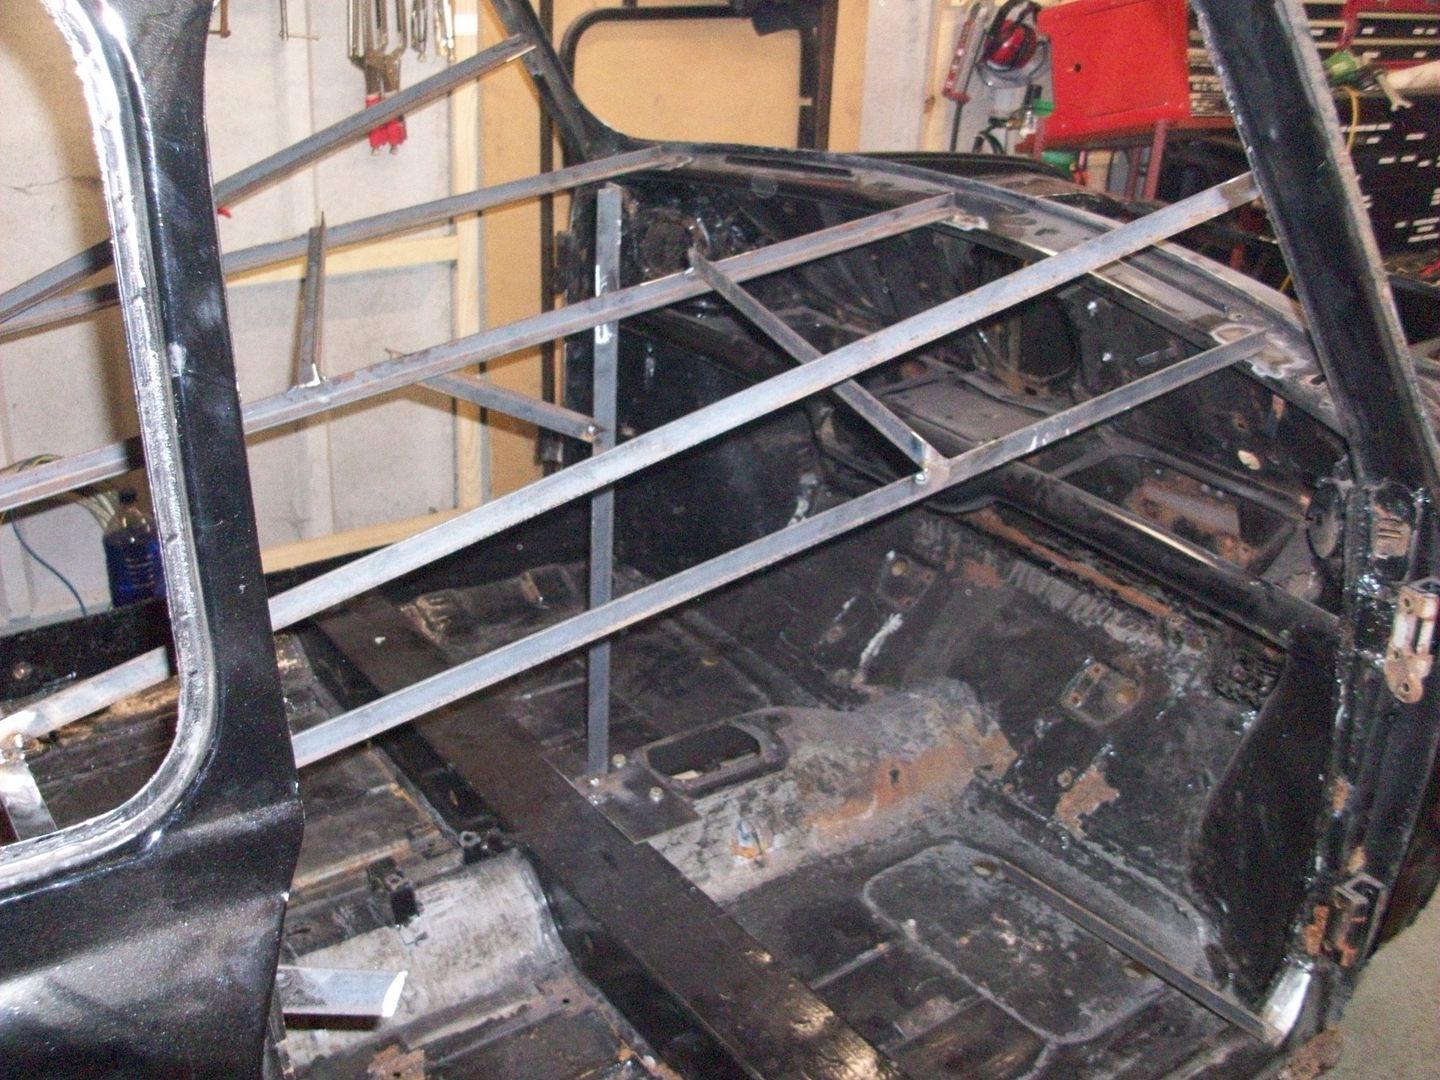
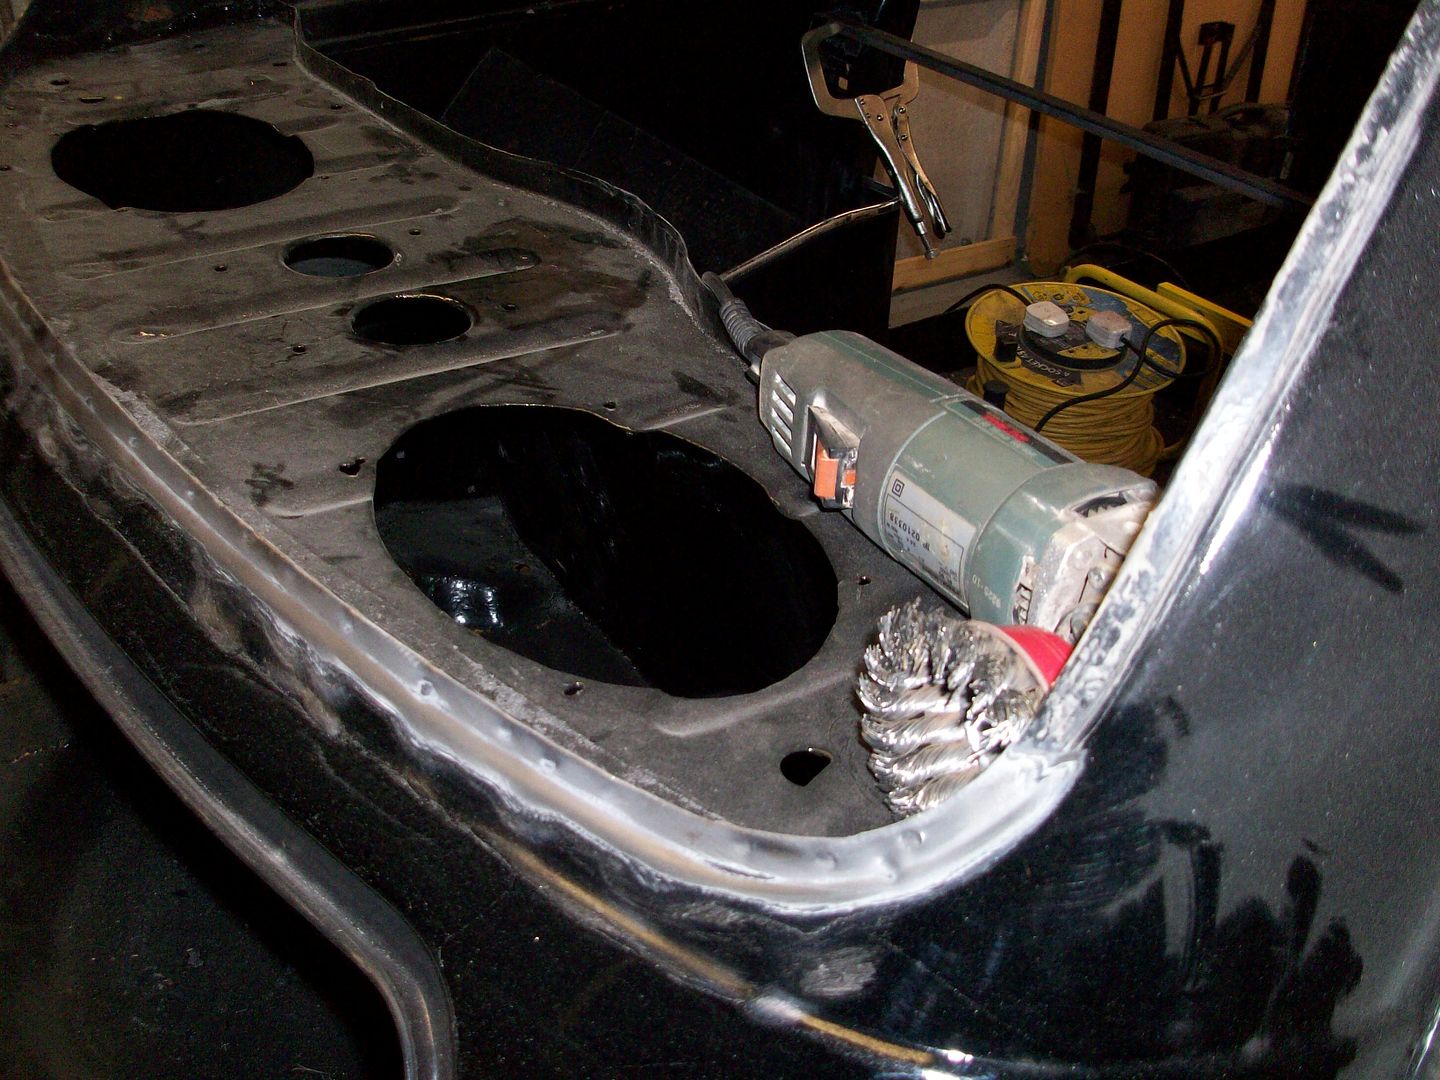
And also made a start in wire brushing some of the seams to see where the spot welds are.
As Xmas is now out of the way and I'm not back in work till the 5th, there should be more progress this week.
Ger
#34
jim5570
-

- TMF+ Member
-
- 19 posts
Learner Driver
- Location: Ashbourne, Derbyshire
Posted 30 December 2014 - 03:31 PM
Oh my goodness. You've certainly got it braced well. I've not got half as much as you & I've already cut both floors out from toe board to heel board. I like your wire brushing attachment. It seems very effective. I look forward to seeing your progress. Good Luck.
#35
ger
-
- Just Joined
-
- 233 posts
Mini Mad
- Location: The Land Of Song
- Local Club: M4 Minis
Posted 30 December 2014 - 03:49 PM
Yer probably a bit of overkill but as this is my first resto I wasn't sure how much would be enough.
Got the twisted knot wirebrushes on eBay from here http://www.ebay.co.u...=STRK:MEBIDX:IT
Got the twisted knot wirebrushes on eBay from here http://www.ebay.co.u...=STRK:MEBIDX:IT
Edited by ger, 30 December 2014 - 03:50 PM.
#36
andrewblueboy
-

- Noobies
-
- 20 posts
Learner Driver
- Location: bolton
Posted 30 December 2014 - 08:21 PM
Yer probably a bit of overkill but as this is my first resto I wasn't sure how much would be enough.
Got the twisted knot wirebrushes on eBay from here http://www.ebay.co.u...=STRK:MEBIDX:IT
if your needing any welding tips heres a good site to use http://www.mig-welding.co.uk/
nice bit of work with the trolley, summit i need to do at some point
Edited by andrewblueboy, 30 December 2014 - 08:23 PM.
#37
ger
-
- Just Joined
-
- 233 posts
Mini Mad
- Location: The Land Of Song
- Local Club: M4 Minis
Posted 30 December 2014 - 09:17 PM
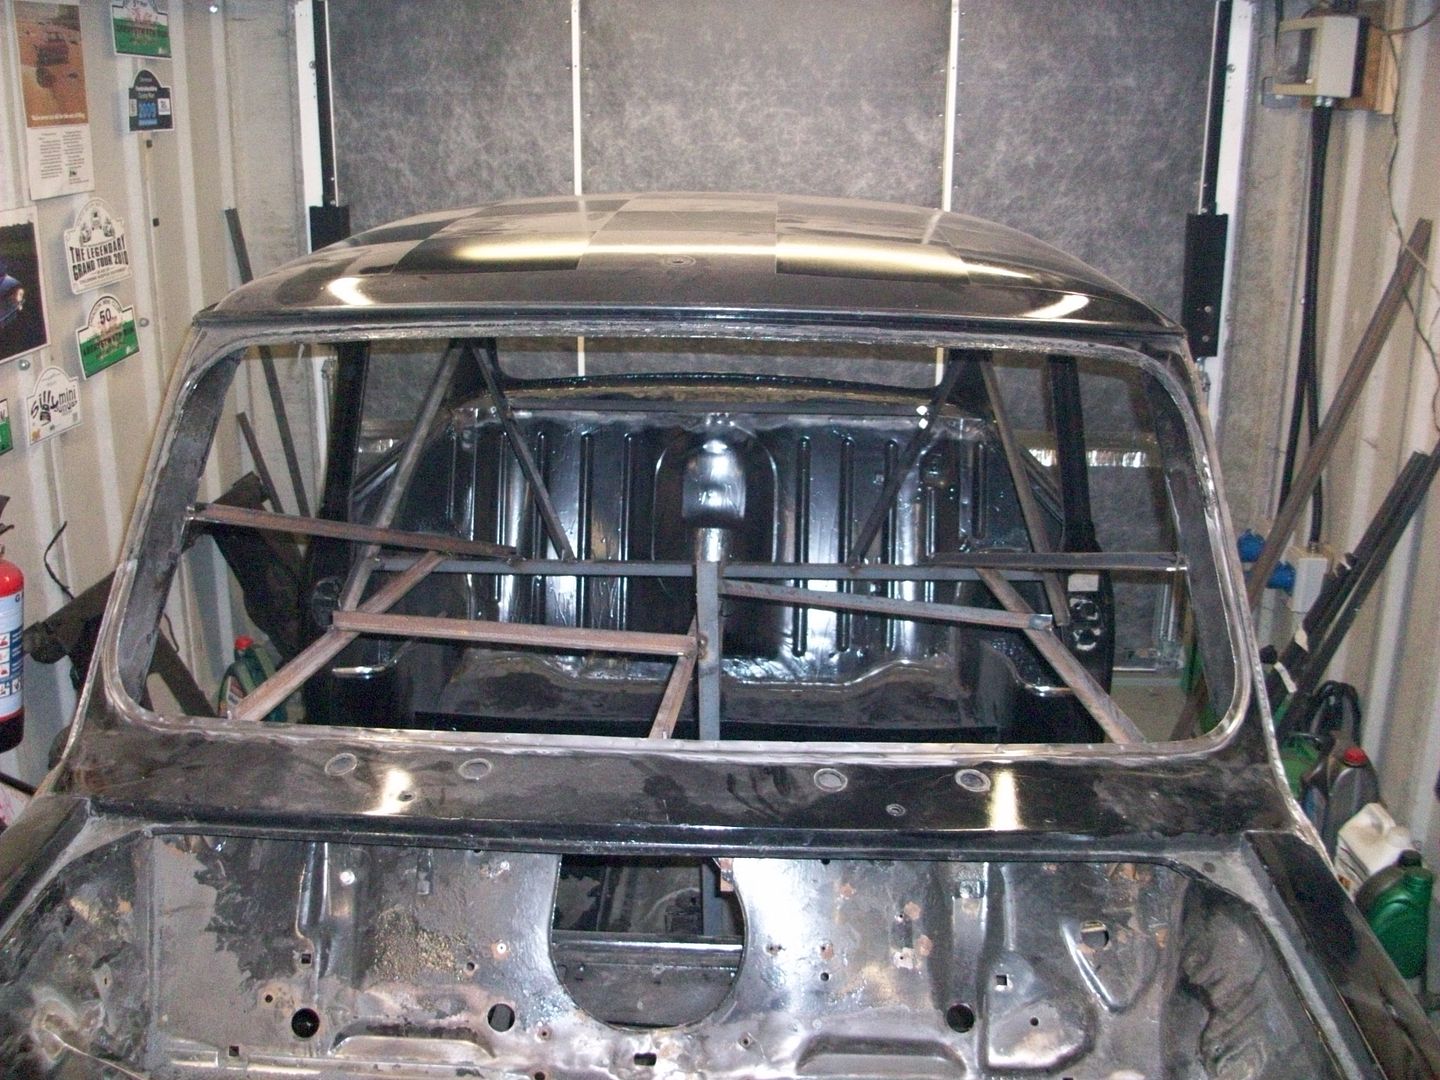
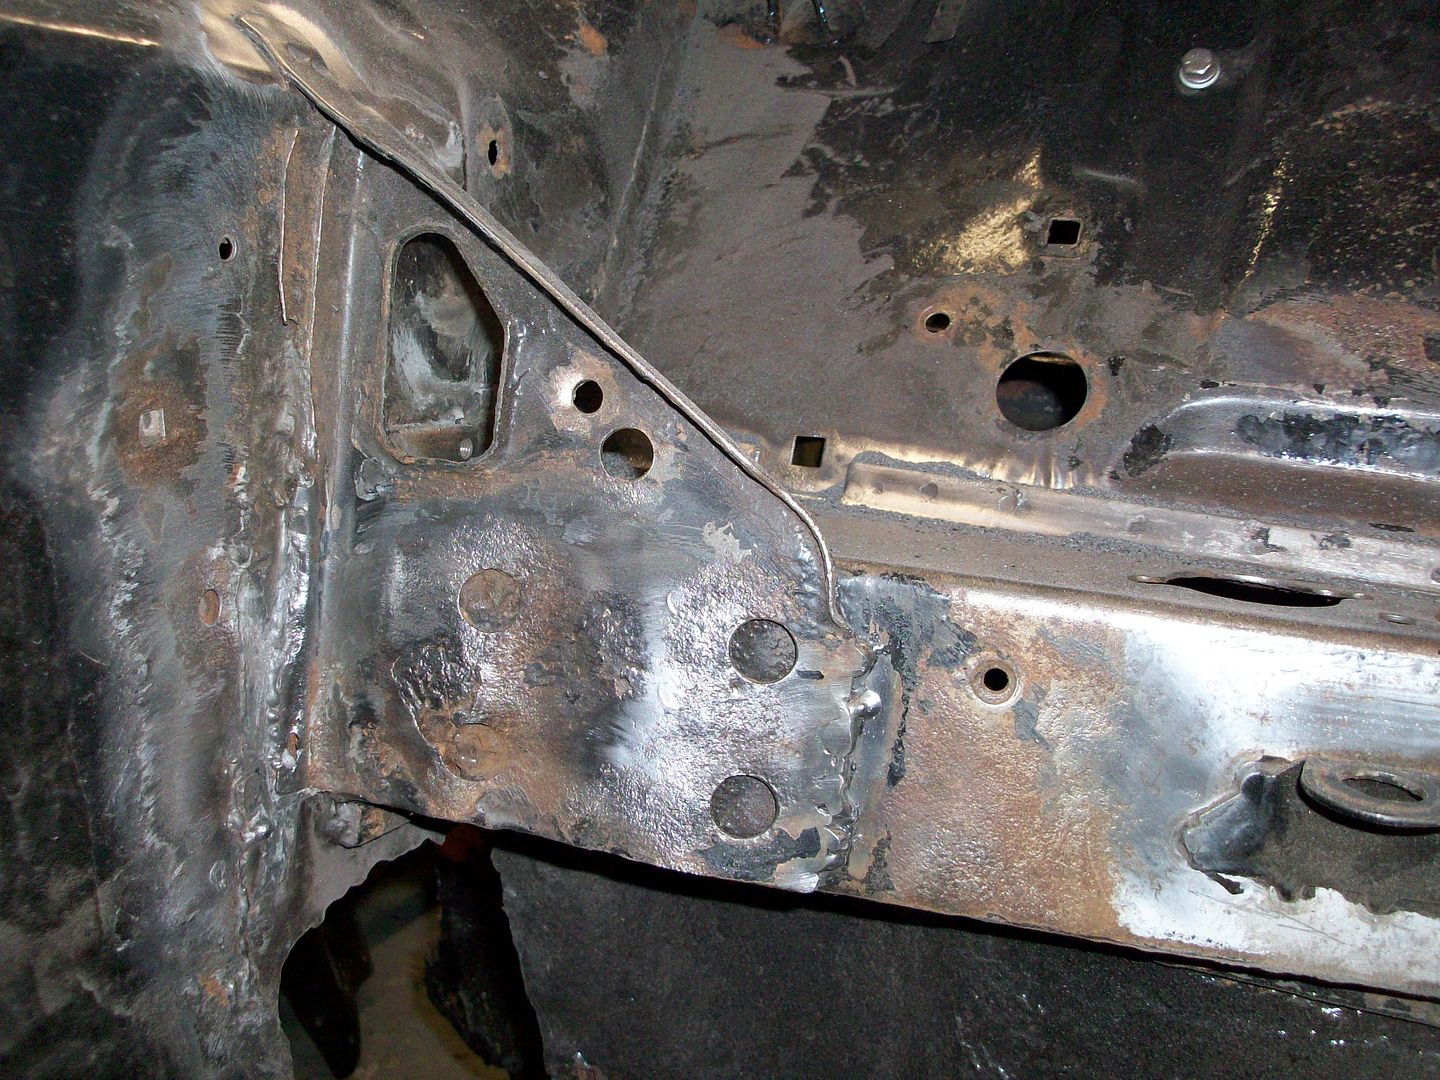
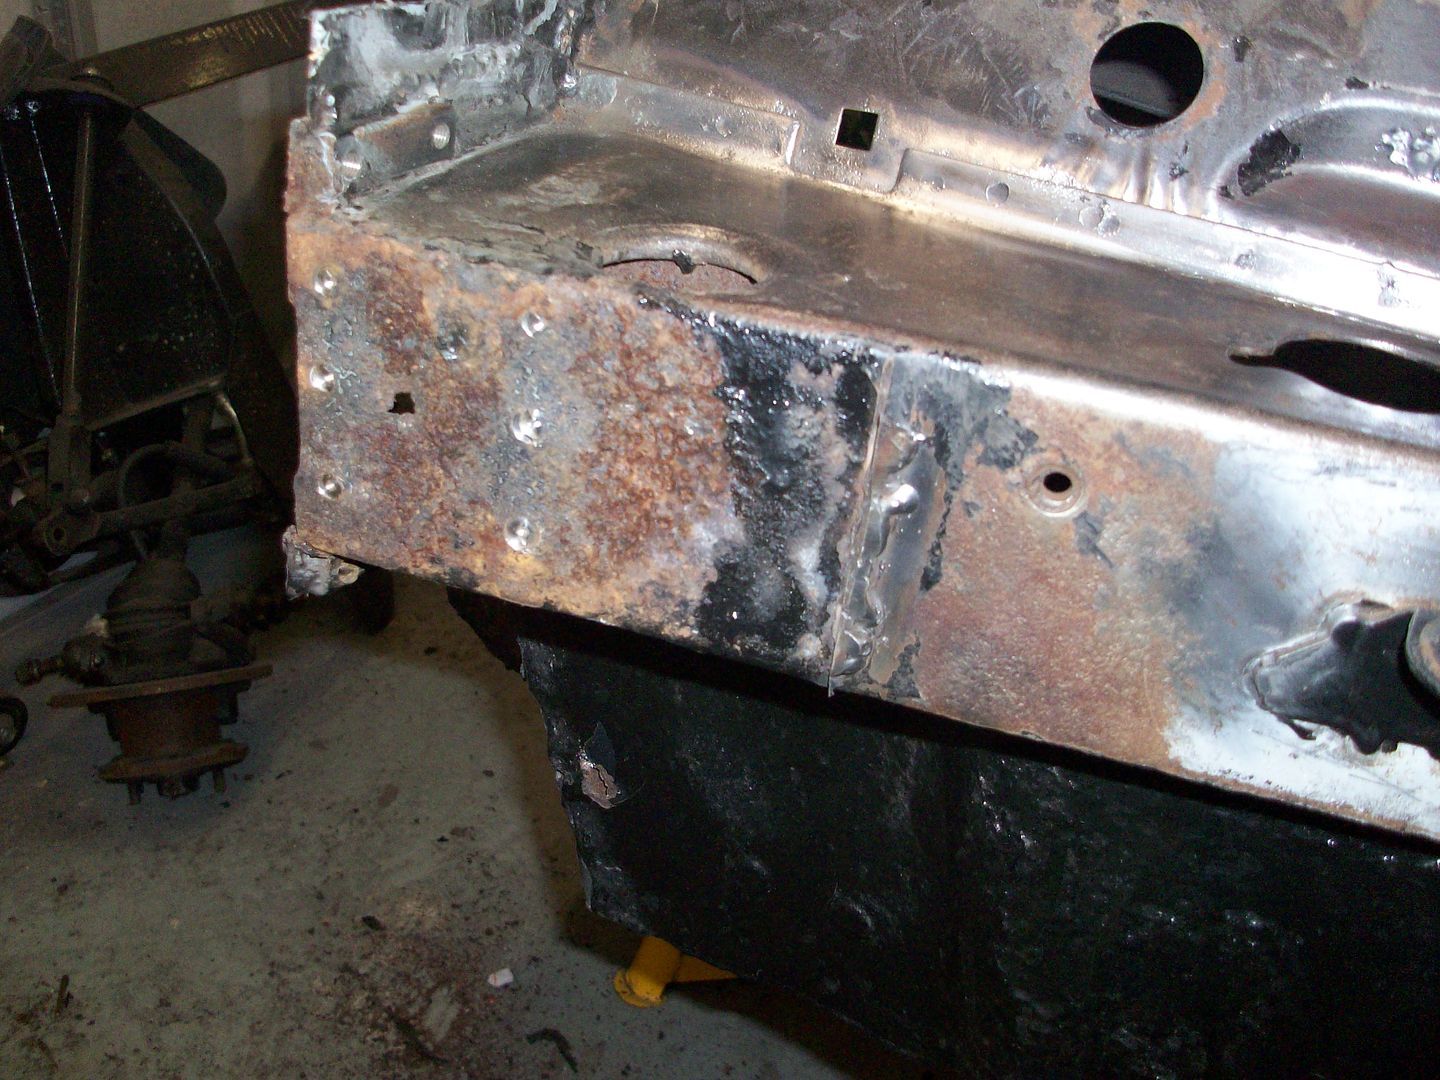
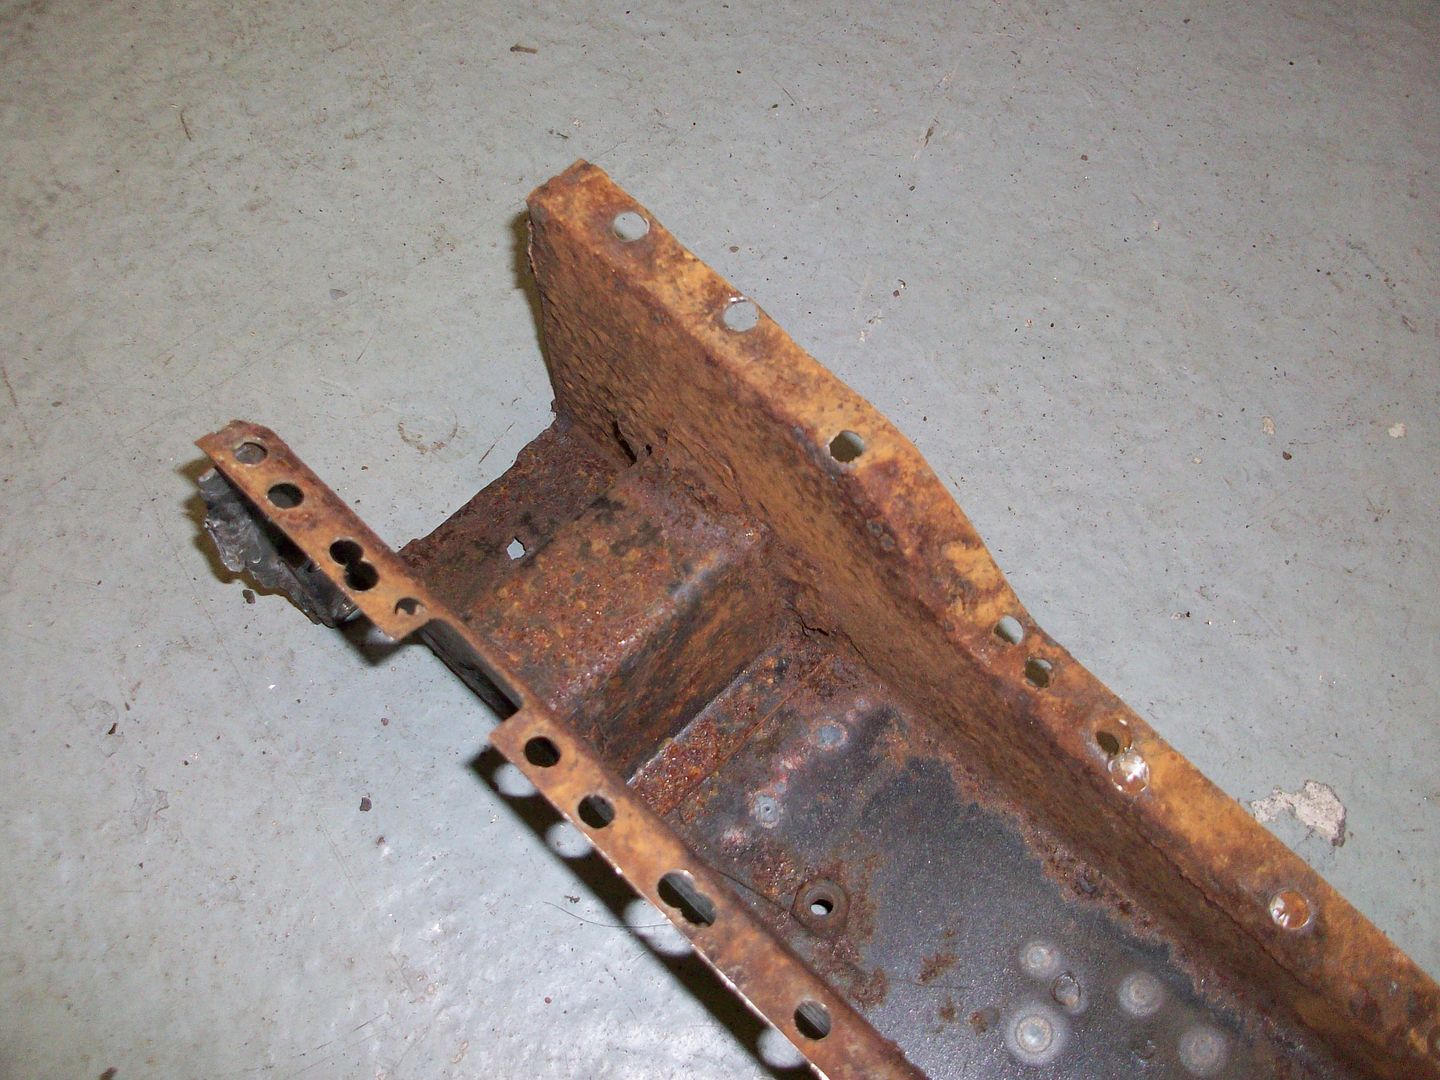
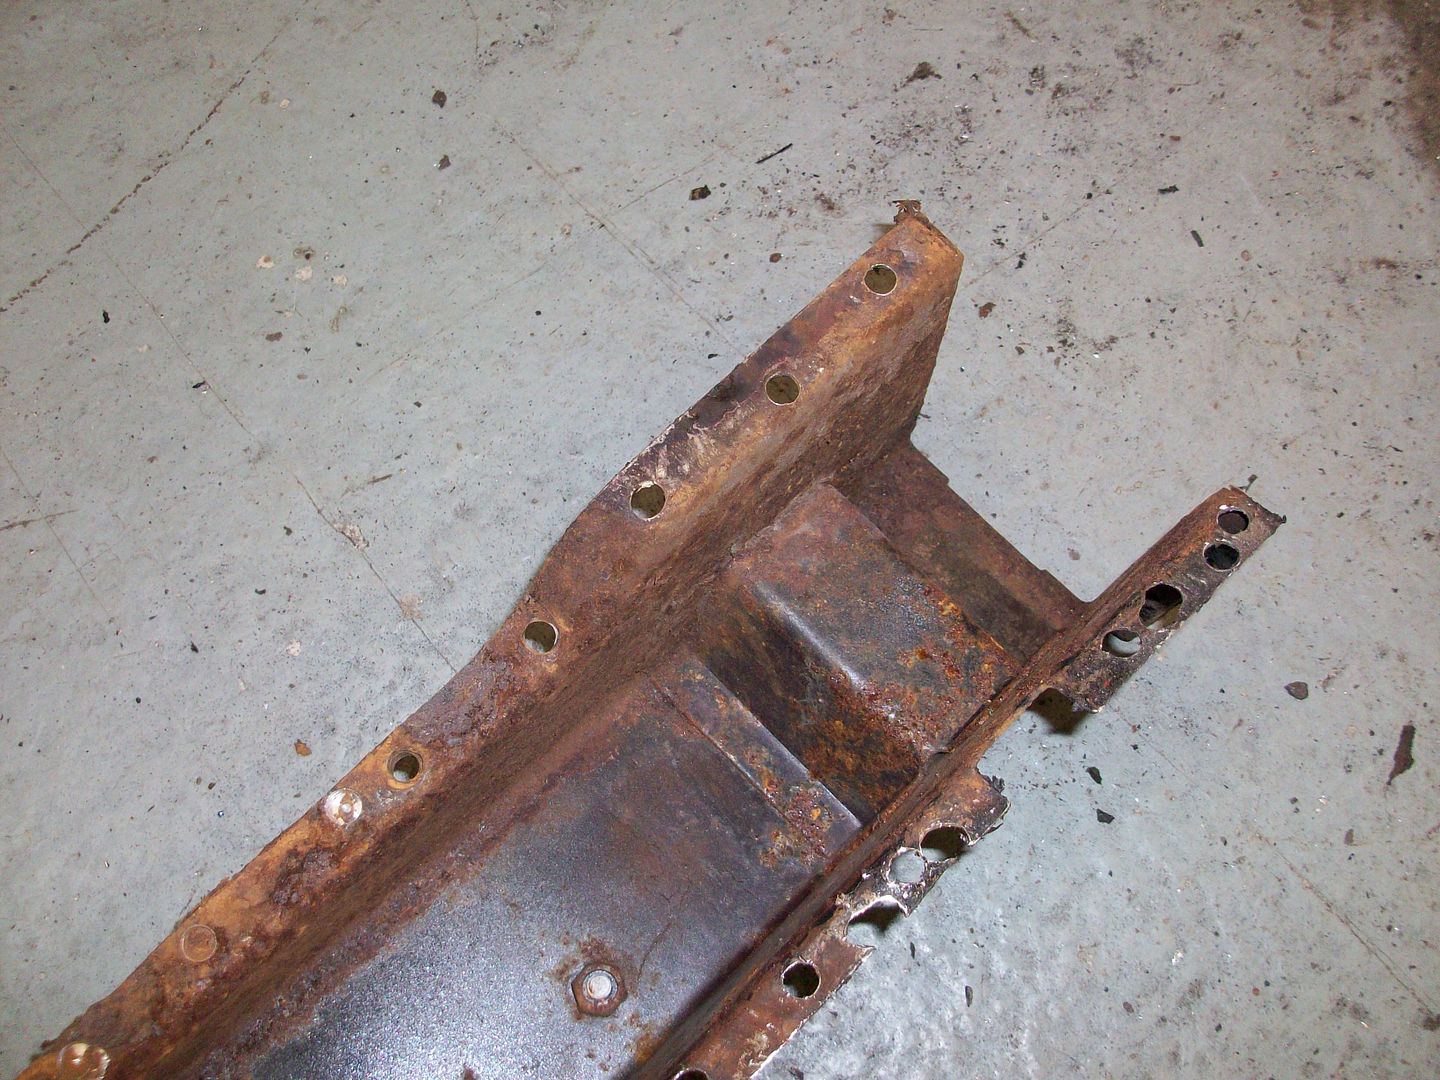
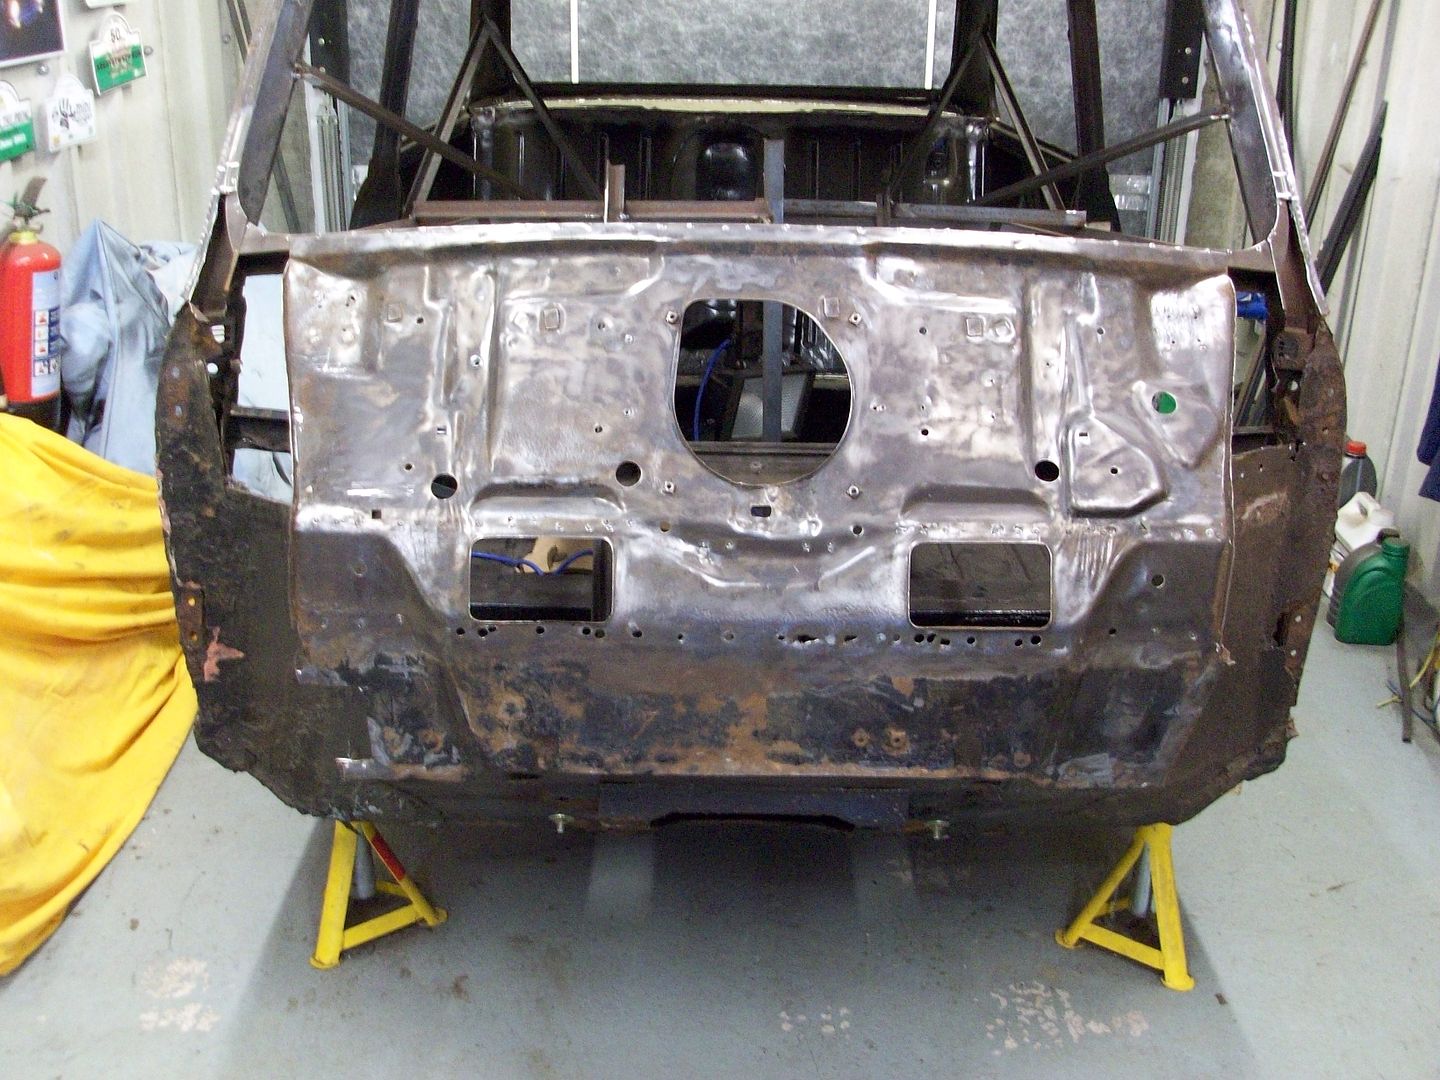
More work today. Front cut off and took off crossmember brackets.
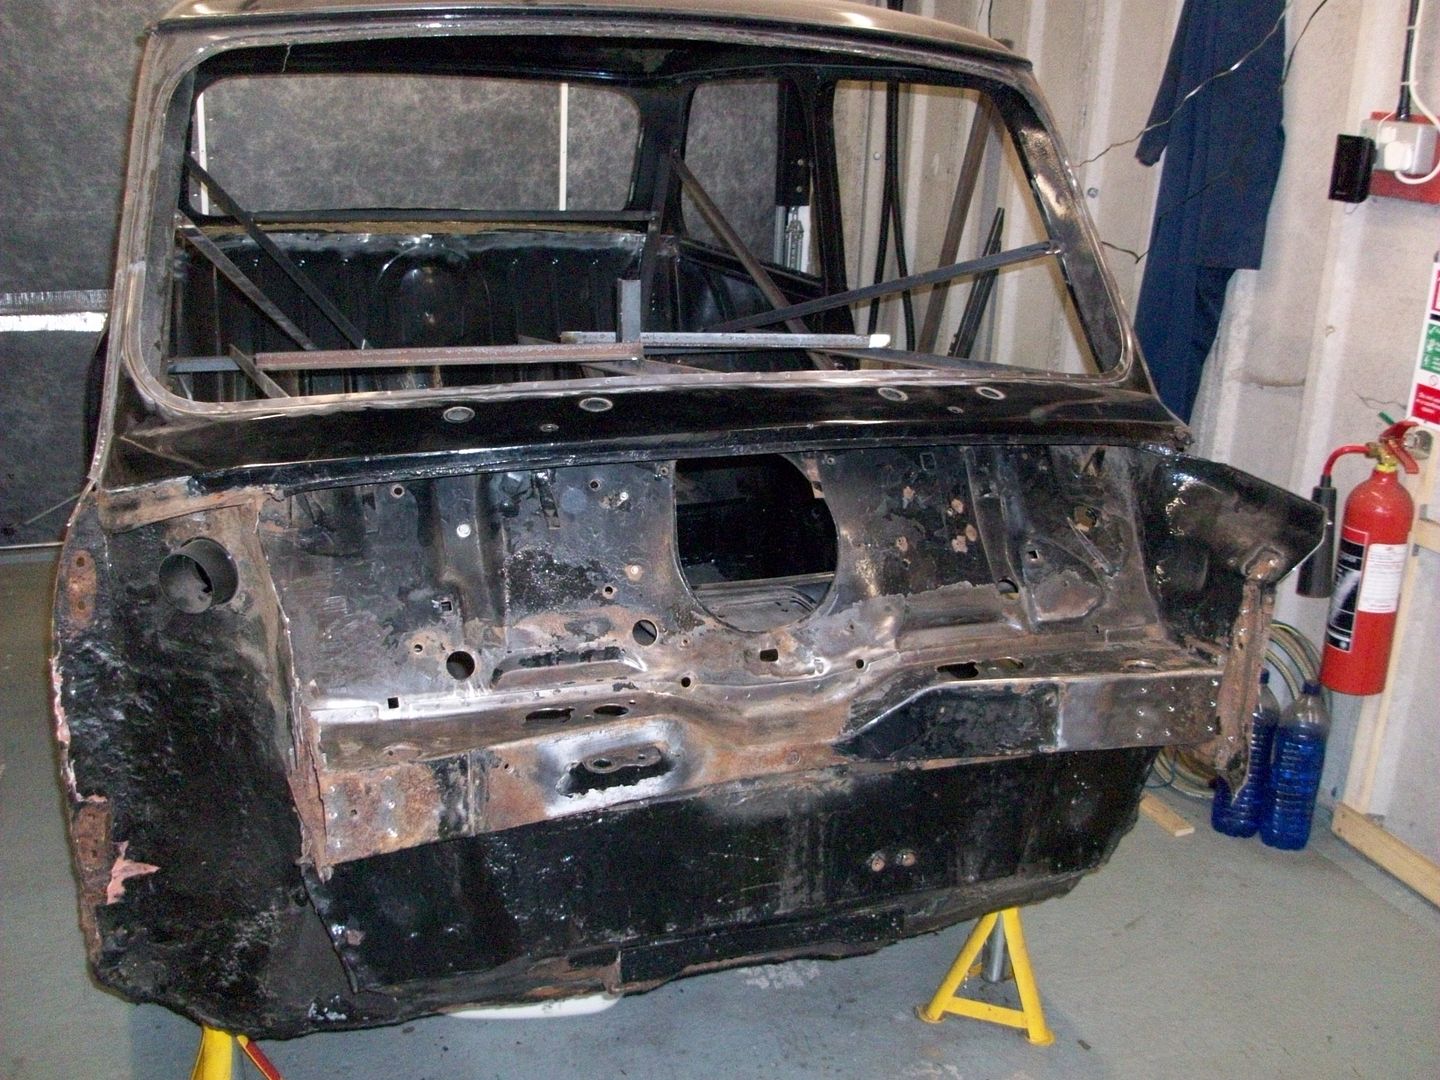
Passenger side end of crossmember cleaned up OK but drivers side is too far gone plus I think the inside of the box section is quite rusty as will be the bulkhead so this is the next thing to come off.
Passenger side.
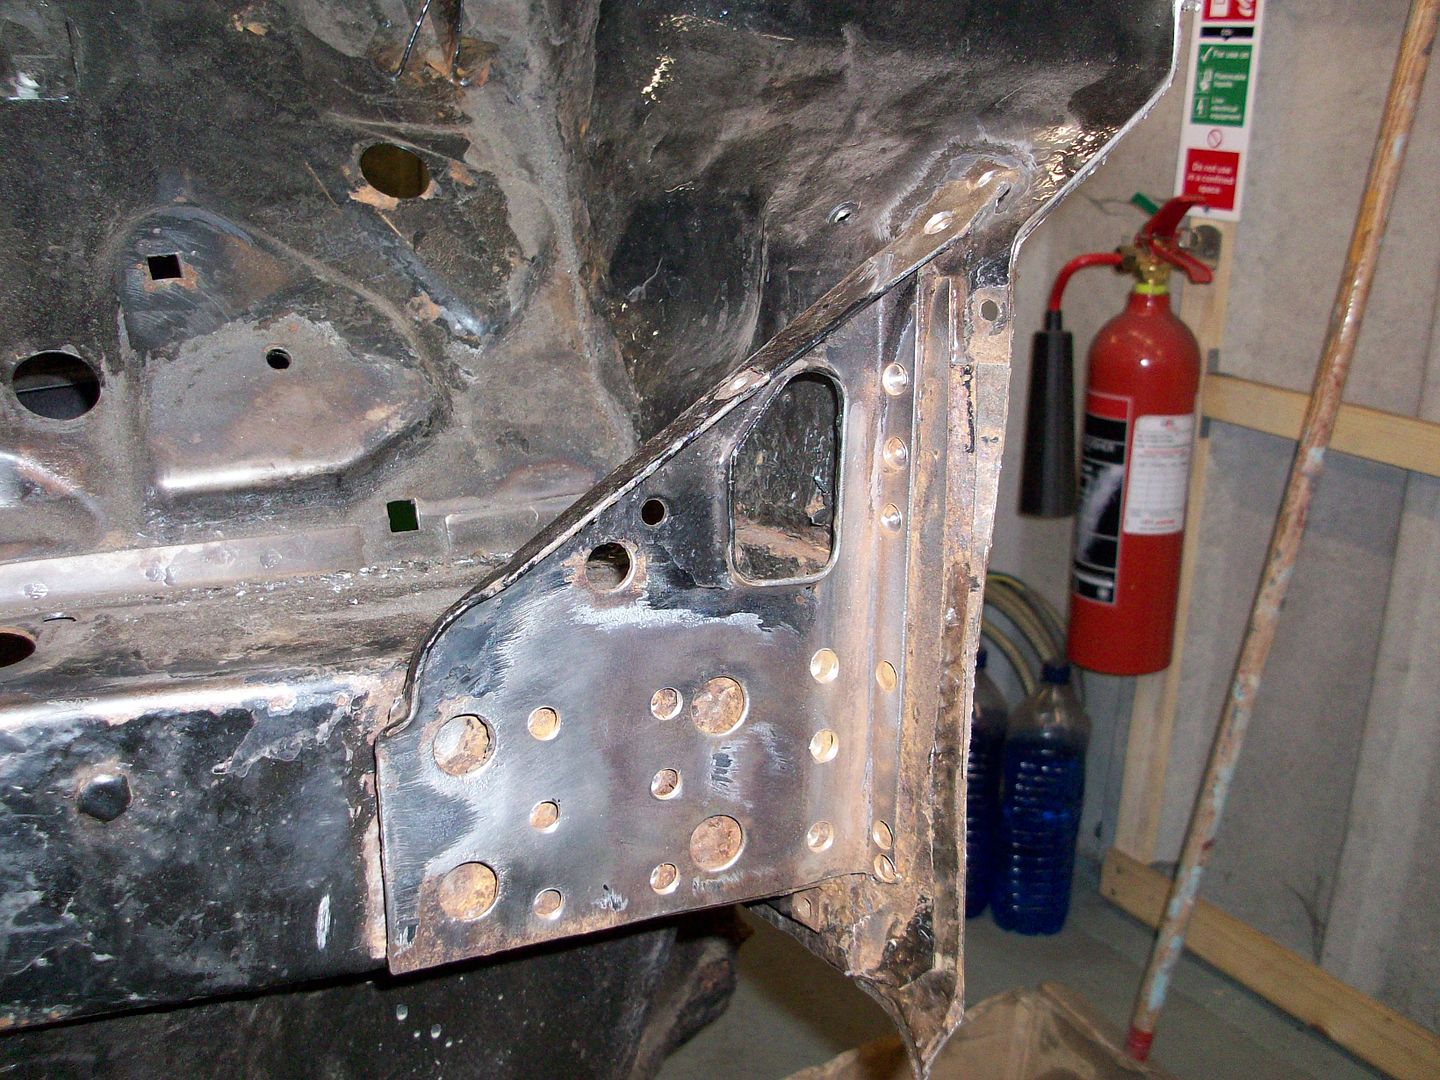
Bracket removed.
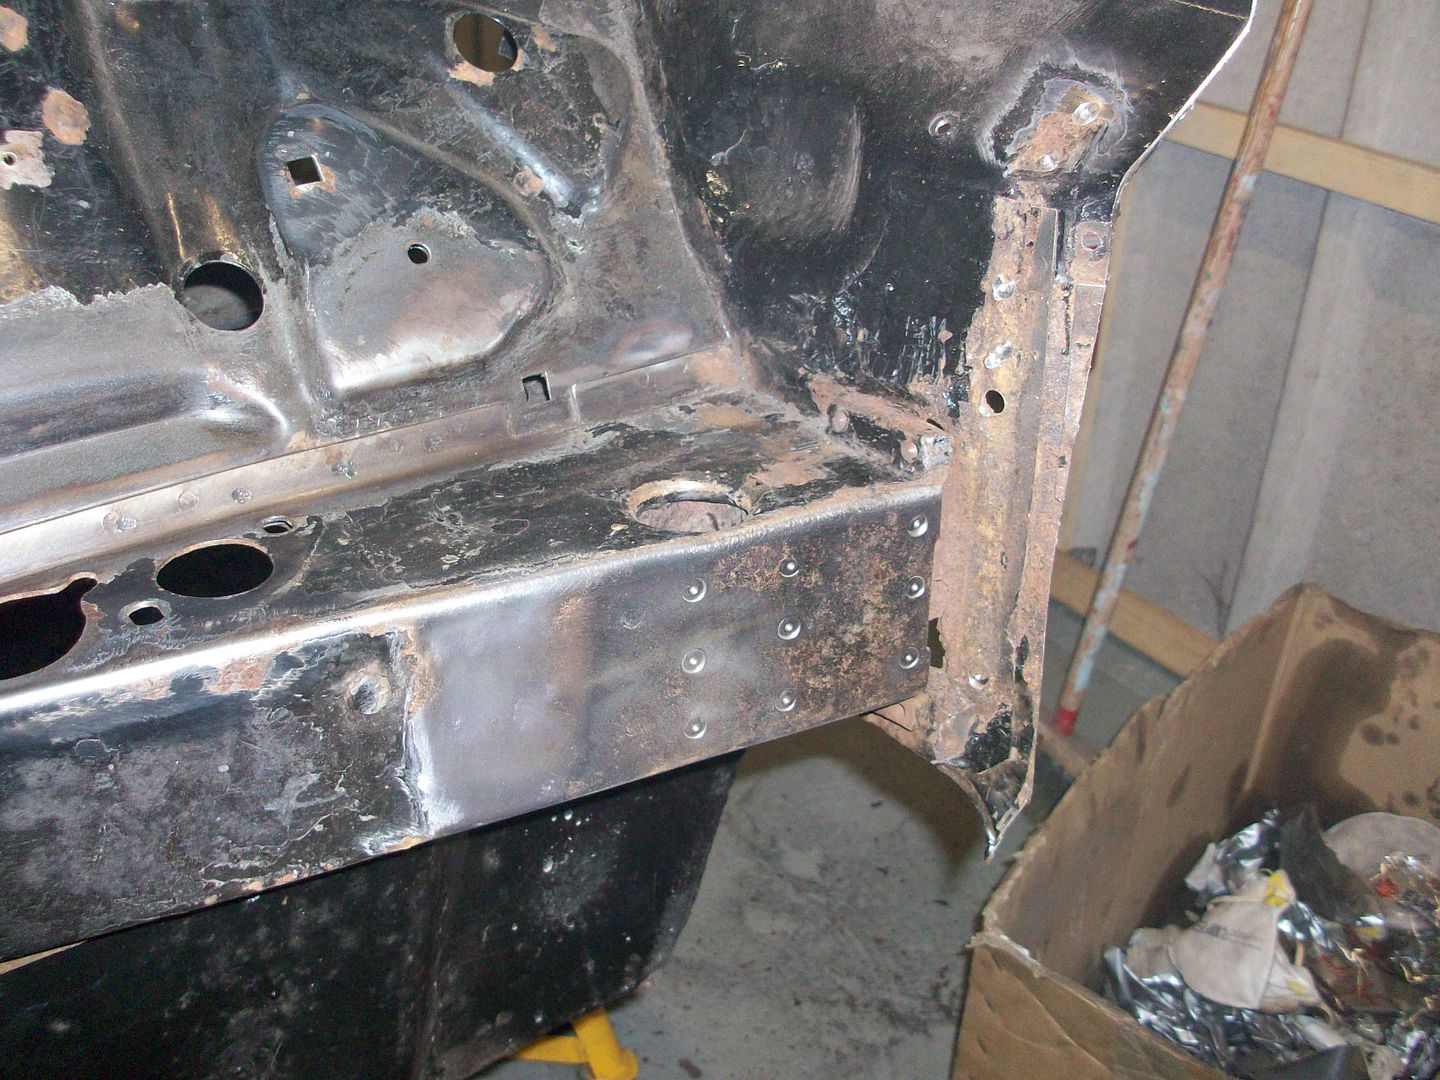
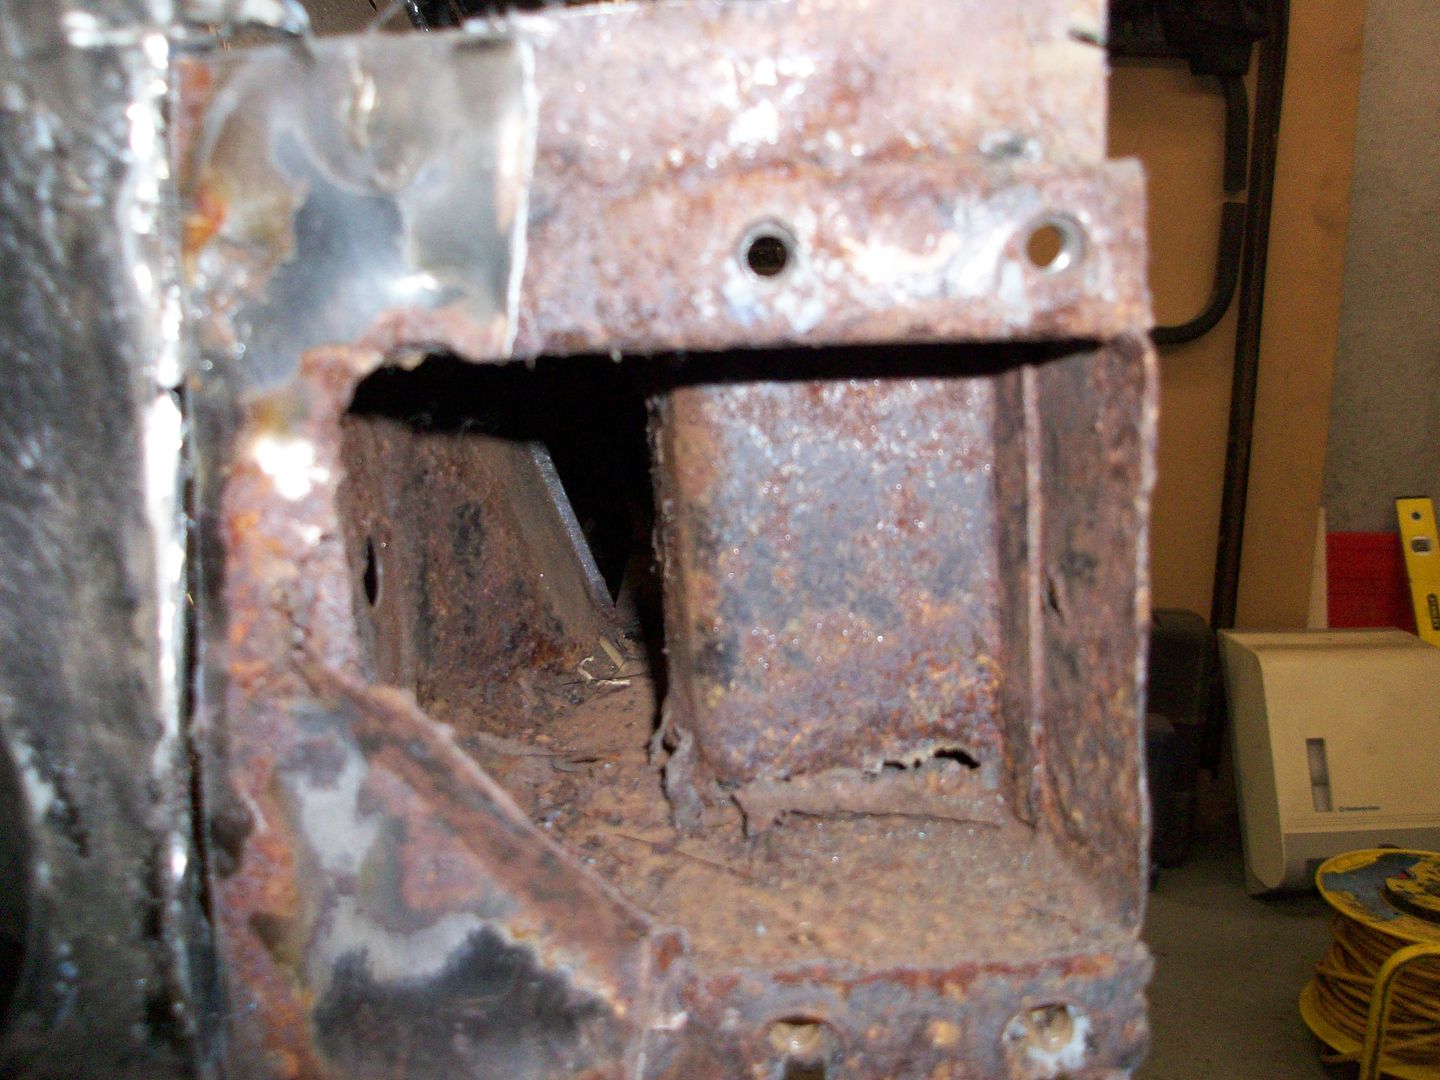
Drivers side.
Bracket removed.
Shot of the inside, the metal has thinned too much due to rust.
Ger
Edited by ger, 30 December 2014 - 09:18 PM.
#38
DEPS
-

- Members
-
- 188 posts
Mini Mad
- Location: Leicestershire
- Local Club: Carlton & District Motor Club
Posted 31 December 2014 - 09:50 AM
This should keep you busy and keep minispares going for a while:) Think they should start a loyalty card. Think we could all earn a few points! I am awaiting 2 parcels at the minute.....
Are you intending to replace the front in steel or are you going to flip front it? Could be fun lining everything up with no inner wings.
By the way I like your welding trolley, looks very professional. Just drag mine and the bottle round the garage. Notice you have hobby weld gas. I have the same, far better than those very expensive little canisters.
As a fellow clubman owner I will be watching progress with interest. Worried you might overtake me though. I am progressing very very slowly with mine;)
#39
ger
-
- Just Joined
-
- 233 posts
Mini Mad
- Location: The Land Of Song
- Local Club: M4 Minis
Posted 03 January 2015 - 09:30 AM
DEPS - The front is going back in steel, I'm trying to get her back as original but with some subtle mods. When the front goes back on I'm going to put the subby back in so hopefully it should all line up. Late 2016 is my target to finish as I'm hoping to go to the Irish IMM in 2017 so you might be finished before me.
Ger
Edited by ger, 03 January 2015 - 09:30 AM.
#40
ger
-
- Just Joined
-
- 233 posts
Mini Mad
- Location: The Land Of Song
- Local Club: M4 Minis
Posted 05 January 2015 - 08:06 AM
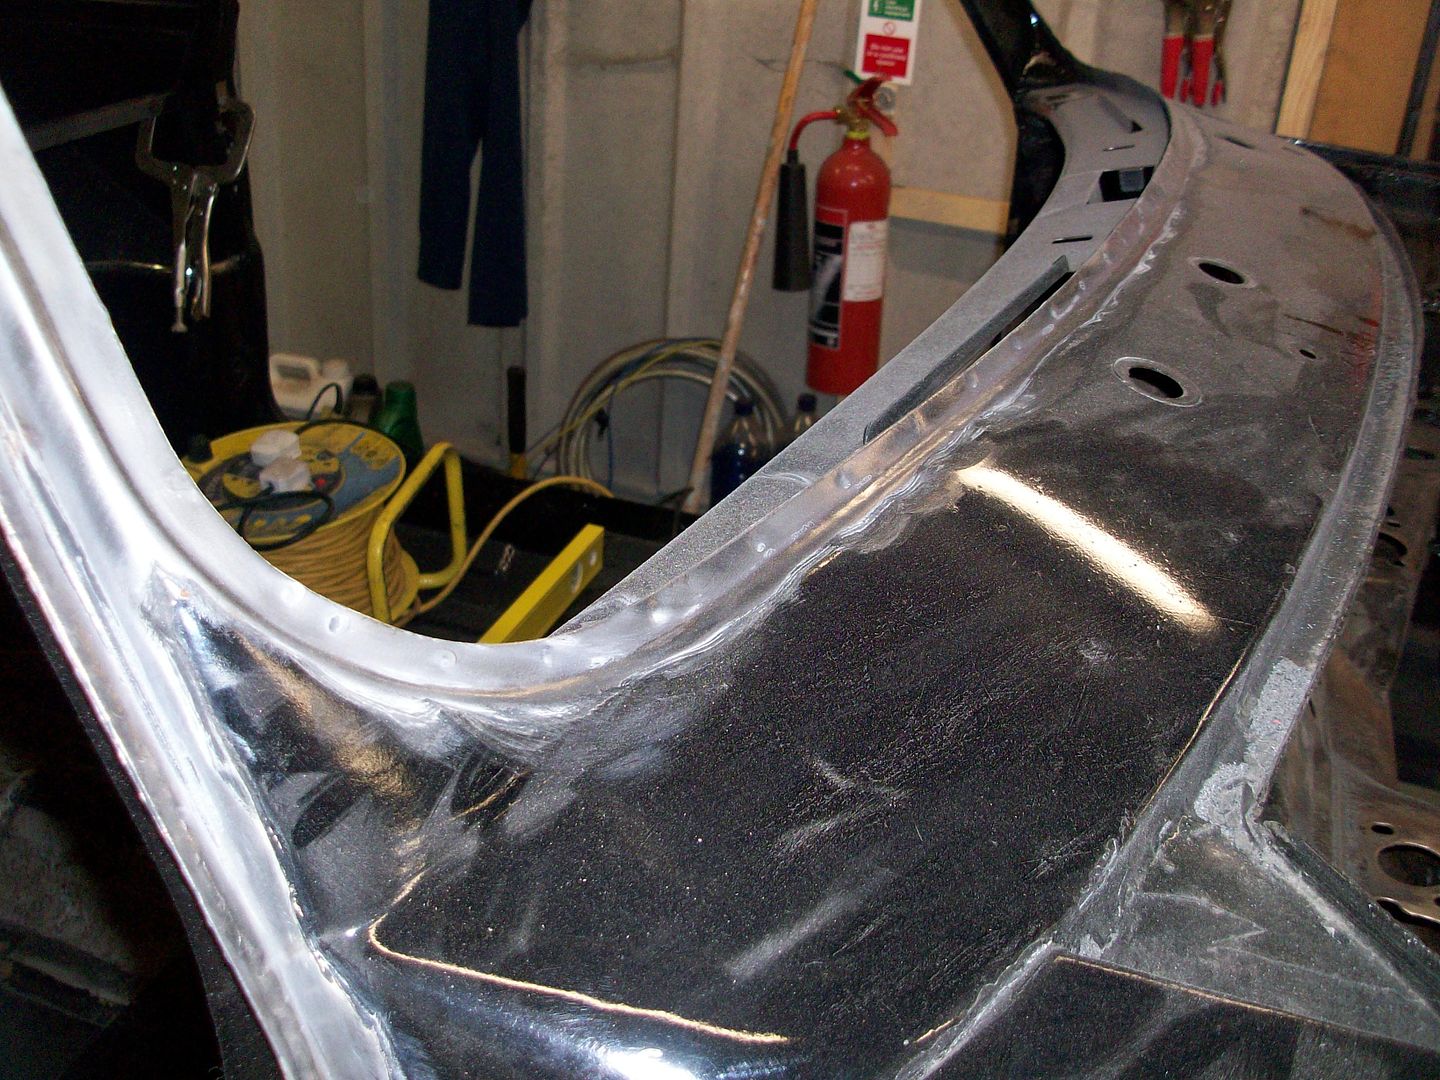
Bit of an update for over the last couple of days.
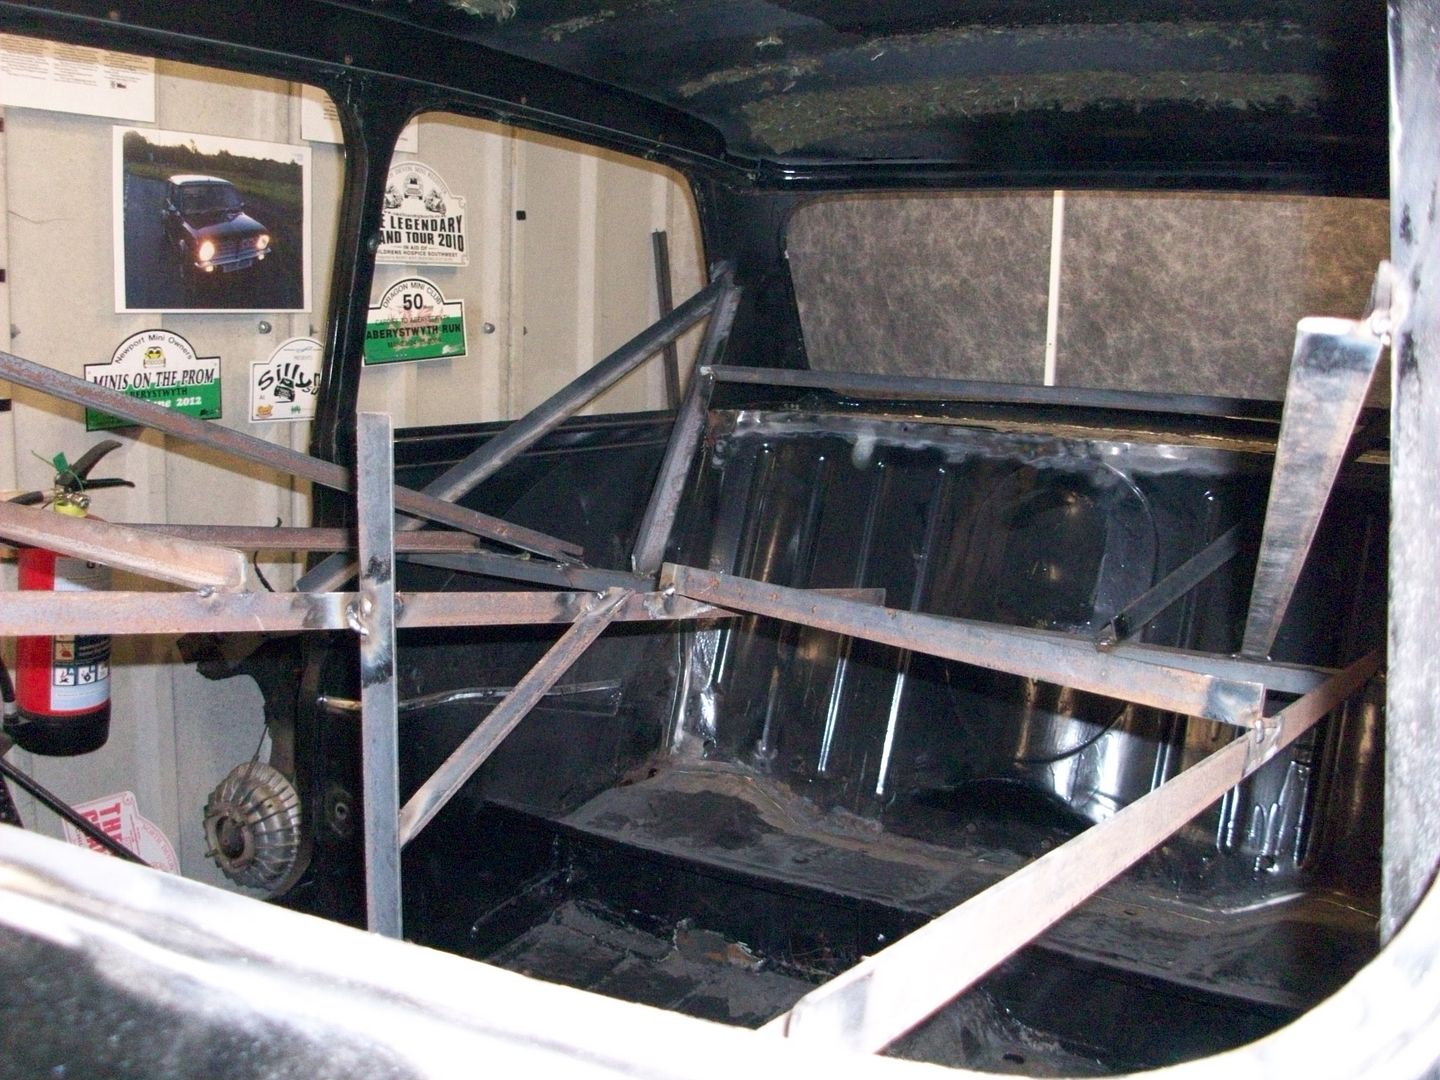
Drilled out the spotwelds and removed the dash crossmember.
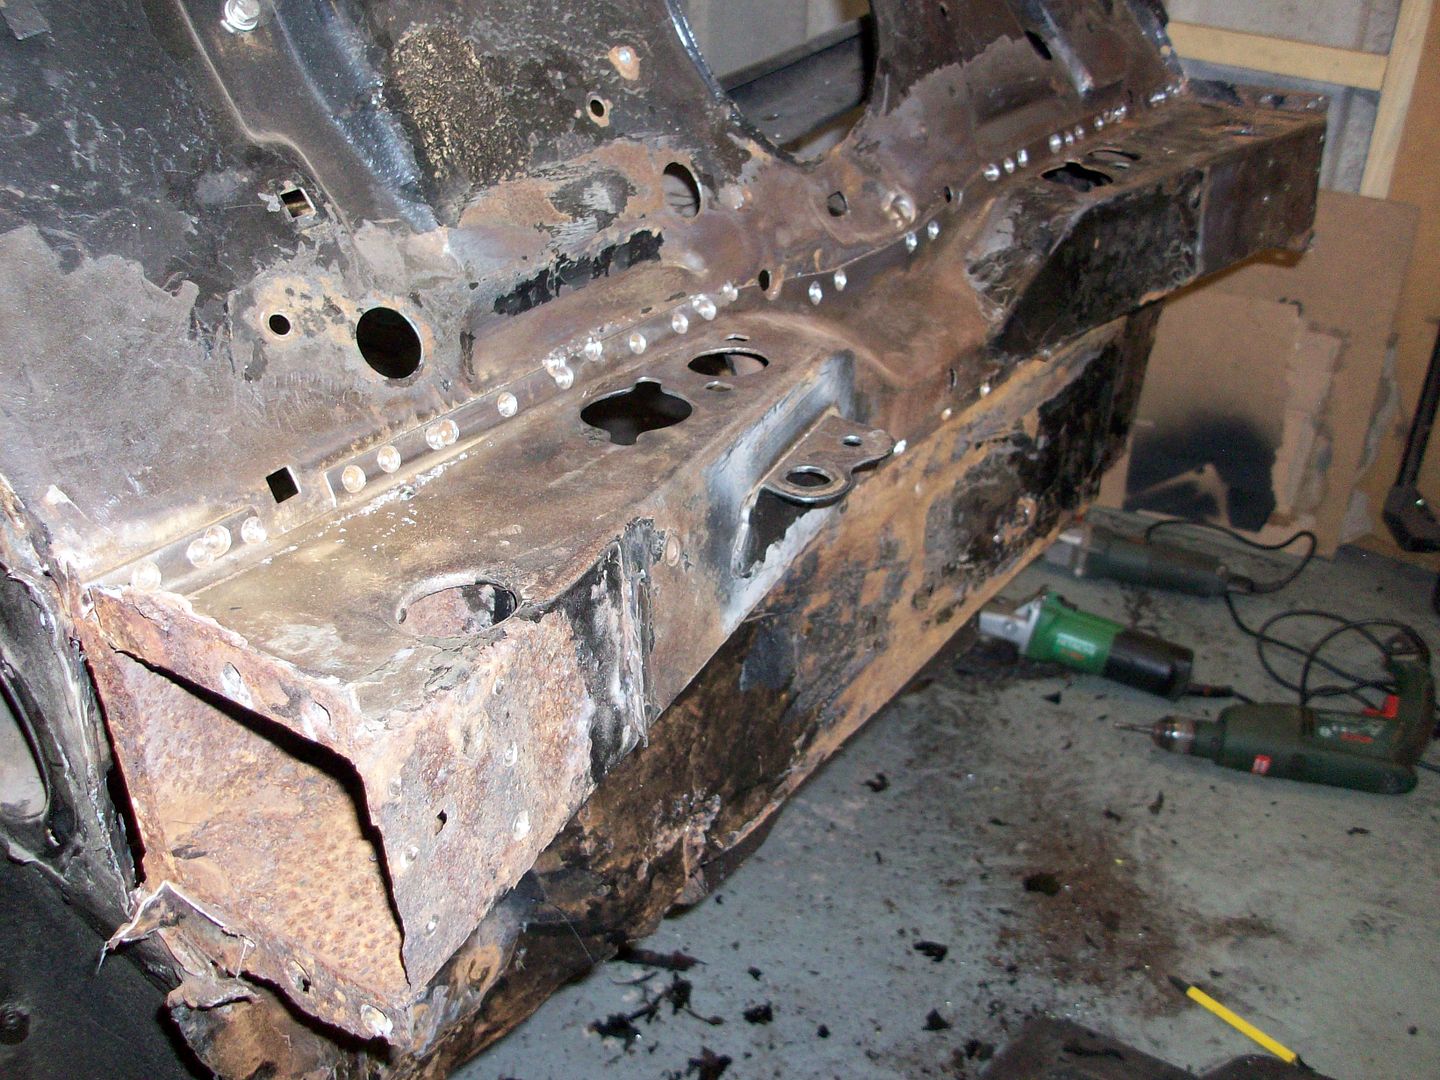
A bit rusty behind, a good wirebrushing and a couple of patches will help here. However both internal ends of the crossmember are too far gone to be saved so a new one is needed.
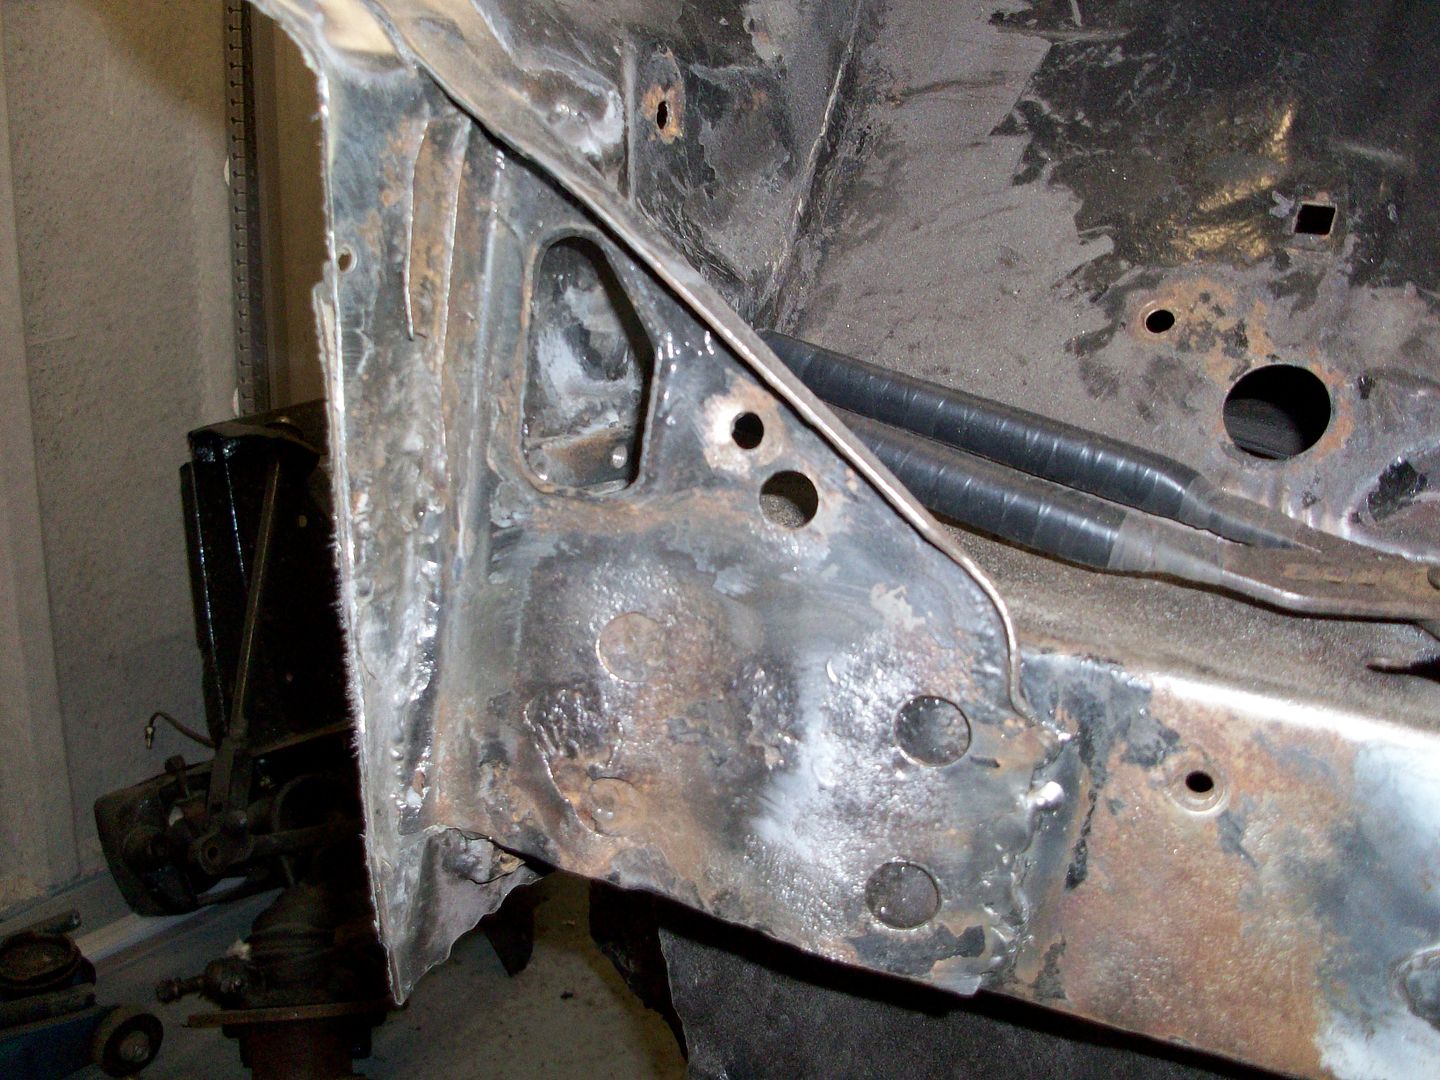
Cut away a bit of the flitch panels on both sides but left the outer edges as these will be cut off when I replace both door jambs ans also it still adds a bit of strength.
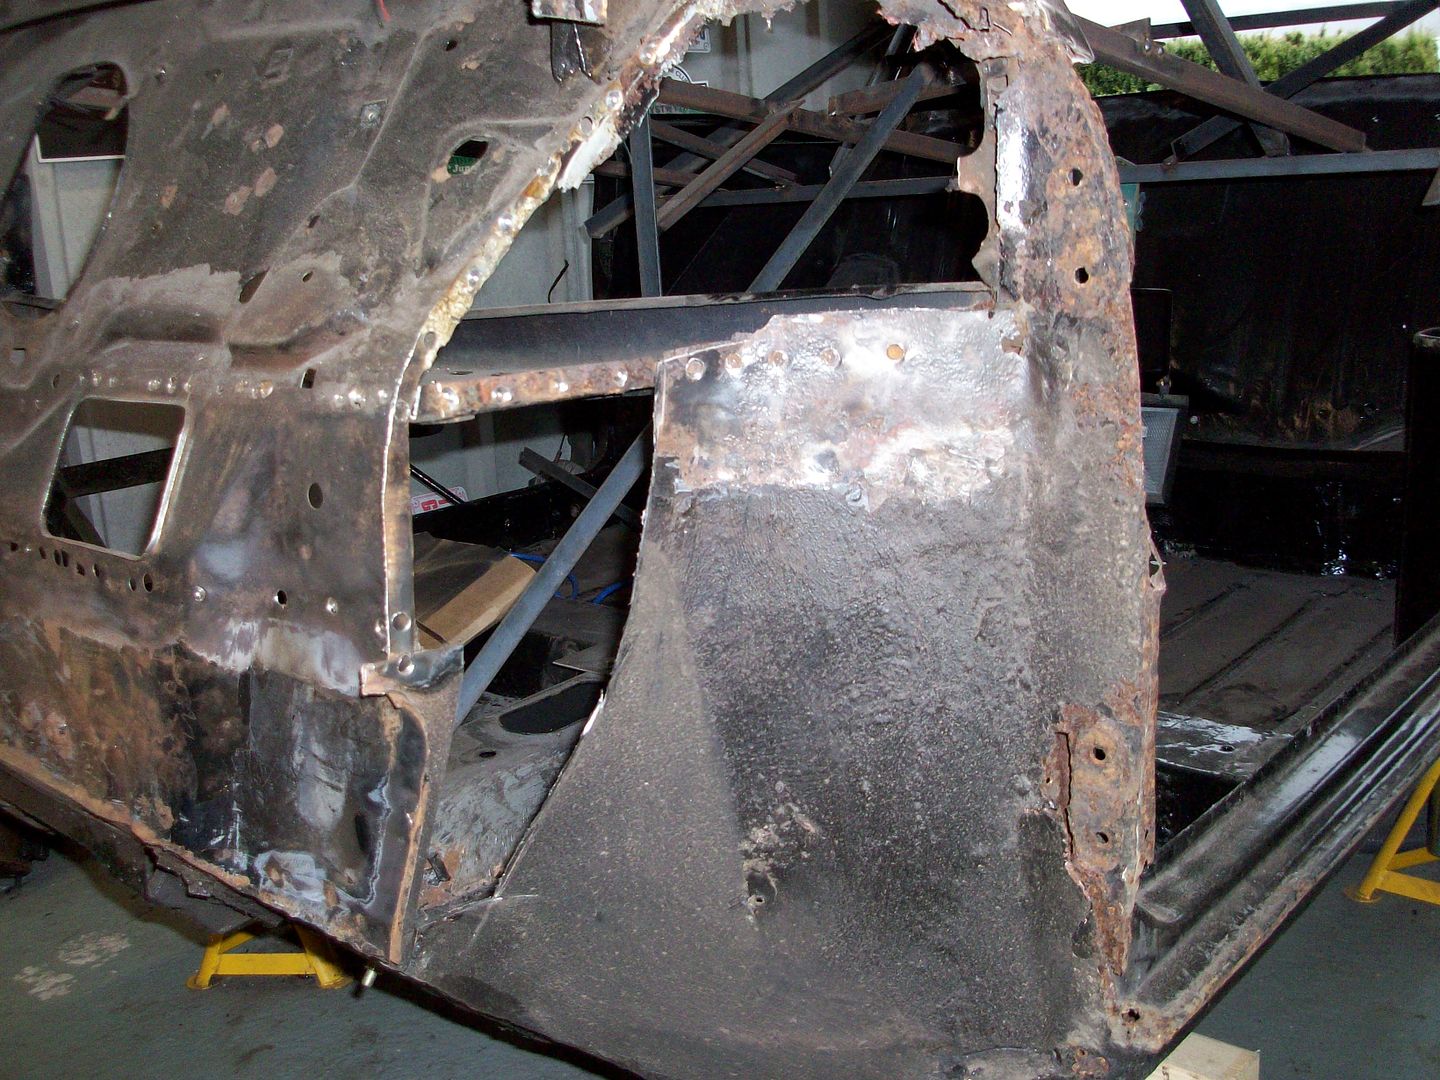
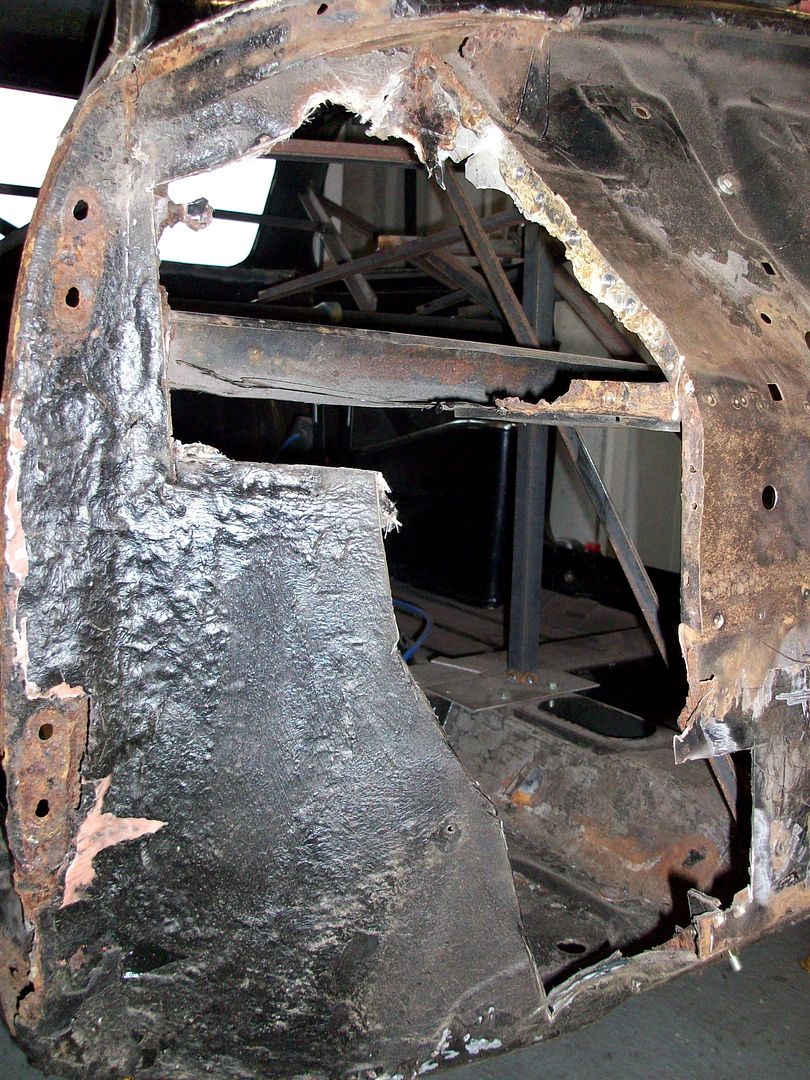
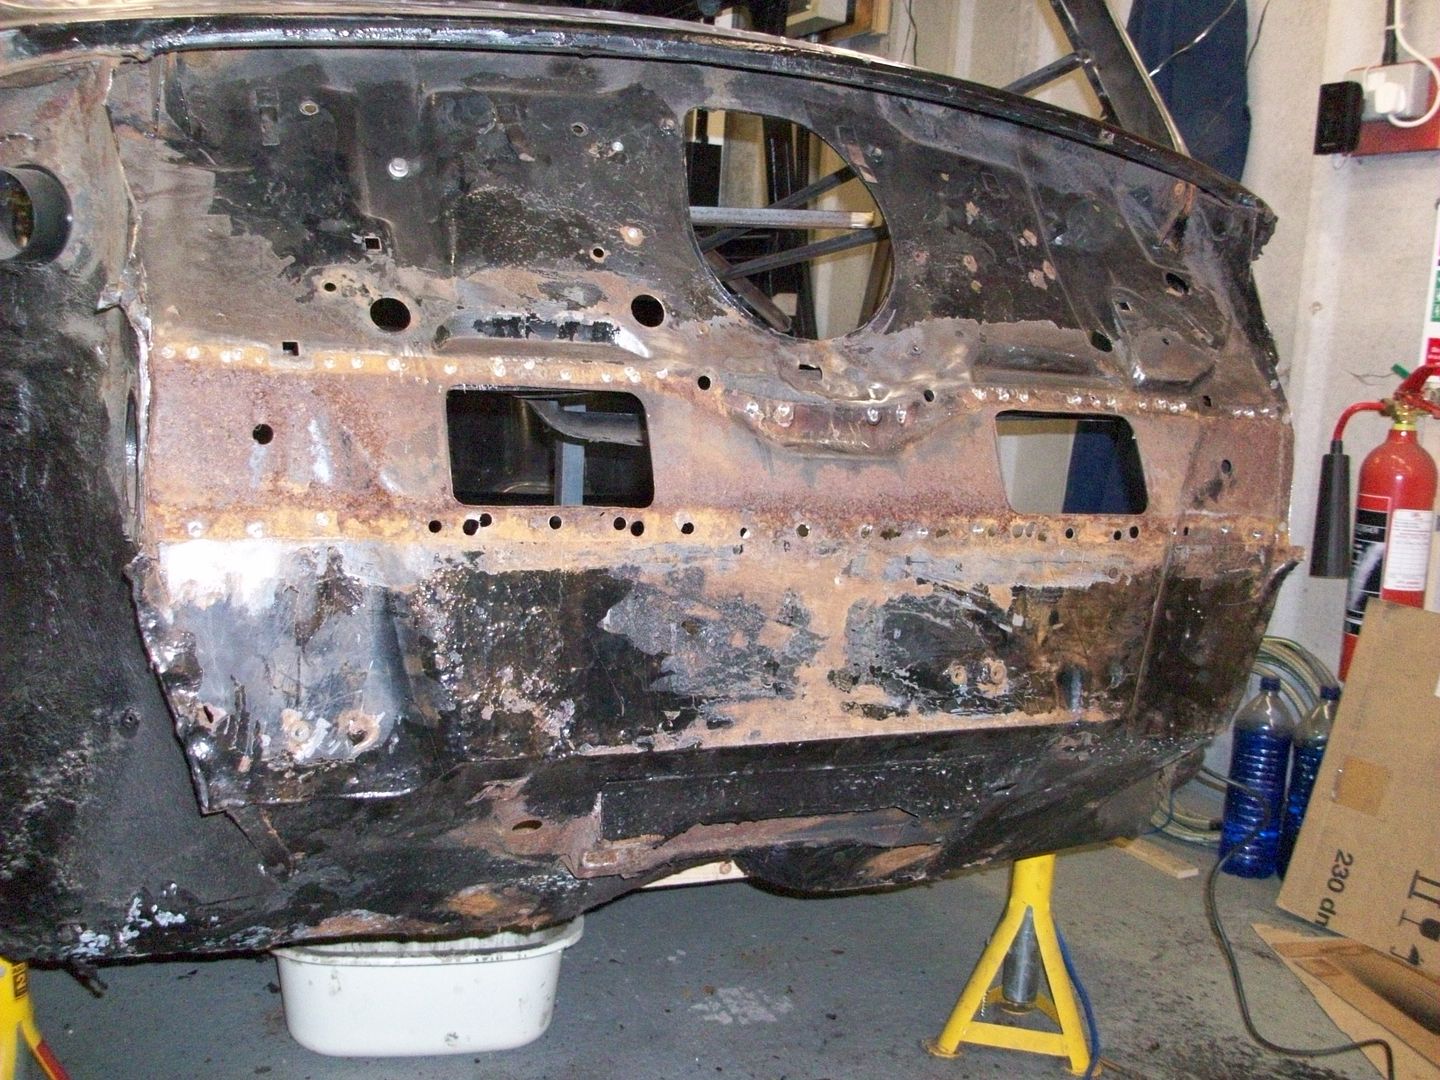
Put a bit more bracing to the toe board.
After a good wireprushing on the top half she now looks like this.
Just a couple of plates and some small holes to weld up.
Ger
#41
Tata Steva
-

- Noobies
-
- 19 posts
Learner Driver
- Location: Toronto
Posted 06 January 2015 - 04:09 AM
Popcorn ready.... Waiting for more updates!
#42
andrewblueboy
-
- Noobies
-
- 20 posts
Learner Driver
- Location: bolton
Posted 06 January 2015 - 01:49 PM
excellent work going on there
#43
Ben_O
-

- Paint Doctor
-
- 9,794 posts
Mill Road Garage
- Location: Isle of Wight
Posted 06 January 2015 - 06:21 PM
I wish i had done that on mine 
#44
jim5570
-
- TMF+ Member
-
- 19 posts
Learner Driver
- Location: Ashbourne, Derbyshire
Posted 06 January 2015 - 09:30 PM
Wow. You are really getting on with the body. I'm so jealous. Looking really good. Keep this pace going & you'll be done for Summer.
#45
DEPS
-
- Members
-
- 188 posts
Mini Mad
- Location: Leicestershire
- Local Club: Carlton & District Motor Club
Posted 06 January 2015 - 09:51 PM
Very impressive. It takes a lot of nerve to cut that much out. Apologies if you have stated this earlier in the thread but have you done this sort of work before?


Also tagged with one or more of these keywords: clubman
Projects →
Mini Saloons →
Black 1979 1275GtStarted by StuaR32t , 15 Feb 2025 |
|

|
||
Projects →
Mini Saloons →
Cape Town 🇿🇦 1275HleStarted by JAYO , 28 Feb 2021 |
|

|
||
Projects →
Mini Saloons →
Budget Mini Clubman Shell Restoration For £1500Started by minimissions , 13 Nov 2019 |
|

|
||
Projects →
Mini Saloons →
1275Gt Tarmac Rally Car - From ScratchStarted by KRM_Simon , 26 May 2019 |
|

|
||
Projects →
Mini Saloons →
1275Gt Resto - From Flip To FactoryStarted by Verderad , 12 Mar 2018 |
|

|
2 user(s) are reading this topic
0 members, 2 guests, 0 anonymous users


