Looking good mate, nice to see some progress. I love the dash design too! 
I need to do something a little different with my dashboard in the FReaK, but I dunno what to do yet. Gotta get a digital dash in there at some point.
Hehe, thanks Matt.
I considered making like a modern center binnacle, so the dash was raised up and further in to the car in the middle where the clocks were situated, like a Corsa C binnacle, but bang in the middle of the car. Maybe you could look in to something like that? If it's to your tastes of course

.
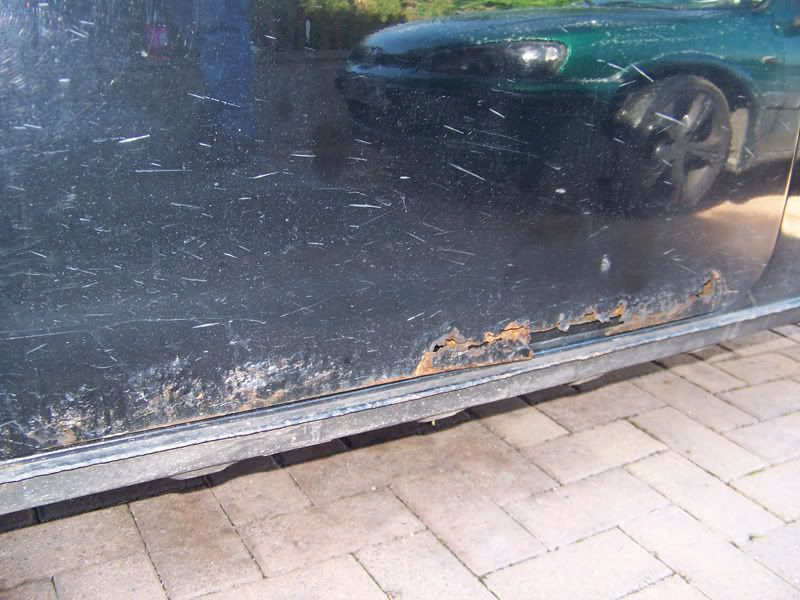
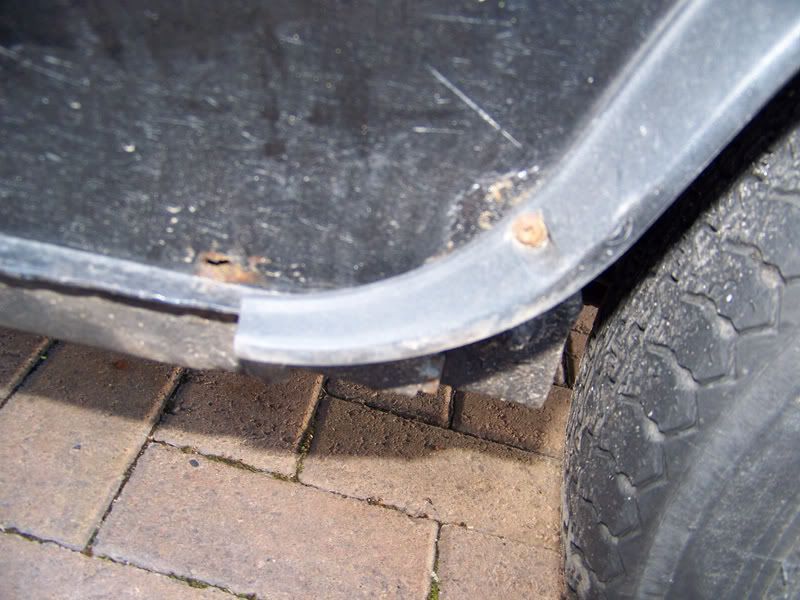
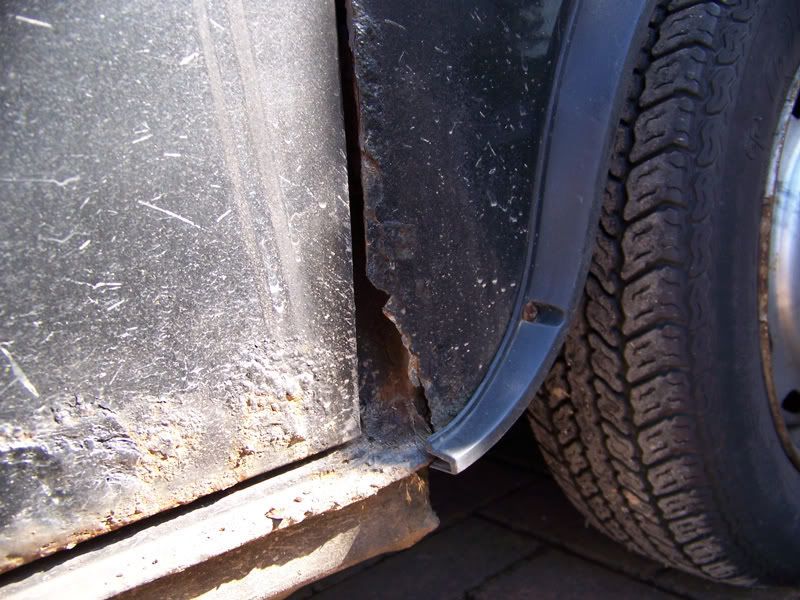
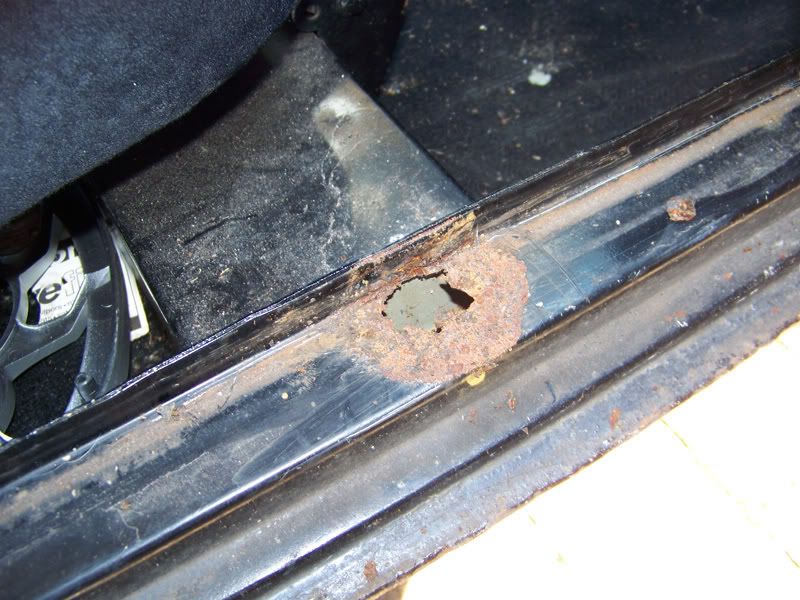
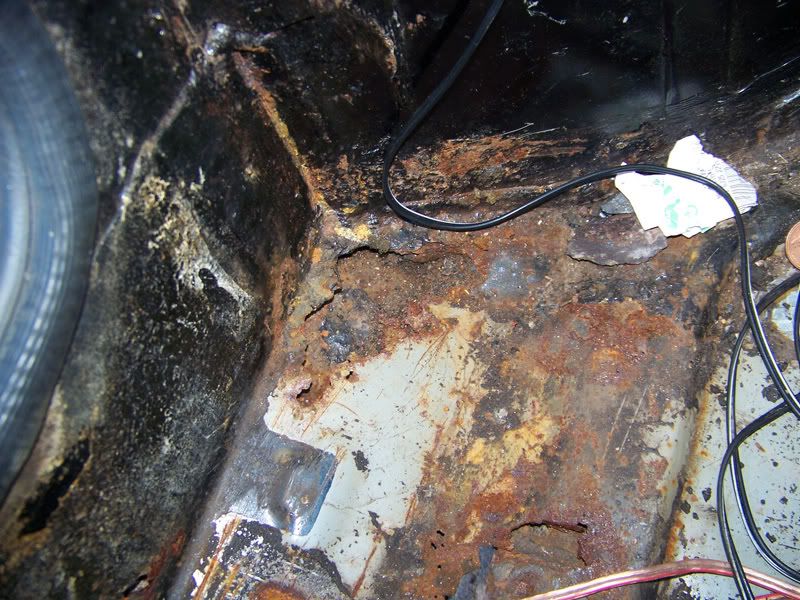
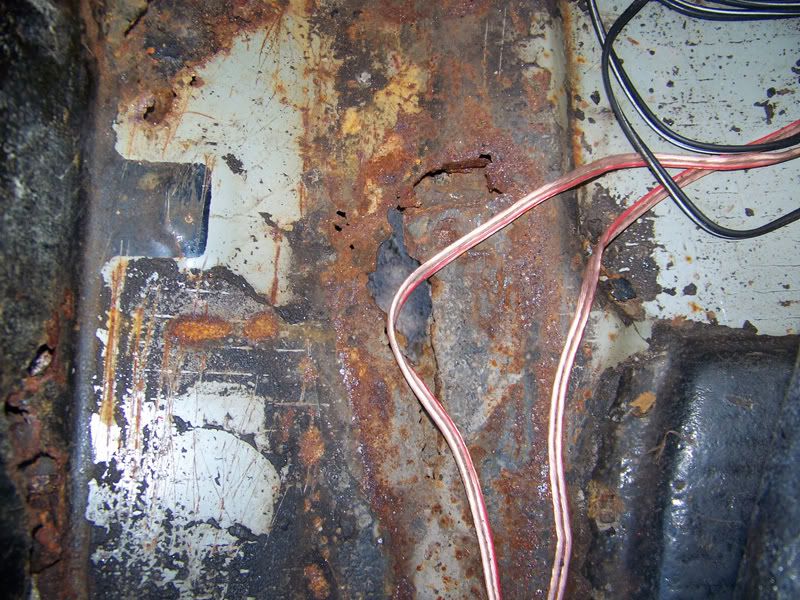
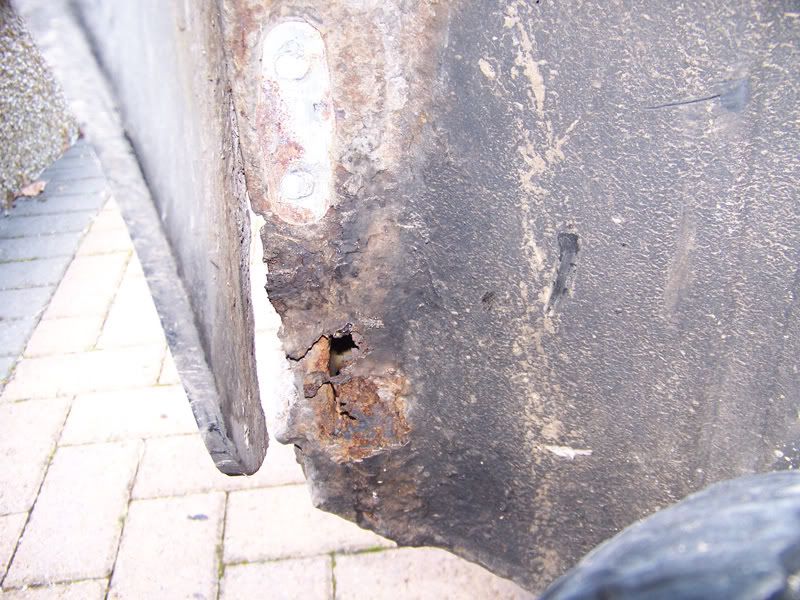
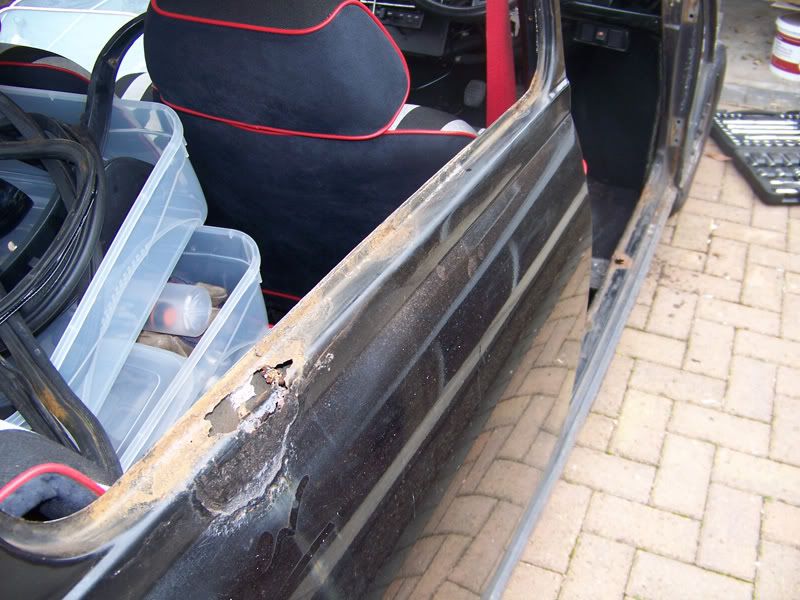
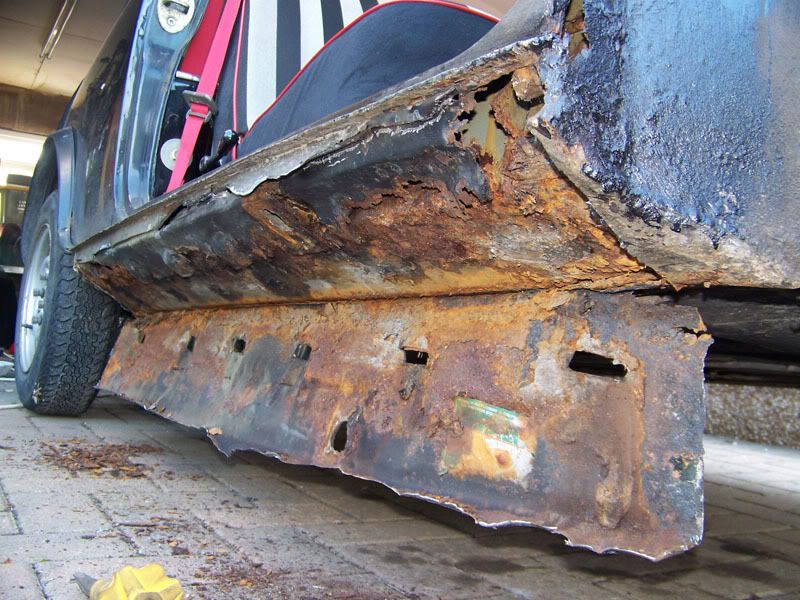
Looks very rudty mate  i think my mini has oversills on, as my floor is abit like yours in the corner.
Good luck mate!
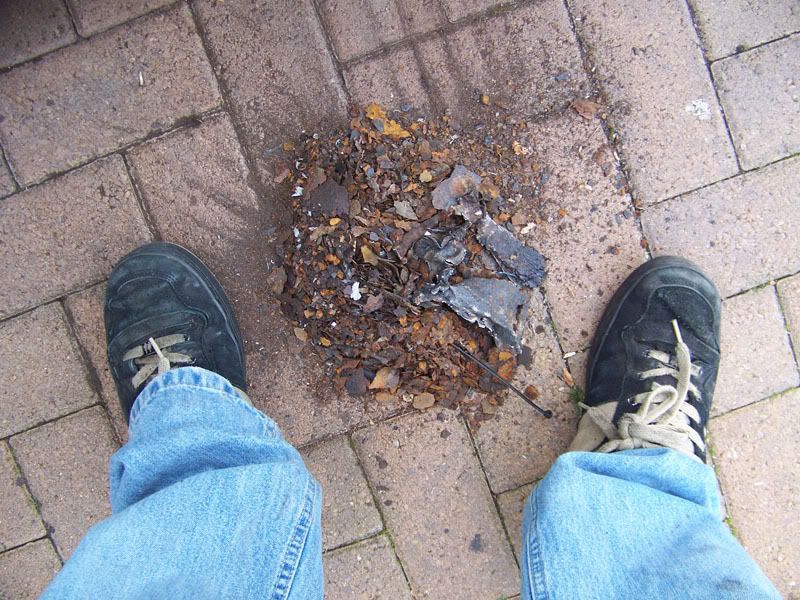
Oversills are the devil! Tear them off man for the love of Minis!
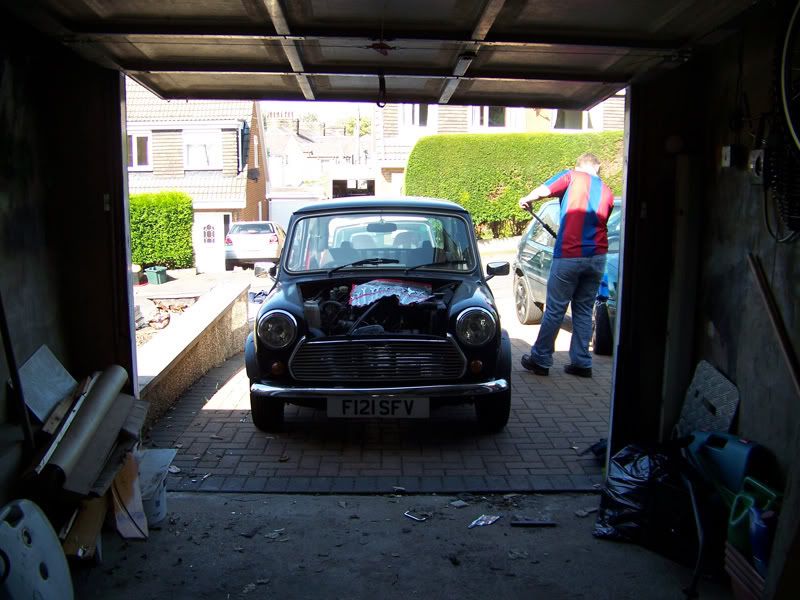
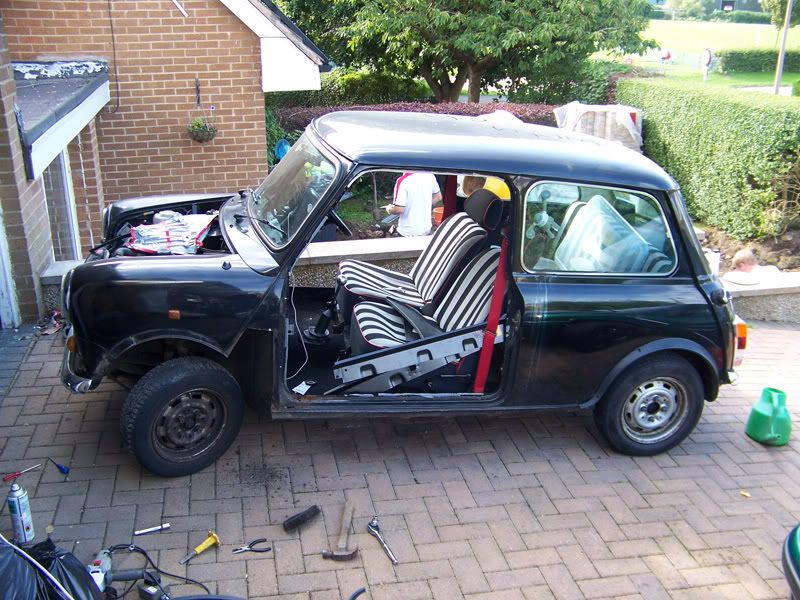
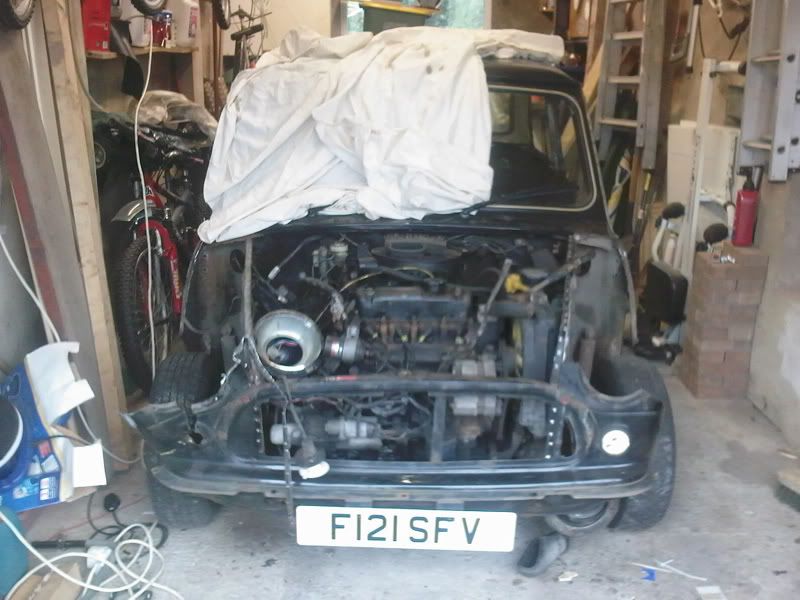
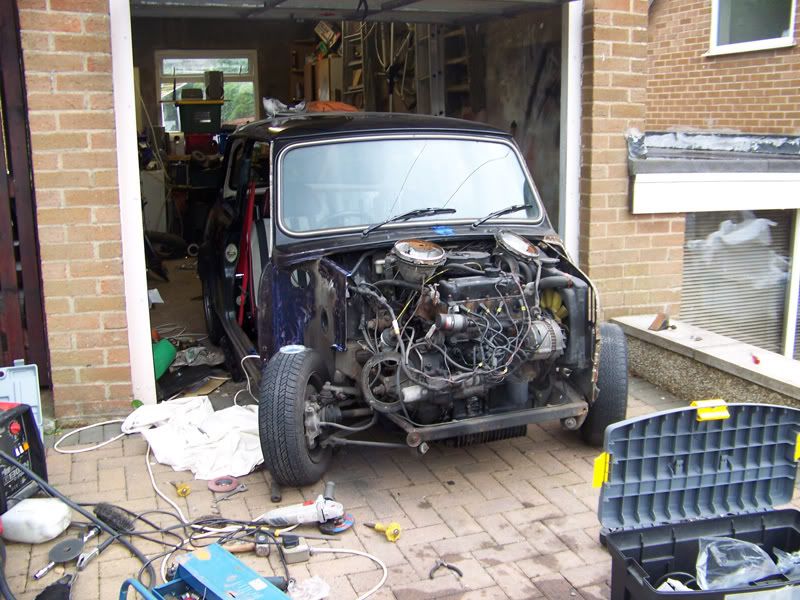
I got some more work done today, granted no where near as much as yesterday but it's alot easier to roar around tearing bits off and not putting anything back. Anyway, here's todays stuff:
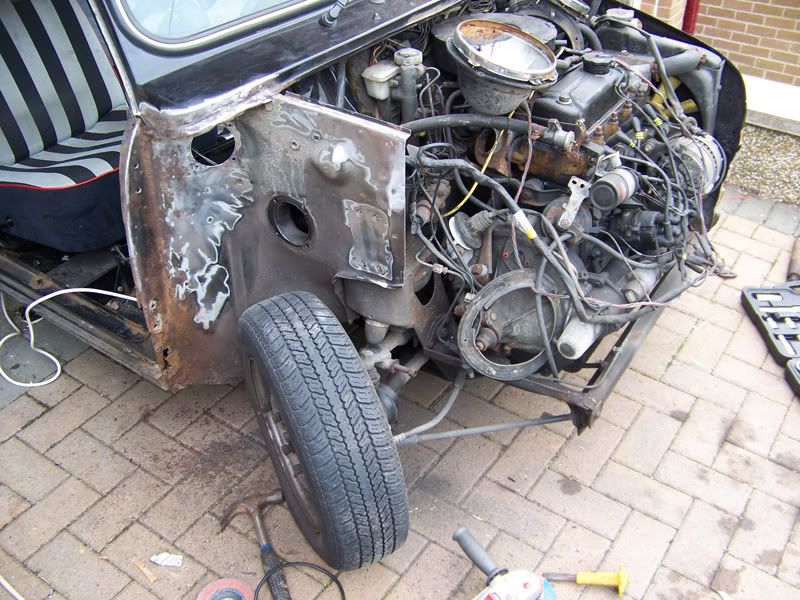
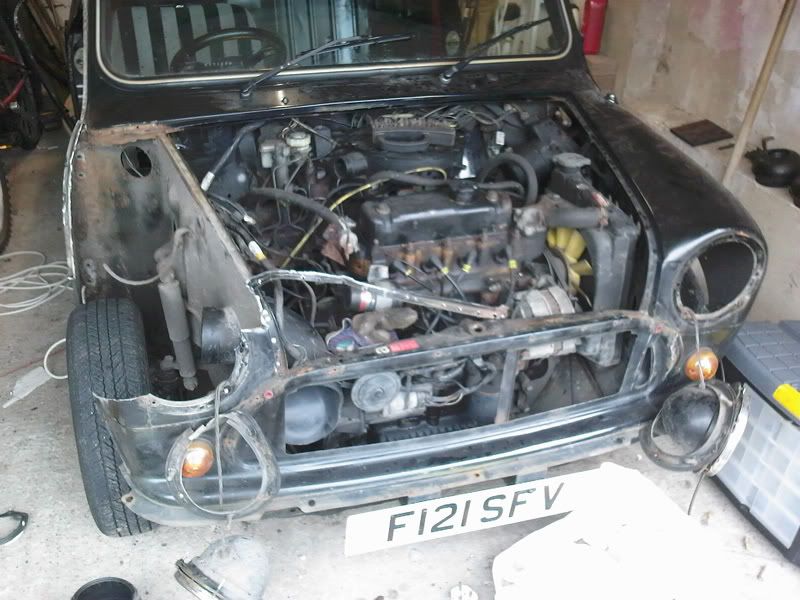
I removed the driver side a-panel and trimmed the winner wing down to size. I had a play with the paint stripping discs I got off ebay too, which worked very very well.
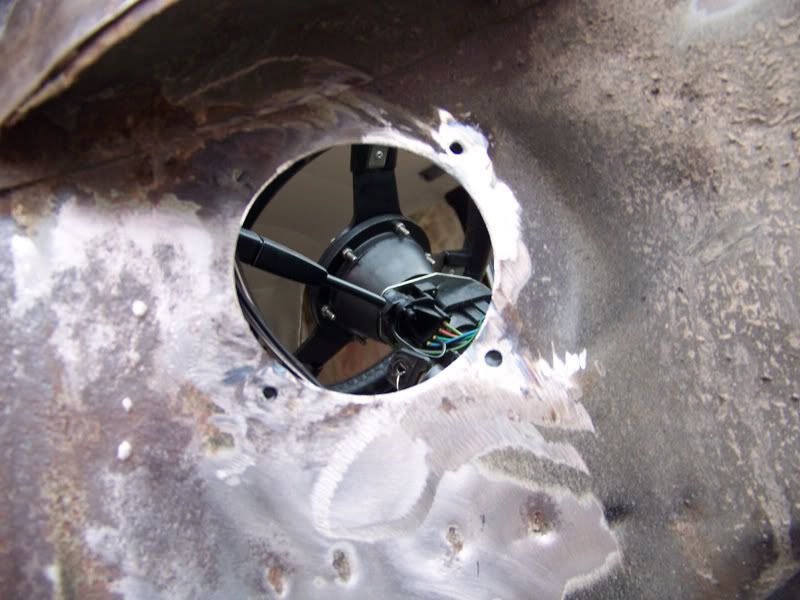
I ground off the bolts that used to hold the fresh air vents. I'm going to cut some circles out of the inner wing I cut off and weld them over the holes as I want the vents sealed off.
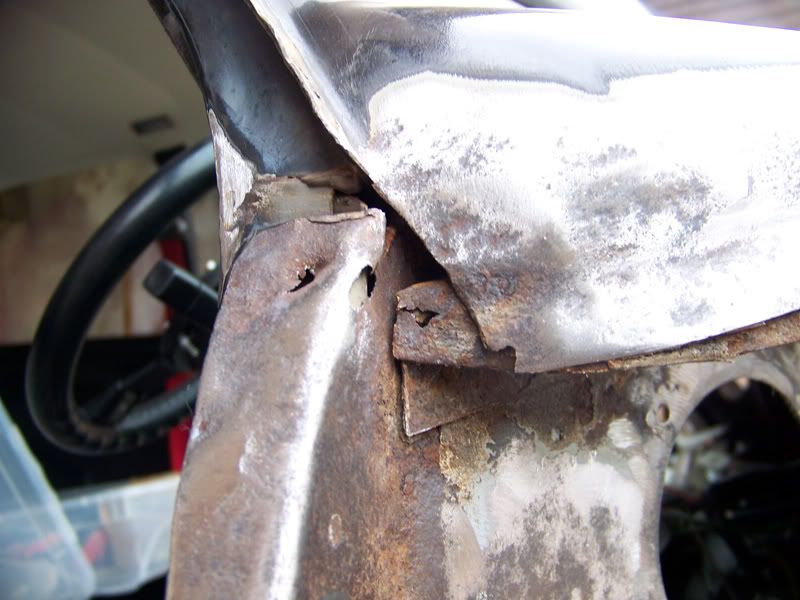
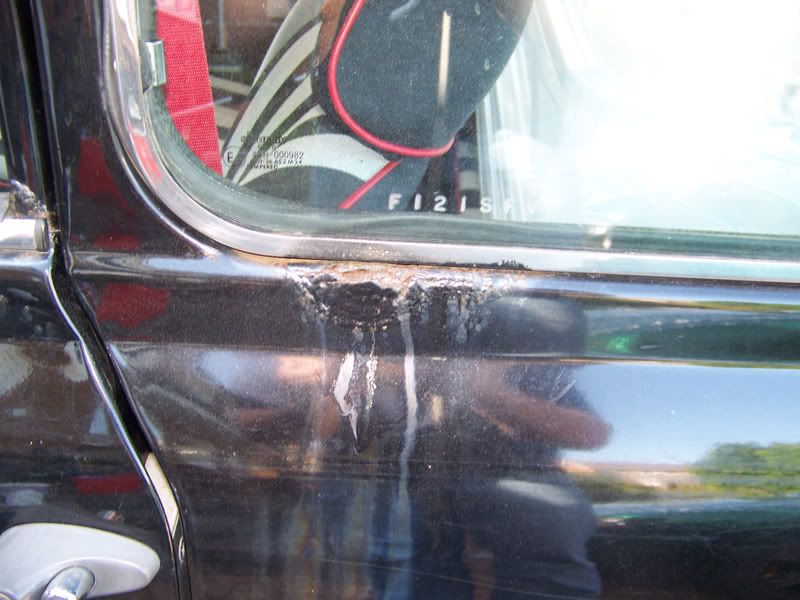
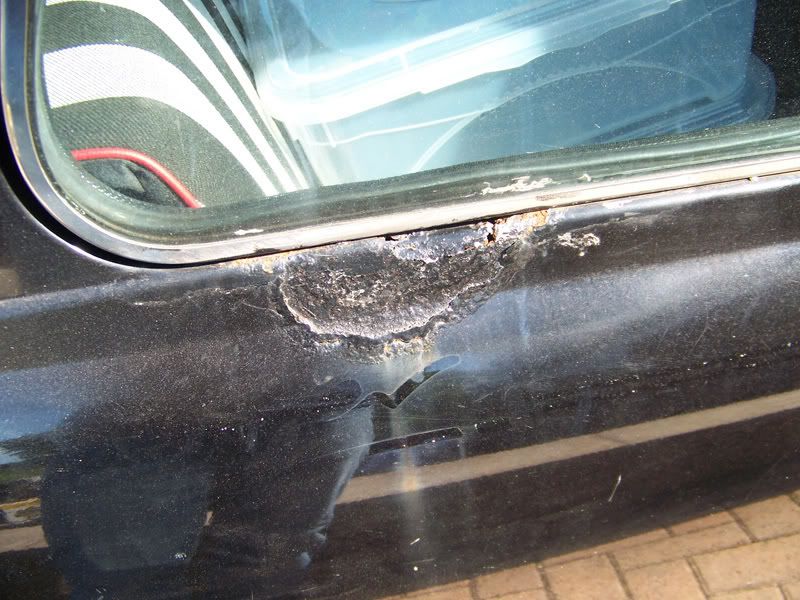
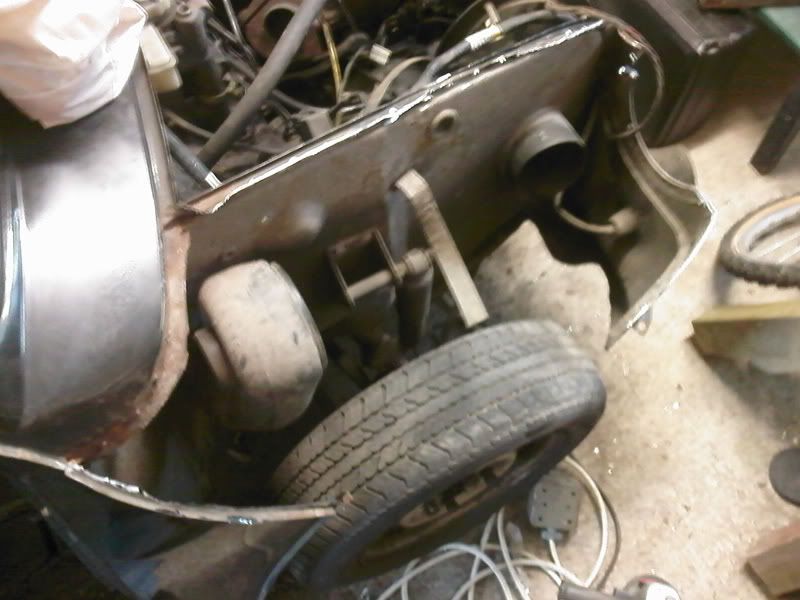
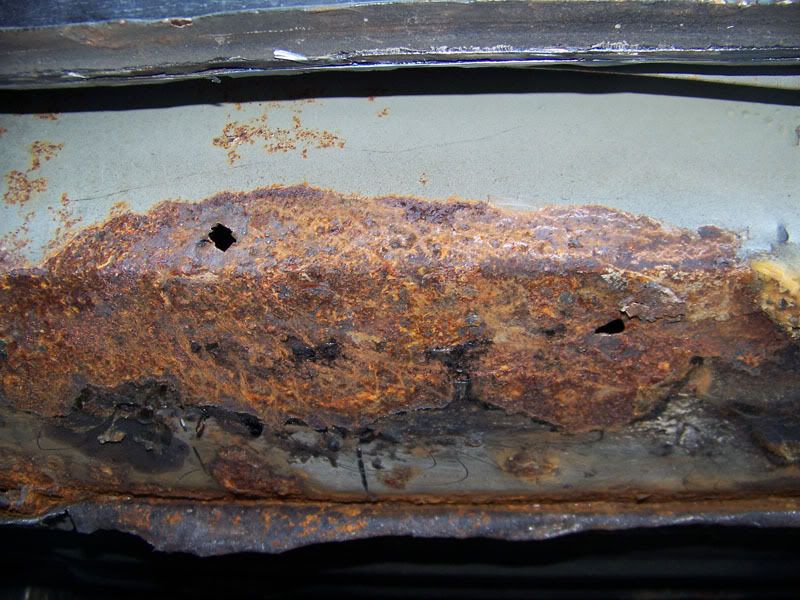
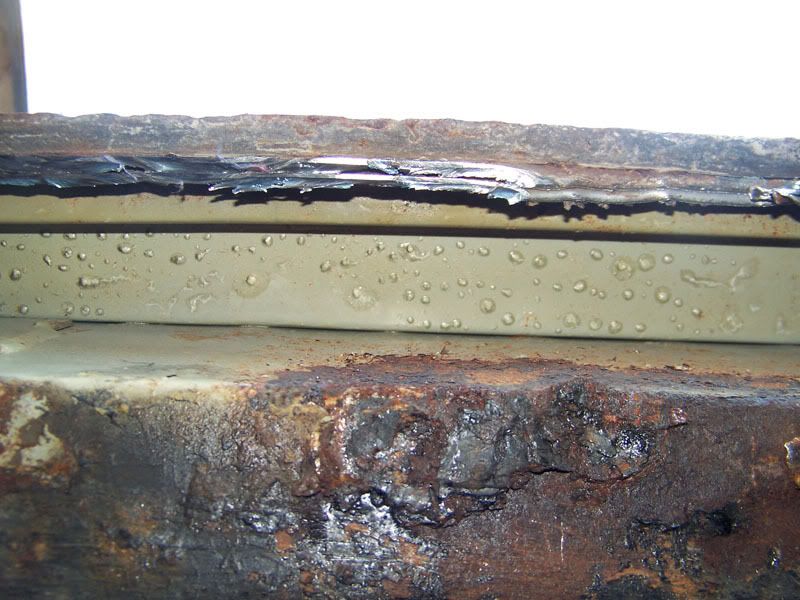
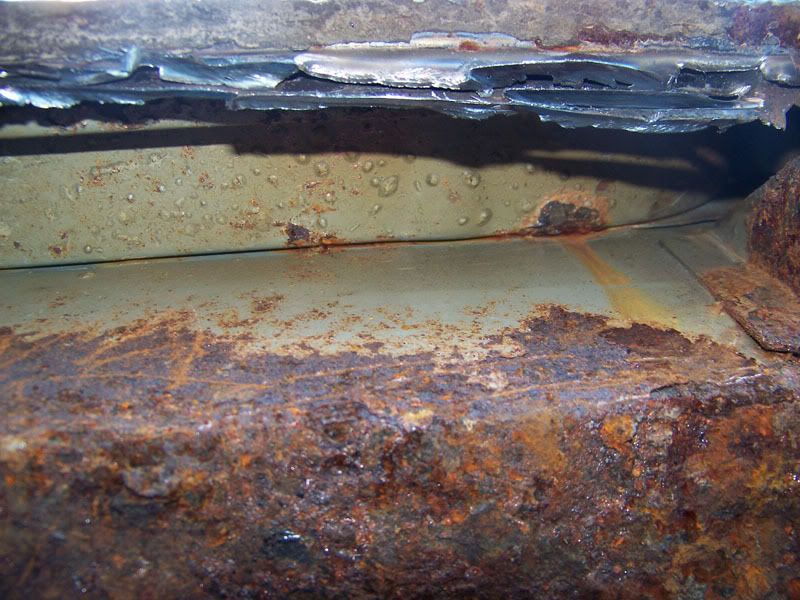
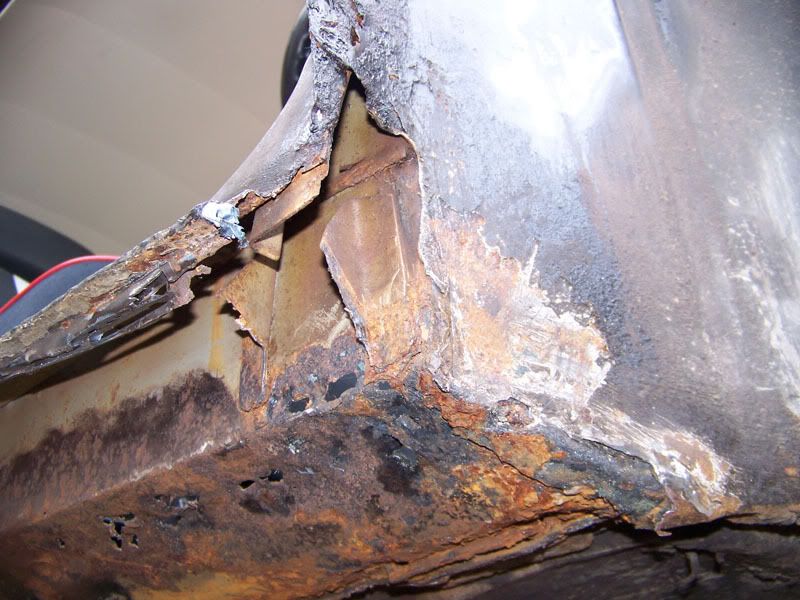
I've been looking at this bit near the scuttle and really don't know what to do. I can see the metal behind the fillet plate is slightly rusted but I don't know if I should go to the trouble of cutting out the fillet plate to get at it. Maybe someone can give me their opinion before I ask in Bodywork.
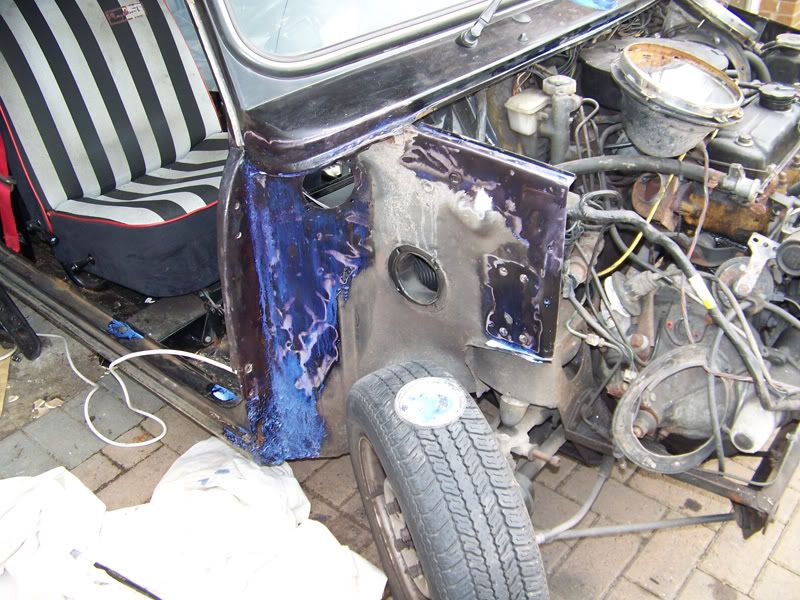
I had some Kurust in my toolbox that I'd never got round to trying out so I thought I'd paint the remaining surface rust on the inner wing (the bits the stripping disc wouldn't remove).
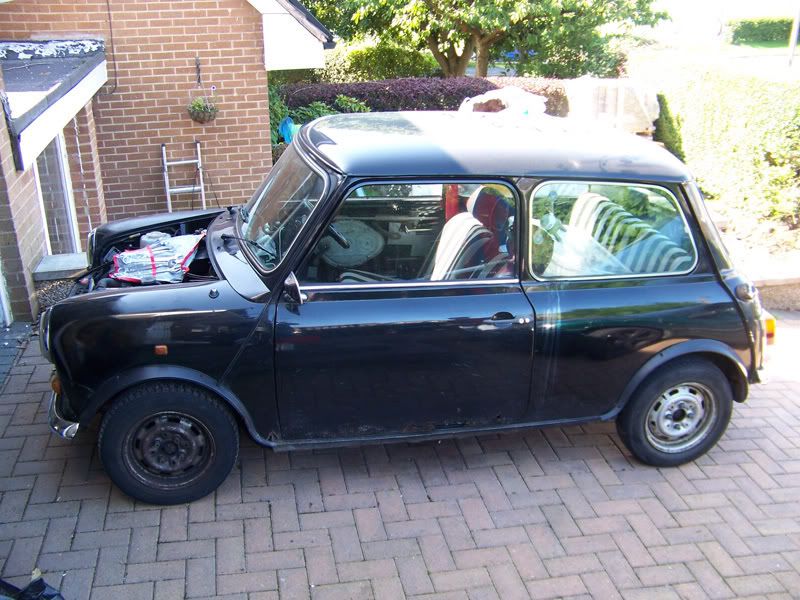
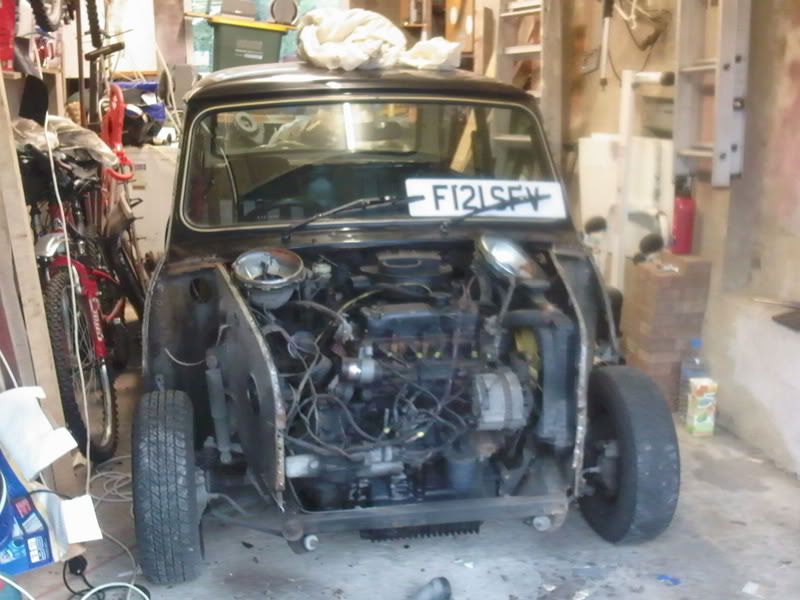
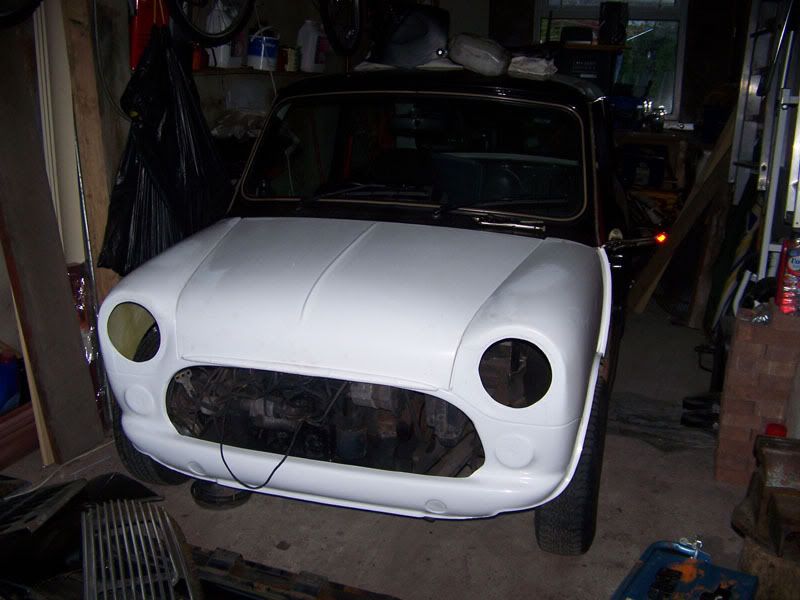
Overall shot before I got on with taking the passenger a-panel off and shortening the passenger side inner wing.
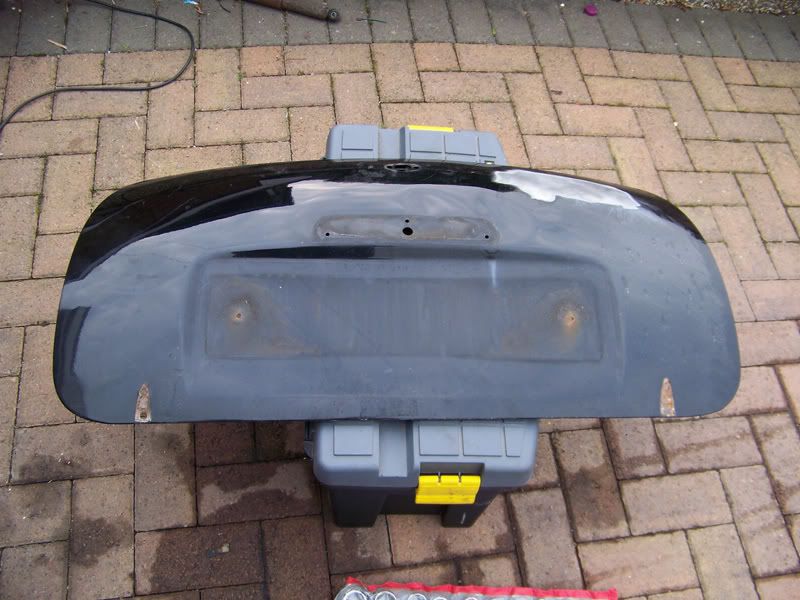
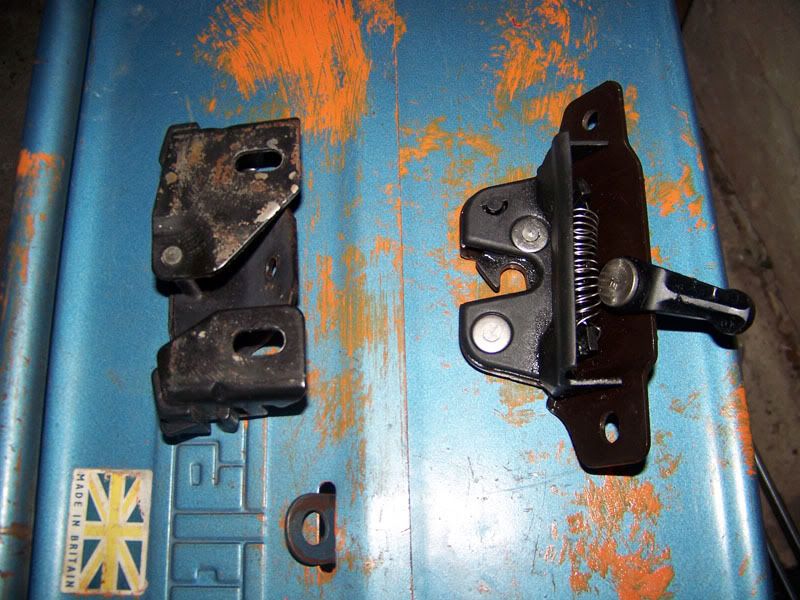
Stripped everything off my bootlid so it's ready to have the skin removed, I only want the frame from it so I can bond it to my new fiberglass bootskin. Keeps it structural and secure this way.

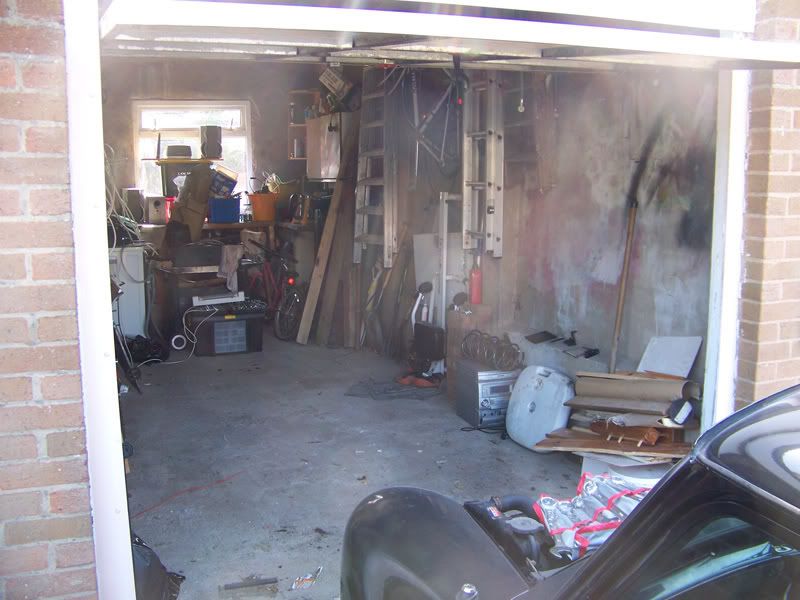
My friends dad managed to get me some steel box section from where he works, it's a bit thick for the style of brace bars I want to make but it only means it'll be stronger so I'm not worried.
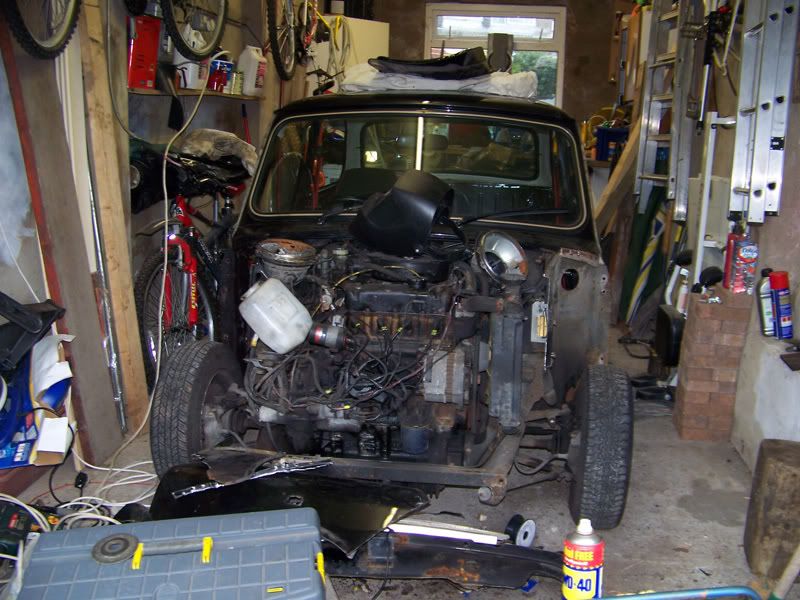
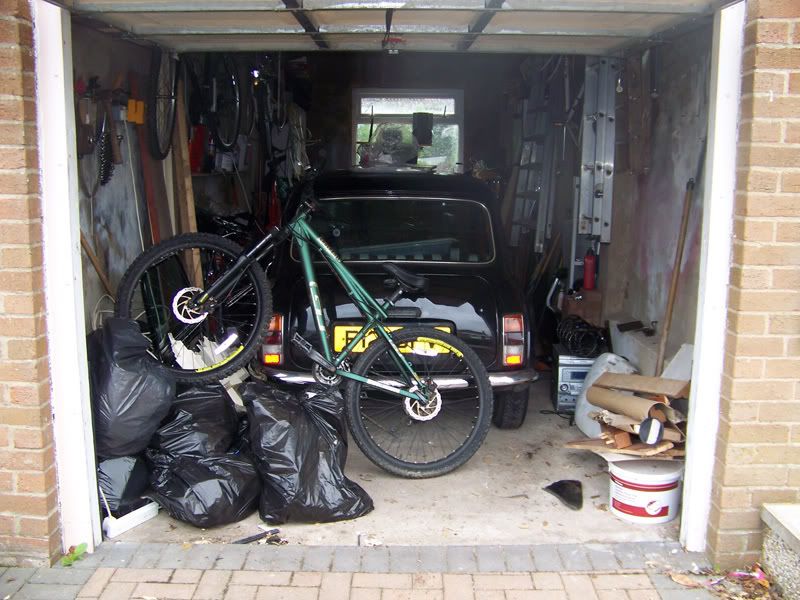
Tucked everything away back in the garage for the day.
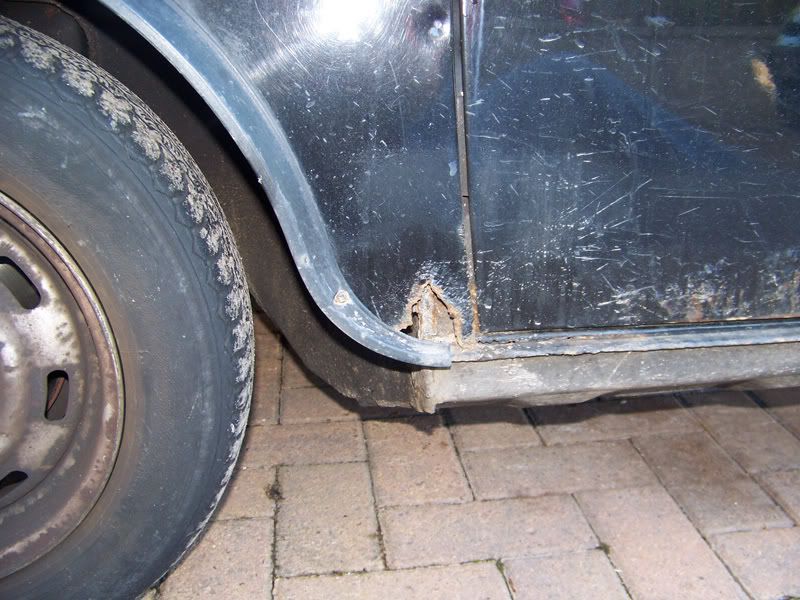
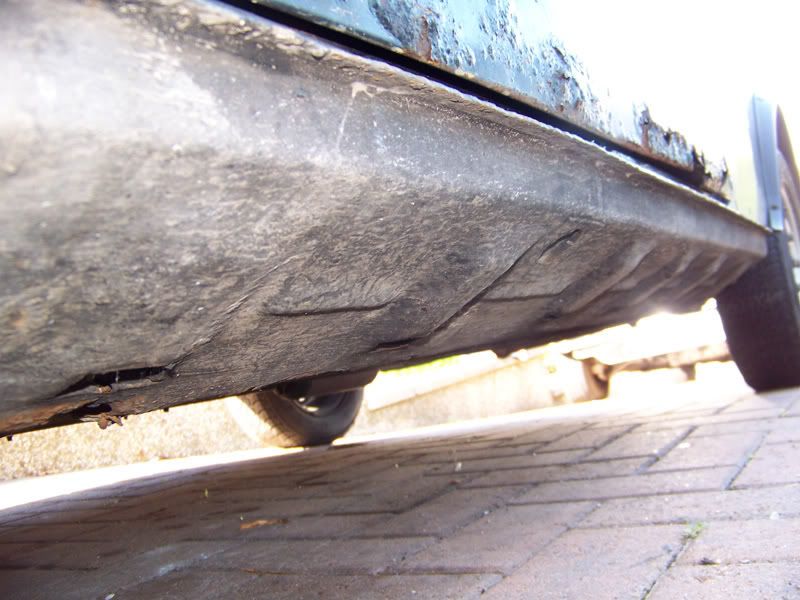
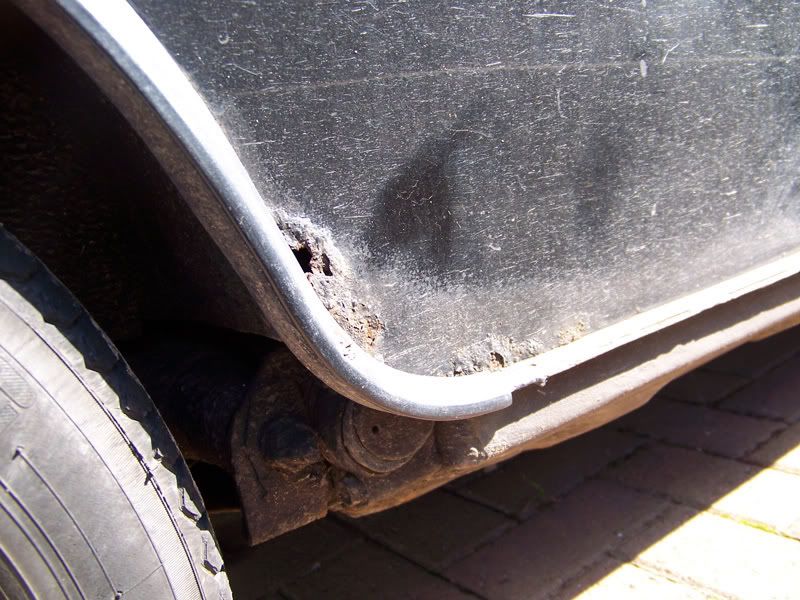
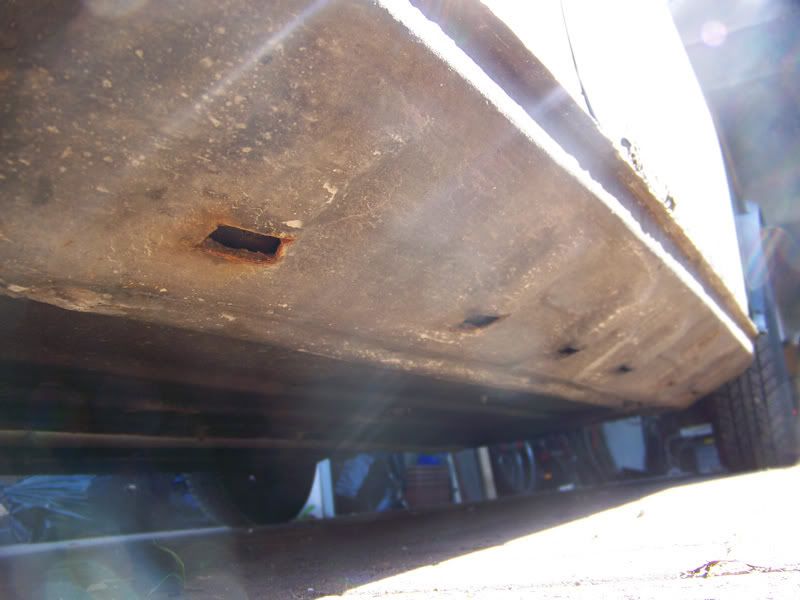
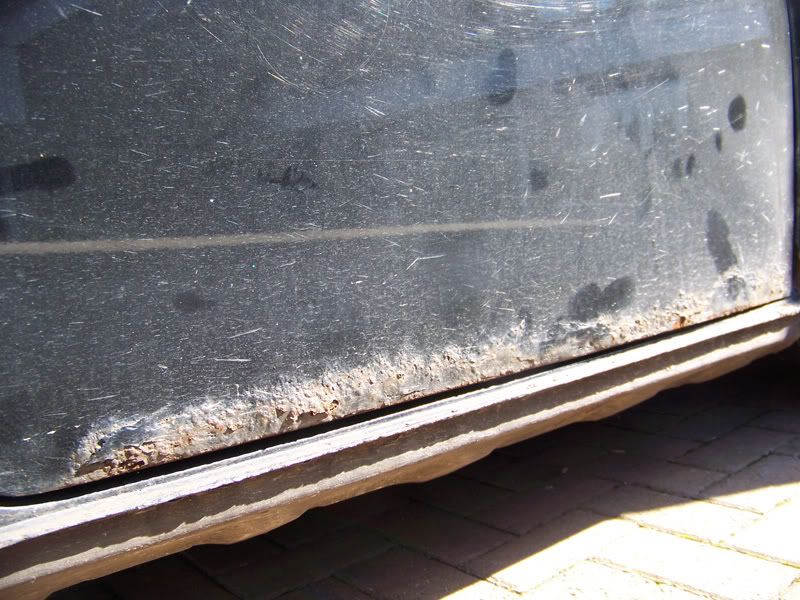
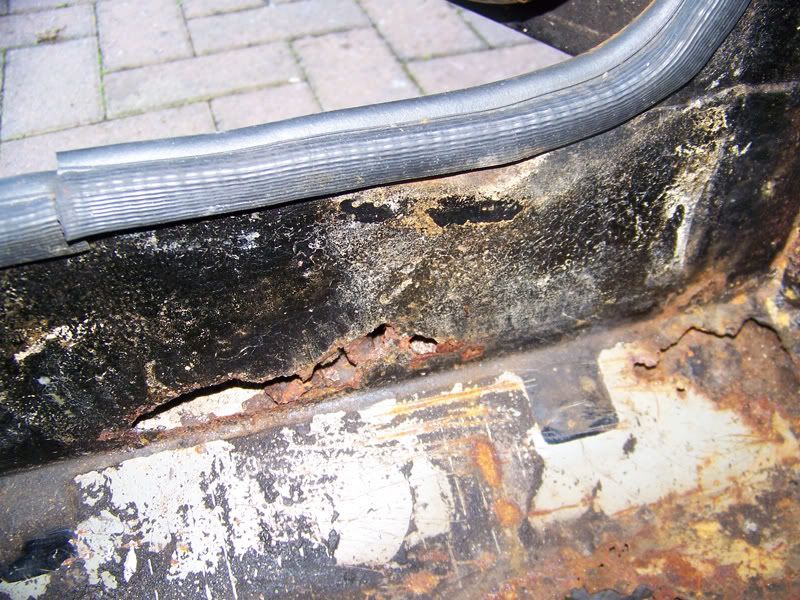
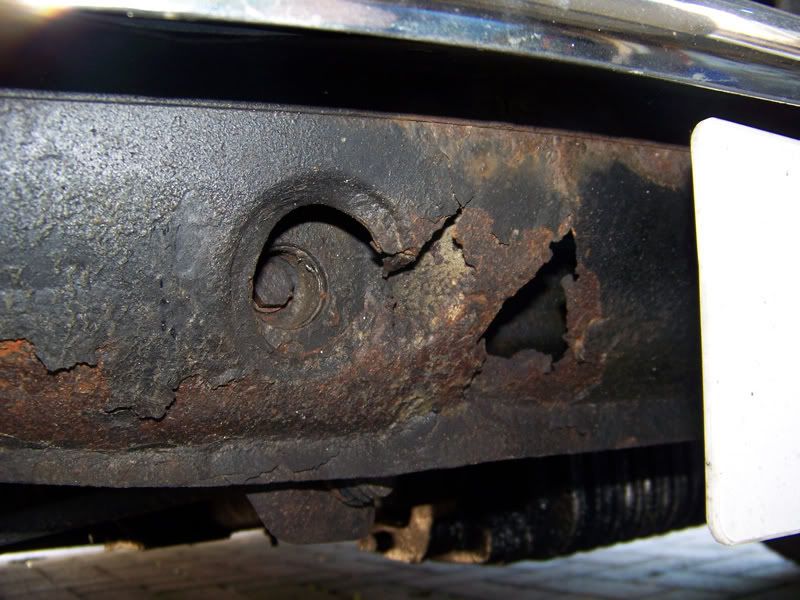
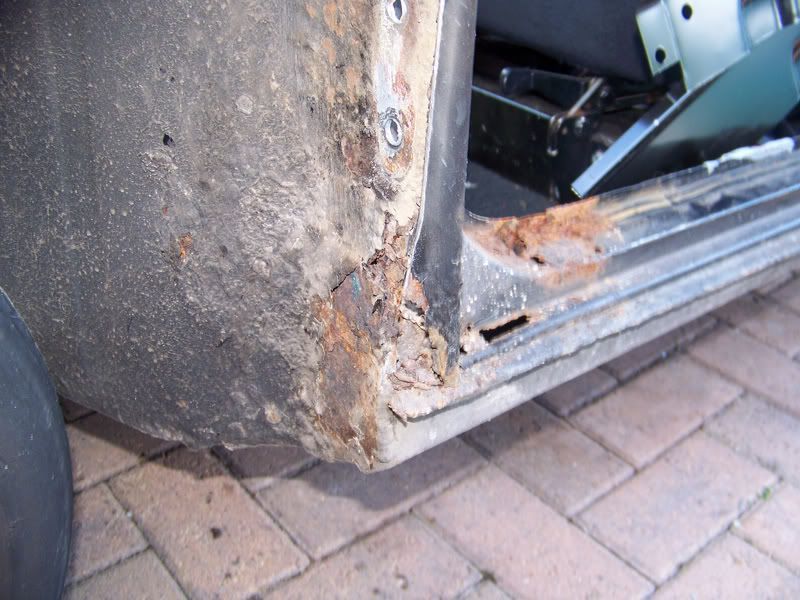
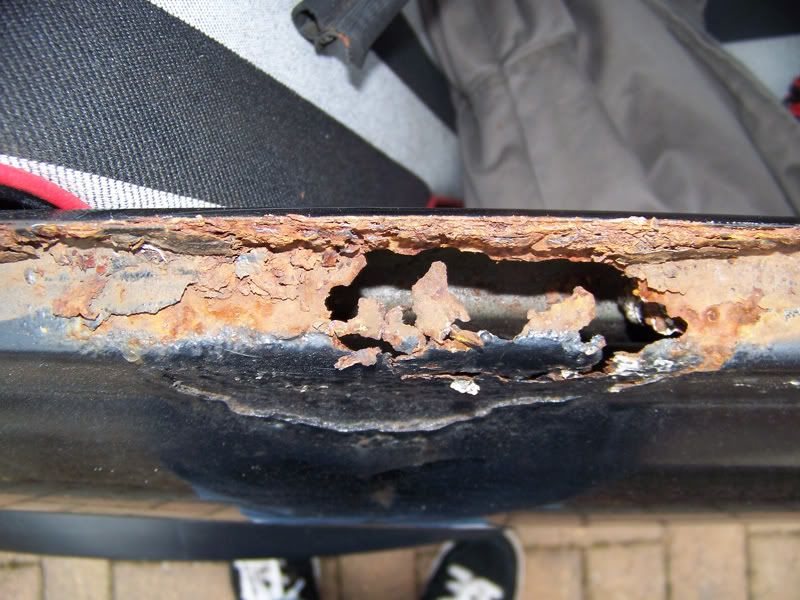
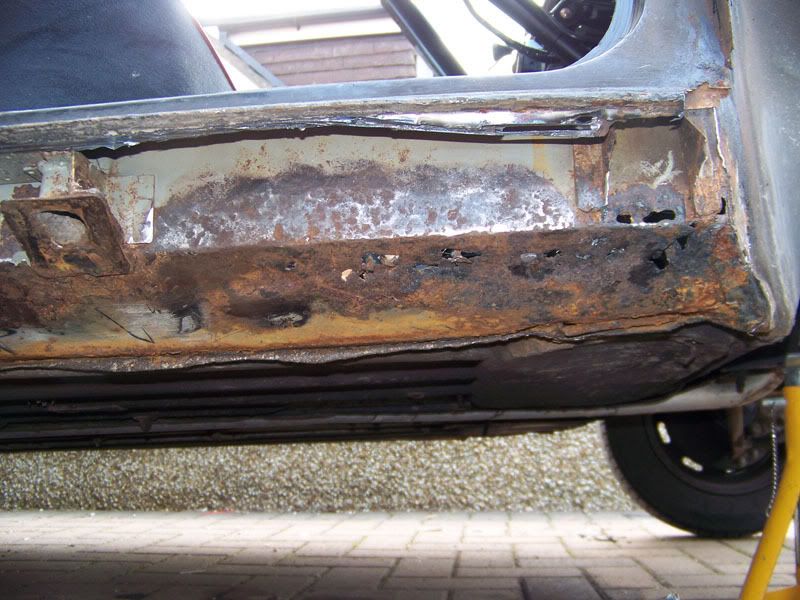
Thinking I might have to bite the bullet and chop the driver side sill off so I can start fixing the driver side front corner. It should have enough strength in the inner sill and doorstep to survive without the sill while i sort the rust and prepare the inner sill for the new outer sill.
Thanks for looking
.
Edited by Deathrow, 18 September 2008 - 08:22 PM.


 .
.