Pootles New Engine ...... 2.0 8v :)
#31
Posted 05 July 2009 - 03:44 PM
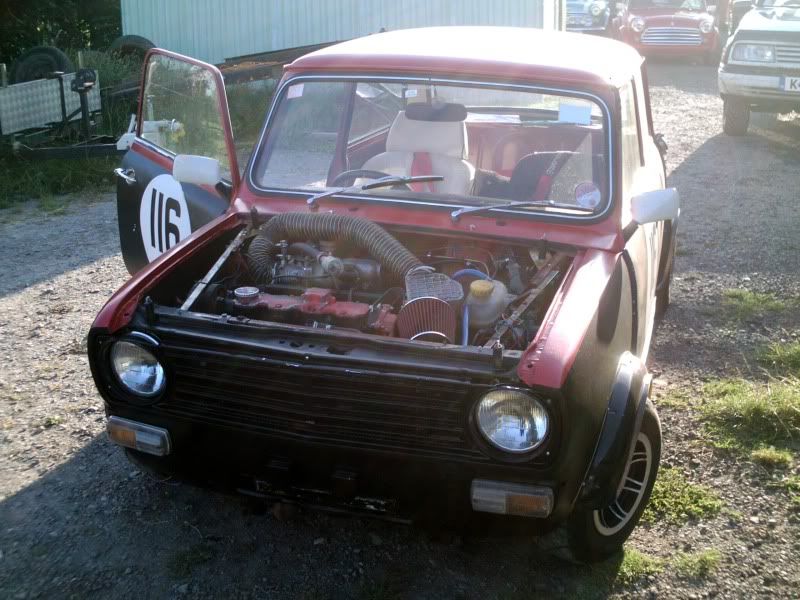
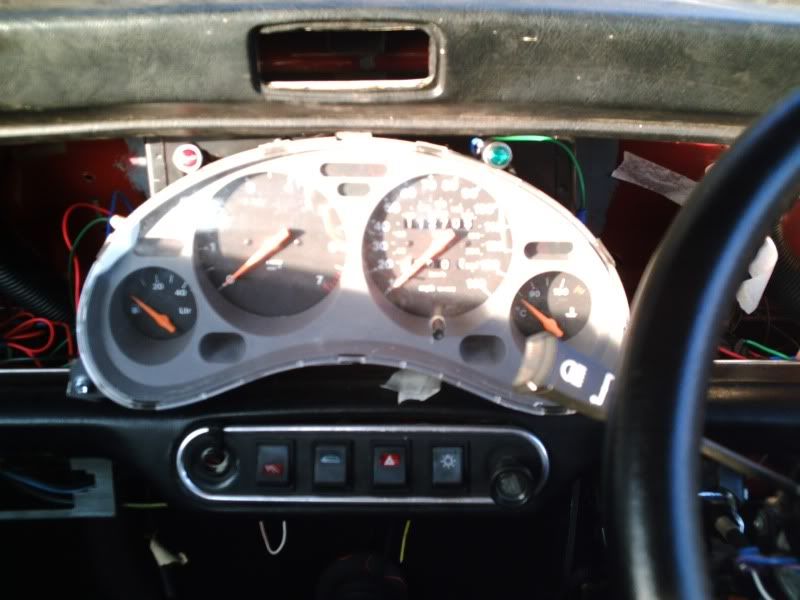
Got both the sidelight/ indicator units wired in, although only the drivers side is working at the mo, and the headlights don't work at the mo either, but i think it is down to bad earths so will pull it apart next week and find out what's going on. Also fitted the indicator tell-tale buy the dash and that works
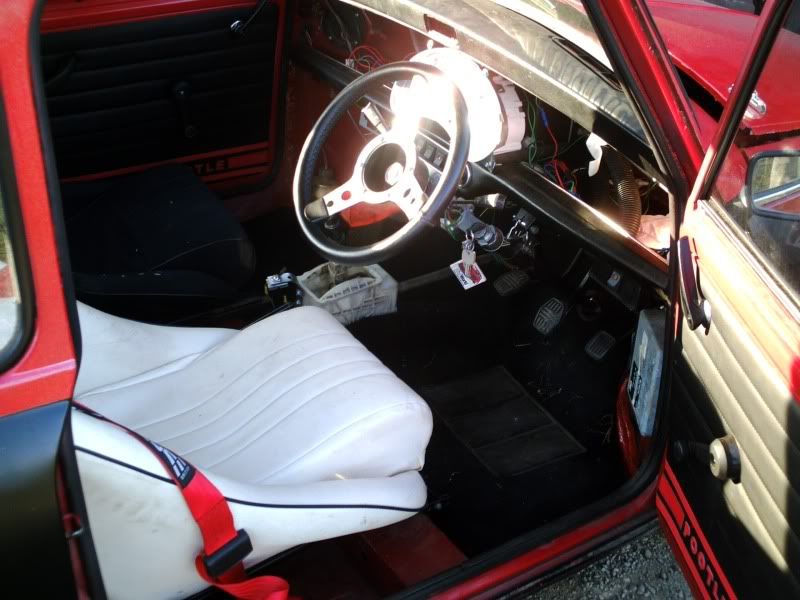
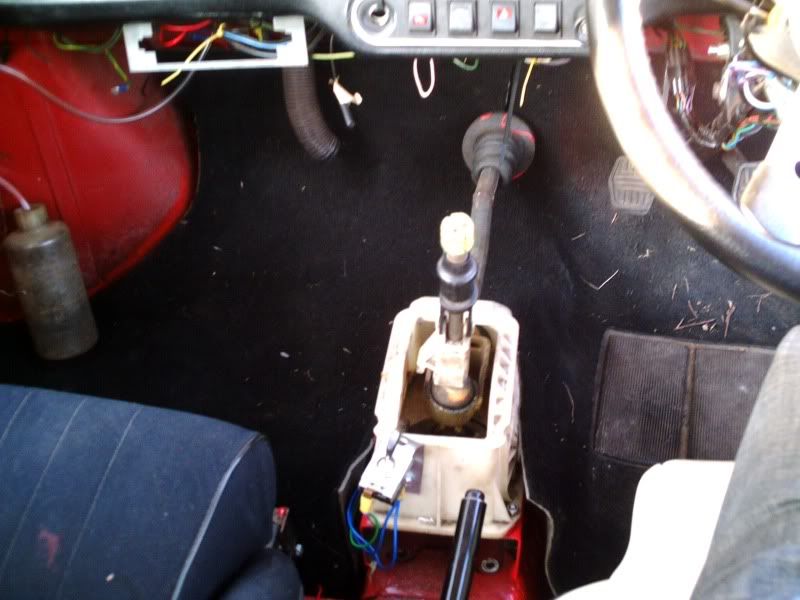
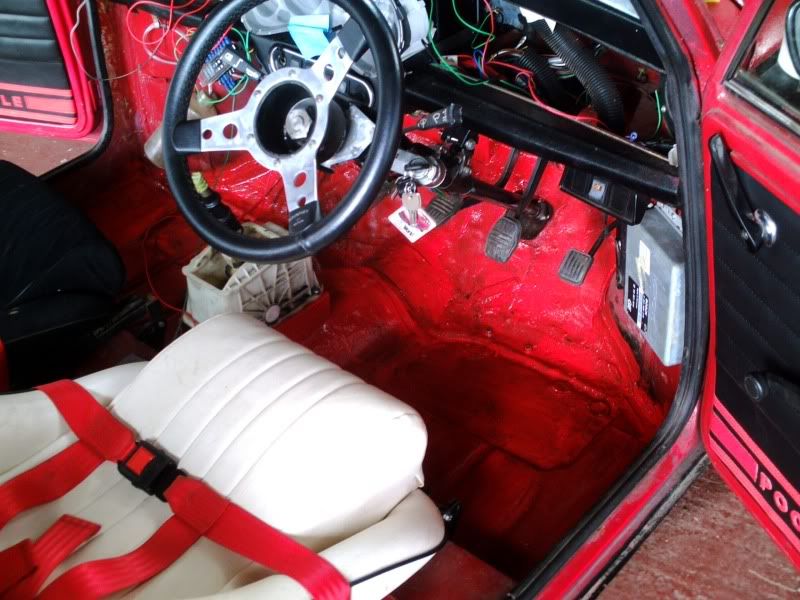
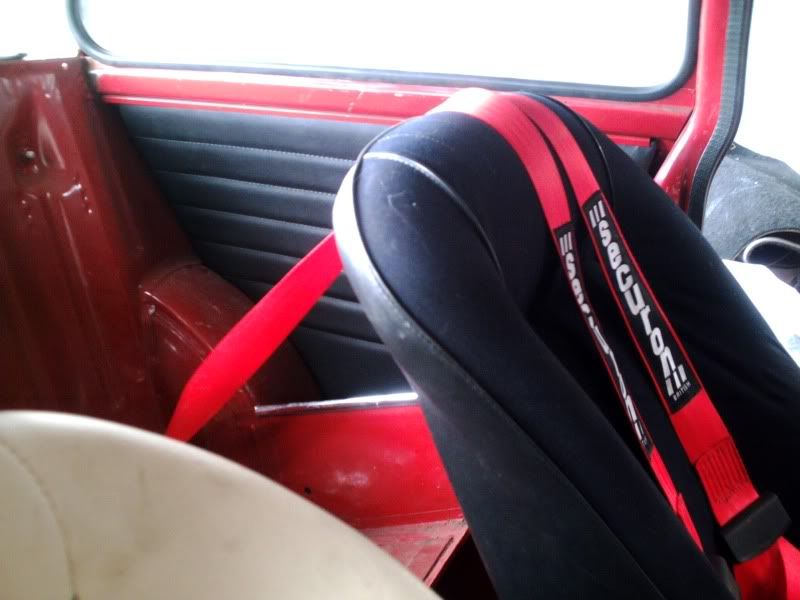
Then moved on to the inside. Fired up the welder and put some decent welds onto the gear linkage bracket (was only tacked in place), then swapped over the nova seats back to the buckets (haven't got the time at the mo to build the brackets required so they will go in at a later date) and bolted up the harnesses again.
Then it was on with cleaning and painting the front floors (after 24 years, the original paint was a little bit scruffy and surface rust was showing through in a couple of places), bulkhead box and gear linkage bracket. There will be carpet in the front, but it keeps the rust at bay and neatens it up a bit.
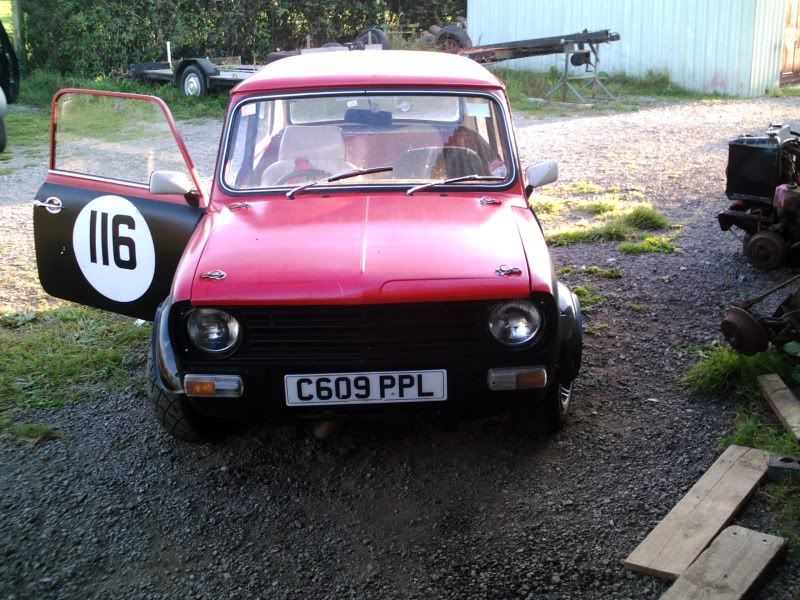
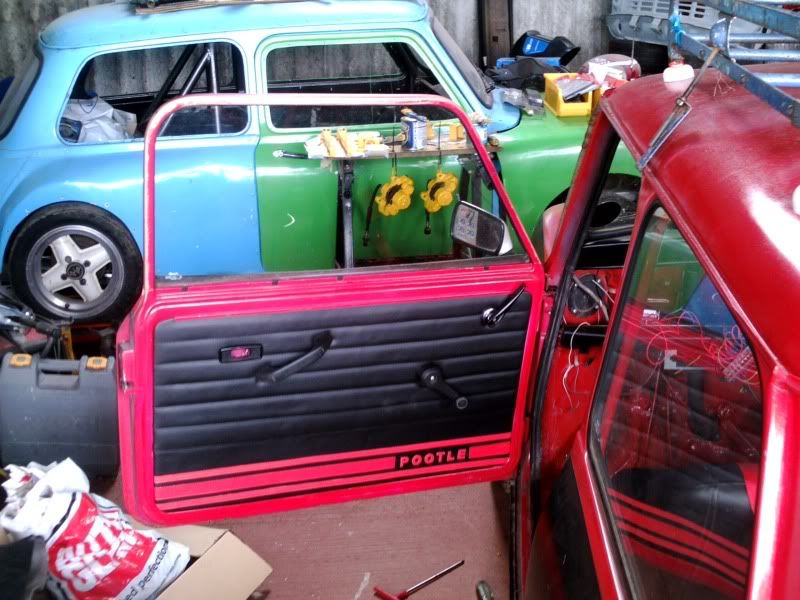
Then on with the fun bit, finally fitted the door cards. Have to hand it to Rusty, they are spot on.
So, a few more jobs ticked off of the list, but quite a few more to go
#32
Posted 05 July 2009 - 06:09 PM
#33
Posted 20 August 2009 - 12:38 PM
WOOOOOOOOWWWW Youve got insurance for how much Jesus Your cars beaut
Yep, was pretty chuffed with that
Well, it's been a while and no progress (been lazy/busy with the cooper ) but last night made some progress
Owen popped over (can you see a theme here with this build ) and we finished off the fuel system in the boot. The only bit left to do in the boot now is bolt down the high pressure pump and filter and wire relays for the fuel pumps (rather than running direct off of the fuse box)
Then it needed testing so a trip up the lane was required to check it didn't leak. Went well, but the water temp was geting up so need to look at that. Mind you, the rad fan still isn't fitted, so that will help. Might take the stat back out as well to increase the water flow.
Next list of jobs to do are
Work out why the headlights and the passenger sidelight/indicator doesn't work
fit/wire in the rad fan
wire in the number plate lights
buy/fit front number plate
bolt the sloinoid in more securely
Fit speedo cable
And prob a load more besides
Did a bit more tonight, now have teh headlights wired in correctly and power to them (but the drivers side still isn't playing ball so will have to check the power at the bulb) and the pass side light isn't getting a good earth. So hopefully should have that sorted tomorrow
Whilst he was out i decided that a few new pics where in order (needs a wash mind)
#34
Posted 23 August 2009 - 07:20 PM
Now have all the lights wired in and working. The headlight was because the bulb wasn't plugged in , the pass indicator was a bad earth and the pass side light was down to the bad earth and the spring inside the unit needing a tweak. And the number plate lights worked 1st time
Then fitted the front number plate, its a bit on the p*ss though so will need re-doing to get that level and i mounted and wired in the horn. So, a few more jobs ticked off of the list.
But then Pootle decided he didn't want to start . Fired up once but died after a couple of seconds and then no life think it could be that i was trying to start him with a flat battery might have wetted the plugs before i stuck the booster pack on but Garry has had this prob moving him before. Think sticking the battery on charge and having a look at the plugs might be a plan.
#35
Posted 26 August 2009 - 10:10 AM
Then moved onto the rad fan. That's now fitted and temp wired in (didn't have all of the right connectors), but it failed to cut in so i think that the switch is faulty but by bridging it, it held the temp at 96 deg
#36
Posted 10 September 2009 - 06:49 AM
Tried to make a replacement tube for the flexi hose that had the holes in, but decided that the way i had thought about doing it wasn't very good. Luckily, Owen has started to make reversed Vaux inlets, problem sorted. So tonight, he brought round the 1st one off the line
so, 1st task, off with the old inlet and strip it down
Old V's new
then refit the new inlet
Hmm, that airflow meter is going to need to be moved a little, so new bracket was knocked up for it and a small bit of flexi hose was used for now (will get a stock vaux hose i think)
Then the moment of truth, will it fire up...................... YES
It has changed the induction note (now louder ) but the real test will be out on the road, but that will have to wait a few more days
#37
Posted 18 September 2009 - 10:30 AM
Carpet in
Fan switch, nice and easy to use when strapped in (a simple enough job, but one that took a couple of hours in the end )
Warning lights "fitted" Will be properly mounted when i sort the dash
Frame ect all painted (not exactly show quality, but makes it look alot tidier and will stop it rusting)
And the numberplate fitted straight
And how he was left on Sunday
Garry has given him a quick look over, he now has a pair of reverse rims on the back (the semi slicks where more slick than semi ), the front sidelights had stopped working again and the rad fan was blowing the wrong way round. So now it is countdown to 2pm and see what the MOT tester has to say :eek:
#38
Posted 18 September 2009 - 08:52 PM
#39
Posted 18 September 2009 - 09:27 PM
Edited by alexcrosse, 18 September 2009 - 09:27 PM.
#40
Posted 19 September 2009 - 08:34 AM
But not too badly. got a leaky rear shock (thankfully the drivers side so easy to change), the handbrake cable was incorrectly routed so rubbing on a brake pipe (must of happened when Keith was replacing the rubber rings on the radius arms) and it was missing 2 bolts on the crank pulley (which i was meaning to get sorted a while back :doh ).
They did make comment that some of the welds could have been neater and a couple of bits of the frame they thought could do with improving, but it met the MOT standards. So will prob get a couple of months on the road and pull it apart to check for any flexing/stress and try to incorperate their suggestions then.
So retest late next week and ready for combe
#41
Posted 20 September 2009 - 09:53 AM
#42
Posted 20 September 2009 - 10:06 AM
Why did you mount the fan switch down there??
#43
Posted 20 September 2009 - 12:01 PM
Looking good mate!!
Why did you mount the fan switch down there??
So i can reach it when i am strapped in with the harnesses
#44
Posted 22 September 2009 - 07:15 AM
A quick spin through the barn showed it was working and possibly not too far out either (will be checking it against my GPS speedo on my TomTom later this week)
The dash pod is bolted in properly now and the solinoid is securly mounted now. We also checked that the hand brake was adjusted properly, and seems to be adjusted spot on
Tonight it is time to try and make a dash board out of the old one (which will be fun) and then on with the rest of the MOT jobs tomorrow when i have the parts
#45
Posted 22 September 2009 - 06:40 PM
Makes perfect sense Point takenLooking good mate!!
Why did you mount the fan switch down there??
So i can reach it when i am strapped in with the harnesses
1 user(s) are reading this topic
0 members, 1 guests, 0 anonymous users