Pootles New Engine ...... 2.0 8v :)
#1
Posted 12 October 2008 - 08:13 AM
The previous spec was a 94 BHP weber fed 1275 (now up for sale ), but the hunger for fuel meant i could only do local trackdays, and i could do with a car that to use every day that will be mid 40s MPG (my Cooper Si only manages mid 30's and i do 60 miles a day, so it adds up) and it will mean that my Cooper Si can be kept nice in the garage and come out for nice days, shows and weekends
Here i am the other week at coombe on his last outing,
(no comments regarding pies and their consumption )
following in Crocks smoke screen
And a pic of the new subframe/ engine combo fitted in the previous owners mini
It ran 15.5 second 1/4's at the Pod this year at MITP, but that is with the CR box and I am going to be fitting a WR Box as I want the ratios/ MPG to be better suited (should sit at about 3k at 70, even on the 10's
A few pics from toady now we have sorted the lock-up out so Pootle can come in next weekend
1 modified mini subframe
Will be re-doing a couple of bits, but basically ready to go in
1 engine and box
Got 3 studs to re-tap and change the box to a F16WR, but is pretty much there. The top end was re-done recently as was the cambelt so that's cool
and the rest of the conversions parts stored and ready for fitting
need to find a new airflow meter though, this ones a bit sad
So next weekend Pootle goes up (but prob wont get touched that weekend as my mate Gaz will prob need a hand moving flats), hopefully the weekend after we can do the mod's to the frame and that'll be ready and perhaps even strip down pootle and I need to order a couple of pre fabricated bits from the 16v mini shop to weld into the bulkhead and to mount the gear linkage.
The plan is to have him back on the road before March, but hopefully have the engine in and running before the end of Nov
#2
Posted 14 October 2008 - 04:59 PM
#3
Posted 15 October 2008 - 05:33 PM
exelent choice of engine mate
i think so. I had a mk3 astra Sri which had the same lump in it and that used to fly (plus it was totaly debadged and running on the stock 14" steels so it looked like a 1.4 merit )
Strip down should commence next week (got lots of people after the old engine bits, so thats the conversion back to cost neutral but then i have to buy more bits )
Is yours on the road yet? And any hints/ things you wished you knew before you started to build??
#4
Posted 18 October 2008 - 06:08 PM
Took a few pics but no progress, the strip down will start this week
And a failed attempt to show the flake in the red
Edited by craig 1010cc, 18 October 2008 - 06:09 PM.
#5
Posted 26 October 2008 - 05:35 PM
And rather than going to malvern to buy panels today for a project i'm not going to start for a while, i thought it wiser to do some more to pootle (and armed with my camera this time )
So this was how i found pootle this morning, engine out and subby on the floor
i then fitted the new subframe (after a bit of swearing), the knack with this one it seems is to get the drivers side tower bolt started first
i then spent the next few hours stripping the old subframe out and transferring the suspension across to the new subframe.
Mmmm 4 pots
then decided to see how the front end fitted
will need some work
Next weekend, subframe is coming back out for modifications
#6
Posted 01 November 2008 - 06:01 PM
It came with all of the inner wings and part of the scuttle still attached
But a few hours with the grinder got it ready to go on
Fits quite nicely, the lower vent uprights are a bit bent and where touching the frame, so they either need straightening or removing, not sure which yet.
And then tried out Rob's split slots for size
Mmm 10x7's goood, but should i be sensible and only go for 6.5's??
#7
Posted 29 November 2008 - 07:13 PM
But made a bit of progress today, but was hampered buy drill bits (or the ease in which i can blunt a 12mm titanium coated one ). But the frame is in and the paint hadn't reacted on the bulkhead
So after getting as far as i could with the suspension re-assembly, i decided to have a play with the front end and getting it to fit better. So i chopped out the vertical stays in the lower valance which resolved the clash with the front X member, then attacked the lower half of the front end with a wire brush in the drill. 2 small holes appeared, but nothing too nasty. also fitted the indicators so it is starting to look like a front end again
Had a play at getting the alignment better on the front end, the passenger side now fits very nicely
but the drivers side needs a bit of work still (pattern wing on the drivers side )
So next week should see the suspension finished and the hubs on, the it will be time to drop in the engine
#8
Posted 04 January 2009 - 06:12 PM
Well, bright and early on Monday we gathered at the lock-up, boy was it cold
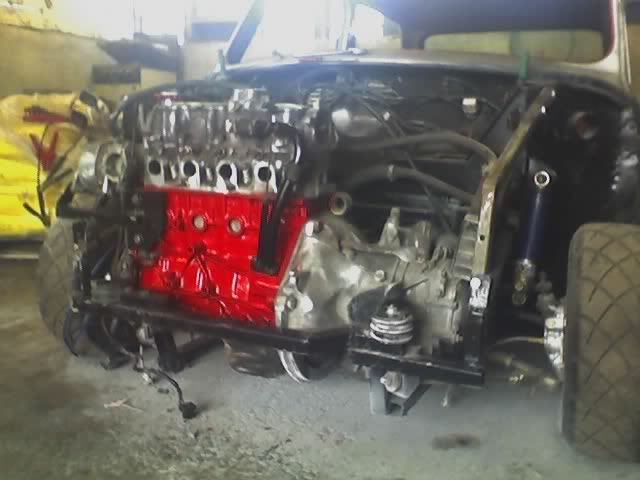
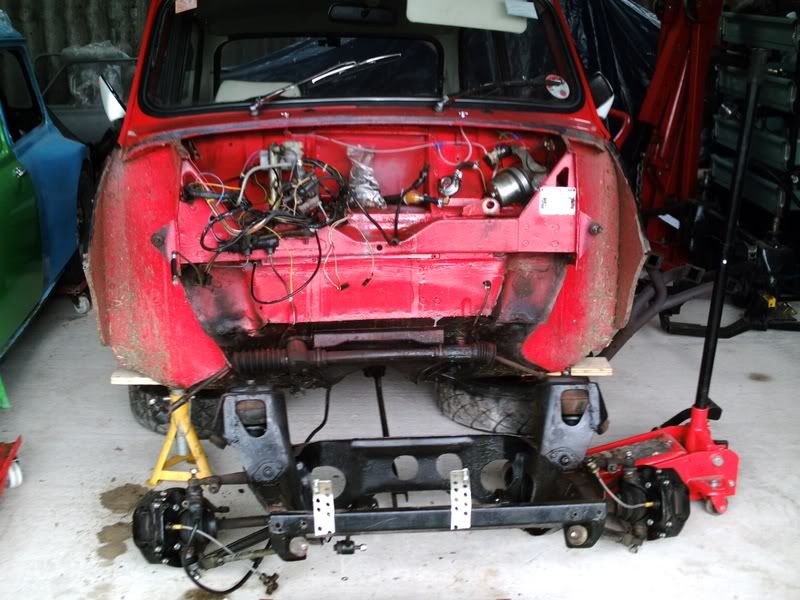
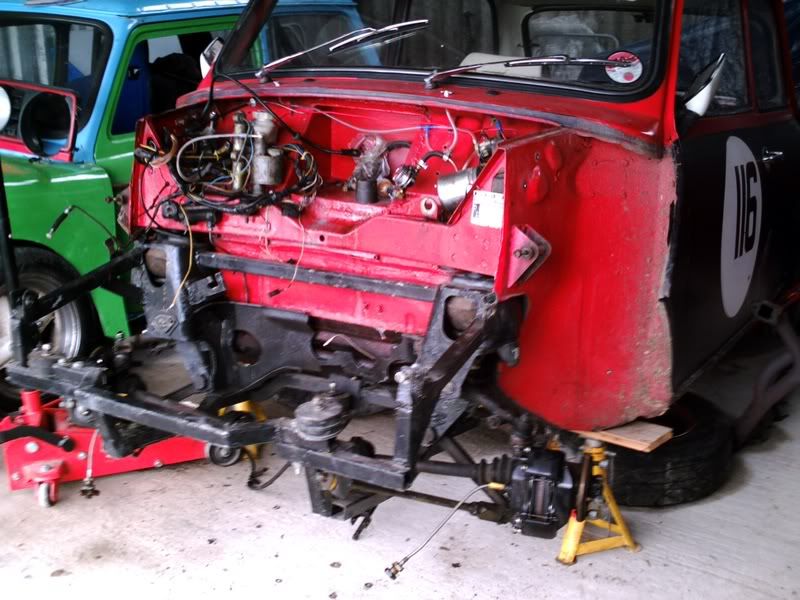
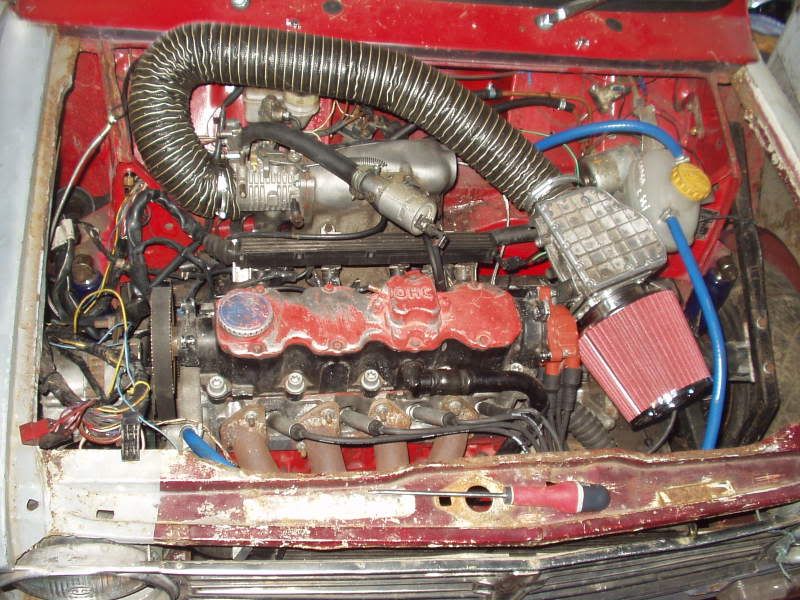
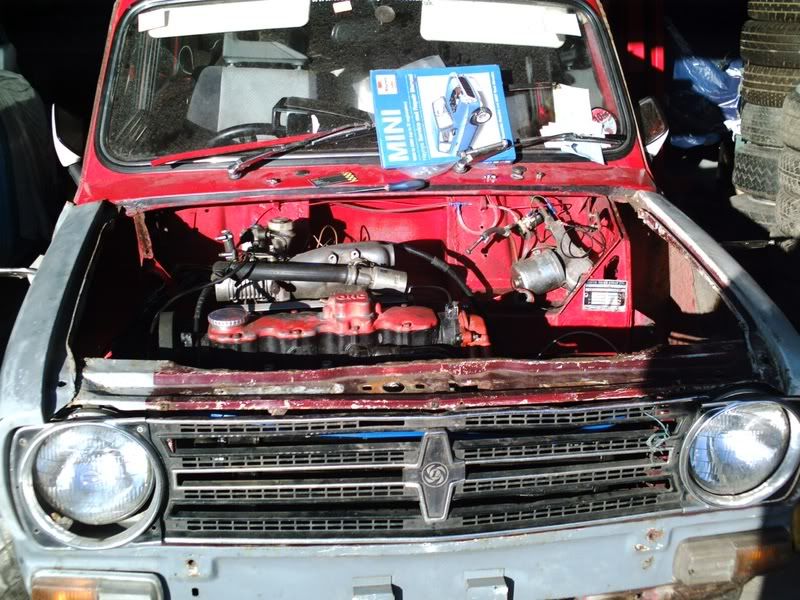
1st task, get the engine/gearbox into the subframe. it was surprisingly light to lift between 3 of us. And with a bit of jiggling and it was on all 4 mounts
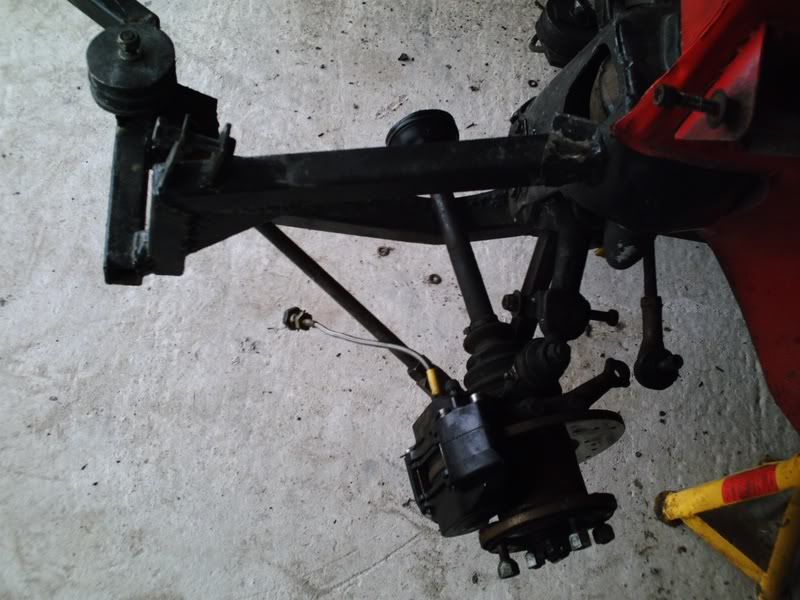
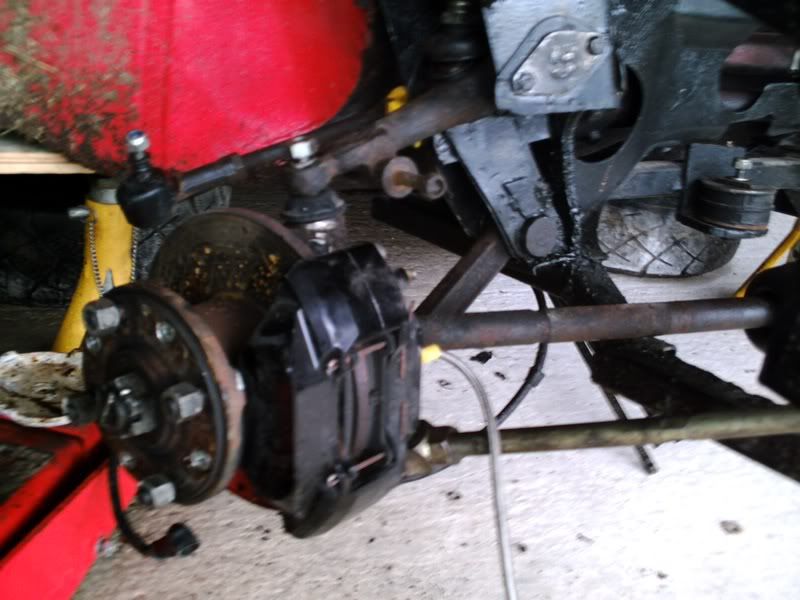
Next up, swap over to the hybrid driveshafts. Hubs back of, and soon had the outer CV joints swapped over and back in the hubs. then the shafts where mated to the gearbox and all was going well. It was then the 1st of my mistakes was discovered. When trying to refit the hubs, the bottom balljoints wouldn't go through the bottom arms properly. Turns out the the bottom arms are handed, and i had them in the wrong sides :oops: . Driveshafts back out and they where soon swapped over and the hubs bolted back up
Next up was wiring in the starter motor. With a bit of routing and drilling out a connector to go over the starter it was all connected up and we could turn the engine over
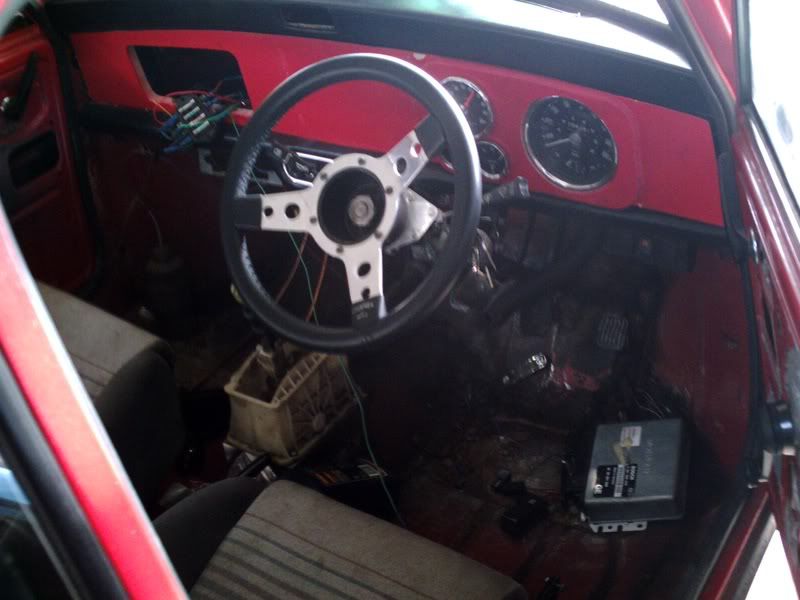
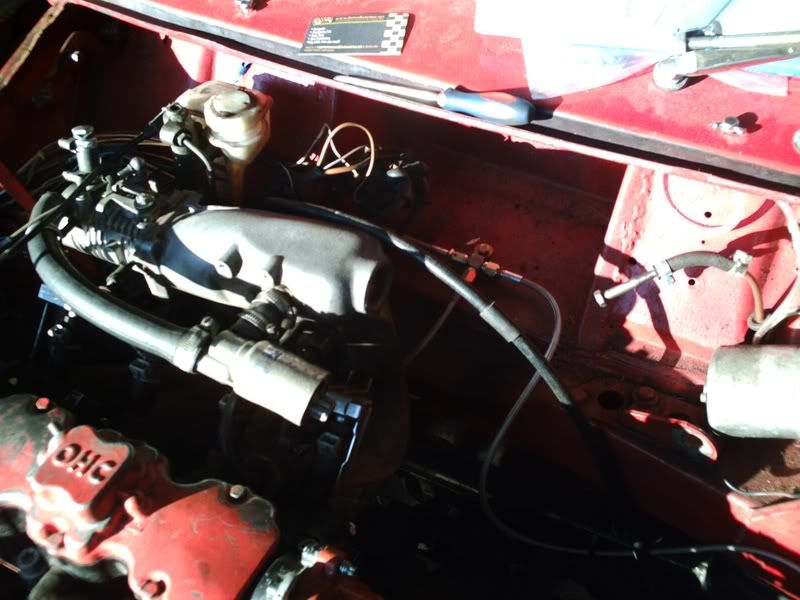
Then out with the old pedal box so that we could fit the modified clutch pedal to work with the Vauxhall clutch cable. That was a pain getting that out , but it was soon converted. With the old clutch master cylinder gone and base plate removed, we could grind off the bulkhead steady mount (clashed with the inlet manifold).
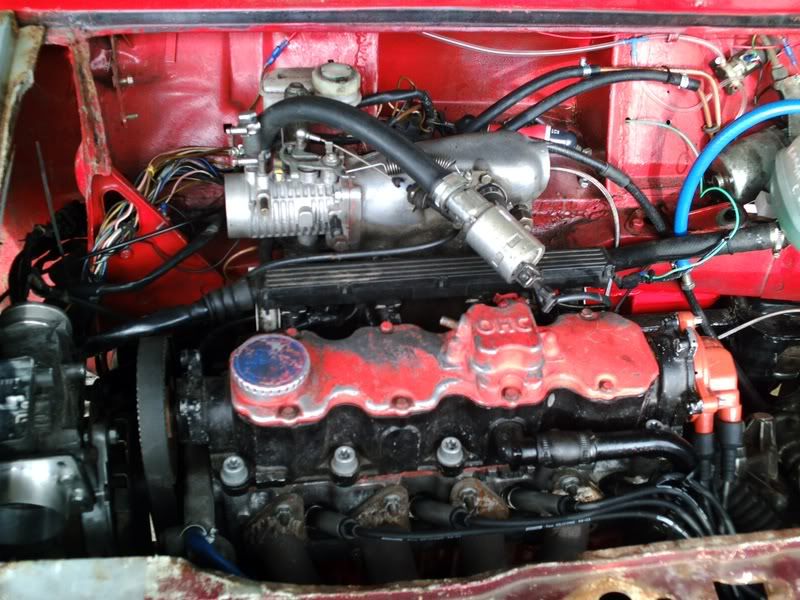
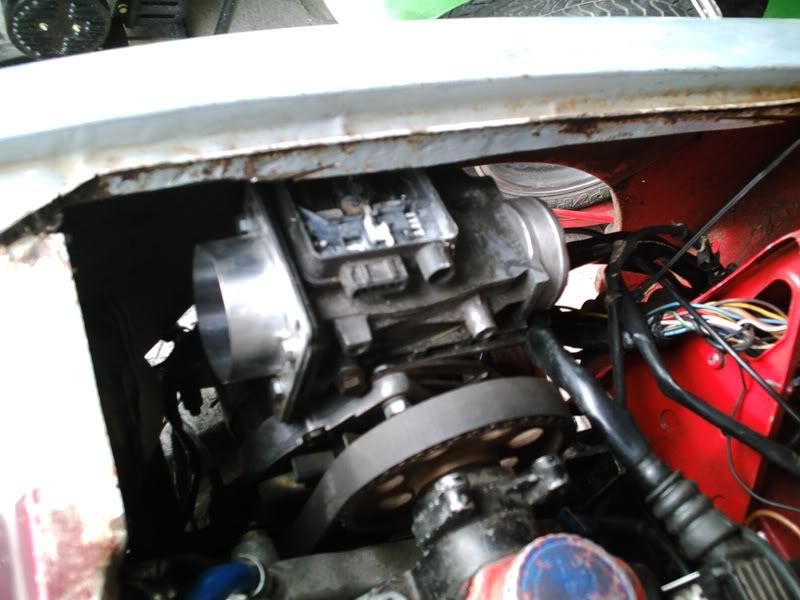
The exhaust manifold could then be trial fitted (once the old gear linkage was removed).
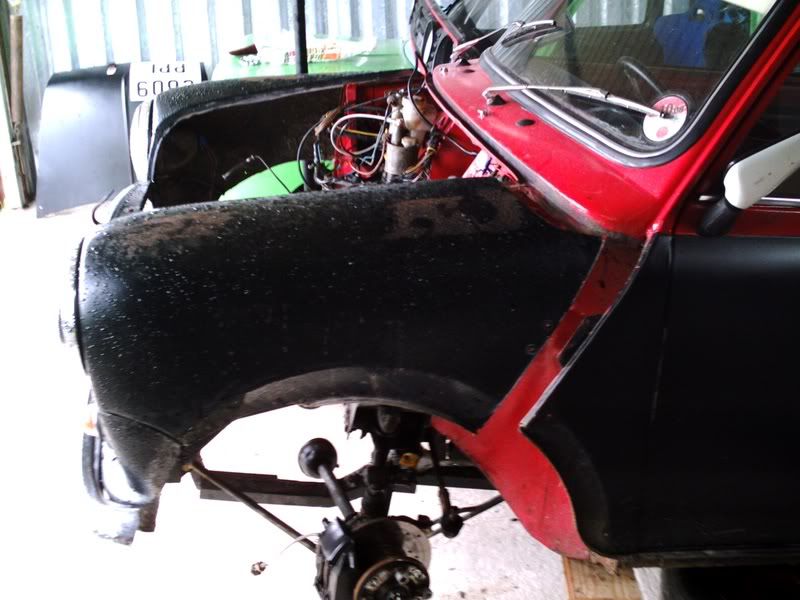
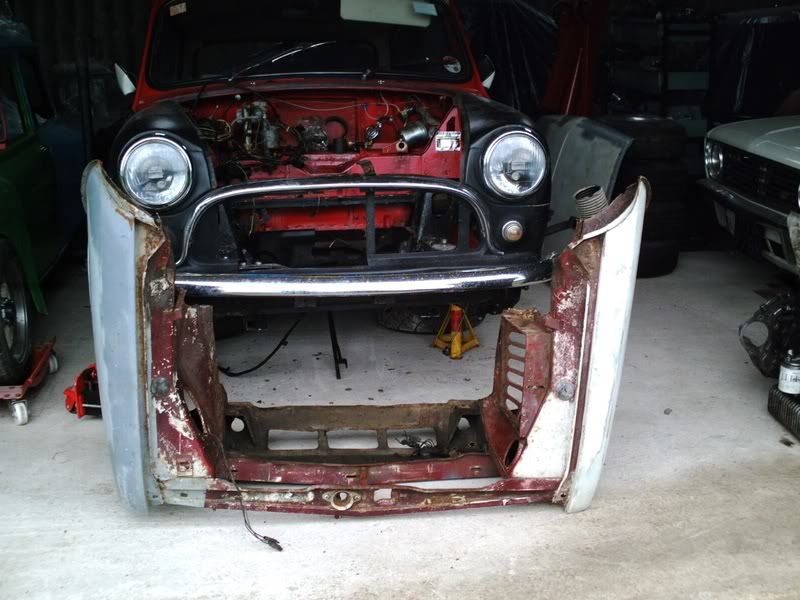
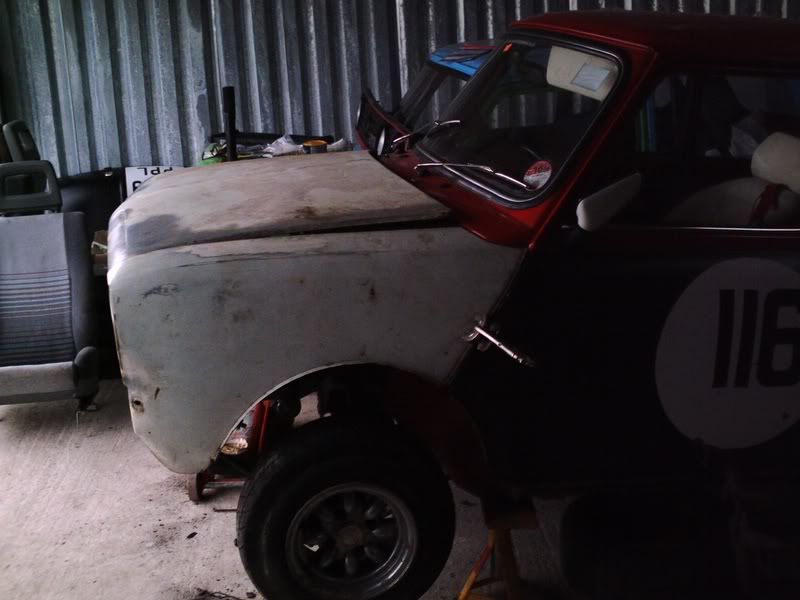
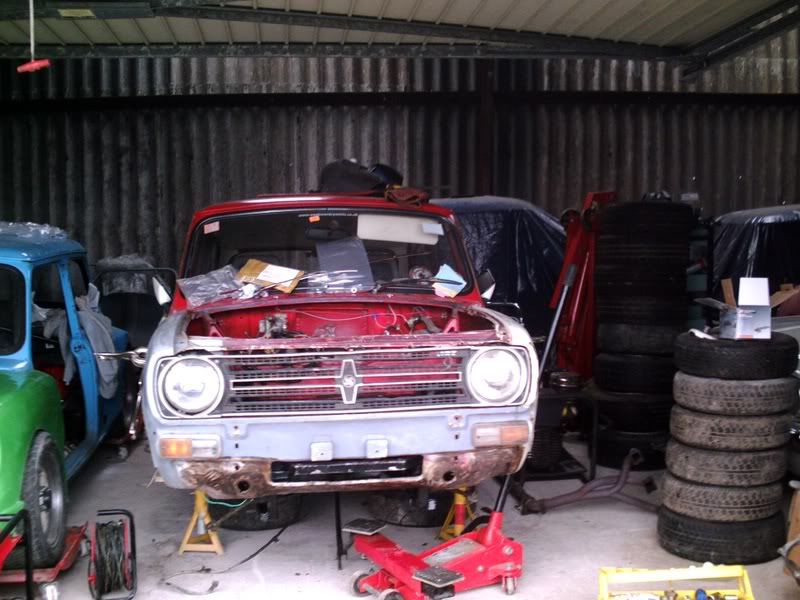
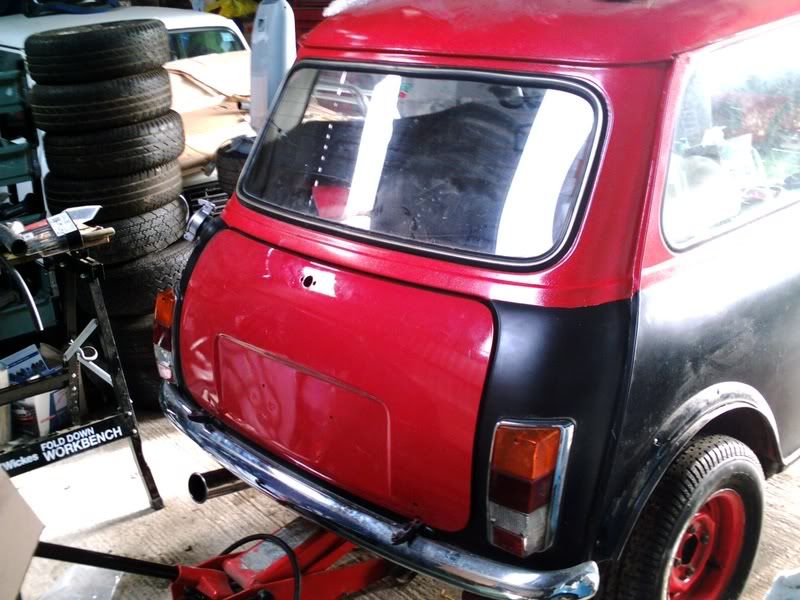
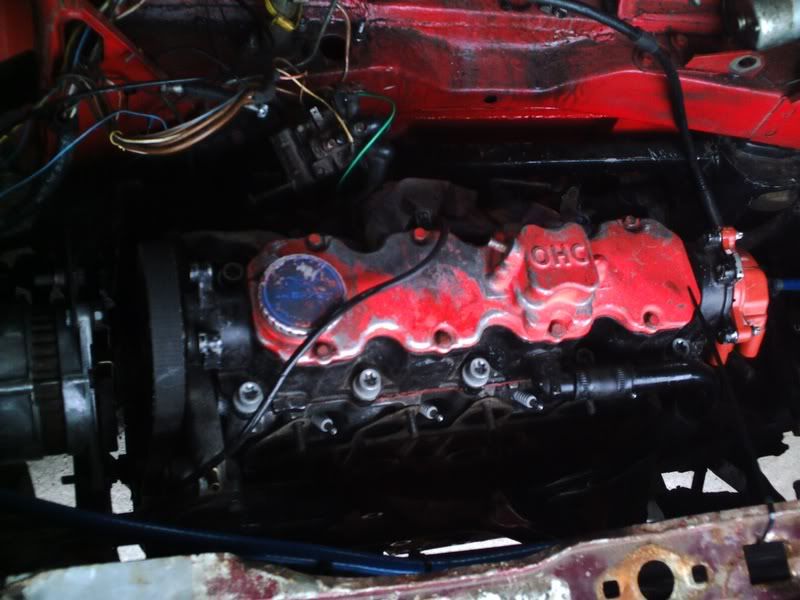
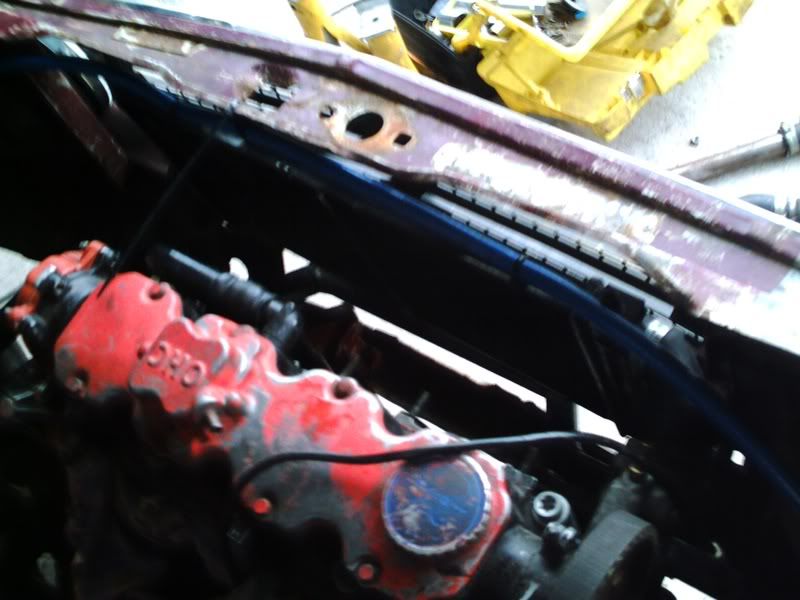
we then played with the front end as it was getting dark and cold(er). It needed some metal removing around the driverside headlamp to clear the thermostat outlet, and it there was good scope to make enough clearance to get the rad infront of the manifold and pretty centrally.
It was then time to call it a day.
we regrouped at the lock-up at a slightly more sociable hour (but still no warmer 
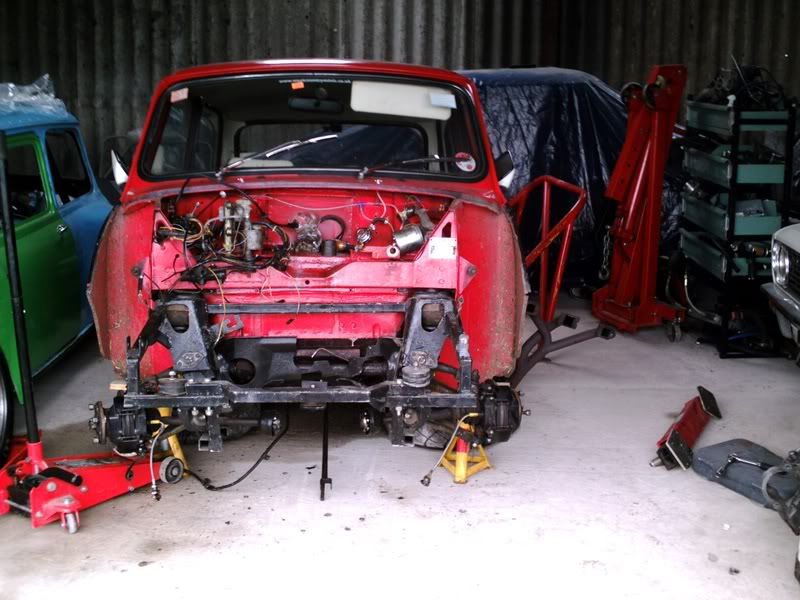
) where i had some bad news. Something had been bugging me over the night and then i realised what it was. One of the top arms needed to come out as one of the end washers had dropped out of the subframe when i first fitted it and i had forgotten all about it :oops: Luckily Owen didn't think that the engine would need to come all the way out and by the end of the morning, we where back where we started the day.
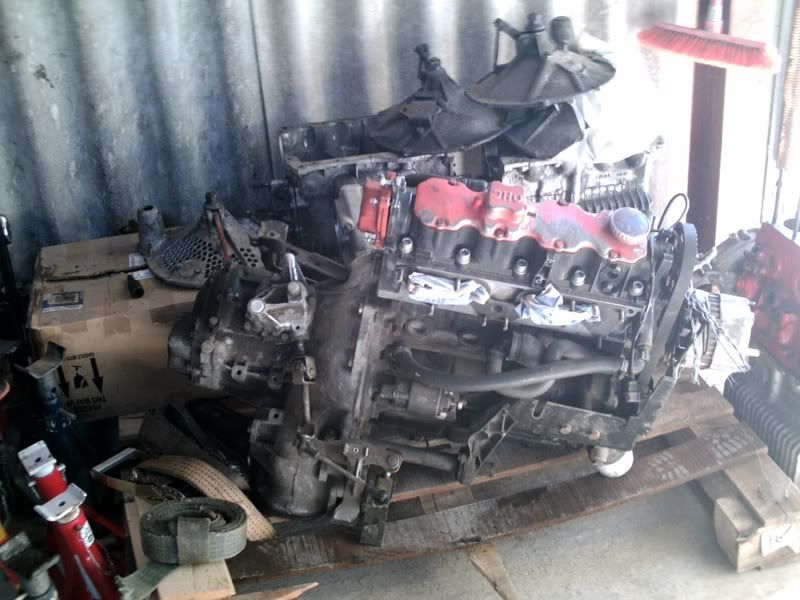
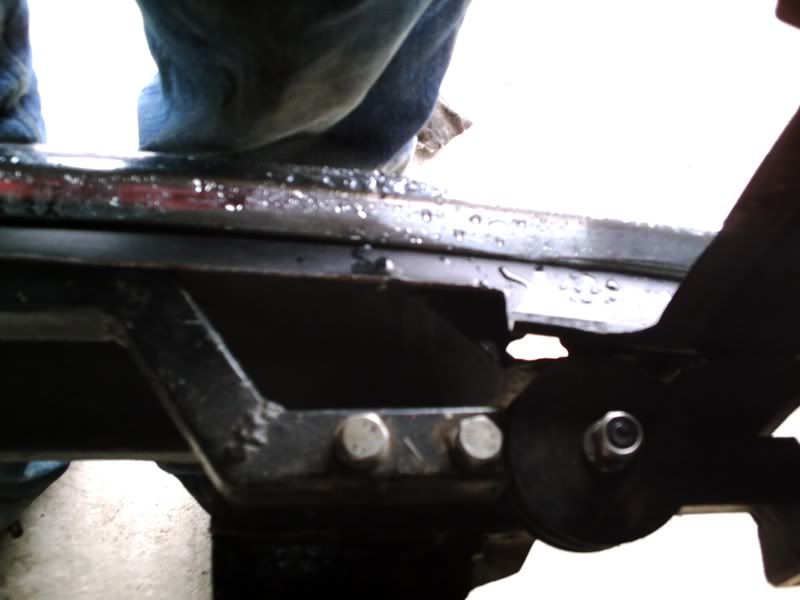
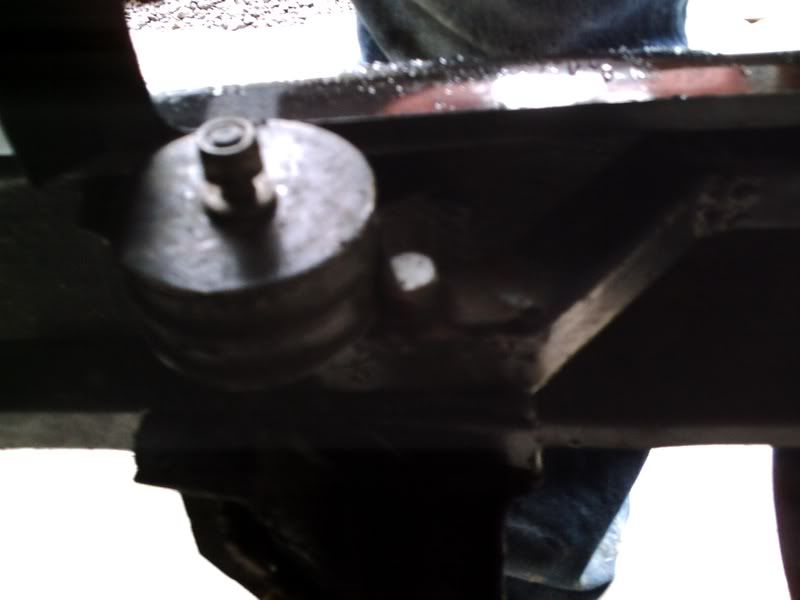
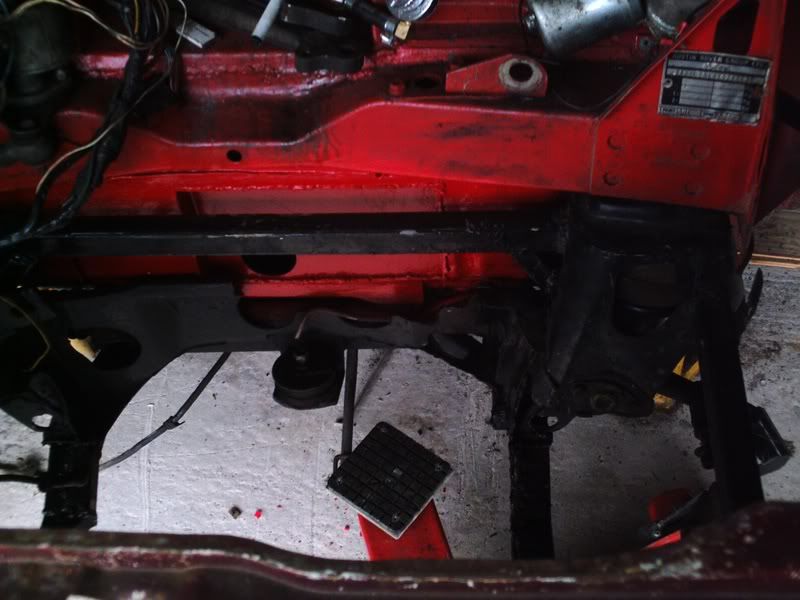
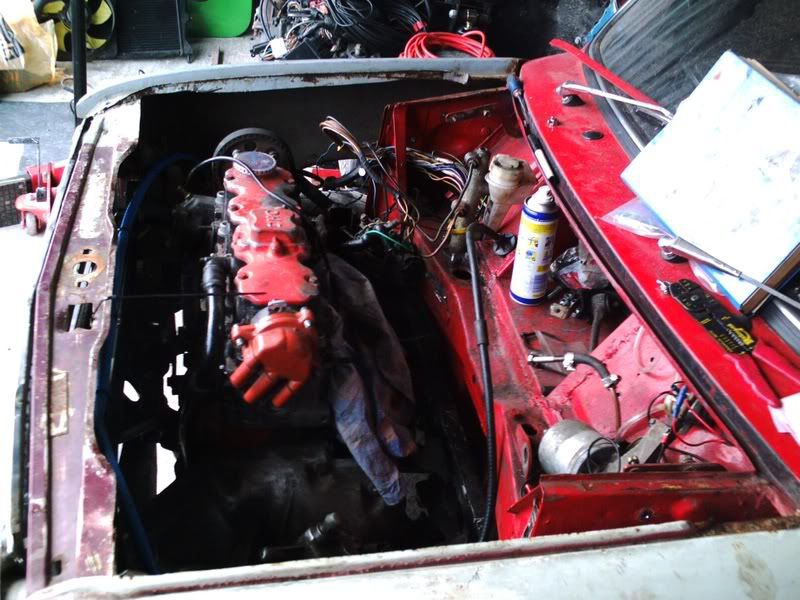
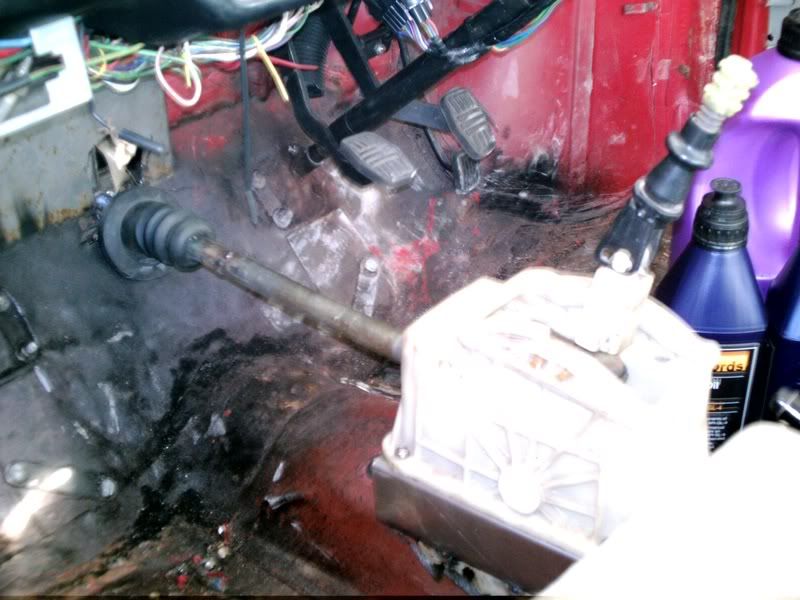
Next up was giving the gearlinkage some more room. Which sadly meant cutting into my allspeed bulkhead box. The engine in Pootle is sat about 1 1/2" lower than in an allspeed frame. So out with the grinder and jobs a good'n. With the gearlinkage and the allspeed mount bolted up, i could put a couple of tack welds to hold it in place and Owen could then set up the gears. So i now have 5 (+ reverse) selectable gears
Then it was time to get the pedal box back in. after a fair bit of discomfort and struggling, that was in so a hole was cut into the bulkhead and the cable fed through and connected up. So i now have a working clutch as well!
The throttle pedal was next to come out to allow the cables hole in the bulkhead to be enlarged to take the vauxhal cable.
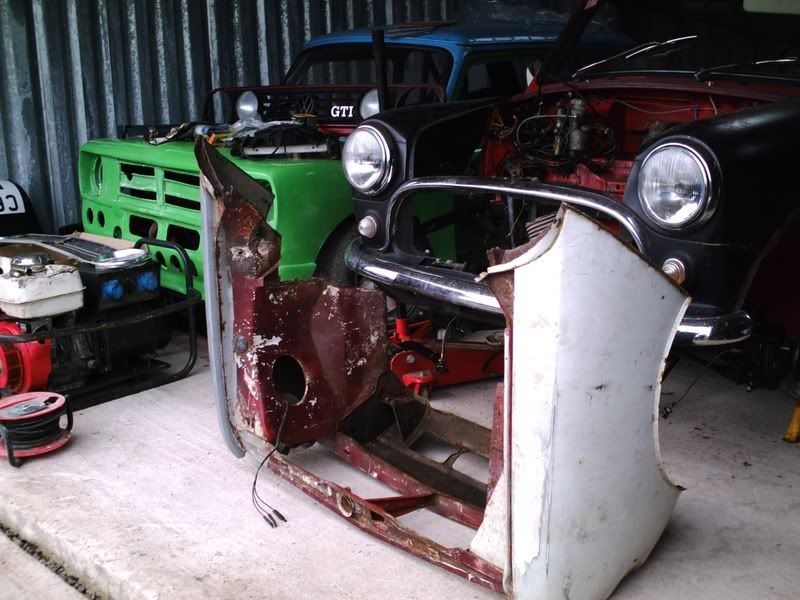
The final job of the day was to remove some metal from the front end, so back out with the grinder. with the headlamp panel trimmed and the grill area cut back, the front was refitted. Loads of room for the thermostat housing/ rad hose and the rad can sit well forward as well.
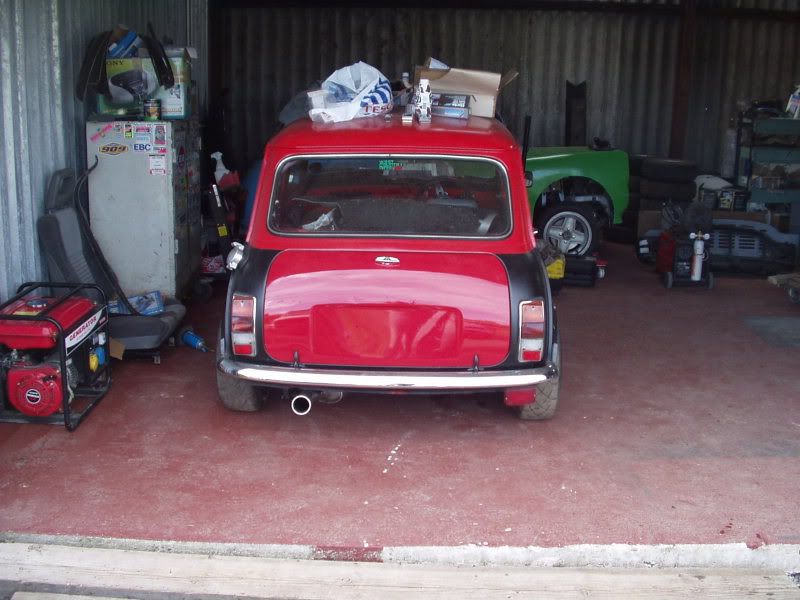
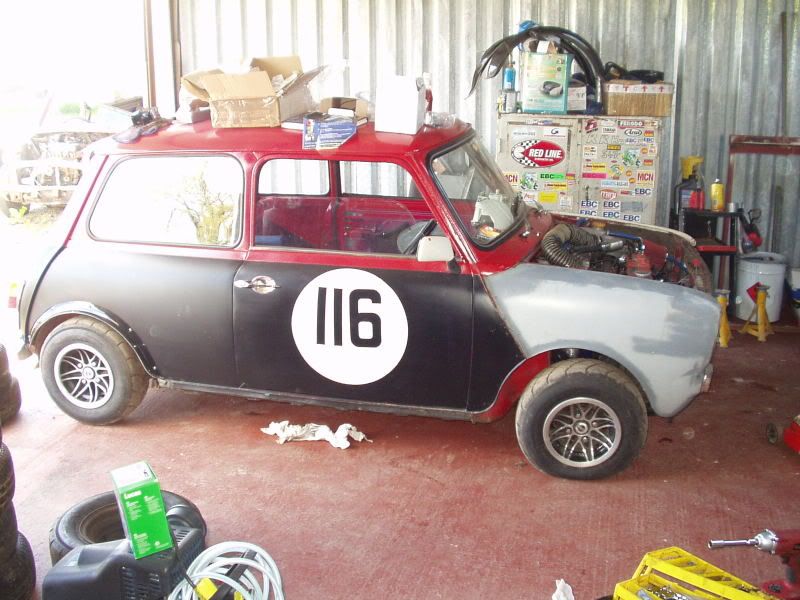
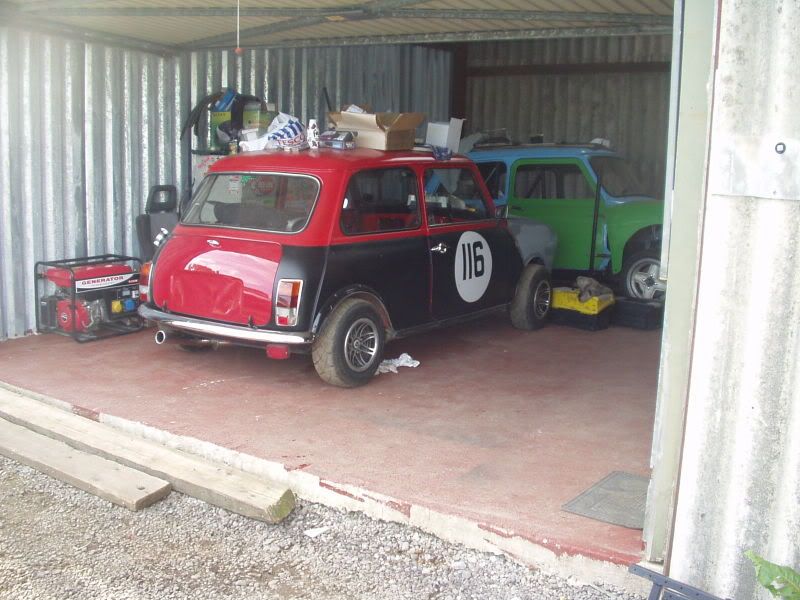
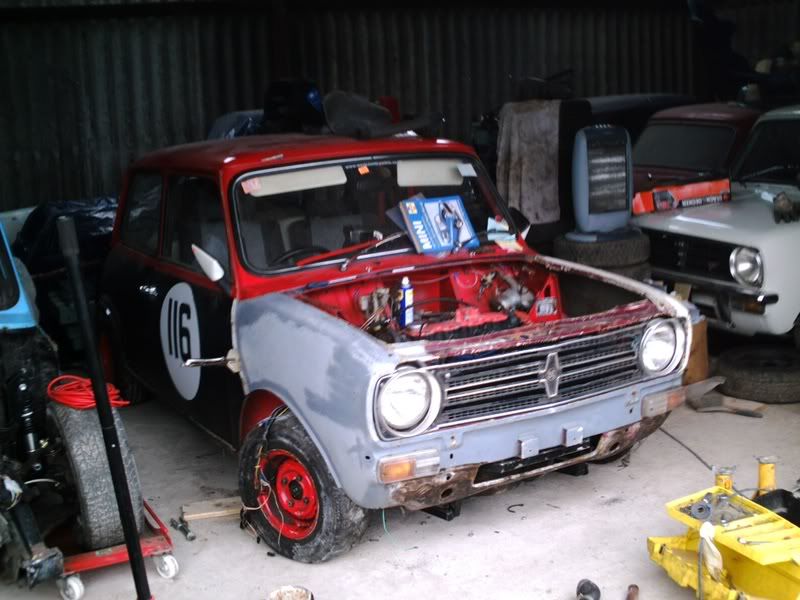
Then it was time for some pictures (forgot the camera on Monday)
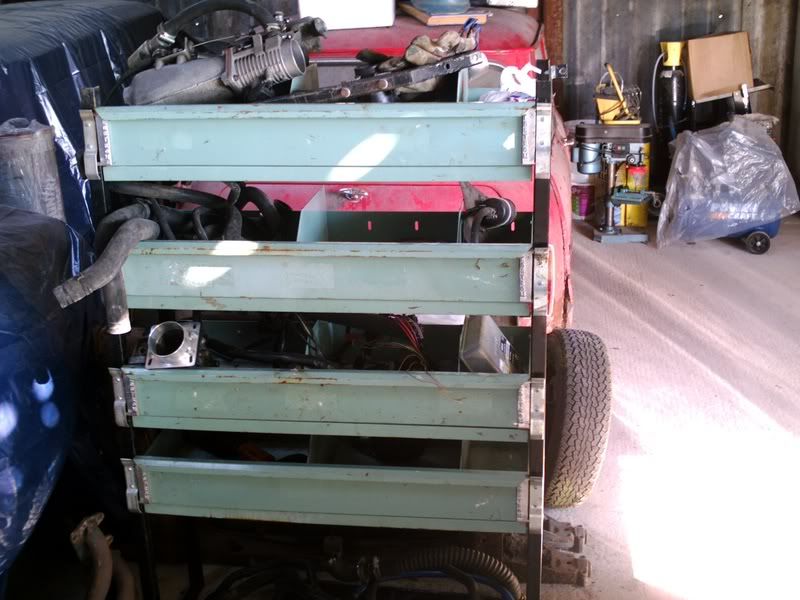
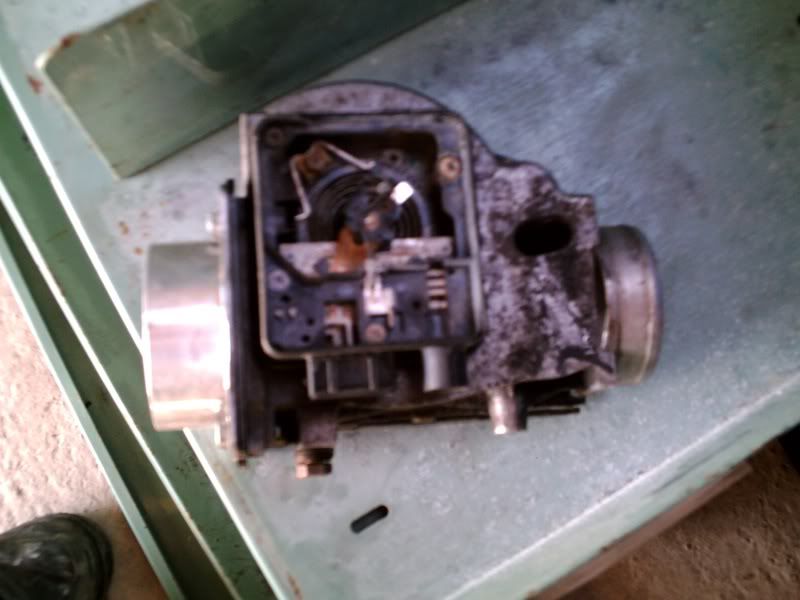
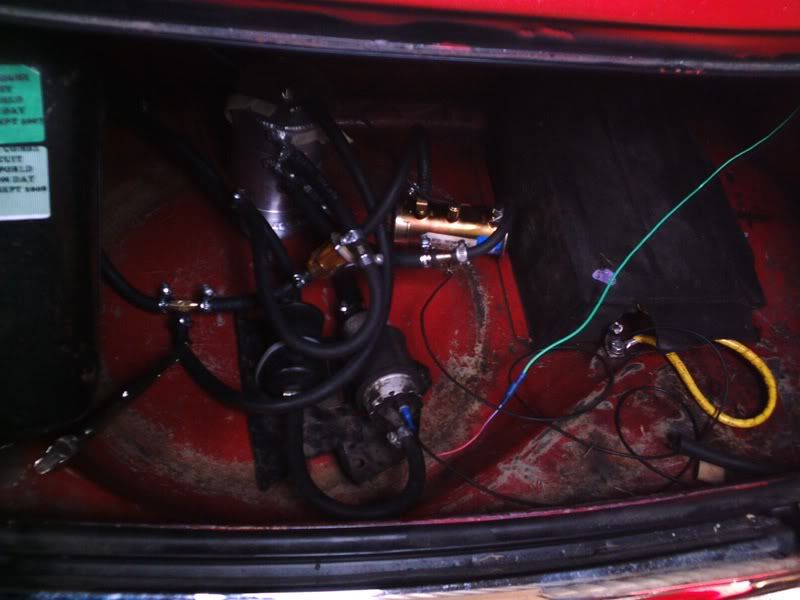
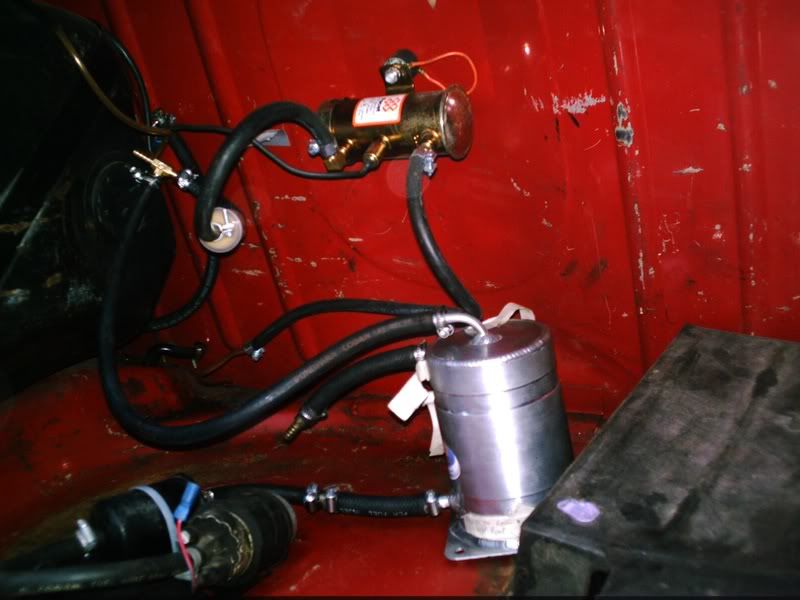
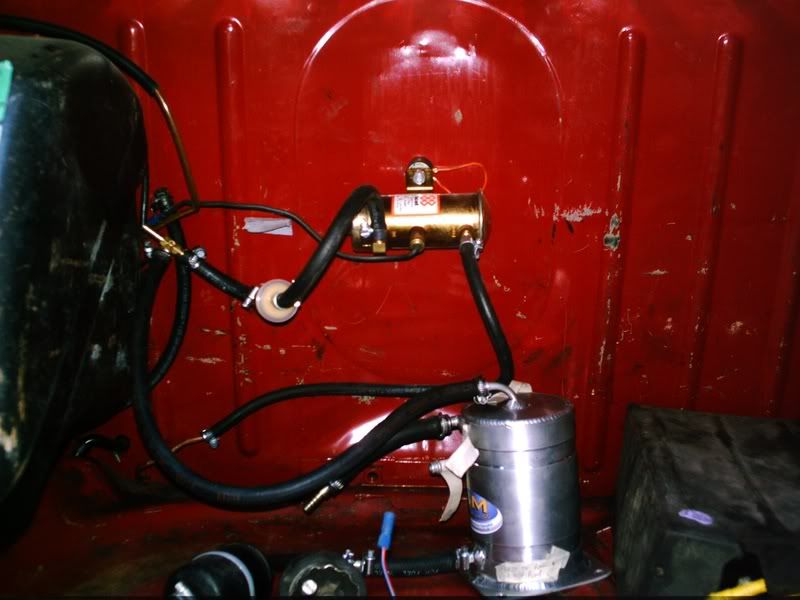
Some progress made on Firday, mounted the original mini starter solinoid up in the weber box (using it as a junction box now) and rerouted the wires, then measured up my new front brake lines and what fuel hoses i needed. ended up
spending £200 at merlins getting it all sorted out
Bit more progress yesterday
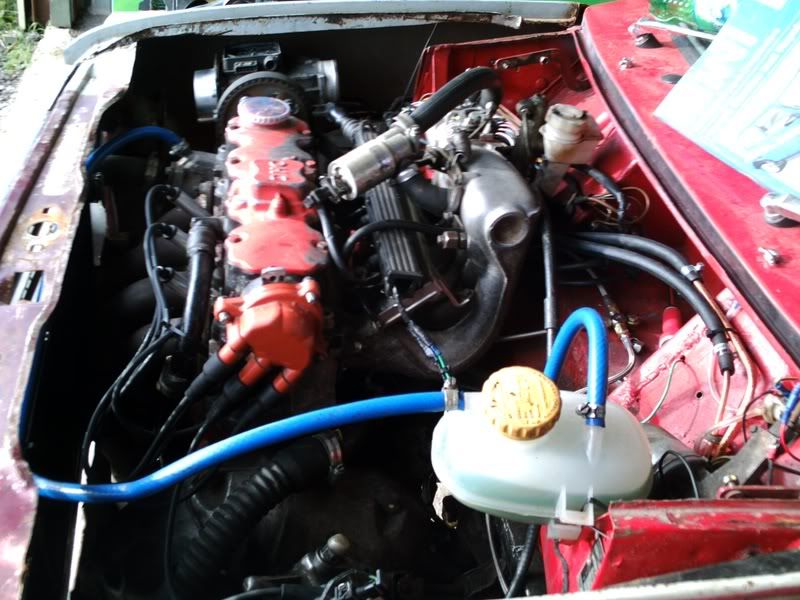
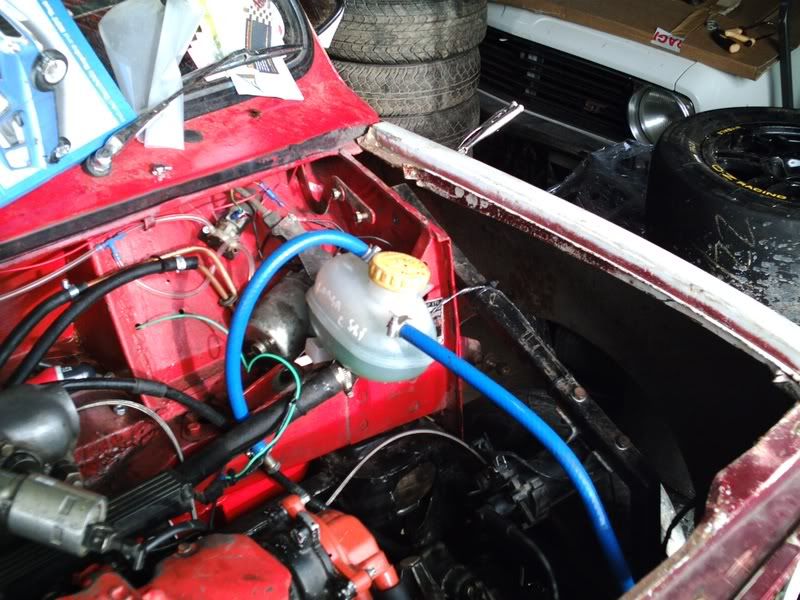
First of fitted up the new brake lines and mounted the T piece up in the weber box. Will need to add an additional copper washer on the banjo that connects onto the pressure limiter thingy (and it is still a little lose when the union is fully tightened) and a couple of gromits needed, but all in all it worked pretty well.
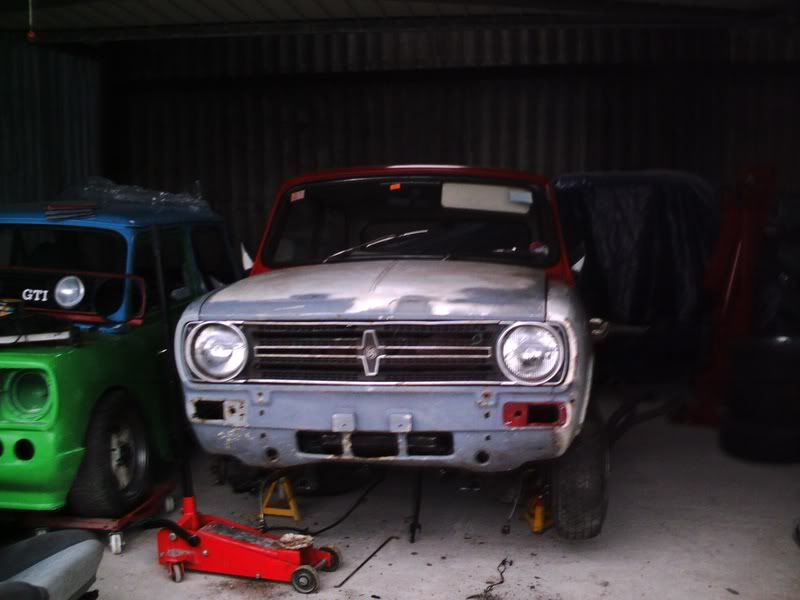
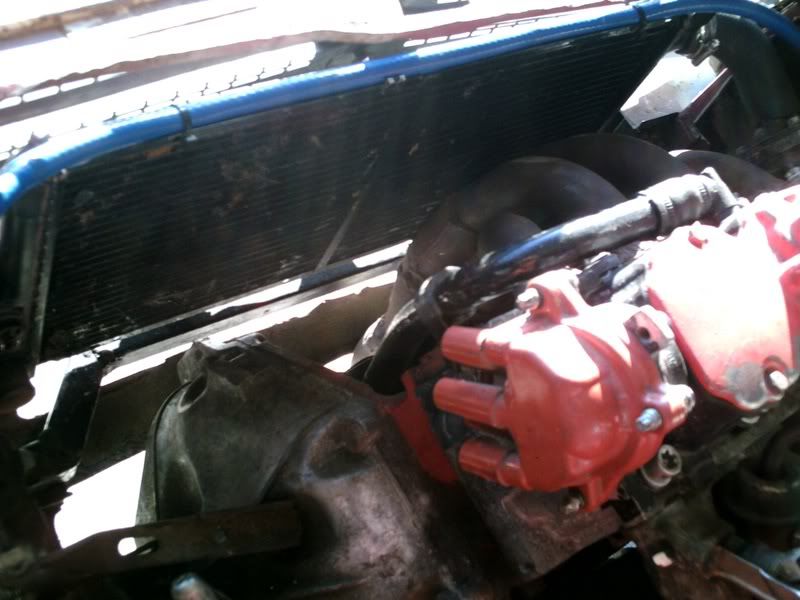
Then decided to drop the inlet manifold on to start to see how it will all fit together. What a pain that was to get on. Had to re-shape both the brake lines that come out of the master cylinder. but its on now (for the minute anyway)
Then refitted the exhaust manifold to check clearance with the rad. It didn't but part of a rad hose taken from stock (prob ex MGF) did the job and with a couple of trims, the rad is sitting nice at the stat end Needs a tiny bit more clearance on the front end, but that is easily sorted
Then it was time to make a start on the fuel system. Worked out early on that i had ordered 1 part the wrong size, but started what i could. Made 1 small error when i decided to add the T into the low pressure pump inlet side (with out all of the outlets on the swirlpot being connected) and puddle of petrol was my prize :oops: , but we are getting their
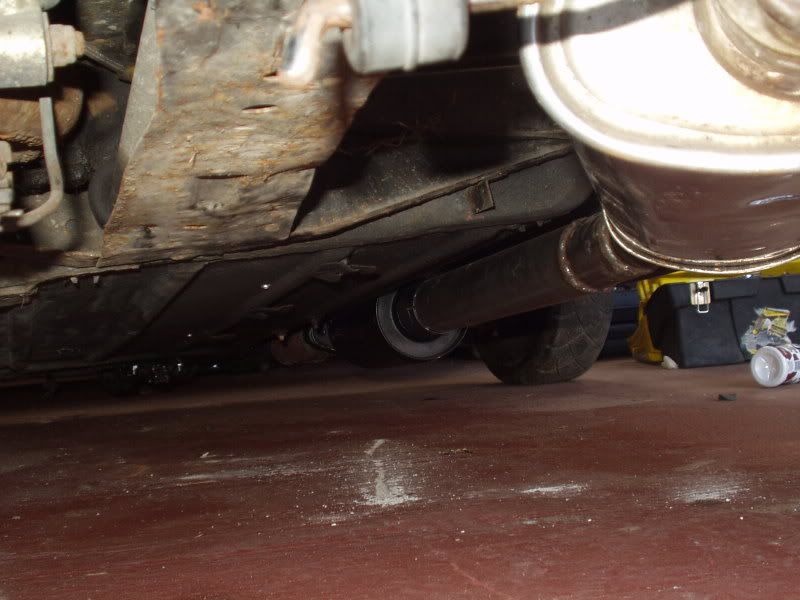
and a pic of the gear linkage all mounted and connected
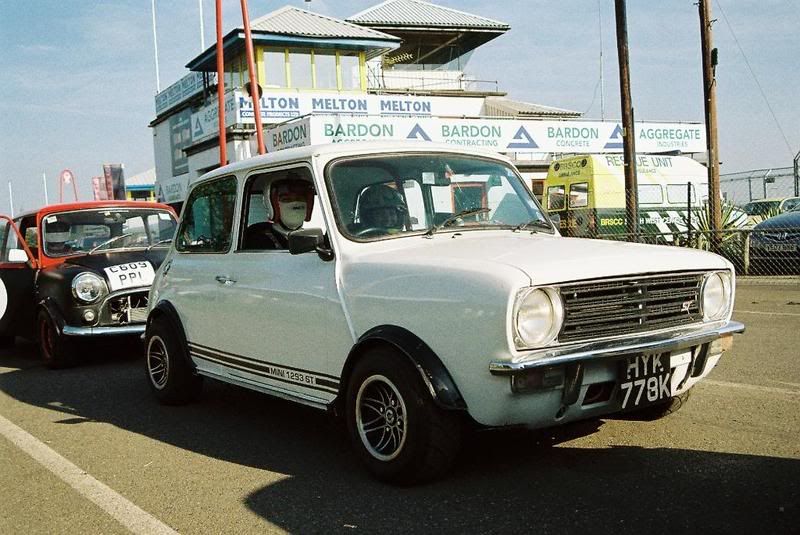
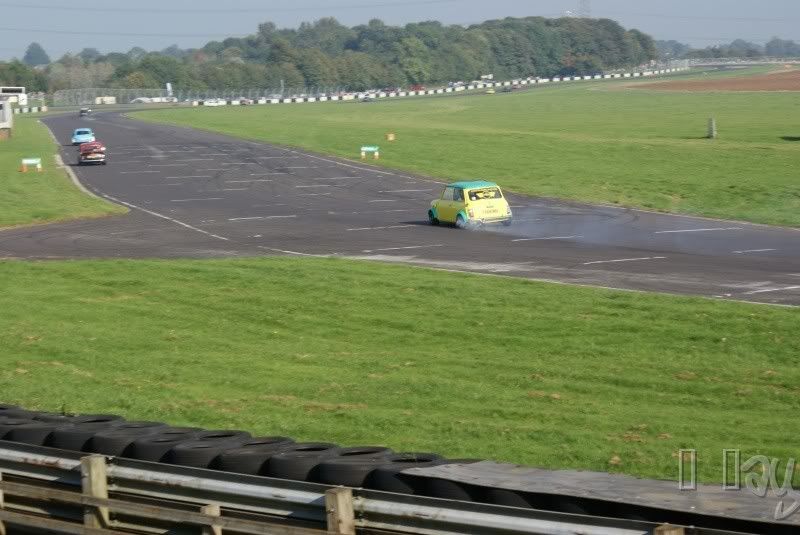
#9
Posted 05 January 2009 - 08:00 AM
#10
Posted 06 January 2009 - 12:26 AM
#11
Posted 08 January 2009 - 08:55 PM
Hey craig. if ya get a chance would u snap a pic of the modified clutch pedal...... starting my 8valve convertion soon...
i'll try, but as it's installed that could be a bit of a problem. Basically it has got the top bit of a vauxhall clutch pedal welded onto the top of a mini clutch pedal. There is then a hole drilled in the bulkhead to allow the cable through (you would prob need to reinforce this unless you have a weber box already fitted as this has stiffened it uo no end).
You could of course use a vaux hydraulic release bearing and keep the stock mini system.
#12
Posted 25 January 2009 - 04:56 PM
anyway, this weeks update
Major progress yesterday, thanks to a good days work and lots of help from Owen, Rob and Gaz and a good supply of jubilee clips from Keith, Pootle runs :-D
But before we started connecting, we finished off the brakes system (switched the pipes from the master cylinder back round and fitted the bonjo bolt Rob shortened for me) as it would have been nearly impossible to do with the inlet manifold fitted.
Then on with the water system. I ended up using a header tank from a corsa C which is nice an compact, but needed 1 outlet blocking off. It is only zip-tied on at the mo, but i now know where i need to mount it and a good idea how.
Once that was all sorted, it was time to refit the inlet manifold. What a pig to bolt up the nuts, but with a bit of swearing, it was on. Then the throttle body went back on (90 deg round to clear the master cylinder) and the throttle cable mount was 'adjusted' to suit
Next up, the wiring loom. After re-doing a couple of broken connectors, Owen soon had the loom routed inside and was busily joining up the connectors. A feed from the fuse box and a wire through to the injection pump and that was ready. Had to take back the new HT leads i brought as thy were the wrong set
Then it was time to sort out the fuel lines. 2 in the engine bay where easy enough, but a bit more fun finishing off in the boot.
Then it was time to try and fire up
We had some wiring issues (bits not getting power when they should) and a fueling problem (the overflow from the swirlpot being T'd into the facet fuel pumps supply stopped the facet taking fuel from the tank, so at the moment there is a mole grip blanking the overflow from the swirlpot), but as darkness drew in, Pootle roared to life
Vauxhall engine, - airflow meter + rev limiter =
The water system seems to be working well (, there was a small leak from the thermostat housing, but a new seal and some sealant if necessary will sort that out.
Still got a long list of jobs t sort out though, but a big step forward. Forgot to take any pics yesterday, so i popped back today (needed to tidy up a bit anyway as by the time we where finished, it was too dark to see what we where doing)
wiring work in progress
Today i did have a chance to look at ways to mount the front end. I think a small box section structure like this should do the job
i also looked at where to mount the airflow meter (we where running without it yesterday, so it was running a bit rich ) and there isn't a lot of room for an airfilter
And the final bit today was trying out my new bootlid
So all in all, great progress, but a bit more thinking to do still
#13
Posted 10 March 2009 - 07:23 PM
Well, not strictly true as the front end is mounted a bit better (still needs work) and i have been buying up the bits i need to carry on and get him on the road and track (1st trackday booked for 9th May :shock: ).
The buy i am most happy with though is the custom door cards from Rusty, cheers chap they are spot on
So, hopefully spend a day this weekend on him (spending too much time at the mo over at Maks) and start getting back on track so that he can be off for an MOT soon :wink:
#14
Posted 10 March 2009 - 07:47 PM
#15
Posted 03 May 2009 - 06:38 PM
A productive day and now the 4th engine mount is bolted up, the rear subby mounts are drilled and bolted up, the flexi joint is welded to the manifold and the centre box is fitted (must buy some bigger clamps ), the rear exhaust mount is welded on the subframe so the exhaust is finished (but the manifold could do with wrapping) and the ECU is bolted in. Also got the airflow meter bolted up and connected up with a flexi hose so it sits above the gearbox with plenty of space for an air filter.
Then we moved onto the brakes. The clevis pin and R clip went in with relative ease (which should have worried me) so we moved onto bleeding the system. lots of air coming out the front end at first, so moved onto the rears to do it in sequence. Passenger rear, no air , drivers rear, bleed nipple sheared off and didn't budge . never mind, carry on round, shouldn't have been any air there any way, passenger front, got it so only fluid coming through (still no pedal mind) so moved onto the drivers front. started to bleed it and then stripped the thread out of the ally caliper :unsure The caliper will be back later this week once a local bike specialist has heli-coiled it. I hate bleeding brakes.
Back up today and made a bit of progress
1st off was fitting up the new airfilter
only a cheap one, but should do the job none the less
I then cracked on with replacing the brake lines from the master cylinder. What a swine that was, but i am now happy with that part of the braking system. It turns out that for most of the 13 years we have had pootle, the master cylinder was plumbed in the wrong way round!
Some pic's at last of the previous sessions work as well, the exhaust is mounted up properly and the centre box and flexi joint are fitted up
and it sits the tail pipe in the right place as well
And then i decided to fit his new rims
The unthinkable has happened and Gaz has sold a set of cosmics
0 user(s) are reading this topic
0 members, 0 guests, 0 anonymous users