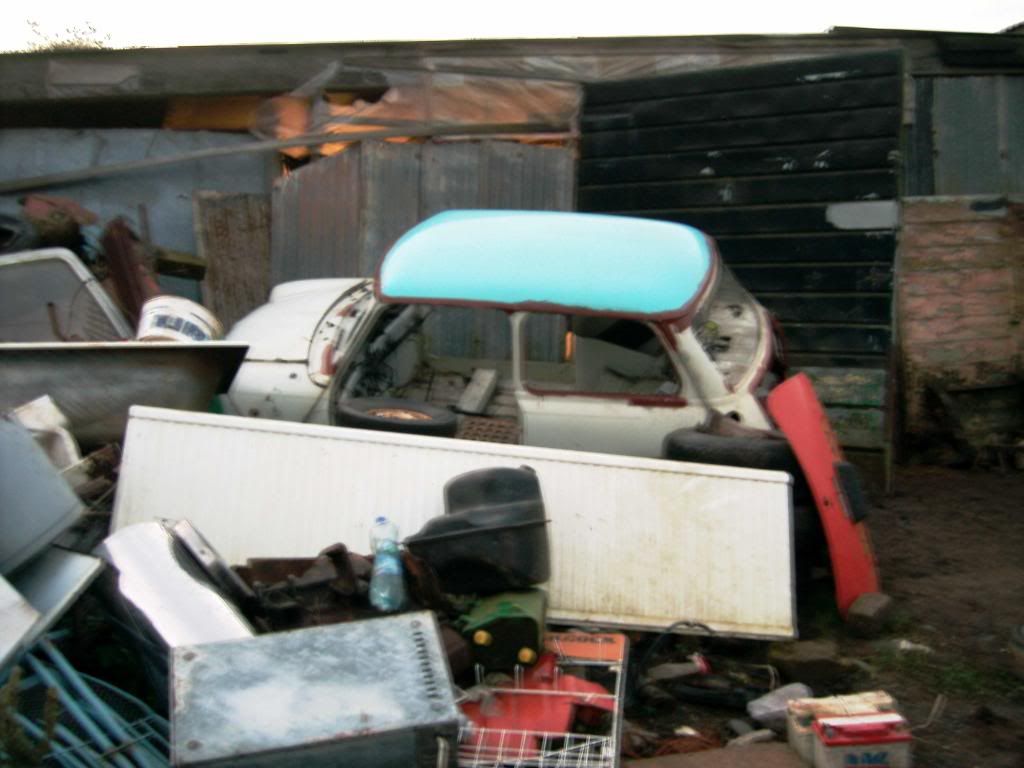
Mini Sky Rebuild
#31
Posted 09 December 2008 - 10:38 PM
in fact it never defrosted out of the sun (i.e where i was working) DOH!!!
but i welded the new rear valance and closing panels on
so next weekend hopefully it will be a bit warmer, i'll clean up the welds from the rear valance, and wire brush the inside of the boot, paint it all in red oxide then white.
then i can start on the drivers side, after moving him around abit
Emma
#32
Posted 09 December 2008 - 10:40 PM
Looking good though, do you think it will be done for the i.m.m?
#33
Posted 10 December 2008 - 10:30 PM
i get ice on the inside of my mini aswell, but ive got windows & doors
Looking good though, do you think it will be done for the i.m.m?
riviera run........... hopefully!!!
it was my green one that was frozen at 5, then the sky in the morning
#34
Posted 10 December 2008 - 11:40 PM
#35
Posted 15 December 2008 - 09:40 PM
so i cleaned up the welds for the rear valance (i can't do it last week co ever time i put the visor down it misted up) DOH!!!
any way, then drilled the holes through the rear val for the closing panels and welded them in
then i started to clean up the inside of the boot, it started like this:
pretty damn minging, but after about 5 different wire brush grinder attachments and 15 drill attachments, all the rust muck and excessive paint and seam sealer was removed, i never thought i would take so long, but hey just how it goes sometimes
with a little bit of filler to hide the repairs (not that i'm a perfectionist!!!)
then sunday i had a bit of a lazy day, painted the underneath white and all of my hair (really must wear a hat)
so thats it the rear end done whoop whoop
went home washed and waxed the green one
then moved the sky
and found this on the sill!!!!!!!!!!!!!!!!!!!!!!!
i knew there were holes BUT!!!!
so next week is door step off, and new one on, then either sill off or clean all the muck off the floors inside and out and assess what metal is left LOL
#36
Posted 15 December 2008 - 10:08 PM
#37
Posted 16 December 2008 - 11:51 PM
#38
Posted 17 December 2008 - 08:58 AM
loving the colour of the boot is that going to be covered ?
yeah the paint was still wet on sunday so i had to leave it, but it will be white!!!
#39
Posted 23 December 2008 - 10:19 AM
so i started by cleaning up everything underneath
it started like this:
scraped most of the underseal etc off:
wire brushed it
and red oxided it
now for the holes i found....
#40
Posted 23 December 2008 - 10:20 AM
so with the new step welded in i cut out the inner sill and removed the sill
new inner sill welded in
its also too short so i'll have to weld a section of metal in so it meets the doorstep lip!!!
and a lovlely hole in the jacking point
it needs to come out, its just a question of do i replace is with a bit of 25mm box OR so i blank the hole in the new sill and leave it off????
i also sparied the inside of the boot , rear valance and bumper lip white
so next week is patch the rest of the front floor and inner finch
then sort the jacking point out, replace the inner sill underneath and remove the lip for the sill and weld the new one on.
i have a week off work aswell it being christmas and all so i'm really looking forward to making some real progress. hopefully i should get the sills done on both sides, and both doors repaired and reskinned, and make a start on the front end which will mean taking the engine out and stripping the bay, i'm not looking forward to the wiring bit tho.....
#41
Posted 23 December 2008 - 02:21 PM
#42
Posted 23 December 2008 - 04:23 PM
you should have kept the boot brown looked nice ok not orginal but good carry on the good work
it was red oxide... not pretty LOL
#43
Posted 23 December 2008 - 04:53 PM
you should have kept the boot brown looked nice ok not orginal but good carry on the good work
it was red oxide... not pretty LOL
well it looked it i think i might paint my whole car in red oxide
how much a tin ??
#44
Posted 26 December 2008 - 09:00 PM
you should have kept the boot brown looked nice ok not orginal but good carry on the good work
it was red oxide... not pretty LOL
well it looked it i think i might paint my whole car in red oxide
how much a tin ??
my dad 'acquired' it from work!!! LOL so i don't know
the only problems is that is its not water proof, so you'll need to paint proper paint underneath it, else it will be rusty very quickly!!
#45
Posted 26 December 2008 - 09:18 PM
Day:
1 +2) inner sill, inner finch, jacking point and outer sill
3)move it around (put the rusty subby on to do this), then engine out
4) Clean up the engine bay
5) Passenger inner Sill
6) Passenger outer sill
7) Driver Door
8) Passenger Door
9) doors on and lined up, then front end off
10) scuttle off and repair the finch panels
i'm hoping i'll get it all done, there is a few other things i need to do like change and brake discs on my mini, take my mums metro to the mini centre to be tuned up, and go a new years day run (day 7) (which is alright because i hopefully can get in a barn with lights!!!!)
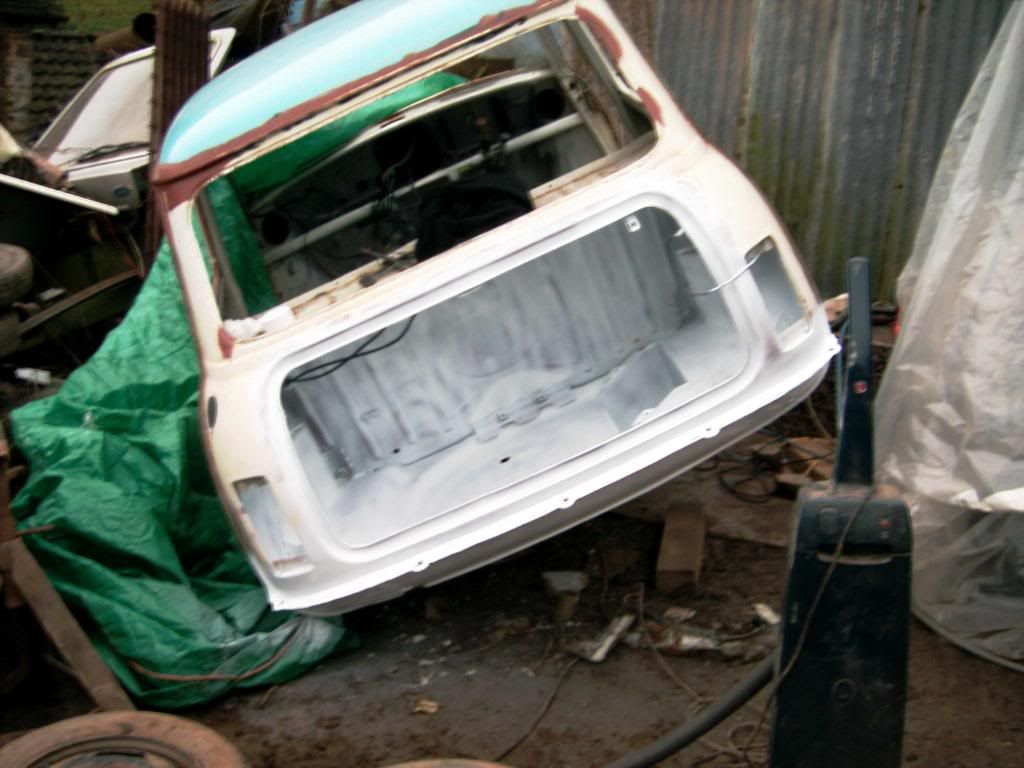
so todays progress in a couple of hours
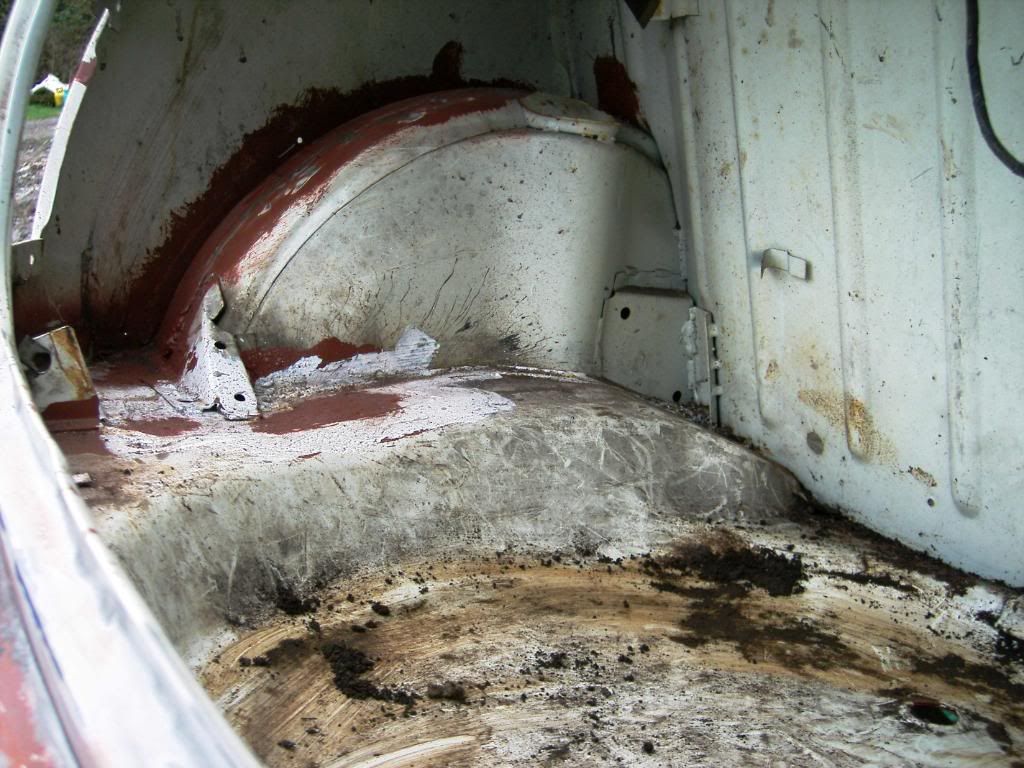
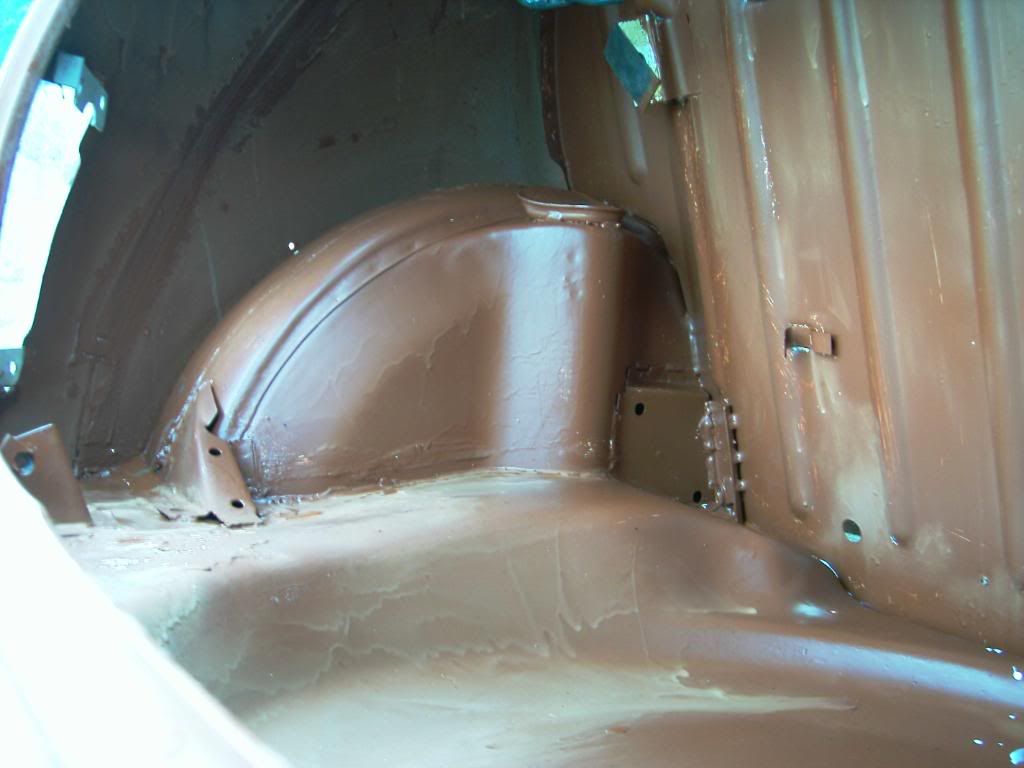
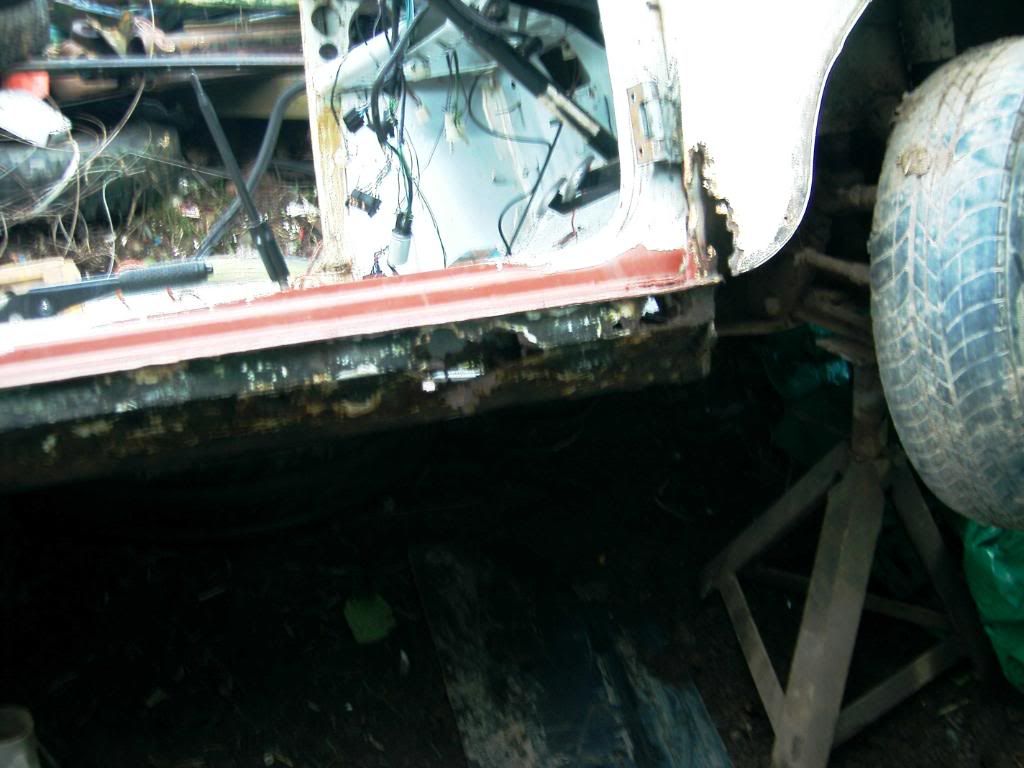
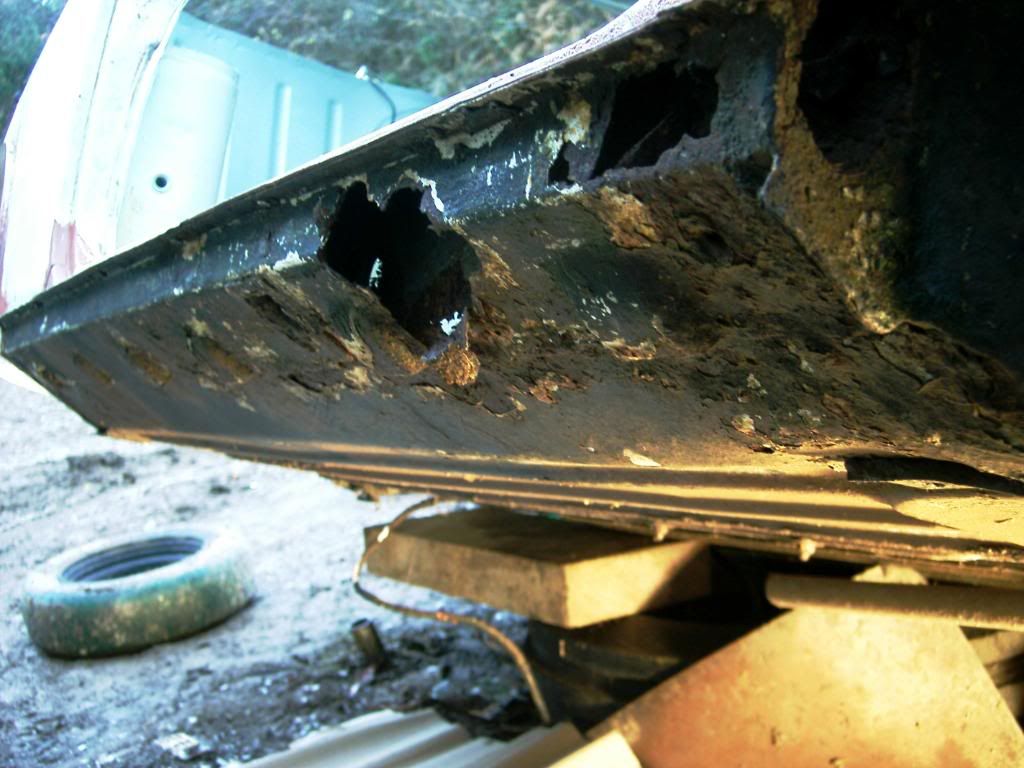
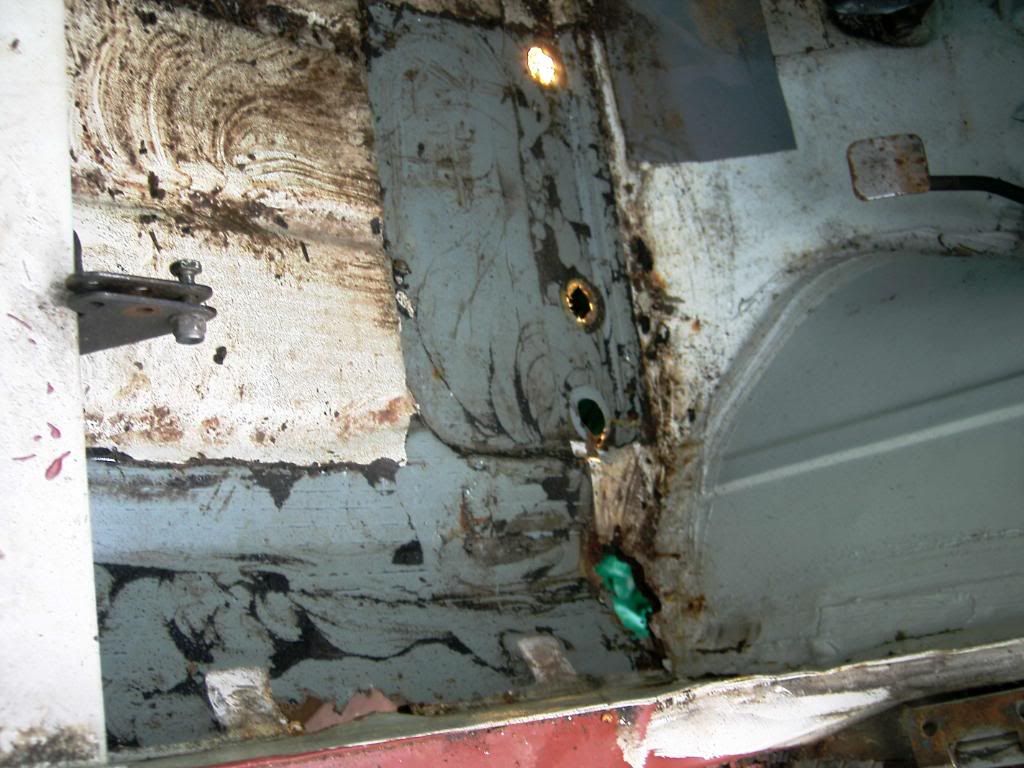
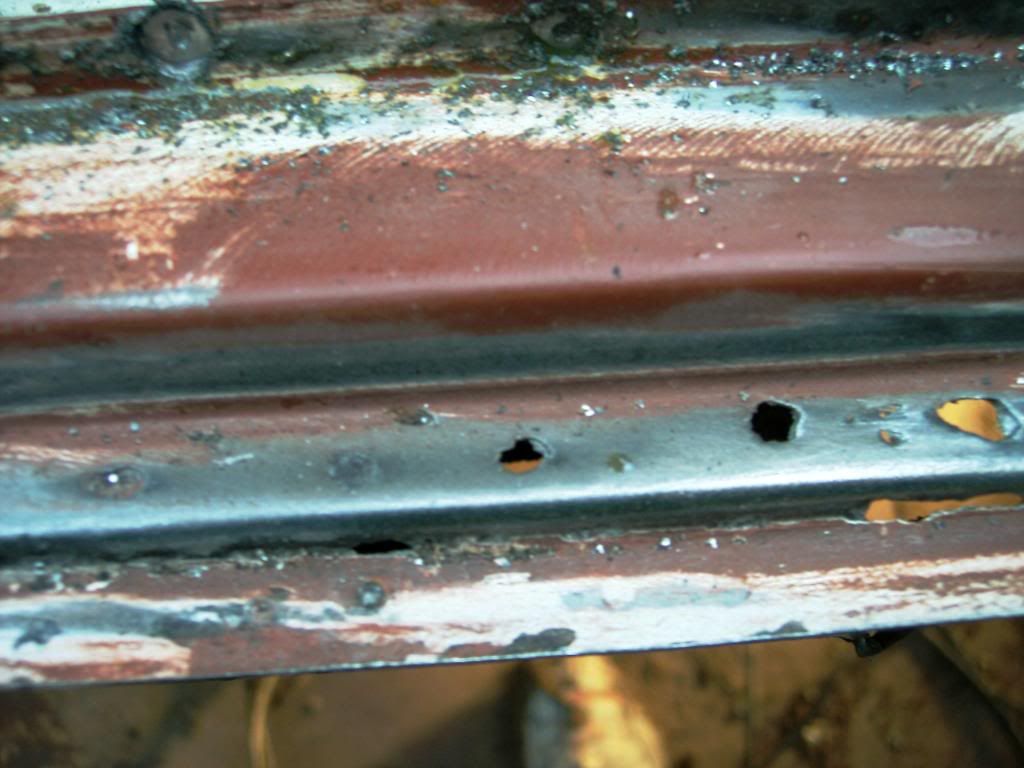
patched the remaining holes on the floor, still need to clean the welded up a bit
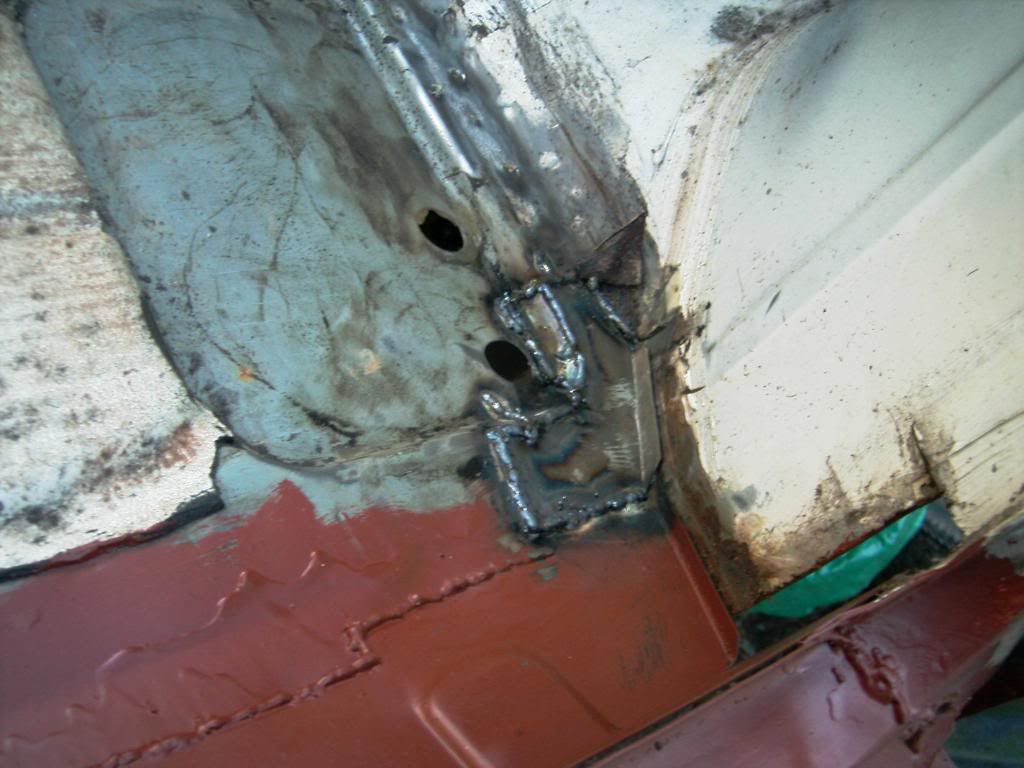
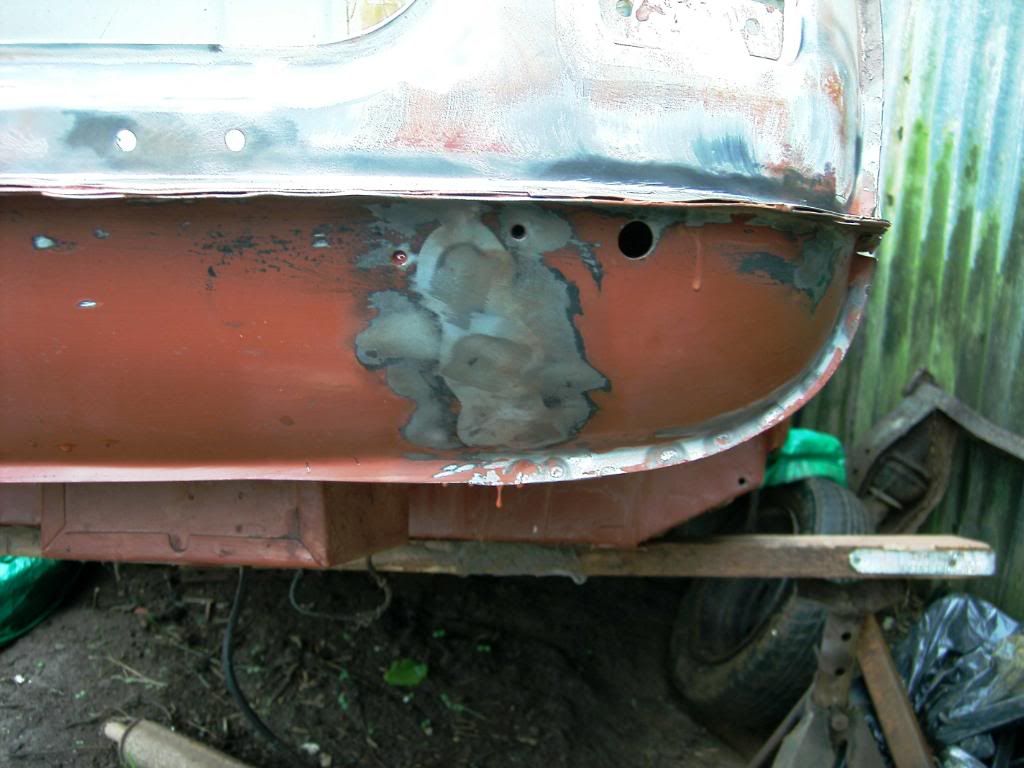
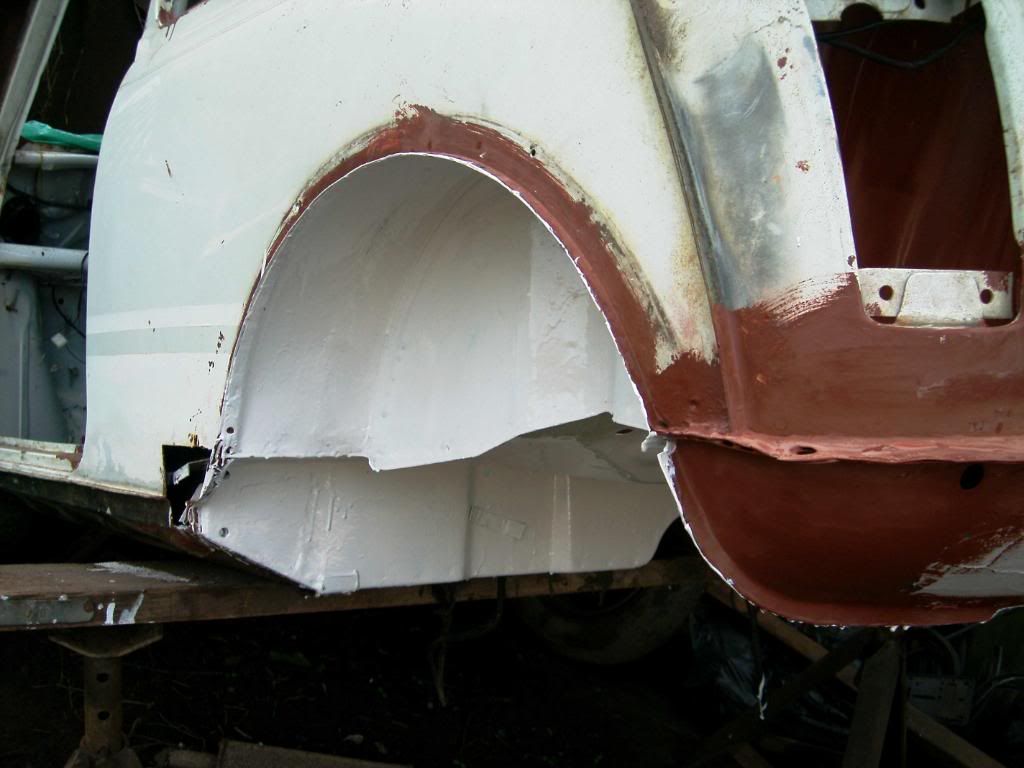
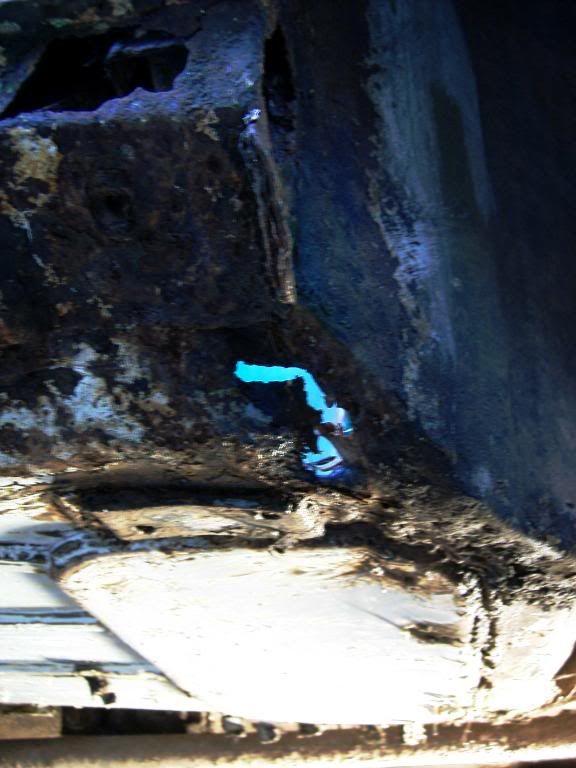
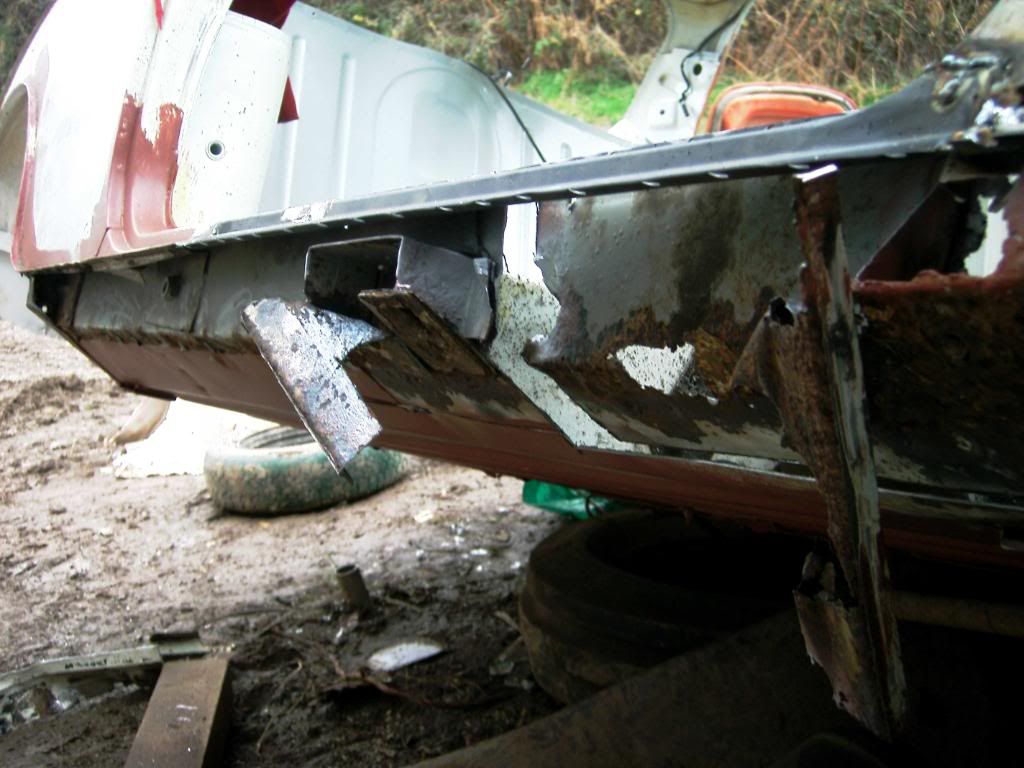
then cut a massive hole in the inner finch...
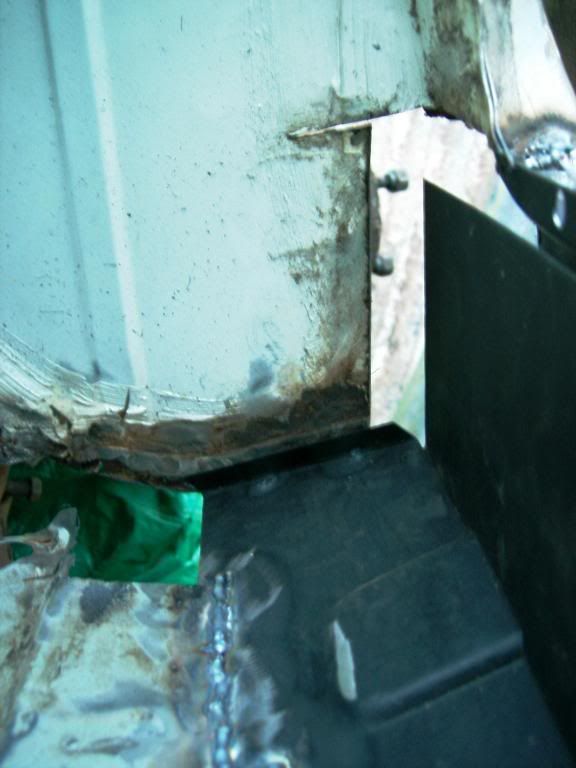
and cut out the panel to repair it,
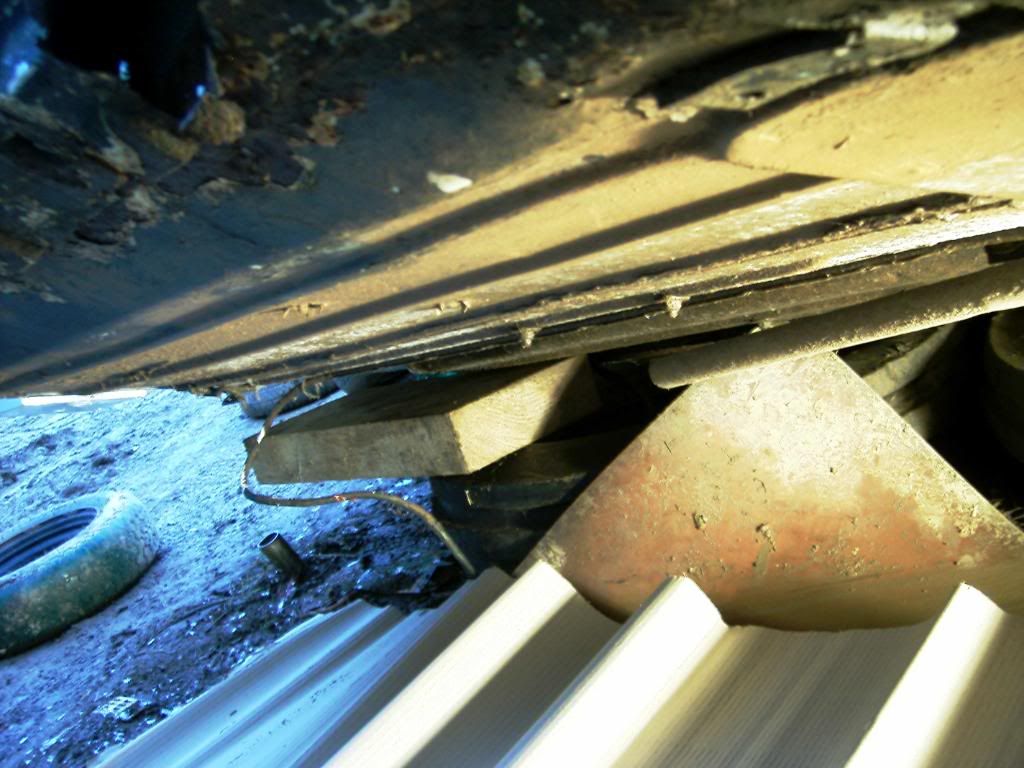
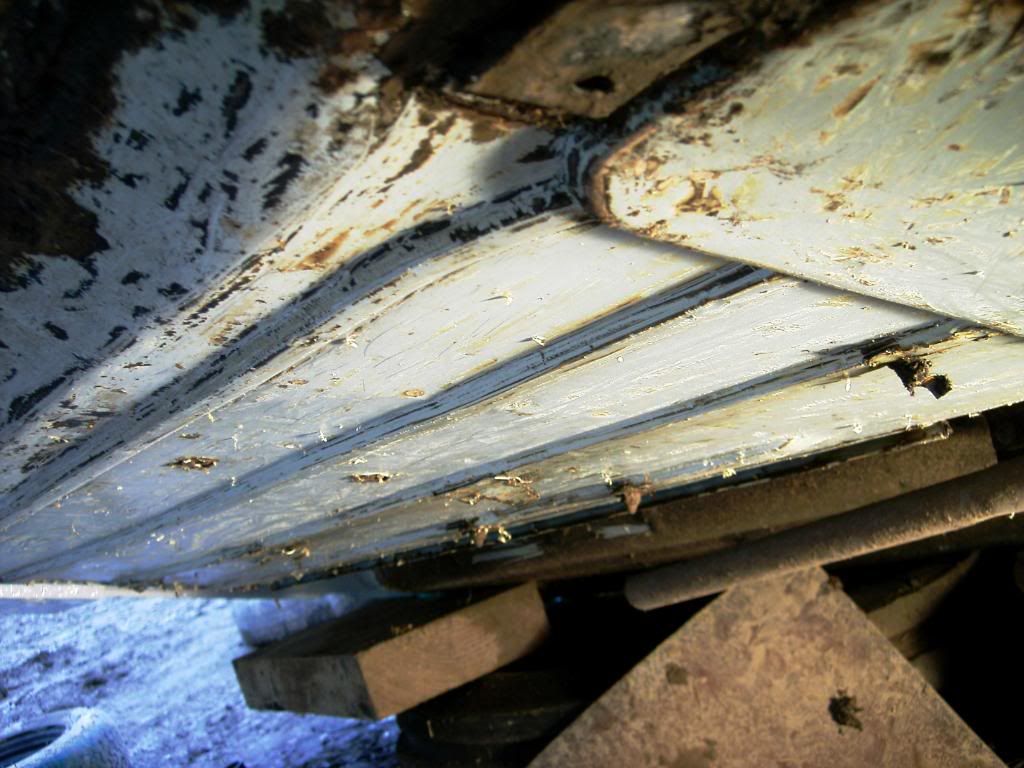
tomorrow i need to prep the repair section and put the 5 millions bends it needs to fit, well 5 bends!!
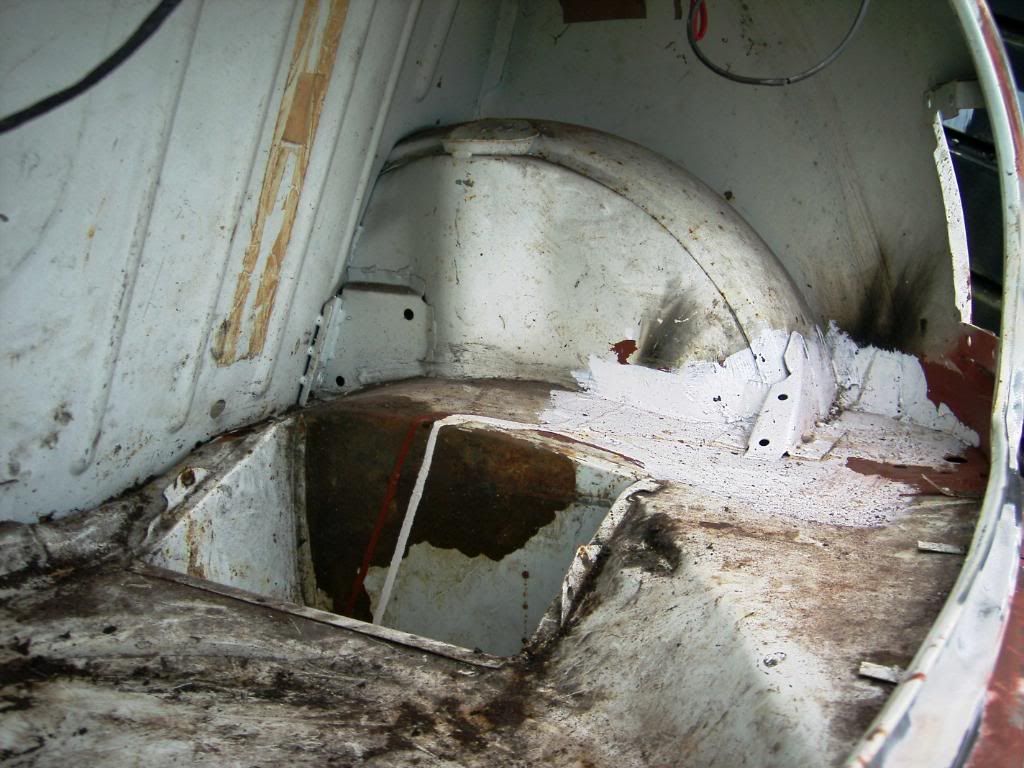
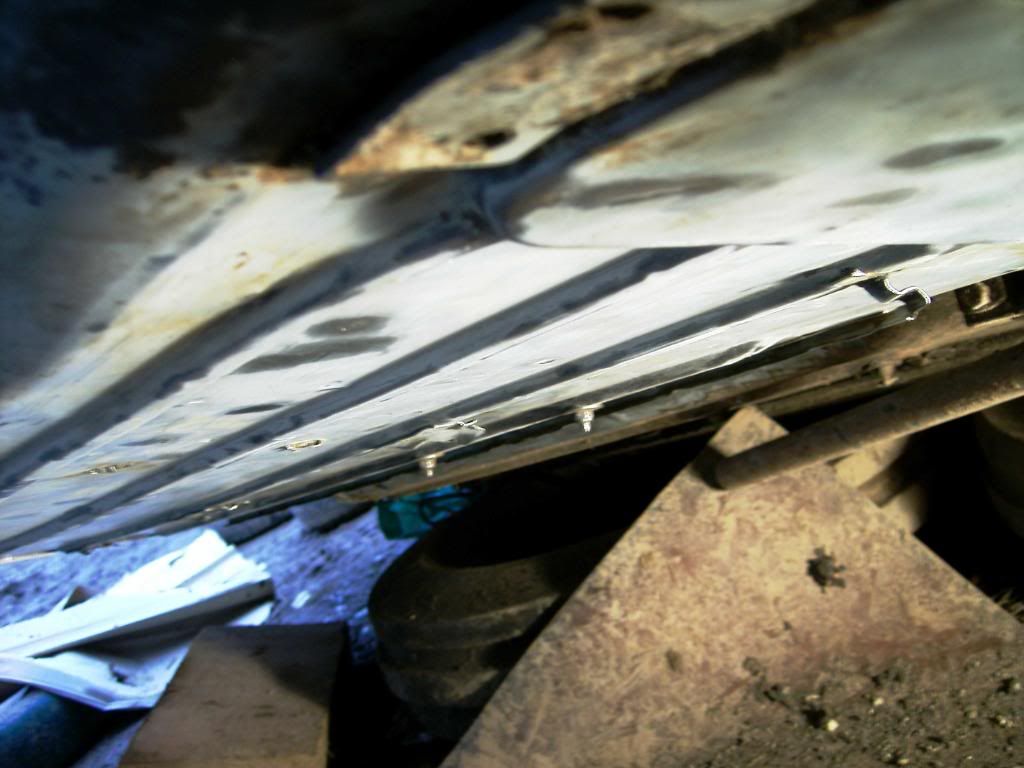
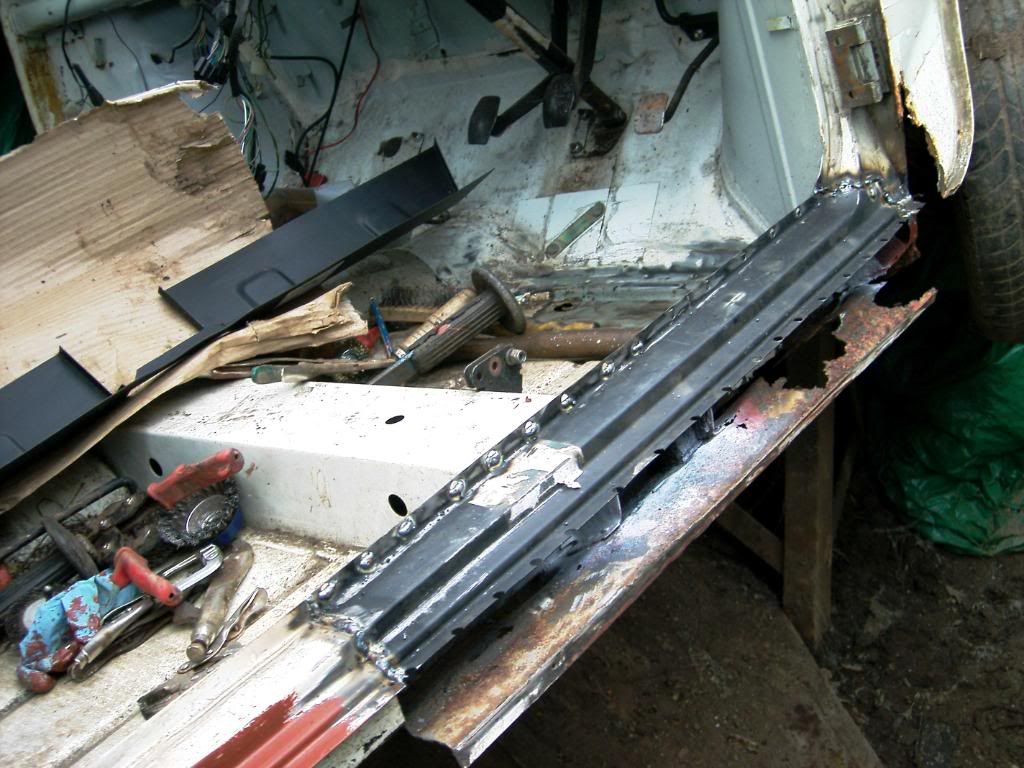
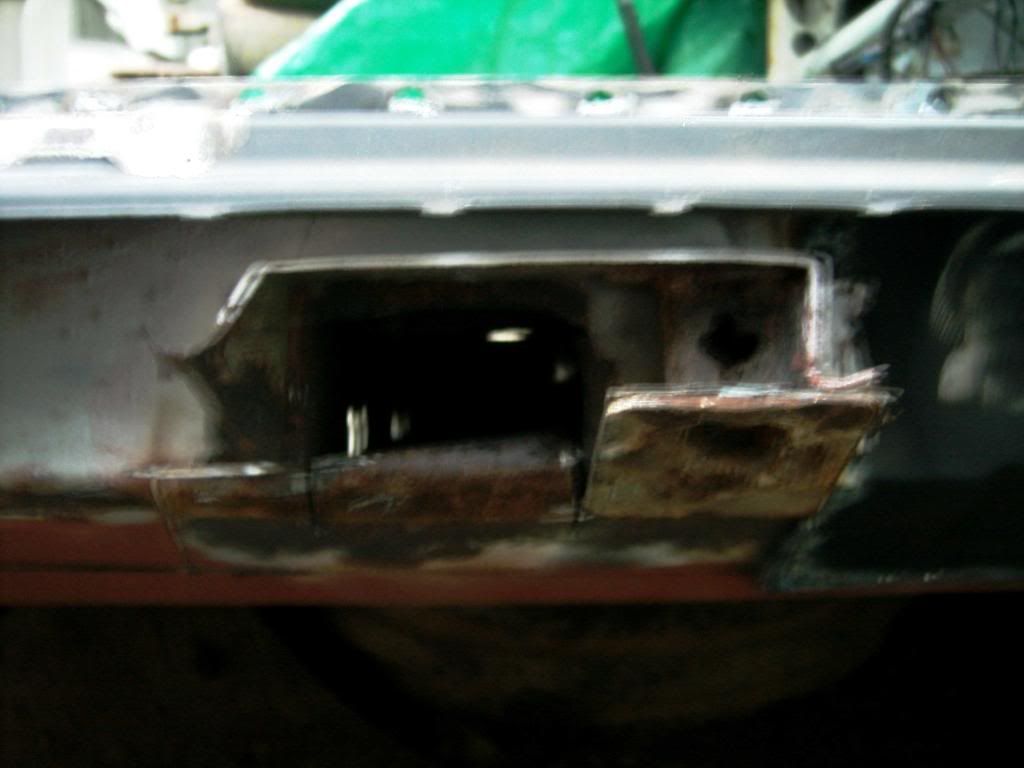
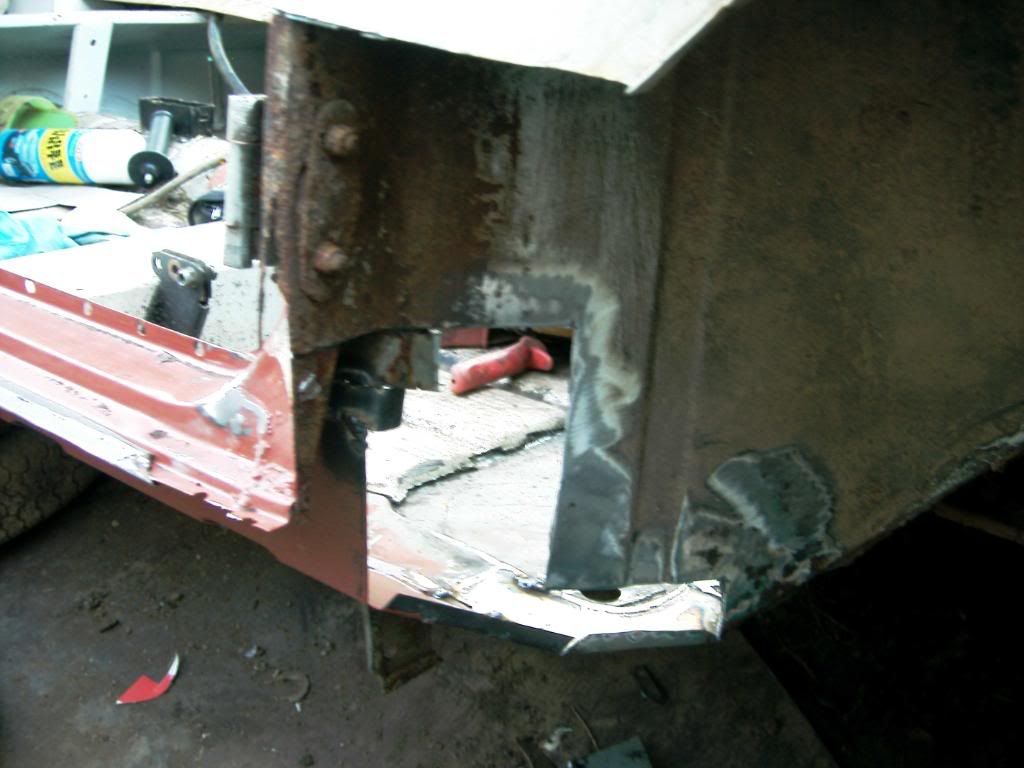
then cut the jacking point out, then repair the inner sill underneath, then weld a new jacking point it
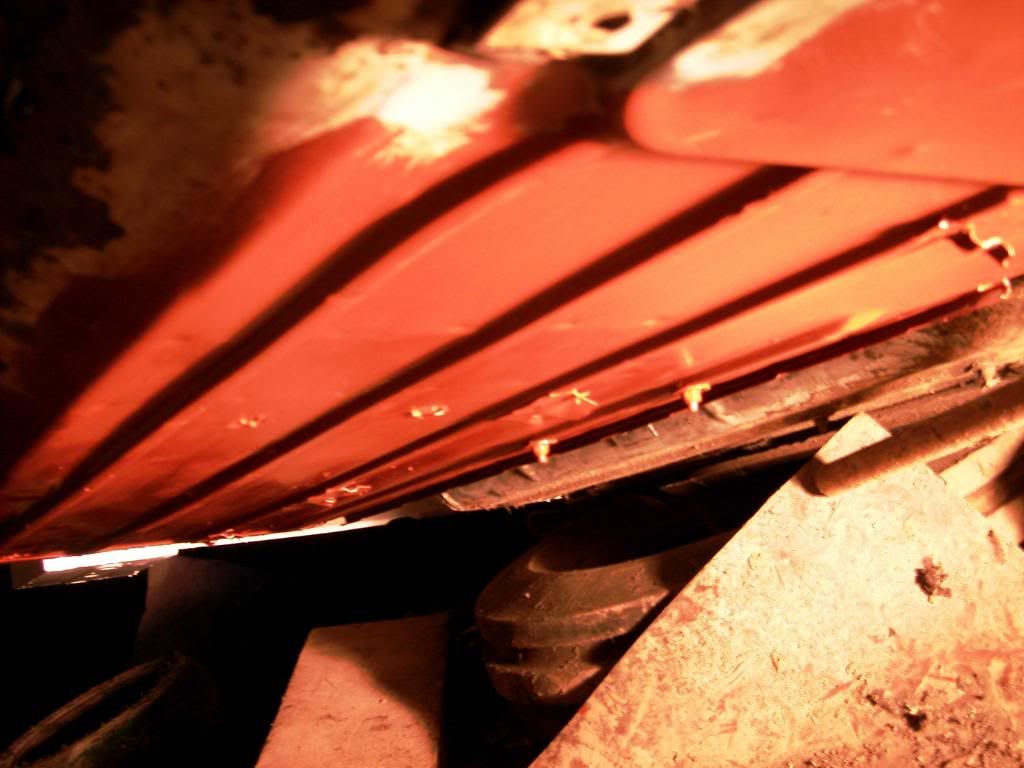
remove the rest of the sill lip and weld the new one in!!!!
hopefully!!! LOL
0 user(s) are reading this topic
0 members, 0 guests, 0 anonymous users