 At your rate you should be done, soonish


Camshaft & Stage Two Head


Posted 04 January 2009 - 12:26 AM
At your rate you should be done, soonish
One Carb Or Two?
Posted 04 January 2009 - 09:54 PM


 )
)
One Carb Or Two?
Posted 07 January 2009 - 11:05 AM
One Carb Or Two?
Posted 07 January 2009 - 06:45 PM
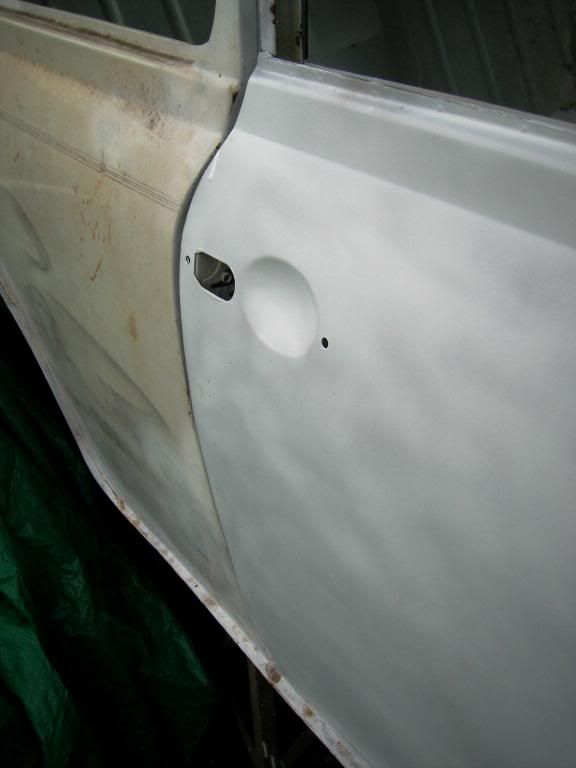
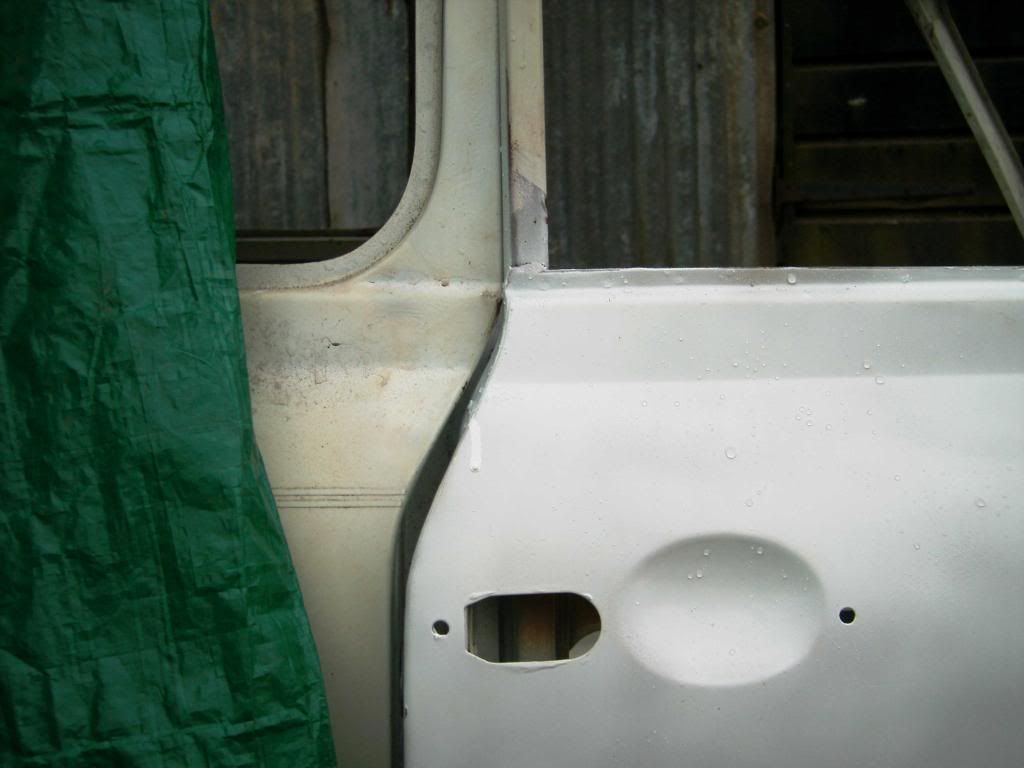
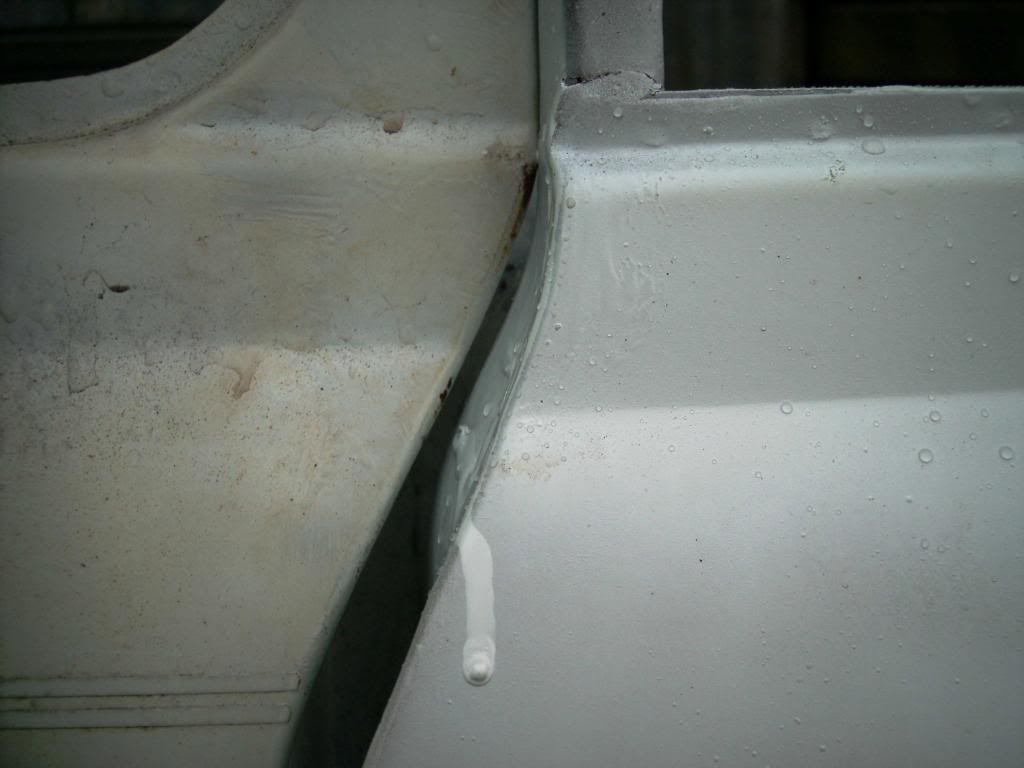
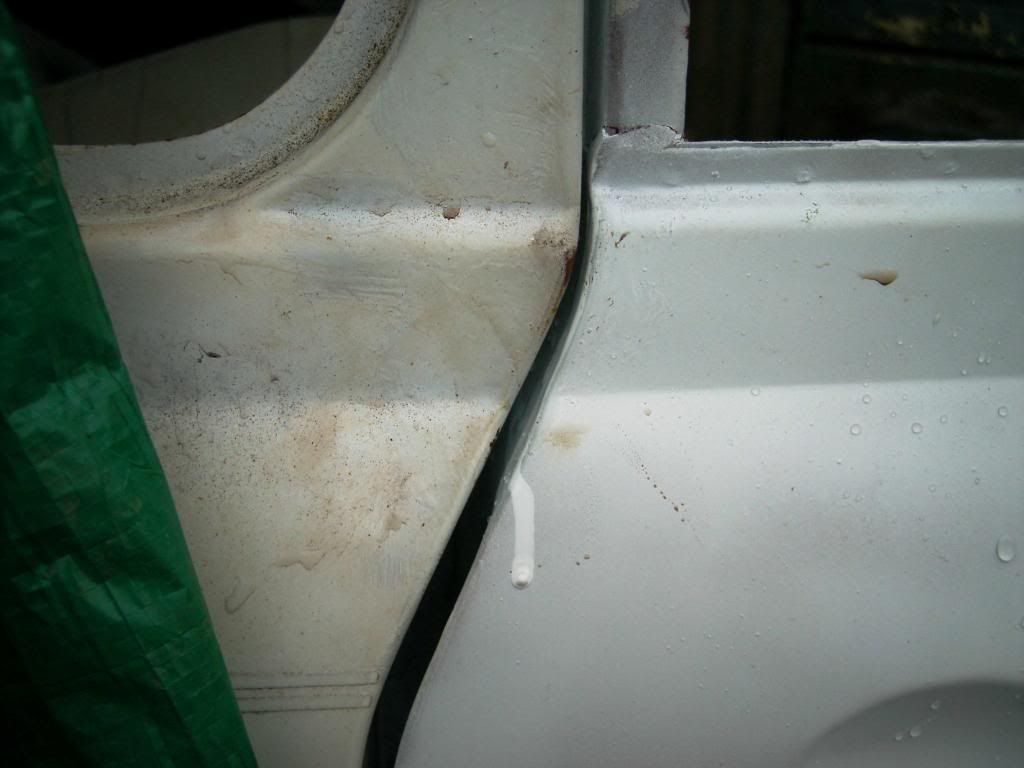
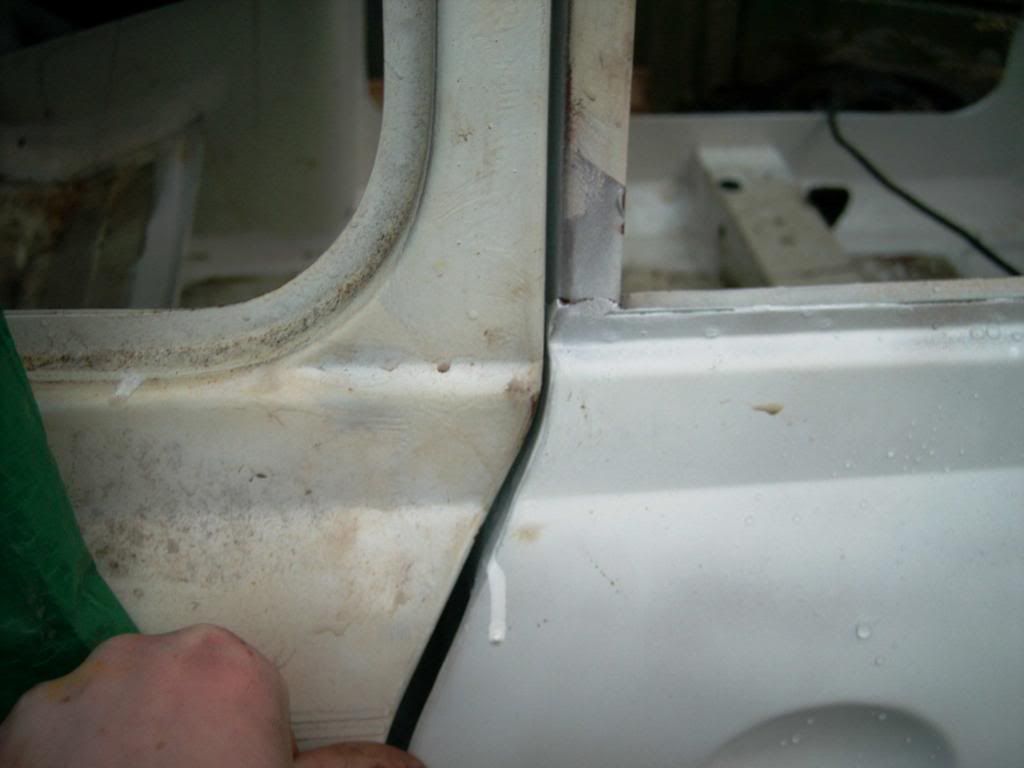
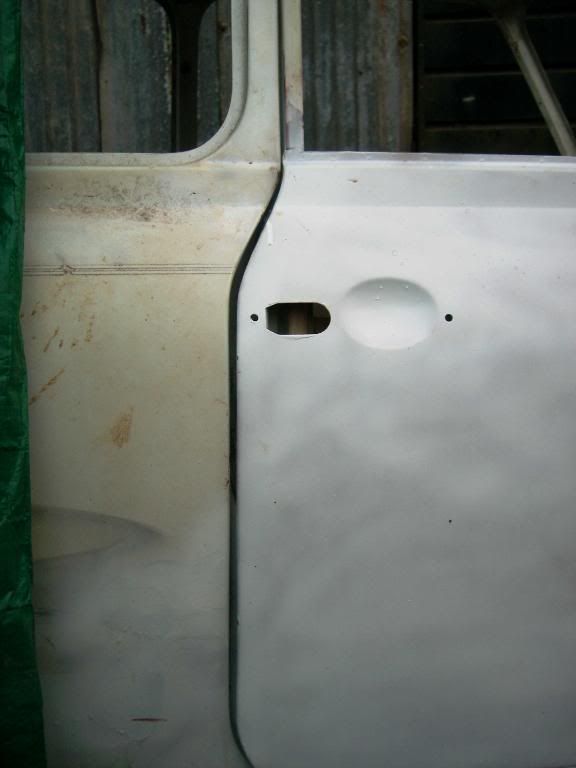
found the door cards out the garage today ill try and get them wrapped up and ill pm you for your details
One Carb Or Two?
Posted 11 January 2009 - 09:49 PM

One Carb Or Two?
Posted 18 January 2009 - 09:58 PM


One Carb Or Two?
Posted 24 January 2009 - 09:15 PM

One Carb Or Two?

Posted 24 January 2009 - 10:39 PM
One Carb Or Two?
Posted 24 January 2009 - 11:21 PM

One Carb Or Two?
Posted 25 January 2009 - 09:04 PM
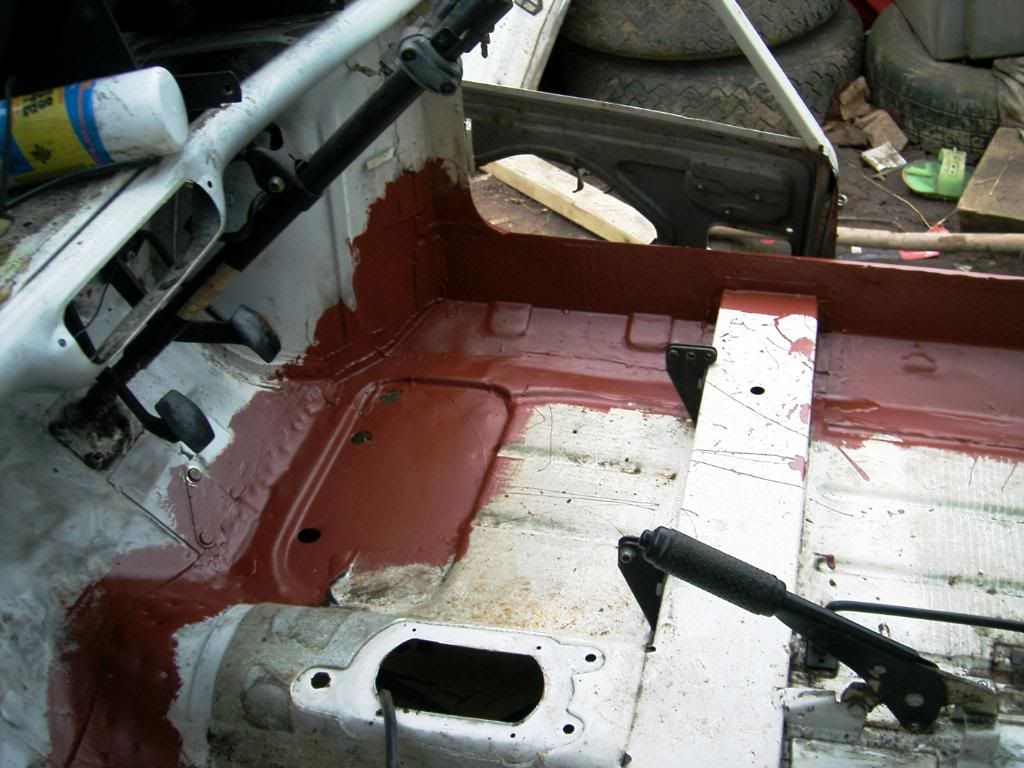
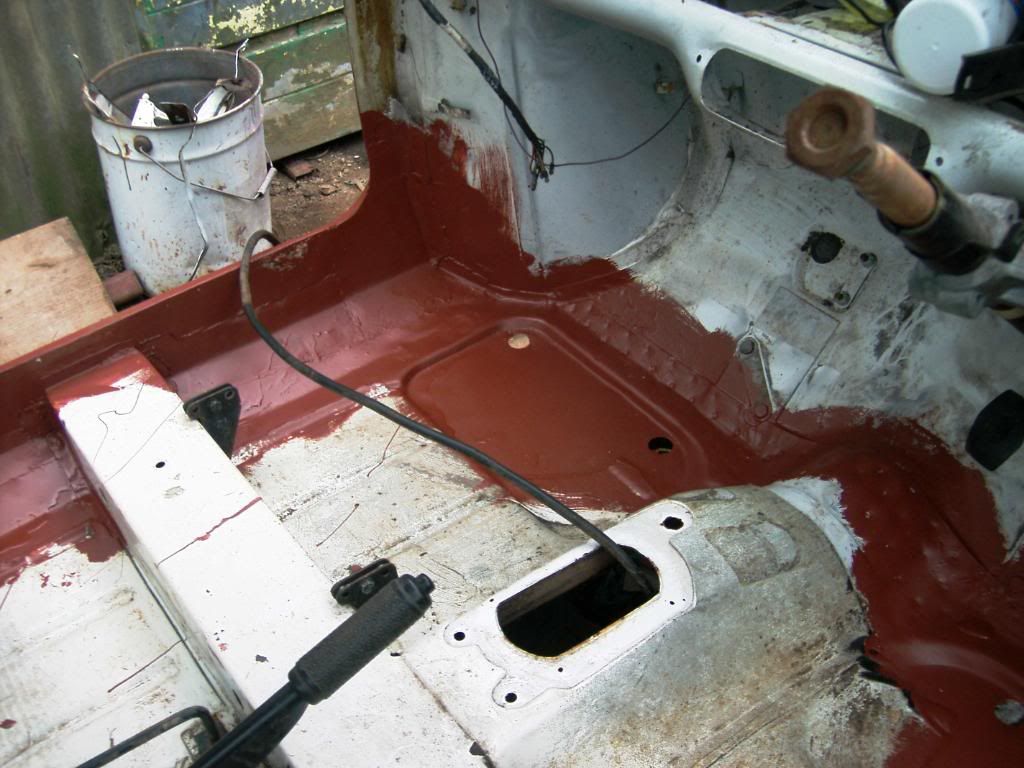
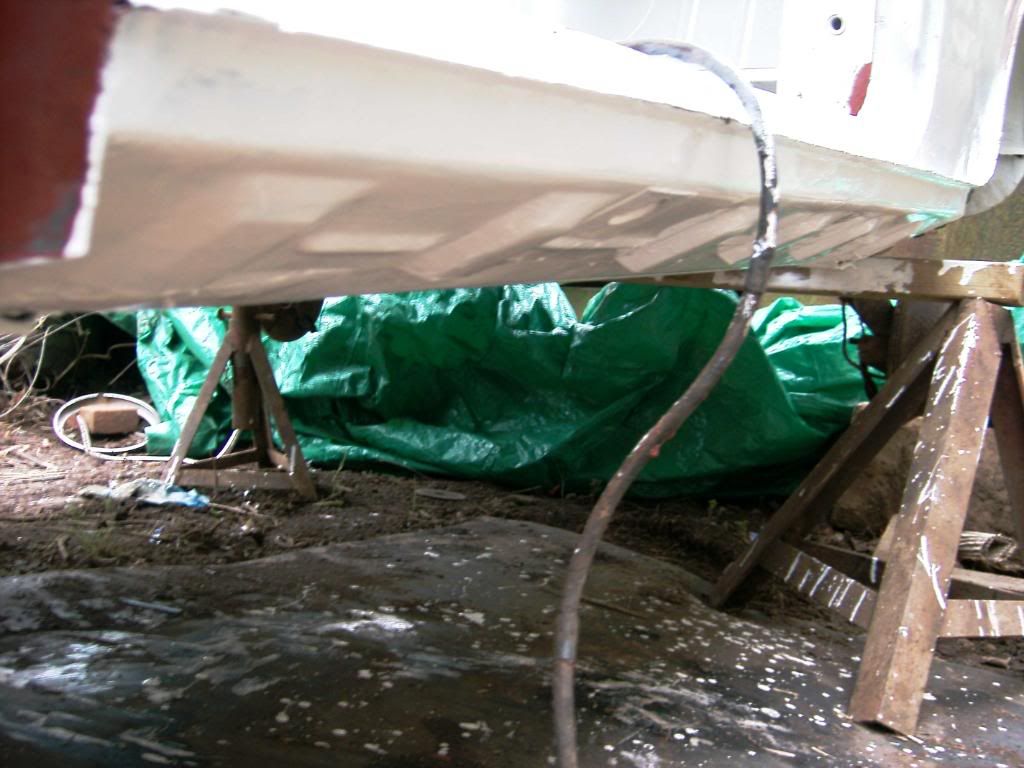
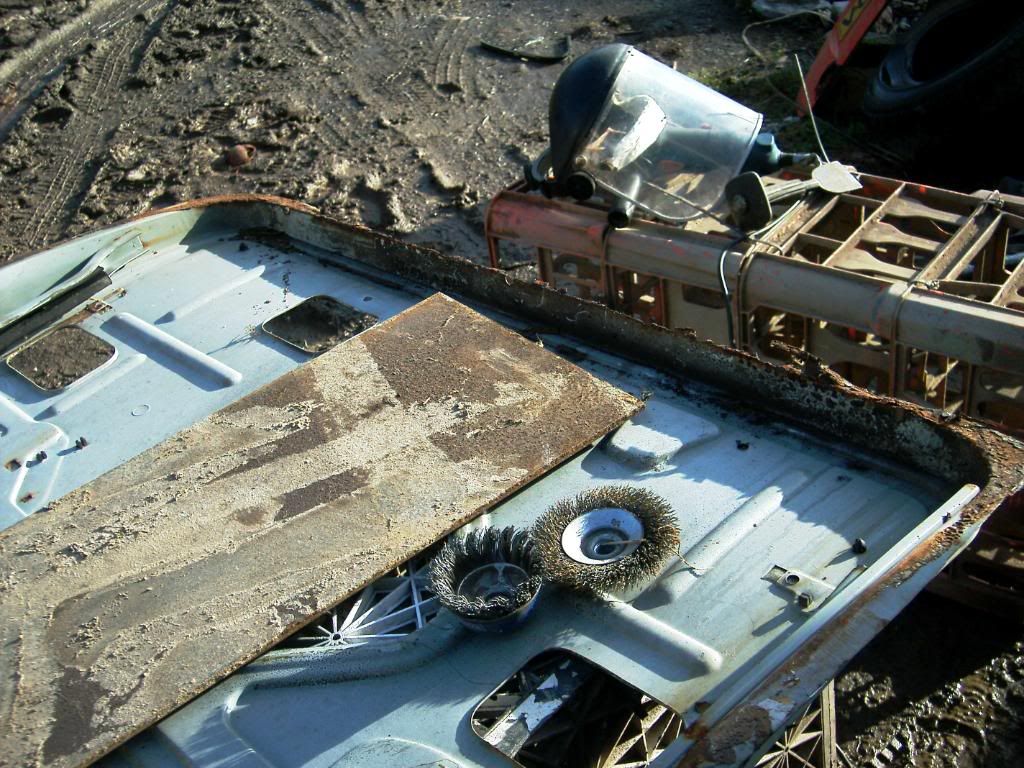
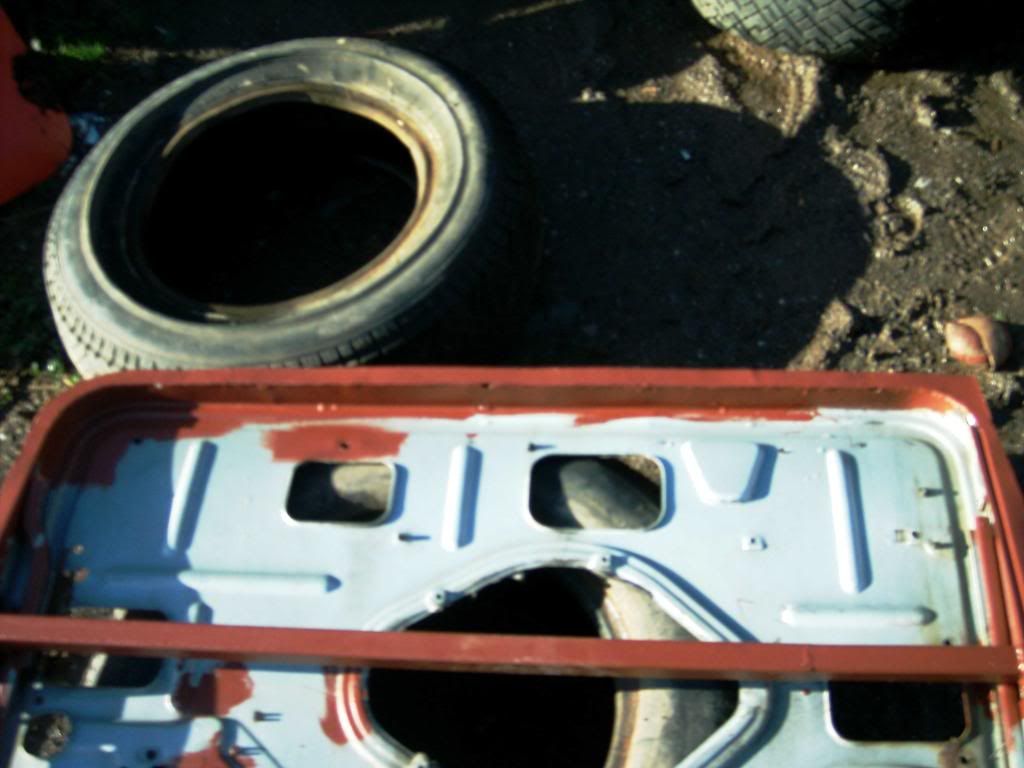
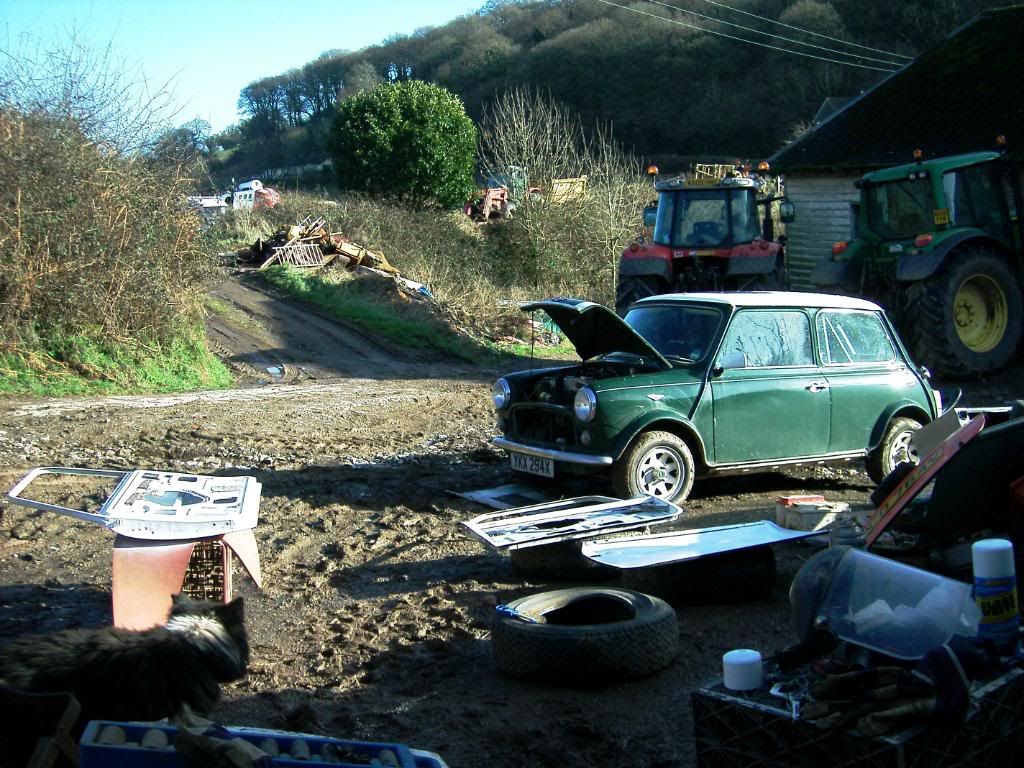
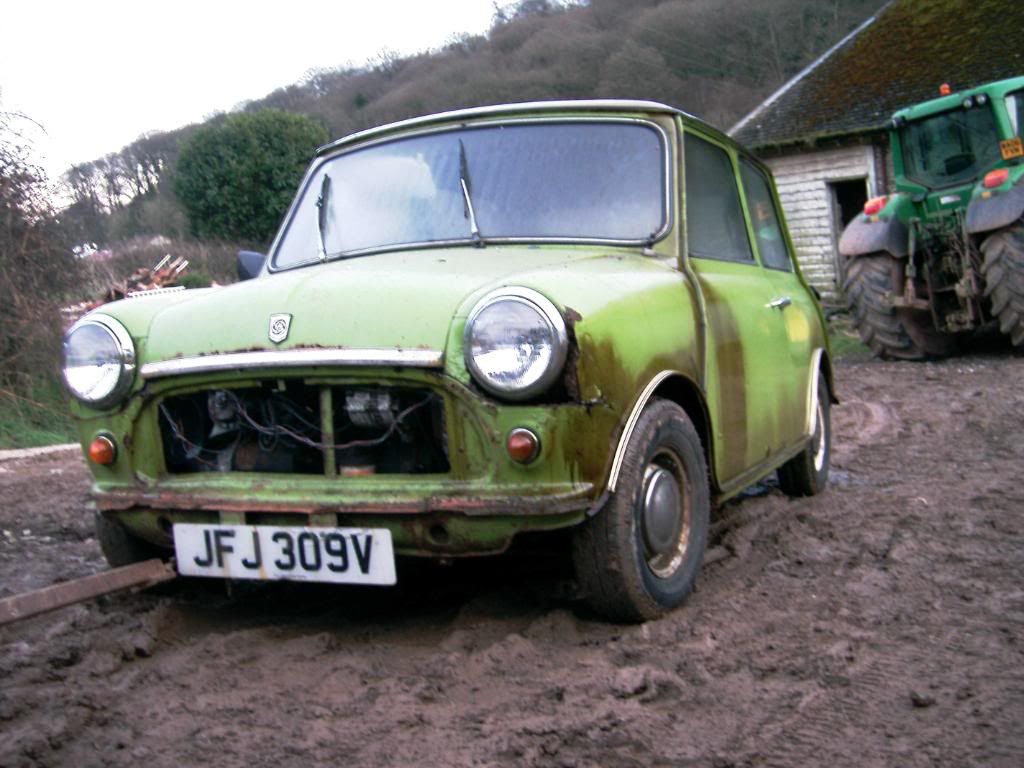
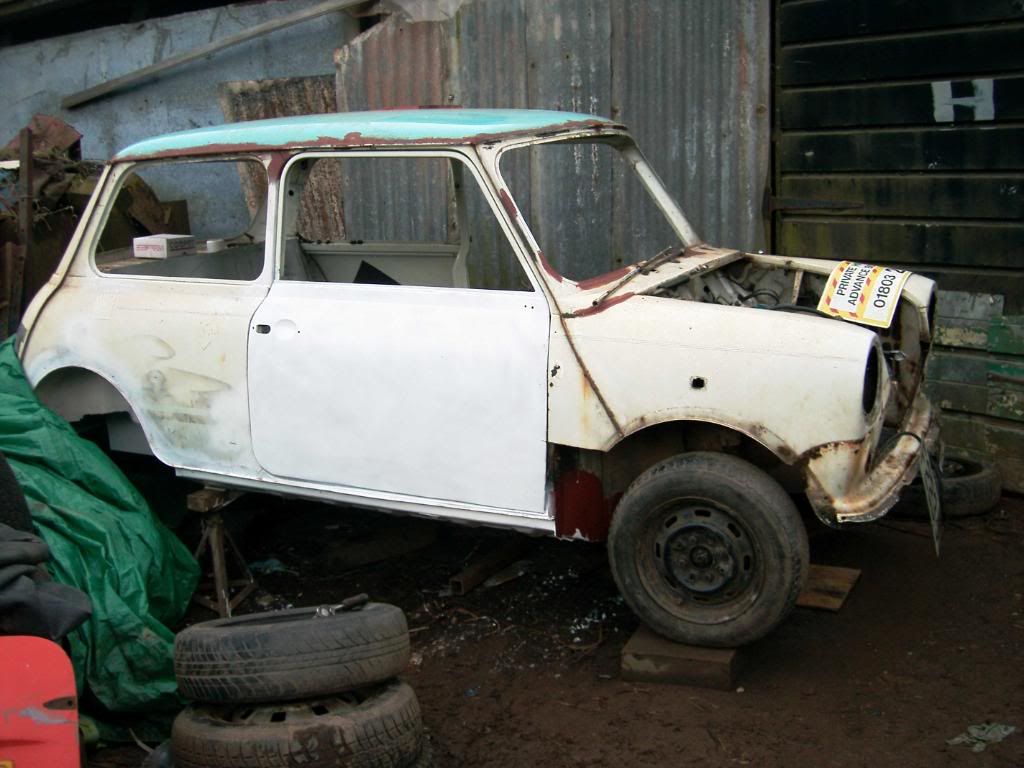
All of your pics seem to feature such muddy areas! Do you cope ok? You must finish working on your car looking like a mud monster.
One Carb Or Two?
Posted 25 January 2009 - 09:12 PM
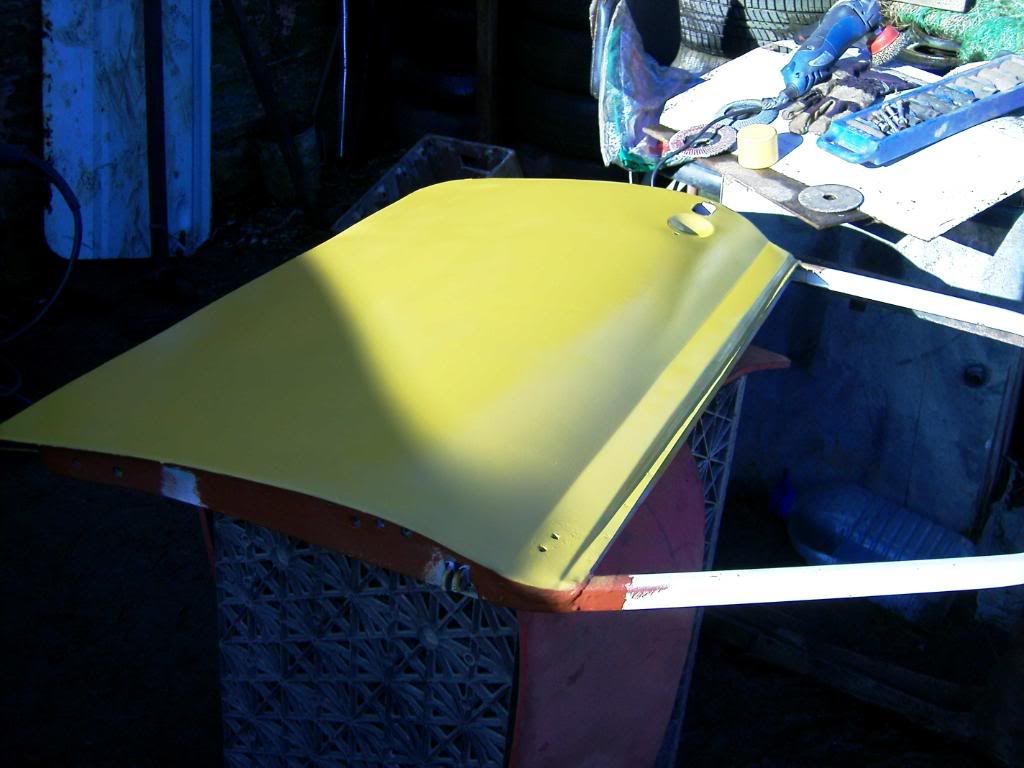
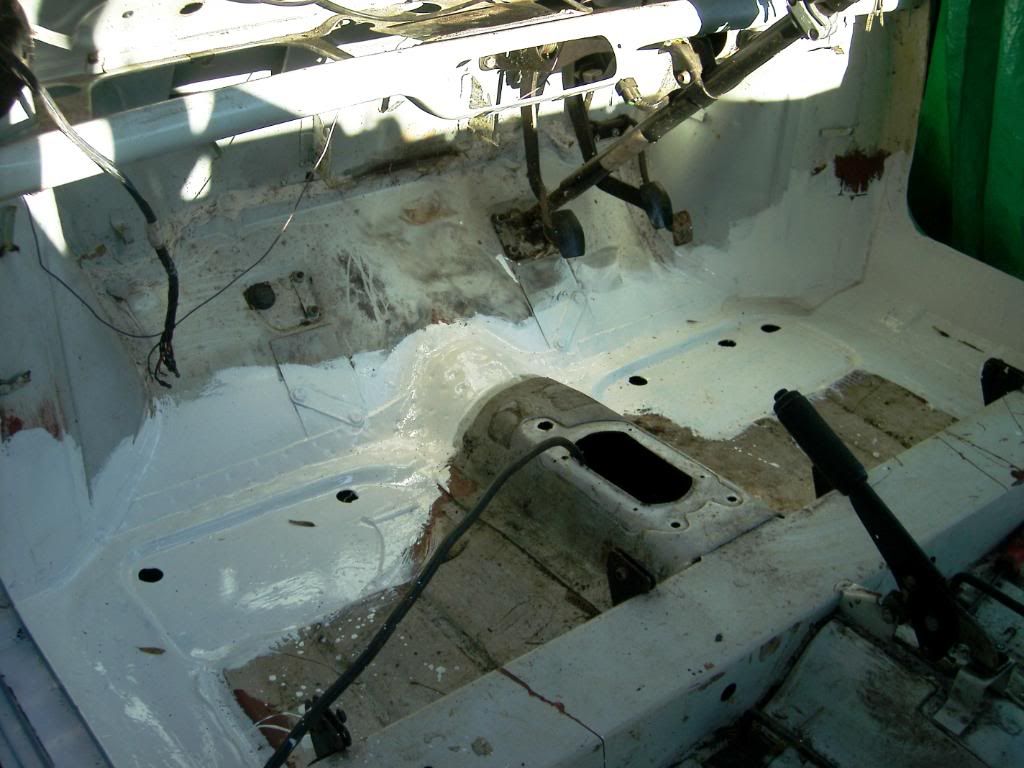
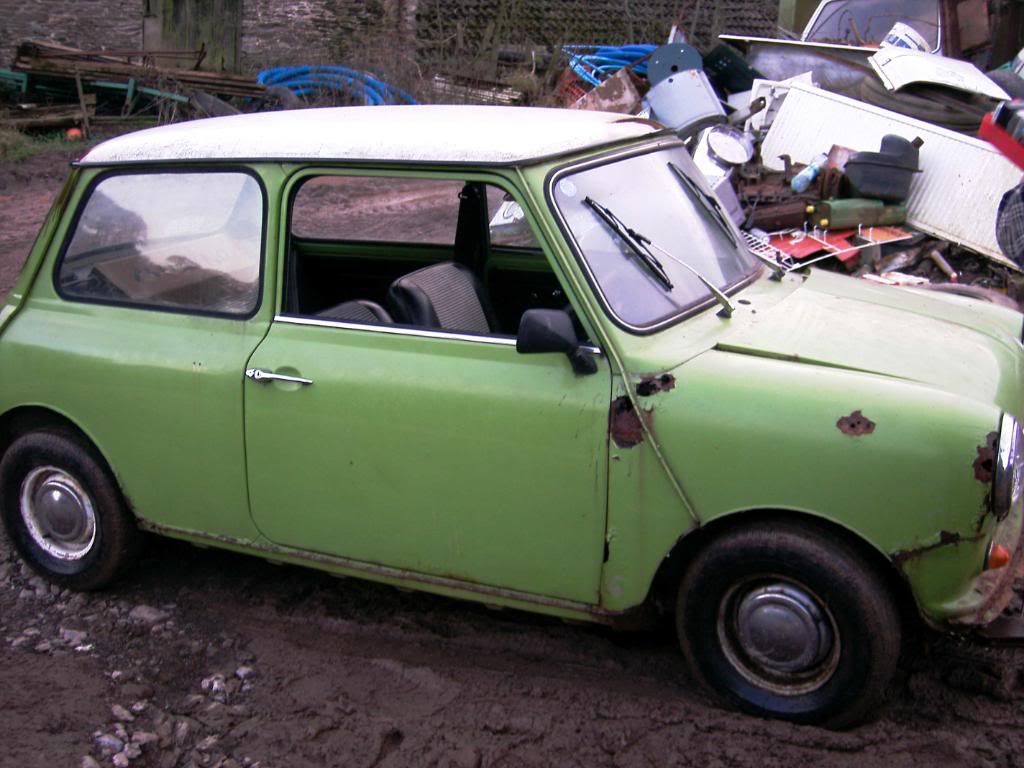
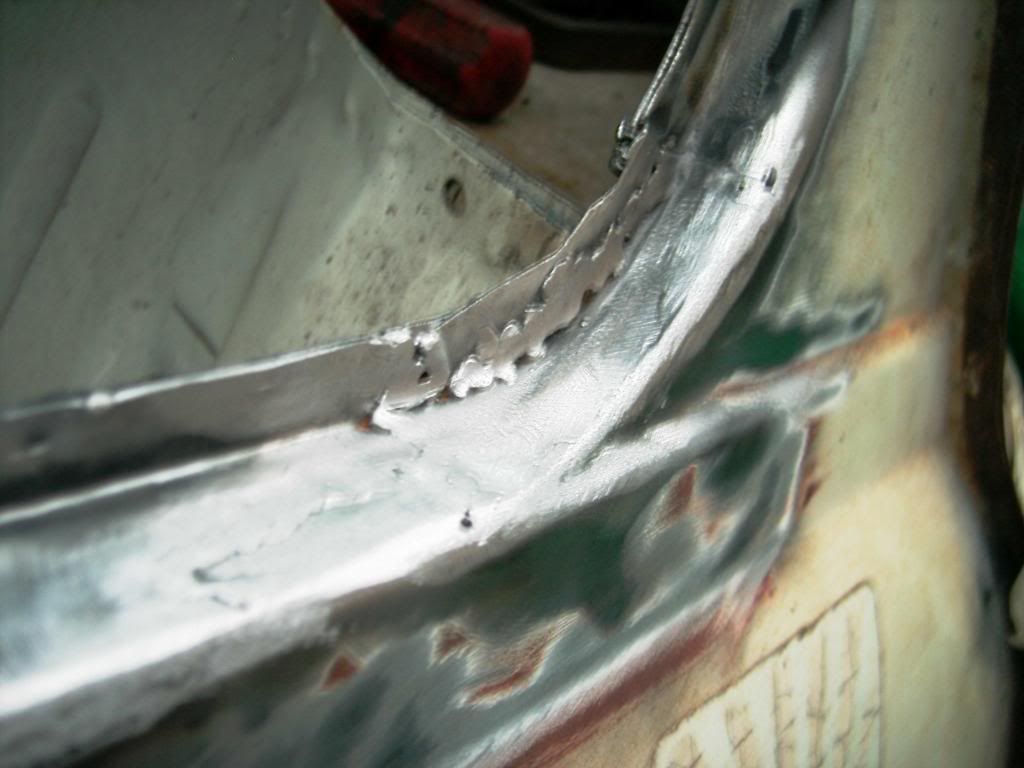
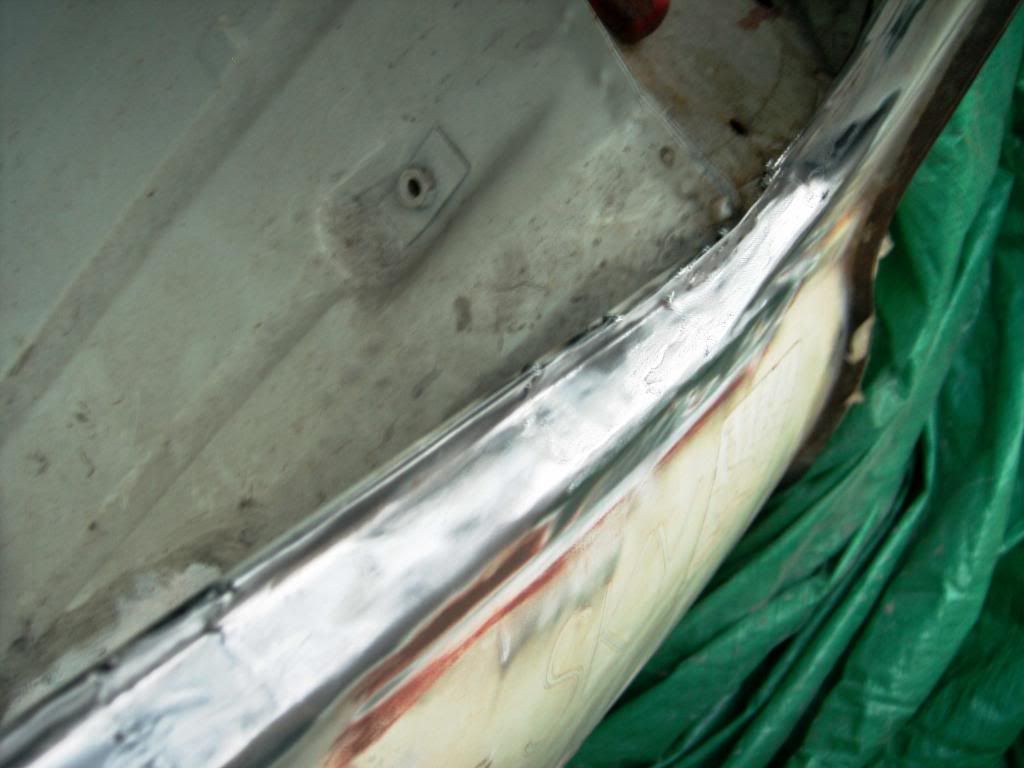
So who's Mini is the green/yellow one then? The sky looks to be comming along nicely. You must love welding
One Carb Or Two?
Posted 25 January 2009 - 09:20 PM
So who's Mini is the green/yellow one then? The sky looks to be comming along nicely. You must love welding
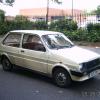
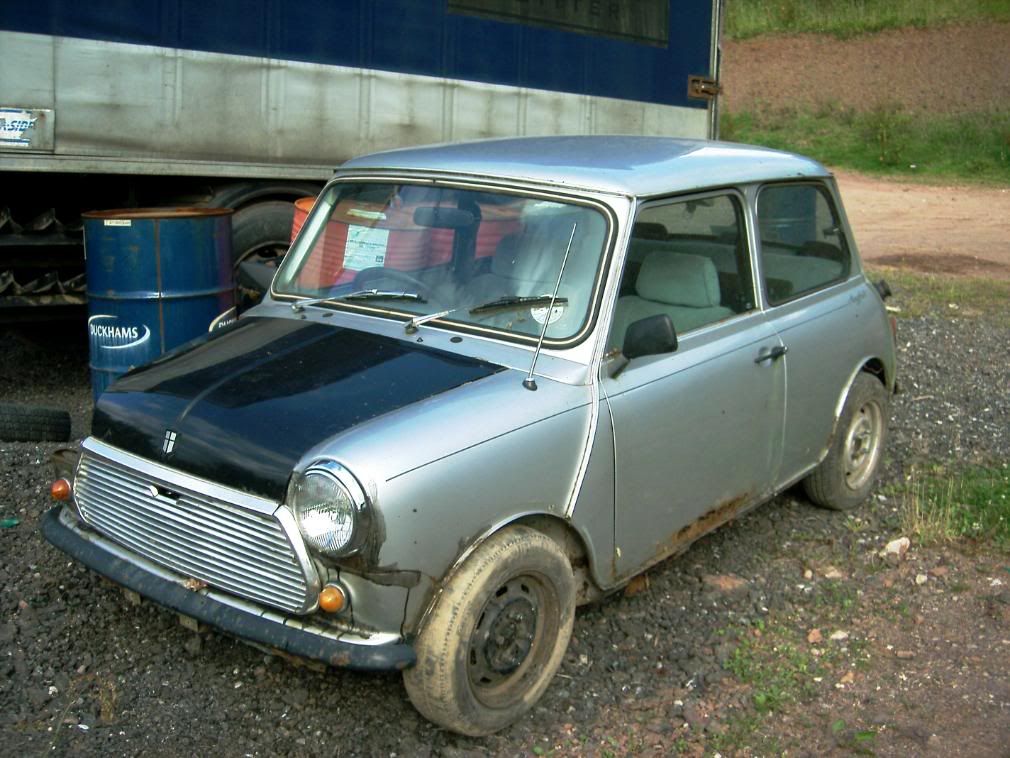
its my project in waiting!!!, the silver one came along at the right price, so i brought that with the intention of restoring it in a year or 2, then the green/yellow one (now called jack, becuase its apple jack) came along at a better price in a better condition, so this one will be fully restored in a year or two, then i will sell it on. i just gotta decide on a theme for it!!! LOL
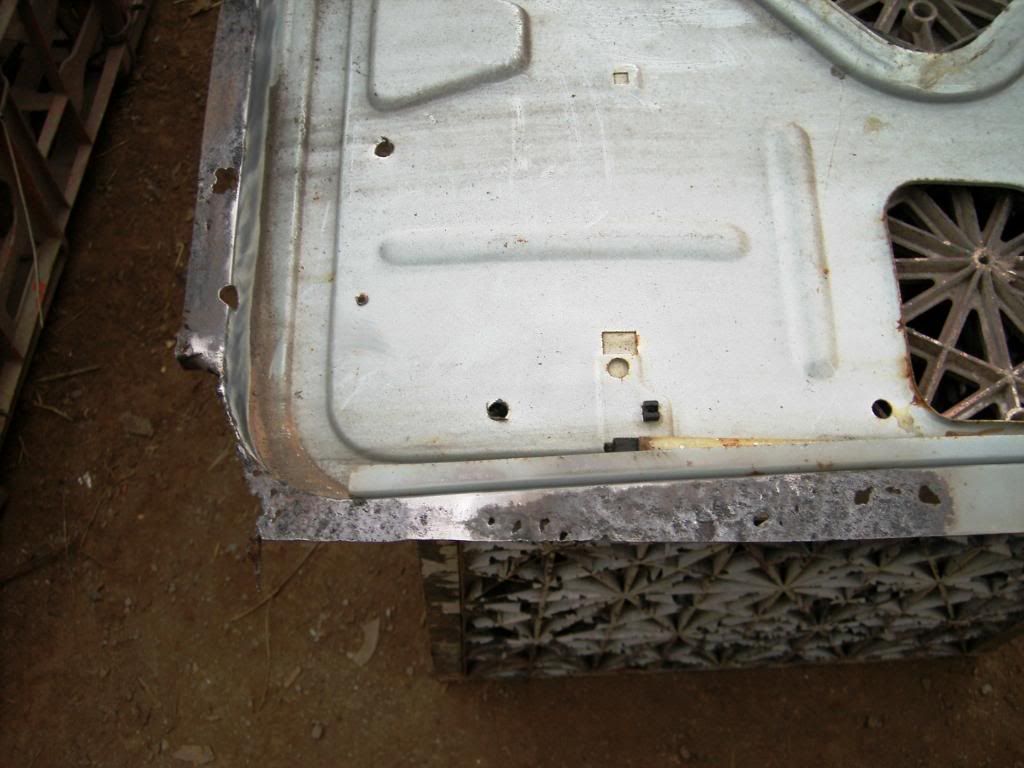
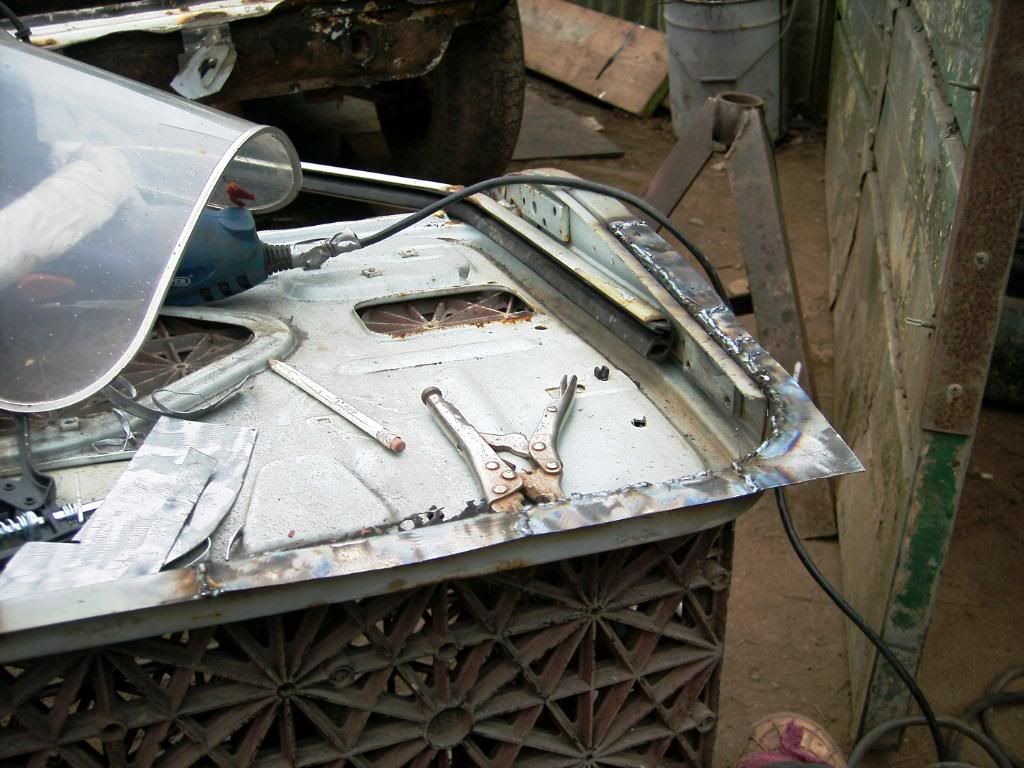
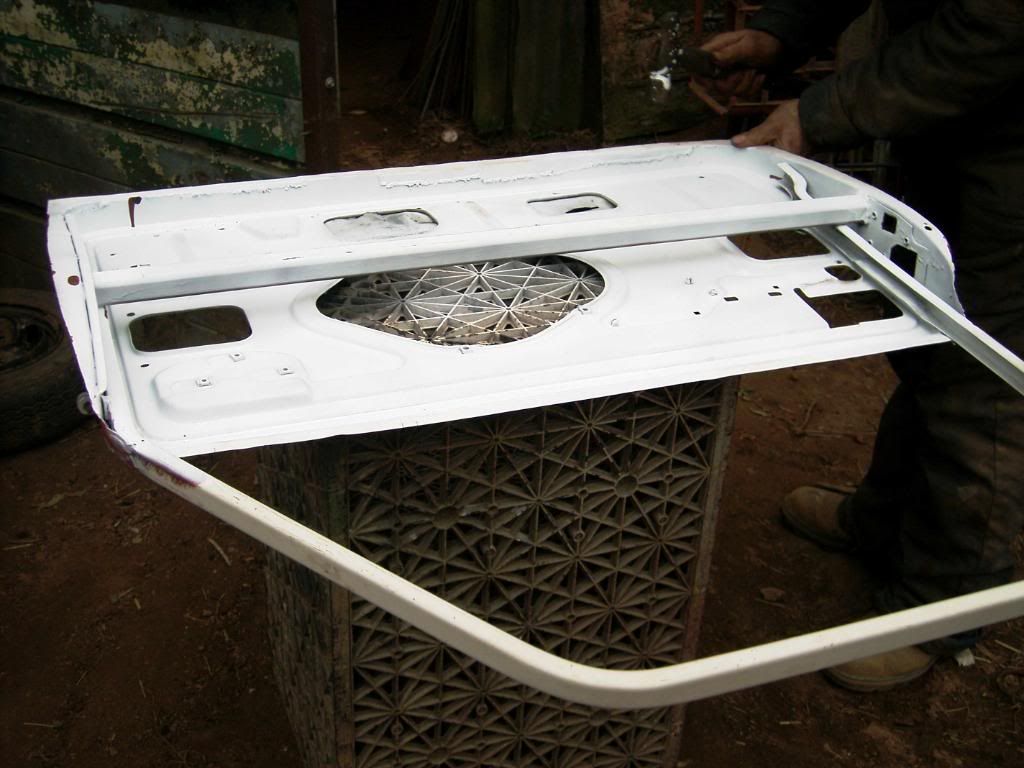
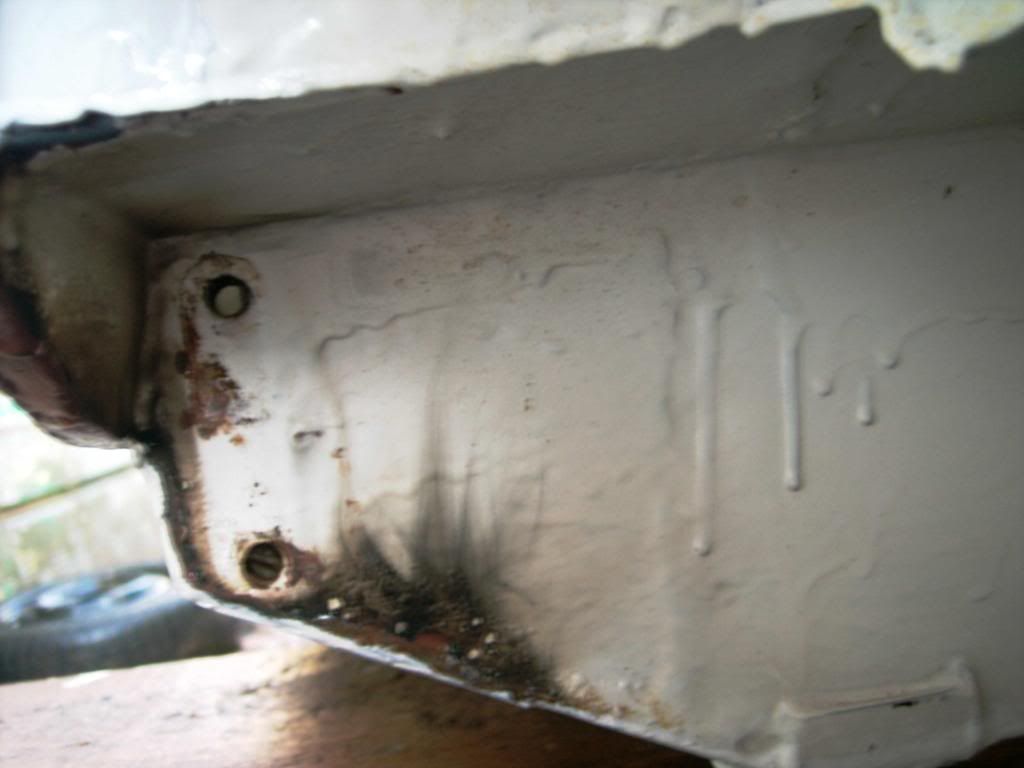
and yeah i love welding!!!! its a good job with rusty minis
One Carb Or Two?
Posted 26 January 2009 - 11:32 AM
So who's Mini is the green/yellow one then? The sky looks to be comming along nicely. You must love welding
its my project in waiting!!!, the silver one came along at the right price, so i brought that with the intention of restoring it in a year or 2, then the green/yellow one (now called jack, becuase its apple jack) came along at a better price in a better condition, so this one will be fully restored in a year or two, then i will sell it on. i just gotta decide on a theme for it!!! LOL
and yeah i love welding!!!! its a good job with rusty minis
don worry i am trying to sort them door cards ouyt honestly i am:d trying to think of a way of parceling them up
One Carb Or Two?
Posted 26 January 2009 - 09:05 PM
Up Into Fourth

Posted 26 January 2009 - 09:28 PM


0 members, 0 guests, 0 anonymous users


