decent!! i thought about making some glass door cards specially for tweeters, and painting em body colour, keep up the good work though, nice one


First Mini
Started by
Amy_90
, Feb 25 2009 02:17 PM
97 replies to this topic
#61

samsfern
-

- Members
-

- 5,243 posts
Likes Rovers, loves Jeremy Kyle
- Location: Ringwold, kent
- Local Club: medway mini club/medwaymonkeys
Posted 15 September 2009 - 11:20 PM
#62
skaterava
-

- Members
-
- 1,857 posts
Camshaft & Stage Two Head
- Location: Herts
Posted 16 September 2009 - 09:25 AM
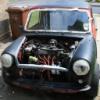
Funny, i also have a dark blue Mini and i'm planning on surprising my girlfriend with a bright green Mini sometime in the near future! 
#63
pbrain
-
- Members
-
- 431 posts
Speeding Along Now
- Local Club: not yet
Posted 16 September 2009 - 01:34 PM
Yeah Mike the painter showed me how to use the orbital, and then as a bonus offered to skim filler the whole lot for me if I just bought him the filler
So after a few days of no progress, I'm pretty close to finishing. Hopefully start painting tomorrow. Check it out:

This looks like a real nice job, what filler did you use?
#64
leaky
-

- TMF+ Member
-
- 6,890 posts
Iv never hit a penguin in the face with a casserole
- Location: Costa Del Tadley
- Local Club: Basingstoke Mini Club
Posted 16 September 2009 - 08:03 PM

Im stealing that idea. They look so smart good job.
#65
Danny_California
-

- Members
-
- 1,263 posts
One Carb Or Two?
- Location: Warwick
Posted 17 September 2009 - 02:30 PM
Patent pending boyo  Just kidding, go for it! Dont mess about with special wood glue or anything, get straight in there with the Araldite, those pods are bullet proof now lol
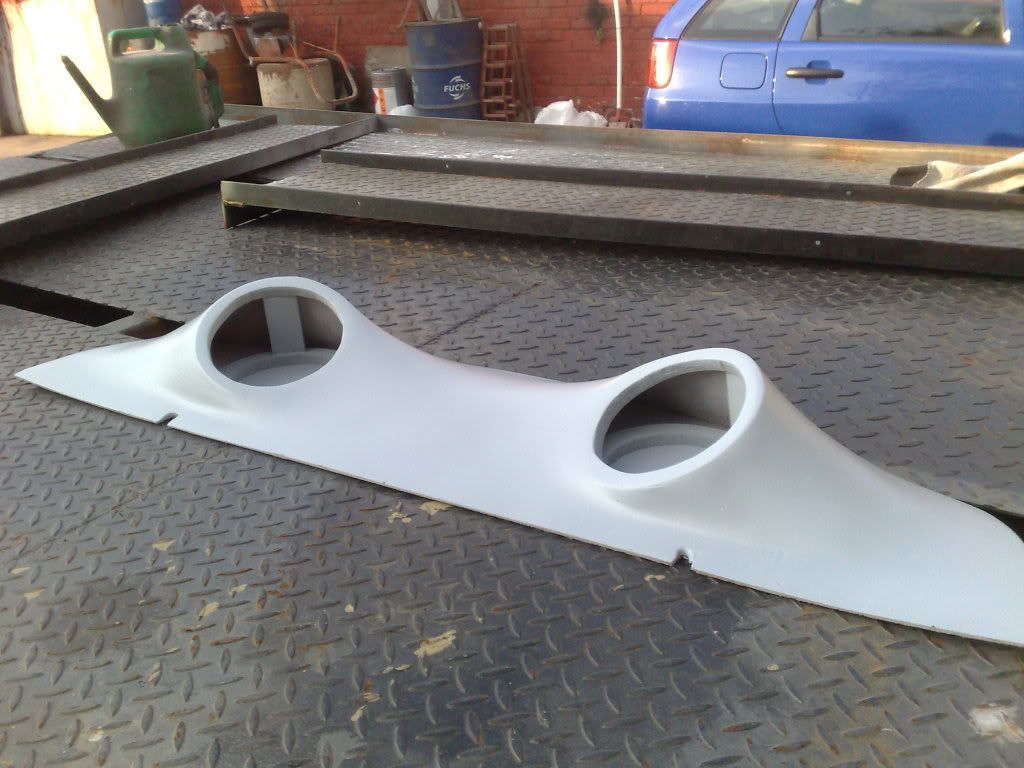
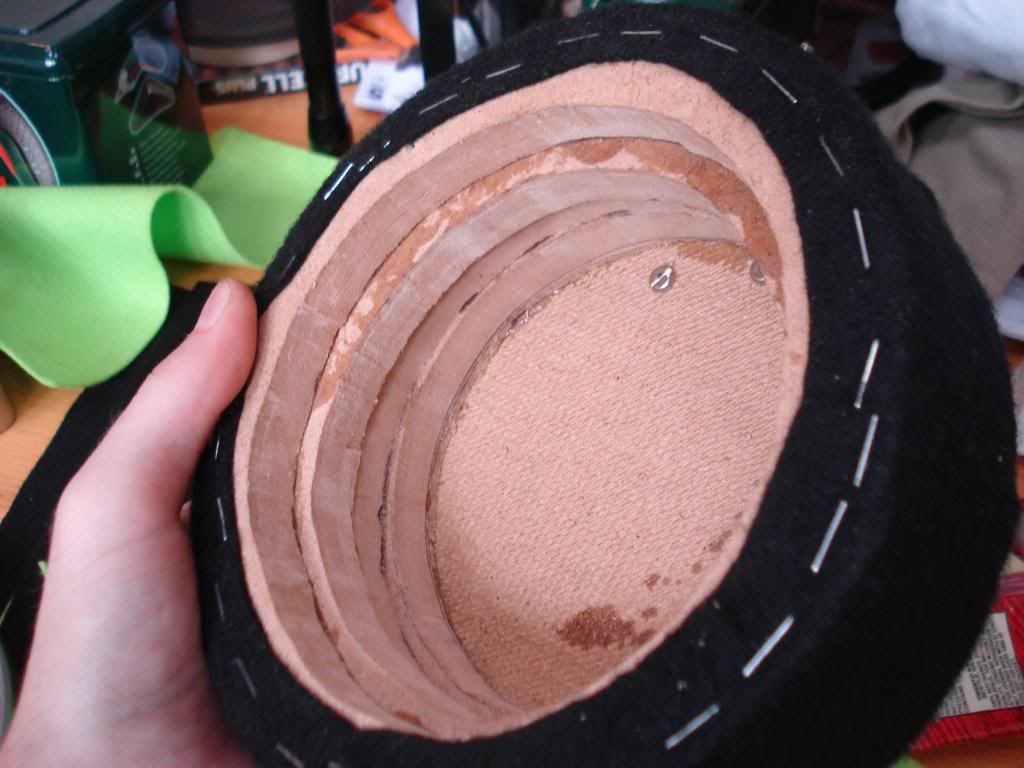
Thanks pbrain, I did the first layer in bog standard P38 easy sand, but went a bit berserk with the orbital and went through the resin in a couple places, so had to use some P40 with fibreglass strands in it to bridge the tiny little holes. Then I had the guy in the garage offer to do the final layer for me, for which he used u-pol easy sand. Then a bit of high build primer, flatted back and prepped, primed again and then painted, flatted back and laquered! Just finished the laquering now, so heres the money shots:


Just kidding, go for it! Dont mess about with special wood glue or anything, get straight in there with the Araldite, those pods are bullet proof now lolThanks pbrain, I did the first layer in bog standard P38 easy sand, but went a bit berserk with the orbital and went through the resin in a couple places, so had to use some P40 with fibreglass strands in it to bridge the tiny little holes. Then I had the guy in the garage offer to do the final layer for me, for which he used u-pol easy sand. Then a bit of high build primer, flatted back and prepped, primed again and then painted, flatted back and laquered! Just finished the laquering now, so heres the money shots:
#66
pbrain
-
- Members
-
- 431 posts
Speeding Along Now
- Local Club: not yet
Posted 20 September 2009 - 04:29 PM
Patent pending boyo
Thanks pbrain, I did the first layer in bog standard P38 easy sand, but went a bit berserk with the orbital and went through the resin in a couple places, so had to use some P40 with fibreglass strands in it to bridge the tiny little holes. Then I had the guy in the garage offer to do the final layer for me, for which he used u-pol easy sand. Then a bit of high build primer, flatted back and prepped, primed again and then painted, flatted back and laquered! Just finished the laquering now, so heres the money shots:
Looks sweet....big thumbs up!
#67
miniallsort
-

- Members
-
- 4,723 posts
Up Into Fourth
Posted 20 September 2009 - 07:53 PM
great thread mate very nice mini
#68
Danny_California
-
- Members
-
- 1,263 posts
One Carb Or Two?
- Location: Warwick
Posted 20 September 2009 - 09:06 PM
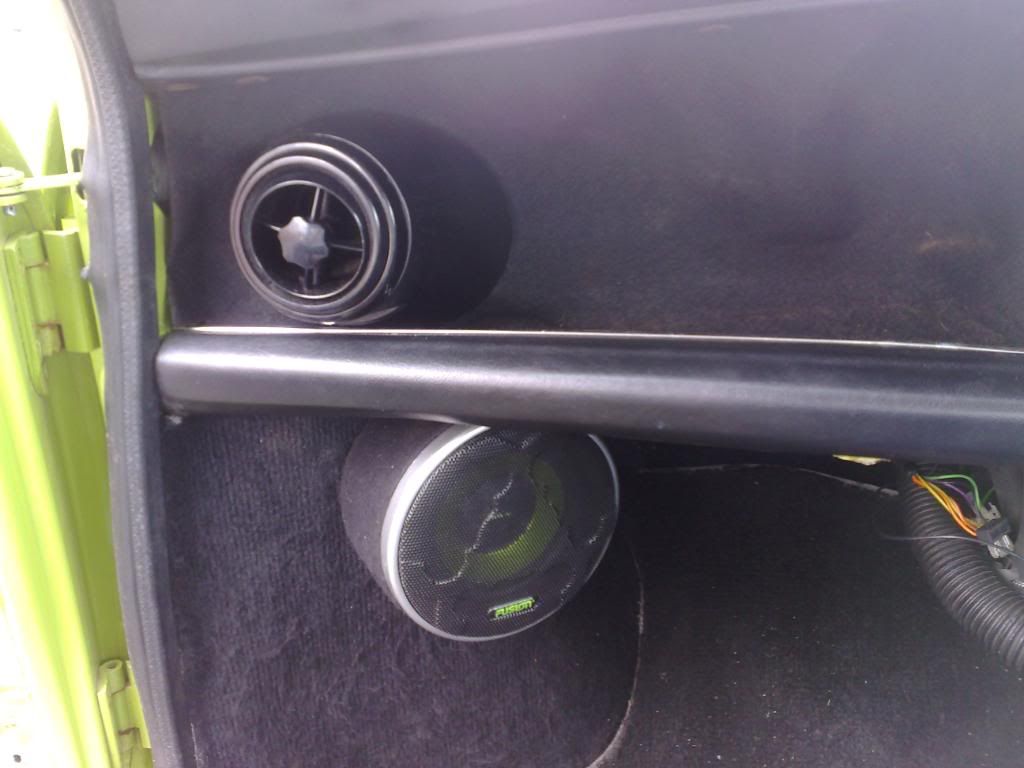
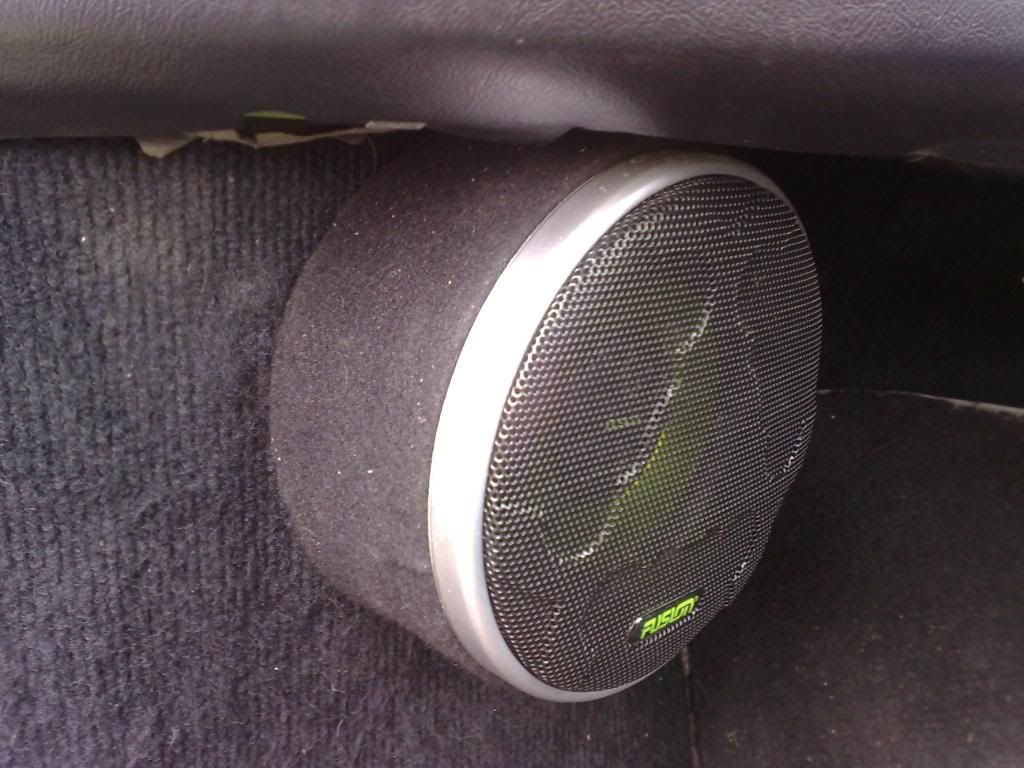
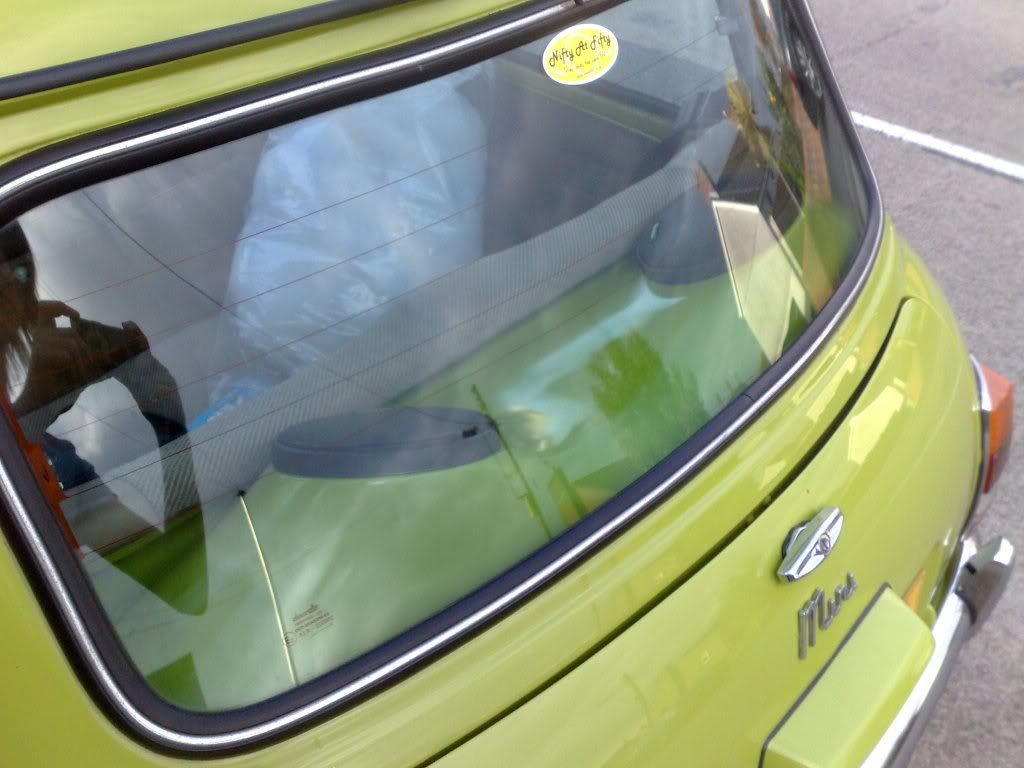
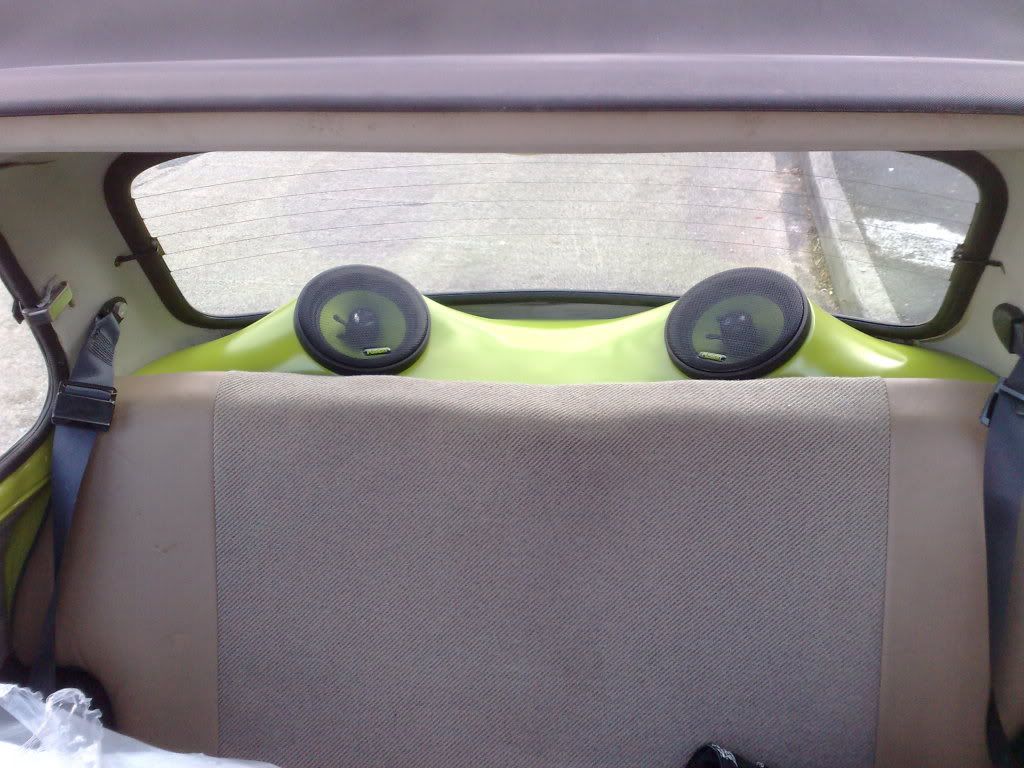
Thanks peeps! Forgot to stick up the pics I took of it roughly mounted in the back, without any screws in place:
Unfortunately amys not taken the car with her to uni, so its all just sitting there now Oh well atleast it looks nice sitting there lol
Probably not gonna be any work done now since we're in separate uni's, so got knows when I'll get spannering on snobby next! He'll be at castle combe on saturday though if anyone wants to check him out! Feel free to come talk to us, we dont bite hehe
Unfortunately amys not taken the car with her to uni, so its all just sitting there now
Oh well atleast it looks nice sitting there lolProbably not gonna be any work done now since we're in separate uni's, so got knows when I'll get spannering on snobby next! He'll be at castle combe on saturday though if anyone wants to check him out! Feel free to come talk to us, we dont bite hehe
#69
Matt
-

- TMF+ Member
-
- 4,703 posts
Up Into Fourth
- Location: Reading
- Local Club: The mini forum - i live here
Posted 23 September 2009 - 09:20 PM
WANT MORE!
*sits with popcorn awaiting piccies*
*sits with popcorn awaiting piccies*
#70
Danny_California
-
- Members
-
- 1,263 posts
One Carb Or Two?
- Location: Warwick
Posted 25 September 2009 - 09:14 PM
Sorry dude, on hold for the moment! Not much more to do though to be honest, it was only supposed to be a basic install, and thats what it is. Might add an amp at some point and make an install in the boot on the firewall, but I'm in uni now and the car is a good hour and a half drive away lol
#71
leaky
-
- TMF+ Member
-
- 6,890 posts
Iv never hit a penguin in the face with a casserole
- Location: Costa Del Tadley
- Local Club: Basingstoke Mini Club
Posted 25 September 2009 - 09:36 PM
Looks really smart. I will be at castle combe 2moz so will keep an eye out of it.
#72
mymini007
-

- Members
-
- 2,046 posts
Up Into Fourth
Posted 28 September 2009 - 10:34 AM
Thanks, its looking ok so far, lot of work left though. Got to wait for the resin to dry for a bit longer I think, but I wont have a chance to get on with the next step till tomorrow now anyway.
Heres a quick mobile pic of it after the first coat of resin:

Hi, where do you get this resin from and what is the material that you have used?
#73
Amy_90
-
- Noobies
-
- 25 posts
Passed Test
- Local Club: South Wales Minis
Posted 01 October 2009 - 12:02 PM
unfortunately i was ill (freshers flu!) and couldnt come to castle combe, cant wait to get back home and drive my mini around, i miss him sooo much!!!!
#74
stevedx
-

- Members
-
- 1,312 posts
One Carb Or Two?
- Local Club: brighton mini club
Posted 01 October 2009 - 01:07 PM
nice looking mini, i love the green
#75
Bert
-

- Members
-
- 303 posts
Speeding Along Now
- Location: uk
Posted 13 October 2009 - 02:06 PM
I like this man...looks good i might try imitate it and use it in mine as my bootlid build has changed slightly...


0 user(s) are reading this topic
0 members, 0 guests, 0 anonymous users


