Aaah man, gutted...
What's the sticking point, if you don't mid me asking??


My gt2056 1380 turbo build
Started by
rick.spi
, Jun 22 2009 07:53 PM
157 replies to this topic
#91

MiniLandy
-
- Members
-

- 796 posts
One Carb Or Two?
- Location: Ramsey, Cambs.
- Local Club: HAMOC
Posted 14 August 2010 - 12:52 PM
#92
rick.spi
-
- Members
-
- 1,686 posts
Camshaft & Stage Two Head
- Local Club: "WOT NO BRAKES"
Posted 14 August 2010 - 01:57 PM
bearings mainly... seems to be a shortage of what i need..
#93
rick.spi
-
- Members
-
- 1,686 posts
Camshaft & Stage Two Head
- Local Club: "WOT NO BRAKES"
Posted 15 August 2010 - 08:30 PM
well. anyways crack on eh. i did some work last week but didnt update the thread.
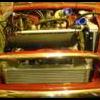
with martains help i placed a mock up engine in to mount my intercooler and order the piping, this was my best outcome...
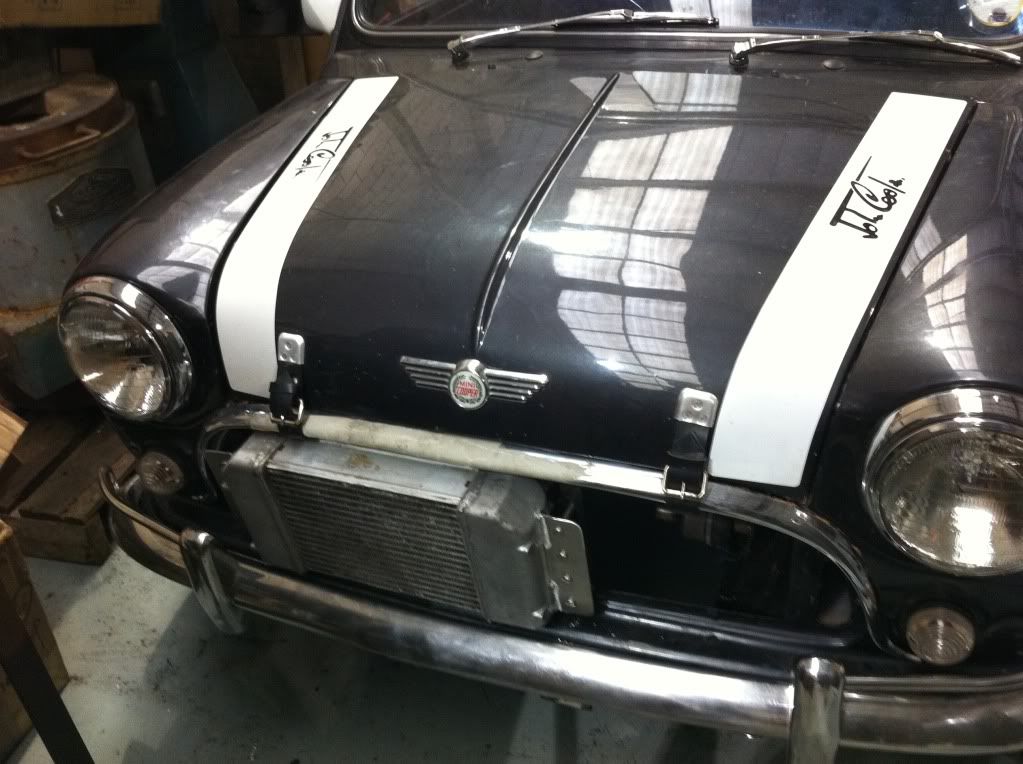
nice snug fit. luckily its a pretty good size for ease of piping, dont think i will be running a front grille tho.
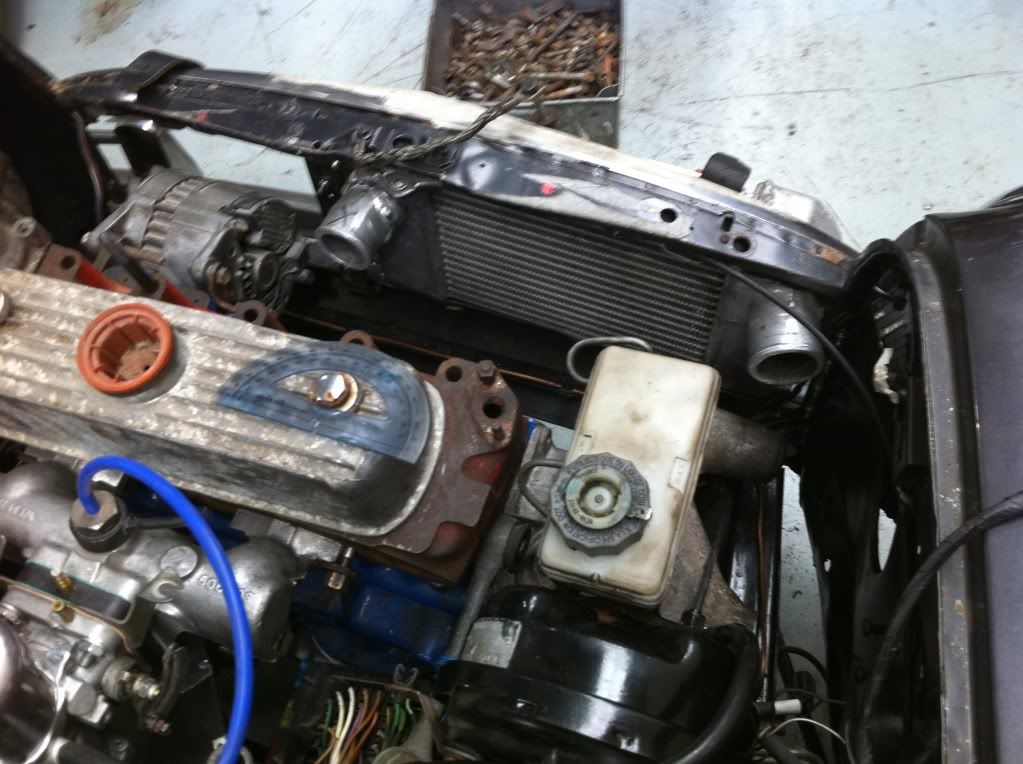
matched the exhaust manifld to the gasket:
Opened up the turbo end:
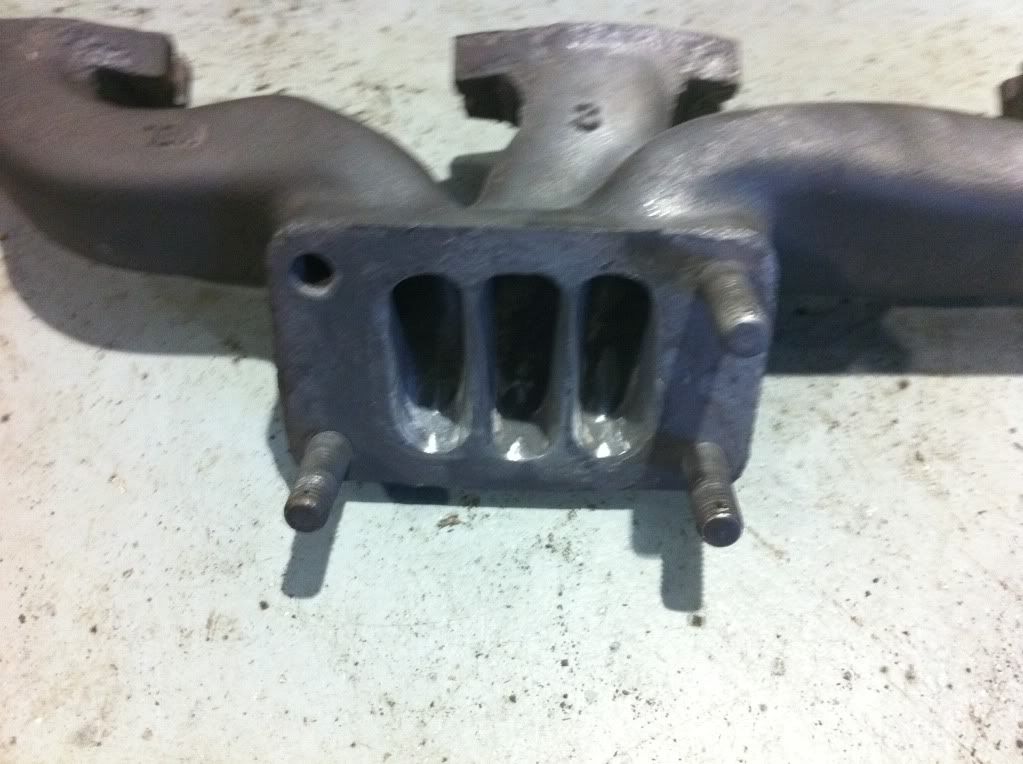
didnt dare go any more.
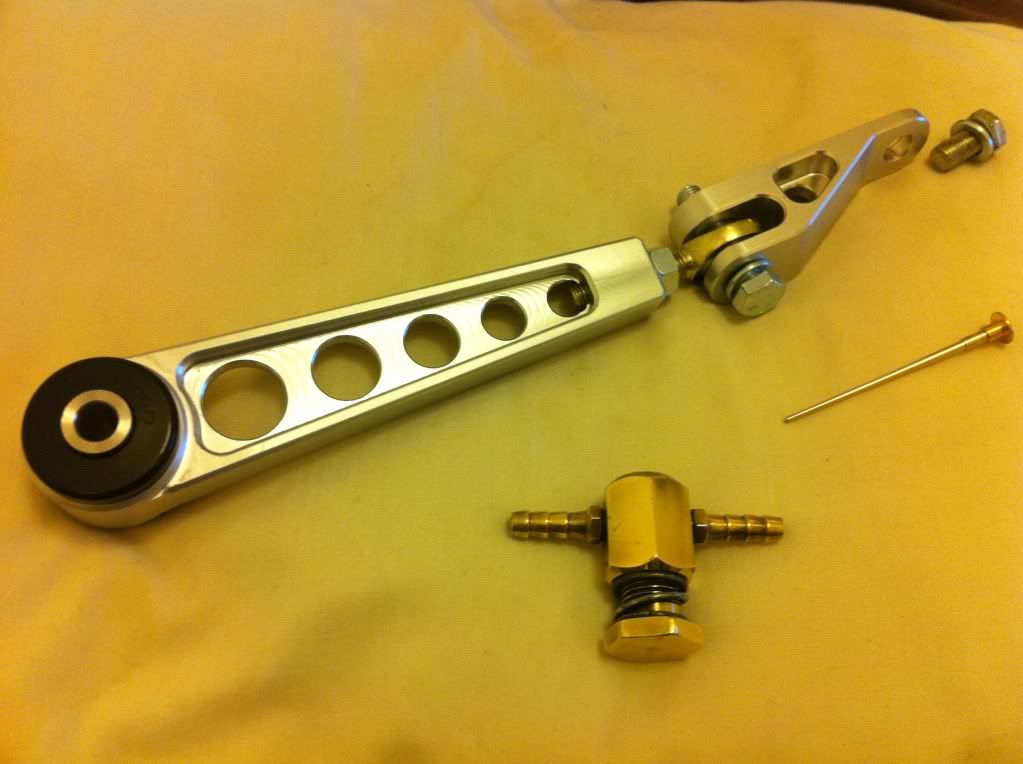
and to get my head of being gelous of the minis running the strip i treated myself to a lovely steady bar. and some goodies off turbo phil.
bigger updates to come soon....
i promise...
with martains help i placed a mock up engine in to mount my intercooler and order the piping, this was my best outcome...
nice snug fit. luckily its a pretty good size for ease of piping, dont think i will be running a front grille tho.
matched the exhaust manifld to the gasket:
Opened up the turbo end:
didnt dare go any more.
and to get my head of being gelous of the minis running the strip i treated myself to a lovely steady bar. and some goodies off turbo phil.
bigger updates to come soon....
i promise...
Edited by rick.spi, 30 November 2010 - 12:17 AM.
#94
rick.spi
-
- Members
-
- 1,686 posts
Camshaft & Stage Two Head
- Local Club: "WOT NO BRAKES"
Posted 29 November 2010 - 11:59 PM
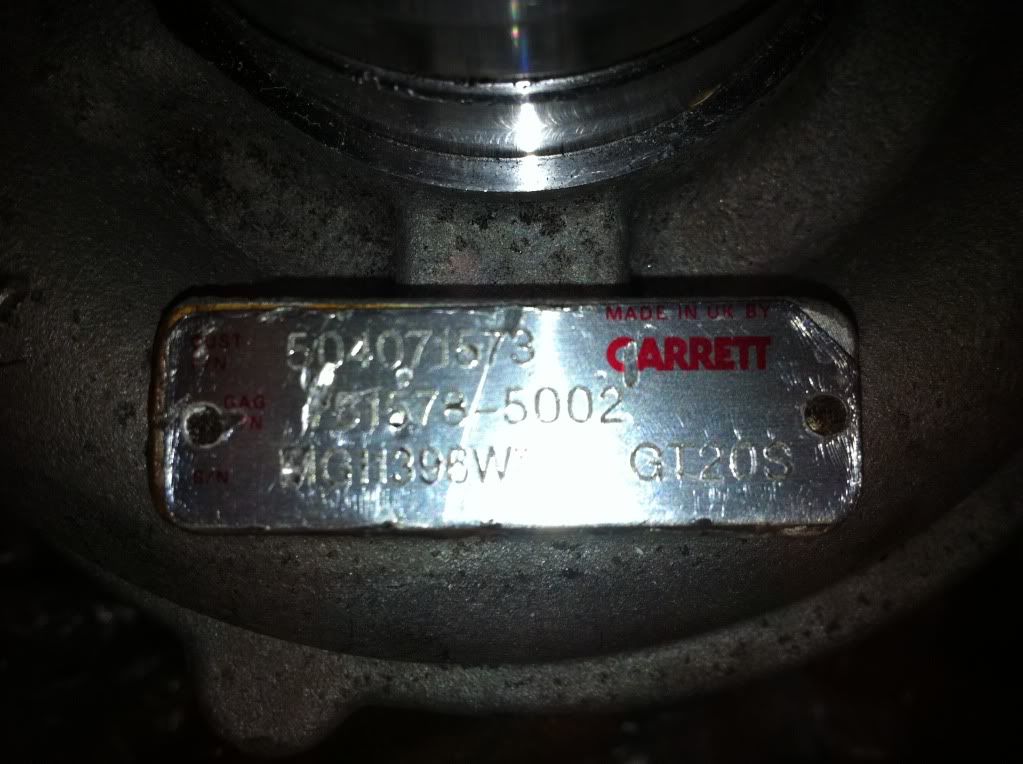
were still waiting for various bits, mainly bits to be able to finish other bits so no progress really but i have brought this:

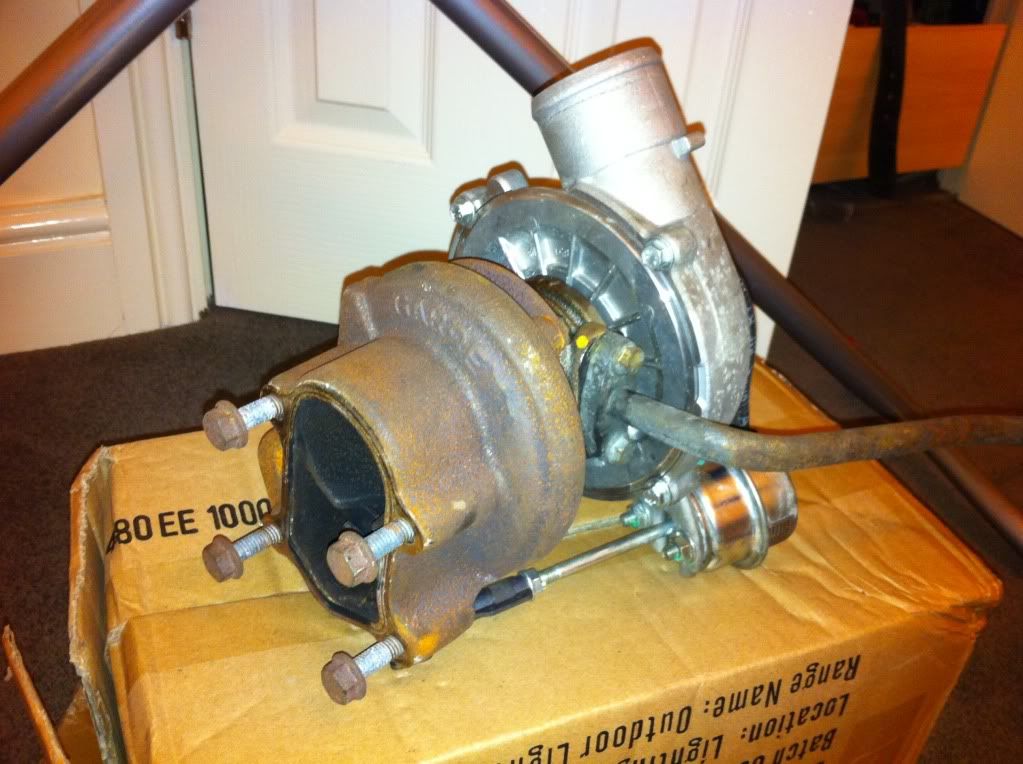
so if anyone wants to buy a T3 (with a ported elbow) then drop me a PM
so if anyone wants to buy a T3 (with a ported elbow) then drop me a PM
Edited by rick.spi, 30 November 2010 - 12:18 AM.
#95
mini13
-
- Members
-
- 3,811 posts
Up Into Fourth
Posted 30 November 2010 - 12:21 AM
Rick,
Pull that nasty poly bush out of the engine steady and put an MPI one in there
Pull that nasty poly bush out of the engine steady and put an MPI one in there
#96
rick.spi
-
- Members
-
- 1,686 posts
Camshaft & Stage Two Head
- Local Club: "WOT NO BRAKES"
Posted 30 November 2010 - 02:46 PM
What the reasoning behind that? Surely the poly bush is superior?
#97
mini13
-
- Members
-
- 3,811 posts
Up Into Fourth
Posted 30 November 2010 - 04:56 PM
I've always found that the poly bushes quickly end up with slack, the MPI bushes are rubber based so dont end up with the slack.
these are the ones I'm using, Uprated MPI ones, I also use them in the bottom engine steadys but you have to drill them out for that.
http://www.minispare...=...2271&title=
these are the ones I'm using, Uprated MPI ones, I also use them in the bottom engine steadys but you have to drill them out for that.
http://www.minispare...=...2271&title=
#98
rick.spi
-
- Members
-
- 1,686 posts
Camshaft & Stage Two Head
- Local Club: "WOT NO BRAKES"
Posted 01 December 2010 - 12:52 AM
ok ill bear it in mind whem that bush fails... might aswell use it while its good 
#99
MBarnes
-

- Members
-
- 250 posts
Mini Mad
- Local Club: None
Posted 02 December 2010 - 09:58 PM
Just read through this thread, looks like a beast!
How did you attach your speedo binnacle???
Matt
How did you attach your speedo binnacle???
Matt
#100
rick.spi
-
- Members
-
- 1,686 posts
Camshaft & Stage Two Head
- Local Club: "WOT NO BRAKES"
Posted 03 December 2010 - 12:04 AM
speedo binnacle is attached via 6 bolts in the bulkhead. and then connected via a wiring loom adaptor mate.
we may have some big fun plans for this so keep peeled, ill reveal when its ok'd with the boss.
cheers.
we may have some big fun plans for this so keep peeled, ill reveal when its ok'd with the boss.
cheers.
#101
liirge
-

- Members
-
- 4,097 posts
Up Into Fourth
- Local Club: EDMC AND MMC
Posted 03 December 2010 - 01:14 AM
Agreed on that one! those bushes are allot harder wearingI've always found that the poly bushes quickly end up with slack, the MPI bushes are rubber based so dont end up with the slack.
these are the ones I'm using, Uprated MPI ones, I also use them in the bottom engine steadys but you have to drill them out for that.
http://www.minispare...=...2271&title=
#102
rick.spi
-
- Members
-
- 1,686 posts
Camshaft & Stage Two Head
- Local Club: "WOT NO BRAKES"
Posted 04 December 2010 - 10:50 PM
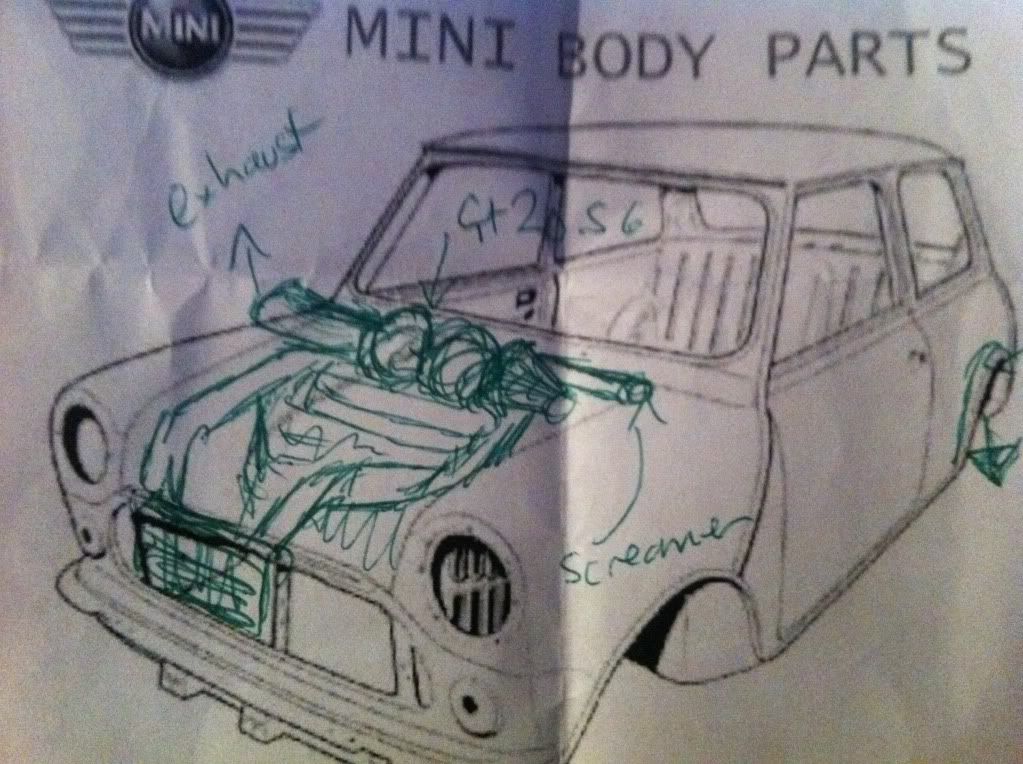 the plan
#103
MBarnes
-
- Members
-
- 250 posts
Mini Mad
- Local Club: None
Posted 04 December 2010 - 11:41 PM
I'll be keeping my eye on this 
Matt
Matt
#104
rick.spi
-
- Members
-
- 1,686 posts
Camshaft & Stage Two Head
- Local Club: "WOT NO BRAKES"
Posted 16 January 2011 - 06:33 PM
had a chop...
before:
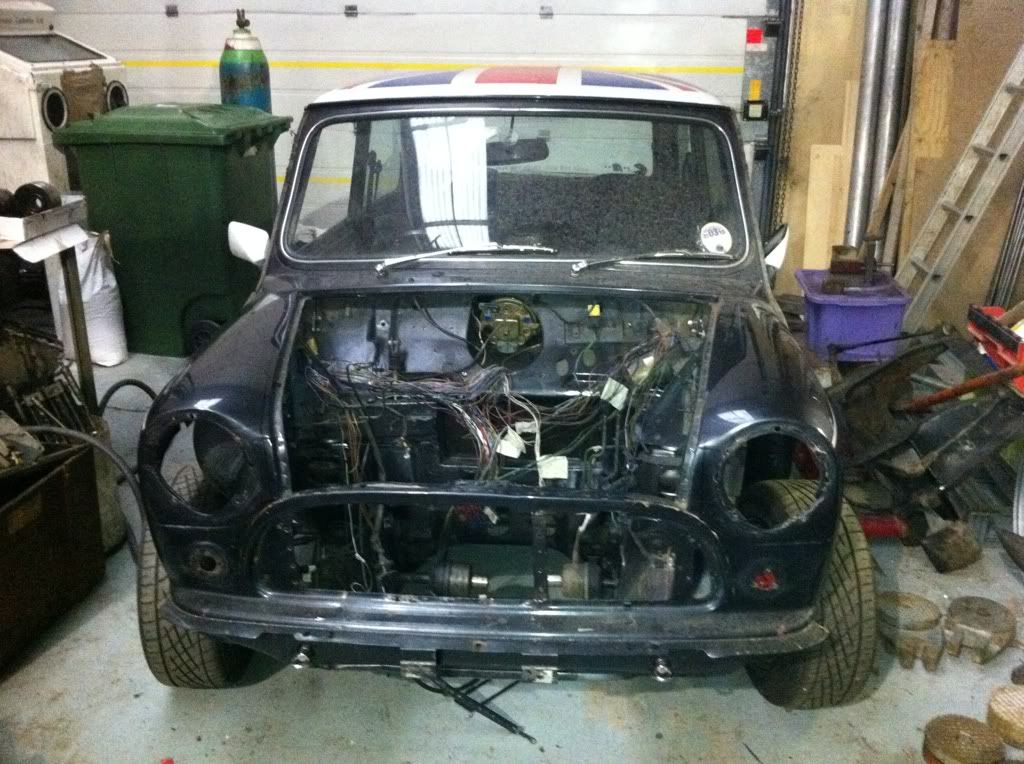
the stuff taken off:
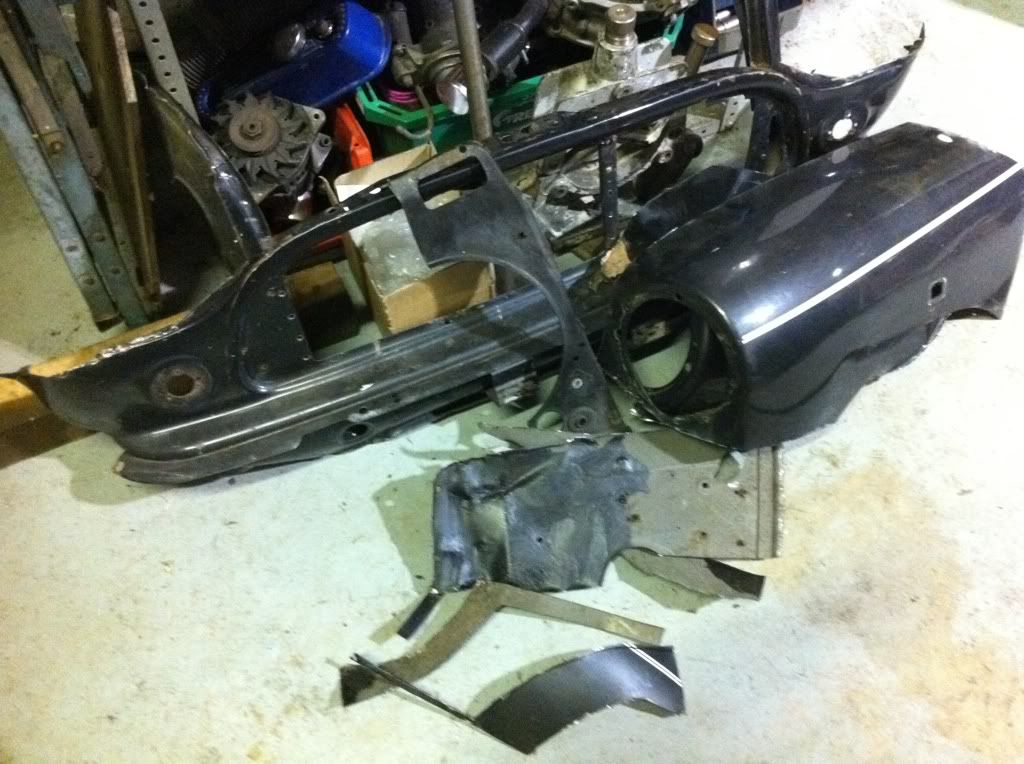
after:
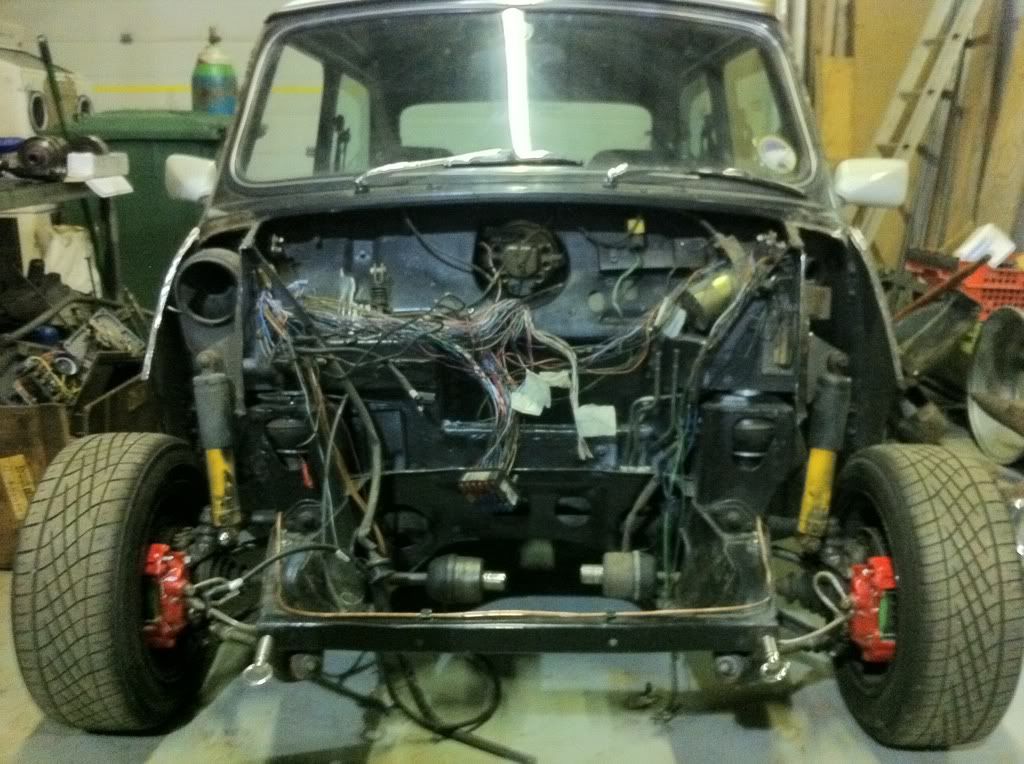
luckily its fairly solid under it all which is a nice supprise, now just need to clean shape and paint.
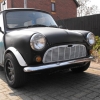
got a nice new front coming my way so the weight saving has now started
before:
the stuff taken off:
after:
luckily its fairly solid under it all which is a nice supprise, now just need to clean shape and paint.
got a nice new front coming my way so the weight saving has now started
Edited by rick.spi, 23 January 2011 - 07:57 PM.
#105
sonikk4
-

- Admin
-
- 16,168 posts
Twisted Paint Polisher!!!
- Name: Neil
- Location: Cotwolds.
Posted 23 January 2011 - 06:43 PM
Happy new year Rick, bloody hell what have you done to the mini. Flip front time is it?? C'mon mate hurry up and get it finished i want a blast in it before i move down Sarf!!!


1 user(s) are reading this topic
0 members, 1 guests, 0 anonymous users


