
 Hehe only kidding!! If I could only see your face now!!
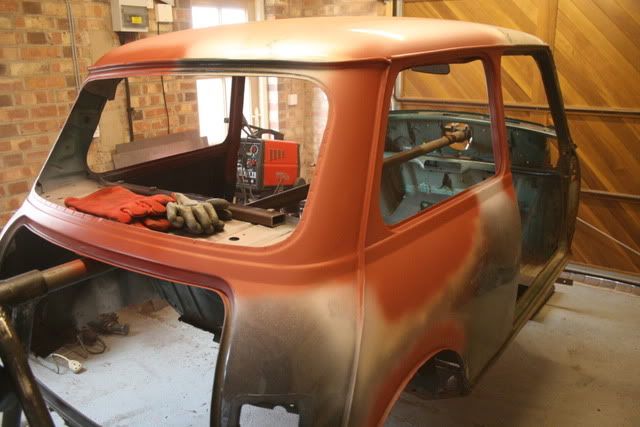
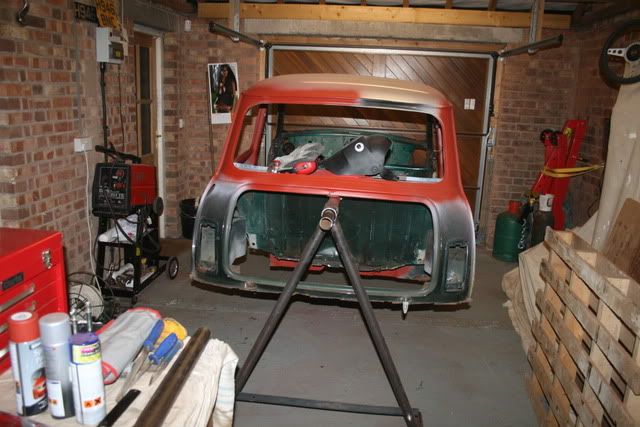
Looking good, It does take a lot of guts to cut a lot of metal away like that but once you see it all starting to go in it all should be good


Has Ratchet, Will Make Noises


Posted 01 September 2010 - 07:45 PM
Hehe only kidding!! If I could only see your face now!!
Have you tried turning it off and on again?

Posted 01 September 2010 - 10:35 PM
 .
.
Up Into Fourth
Posted 02 September 2010 - 06:21 AM
Have you tried turning it off and on again?
Posted 02 September 2010 - 06:52 AM
Up Into Fourth
Posted 02 September 2010 - 09:26 AM
Have you tried turning it off and on again?
Posted 02 September 2010 - 12:11 PM
.
Up Into Fourth
Posted 04 September 2010 - 09:35 AM

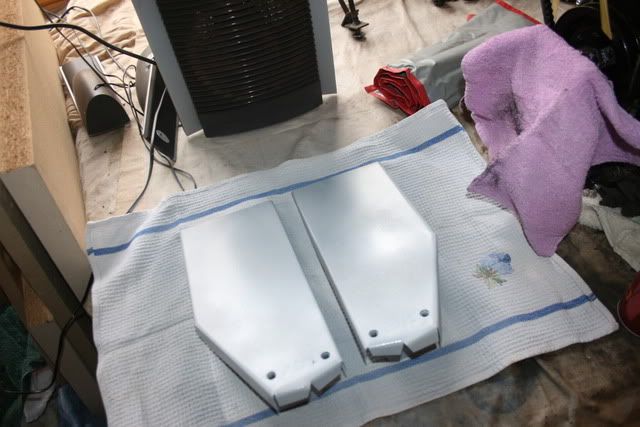
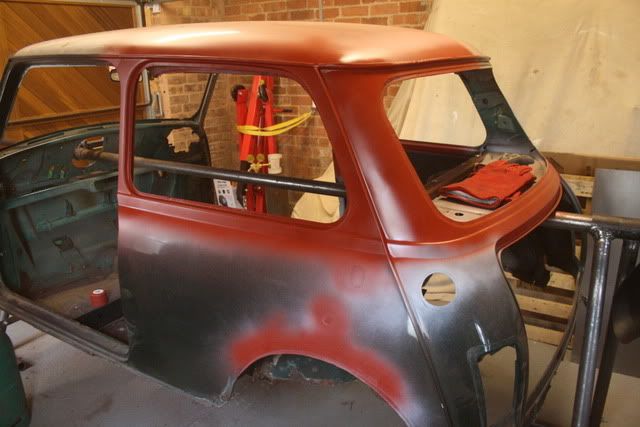
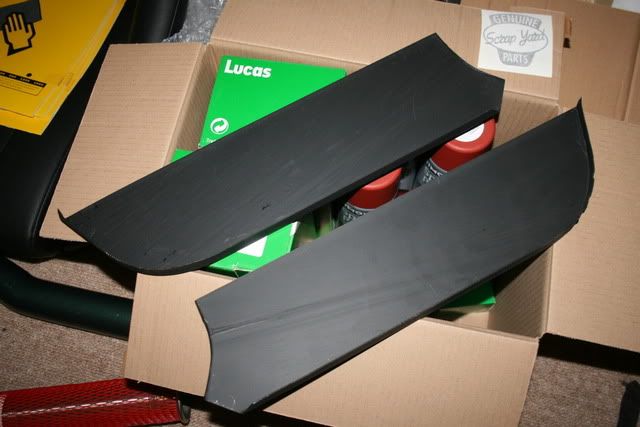
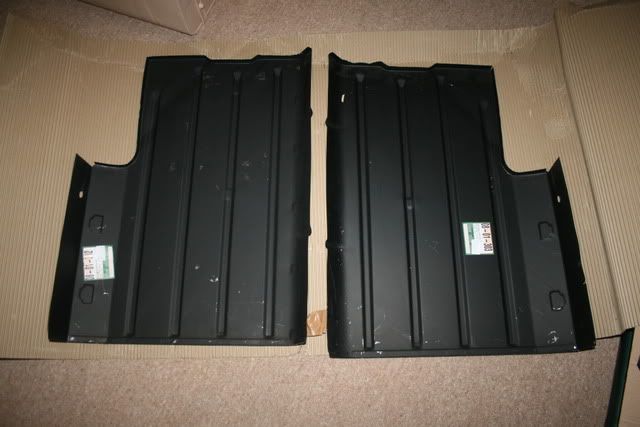
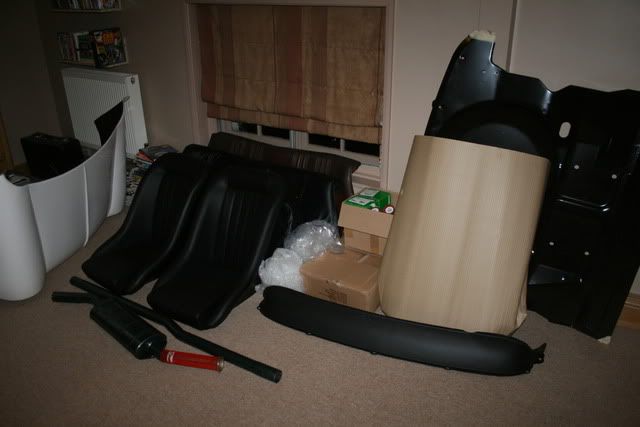
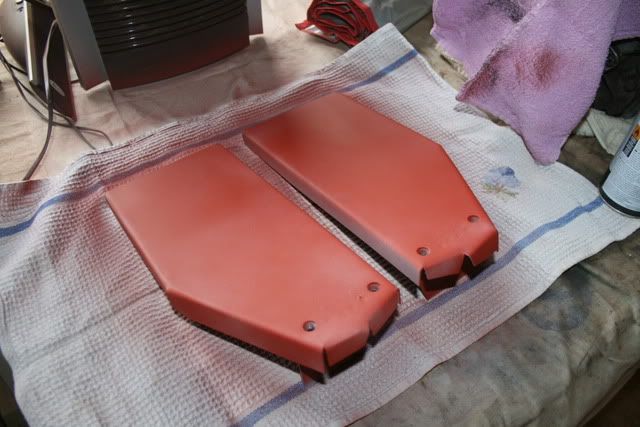 I'll give them a proper all over coat when I next can. But at least they aren't bare metal anymore.
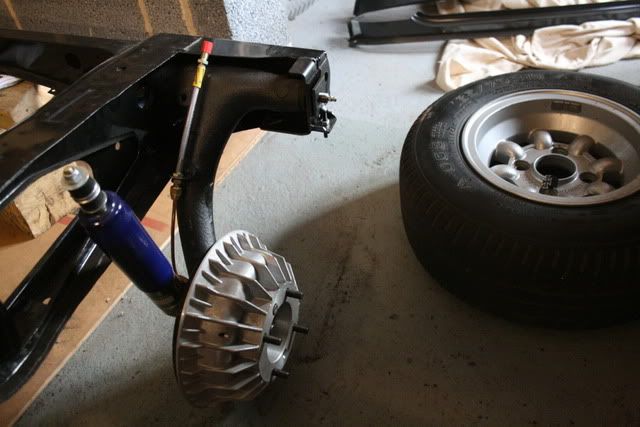
 she'll be all better soon.
Edited by analogue_radio, 05 September 2010 - 06:02 PM.
Have you tried turning it off and on again?
Posted 04 September 2010 - 11:04 AM
Up Into Fourth

Posted 04 September 2010 - 10:16 PM
Up Into Fourth
Posted 05 September 2010 - 05:37 PM


Up Into Fourth
Posted 07 September 2010 - 07:51 PM

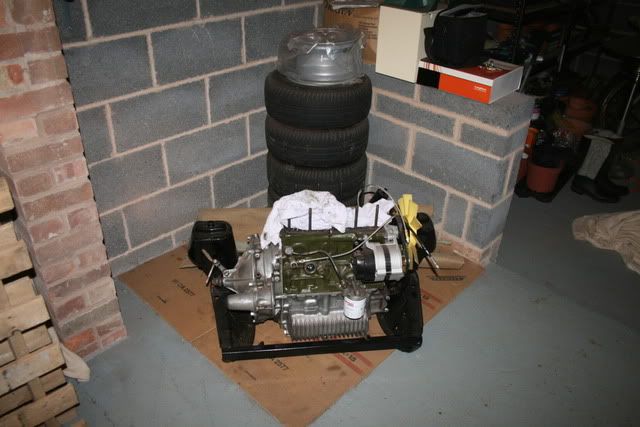
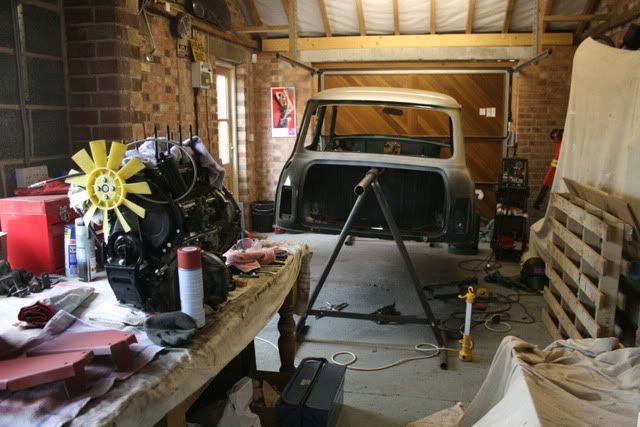
 will be good to keep this free so I can work on refurbing smaller parts. Or Dad can get started on his old Norton
Up Into Fourth
Posted 07 September 2010 - 08:09 PM
Twisted Paint Polisher!!!

Posted 07 September 2010 - 08:14 PM
Up Into Fourth
Posted 07 September 2010 - 08:24 PM
Twisted Paint Polisher!!!
Posted 07 September 2010 - 08:38 PM


0 members, 2 guests, 0 anonymous users


