any idea when your planning to finish it by?
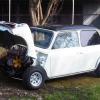
also saw the 10" gb wheels in the backround there, are you using those, there one of my favourite mini wheels


Up Into Fourth


Posted 07 September 2010 - 09:32 PM
Up Into Fourth
Posted 09 September 2010 - 08:38 PM

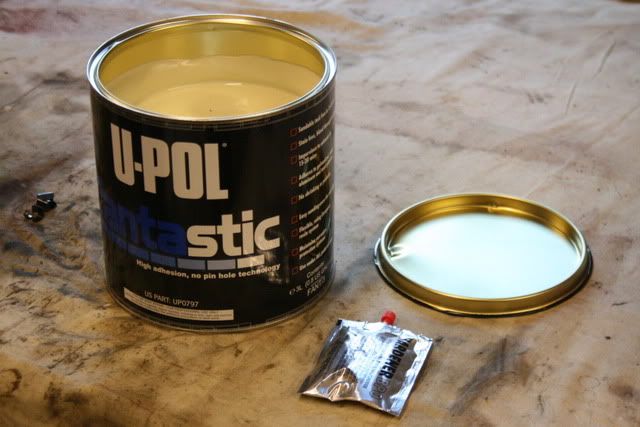

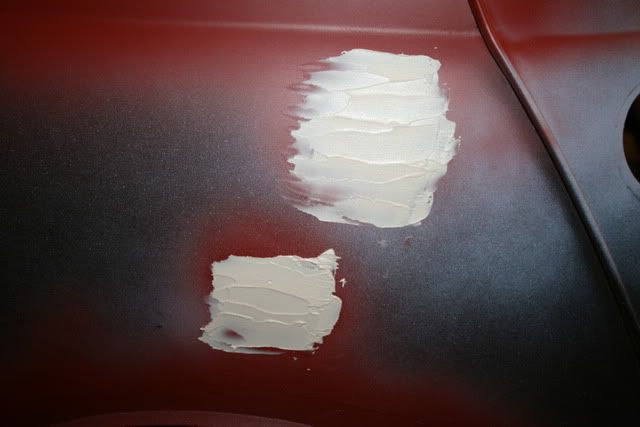
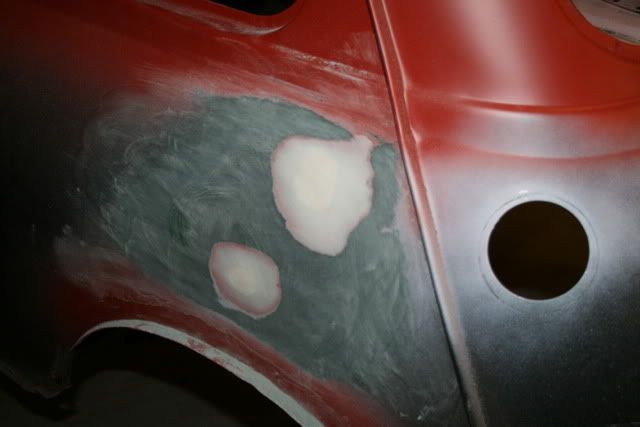
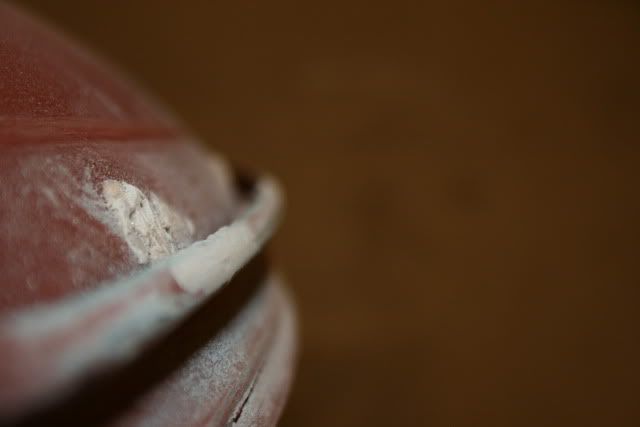
 ) and then sanded down. Starting with 120, then 600 and then 1200.
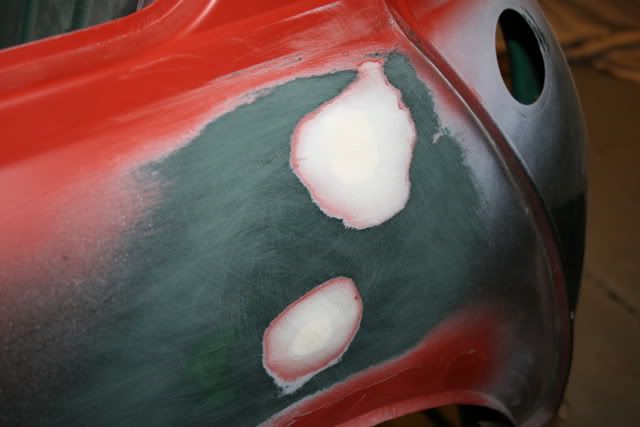

Mini Mad

Posted 09 September 2010 - 08:44 PM
Have you tried turning it off and on again?

Posted 09 September 2010 - 08:48 PM
.
Up Into Fourth
Posted 09 September 2010 - 09:00 PM
I did read somewhere about that being a nono, but I may be wrong.
Have you tried turning it off and on again?
Posted 09 September 2010 - 09:12 PM
Up Into Fourth
Posted 09 September 2010 - 09:17 PM
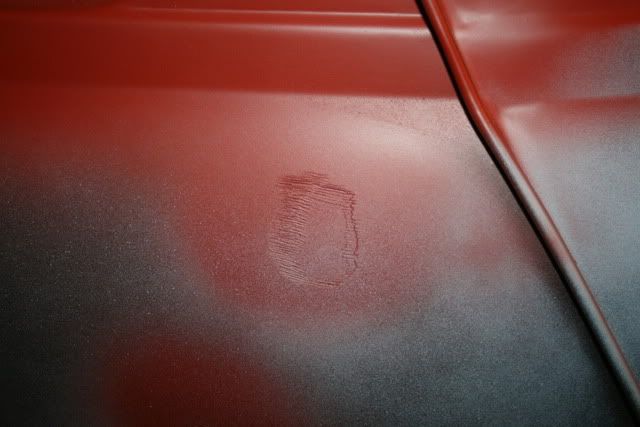
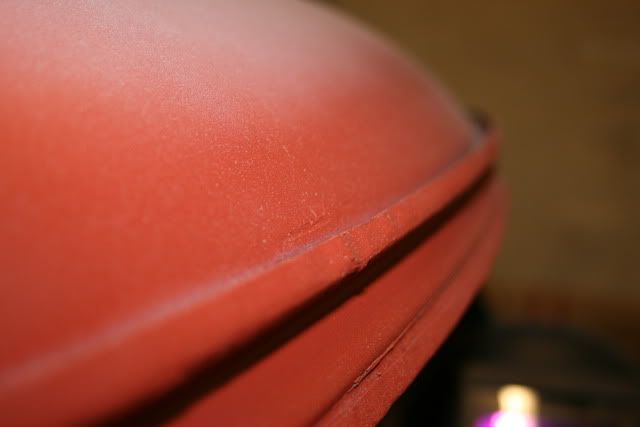
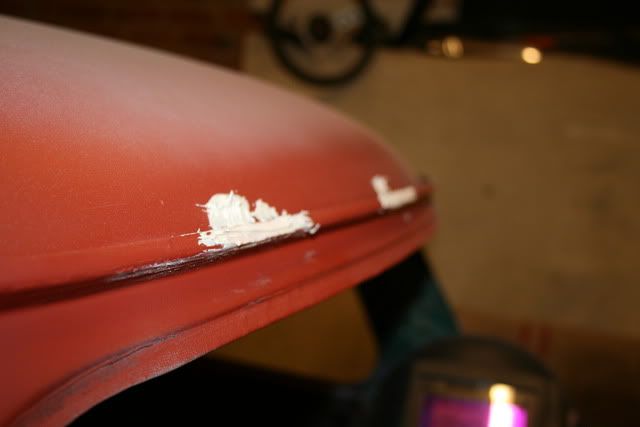
you can however apply over epoxy primer.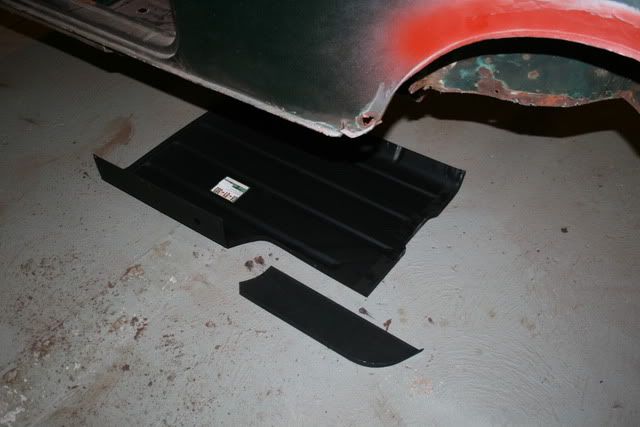 ) welds.
Have you tried turning it off and on again?
Posted 09 September 2010 - 09:49 PM
Up Into Fourth
Posted 26 September 2010 - 02:12 PM


Up Into Fourth
Posted 26 September 2010 - 03:42 PM

Edited by analogue_radio, 26 September 2010 - 03:43 PM.
Up Into Fourth
Posted 26 September 2010 - 05:00 PM
Up Into Fourth
Posted 03 October 2010 - 04:56 PM
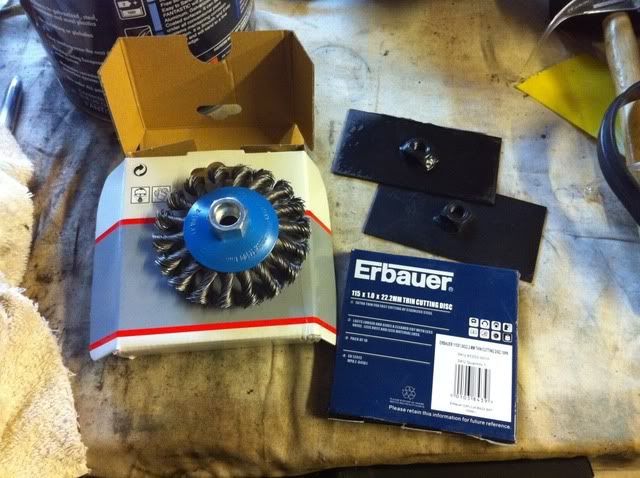 & some more cutting discs.
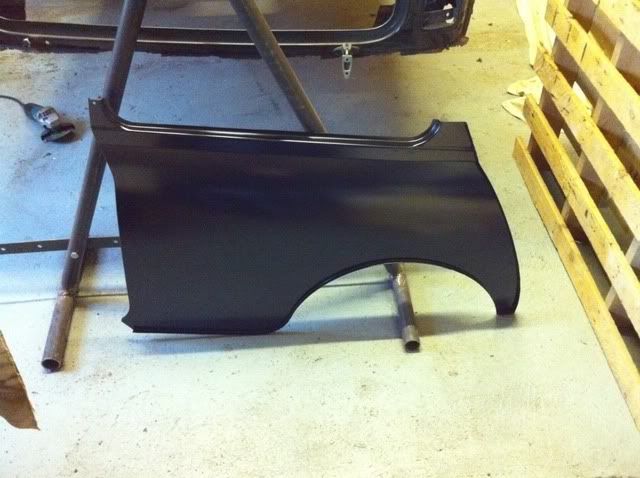
 14 and a 15 hour day! I hopefully should be back next weekend though, with the aid of Camp Freddy to get some bodywork done, all dependent on my uni work load.
One Carb Or Two?
Posted 03 October 2010 - 05:12 PM

Up Into Fourth
Posted 04 October 2010 - 07:42 AM
just had a scan through the DSN classics website and there is some absolutely amazing stuff there, not too badly priced either! It's not necessary as I've got all the bits, just in normal form, not billet alloy form but after seeing how well it compliments an engine bay. I may have to order a few bits.Definitely Not Camp Or A Freddy

Posted 04 October 2010 - 08:38 AM
Few bits and bobs.
Knotted wire wheel brush for the angle grinder, the drill got a bit tired of all the stress and gave up
Panel wise.. the seatbelt mounting plates as above and a NS rear quarter, both genuine.
I've been back all weekend but I've done a bit more work for the company I worked for over summer, earned a bit more cash to fund the project
Edited by camp freddy, 04 October 2010 - 08:40 AM.


0 members, 1 guests, 0 anonymous users


