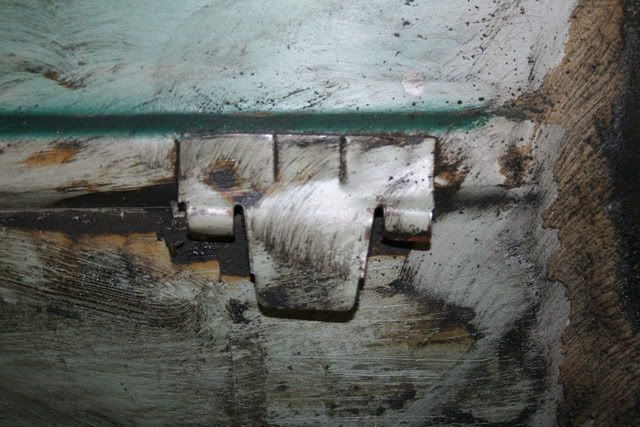
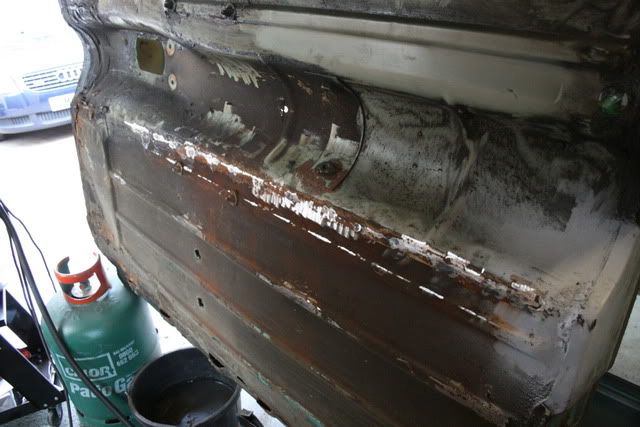
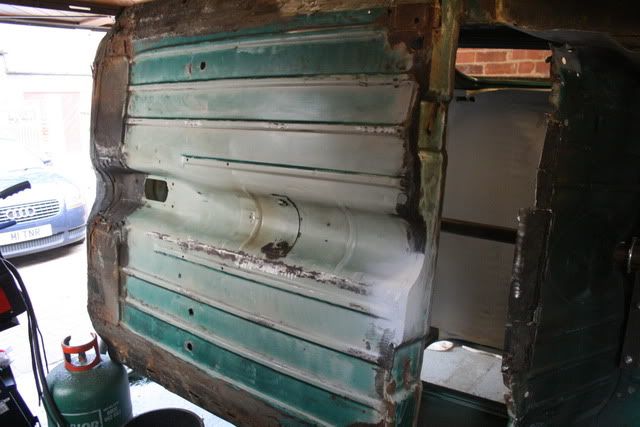
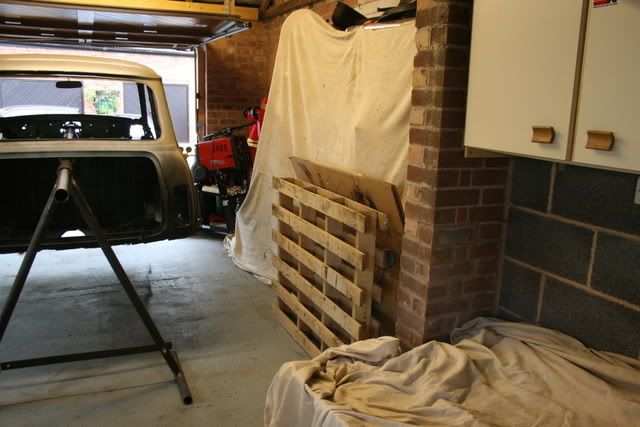
Just uploading some photos of todays work now

& if anyone has a set of doors for sale, let me know! pref almost perfect condition with all the internals.


Up Into Fourth

Posted 22 August 2010 - 06:33 PM
Have you tried turning it off and on again?

Posted 22 August 2010 - 07:16 PM
Up Into Fourth
Posted 22 August 2010 - 08:23 PM
 but it's all in the right direction!
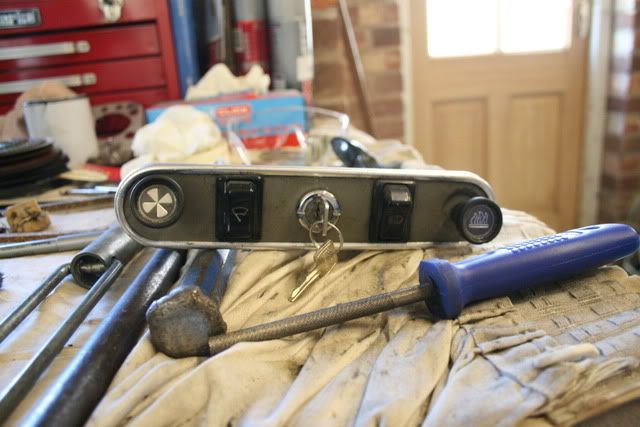
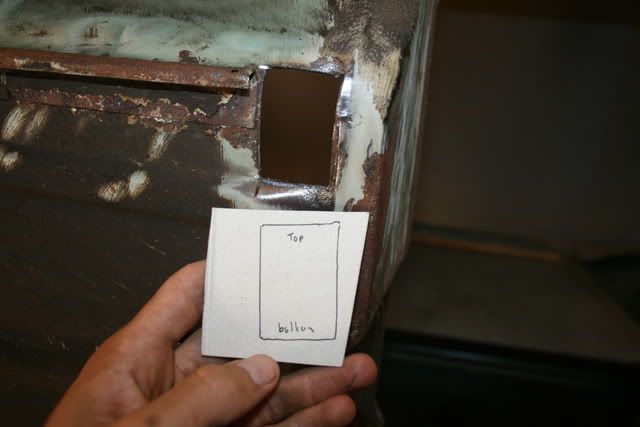
 as per usual. I filed the hole to make it a little bigger to fit my ignition switch, looks nice ey?
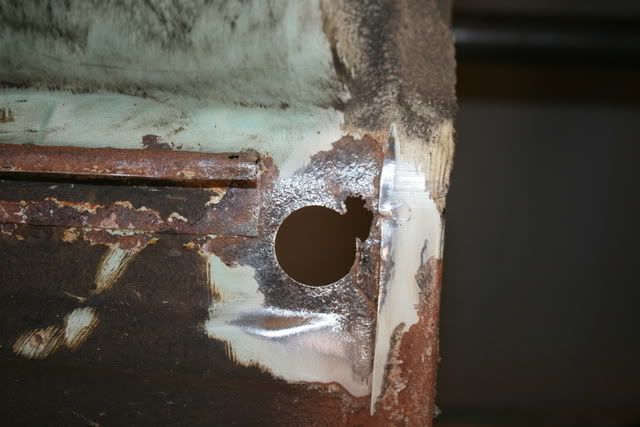
Definitely Not Camp Or A Freddy

Posted 22 August 2010 - 08:46 PM
Cheers you two, I'll give it another go tomorrow
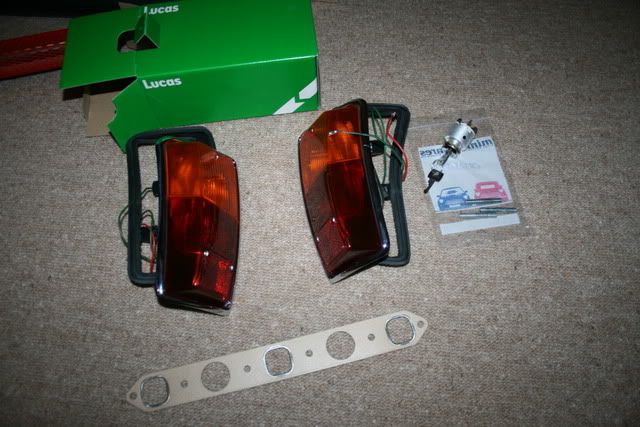
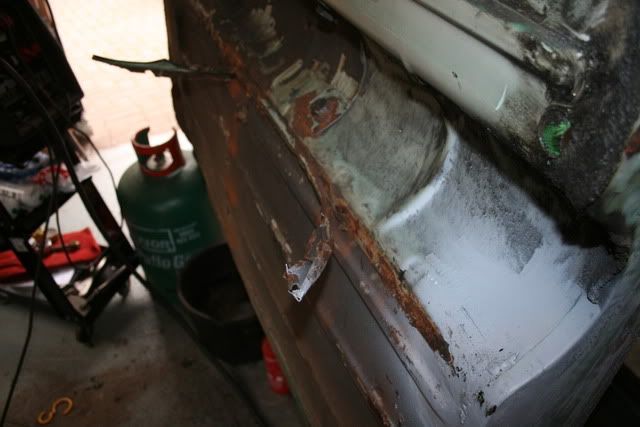
A minispares order turned up this weekend too
Mk3 rear lights
Exhaust gasket as well.. better than the one I bought at the show, as its got metal ringlets.. to prevent heat spread, or so I'm told.
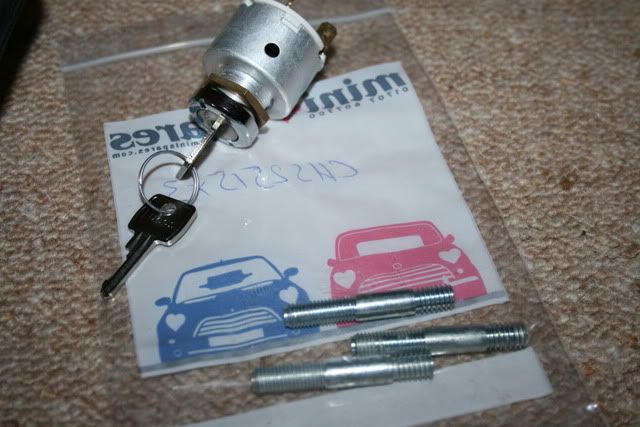
Centre ignition barrel and keys, been playing with this
& studs for my thermostat, so I can finish getting the cooling system on.
Up Into Fourth
Posted 22 August 2010 - 09:12 PM
you must be thinking about the MK1 conversional panels? I've even just gone out to the garage to check they fit through the same holes the later lights do.. the whole unit is smaller though, but it all fits fine.
Has Ratchet, Will Make Noises

Posted 22 August 2010 - 09:26 PM
 Mk2 lights should fit no problem
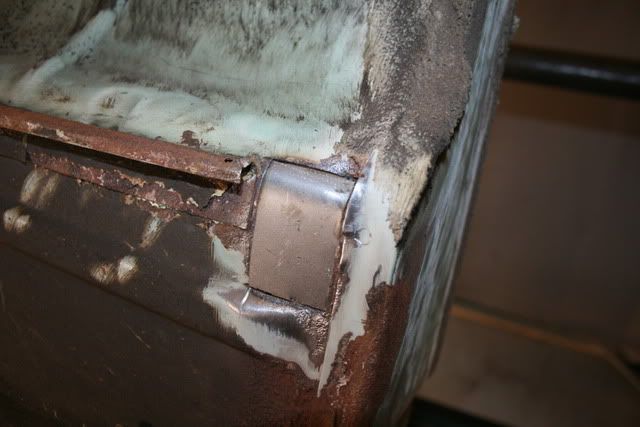
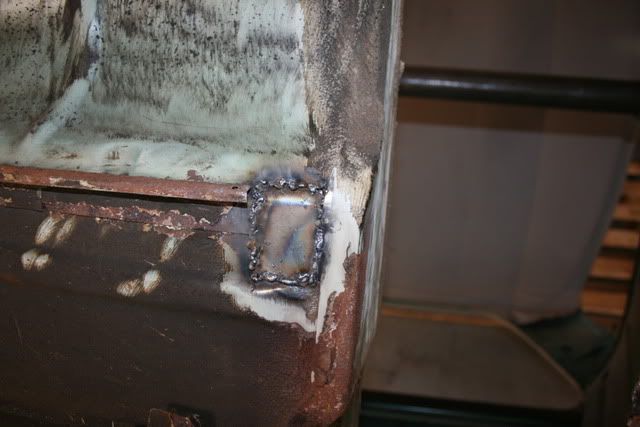
  Nice stuff with the welding, I know it is harder than it looks, been there done that
Have you tried turning it off and on again?
Posted 22 August 2010 - 10:01 PM
..
Up Into Fourth
Posted 23 August 2010 - 06:22 AM
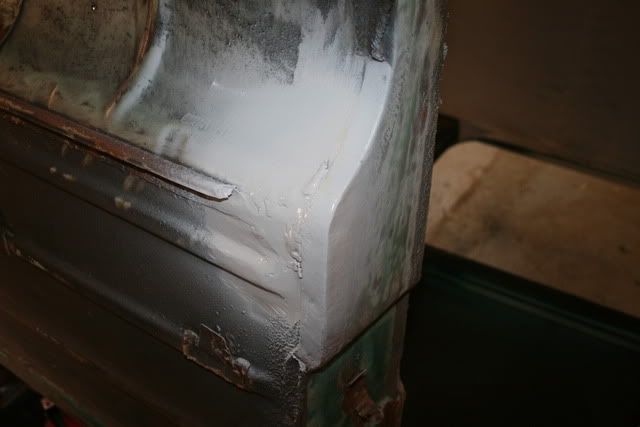
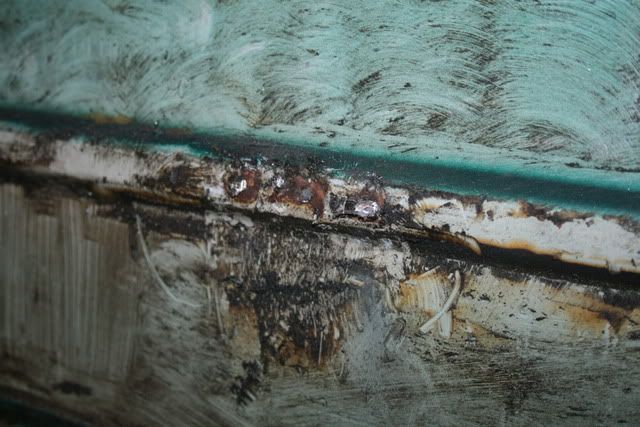
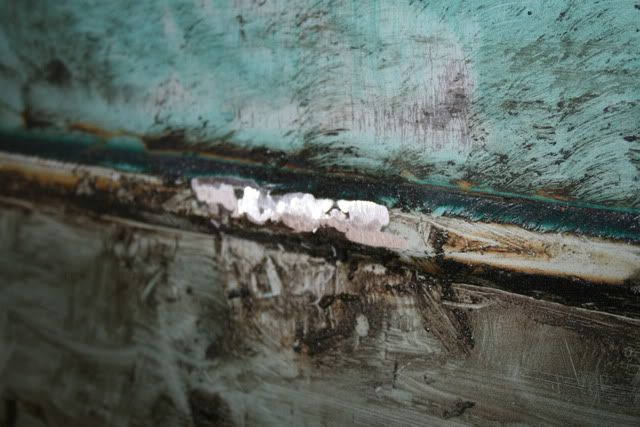
so I should dust some etch over and then give a good level coating of either weld through zinc or red oxide?
Have you tried turning it off and on again?
Posted 23 August 2010 - 10:29 AM
.Up Into Fourth
Posted 23 August 2010 - 04:25 PM
Previously known as tomleatherbarrow

Posted 23 August 2010 - 05:31 PM
 _BwC4uvQCGk___KGrHqMOKjkEwQgMlCE_BMHMp37SsQ___12.jpg 14.45K
12 downloads
_BwC4uvQCGk___KGrHqMOKjkEwQgMlCE_BMHMp37SsQ___12.jpg 14.45K
12 downloadsHave you tried turning it off and on again?
Posted 23 August 2010 - 09:41 PM
Up Into Fourth
Posted 23 August 2010 - 10:12 PM
Up Into Fourth
Posted 23 August 2010 - 10:14 PM
Definitely Not Camp Or A Freddy
Posted 24 August 2010 - 06:11 PM
Don't need them Carl!


0 members, 1 guests, 0 anonymous users