u know u'r doing good when u'r out running the spares orders!!
a couple of the items were out of stock so that delayed things a bit, but i'm hoping it will be here today or tomorrow.....


One Carb Or Two?

Posted 02 February 2010 - 09:00 AM
u know u'r doing good when u'r out running the spares orders!!
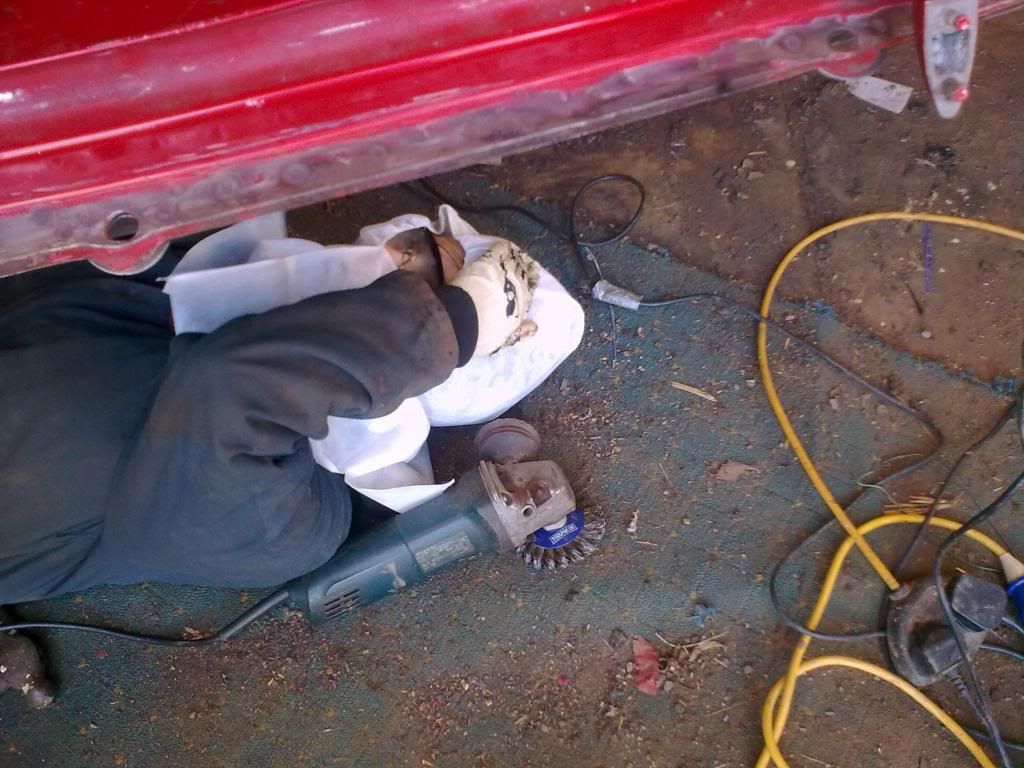
Speeding Along Now

Posted 02 February 2010 - 10:12 AM
One Carb Or Two?
Posted 02 February 2010 - 10:50 PM


RoboGimp

Posted 02 February 2010 - 10:54 PM
I love BMW minis

Posted 02 February 2010 - 10:55 PM
Camshaft & Stage Two Head

Posted 03 February 2010 - 11:25 PM
One Carb Or Two?
Posted 06 February 2010 - 08:06 AM
One Carb Or Two?
Posted 07 February 2010 - 08:08 AM

Up Into Fourth

Posted 07 February 2010 - 11:58 AM

Edited by lewis, 07 February 2010 - 11:59 AM.
One Carb Or Two?
Posted 07 February 2010 - 09:02 PM
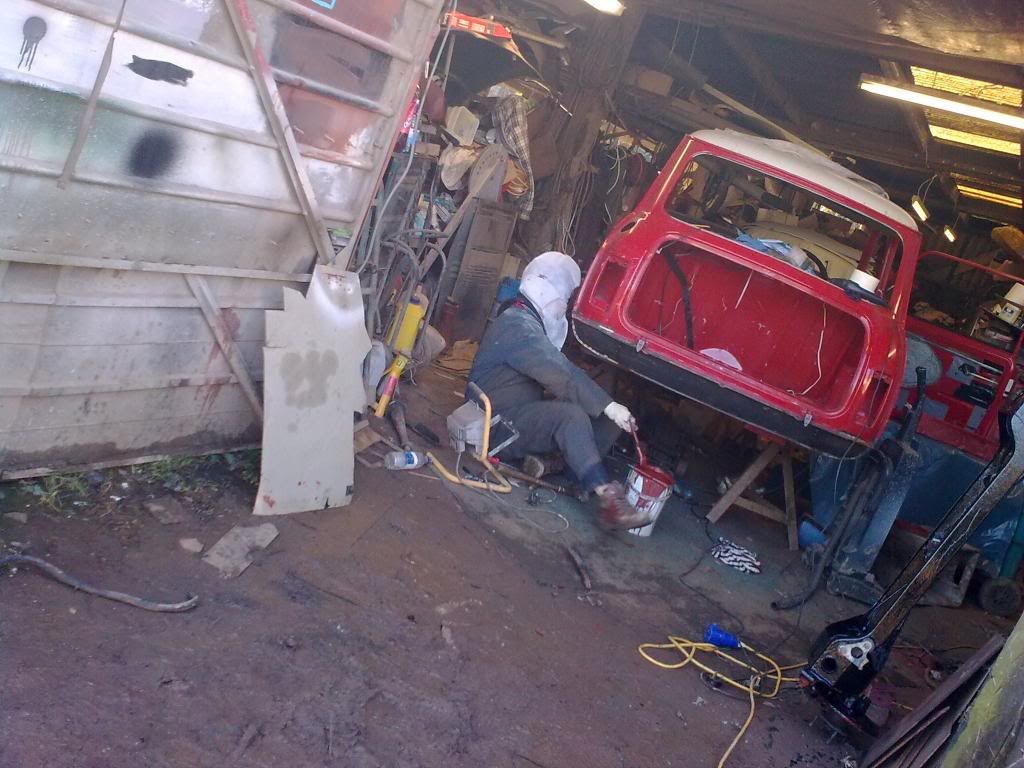
thats looking great at such pace! wish i had a team to build me a mini for my first car... lol ahh well
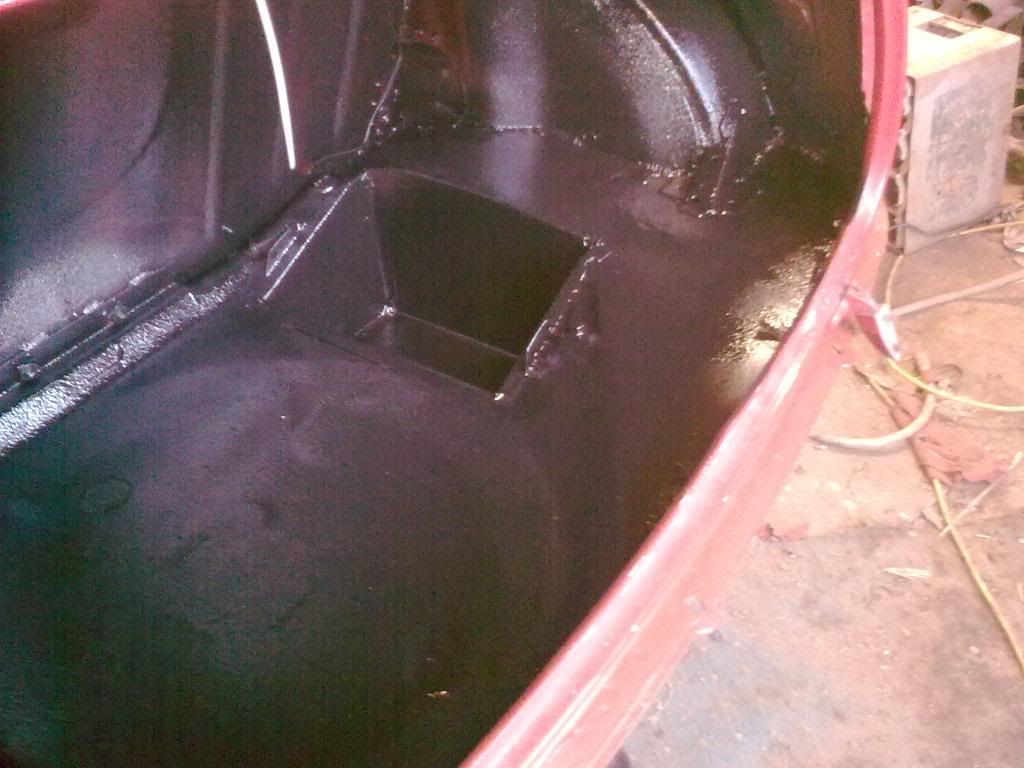
what stonechip did you use? rattle cans or paint on
looking great, keep going clocks ticking!
One Carb Or Two?
Posted 07 February 2010 - 09:02 PM


Camshaft & Stage Two Head
Posted 08 February 2010 - 10:50 PM
One Carb Or Two?
Posted 09 February 2010 - 09:00 AM
Camshaft & Stage Two Head

Posted 09 February 2010 - 09:04 AM

One Carb Or Two?
Posted 09 February 2010 - 10:27 PM
Loved the sky project and this is also cool loving the speed from the pictures your enjoying it


0 members, 1 guests, 0 anonymous users


