Jump to content


Photo
- - - - -

Mini Virgin Rebuild Of 83 Mayfair.


  • Please log in to reply
1006 replies to this topic

#901 grahama

grahama

    Up Into Fourth

  • Members
  • PipPipPipPipPipPipPipPipPip
  • 2,442 posts
  • Location: Warrington
  • Local Club: None in my area !!

Posted 12 June 2014 - 06:31 PM

Hi all,


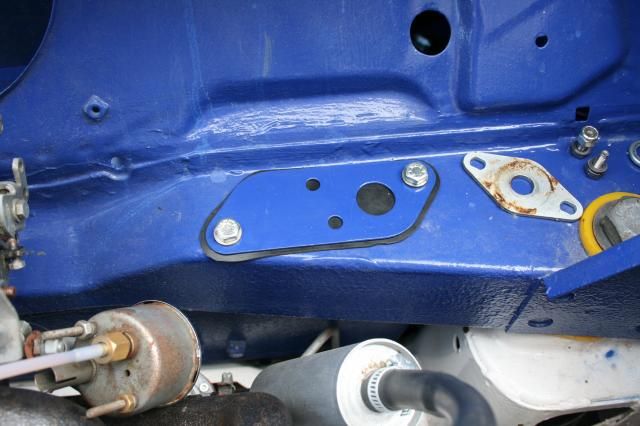
just realised from my now very old pics that this is in the wrong way round


IMG_0171_zps795dc68f.jpg


Will swap it next visit to the mini.


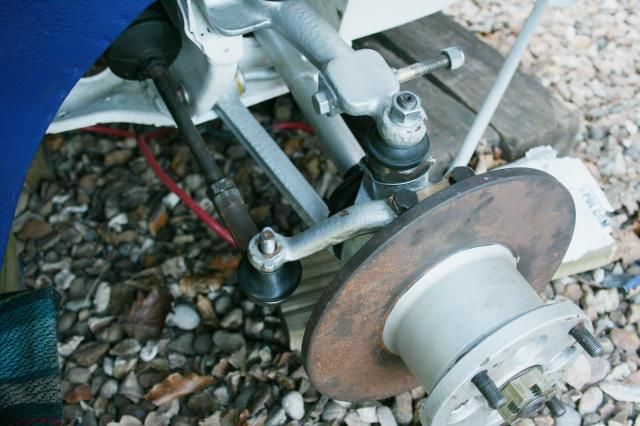
Today was cone compression time.  Had a full morning and early afternoon so with the time I had left I started but my local mini place didn't have a compression tool so I decided to make one.


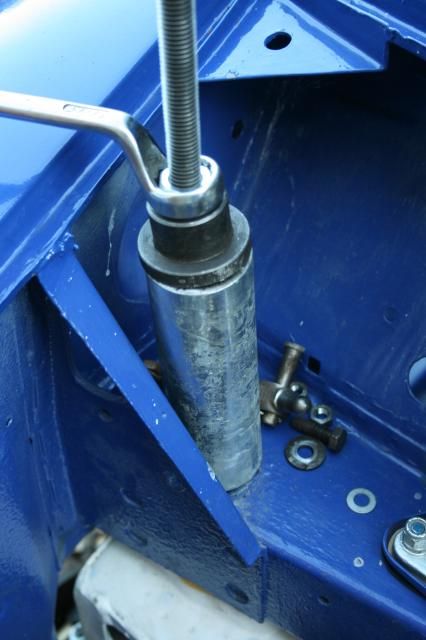
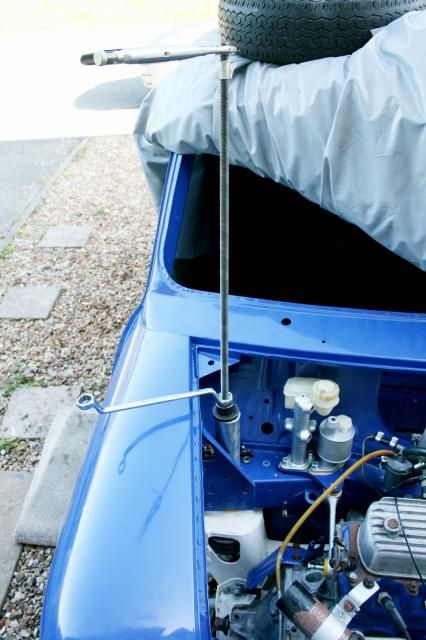
Thread was M14 so I got some threaded bar,  a nut and a section of scaffolding pole I had and set to.  I used a large washer from another tool to push against,  Pic tells a better story,  but £3.75 all in !


IMG_0179_zpseae14e28.jpg


conecomp1_zps8f275bea.jpg


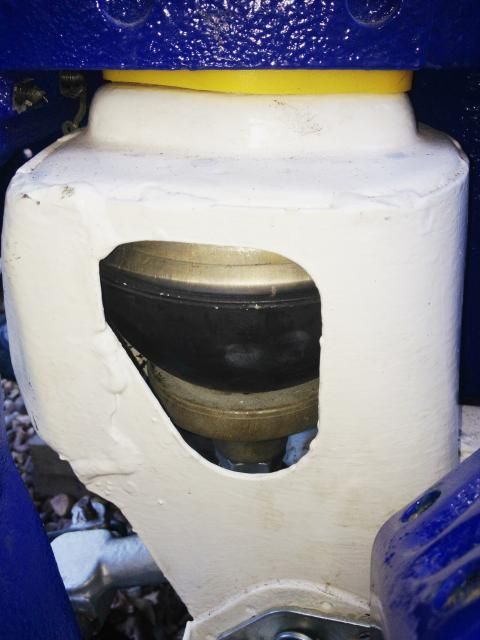
Took some turning to get it compressed but it did work and the top arm slid into position with my hi lo so job a good un.


conein1_zps85403a8b.jpg


steeringbacklessnut_zps66204517.jpg


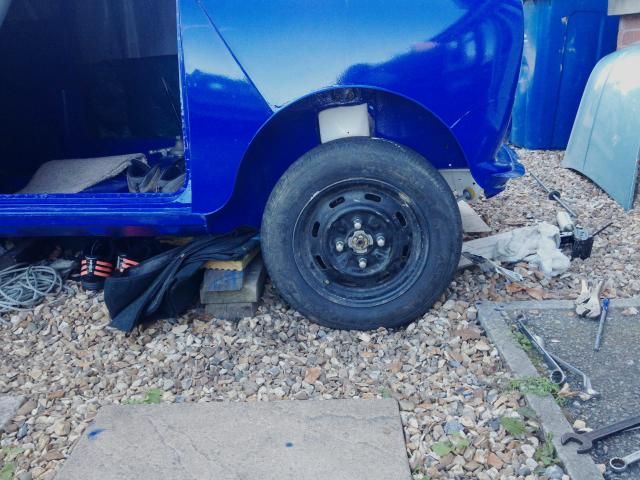
I put it all back together but have lost the track rod end bolt from when I took it off the other day,  sooooo frustrating things like this but put the wheel on and voila


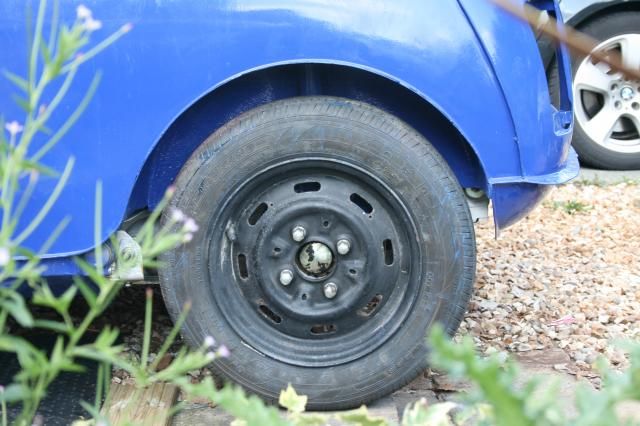
wheelheight_zps63d67f61.jpg


A little high I thought,  and it is with the hi lo at it's lowest setting.  I then realised that the mini is still resting on the wood I put it on while I was doing the changes to cones so hopefully it will all settle down soon.  Other side over the weekend and down onto the wheels for the ride height setting.


Glad it worked,  but for £3.75 it saved me a 2 hour round trip and £25 to get a real tool !!  Work tomorrow so a day off the mini.


Graham


Edited by grahama, 12 June 2014 - 06:33 PM.


#902 comper88

comper88

    Starting My Mini Up

  • Noobies
  • Pip
  • 4 posts
  • Location: Kidderminster

Posted 15 June 2014 - 09:12 PM

Hi Graham,

Just joined the forum and spent the last 3 nights reading your thread, what can I say I'm so impressed with your work on the mayfair great job keep going.

I'm about to put my mayfair project up when I can get some pics uploaded.

I'm at the start with mine where you where back in May 2010 also bought mine for the eldest lad however he now has a Smart Car and is now 18 ! and thr Mayfair is all mine :-)

All the best and can't wait for your next update, I feel as though I know you and the mini now Lol

cheers
nige

#903 grahama

grahama

    Up Into Fourth

  • Members
  • PipPipPipPipPipPipPipPipPip
  • 2,442 posts
  • Location: Warrington
  • Local Club: None in my area !!

Posted 16 June 2014 - 11:00 AM

Hi Nige,


time slips away easily with a mini and as you have found,  it takes a while lol.  Hope the thread helps a little on your mini and stops some mistakes that I made.  Glad you have the mini now,  no such luck for me  so far !!


Graham


#904 1984mini25

1984mini25

    Crazy About Mini's

  • Members
  • PipPipPipPipPipPipPipPipPipPip
  • 8,784 posts
  • Location: -

Posted 18 June 2014 - 10:00 PM

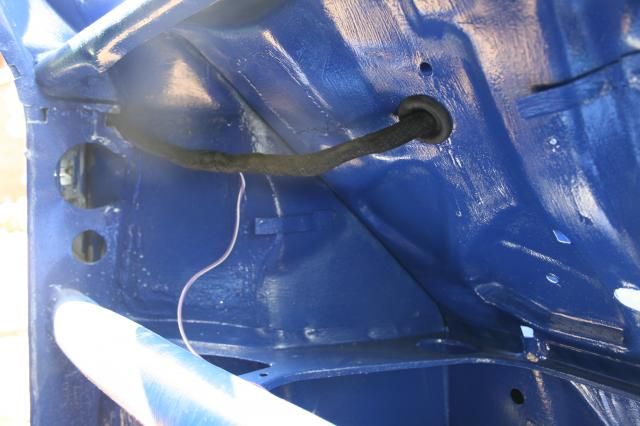
Hate to be a pain, but you might want to re-route the wiring loom through hear (red arrow) [attachment=161318:IMG_0145_zpsb149ceaf.jpg]


As the hole you've feed it out from is meant for the door check strap and could mean the check strap could get tangled up, crushed or cut through the loom when the doors opened and closed.


#905 grahama

grahama

    Up Into Fourth

  • Members
  • PipPipPipPipPipPipPipPipPip
  • 2,442 posts
  • Location: Warrington
  • Local Club: None in my area !!

Posted 19 June 2014 - 03:44 PM

Good spot,  will do as it isn't connected the other side yet. 


Thanks


#906 grahama

grahama

    Up Into Fourth

  • Members
  • PipPipPipPipPipPipPipPipPip
  • 2,442 posts
  • Location: Warrington
  • Local Club: None in my area !!

Posted 30 June 2014 - 03:41 PM

Hi all,


latest small update.


Firstly moved the cable pointed out by 1984mini and makes loads more sense there!!


IMG_0186_zpsb7a90ff5.jpg


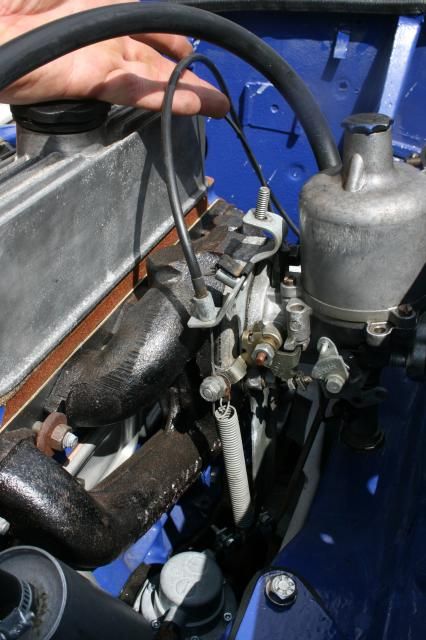
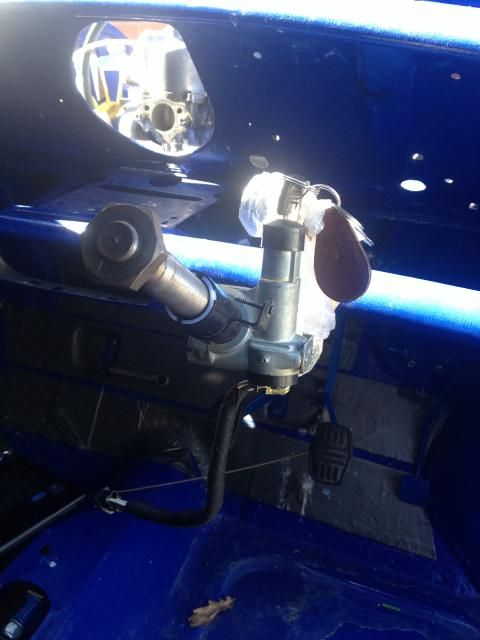
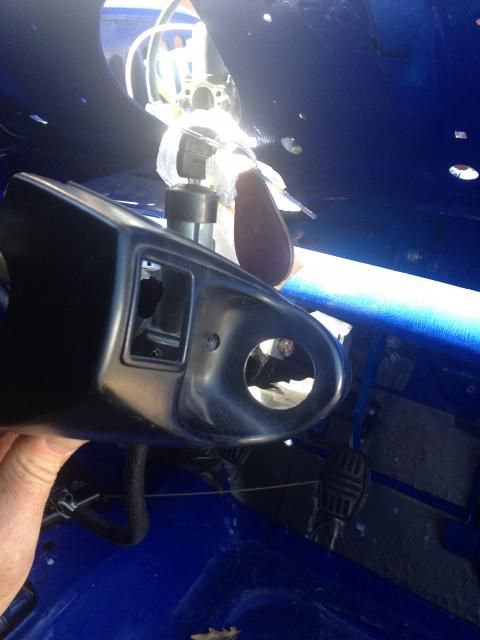
Couple of easy bits in too like the accelerater cable and steering column,  but then realised I had an ignition barrel problem


IMG_0184_zps310cc752.jpg


2014-06-23155235_zps421ecea4.jpg


2014-06-23155256_zps1b7ced7a.jpg


Spent a good 20 minutes taking it off,  putting it on before deciding I am not being a total numpty,  something is wrong.  After a little research it seems I had bought a metro ignition labelled up as a mini one.  Mine was snapped off when I got the mini so nothing to compare it to.  One on order now !


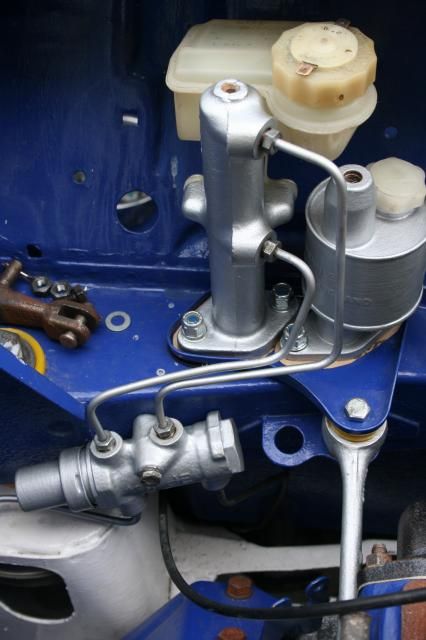
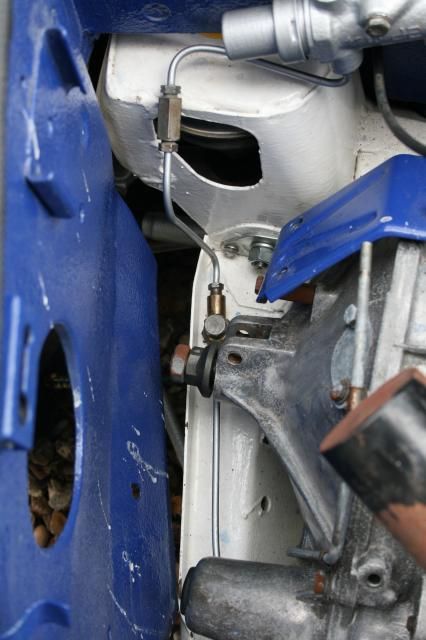
started on the day's last task,  brake lines for the front.  When I was doing this I spotted the engine mount bolts were loose as were the suspension arm bolts,  easily missed when you are starting and stopping work,  so nipped them up.


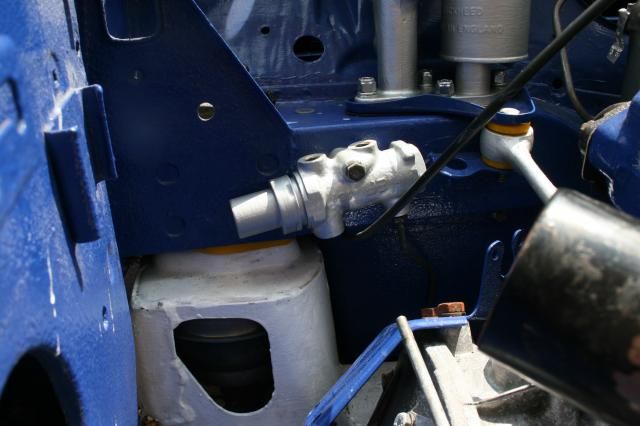
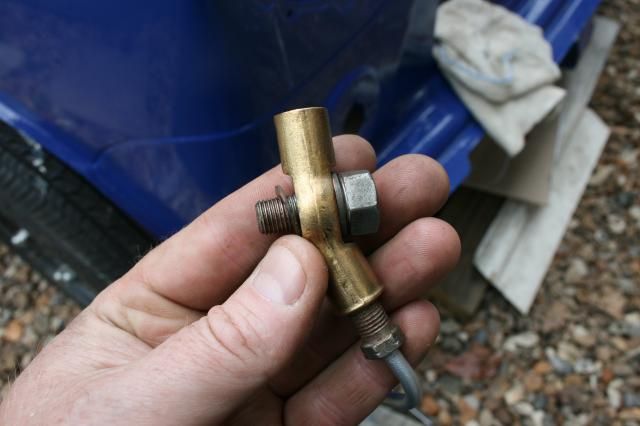
Brake bias valve in after a long hunt for the bolt


IMG_0185_zps661e4768.jpg


The brake lines didn't want to fit back where they came from either,  but a quick bend and smidge of copper grease in a couple of places they were in front end


IMG_0188_zps8e2a63de.jpg


IMG_0189_zps729b0f1e.jpg


Not sure if this had two copper washers on it or one tho so will ask in tech section.


IMG_0187_zpsa5f2e9c4.jpg


Might get some more done tomorrow,  but can't get under the mini to fit the rear brake lines so that's a weekend job when Matthew can help me.


Regards,


Graham


#907 big-jay

big-jay

    Super Mini Mad

  • Members
  • PipPipPipPipPipPip
  • 518 posts
  • Location: Birmingham
  • Local Club: British Mini Club

Posted 30 June 2014 - 04:01 PM

Looking good graham, wish i was at this stage !

#908 Covert

Covert

    Super Mini Mad

  • Members
  • PipPipPipPipPipPip
  • 526 posts
  • Location: Northampton

Posted 30 June 2014 - 07:32 PM

Awesome build graham , i will be putting your spit to good use!
More pics please !

#909 will_

will_

    Mini Mad

  • Members
  • PipPipPipPip
  • 201 posts
  • Location: Harborne, Birmingham

Posted 30 June 2014 - 07:54 PM

Looks great. Nice work there ;)

#910 alex-95

alex-95

    I am THE CLAMP MAKER

  • Members
  • PipPipPipPipPipPipPipPipPipPip
  • 6,025 posts
  • Location: l

Posted 30 June 2014 - 07:55 PM

good work graham, like jay say wish mine was at this stage... really need to crack on...


#911 grahama

grahama

    Up Into Fourth

  • Members
  • PipPipPipPipPipPipPipPipPip
  • 2,442 posts
  • Location: Warrington
  • Local Club: None in my area !!

Posted 30 June 2014 - 08:22 PM

No doubt there are more hastles on the way but for now it's nice work if frustrating finding all the bits.

Need the spit back to be honest as the rear is about 5'' above the ground and can't get under to sort rear brakes out lol

Graham

#912 Ben_O

Ben_O

    Mill Road Garage

  • Paint Doctor
  • PipPipPipPipPipPipPipPipPipPip
  • 9,794 posts
  • Location: Isle of Wight

Posted 01 July 2014 - 02:39 PM

Nice work Graham!


Ben


#913 grahama

grahama

    Up Into Fourth

  • Members
  • PipPipPipPipPipPipPipPipPip
  • 2,442 posts
  • Location: Warrington
  • Local Club: None in my area !!

Posted 24 July 2014 - 08:04 PM

Hi all,


hot, hot, hot !!  leads unfortunately to lethargy and no updates but forced myself out today.


Got a new ignition barrel to replace the metro one I got previously so result there.  Propped the rear up on sand bags for safety so I could work underneath the boot.


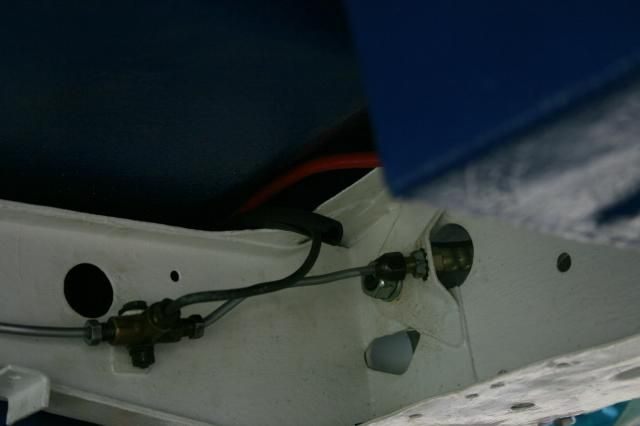
Put the rear brake lines in,  but the threads were an absolute mare,  this was meant to be the easy part,  copper grease and a lot of fiddling saw them in.


rearlines_zps659d552a.jpg


wheelline_zps0044255b.jpg


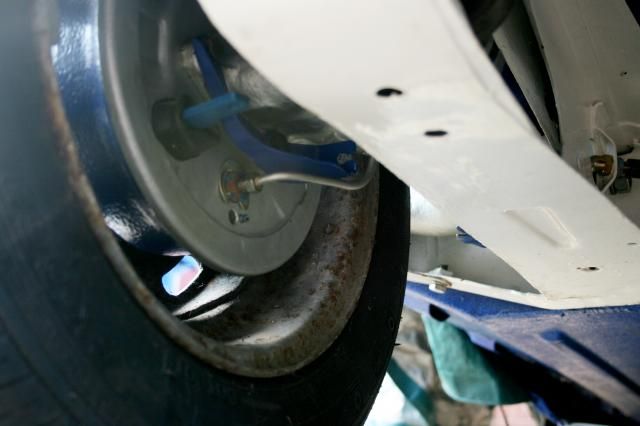
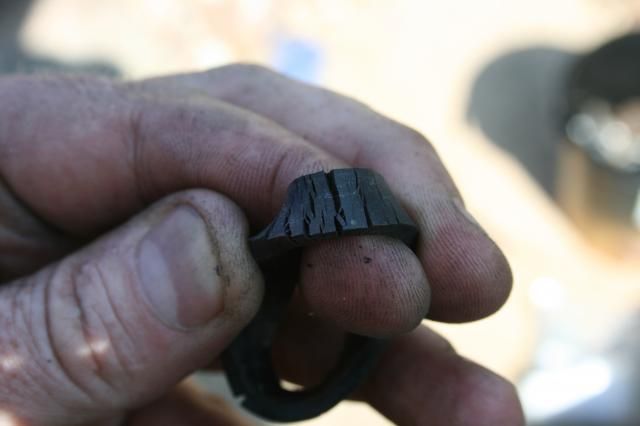
Just before doing this I had some old ground to cover,  namely shitty rubber dust seals on radius arms. Been on a year without moving and this is how they were


IMG_0192_zpsa1320c92.jpg


Replaced with,  hopefully better ex Rover stock


IMG_0190_zps3270cf85.jpg


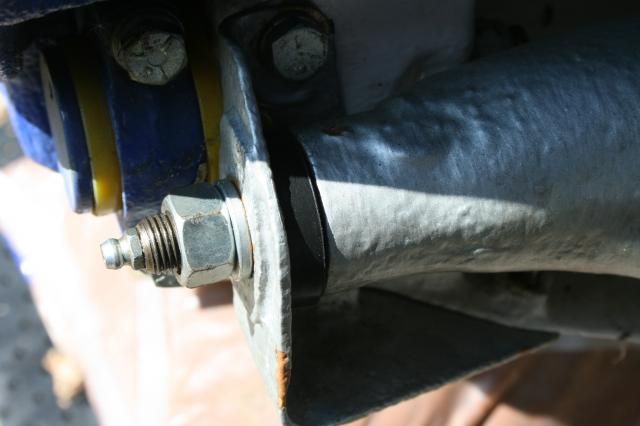
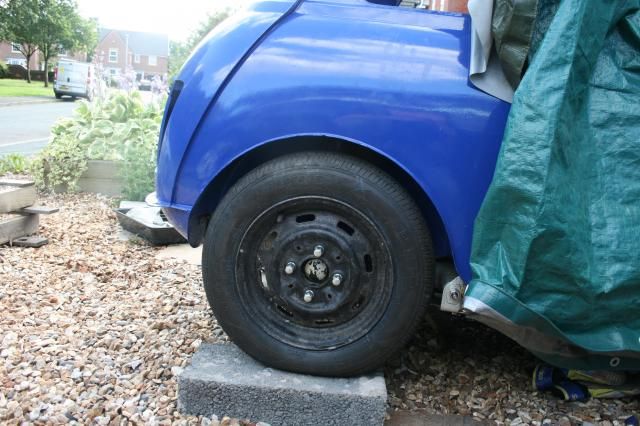
Last job today/weeks was to try and figure out why I cant get the rear sitting level.


IMG_0193_zpsf769b783.jpg


IMG_0194_zps576803af.jpg


Hilos are set identically and radius arms are moving ok.  There is a springing on the passenger side as you'd expect with a shock absorber but the driverside is set lower by a good inch and half and there is no spring as with the passenger side.  Maybe I have a duff shocker but it's not leaking,  most frustrating !!


All for now but crappy jobs done !


Graham


#914 Ben_O

Ben_O

    Mill Road Garage

  • Paint Doctor
  • PipPipPipPipPipPipPipPipPipPip
  • 9,794 posts
  • Location: Isle of Wight

Posted 25 July 2014 - 11:56 AM

It's getting there now!


When do you hope to have it done by?


Or is it as and when like me!


Ben


#915 69k1100

69k1100

    Speeding Along Now

  • Members
  • PipPipPipPipPip
  • 376 posts
  • Location: Adelaide

Posted 25 July 2014 - 12:05 PM

Shock absorbers don't level the car, the springs support the weight, the shock absorbers are there to control the recoil. If it's low on one side it's due to a difference in loading (since there are no rubber cones to "settle")


1 user(s) are reading this topic

0 members, 1 guests, 0 anonymous users