Also, has it been resprayed since coming out of the factory or just really well looked after?

Mk4 Mini City
Started by
Lund
, Dec 19 2005 06:35 PM
702 replies to this topic
#392

Lund
-
- TMF+ Member
-

- 1,864 posts
Camshaft & Stage Two Head
Posted 24 February 2008 - 10:13 PM
Also, has it been resprayed since coming out of the factory or just really well looked after?
Roof, bonnet and the doors are original paint work. Need to re-condition the doors over the summer and I have a fibreglass bonnet to fit.

#393
Adcuz
-

- Members
-
- 843 posts
One Carb Or Two?
Posted 24 February 2008 - 10:14 PM
Did you spray the rest your self?
#394
Lund
-
- TMF+ Member
-
- 1,864 posts
Camshaft & Stage Two Head
Posted 24 February 2008 - 10:16 PM
Did you spray the rest your self?
Yes indeed I did,
#395
Adcuz
-
- Members
-
- 843 posts
One Carb Or Two?
Posted 24 February 2008 - 10:26 PM
Phwoar! good job mate!
I take it you used a proper compressor etc?
I take it you used a proper compressor etc?
#396
Lund
-
- TMF+ Member
-
- 1,864 posts
Camshaft & Stage Two Head
Posted 24 February 2008 - 10:49 PM
Phwoar! good job mate!
I take it you used a proper compressor etc?
Yes Its a SIP something or other! I used cellulose on the bodywork and enamel under the arches and on the sills as its hard wearing and instant shine

Sprayed the underside with lots of stone chip and sprayed it with Dinitrol, so its very protected! Just have a browse back through the topic and you'll see whats been done! Grab yourself a cuppa tea and comfy chair!
Edit: cant spell!
Edited by Lund, 24 February 2008 - 10:50 PM.
#397
Lund
-
- TMF+ Member
-
- 1,864 posts
Camshaft & Stage Two Head
Posted 25 February 2008 - 06:08 PM
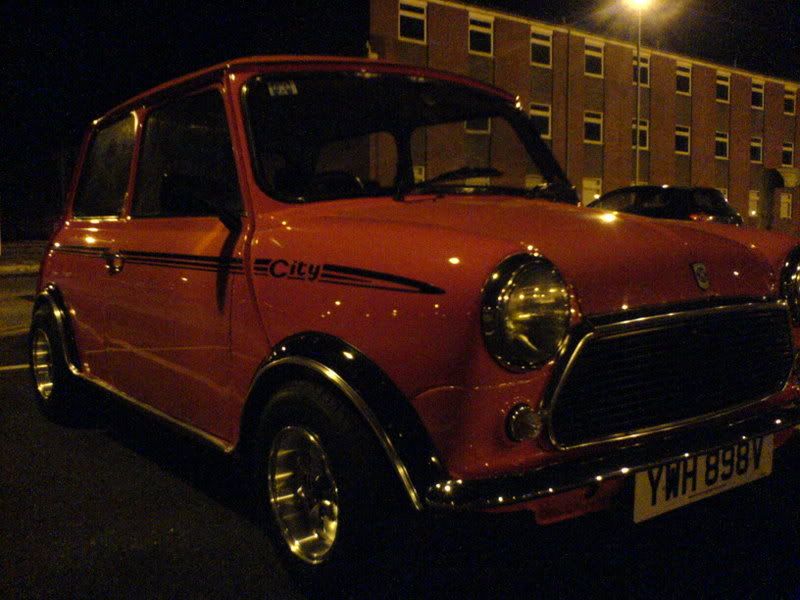
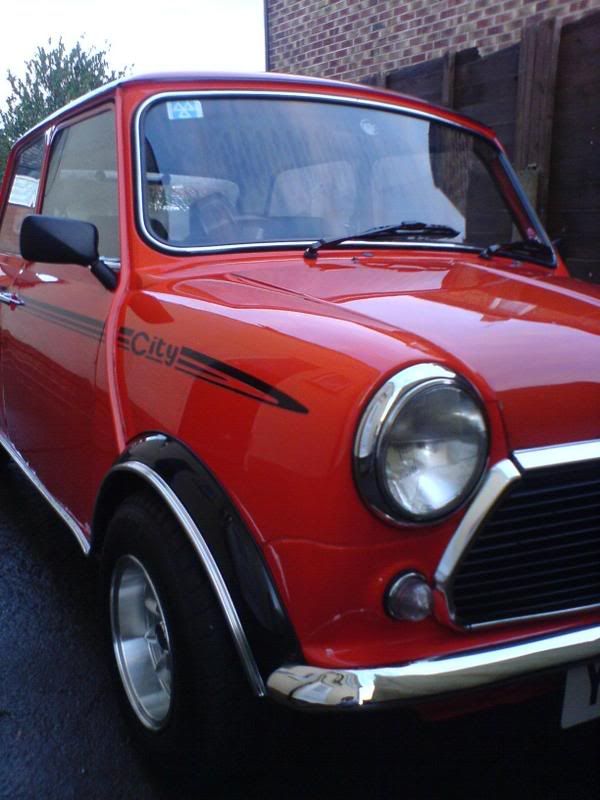
Decided to take a few photo's of her in works car park
Photo's taken on my phone so please excuse the quality!
&
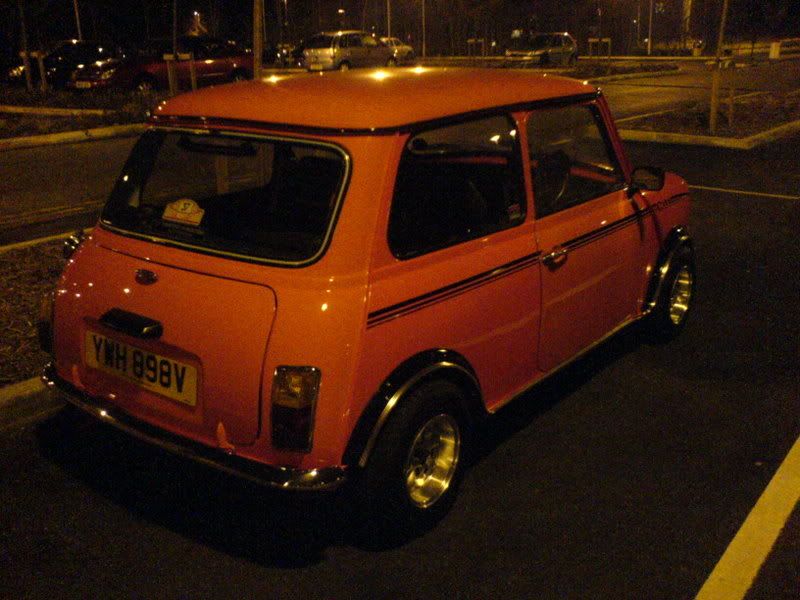
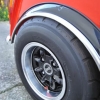
I'm currently concidering re-tyring my alloys with Yoko's, and also thinking of spraying my alloys black and removing the centre caps.
Photo's taken on my phone so please excuse the quality!
&
I'm currently concidering re-tyring my alloys with Yoko's, and also thinking of spraying my alloys black and removing the centre caps.
#398
Lund
-
- TMF+ Member
-
- 1,864 posts
Camshaft & Stage Two Head
Posted 29 February 2008 - 10:28 PM
Random pics to feast your eyes on! Parked up at 6th form (I don't trust anyone elses driving as you can tell!)
Andys Honda VF500. 70's meets 80's!
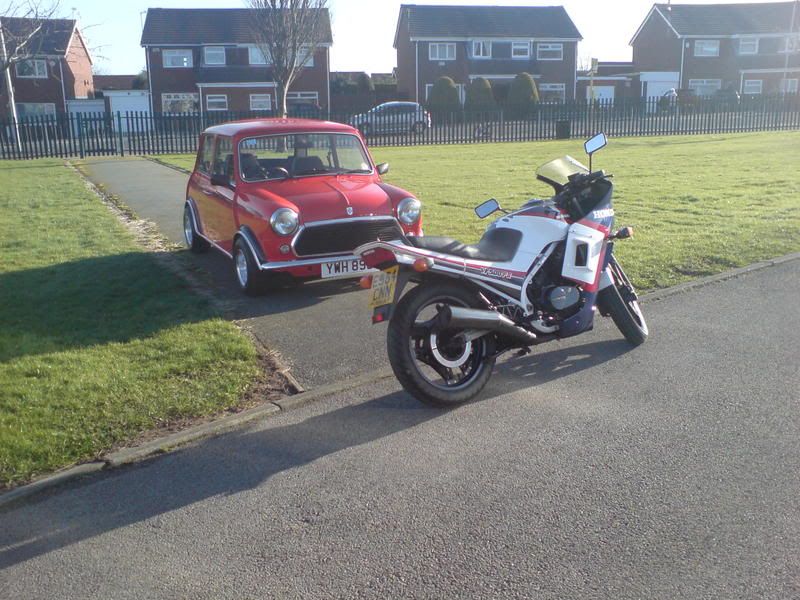
Washed and polished and everything inbetween!
(I don't trust anyone elses driving as you can tell!)Andys Honda VF500. 70's meets 80's!
Washed and polished and everything inbetween!
#399
Lund
-
- TMF+ Member
-
- 1,864 posts
Camshaft & Stage Two Head
Posted 08 March 2008 - 07:50 PM
Started fitting the fibreglass bonnet today, made up some brackets and shaped them to fit, without fouling the radiator. (Left-hand bracket shaped to miss the radiator)
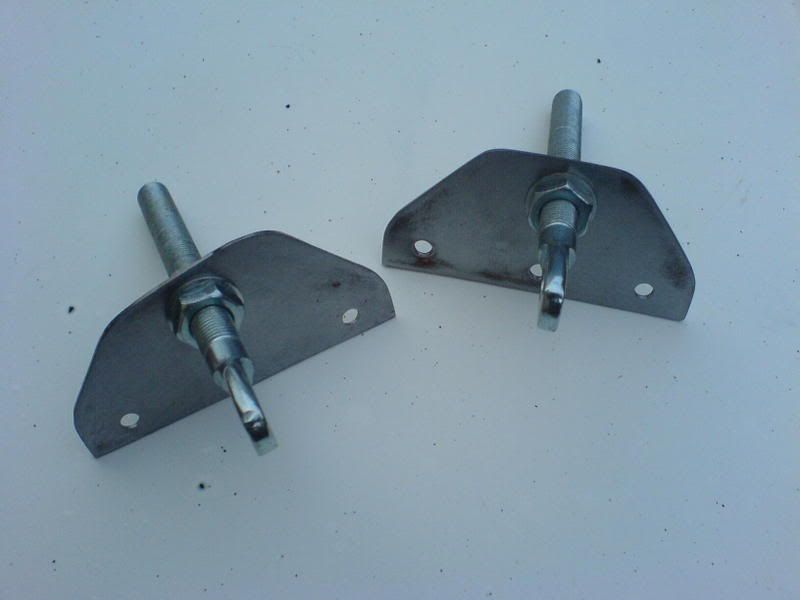
As you can see, the old bonnet was completely shot!

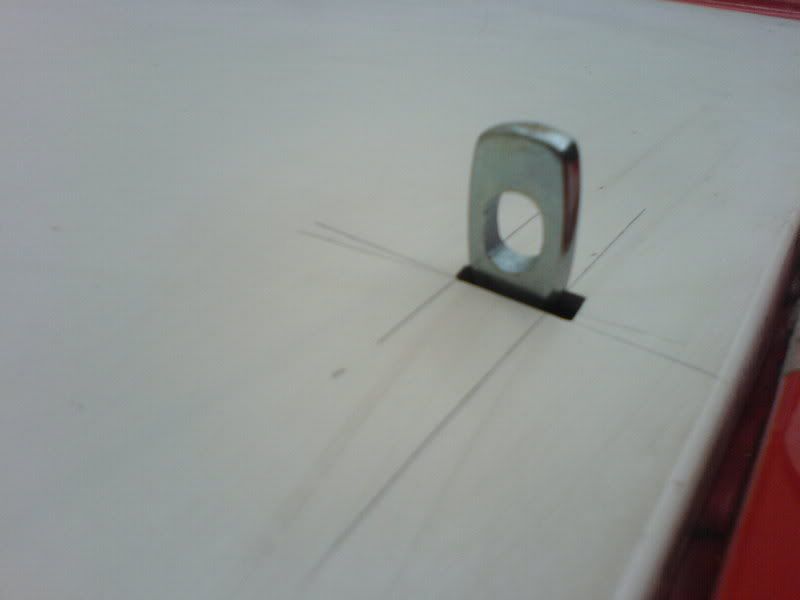
As the fibreglass bonnet will be hinged, I have put the bonnet pins towards the top middle section of the bonnet:

Not such a bad fit:
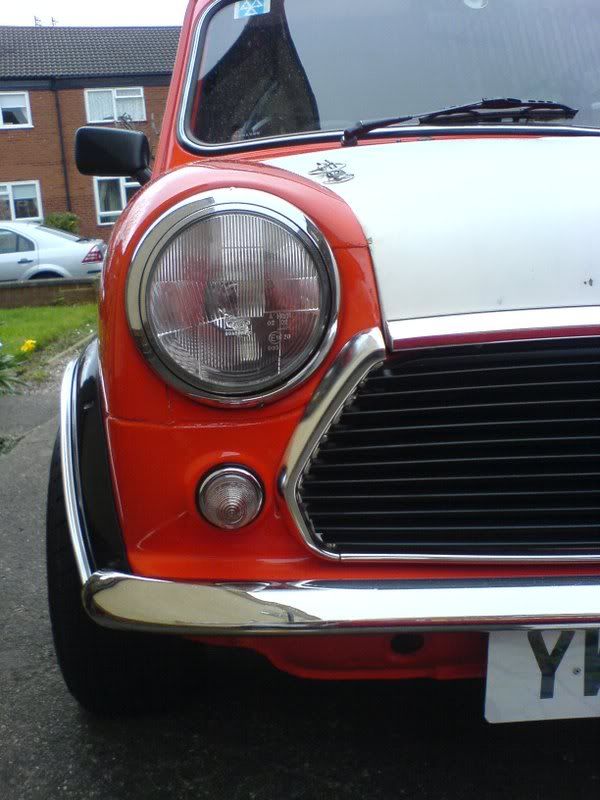
Need to give it a light sand, align the pins and drill the hole and give it some paint.
Tom
As you can see, the old bonnet was completely shot!
As the fibreglass bonnet will be hinged, I have put the bonnet pins towards the top middle section of the bonnet:
Not such a bad fit:
Need to give it a light sand, align the pins and drill the hole and give it some paint.
Tom
Edited by Lund, 08 March 2008 - 07:52 PM.
#400
Lund
-
- TMF+ Member
-
- 1,864 posts
Camshaft & Stage Two Head
Posted 09 March 2008 - 07:22 PM
Completed more work on the fibreglass bonnet today, painted the brackets gloss black and rivited them to the wing gutters.
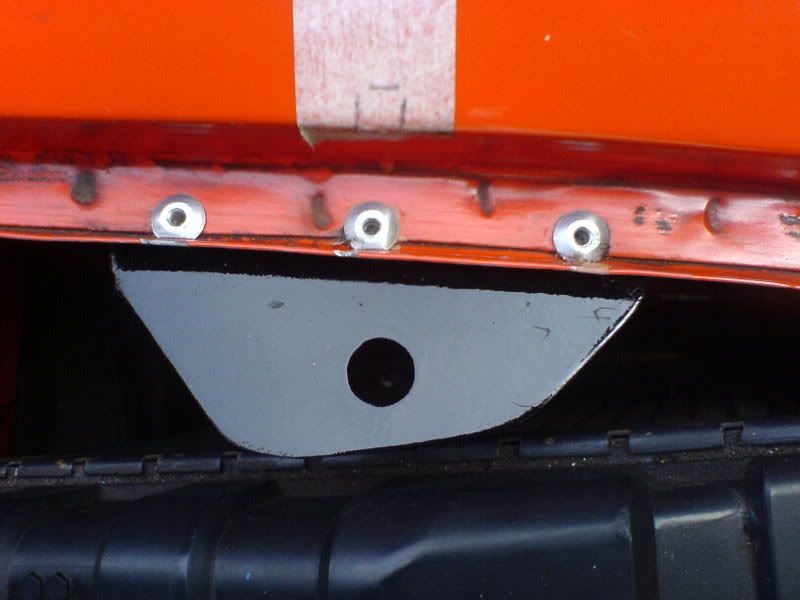
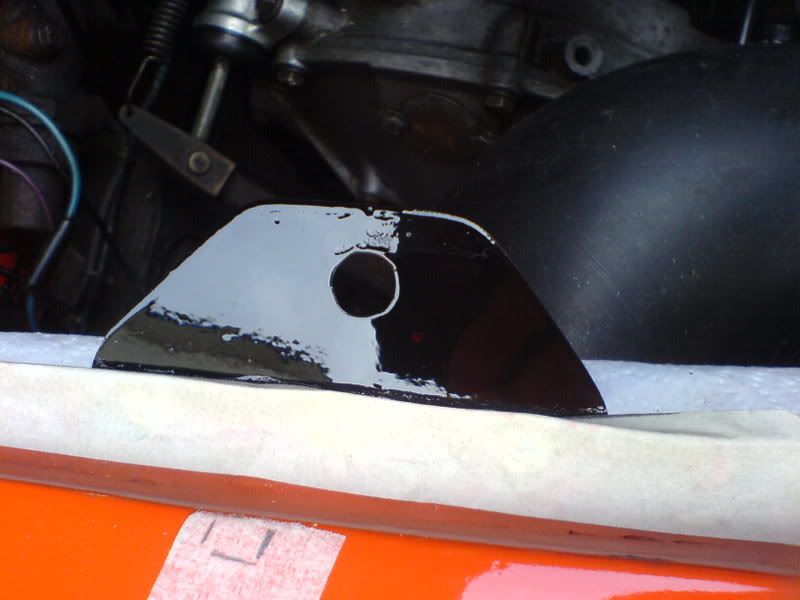
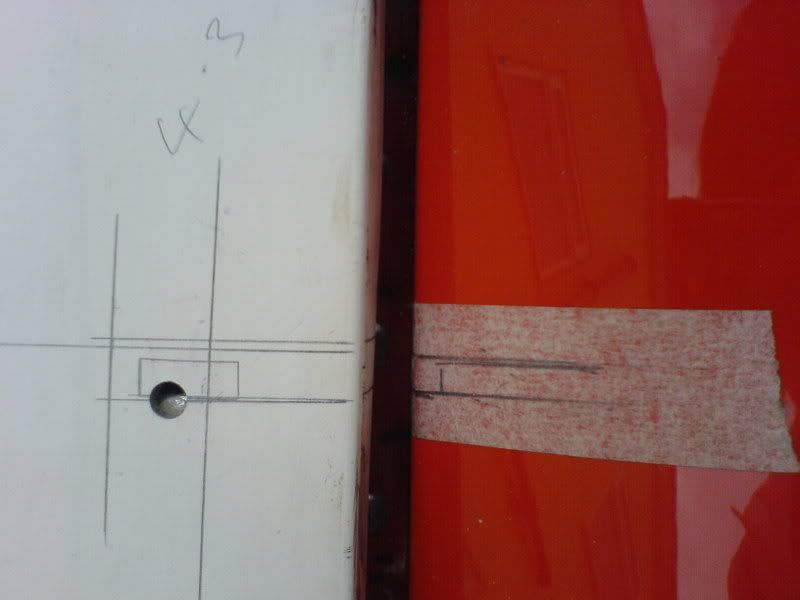
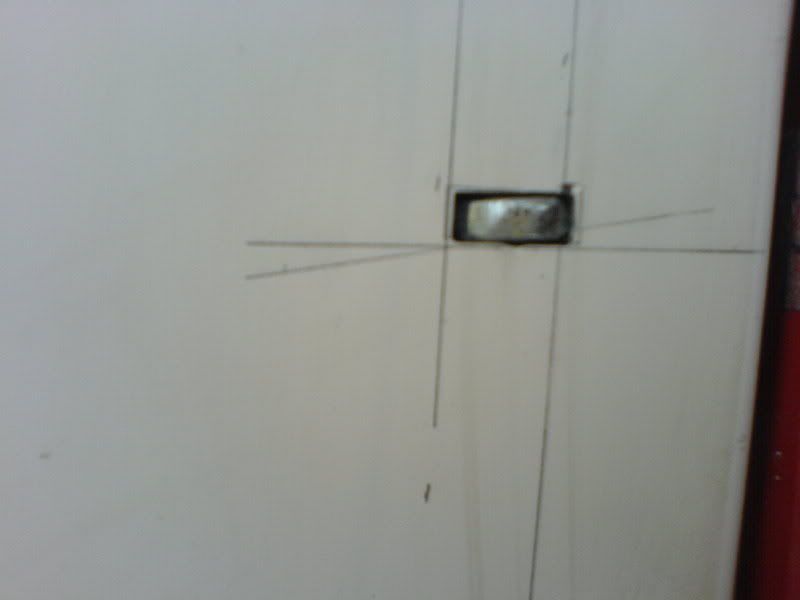
Aligned the bonnet pins and bolted them to the brackets, fiddling with them to align them correctly. To mark the holes where I needed to drill i brushed a small amount of paint onto the tops of the pins, lowered them to the maximum, and closed the bonnet.
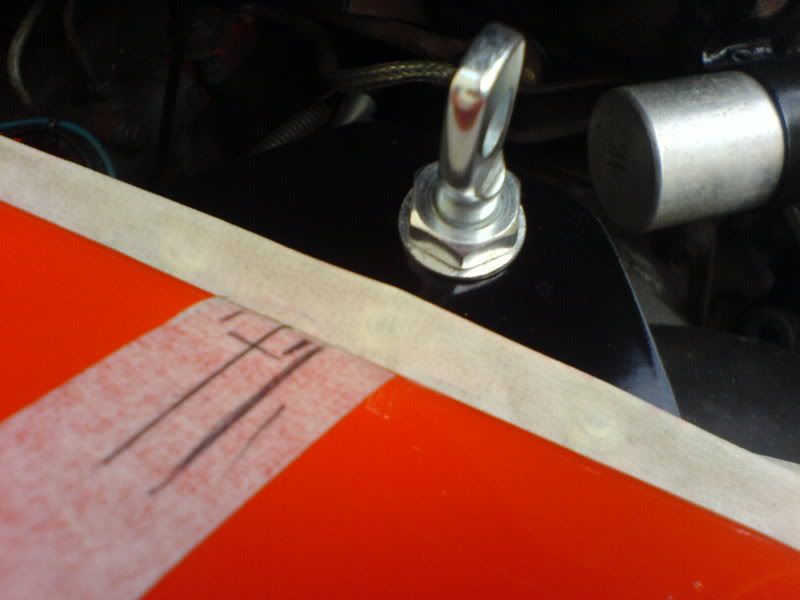
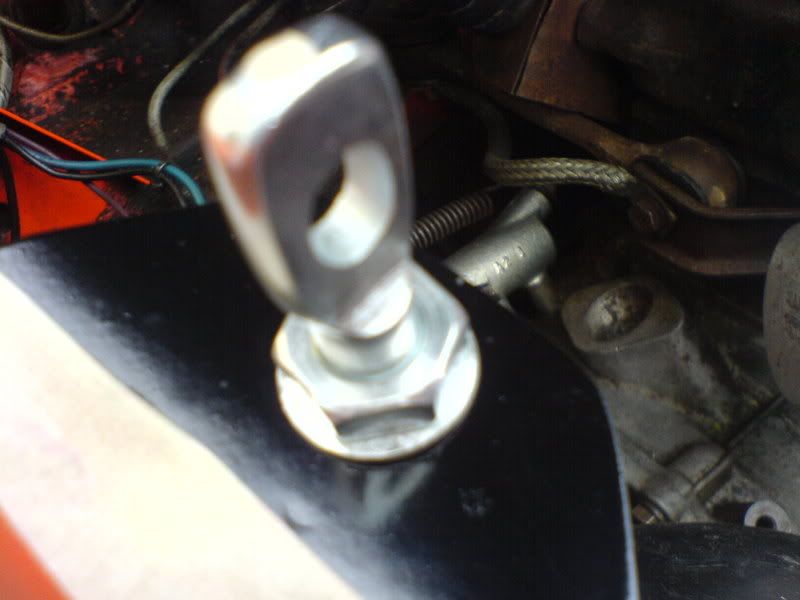
The paint then marked where I needed to drill the hole for the pin to fit through. I then filed out a rectangular hole large enough for the pins to fit through.
The bonnet was lightly sanded and the pins were then fixed to the bonnet.
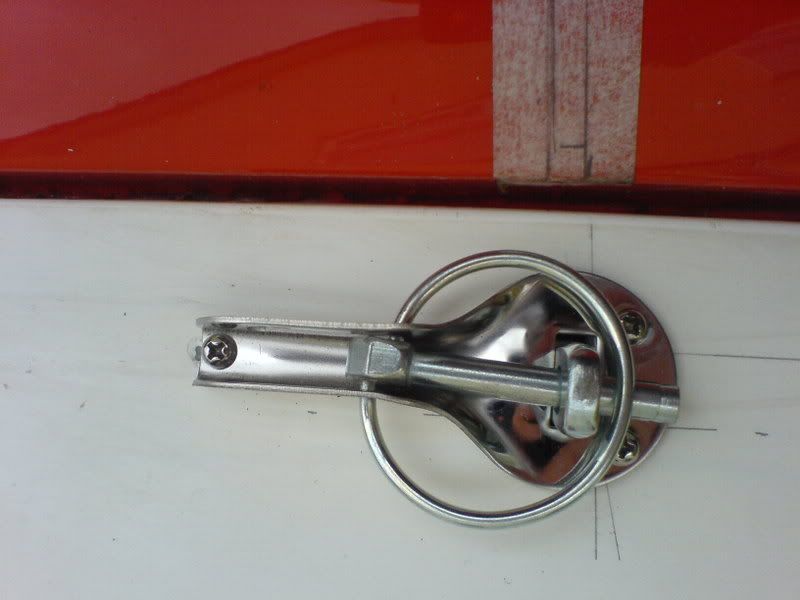
End result:
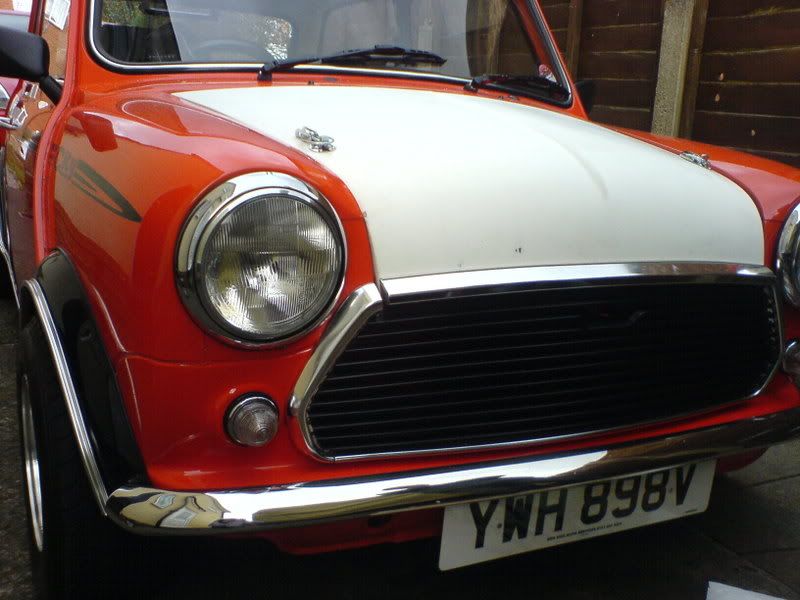
The bonnet needs filler in places and a light sand to bring it upto scratch. Now I shall pray for some good weather so that I can spray the bonnet vermillion. So for now, I have a white bonnet!
Aligned the bonnet pins and bolted them to the brackets, fiddling with them to align them correctly. To mark the holes where I needed to drill i brushed a small amount of paint onto the tops of the pins, lowered them to the maximum, and closed the bonnet.
The paint then marked where I needed to drill the hole for the pin to fit through. I then filed out a rectangular hole large enough for the pins to fit through.
The bonnet was lightly sanded and the pins were then fixed to the bonnet.
End result:
The bonnet needs filler in places and a light sand to bring it upto scratch. Now I shall pray for some good weather so that I can spray the bonnet vermillion. So for now, I have a white bonnet!
#402
matty135790
-

- Noobies
-
- 125 posts
Mini Mad
- Local Club: Bury mini club
Posted 09 March 2008 - 09:30 PM
I love this car, pins give it that hint of aggresion which is a good look!! 
#403
Lund
-
- TMF+ Member
-
- 1,864 posts
Camshaft & Stage Two Head
Posted 09 March 2008 - 10:46 PM
I love this car, pins give it that hint of aggresion which is a good look!!
Thanks for the feedback guys, keeping it retro and simple
I'm really pleased with the result, the bonnet fits just aswel as the original steel one did! Next step is to prep and prime, and final coat of vermillion
#404
Adcuz
-
- Members
-
- 843 posts
One Carb Or Two?
Posted 09 March 2008 - 10:54 PM
Are you going to use spray cans or a compressor?
#405
Lund
-
- TMF+ Member
-
- 1,864 posts
Camshaft & Stage Two Head
Posted 09 March 2008 - 11:18 PM
Are you going to use spray cans or a compressor?
Going to spray it using a compressor


0 user(s) are reading this topic
0 members, 0 guests, 0 anonymous users


