1971 Clubman Estate....now Turbo
#166

Posted 08 December 2012 - 06:13 PM
#167

Posted 01 June 2013 - 09:39 AM
Any updates on this liam?
#168

Posted 31 December 2013 - 06:36 PM
This hasn't been forgotten. I have made progress since my last post a year ago, not a years worth of progress might I add but progress nonetheless.
I'm edging closer to the stage where I can hand it over to be sprayed. I still have one rear wheel arch, the rear valance and a couple of closing plates to weld in and then tidying up a few areas. Hoping to have it ready to send away for when the weather starts to get better.
I'll do a proper update of the work that has been done once I have found the pictures.
Liam
Edited by woodenman23, 31 December 2013 - 06:41 PM.
#169

Posted 01 January 2014 - 12:35 AM
will be great to see another update.
#170

Posted 01 January 2014 - 02:06 PM
Nice floor work, it's a pain but you did well there. ![]()
#171

Posted 02 January 2014 - 07:29 PM
UPDATE TIME
I seem to of lost lot of my pictures so this won't bring the project right up to date.
Anyway pictures,
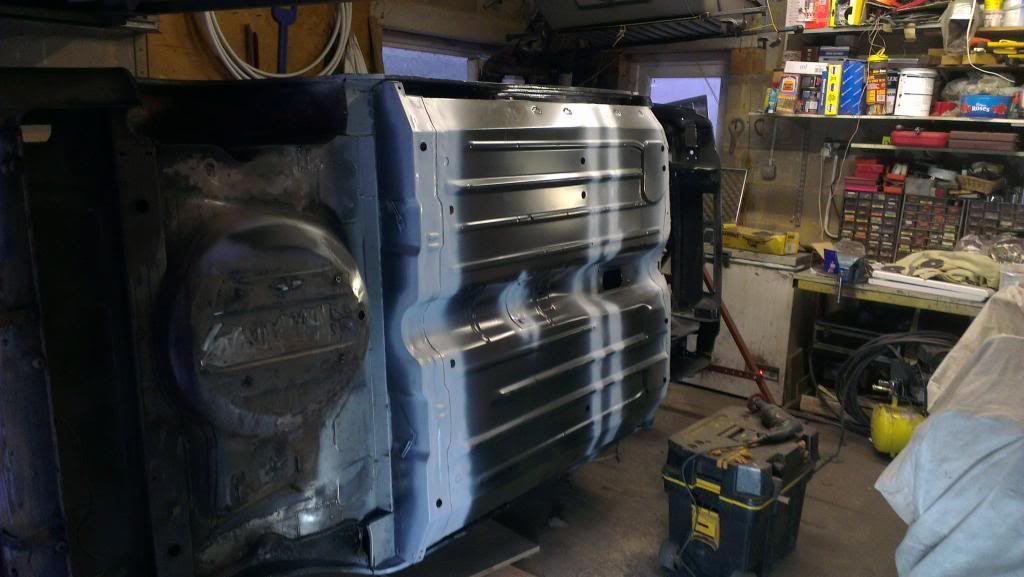
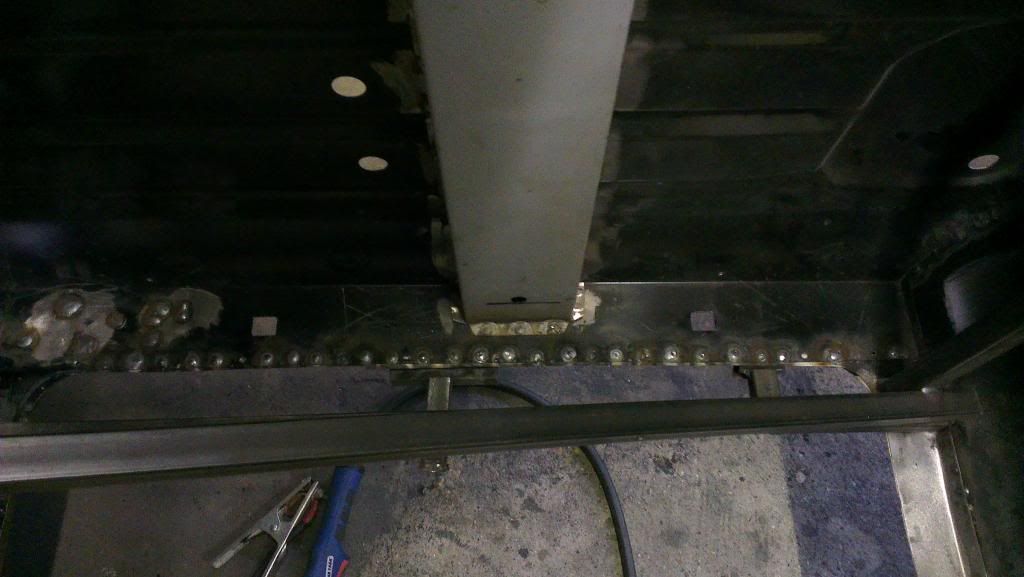
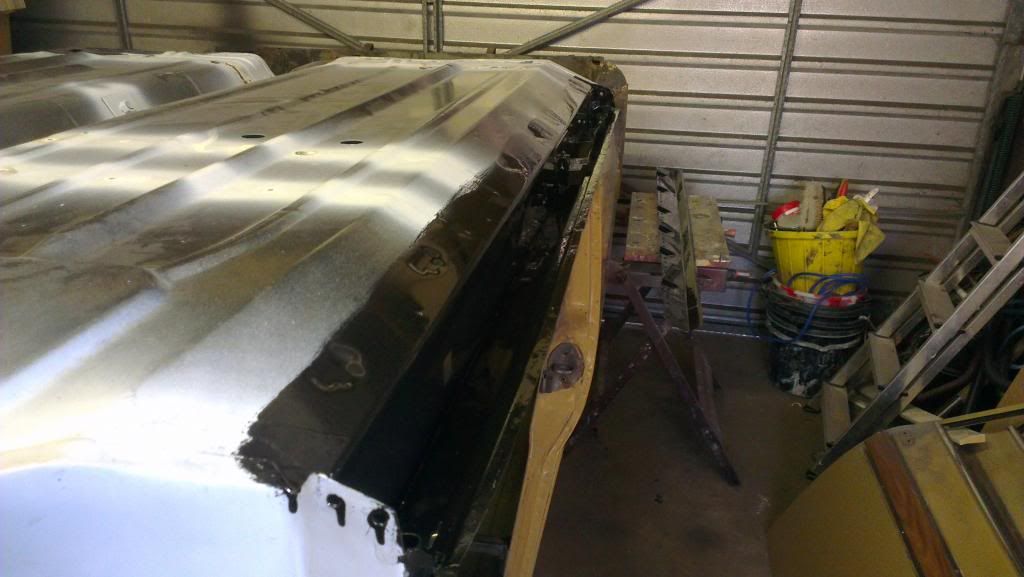
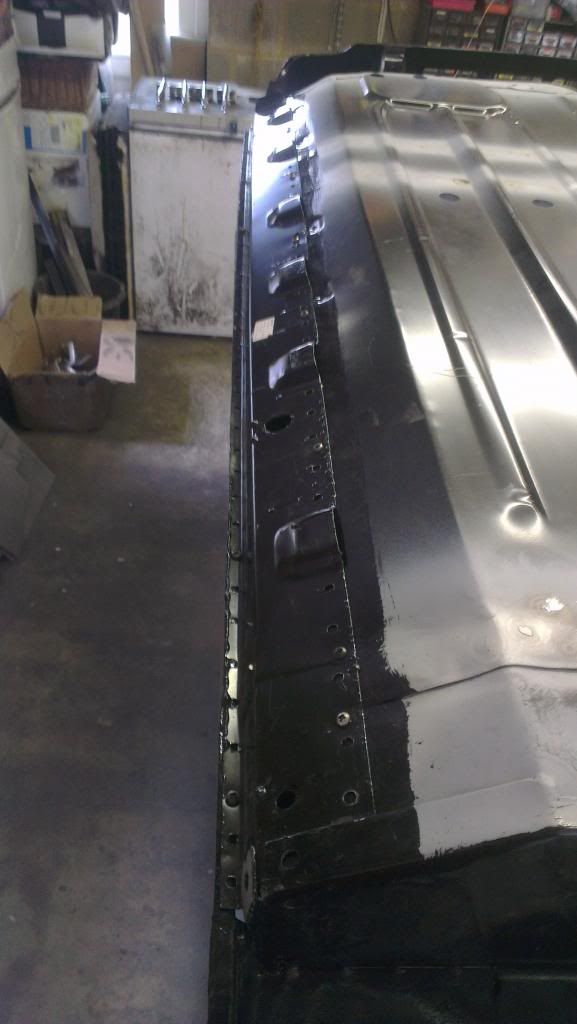
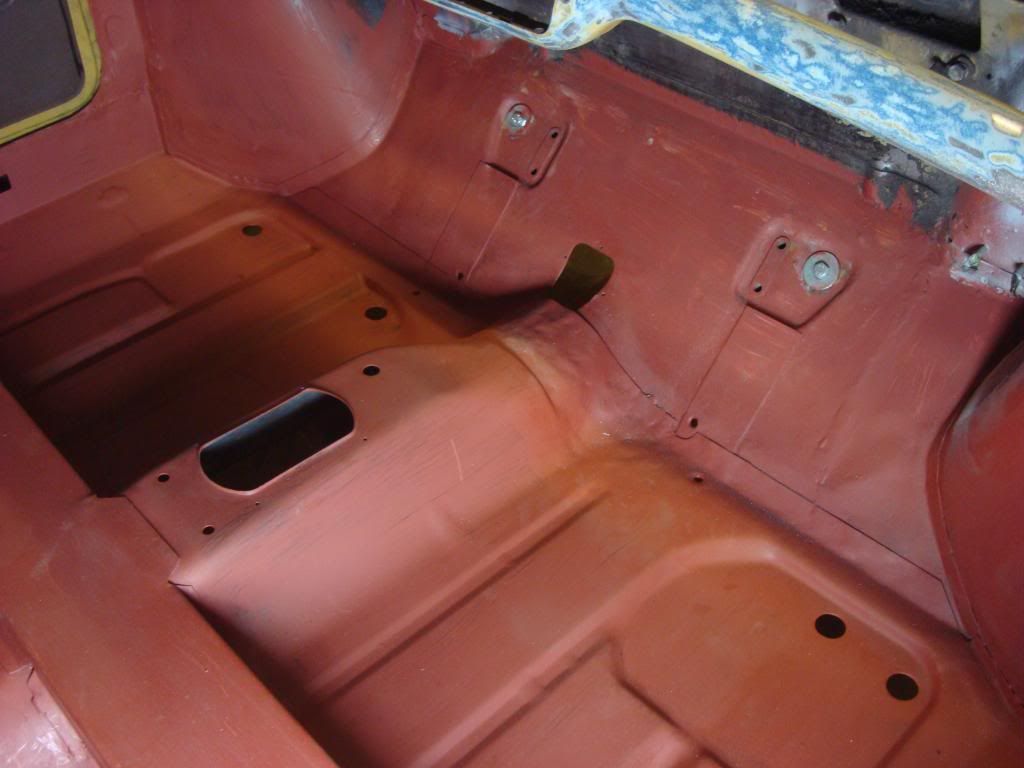
Finished dressing the welds on the underside of the floor, then etch primed.
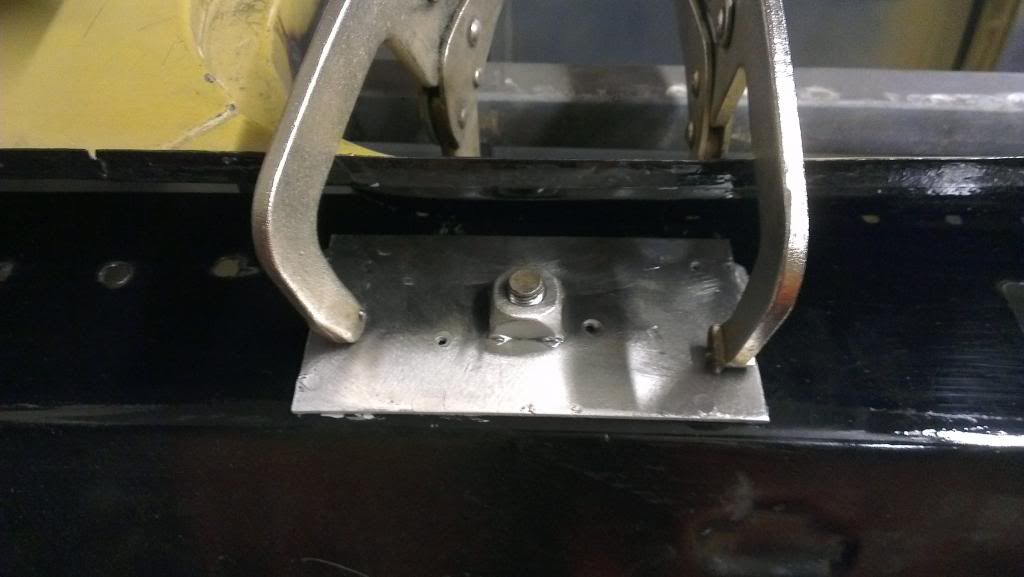
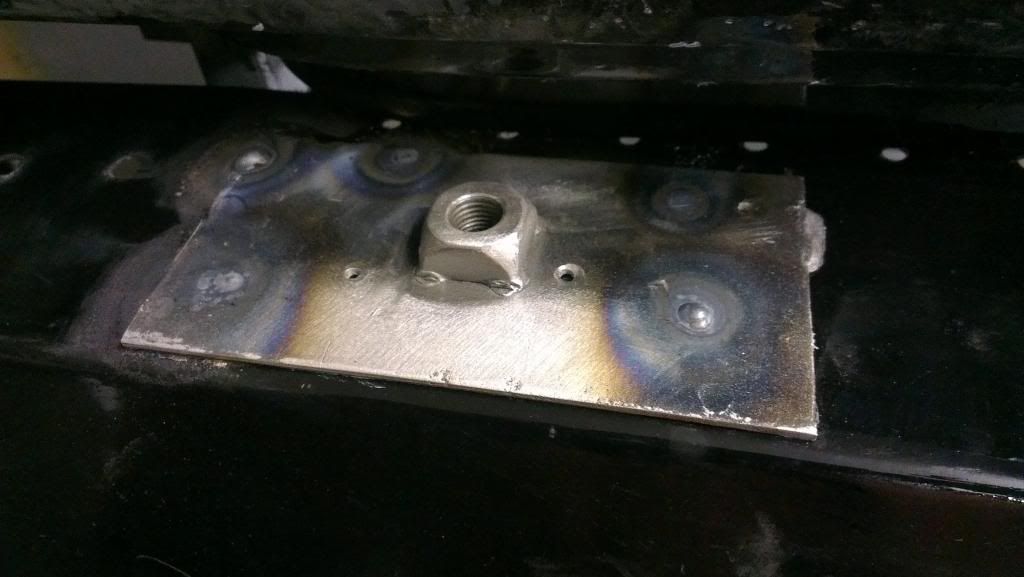
Removed the seat belt anchoring plates with captive nut from the old floor and welded to the new one. This was done on both sides.
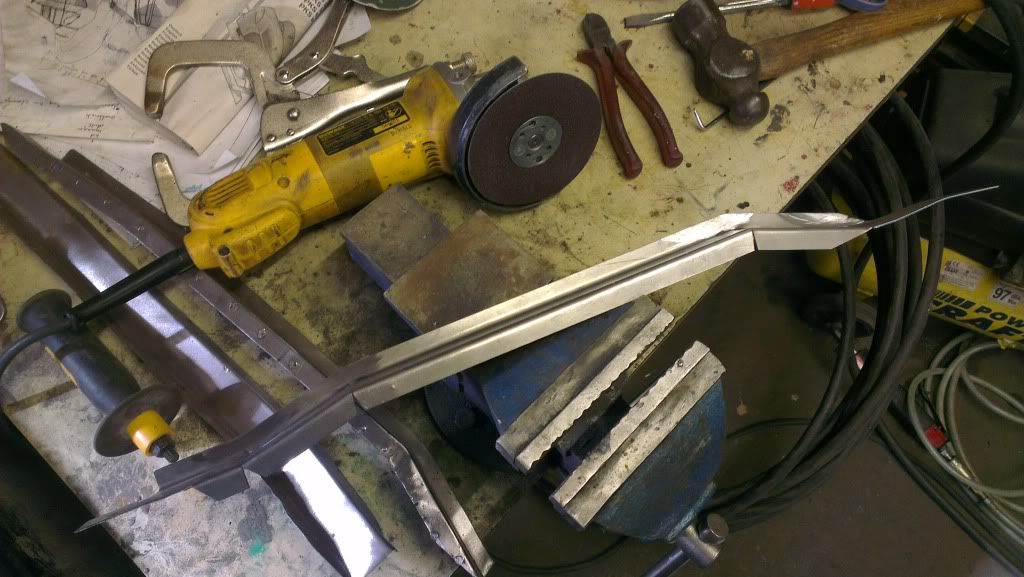
The old strengthening brackets that are attached to the inner sill got badly damaged whilst removing the floor. So I made new ones and welded them in.
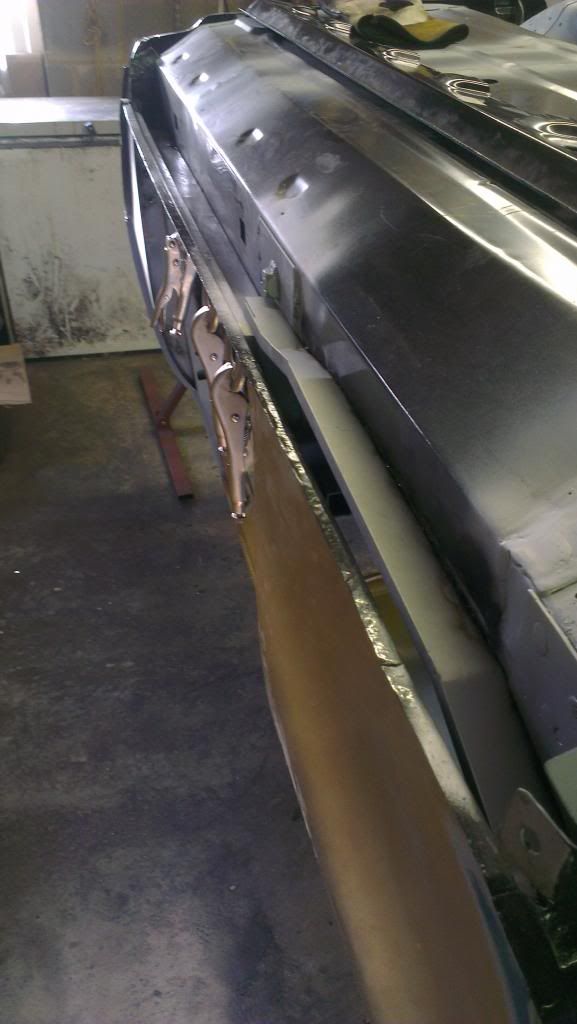
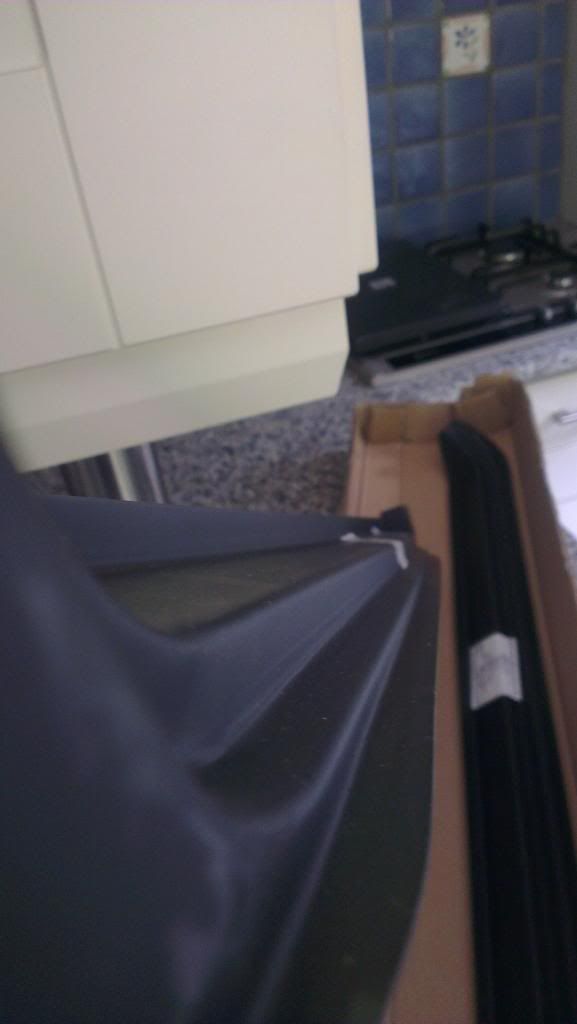
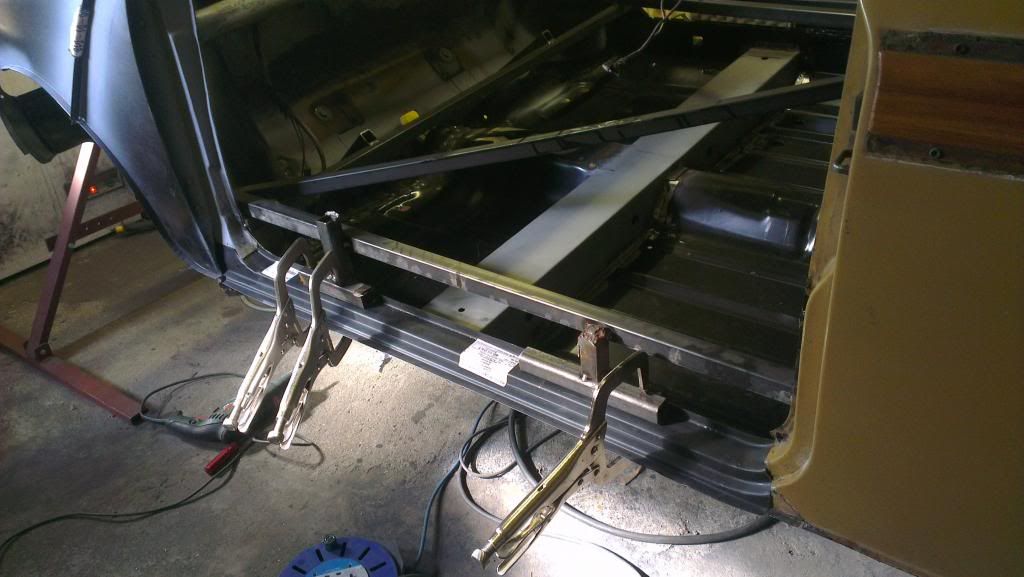
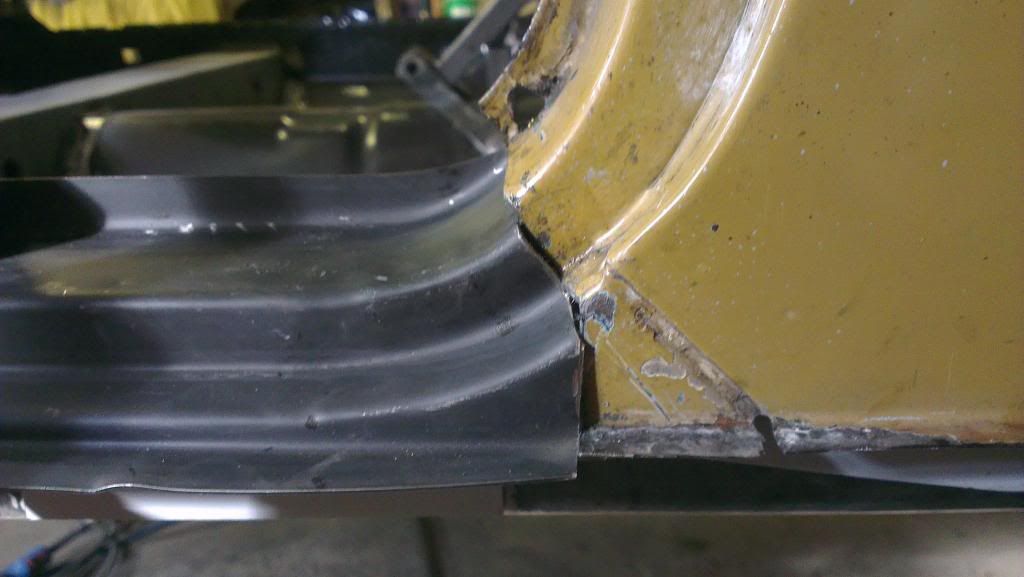
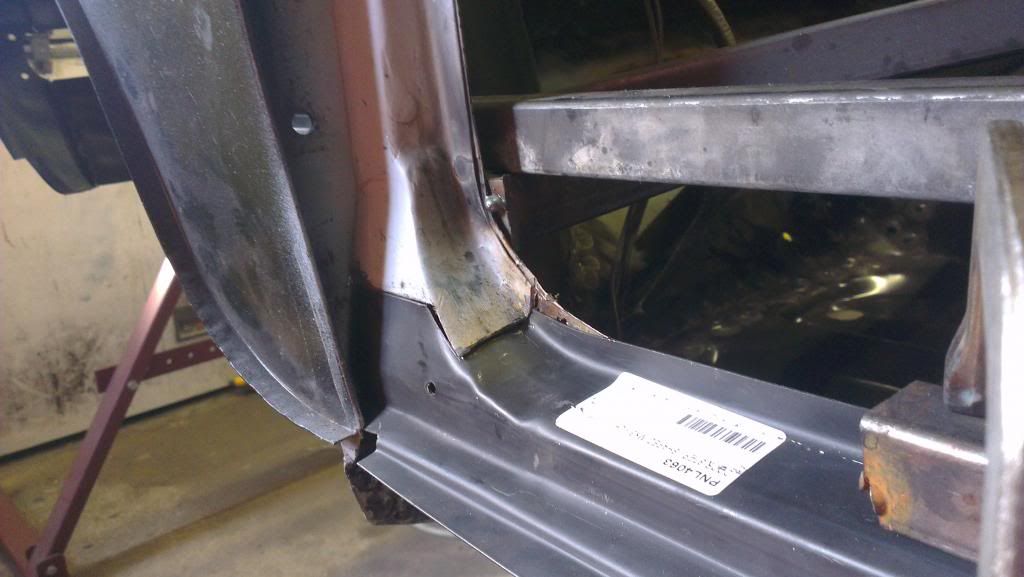
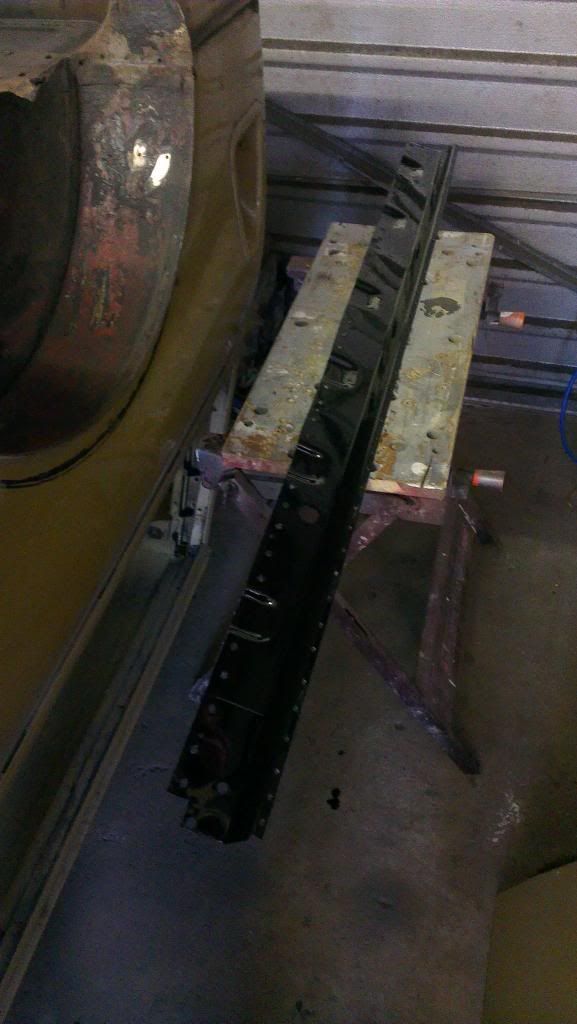
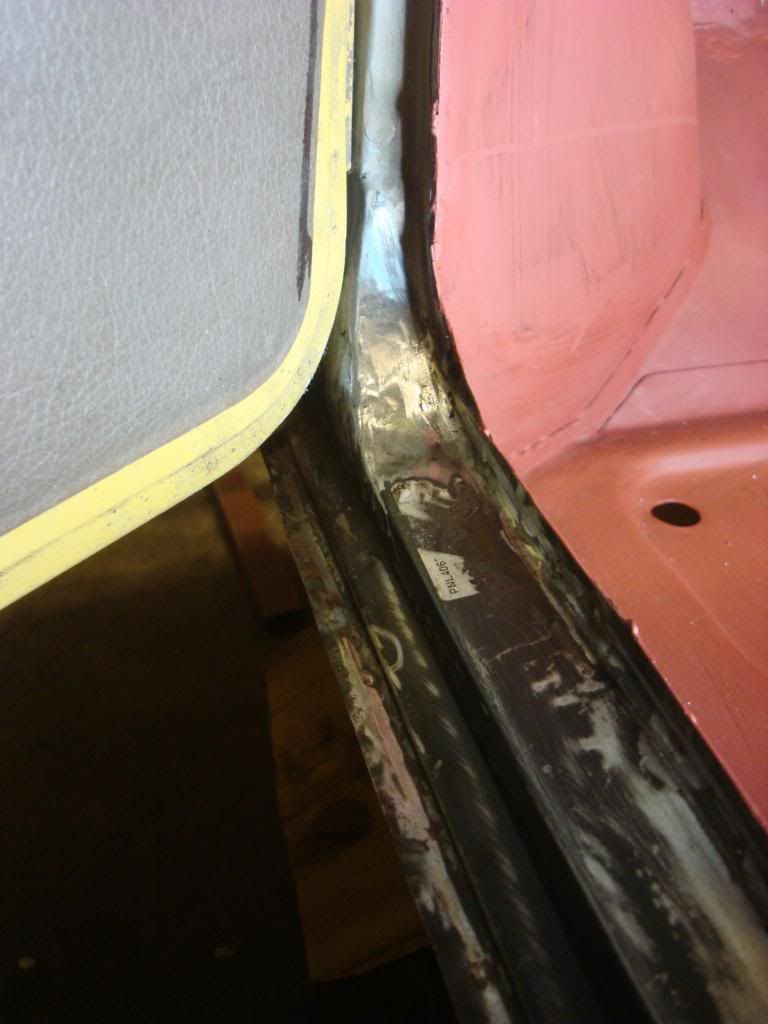
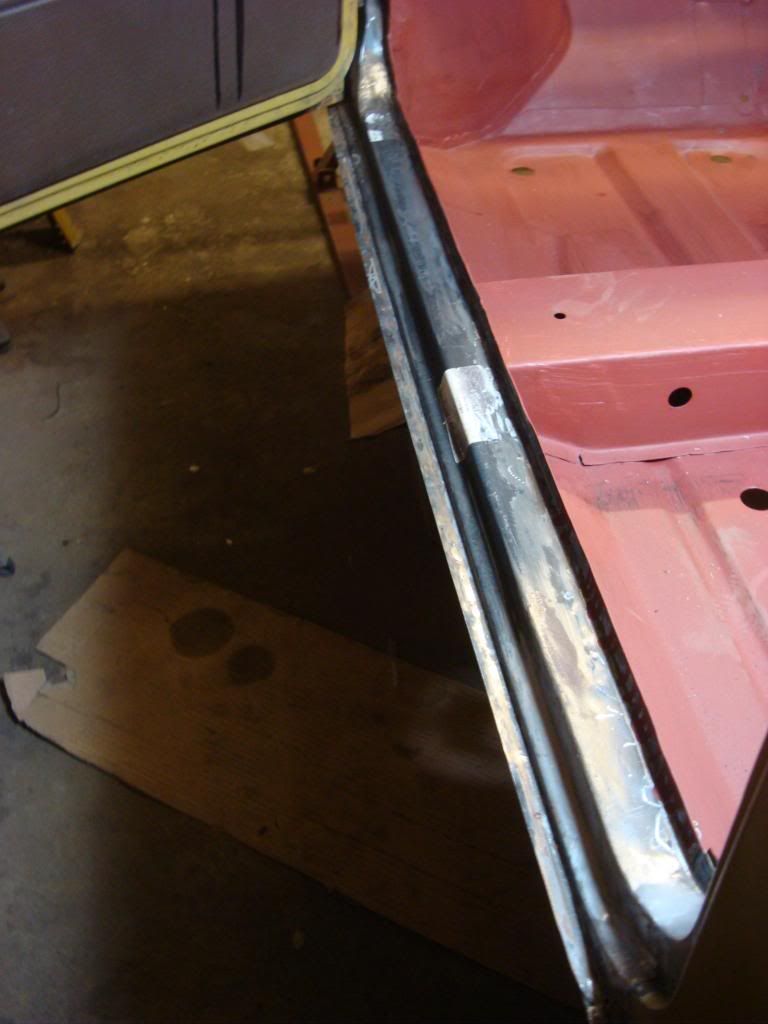
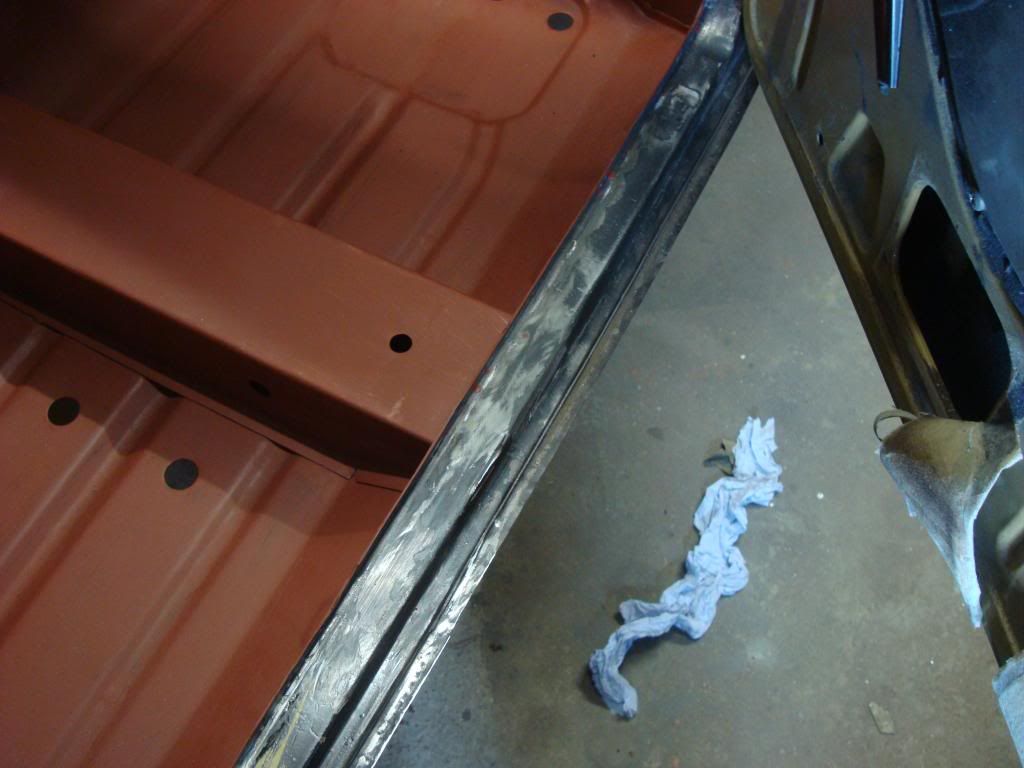
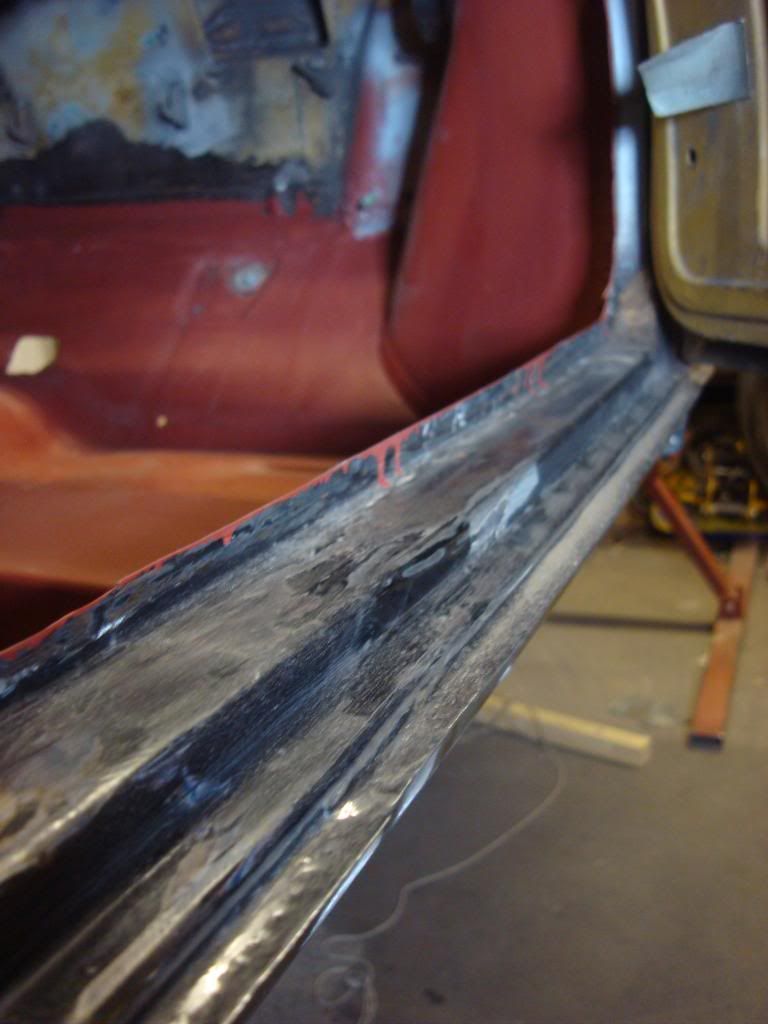
It was then time to do the doorsteps. These weren't too bad and from the top side you wouldn't of thought they needed replacing. The underside however had some deep pitting, one side worse than the other. I got some new door setps as the profile of the other ones I had were rubbish, these still weren't great but miles better than the others.
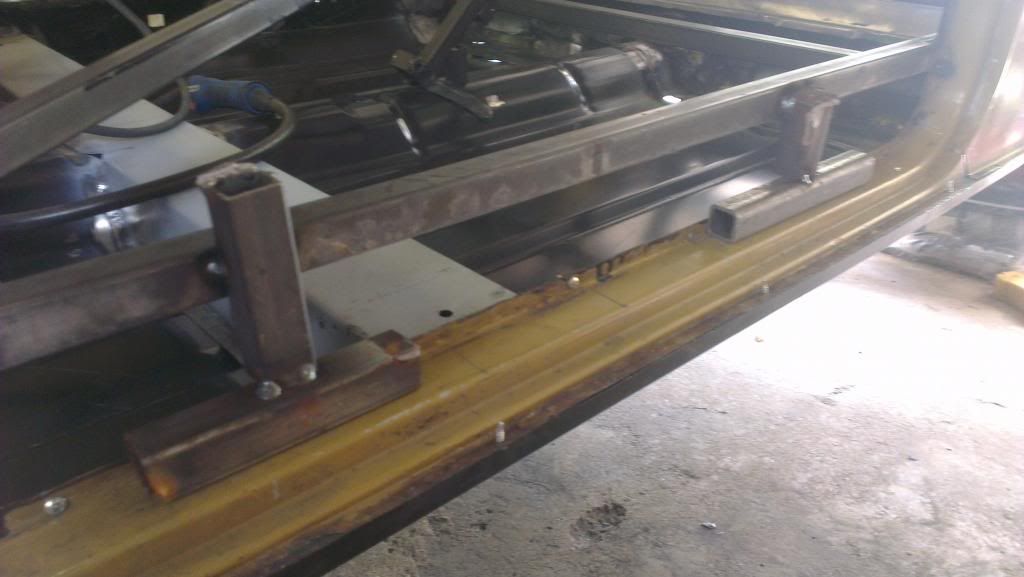
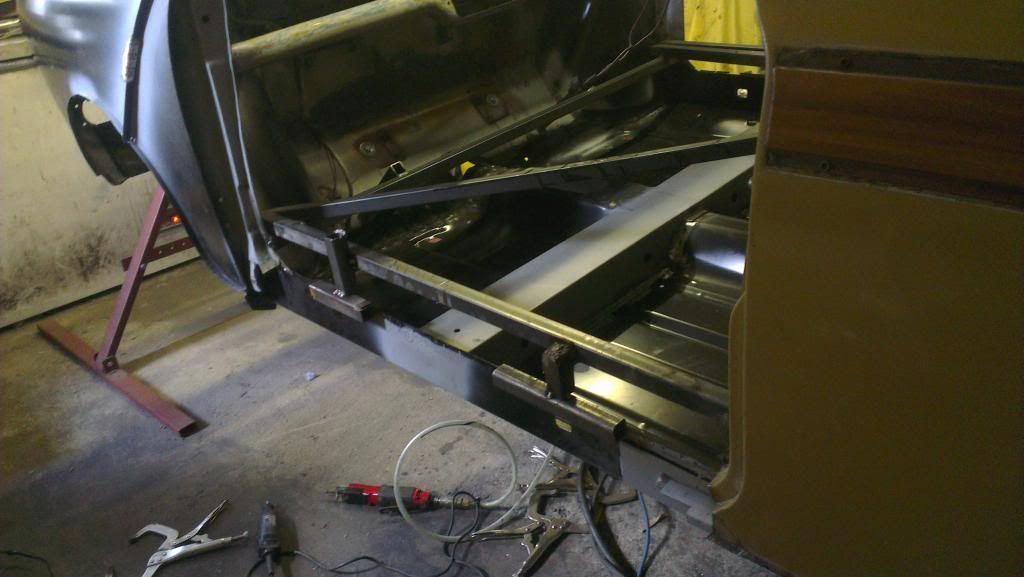
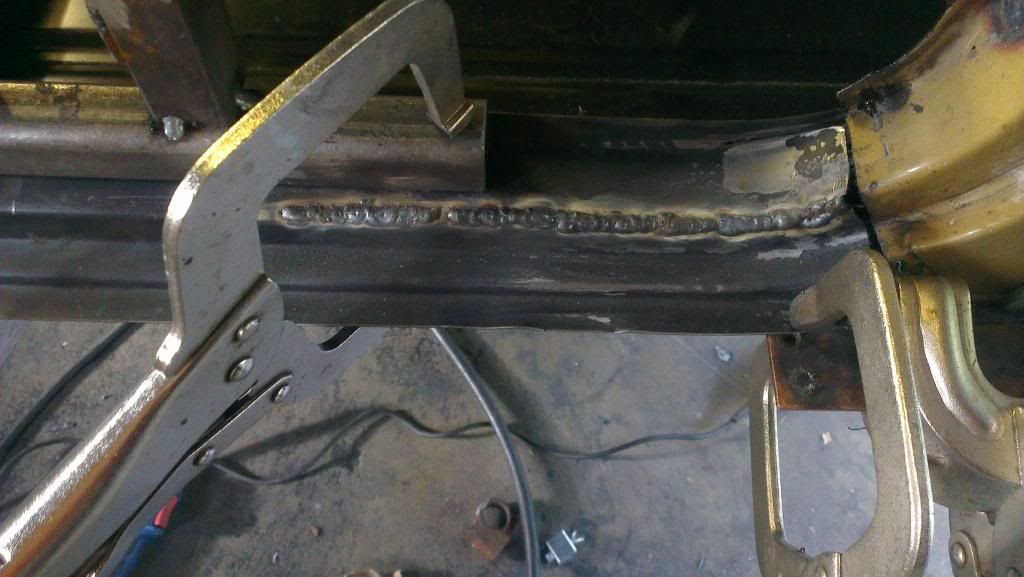
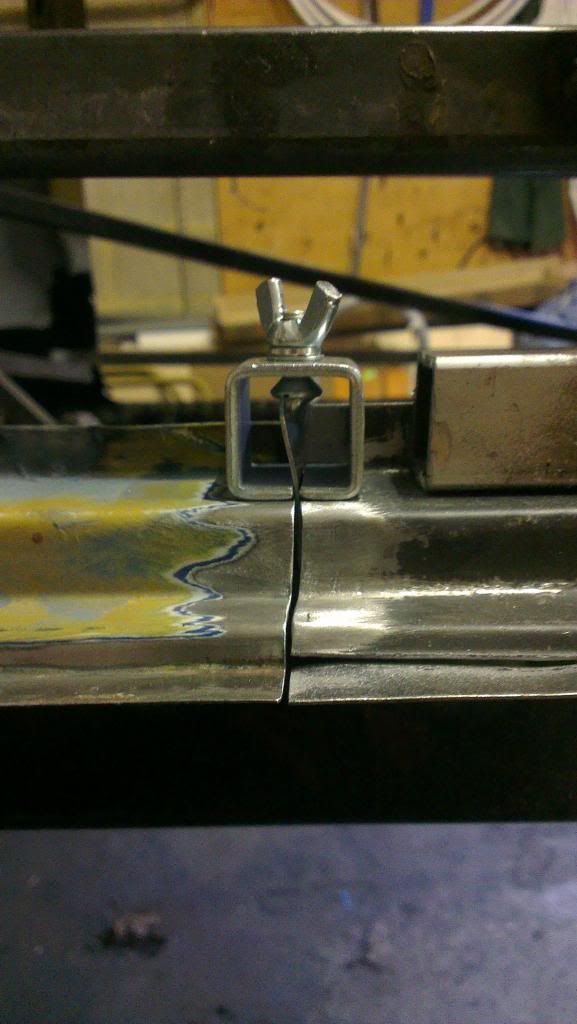
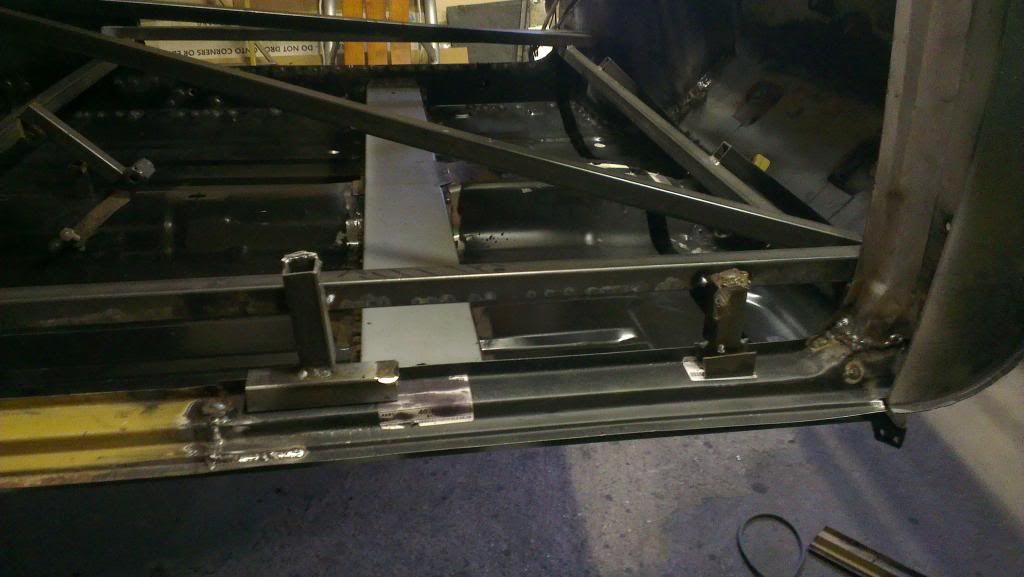
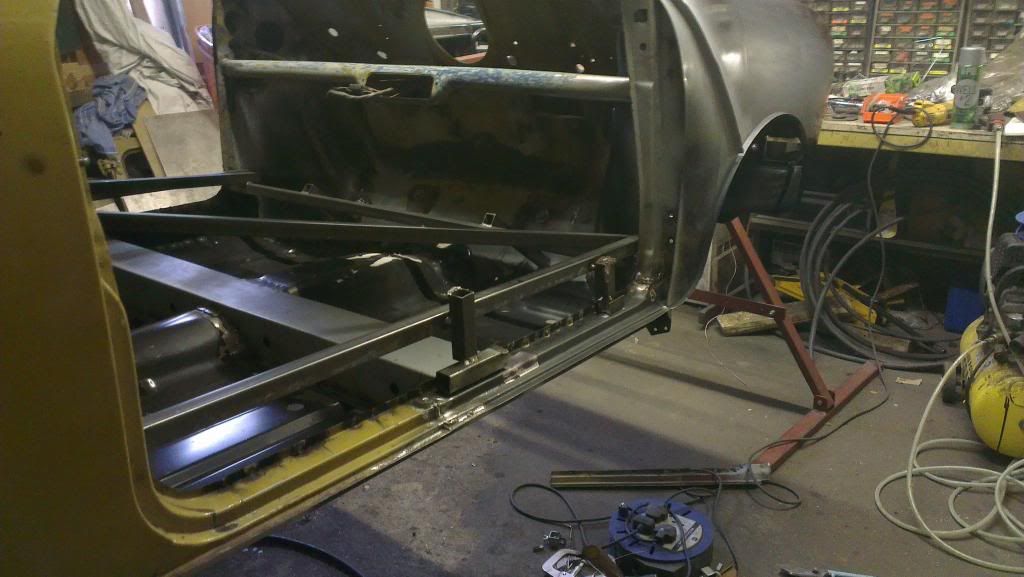
I welded the box section to the bracing so I had a reference to where the old one had been and so I had something to clamp to.
Clamped into place.
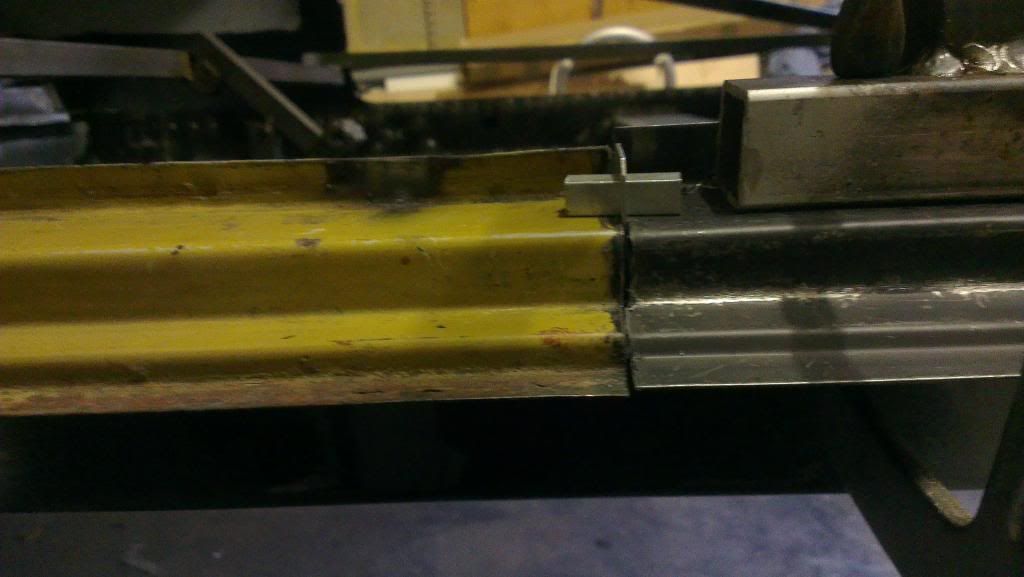
As you can see the fit is **** and the profile is all wrong.
Not as bad at the front but still crap.
I did a similar thing on the other side,the fit was almost as bad.
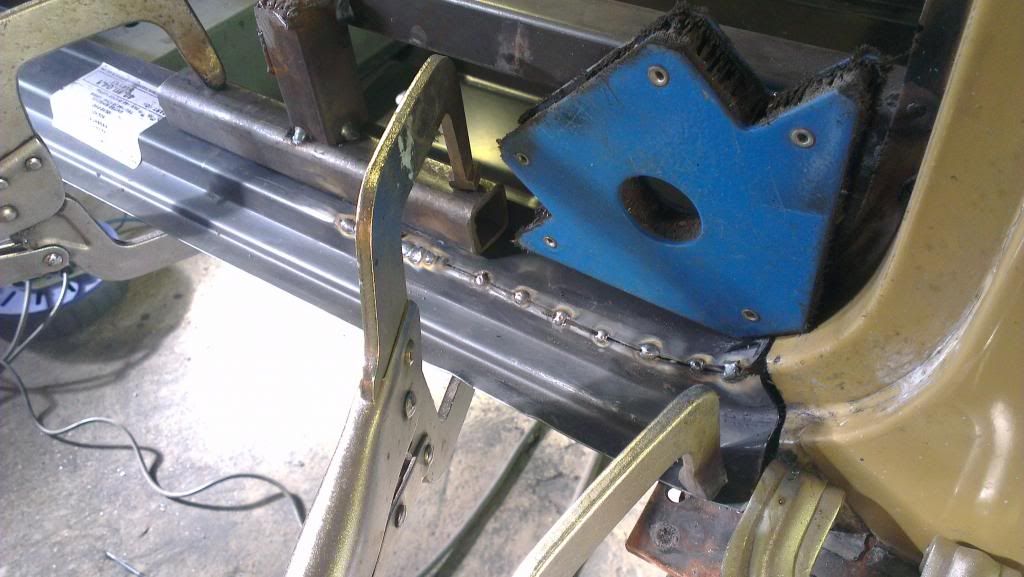
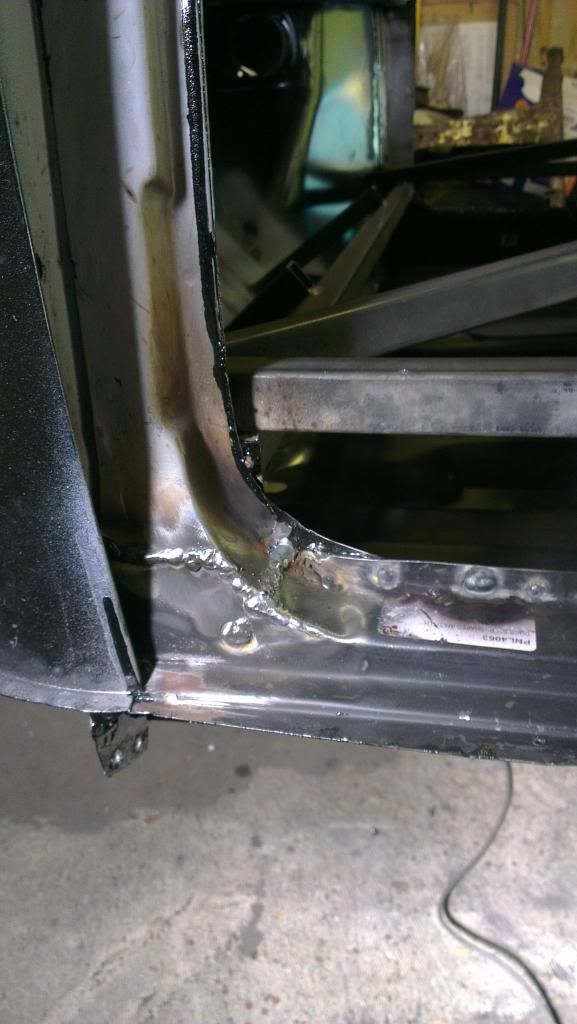
Welded the doorsteps to the inner sill
Once the doorsteps had been welded in I cleaned, primed and painted inside the sills before welding the outer sill on.
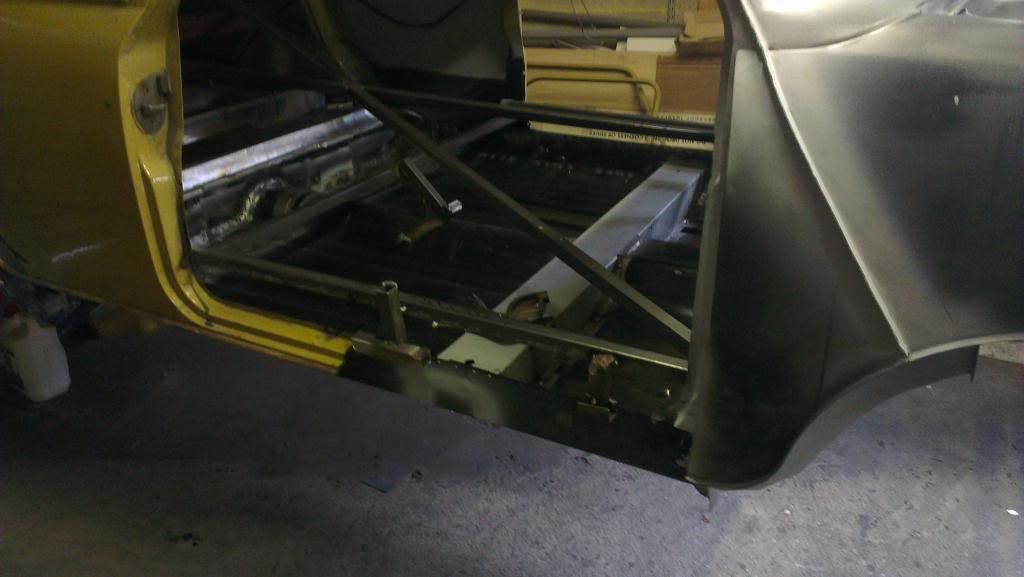
Test fitted
I have done both sides but can't find any pictures of the other side, anyway it looks much the same.
That's it for now, like I said this doesn't bring us right up to date. I'll try and do another update soon, once I have found or taken more photos.
Liam.
#172

Posted 02 January 2014 - 10:11 PM
#173

Posted 06 January 2014 - 10:49 PM
Looking like this is coming along nicely such a cool retro colour to :)
#174

Posted 07 January 2014 - 08:25 PM
I'm getting there slowly. I have just uploaded some more pictures from my camera, so tomorrow I'll do an update of the work that was done over the Christmas break.
#175

Posted 07 January 2014 - 08:45 PM
#176

Posted 07 January 2014 - 08:45 PM
duplicated post ![]()
Edited by stealth05, 08 January 2014 - 07:14 AM.
#177

Posted 08 January 2014 - 03:34 PM
great build! fantastic fabrication and repair work!
#178

Posted 08 January 2014 - 09:21 PM
UPDATE
Really just a continuation from my last update, this should bring the thread right up to date.
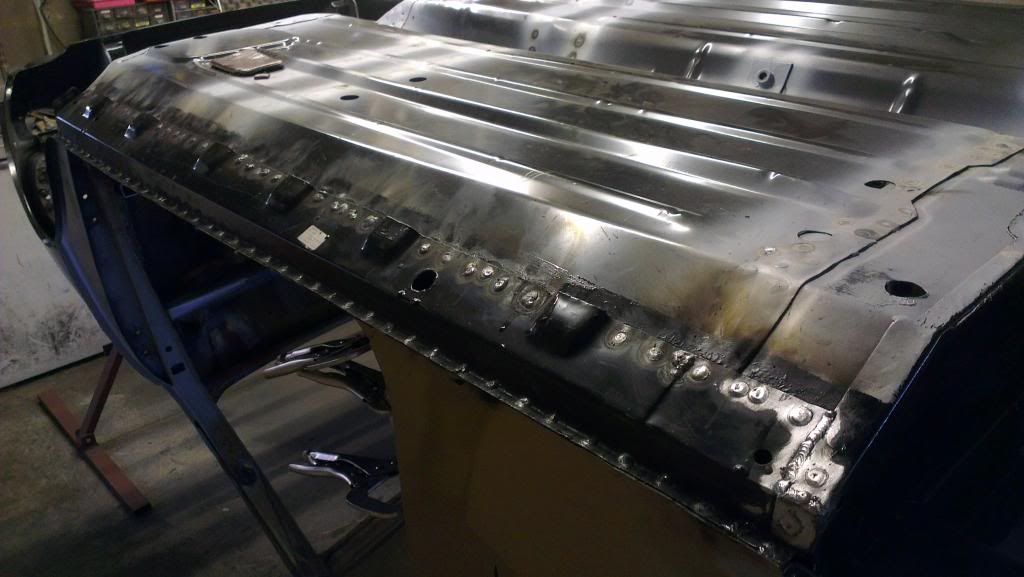
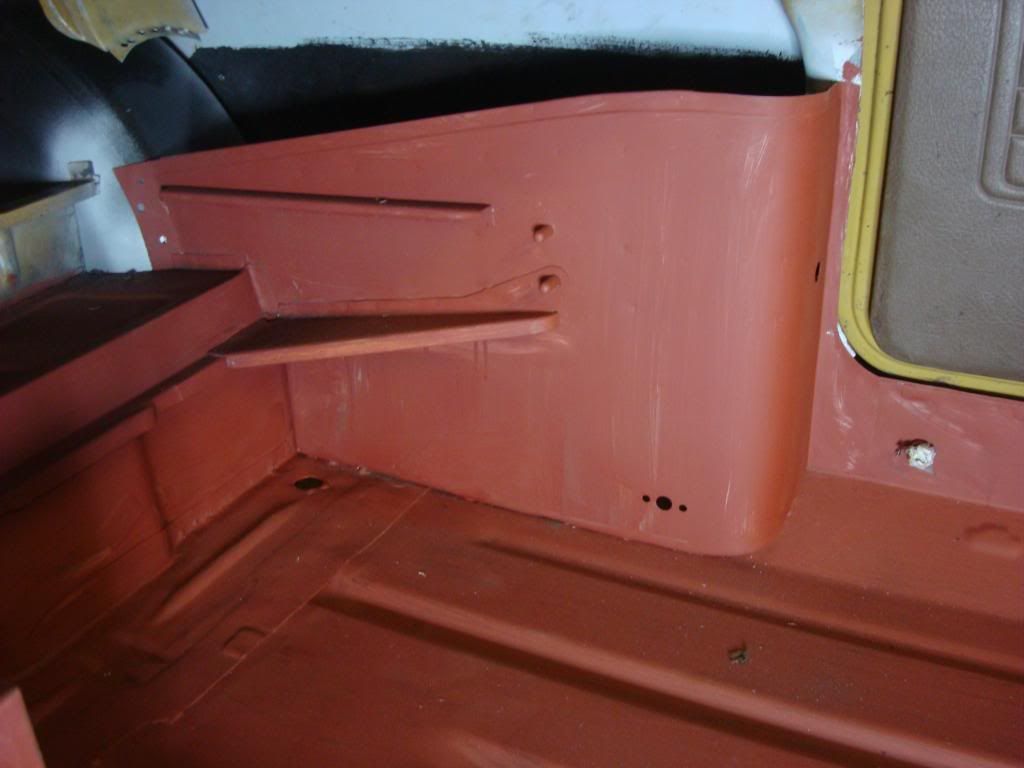
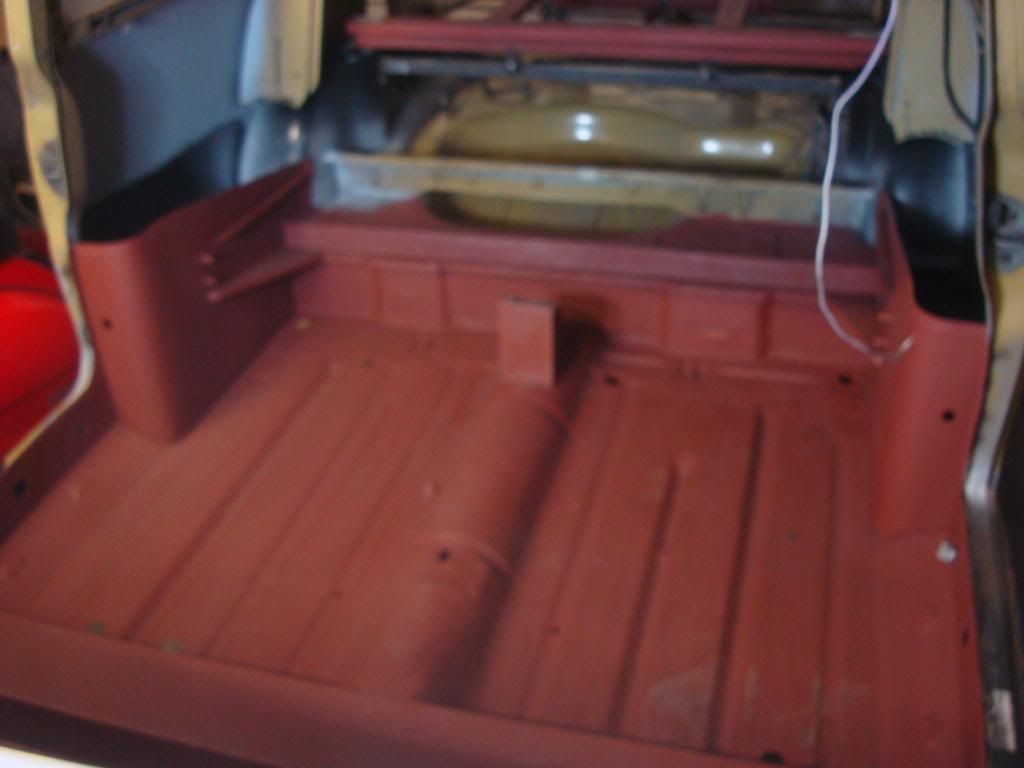
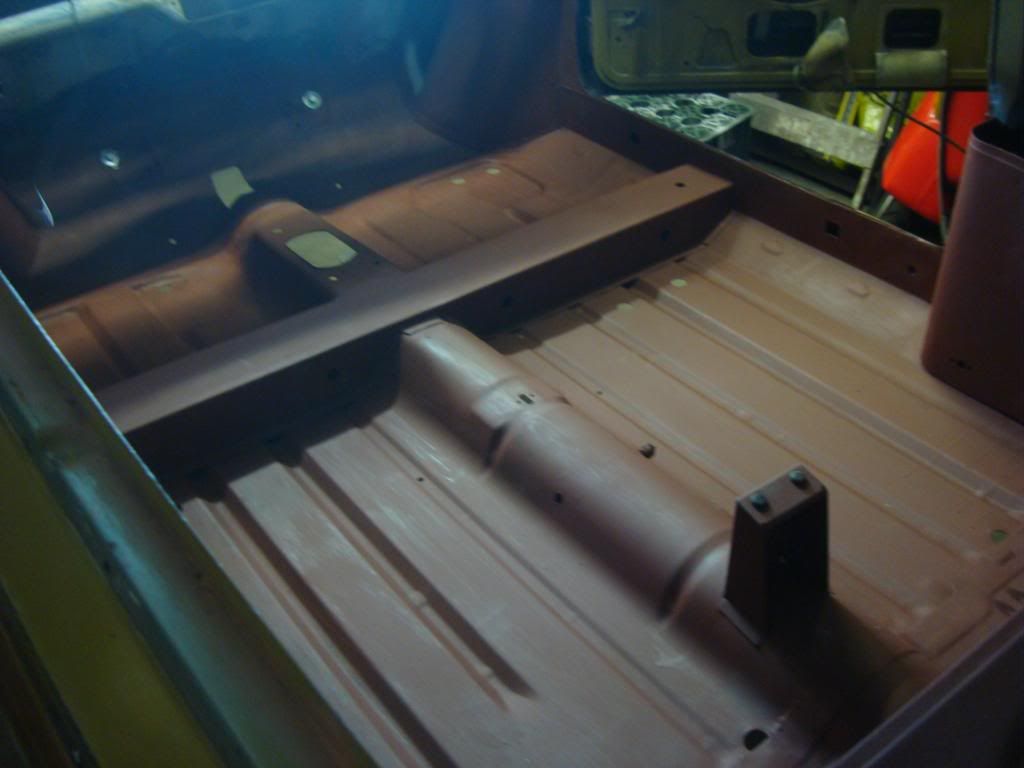
Dressed all the welds back on the inside of the car and gave the floor a lick of paint. This will be removed, just applied for projects in the mean time.
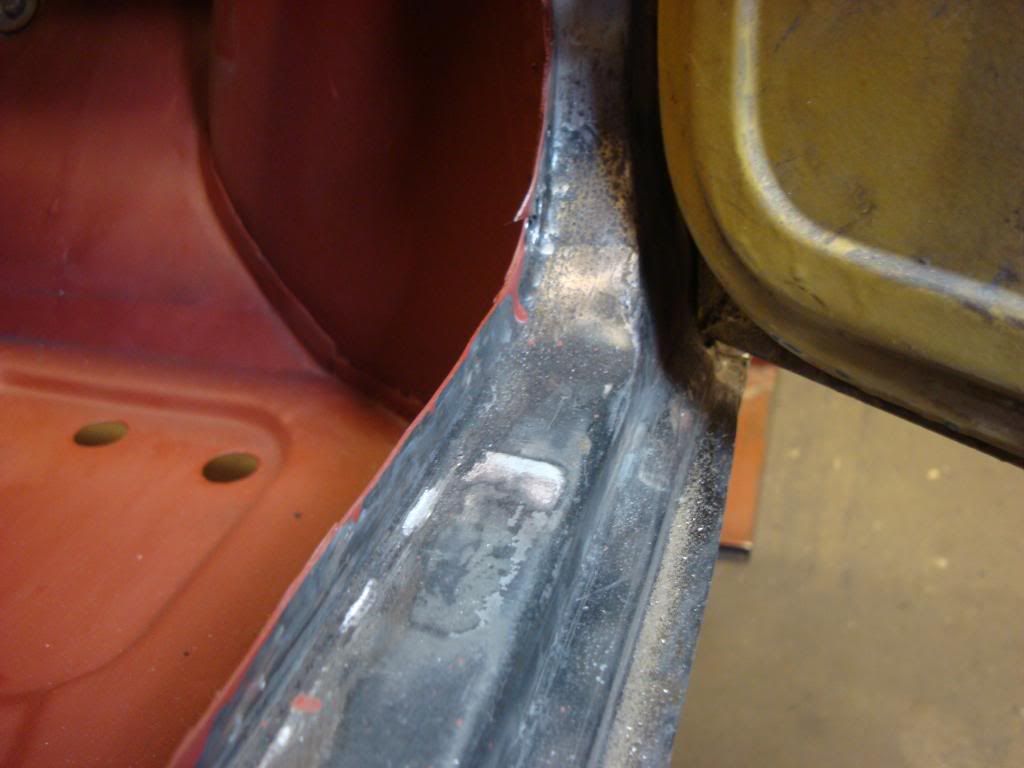
A few pictures of the door steps after dressing the welds. I have had the doors back on and where the profile of the pattern door steps aren't that good it's going to need some work. Not much but I want to get it right so more than likely I will lead load it. I think the extra effort now will be worth it.
Fitted both the rear bins,plus the brackets that attach to the side. Still need to make up some ash tray mounting plates and weld them the the bins.
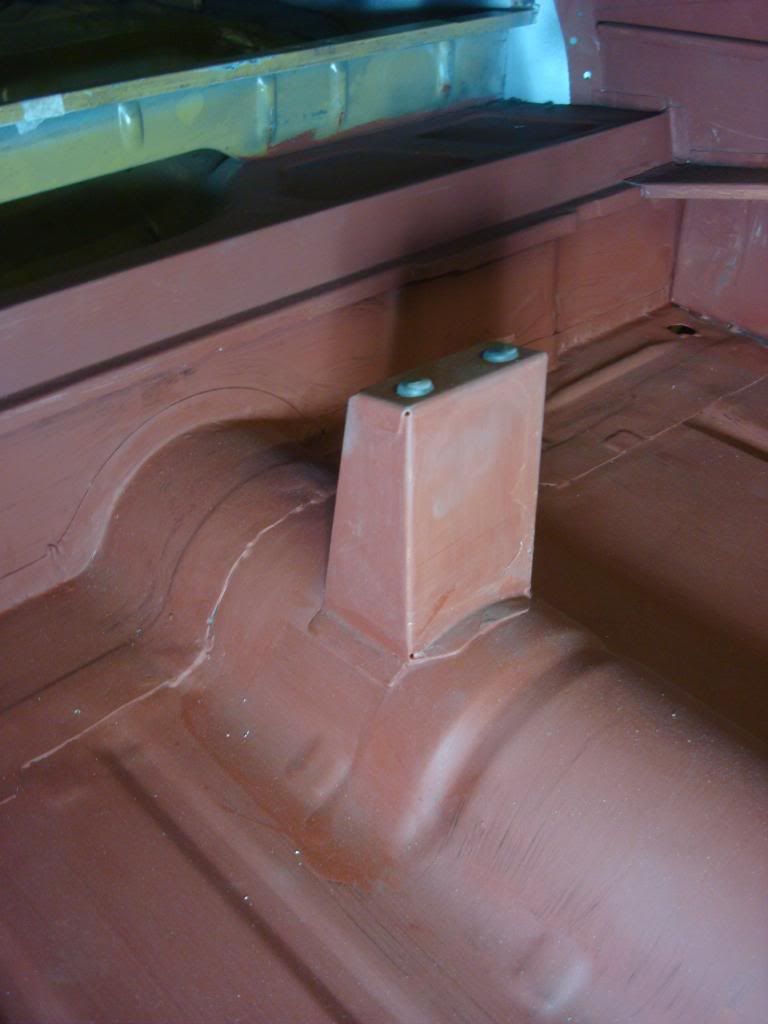
And this bracket to support the rear seat (what ever you want to call it)
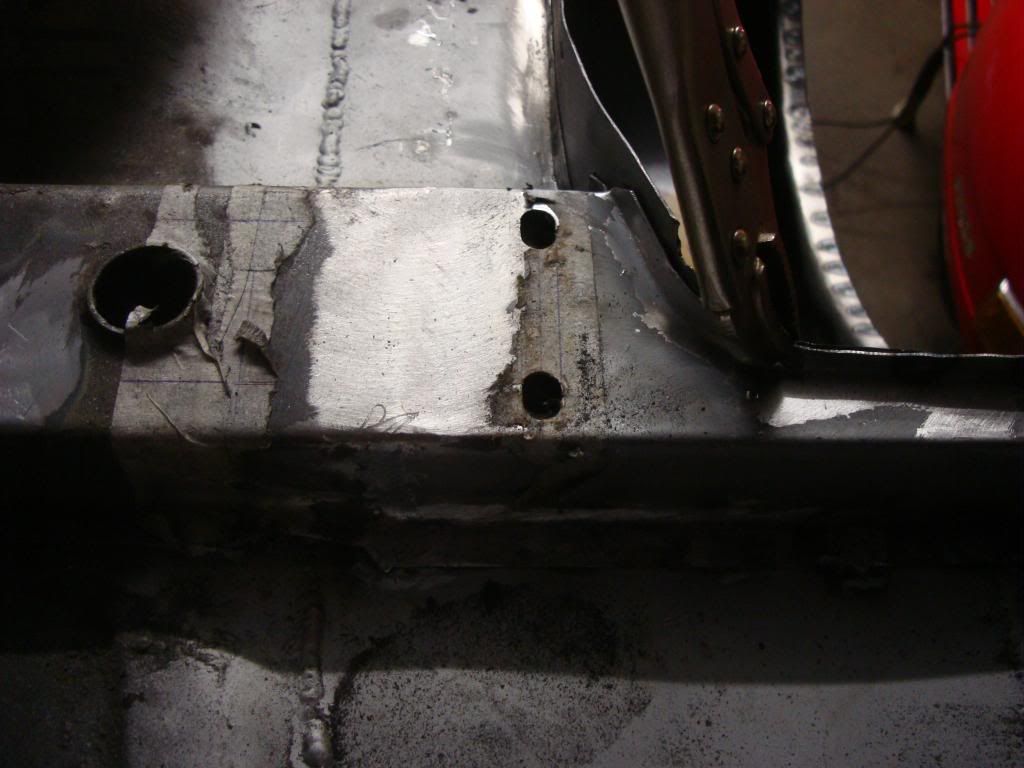
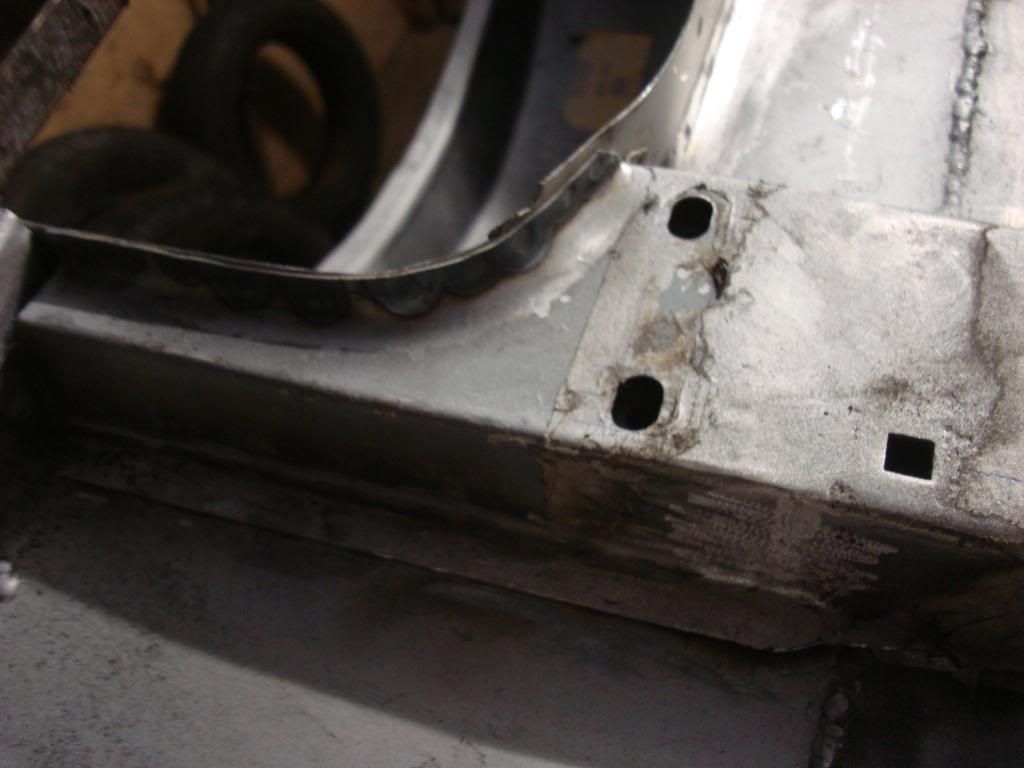
The rear rear subframe mounting points on the cross-member had got a little rotten in places. So I took a load of measurements and replaced the ends of the cross-member. These are pictures of the repair sections welded in and welds dress back.
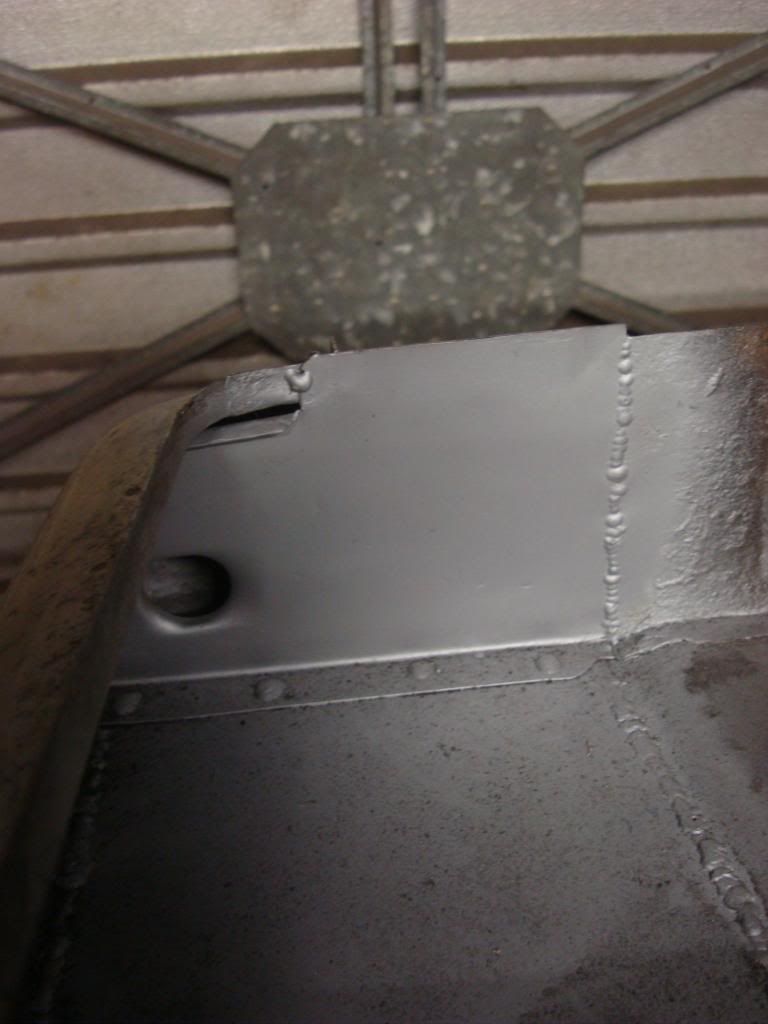
I made a repair section for the end of the rear valance closing panel. Yet to dress the welds. I know you won't see all this anyway, as its the underside of the car and hidden behind the petrol tank but I matters to me.
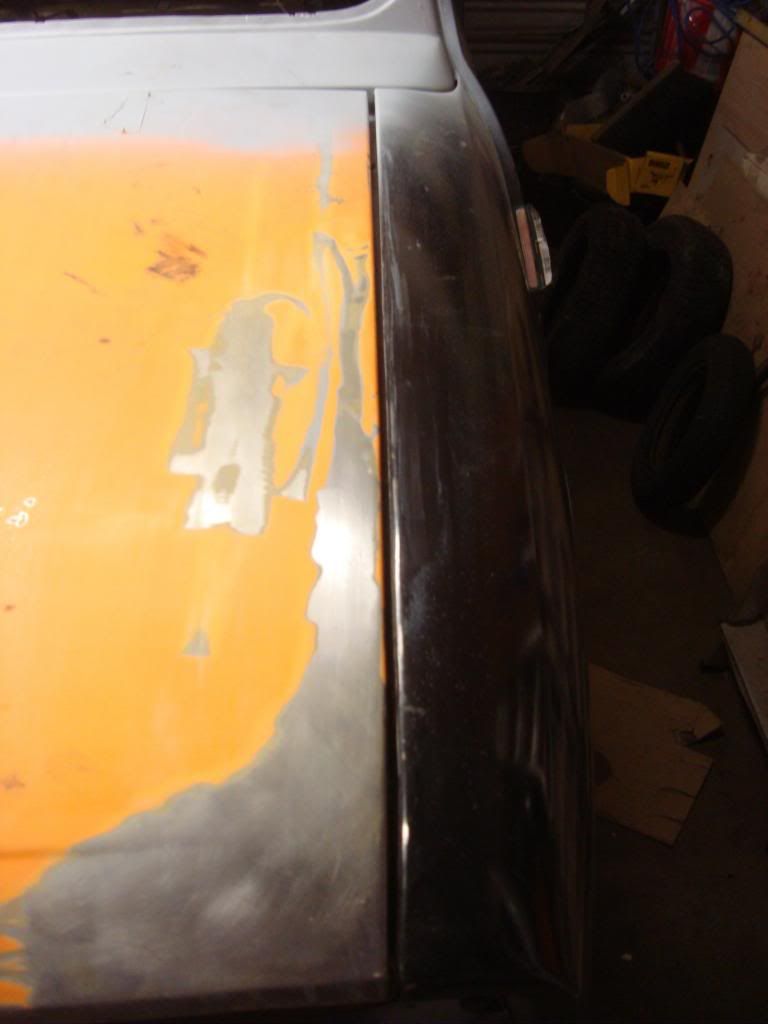
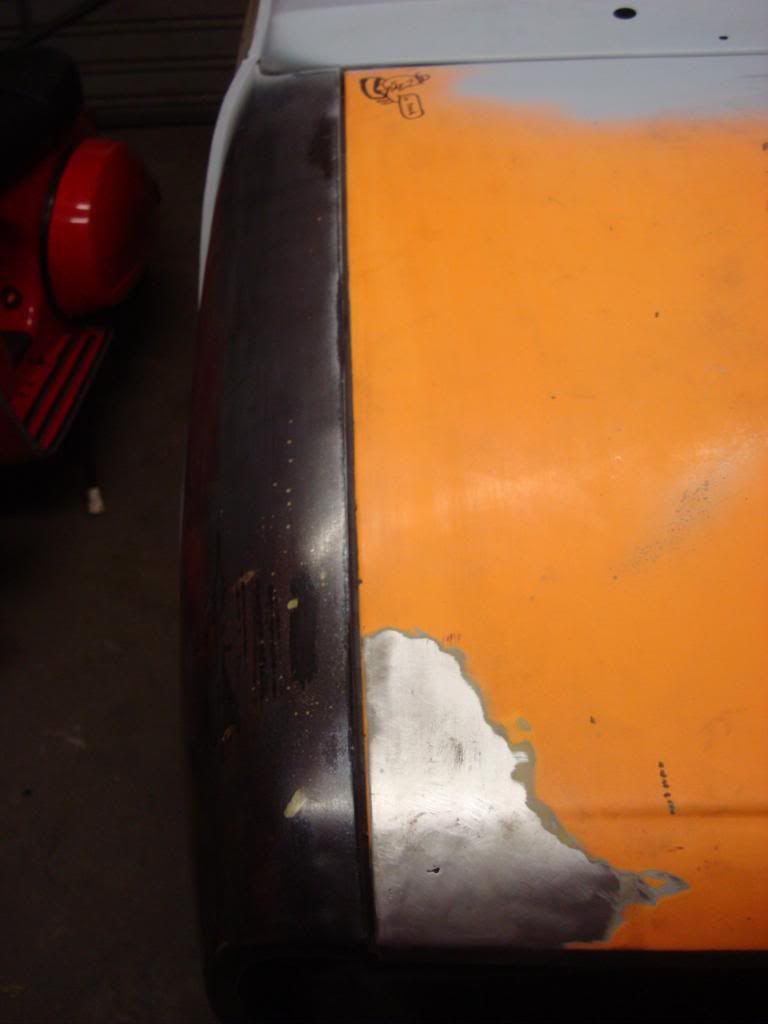
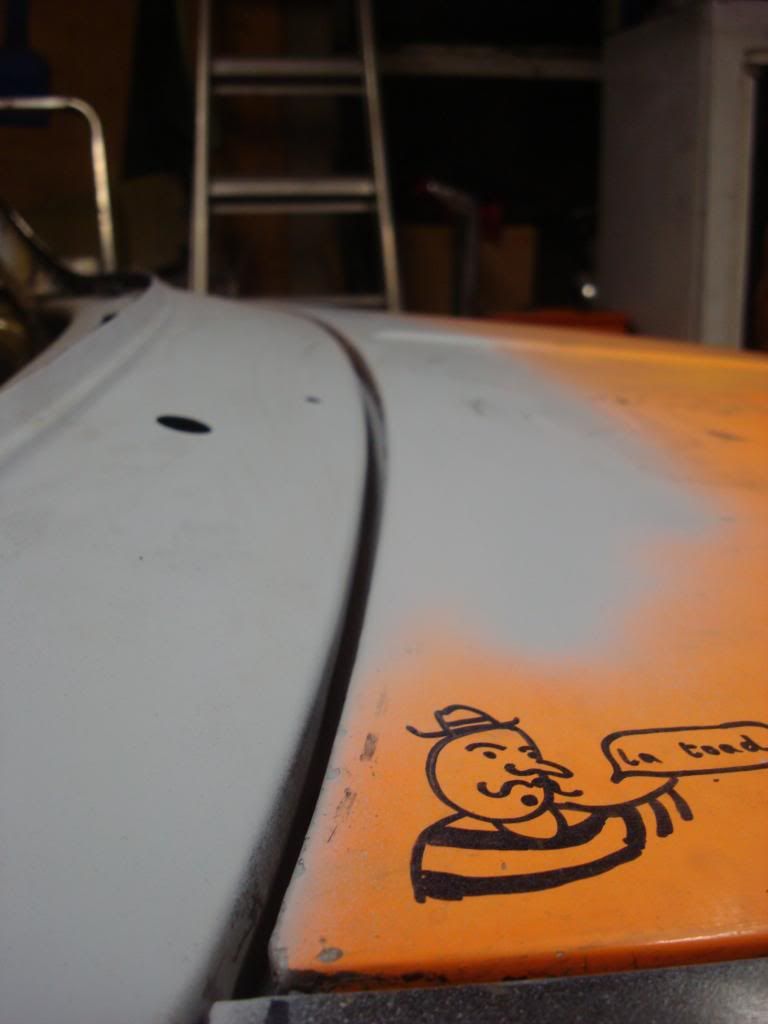
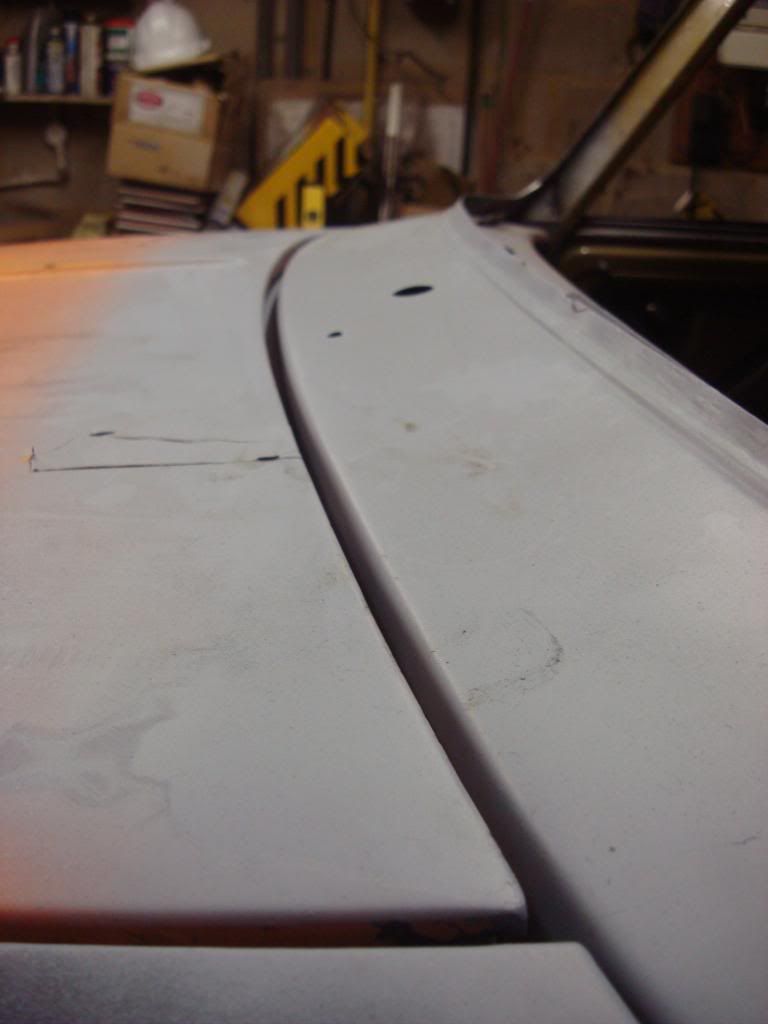
Messing about with the bonnet
The gap at the back is just that little bit too big, everywhere else it is lining up pretty well, I have a consistent 3mm gap down both sides.
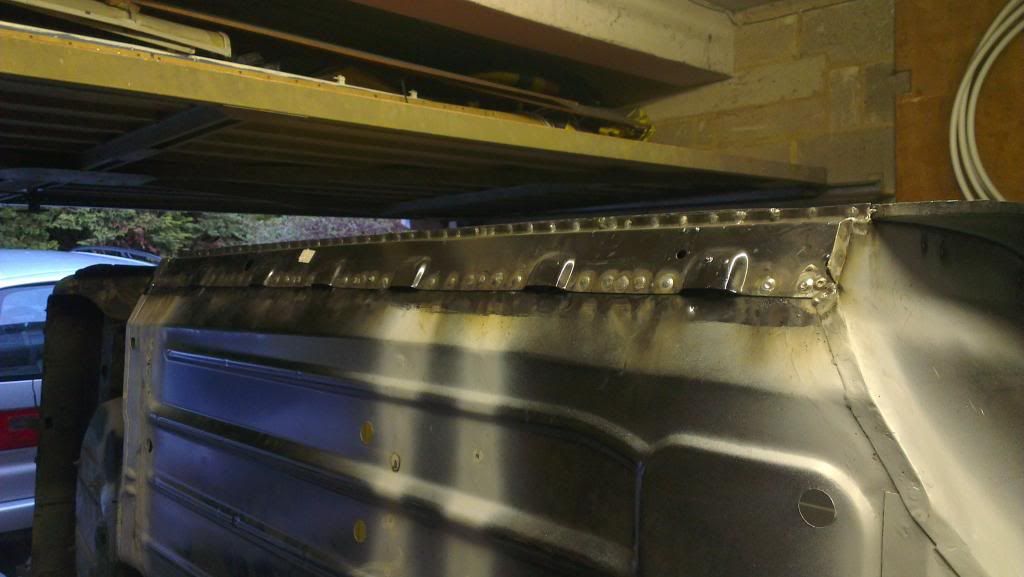
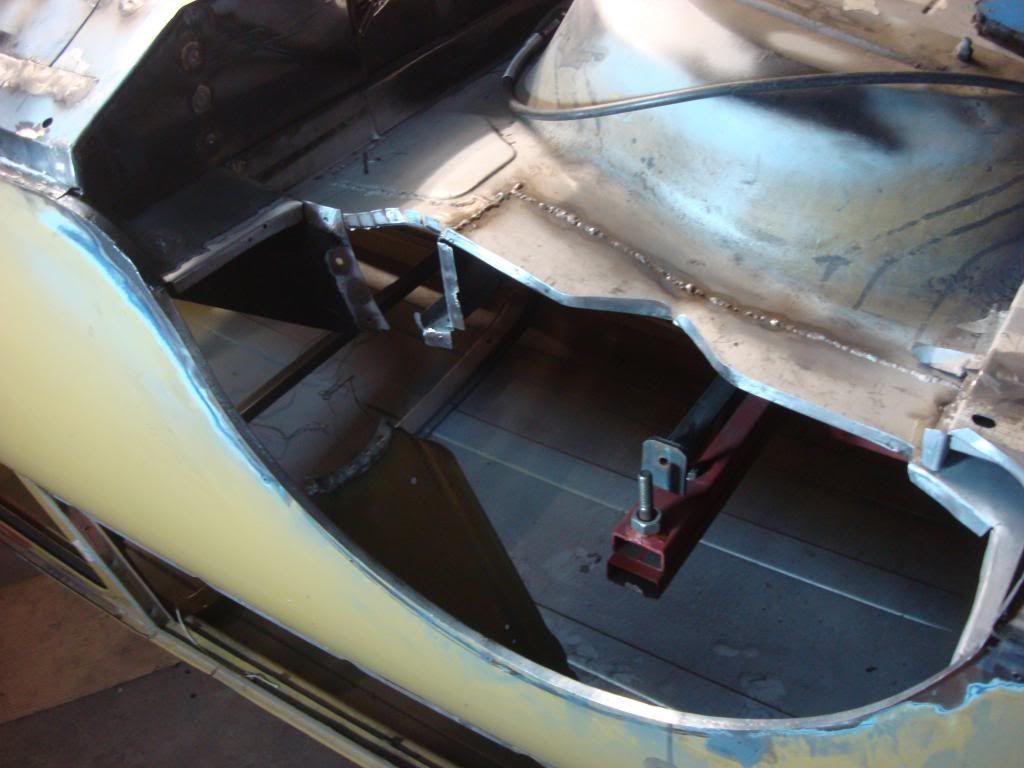
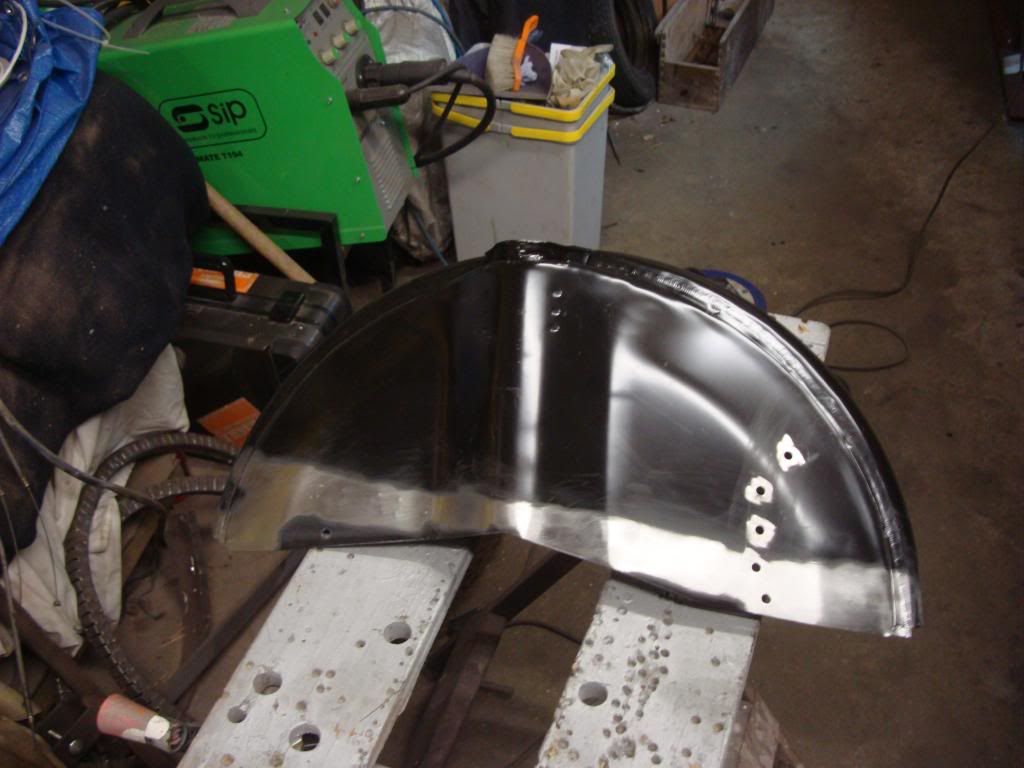
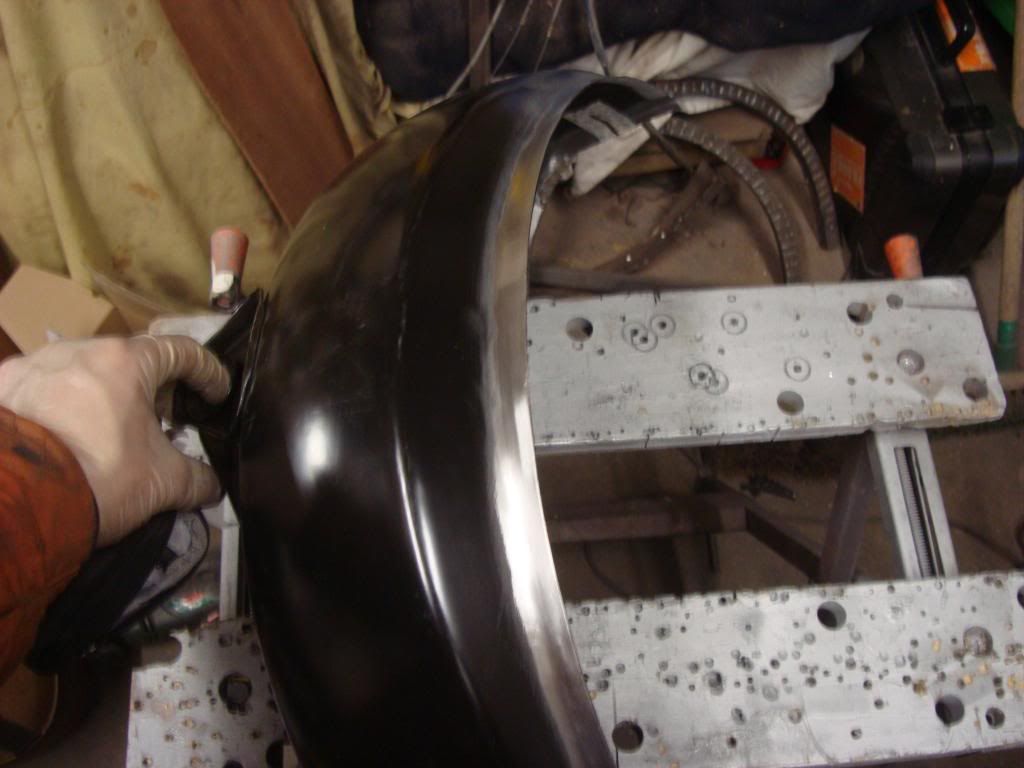
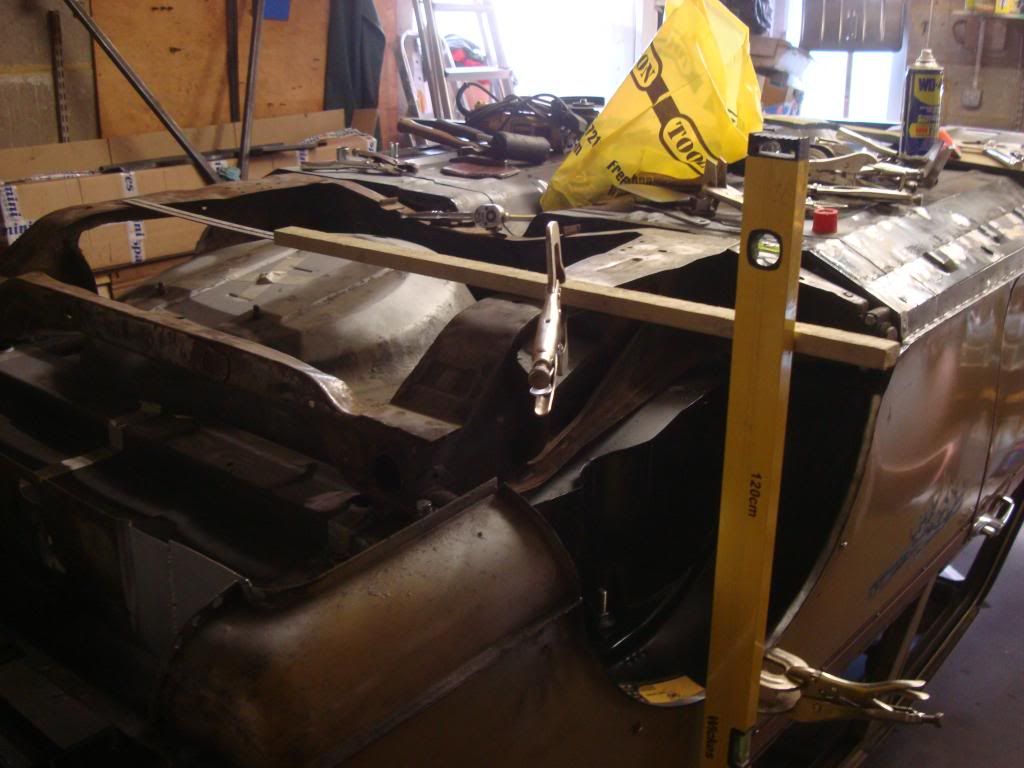
This brings me to what I did over the Christmas period. In this photo you can also see a repair I have made to the rear boot floor, I have had to do the same on the other side.
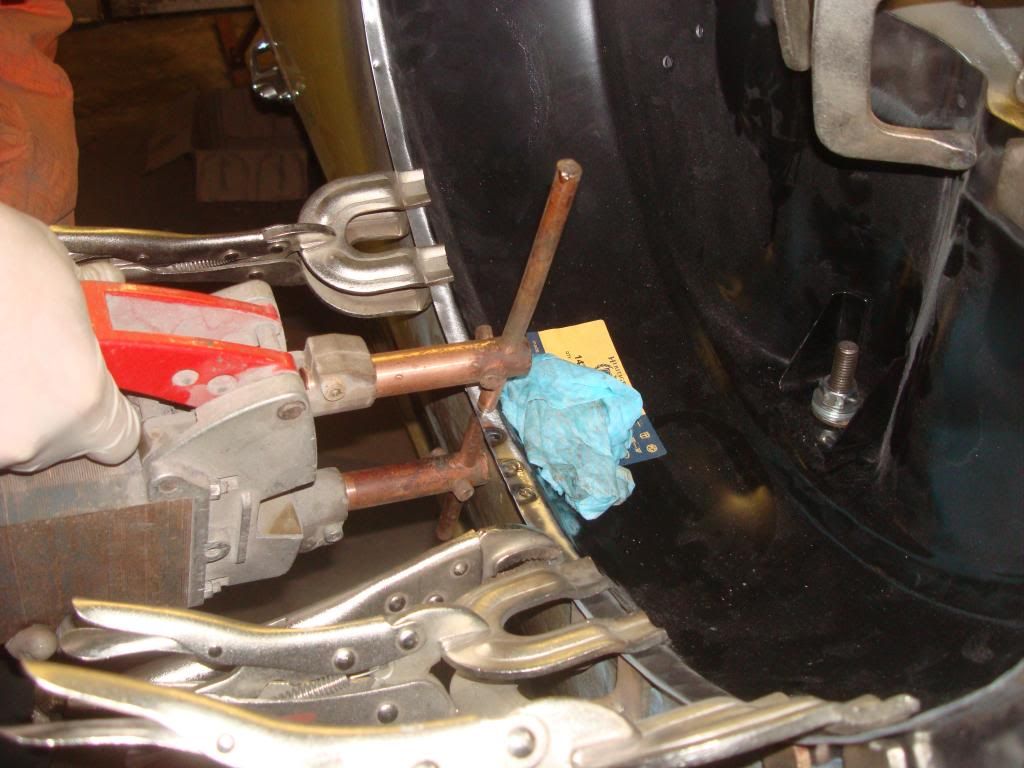
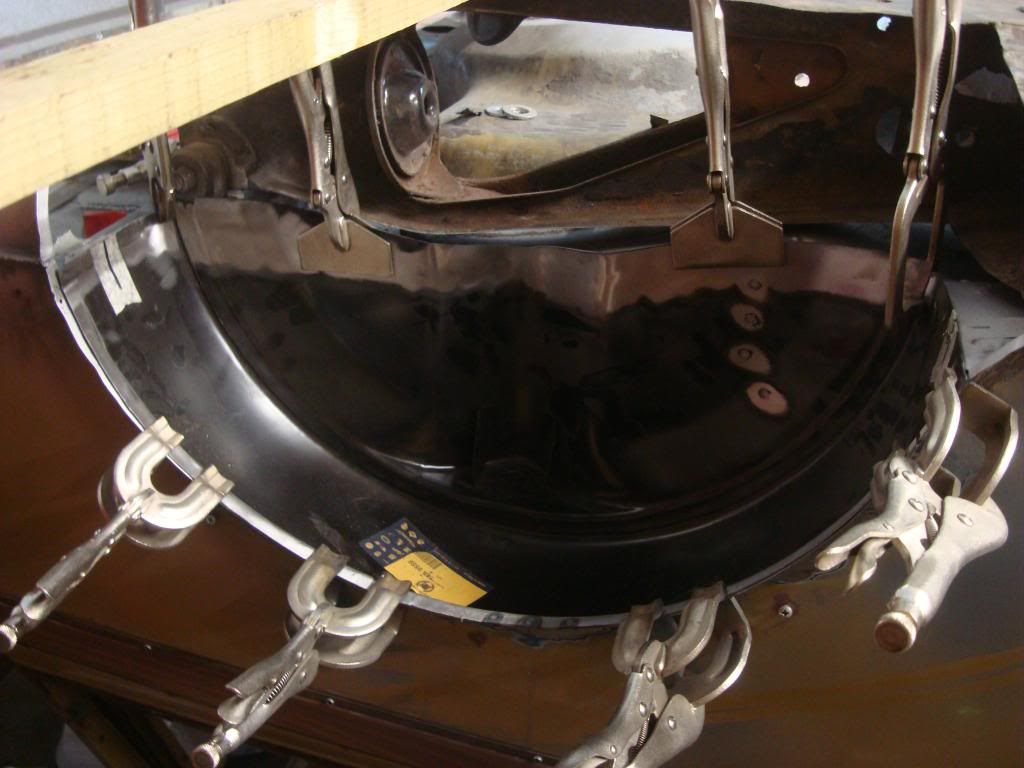
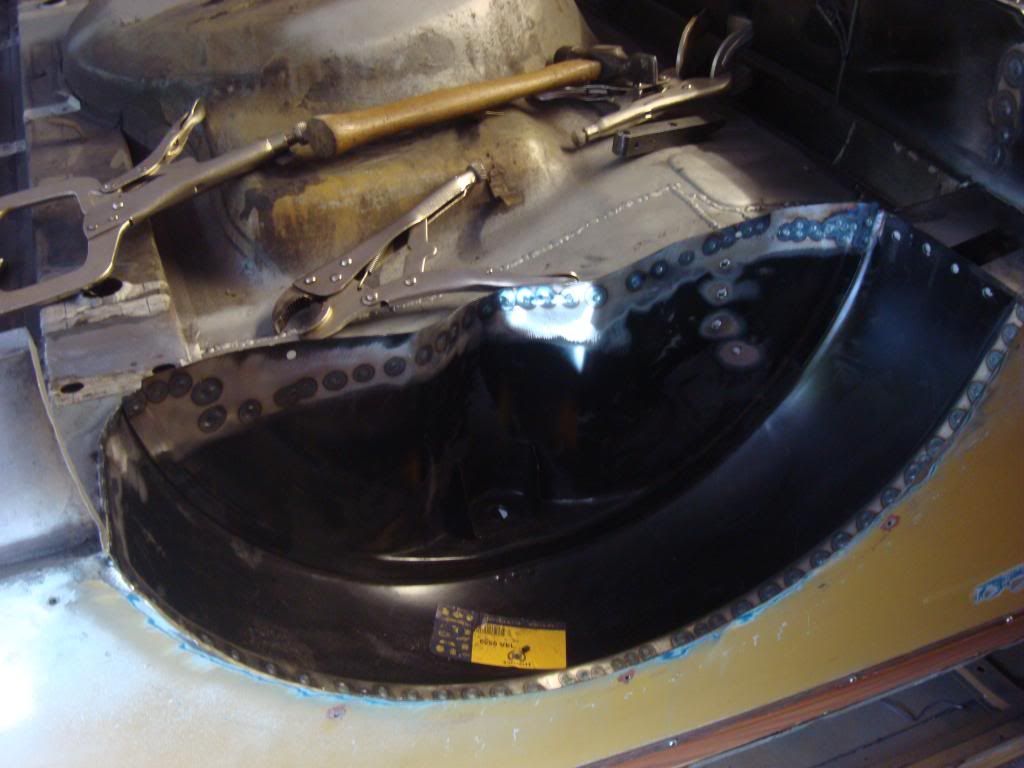
I borrowed a spot welder off of someone my dad knows, which was a great help.
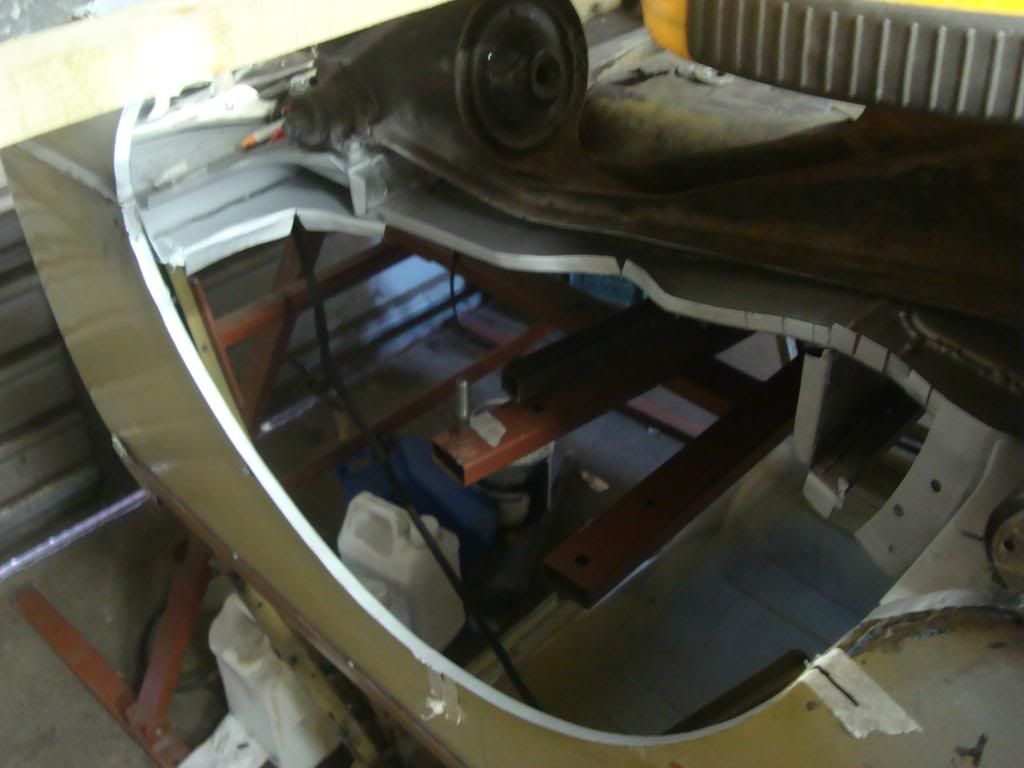
Then the other side
Took lots of measurements to make sure it was the same as the other side. Before the car was taken off the road one wheel appeared to stick out more from the body line of the car than the other. So by doing this hopefully I would of resolved this.
And that's your lot.
Liam
P.S Sorry for such large rubbish pictures
#179

Posted 08 January 2014 - 09:26 PM
excellent work, good to see some updates ![]() .
.
#180

Posted 08 January 2014 - 09:39 PM
Thanks, I'll try my hardest to keep progress going on with the car, it's just hard balancing it with work. The Christmas Break was good for to get motivation for it again. But only been back at work three days and have been swamped with stuff that needs to be done so can't promise anything.
0 user(s) are reading this topic
0 members, 0 guests, 0 anonymous users


