

Flickr Album of it finished: http://www.flickr.co...th/11237755713/
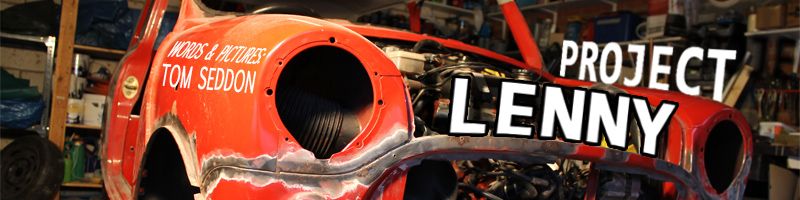
Been on the forum for a while now, just quietly watching what's going on and thought it was about time to show you all our project - Lenny the 1275 track car
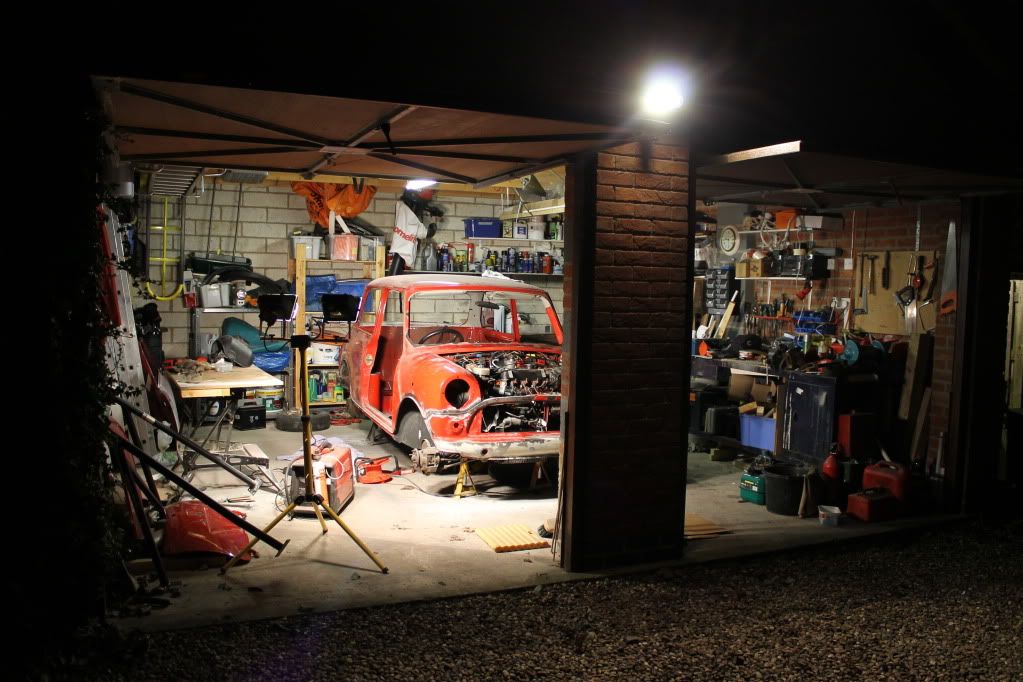
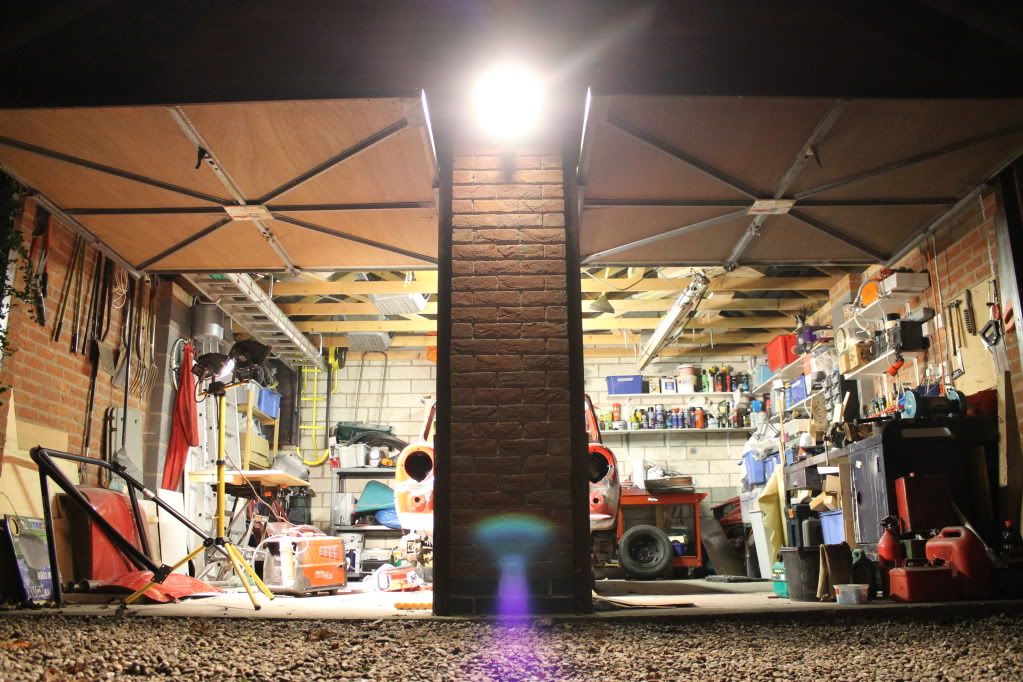
All the work will be carried out by me and my dad in the garage, mainly to teach me how to restore/modify a car i.e welding, spraying, filling etc, and how the car works. The aim is to get it fit for hill climbs by the time it gets to summer!
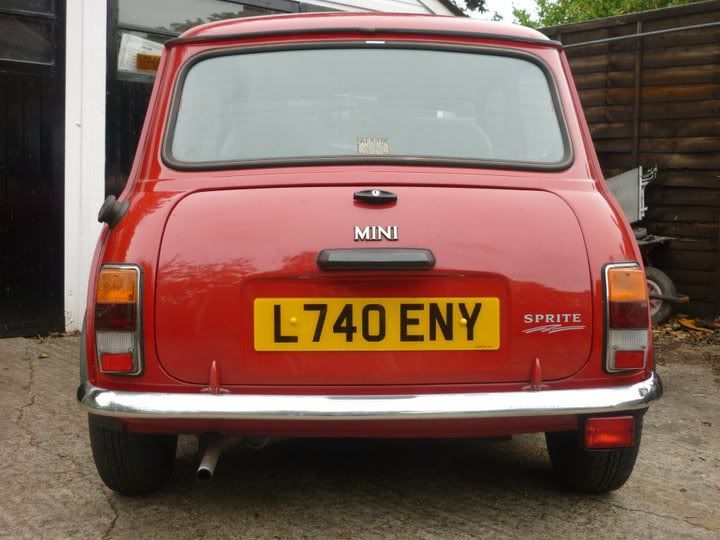
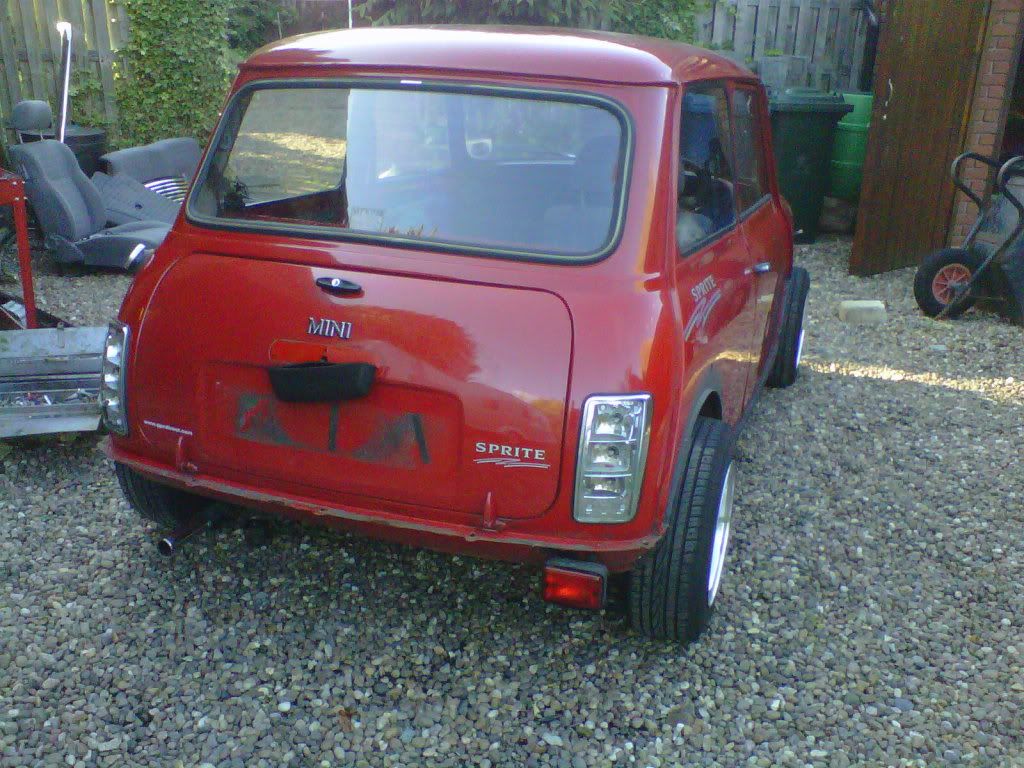
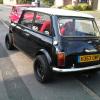
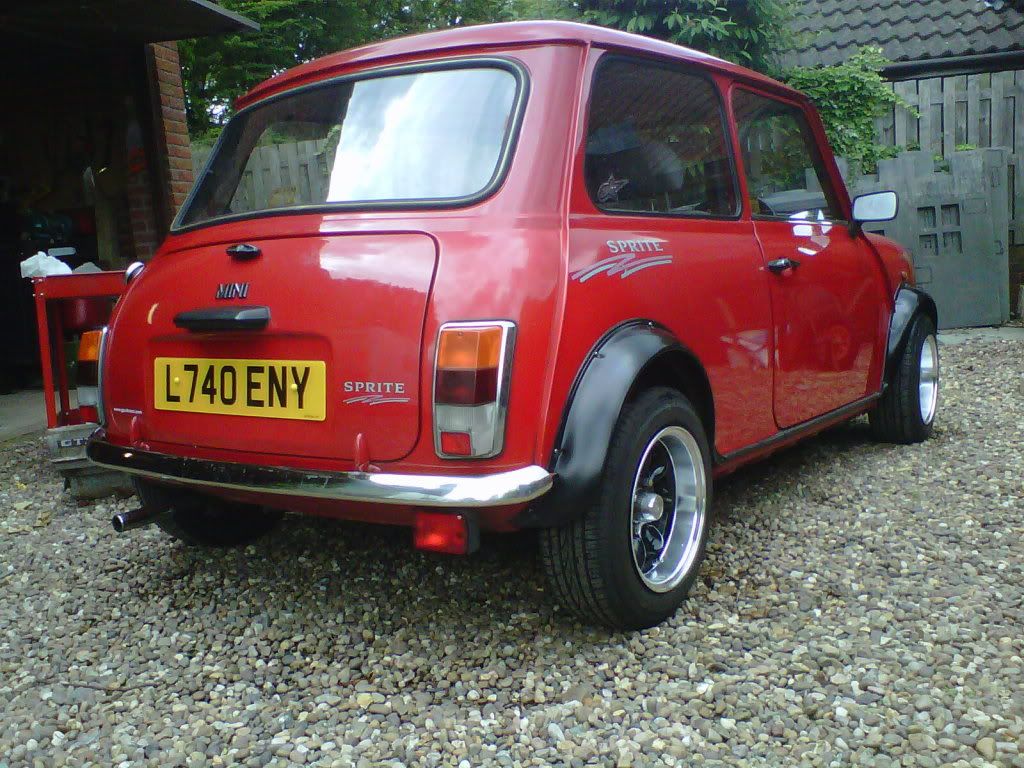
This is how it looked when we picked it up: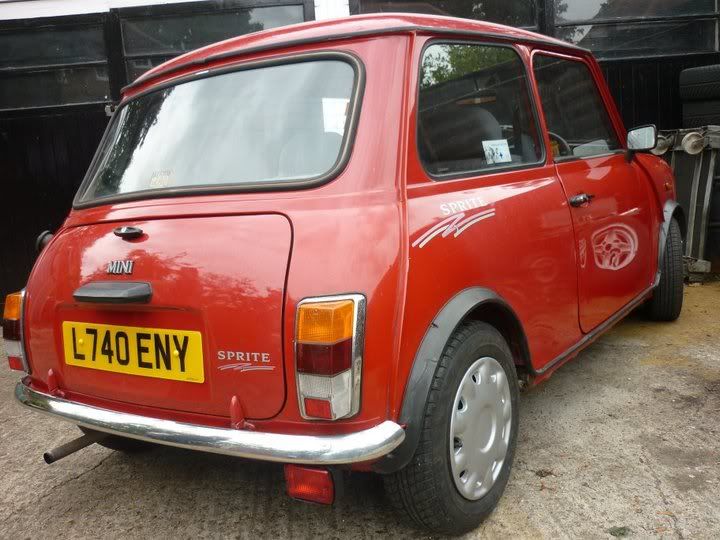
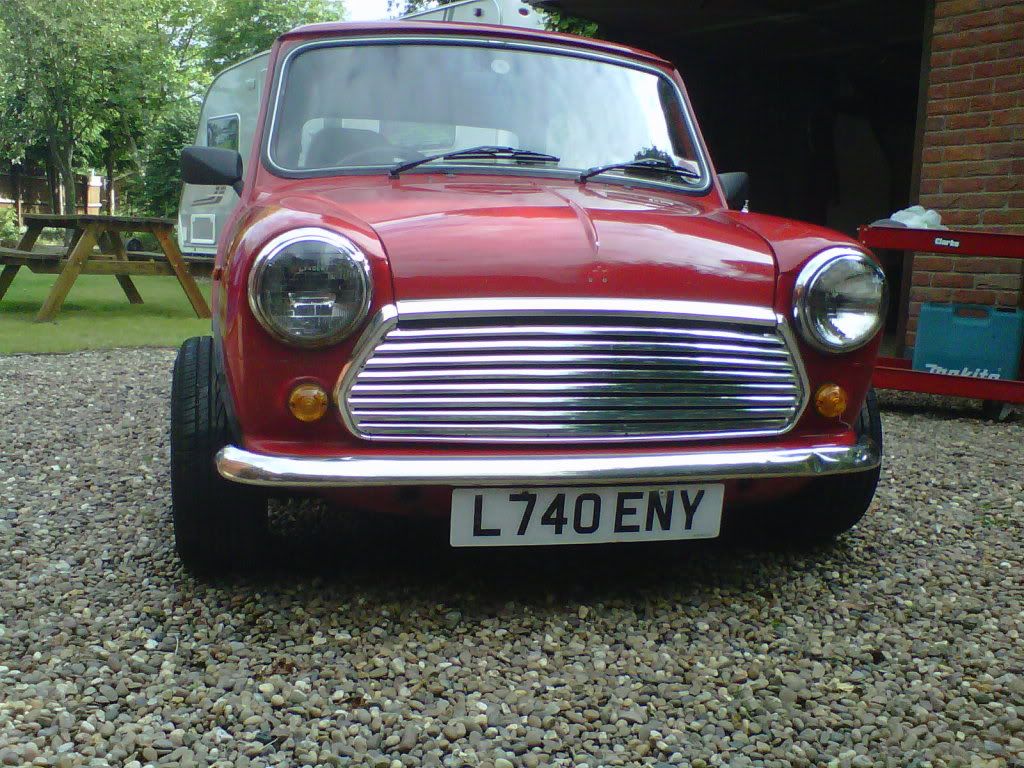
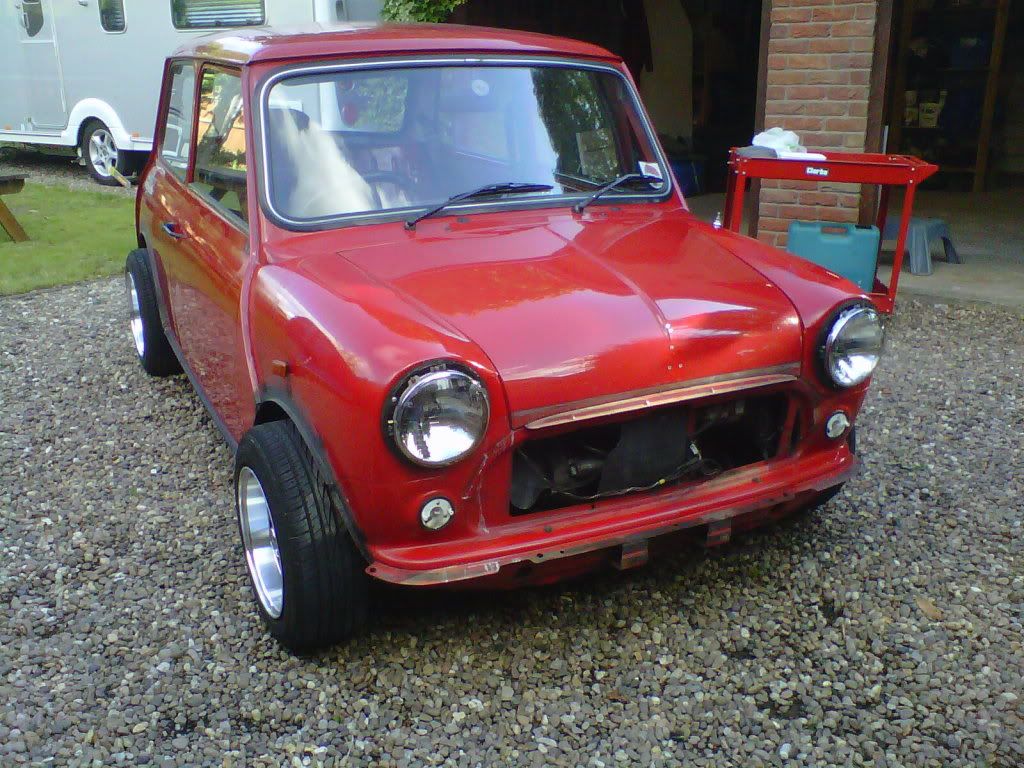
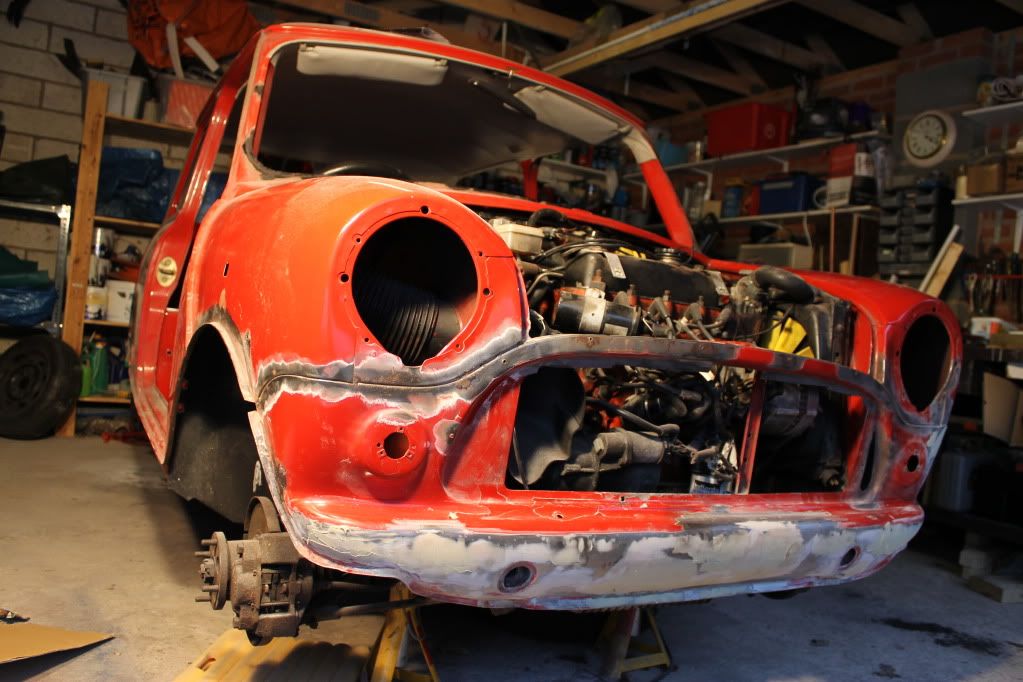
After fitting 12x6's and group 5 arches and driving it around like that for a bit, the time finally came to begin the rebuild. So, once I was home from college I parked it on the drive and began the strip-down: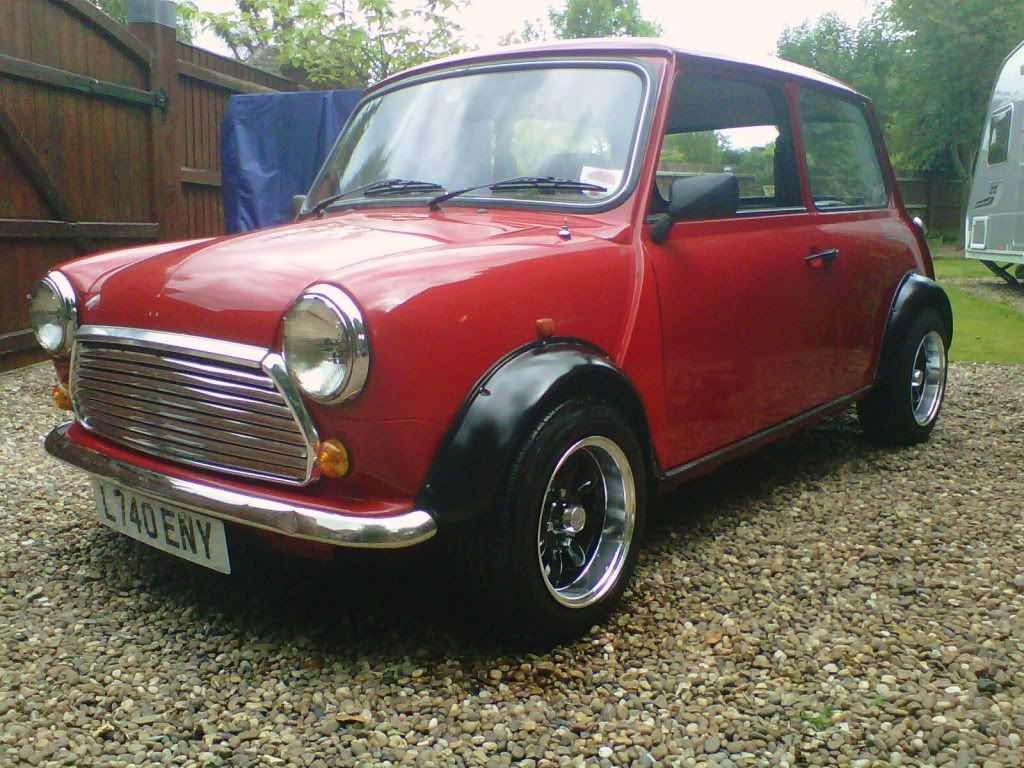
We then rolled it into the garage knowing that it wouldn't be coming back out for a few months, which was sad but I knew it would be perfect once it finally returned to the world ;)
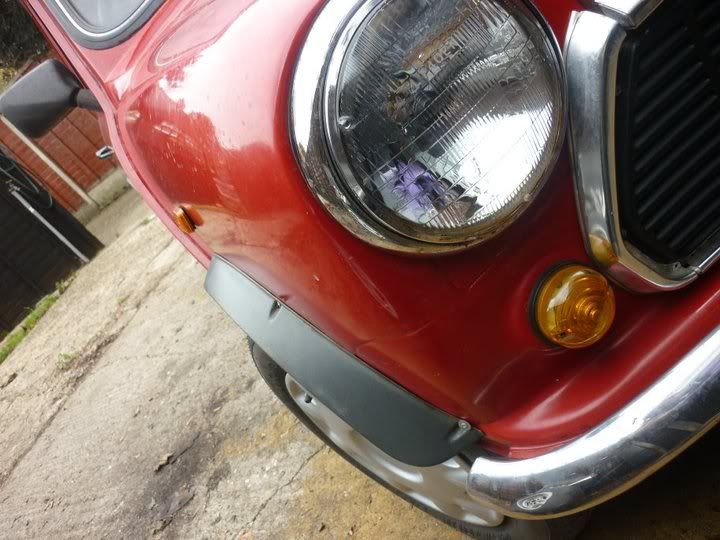
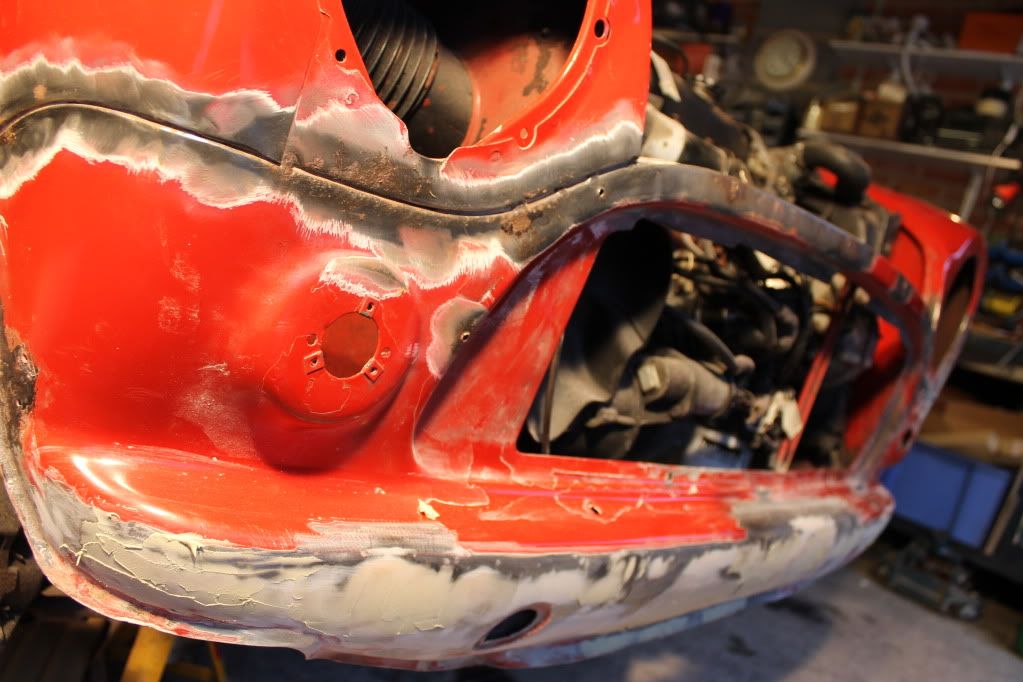
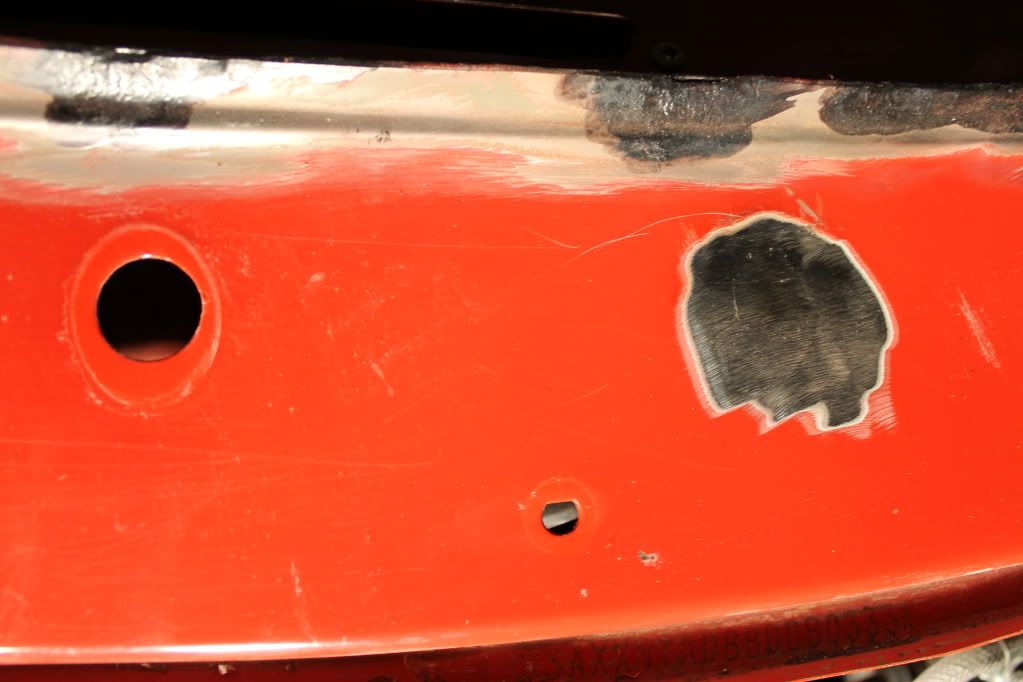
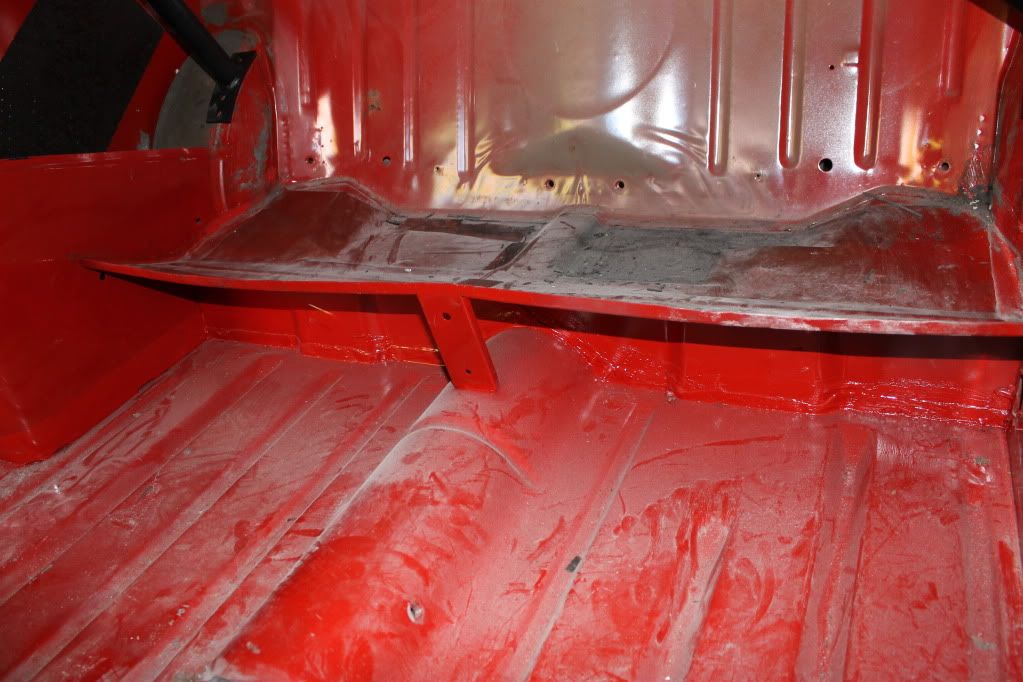
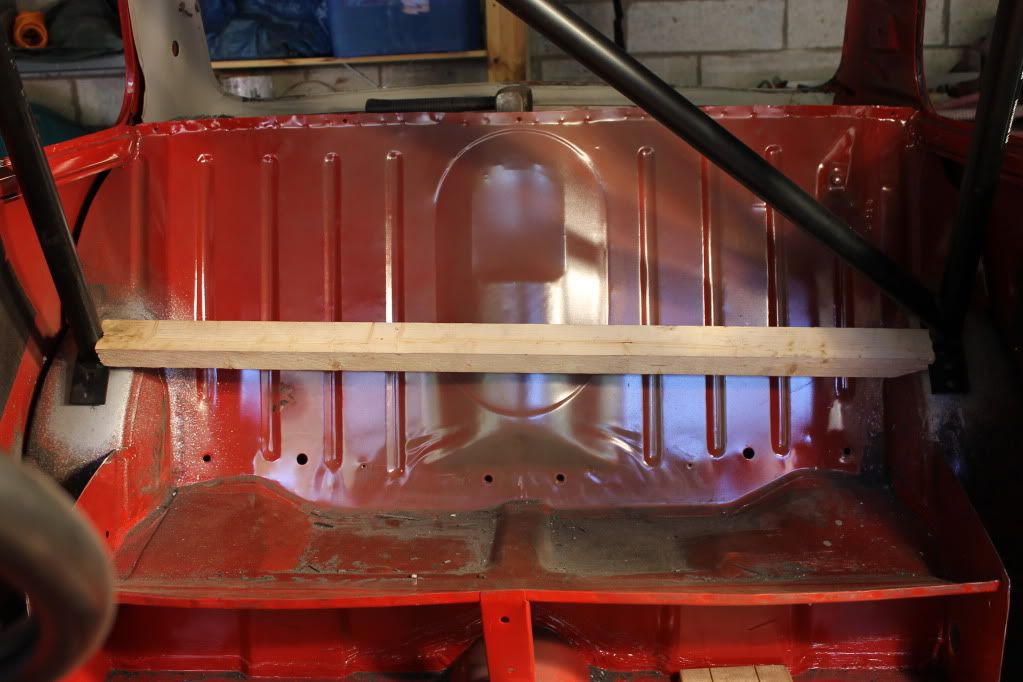
Once we'd got it in the garage we stripped back the paint where bubbles were forming, mainly under the windscreen, below the doors and on the front valance. Once these were treated, we poked around in the boot only to find a hole in the floor which needed sorting out. We ground out the hole/patch of rust, cut a piece of steel to fit and welded it in, ground down the welds and job's a good'n! No pictures cause I forgot sorry :/
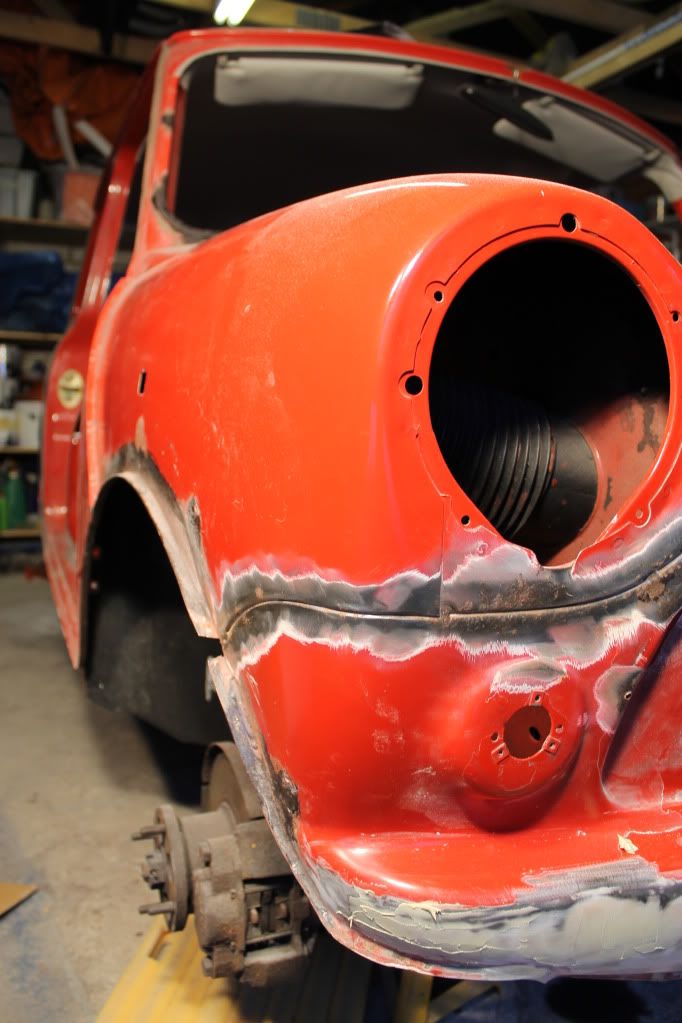
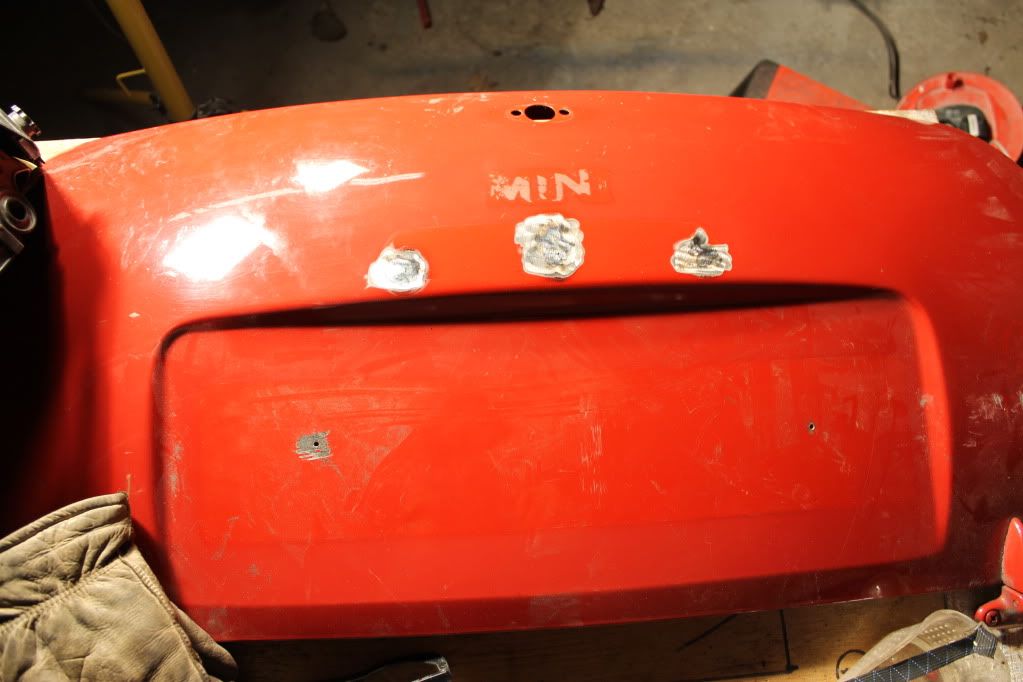
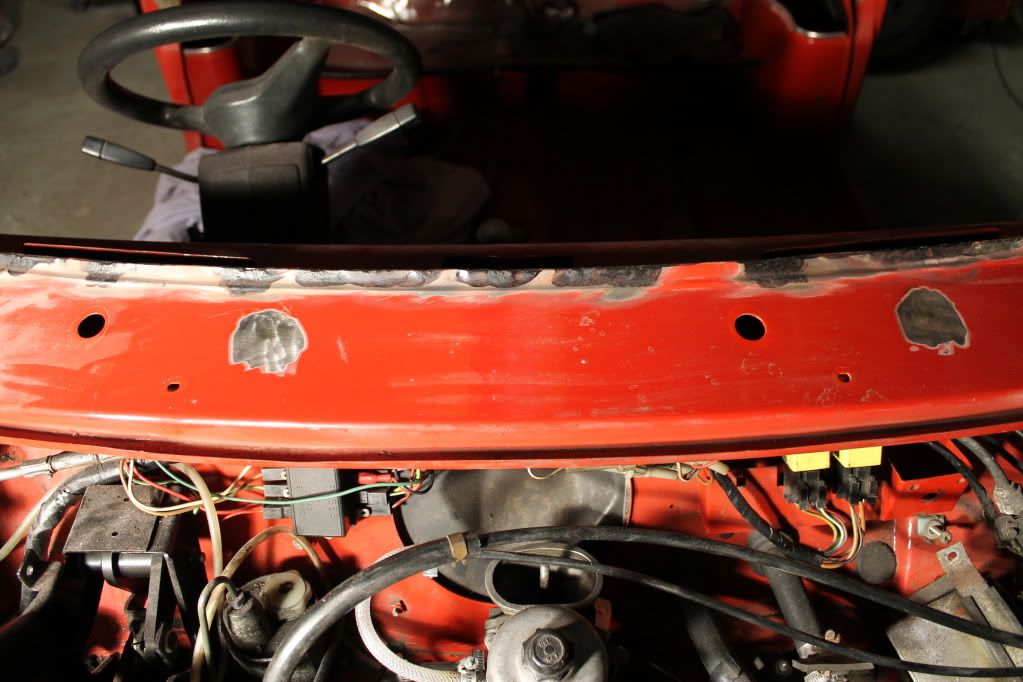
As we were around the bumper area and had the welder out, it seemed like a good time to get de-bumpering! After much deliberation over what type of bumpers to run on the finished car, we eventually decided that no bumpers at all would be best for a clean, racey look so got to work grinding off the rusty lips and welding up the seems. We found that grind a bit, weld a bit was the best tactic and stopped the valances from falling off like in some of the horror stories I've heard about!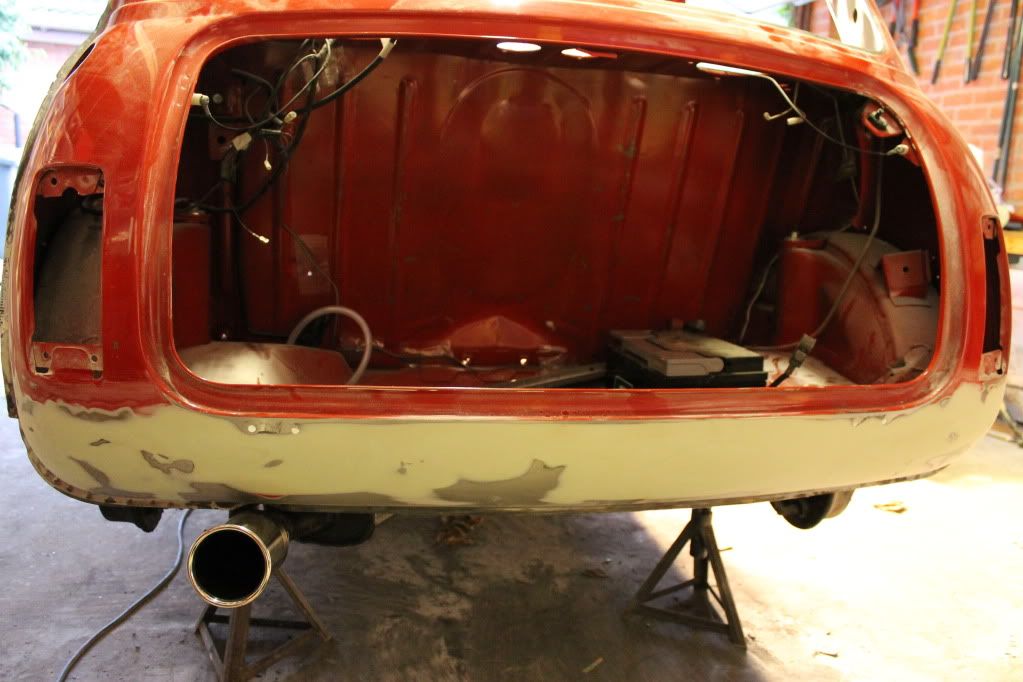
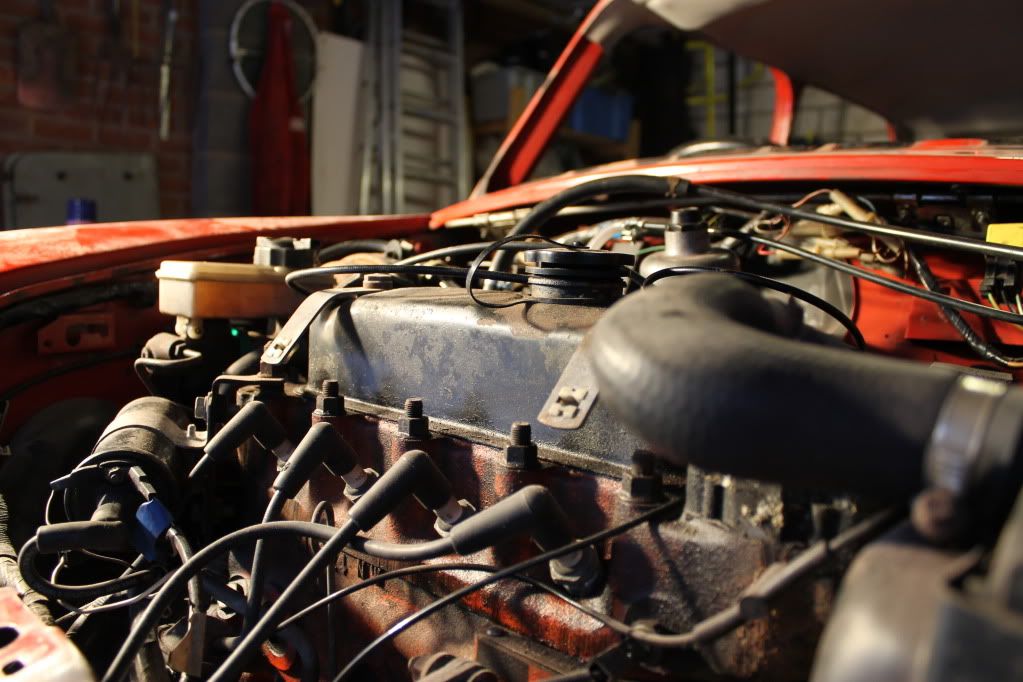
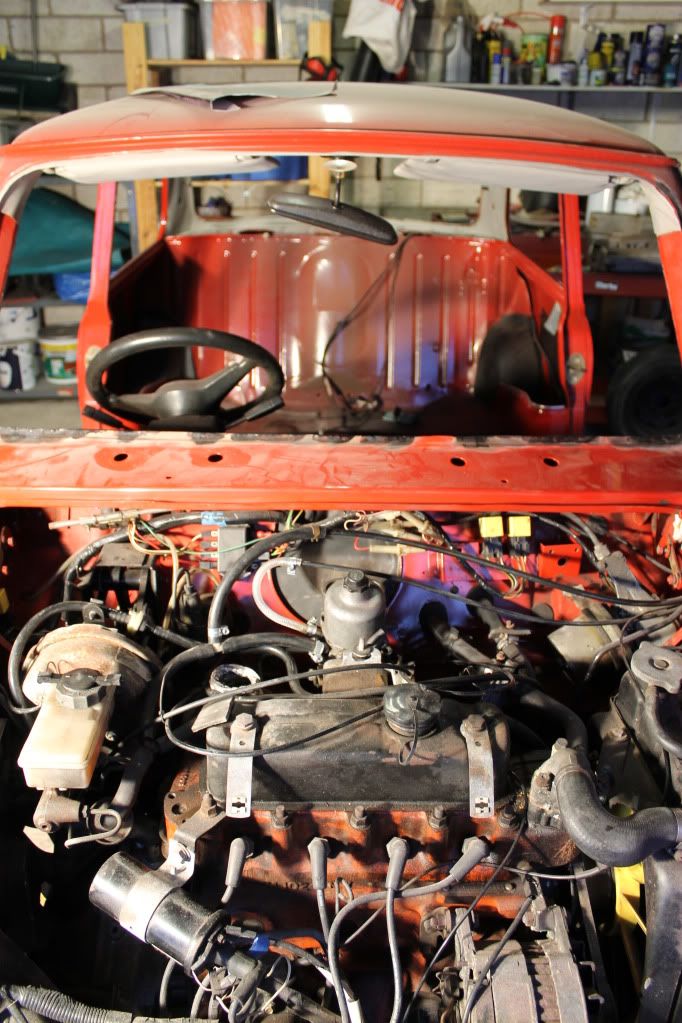
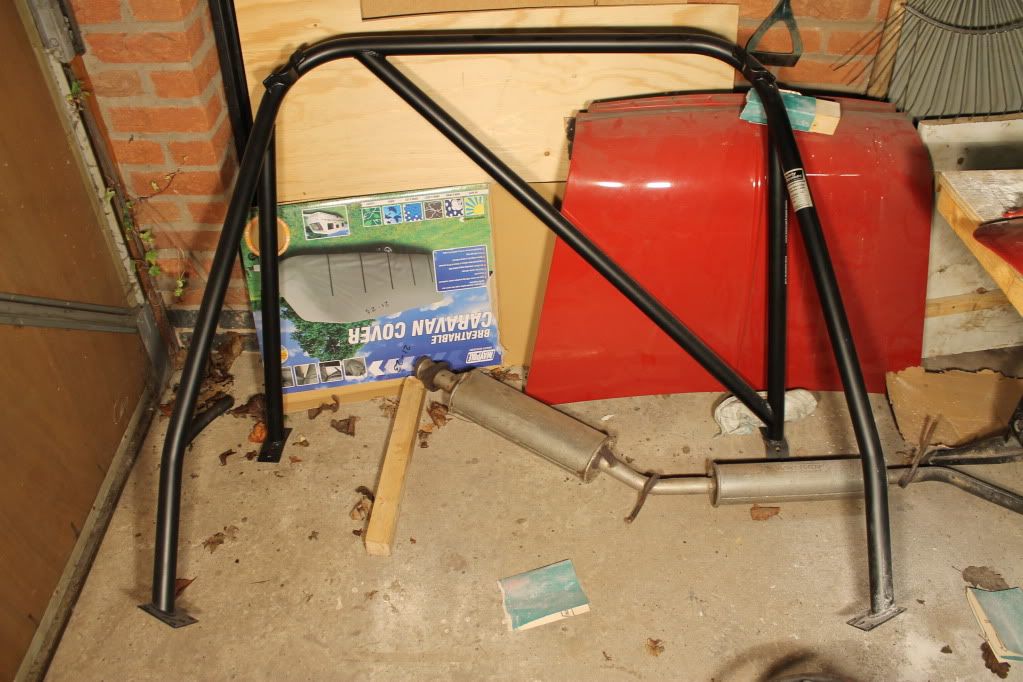
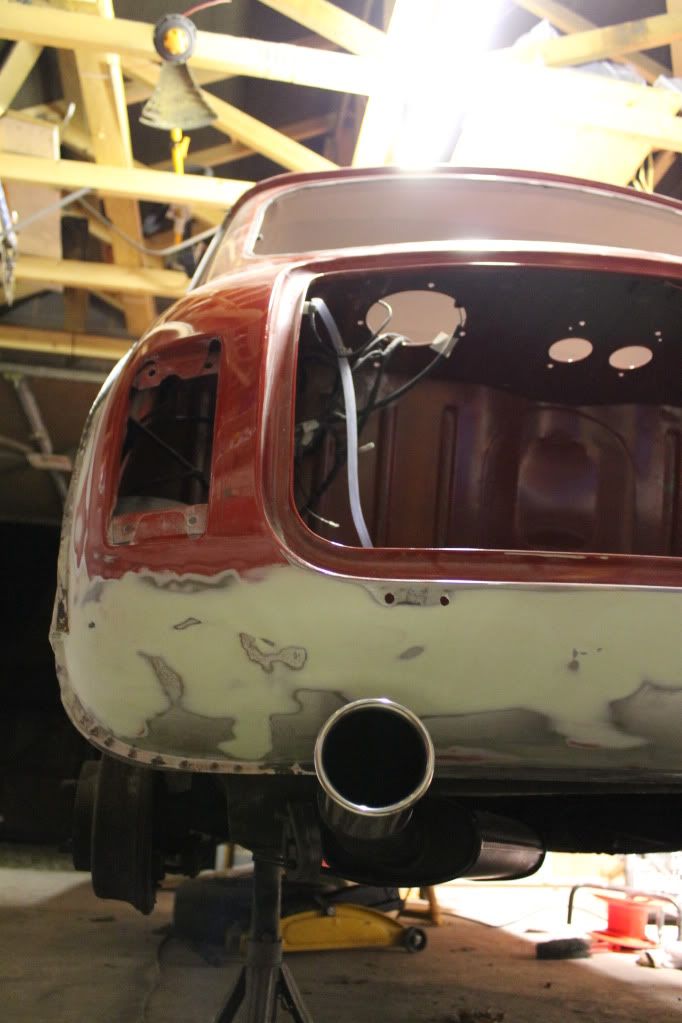
Once we'd skimmed these with filler we went about fitting a sportex 3" cat-back exhaust (which tucks nicely up against the rear valance and doesn't stick out too far) and started the engine for the first time in about 8 months. Sounds like an absolute beast! Really deep note with some nice rumbling on tick over, well worth the money. Once a lack-of-fuel problem was sorted (put a bit of fuel directly into the carb to get the engine turning over and clear the fuel pipes of air bubbles) the engine started straight away! (see the exhaust above ^^^)
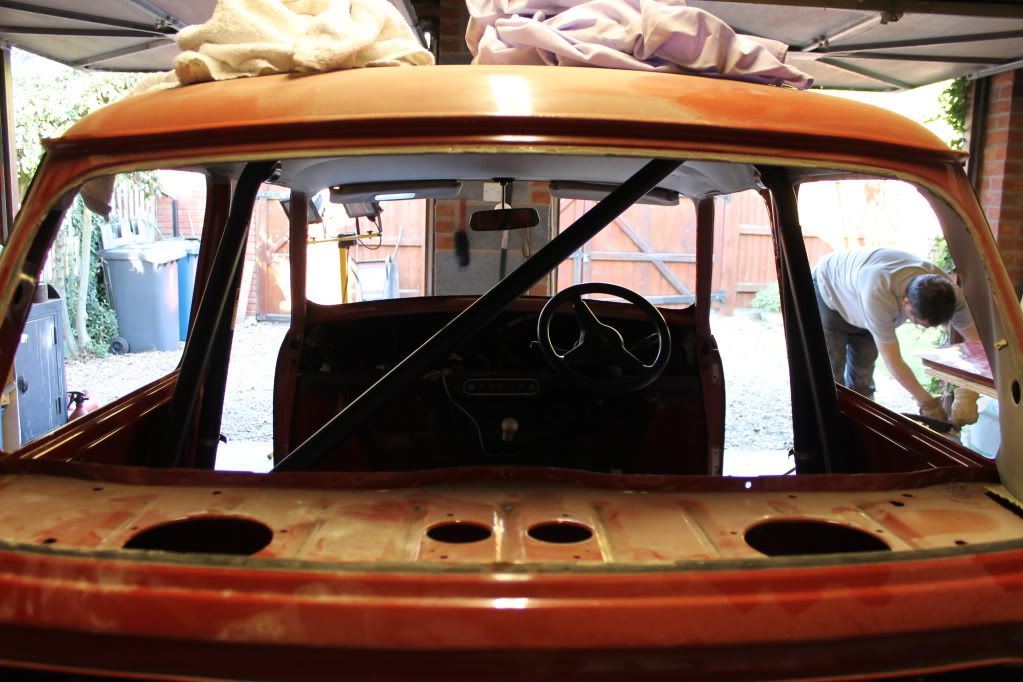
So this is where we are now, lots more to come and we'll keep you updated as it happens!
Oh and I lost my wheel arches somewhere along the line! No idea where they’ve gone, it’s taught me to be more organised and in control instead of the bull in a china shop approach 
The spec:
Engine:
Standard 1275cc four-cylinder carb A series; 3" side-exit Sportex exhaust; K&N performance air filter
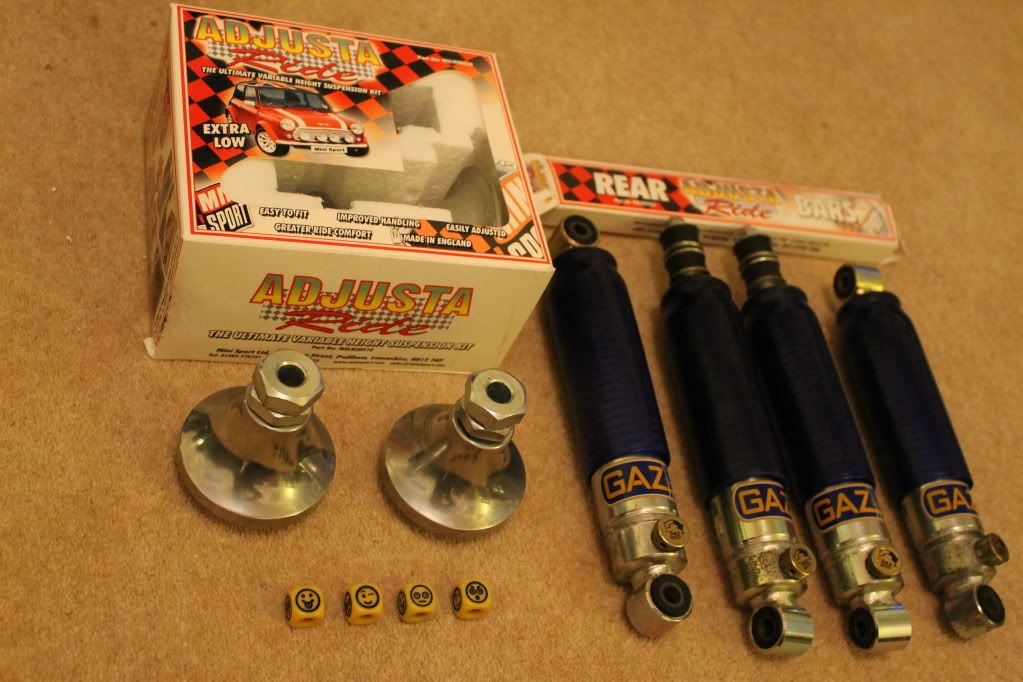
Chassis:
12x6" Minilites with 165/60R12 Falken tyres; Lowered on hi-los all round; GAZ adjustable shocks all round (lowered-length); -1.5o front negative camber arms; -1.5o rear negative camber brackets; New strengthened genuine rear subframe; Front polybushes; Heavy duty tie-rods;
Exterior:
Full respray in Maranello Red; De-bumpered front and rear; Mk1 bonnet conversion; Debadged bonnet; Mk1 grille; Clear indicators; Group 5 fibreglass wheel arches; Wiper holes deleted; Single-seater (Formula Ford) door mirrors; Opening rear-quarter window conversion; Full red rear light lenses; Smoothed and debadged boot; Number plate light housing deleted (replaced with number plate bolt lights); Pressed plates; Fog light relocated to behind centre of rear valance
Interior:
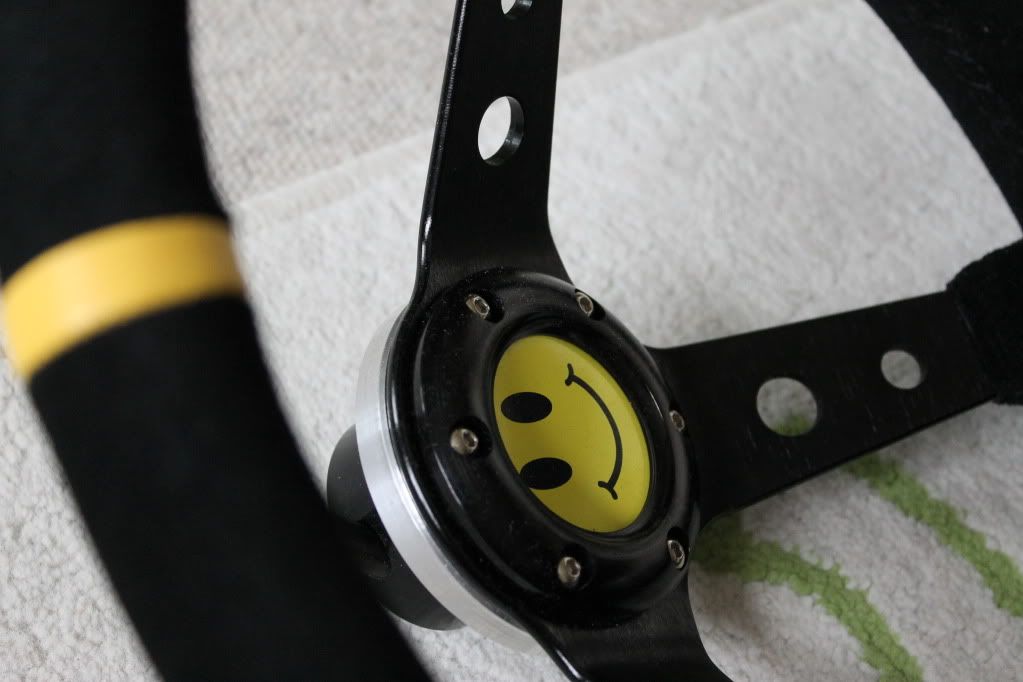
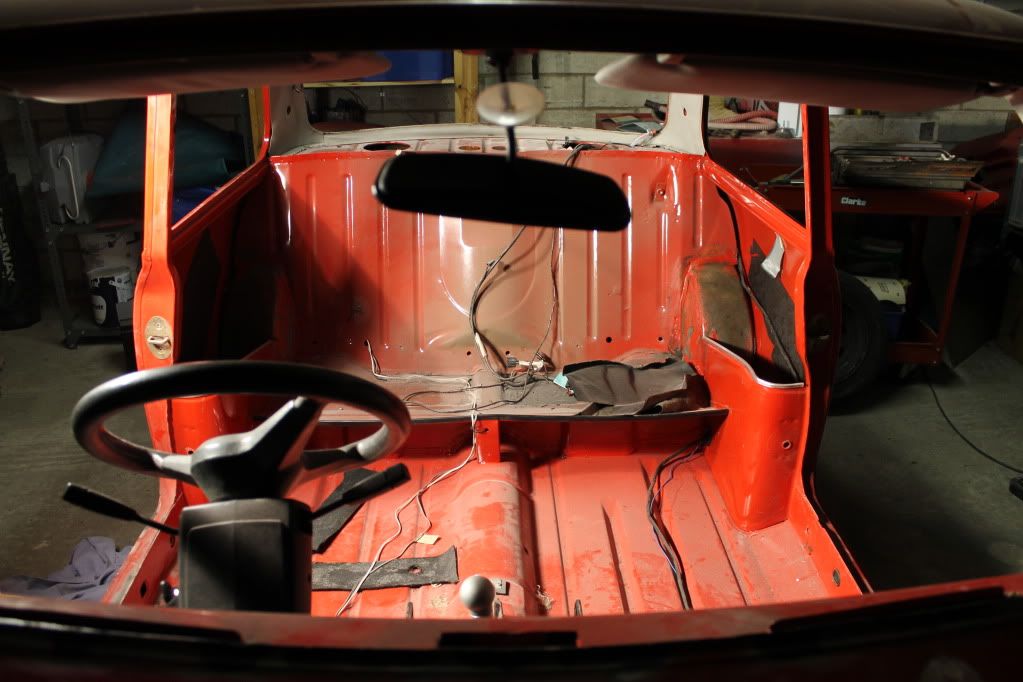
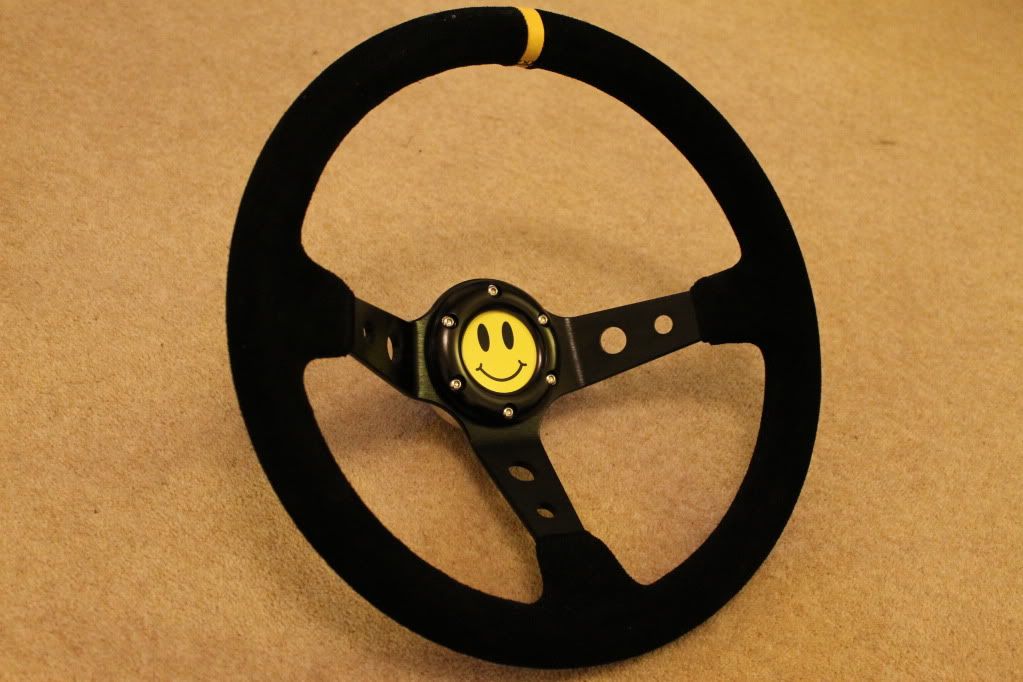
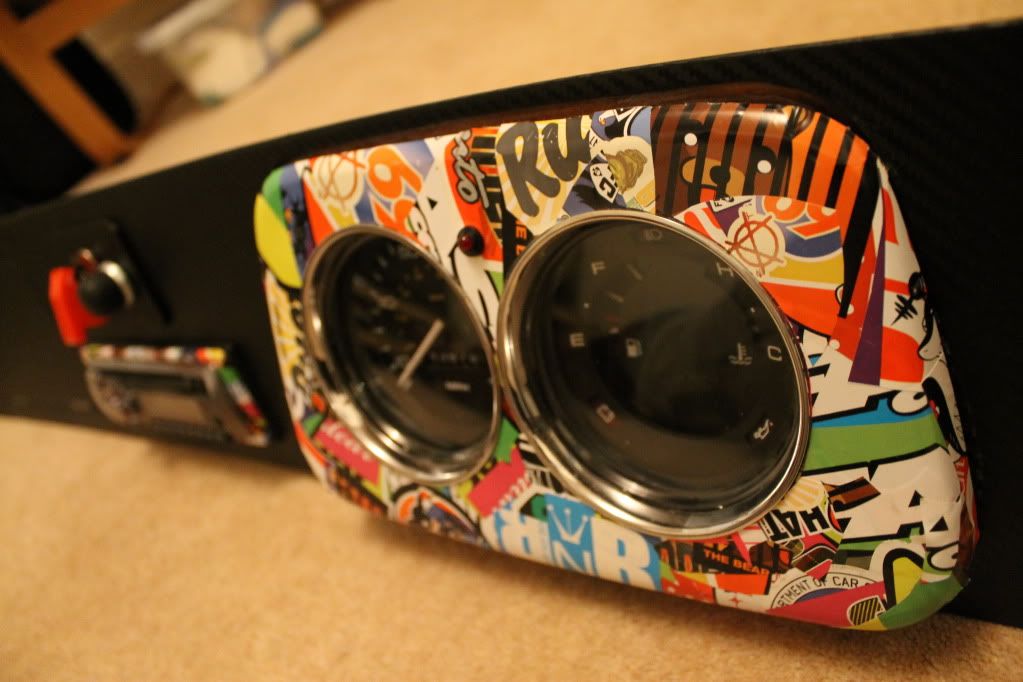
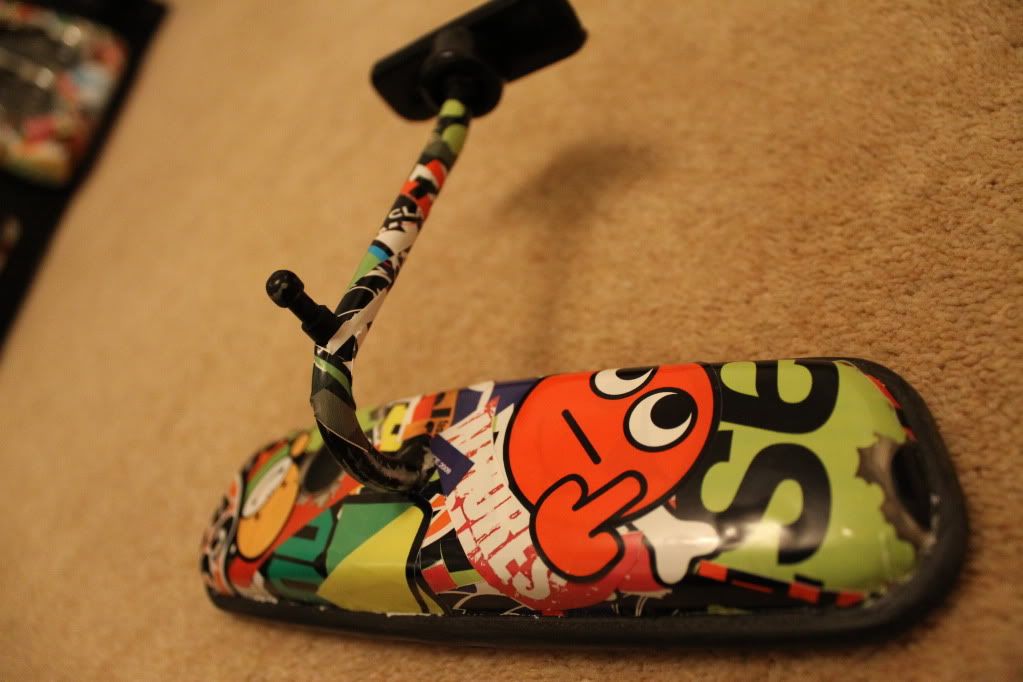
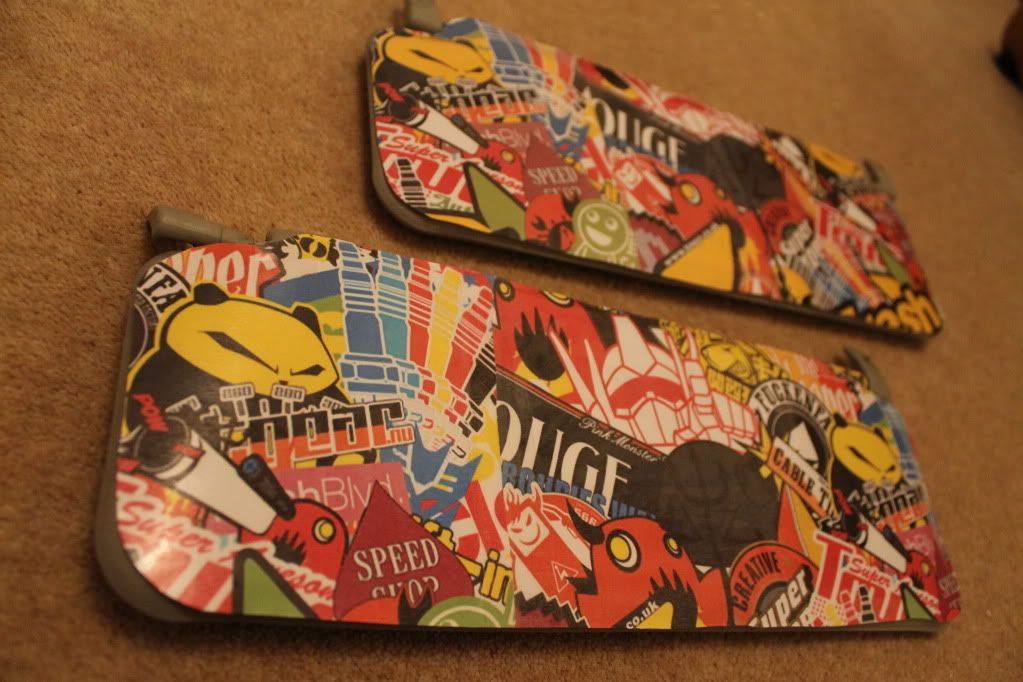
Full respray in Maranello Red; stripped of all carpet and sound-deadening; Rear seats removed; Cobra Monaco S bucket seats; Securon 3" 4-point harnesses; Safety Devices roll cage with diagonal bar; Carbon fibre wrapped dash board; Deep dish steering wheel; Fire extinguisher bolted to passenger footwell; Re-routed wiring through silicon hoses along floor; Engine start/ignition button/switch; 2x6" speakers; Sparco gear knob; Comic strip door cards; Stickerbomb'd rear view mirror, speedo housing and stereo surround
☑Debumpered front and back
☑Mk1 bonnet and grille
☑ Smoothed boot lid
☑ Lowered on Gaz adjustable shocks
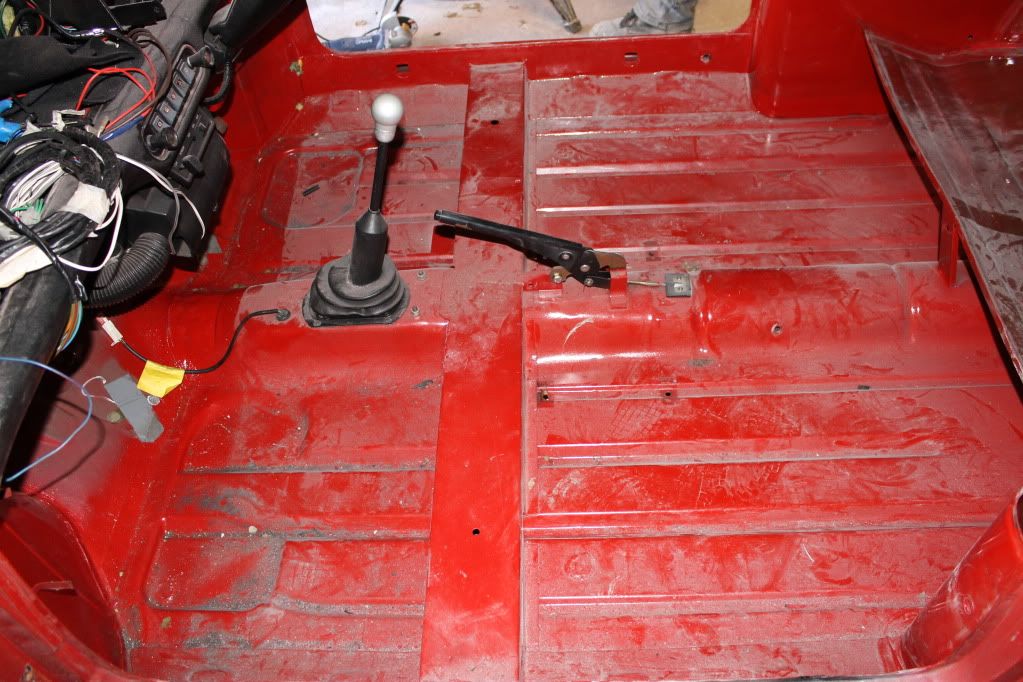
☑ Stripped interior – remove back seats, floor mats and carpets
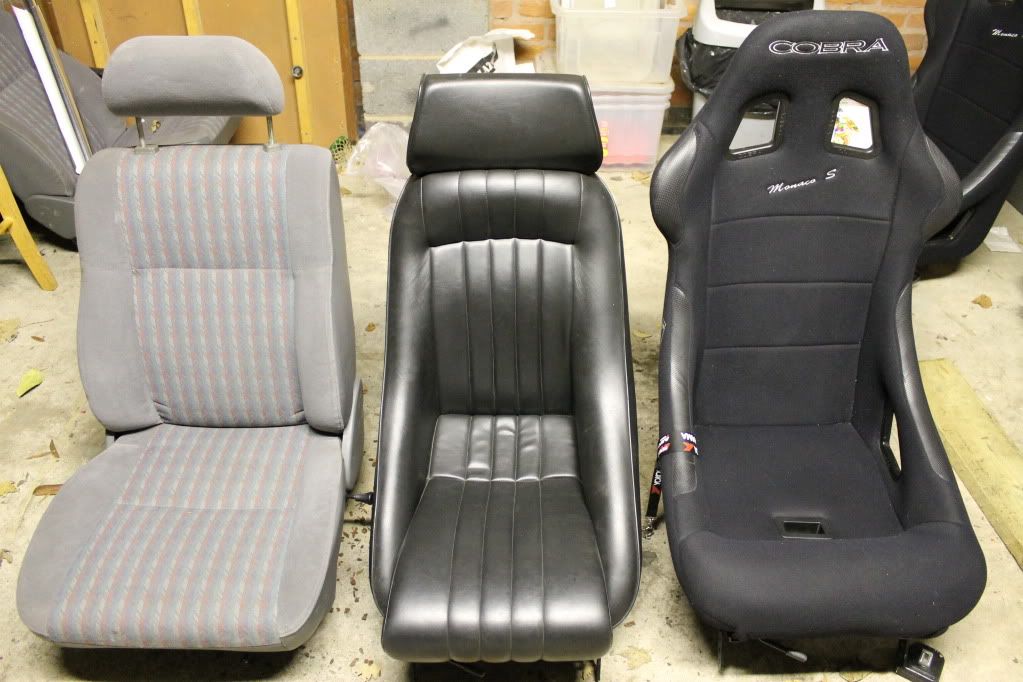
☑ Racing seats and harnesses (FIA approved) – Cobra Monaco S seats, Securon 3" harnesses
☑ 3" side exit exhaust
☑ Deep dish quick release steering wheel
☑ Door cards wrapped in comic-strip, carbon fibre dash and parcel shelf
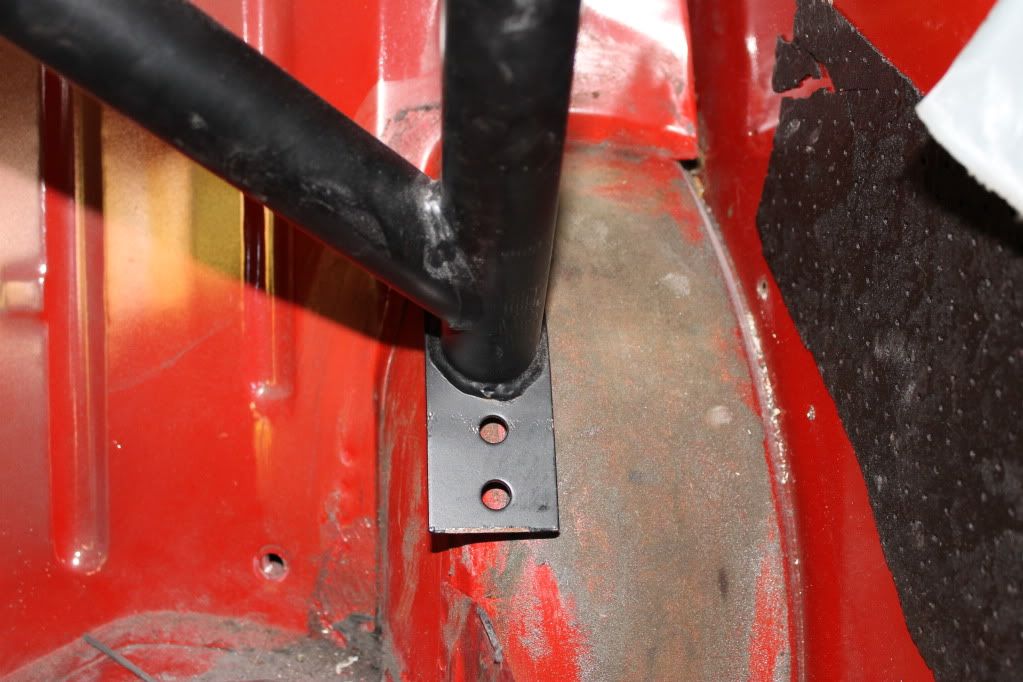
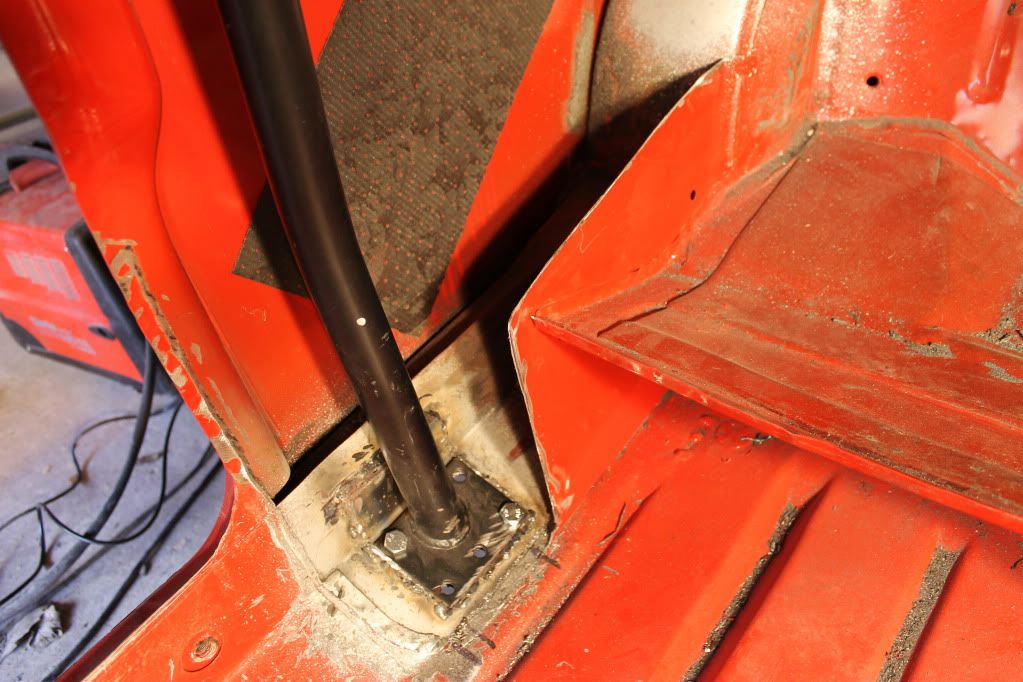
☑ Safety devices roll cage
☑ Sticker bombed details
☑ Sigle seater carbon fibre mirrors
☑ All red rear lights and clear indicators and side repeaters
☐ 13x8" or 10x7" wheels (still undecided)
☐ Bigger brakes (4 pots)
☐ Engine mods - VTEC, bike-engined or tune the A-series (turbo?)? Still not sure
☐ LED headlight conversion
Basically completely track it!
More coming soon, Tom
Attached Files
-
 2 - Copy.jpg 91.57K
6 downloads
2 - Copy.jpg 91.57K
6 downloads
-
IMG00300-20110623-1647.jpg 601.76K
9 downloads
-
IMG00301-20110623-1647.jpg 583.65K
4 downloads
-
IMG_0146.JPG 4.41MB
14 downloads
Edited by iTomKart, 06 December 2013 - 03:33 PM.