Jump to content


Photo
- - - - -

Lenny - To Stance, Or To Track?


  • Please log in to reply
216 replies to this topic

#16 iTomKart

iTomKart

    Speeding Along Now

  • Members
  • PipPipPipPipPip
  • 351 posts
  • Location: Nottingham
  • Local Club: TMF

Posted 07 April 2012 - 06:29 PM

Jonny f, you weld the boss onto the column then the steering wheel is quick release so it detaches from the boss (hopefully not at 70mph :P). Picked it up from a company at the autosport show in january, still got the box somewhere so i'll find out their name

Danny1, yeah thought I'd mention the trouble with the cage 'cause I thought it was just mine til I got talking to people. Couldn't find anything on here about them not fitting, but turns out none of them are wide enough. Not sure if this is just how they're made or whether it's to do with squeezing it too much when you get it in the car, but either way it sounds like everyone has the same problem

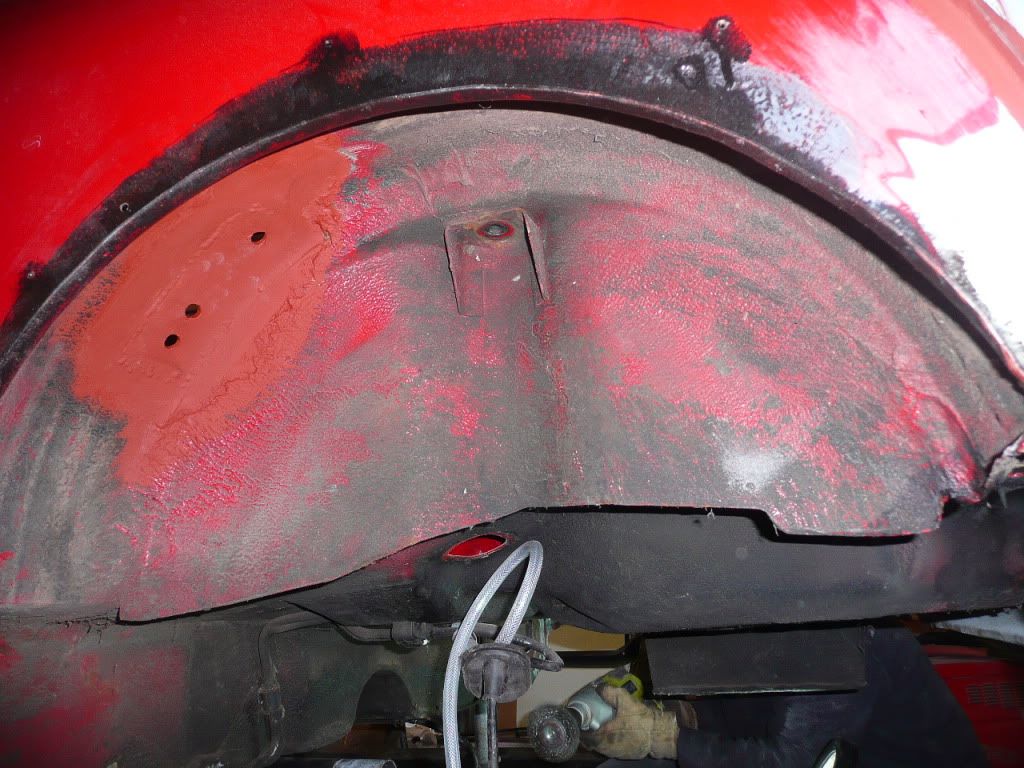
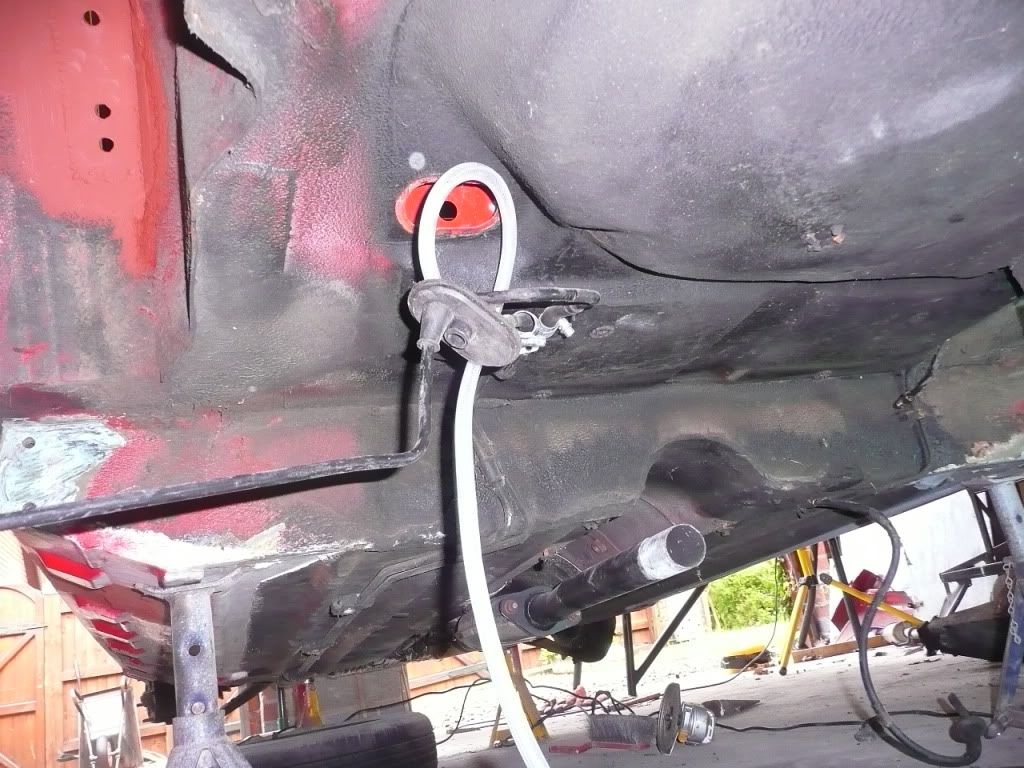
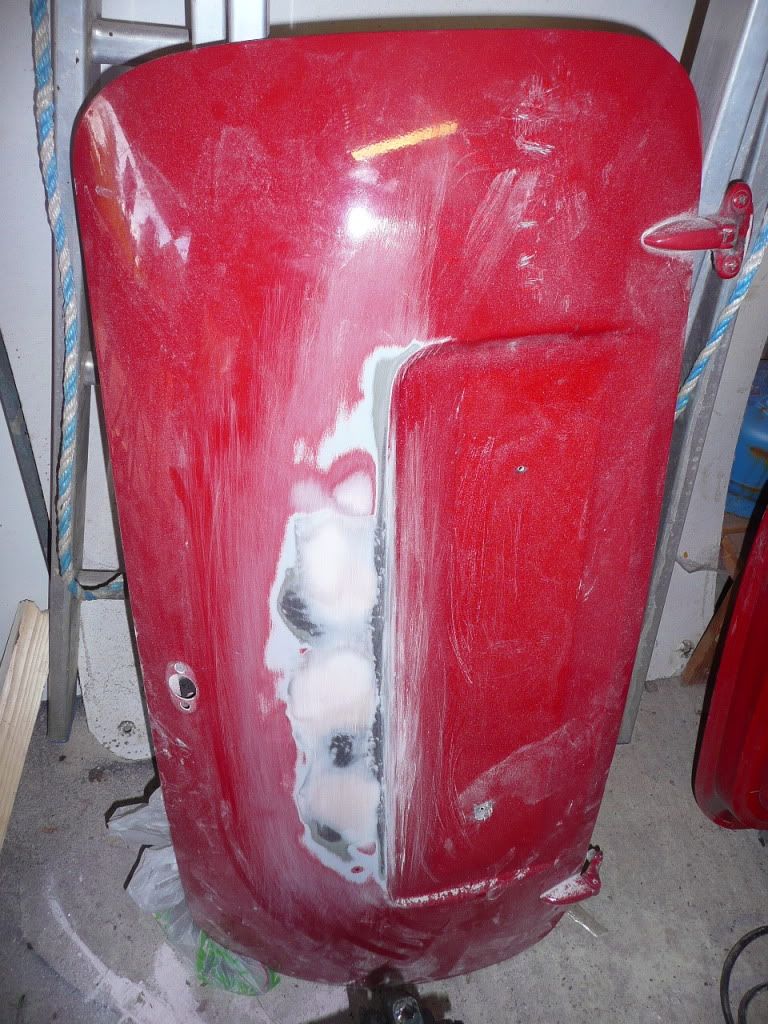
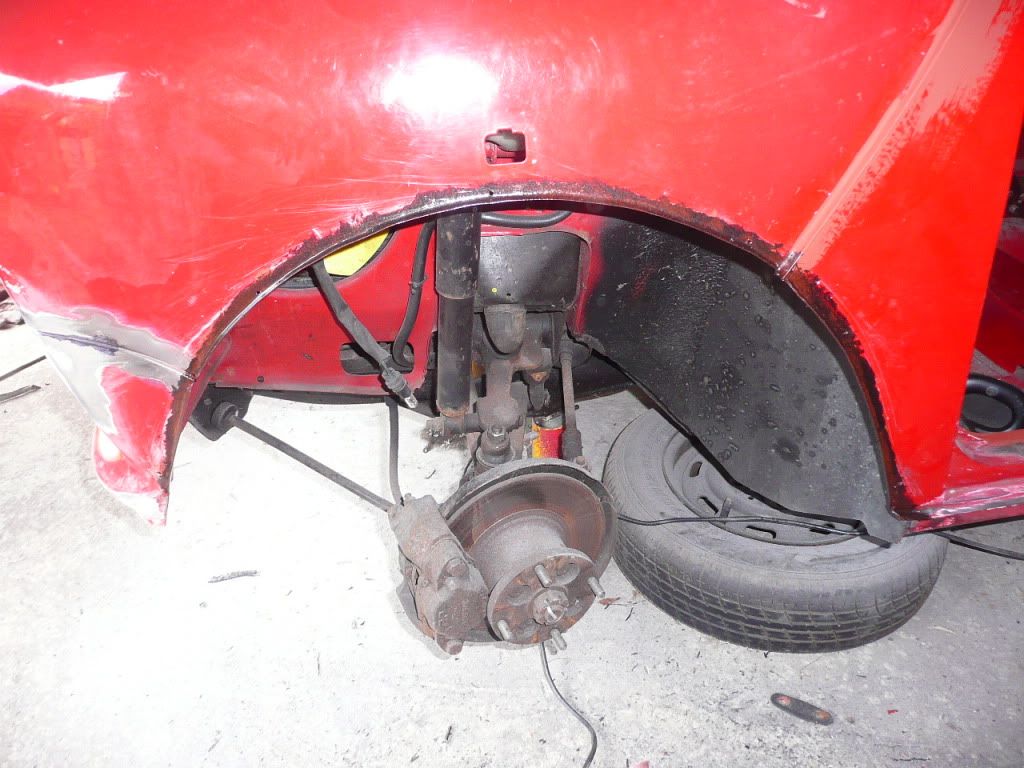
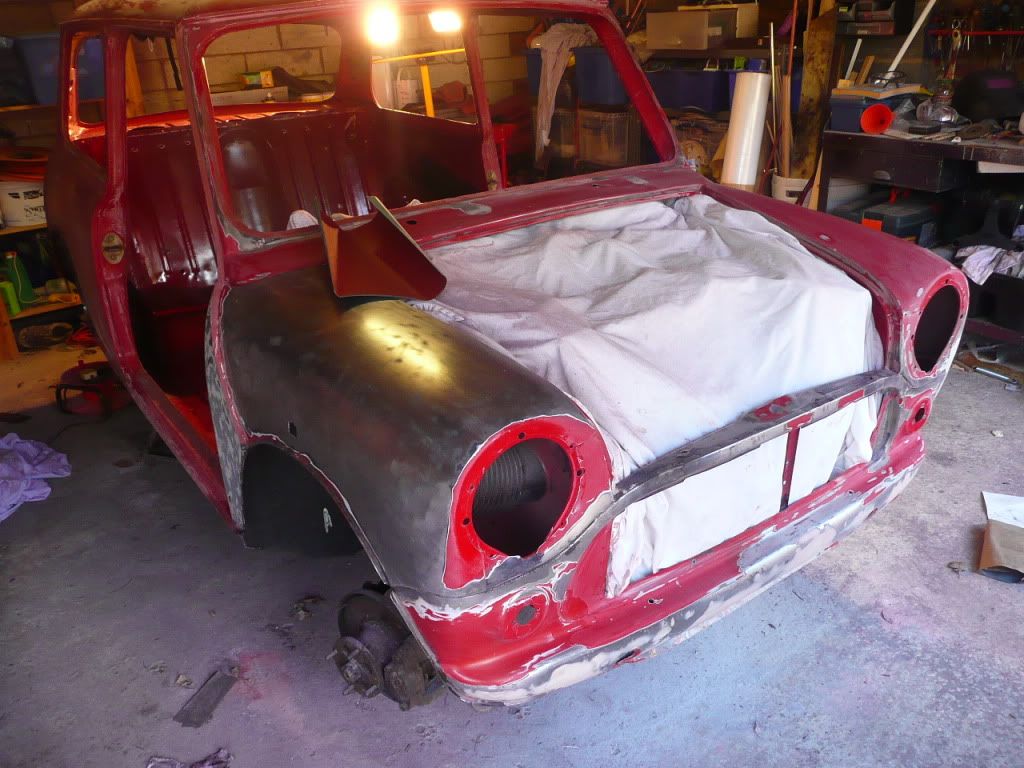
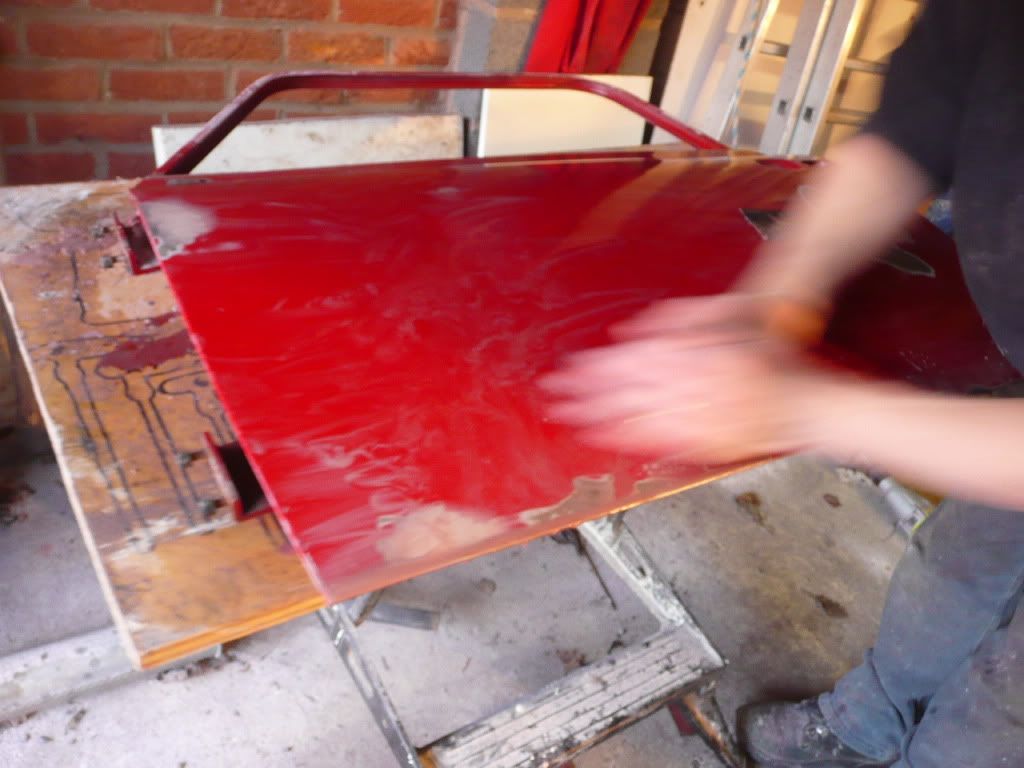
And lewis, just get welding ;)

#17 iTomKart

iTomKart

    Speeding Along Now

  • Members
  • PipPipPipPipPip
  • 351 posts
  • Location: Nottingham
  • Local Club: TMF

Posted 10 April 2012 - 11:03 PM

Quick update:

Spent some time on the mini today, rust proofed all the seems and finished off smoothing the doors and bootlid, also got the rear plates for the rool cage welded in so thats ready to be bolted in after spraying. Took out the headlining cause it was rubbing on the roll cage and i could imagine it wearing out before too long, and it looks much more like a race car without ;)

Also converted the bonnet into a mk1 job - grinded off the lip and folded the edge that was left over on itself, looks tidy and saved some money on a new mk1 one! I plan on converting my mk4 grille into a mk1 one as well, quite enjoy making new parts instead of buying them new :)

Pics will be up tomorrow probs, but we'll spend most of the day working on the car because we're wanting to spray it while the good weather's here whheeeeyyy!

More soon,

Tom

#18 giacomo

giacomo

    Super Mini Mad

  • Members
  • PipPipPipPipPipPip
  • 684 posts
  • Location: Southend/west cliff

Posted 11 April 2012 - 01:25 PM

where did you get your steering wheel from and boss if you you dont mind me asking :) ?

#19 iTomKart

iTomKart

    Speeding Along Now

  • Members
  • PipPipPipPipPip
  • 351 posts
  • Location: Nottingham
  • Local Club: TMF

Posted 11 April 2012 - 05:03 PM

Looks good! Where did you get the snap off hub from? Or is it a weld on one?


where did you get your steering wheel from and boss if you you dont mind me asking :) ?


I got them from the autosport show from a company that I can't remember, but found the same boss and wheel for a really good price from these guys:
http://www.jjcraceandrally.com/

Edited by iTomKart, 11 April 2012 - 05:04 PM.


#20 Rich286

Rich286

    Mini Mad

  • Noobies
  • PipPipPipPip
  • 136 posts
  • Location: Cornwall

Posted 11 April 2012 - 08:51 PM

Looking good ! liking your setup. Keep it up

#21 iTomKart

iTomKart

    Speeding Along Now

  • Members
  • PipPipPipPipPip
  • 351 posts
  • Location: Nottingham
  • Local Club: TMF

Posted 11 April 2012 - 10:28 PM

Got a camber kit ordered today, 1.5 degrees all round should get it sticking to the road like an obese child to a sweet shop window :) and ordered some new rear lights in a style I haven't seen round a lot, but that's a secret for now

Also, dad went round putting red oxide over all the areas of rust treatment from yesterday so there's no chance of any rust for the forseable future, and grinded away the front wings right up to the arches so we can really get the front end lowered properly

And as an added bonus got my single-seater wing mirrors in the post today! They fit really well and JJC Race and Rally got them to me really quick, will definitely be using them again

No pictures yet sorry, picture-heavy update coming soon so watch out ;)

Tom

*EDIT* Minispeed don't sell the lights anymore but haven't taken them of the website yet grrr. I'll have to make some of my own...

Edited by iTomKart, 01 June 2012 - 01:40 PM.


#22 iTomKart

iTomKart

    Speeding Along Now

  • Members
  • PipPipPipPipPip
  • 351 posts
  • Location: Nottingham
  • Local Club: TMF

Posted 11 April 2012 - 10:29 PM

and cheers rich!

#23 iTomKart

iTomKart

    Speeding Along Now

  • Members
  • PipPipPipPipPip
  • 351 posts
  • Location: Nottingham
  • Local Club: TMF

Posted 12 April 2012 - 09:59 PM

Update:

Lenny's ready for his new paint! Today we keyed the inside ready to lay down the primer so, weather permitting, tomorrow we will be (in order) sanding down the exterior, priming and spraying the inside, sorting out any over spray on the exterior and then priming and spraying that. The whole thing will be in Ferrari Maranello Red, with grey primer for the inside and white primer on the exterior to hopefully make the red nice and bright (only have limited amount of white primer, so thought the interior wasn't as important for brightness so went with the standard primer to save the white for the exterior. Not sure how much of a difference it will make but it's worth a shot)

Part of the prep for spraying that was done today included dropping out the rear subframe (which will need replacing by the looks of the rust, and the left radius arm had seized which would explain the heavy clunking from the rear left when going over bumps) and, we thought, repairing the rust on the underside of the car. But THERE WASN'T ANY! Completely solid as a rock, still with the original layers of stone chip on the underside from the factory. We scratched this back in the usual places to look for rust, but instead found shiny clean metal. I can only assume it must have been garaged for a few years or something

Photos will follow soon (finally) and wish us luck with the weather tomorrow!

Tom

#24 iTomKart

iTomKart

    Speeding Along Now

  • Members
  • PipPipPipPipPip
  • 351 posts
  • Location: Nottingham
  • Local Club: TMF

Posted 12 April 2012 - 10:16 PM

Subframe gone!
Posted Image

Rear subframe:
Posted Image

State of the underside:
Posted Image

Mk1 Bonnet conversion:
Posted Image

Smoothed boot lid:
Posted Image

Dash area masked off ready for paint:
Posted Image

Front arches cut:
Posted Image

The state of the paint before prep:
Posted Image

Posted Image

More pics tomorrow when I can get dad's camera

Tom

#25 iTomKart

iTomKart

    Speeding Along Now

  • Members
  • PipPipPipPipPip
  • 351 posts
  • Location: Nottingham
  • Local Club: TMF

Posted 13 April 2012 - 09:43 PM

No paint today as we don't want to rush the prep, but we did get everything sanded down and the make-shift spray booth in the garage sorted. Also sorted the front valace for a mk1 grille by welding up the holes for the old grille surround, and took delivery of the camber/tie rod kit

Valance holes welded up and rust-treated:
Posted Image

Body prepped:
Posted Image

Boot and bonnet:
Posted Image

Phwooarr speedy hands
Posted Image

They started off as tiny dents:
Posted Image

The three states of stripping. Some paint needed fully removing due to blistering, some was too rough (previously applied with a paintbrush?) so was taken back to primer, and some was just roughed up:
Posted Image

New paint soon I promise!

Tom

#26 iTomKart

iTomKart

    Speeding Along Now

  • Members
  • PipPipPipPipPip
  • 351 posts
  • Location: Nottingham
  • Local Club: TMF

Posted 29 April 2012 - 08:39 PM

Done the primer! Rain stopped play today, but we're ready to apply the paint as soon as it brightens up. The interior's finished but I forgot to take pictures before we masked it up so you'll have to wait until it's all finished ;)

Posted Image

Posted Image

Posted Image

Seam sealer worked well:

Posted Image

Posted Image

Deleted wiper holes:

Posted Image

Debumpered front turned out much smoother than we expected!:

Posted Image

As you'll probably have noticed, we're painting it with the arches on. This is because instead of running fat black rubber strips between the arch and wing, a very minimal amount of sealant has been applied to blend the top of the arch to the body. Hopefully there's not enough of it to cause any cracking, it's barely visible but it's the details that count

Paint will be some time this week if the weather gets better,

Tom

#27 jonny f

jonny f

    One Carb Or Two?

  • Members
  • PipPipPipPipPipPipPip
  • 1,485 posts
  • Location: Surrey
  • Local Club: Boxhill Mini Club

Posted 29 April 2012 - 08:42 PM

Looks good, was just about to comment on the arches, but then you covered it!

#28 olly917

olly917

    Stage One Kit Fitted

  • Noobies
  • PipPipPip
  • 79 posts
  • Location: Manchester

Posted 29 April 2012 - 08:46 PM

Looking good, looking forward to updates pal top job

#29 digler

digler

    Speeding Along Now

  • Traders
  • PipPipPipPipPip
  • 439 posts
  • Location: harrogate

Posted 29 April 2012 - 09:04 PM

i love it when its at this stage, all primed and ready to paint, look forward to seeing it in colour. :D

#30 iTomKart

iTomKart

    Speeding Along Now

  • Members
  • PipPipPipPipPip
  • 351 posts
  • Location: Nottingham
  • Local Club: TMF

Posted 30 April 2012 - 06:04 PM

Thanks guys!

Jonny f, it's an unorthodox approach but it should turn out nicely. Been considering it for a while and thought why not give it a go

I love it too Digler, like a blank canvas :D


1 user(s) are reading this topic

0 members, 1 guests, 0 anonymous users