Jump to content


Photo
- - - - -

Black Ugly Mini Cooper Rsp


  • Please log in to reply
194 replies to this topic

#106 roughneckin

roughneckin

    Mini Mad

  • Noobies
  • PipPipPipPip
  • 107 posts
  • Location: Calgary

Posted 31 October 2013 - 03:31 PM


 Did u find it fairly easy to do it flipped on its side? Did you overlap that piece a bit or no?


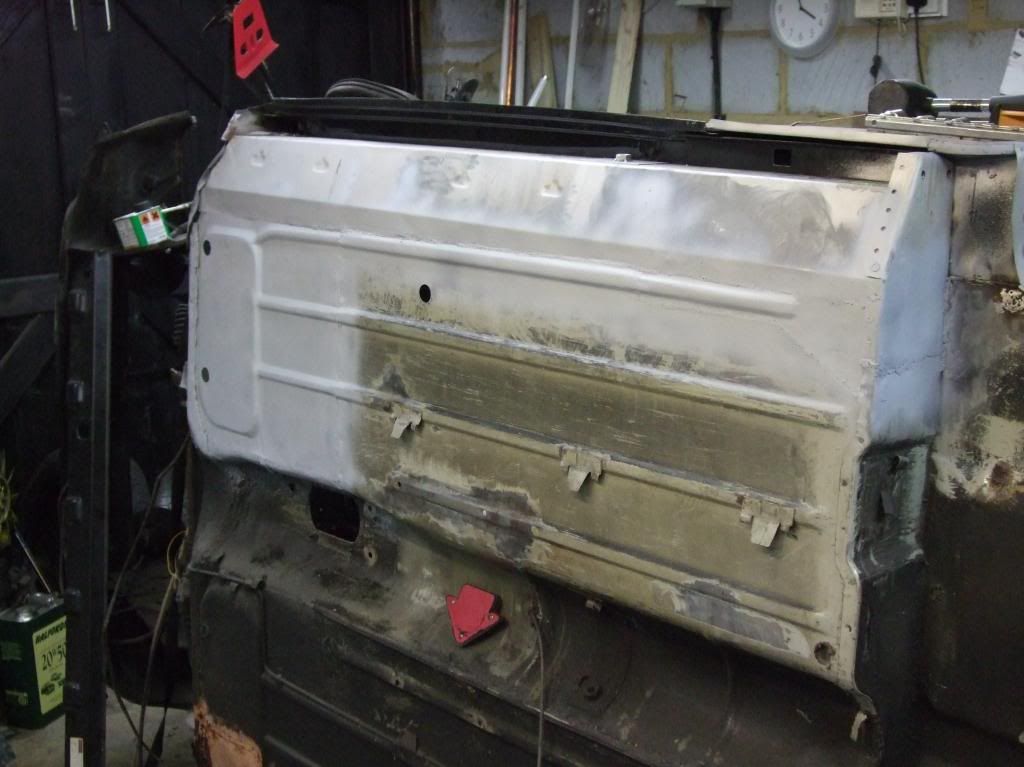
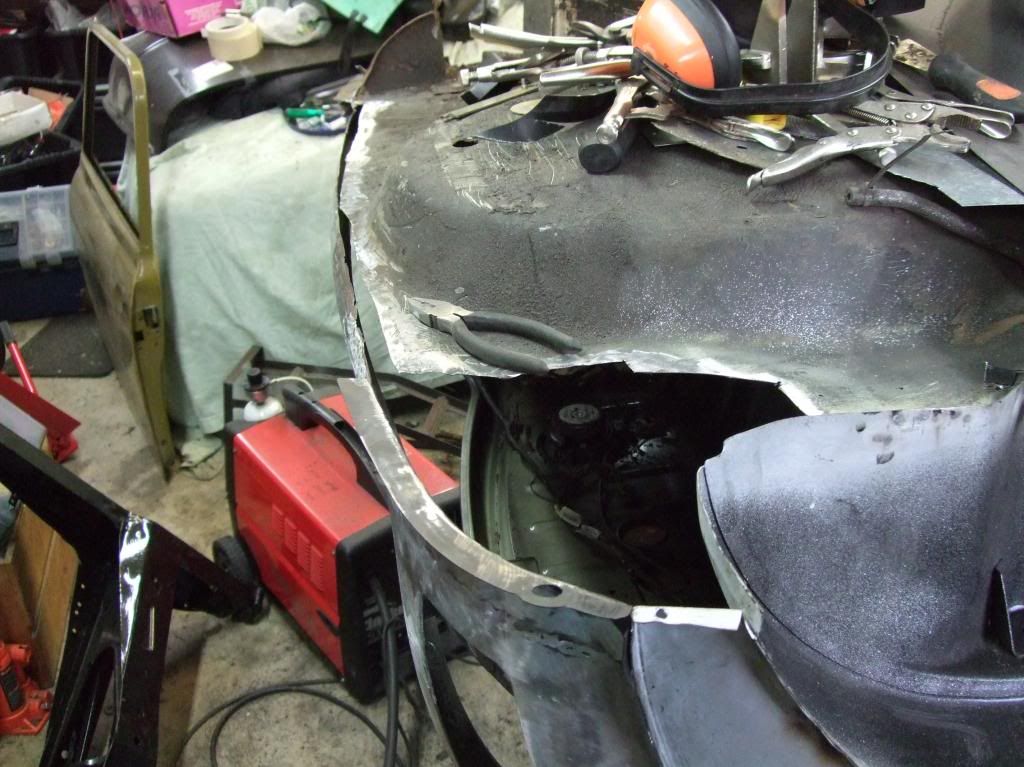
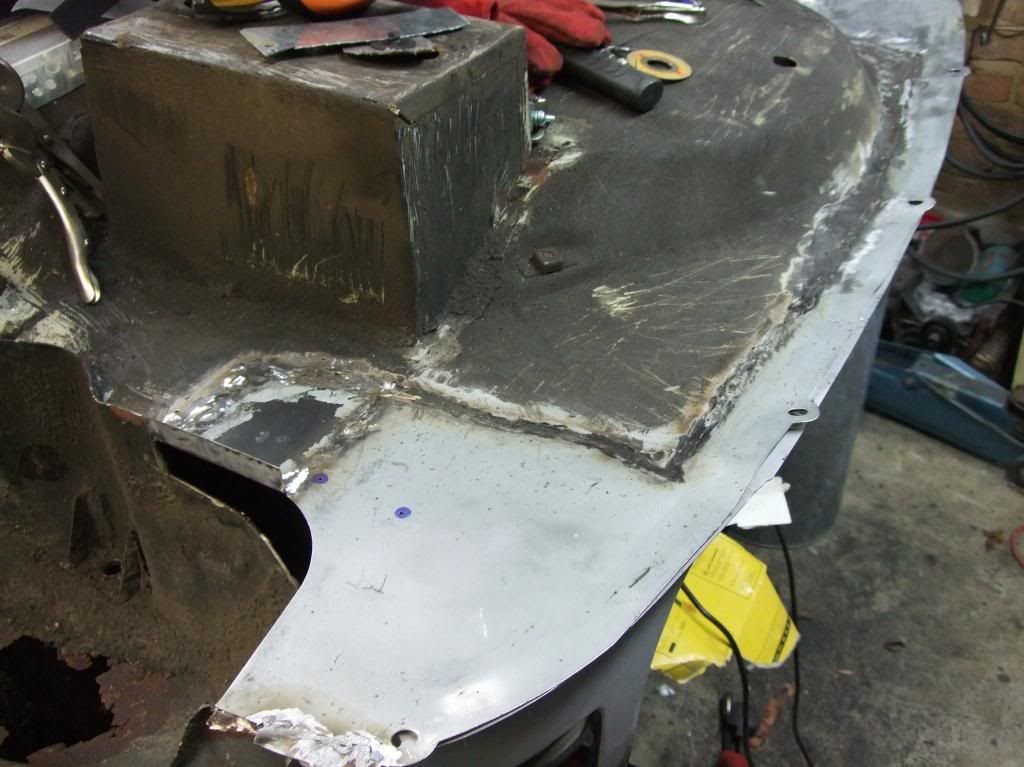
Easy to flip as the subframes are off. I supported one corner with a strap attached to roof.


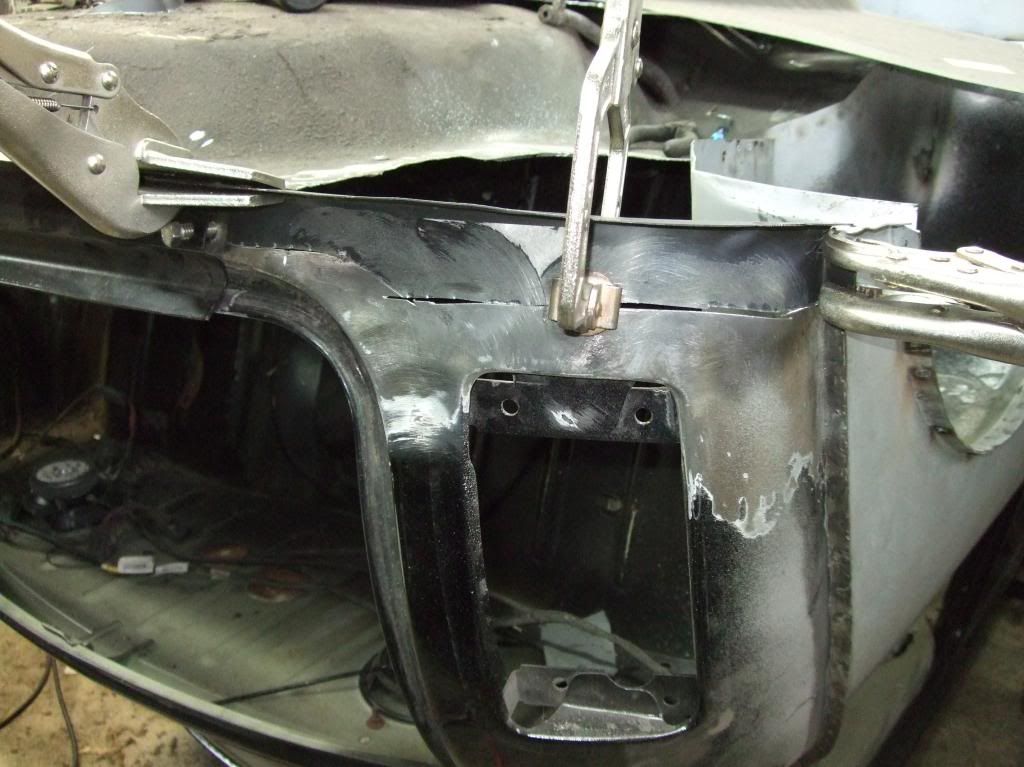
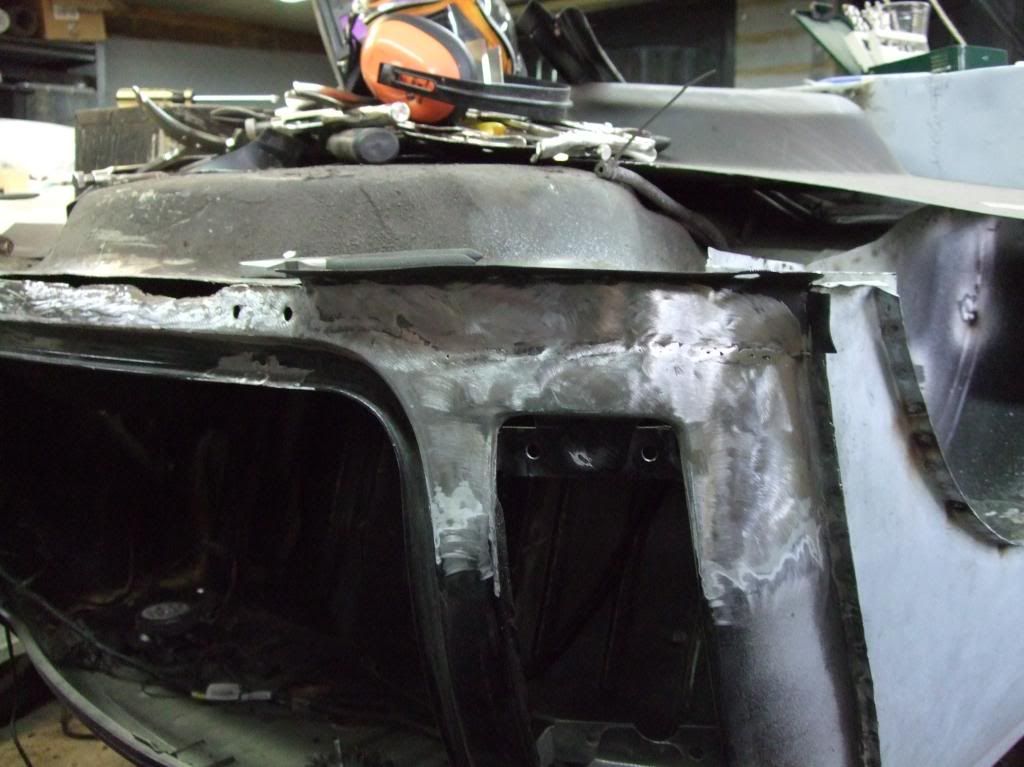
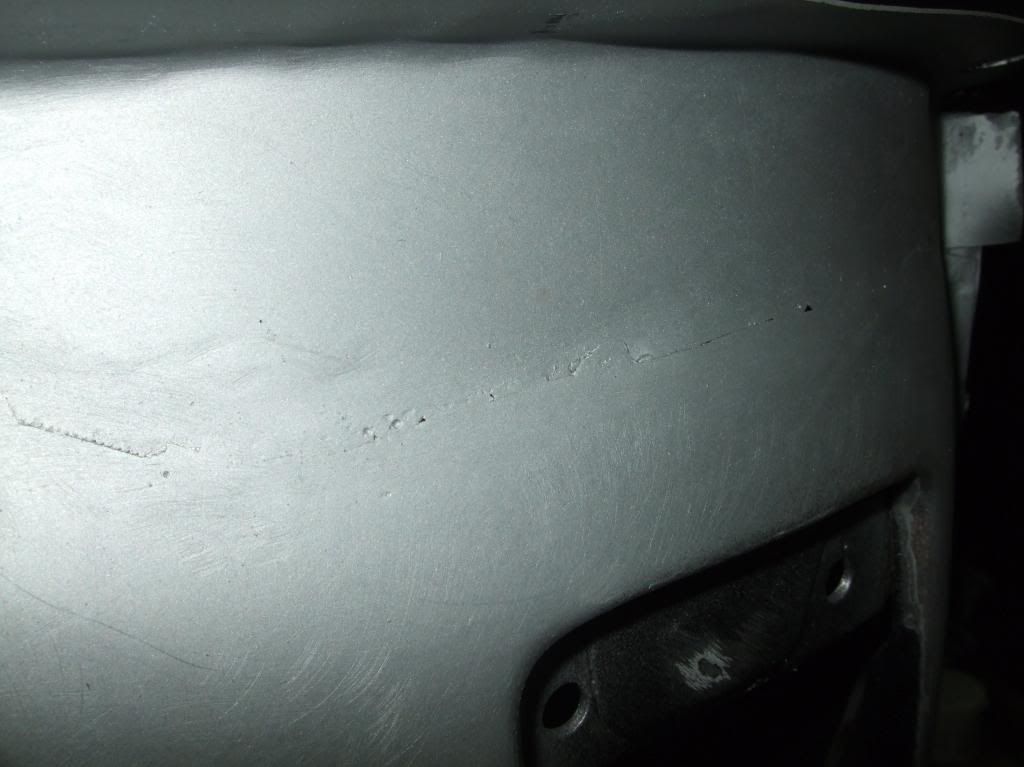
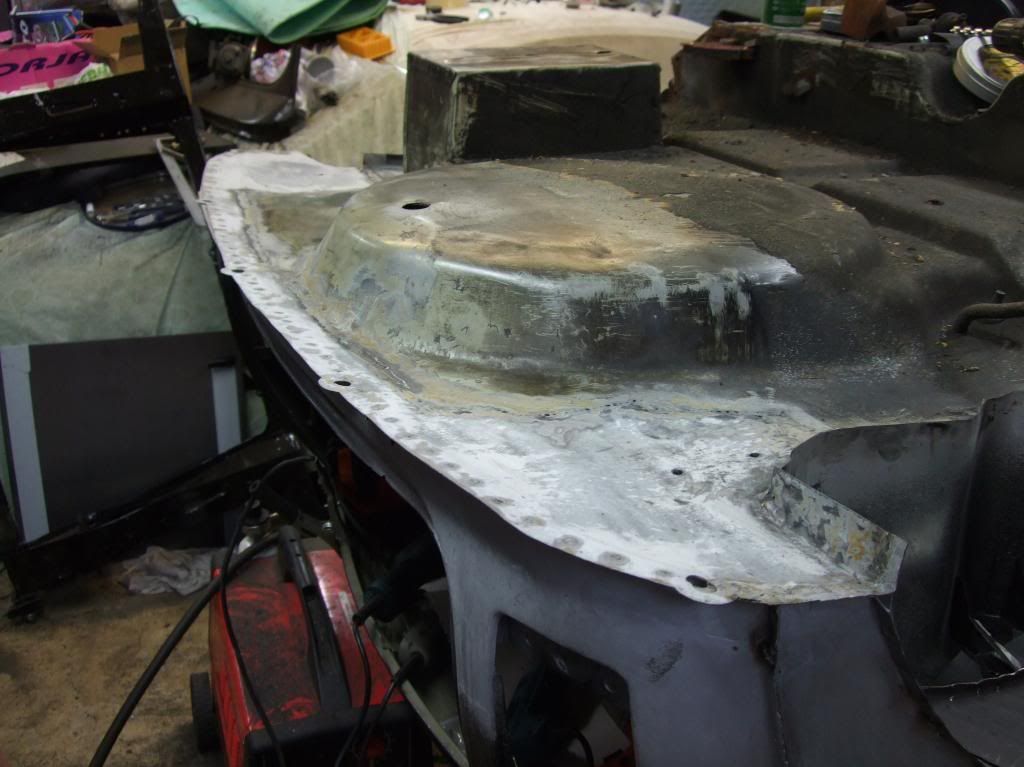
I was worried about overlapping the panels as did not want water to run along the overlap. Saying that I did overlap by about 1mm to make the weld thicker. By doing this small overlap when I weld it the overlap disappears into the pool of weld.


Sounds like a plan!!  Thanks


#107 Wise Old Elf

Wise Old Elf

    Camshaft & Stage Two Head

  • Members
  • PipPipPipPipPipPipPipPip
  • 1,655 posts
  • Location: Maldon
  • Local Club: Club Lotus

Posted 31 October 2013 - 07:07 PM


If you want tips on flipping your shell on its roof have a look at this Youtube vid.


#108 roughneckin

roughneckin

    Mini Mad

  • Noobies
  • PipPipPipPip
  • 107 posts
  • Location: Calgary

Posted 31 October 2013 - 11:45 PM

If I worked that fast the mini would be done already!! JK!! Great way to flip it and makes the work simple without a spit. Thanks.

#109 rally515

rally515

    Up Into Fourth

  • Members
  • PipPipPipPipPipPipPipPipPip
  • 3,848 posts
  • Location: ask!

Posted 01 November 2013 - 06:20 AM


If you want tips on flipping your shell on its roof have a look at this Youtube vid.


I had that idea for Tom2012's mk1 project! haha, would love his workshop in that video, very big, smart and clean :w00t:  :thumbsup:


#110 phil hill

phil hill

    Super Mini Mad

  • TMF+ Member
  • PipPipPipPipPipPip
  • 616 posts
  • Location: Lincoln, UK

Posted 01 November 2013 - 08:48 AM

I like his subframe dollies, very neat idea that !!


Phil.


#111 domdee

domdee

    Formally known as dominicdee

  • Members
  • PipPipPipPipPipPipPip
  • 1,183 posts
  • Location: hull
  • Local Club: hull clubs on FB

Posted 01 November 2013 - 09:34 AM

what a guy! lol


#112 Wise Old Elf

Wise Old Elf

    Camshaft & Stage Two Head

  • Members
  • PipPipPipPipPipPipPipPip
  • 1,655 posts
  • Location: Maldon
  • Local Club: Club Lotus

Posted 21 December 2013 - 04:14 PM

DSCF9856_zpse07584d6.jpg


I got in the garage today and did a bit more grinding; passenger floor all sorted now.

Now need to flip the car onto its roof and start on the boot floor repair :)


#113 Wise Old Elf

Wise Old Elf

    Camshaft & Stage Two Head

  • Members
  • PipPipPipPipPipPipPipPip
  • 1,655 posts
  • Location: Maldon
  • Local Club: Club Lotus

Posted 03 January 2014 - 04:23 PM

DSCF9867_zps572a95fd.jpg


I cut off the rear valance to find 1 layer of metal where there should be 3 and the boot floor is not even attached.


DSCF9866_zpsa3d19f82.jpg


I found where the spiders were living.


DSCF9878_zps31f8dadd.jpg


Cut the lower part of the rear panel out.


DSCF9879_zps14e4eb8c.jpg


Welded in the repair and gave it a tickle with the grinder. I will give it a once over with the flap wheel and then move on to the center section and other corner. Once that is all done then its onto the boot floor repair.


DSCF9881_zps49d55edd.jpg


#114 evilpen14

evilpen14

    Mini Mad

  • Noobies
  • PipPipPipPip
  • 115 posts
  • Location: Daventry
  • Local Club: CCC and RAF Mini Club

Posted 09 January 2014 - 10:40 PM

I wouldn't have a clue where to start there. Hope it goes well and we have some more pictures soon :)


#115 Wise Old Elf

Wise Old Elf

    Camshaft & Stage Two Head

  • Members
  • PipPipPipPipPipPipPipPip
  • 1,655 posts
  • Location: Maldon
  • Local Club: Club Lotus

Posted 10 January 2014 - 04:40 PM

I wouldn't have a clue where to start there. Hope it goes well and we have some more pictures soon :)


The hardest thing is finding the time.


I cut out the rot and weld in a bit. If its no good then I cut it out again. If the weld is ugly I grind it back; as long as the penetration is good you can fix it with more weld and more grinding.  ;D


#116 Wise Old Elf

Wise Old Elf

    Camshaft & Stage Two Head

  • Members
  • PipPipPipPipPipPipPipPip
  • 1,655 posts
  • Location: Maldon
  • Local Club: Club Lotus

Posted 26 January 2014 - 09:01 PM

Pretty happy with how the repairs are going. Back panel is repaired with the 3 part repair panels so pretty cheap. The welds are ground back and given a dash over with weld-thro so no filler get. As you can see by the pics it will not need much filler.


DSCF9917_zps1ad486d5.jpg


DSCF9915_zps1262b146.jpg


DSCF9918_zps7bb6d79c.jpg


The boot floor is also welded and I have started to grind it back. As you can see it only needed an inch or so so I am not sure if I will grind the weld back any more than this as it will be hidden by the rear valance. What do you guys think?


DSCF9922_zpsd6f20b29.jpg


Still need to do a bit of hammering to straighten the floor and then I will spot weld the 2 panels together.I have good penetration so will need to tickle the weld inside the boot where it can be seen.  


IMG_1679_zps8623246d.jpg


Edited by Wise Old Elf, 01 February 2014 - 10:20 PM.


#117 Dusky

Dusky

    Crazy About Mini's

  • Members
  • PipPipPipPipPipPipPipPipPipPip
  • 5,322 posts
  • Location: Belgium

Posted 31 January 2014 - 10:22 PM

Nice to see the restauration progress! :)


BUT


May I ask what RSP means?


cheers!


#118 Wise Old Elf

Wise Old Elf

    Camshaft & Stage Two Head

  • Members
  • PipPipPipPipPipPipPipPip
  • 1,655 posts
  • Location: Maldon
  • Local Club: Club Lotus

Posted 31 January 2014 - 10:43 PM

Nice to see the restauration progress! :)


BUT


May I ask what RSP means?


cheers!


Cheers Its getting there.


Rover Special Products


http://www.rsp-coope...out_the_RSP.htm


#119 domdee

domdee

    Formally known as dominicdee

  • Members
  • PipPipPipPipPipPipPip
  • 1,183 posts
  • Location: hull
  • Local Club: hull clubs on FB

Posted 01 February 2014 - 09:45 AM

Pretty happy with how the repairs are going. Back panel is repaired with the 3 part repair panels so pretty cheap. The welds are ground back and given a dash over with weld-thro so no filler get. As you can see by the pics it will not need much filler.


DSCF9917_zps1ad486d5.jpg


DSCF9915_zps1262b146.jpg


DSCF9918_zps7bb6d79c.jpg


build it up with paint like that fella doing the blue mpi shell does. avoids the the use filler


#120 Wise Old Elf

Wise Old Elf

    Camshaft & Stage Two Head

  • Members
  • PipPipPipPipPipPipPipPip
  • 1,655 posts
  • Location: Maldon
  • Local Club: Club Lotus

Posted 09 February 2014 - 03:24 PM

DSCF0042_zps78bd86f1.jpg


DSCF0044_zps4b915cbf.jpg


DSCF0046_zpsc9fdad56.jpg


0 user(s) are reading this topic

0 members, 0 guests, 0 anonymous users