Jump to content


Photo
- - - - -

92 Mini City


  • Please log in to reply
285 replies to this topic

#121 1984mini25

1984mini25

    Crazy About Mini's

  • Members
  • PipPipPipPipPipPipPipPipPipPip
  • 8,782 posts
  • Location: -

Posted 10 May 2016 - 10:23 PM


Jay and I purchased a few bits but imo there were less traders than last year so we didn't get half of the bits we needed
And don't get me started on the que to get out the place !!

 
At least I'm not the only one that thought that with the traders, as the last time i'd been to Himley Hall was 7 years ago. And although I got some bits, I don't think it was really worth the 190 odd mile round trip.
I also wondered around looking for the tmf forum stand, but I think the heat mush have fried my brain, as I completely missed/walked past it.
 
Also apparently that que for getting out started at around noonish according to the rents that chose to stay close to the car in the car park, as it would have been £40 for the 4 of us just to get in. How it didn't kick off with some of the antics I don't know. Plus I can't see why they couldn't have opened the gates further down so there was two exits rather than the single, only wide enough for one car at a time exit/entrance to help ease things.

TMF stand was over by the lake right at the back ( I had to mooch around to find it )
Yes I agree leaving the event was a right mess I'm not sure what was going on !!
I saw some very stupid antics from a few individuals and it has made me consider if I'll go again
Think the BMC need to take some feed back and look at this for next year

I also see the win a mini had been replaced by win a grand ( I wonder how successful that was) not really bothered as I have no luck with raffle tickets

Mark


Well considering Himley is one of the big shows of the year, the distance (witch I used to do in the mini), the entry at £10 per person (a lot of non-mini shows are cheaper and offer discounts for multiple entry and have a more going on) the antics and that the car park/people were emptying out 2 hours after the show had opened, I won't be going again. The last one is also partly why I stopped going to the Malven shows twice a year. As with the nearly 2 hour drive to get there (if no hold ups) to arrive at a show and start to see people leaving in large numbers and packing up just doesn't seam worth it.


Although the one bonus with it being quieter was some of the auto jumblers were more friendly and willing to do deals, or that could be because they were so bored, like the ones with the beige mini shell and landy.


And I'm guessing the 'win a mini' was replaced as they probably wouldn't have sold enough tickets to cover the cost of the mini? although I used to hear rumours that its was always someone who had links or some connection with the BMC who always won the mini anyways.


#122 Davey3legs

Davey3legs

    On The Road

  • Noobies
  • PipPip
  • 36 posts
  • Location: Isle of Man

Posted 15 May 2016 - 10:14 AM

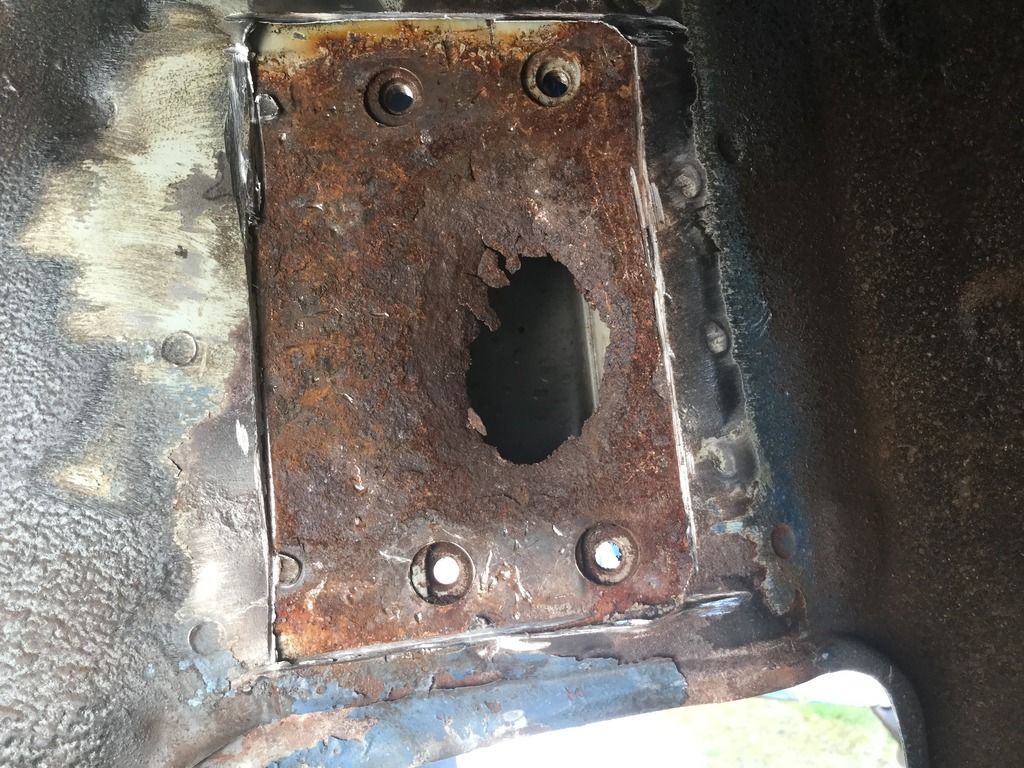
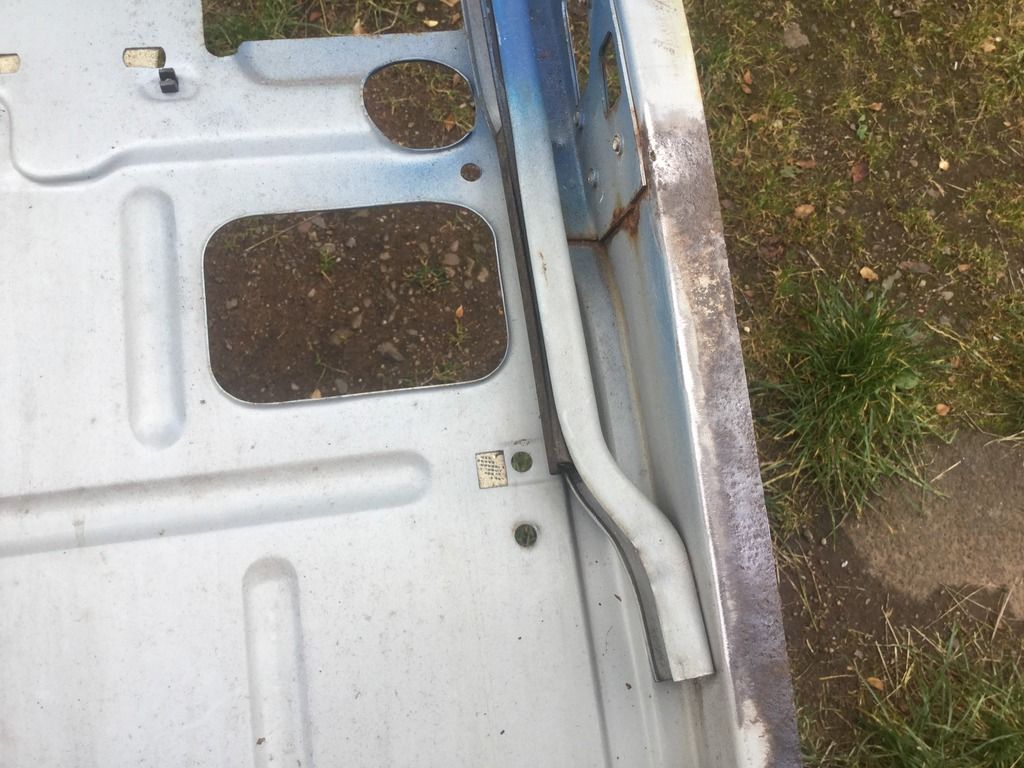
Hi Marco, just spent some time reading through your thread, i'd like to say thankyou for taking so many photo's, my new project needs mahoosive amounts of welding, and especially sills, floor and heel board/storage bin area, your photos have helped me figure out how it goes together and what i'm looking at. Good luck for completing it and sticking with it through all the unexpected tinworm finds.
#123 Marco1972

Marco1972

    One Carb Or Two?

  • Members
  • PipPipPipPipPipPipPip
  • 822 posts
  • Location: Birmingham

Posted 15 May 2016 - 04:11 PM

Hi Marco, just spent some time reading through your thread, i'd like to say thankyou for taking so many photo's, my new project needs mahoosive amounts of welding, and especially sills, floor and heel board/storage bin area, your photos have helped me figure out how it goes together and what i'm looking at. Good luck for completing it and sticking with it through all the unexpected tinworm finds.
Cheers davey3Legs

And thanks for taking the time to read my thread
This forum has helped me no end as I'd never taken on work like this before
I found the photos that other forum members had posted really useful so I'm just returning the favour
Glad there of some use
Cheers Mark

Edited by Marco1972, 15 May 2016 - 04:11 PM.

#124 Marco1972

Marco1972

    One Carb Or Two?

  • Members
  • PipPipPipPipPipPipPip
  • 822 posts
  • Location: Birmingham

Posted 15 May 2016 - 05:58 PM

Well it was back to it today 😃

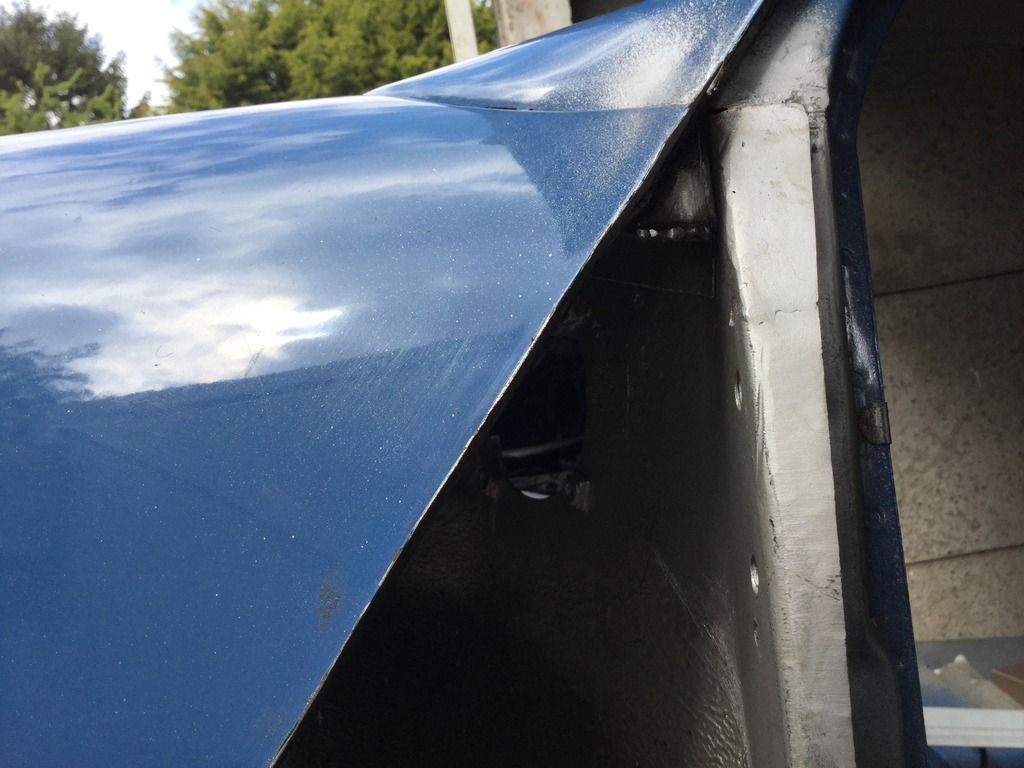
Started off by filling a small gap that was above the scuttle closing panel looked like it had been left from when the car had its replacement front end
I remember digging out a blob of seam sealer when I removed the old closing panel bit of a bodge by the previous owner

image_zps77s96utc.jpeg

Bit hard to see in this pic but you can just make out the repair
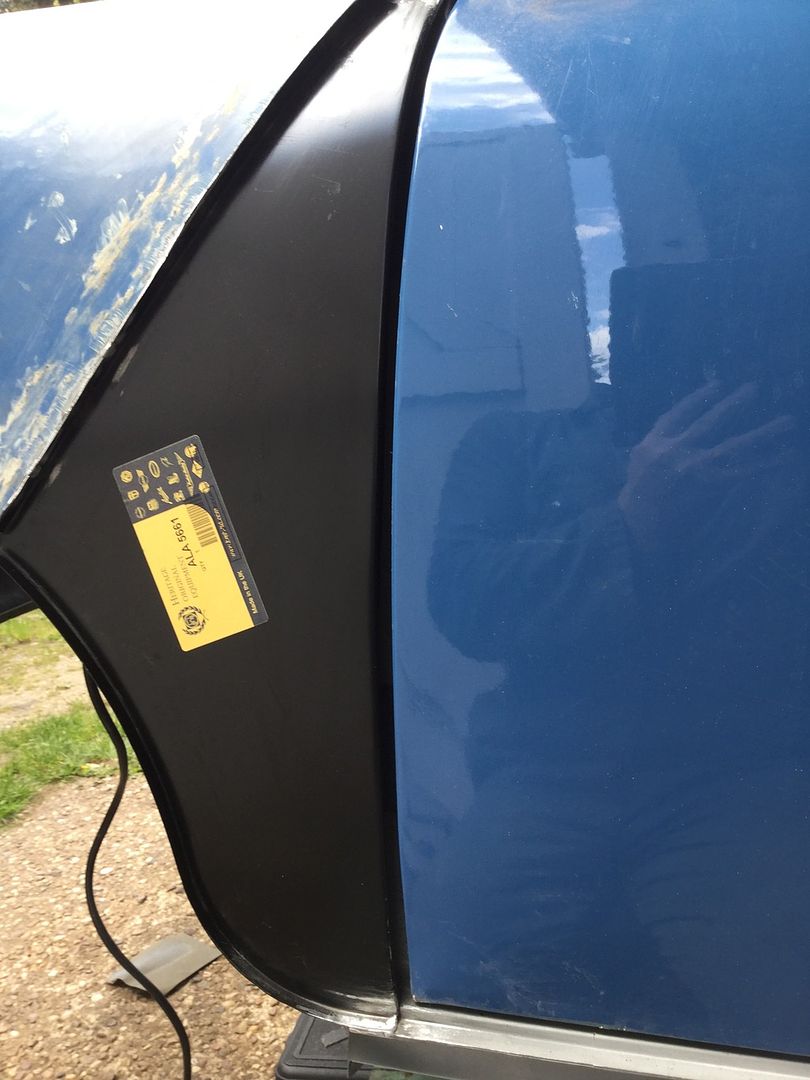
With that done it was finally A panel time
Trial fit

image_zpsfoz500yj.jpeg

image_zpssvimws97.jpeg

image_zpsux3agtf0.jpeg

Not to bad so 6mm holes drilled ready for plug welding
I used my Frost Cold front to minimise any distortion

image_zpskvzmyuzm.jpeg

Welded in and dressed down

image_zpsjzvsrgm9.jpeg

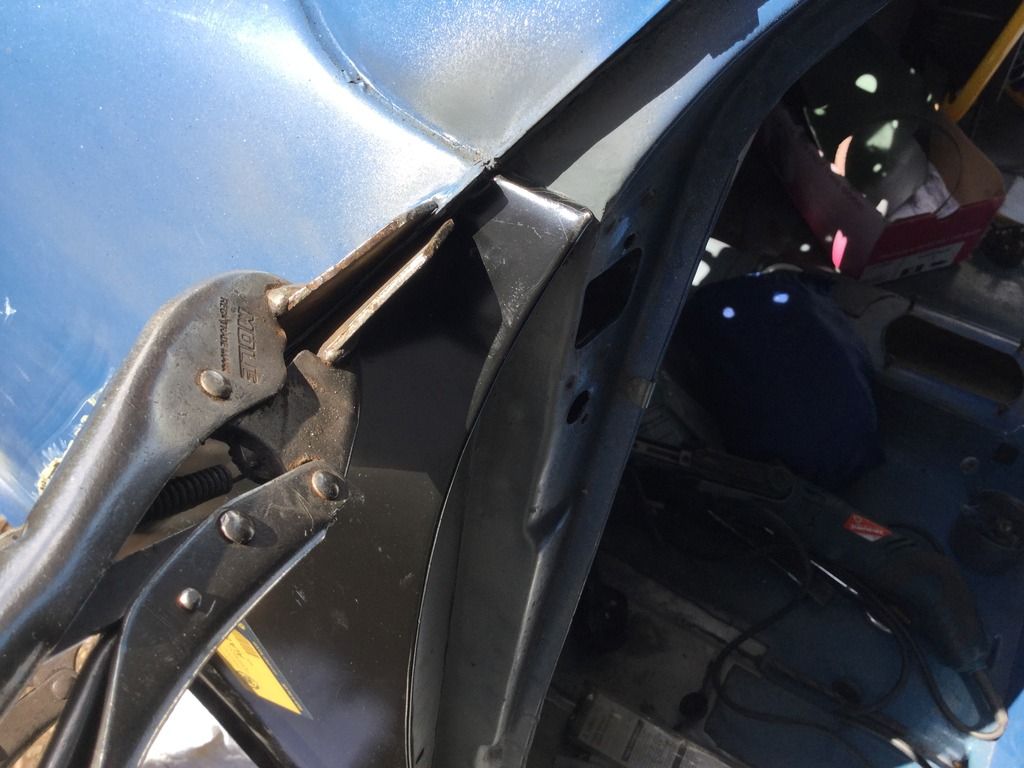
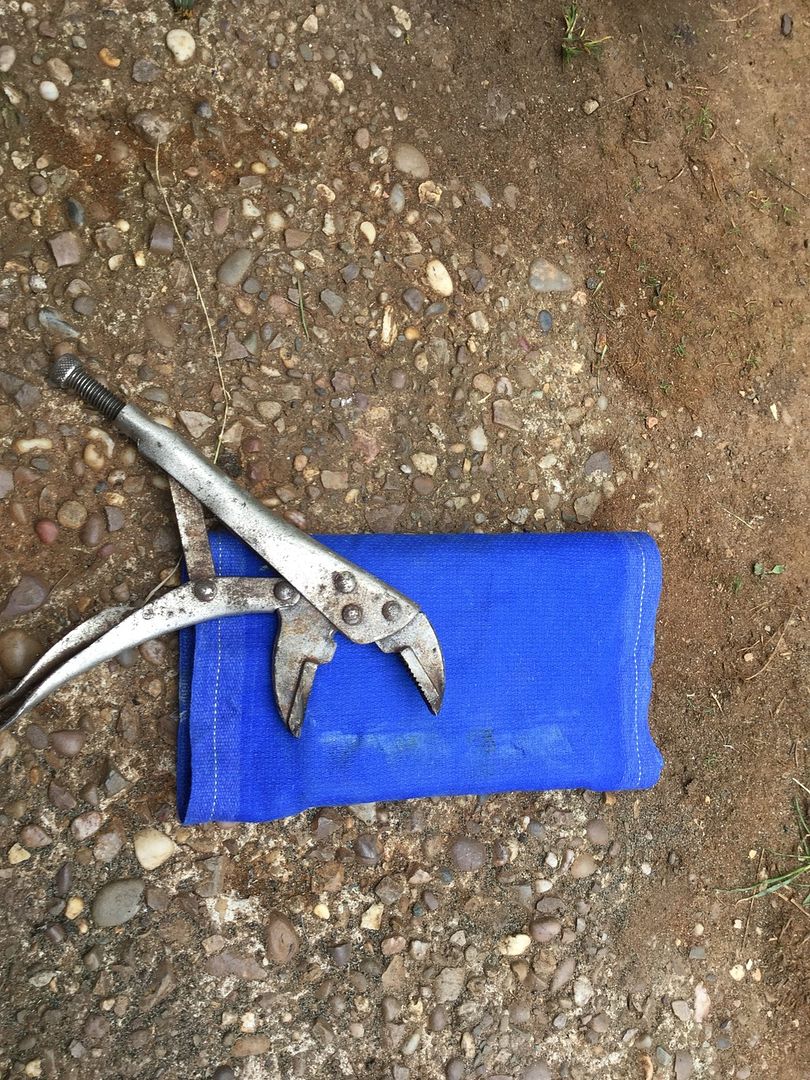
With that done bent the lip over using the mole grip and block of wood method

image_zpsvgve3vpx.jpeg

image_zpsfqxcbylc.jpeg

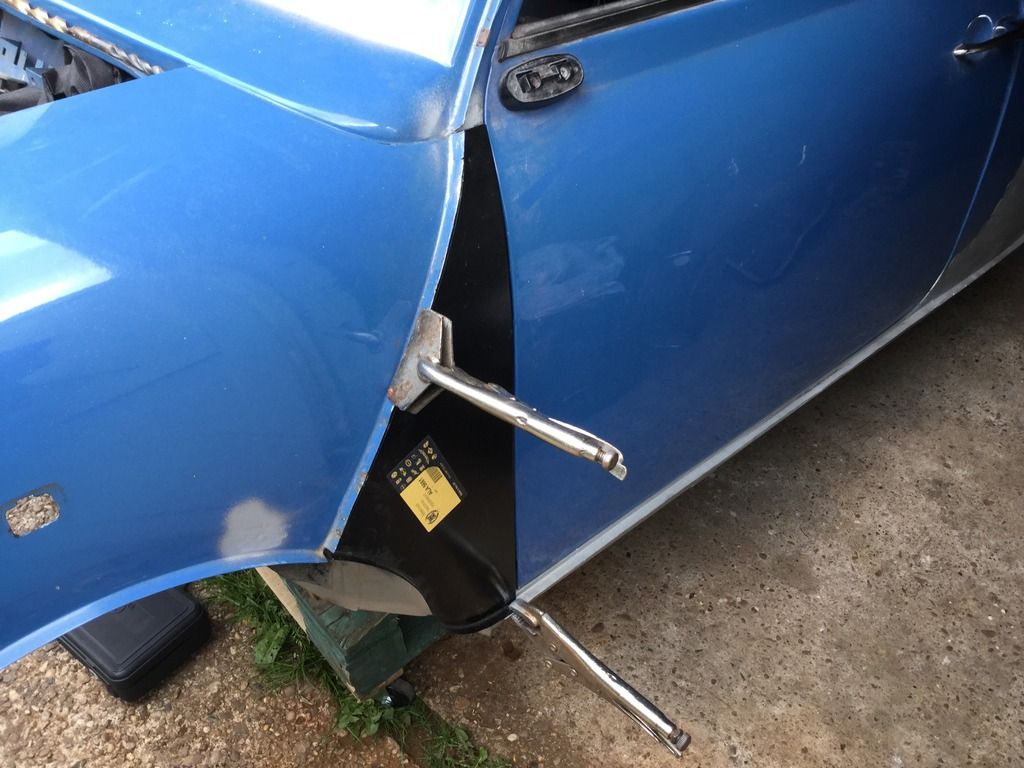
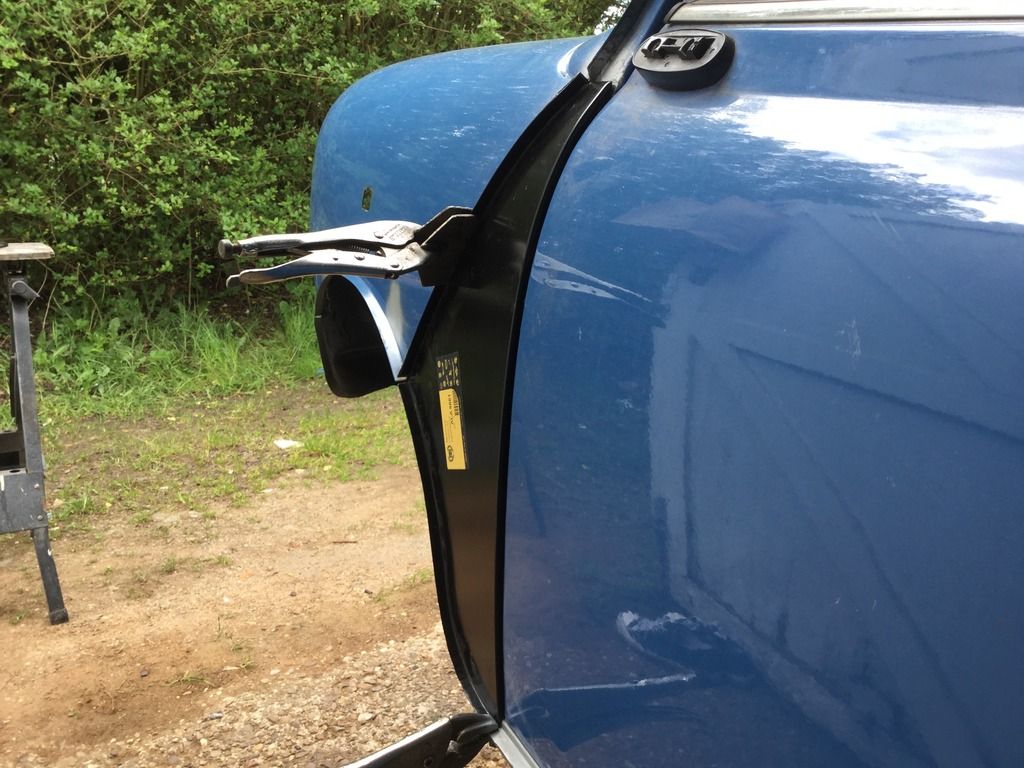
Popped the door back on to see how it looked

image_zpsf7q3iumv.jpeg

Not a bad gap but I'll make this tighter when I replace the door skin
The door was a poor fit when I got the car so I'll definatley make it better than before 😃

Mark

Edited by Marco1972, 15 May 2016 - 08:28 PM.


#125 Daz1968

Daz1968

    Up Into Fourth

  • Members
  • PipPipPipPipPipPipPipPipPip
  • 2,058 posts
  • Location: Dudley

Posted 15 May 2016 - 10:12 PM

Looking very good

#126 minimissions

minimissions

    Up Into Fourth

  • Members
  • PipPipPipPipPipPipPipPipPip
  • 3,427 posts
  • Location: North West
  • Local Club: M.M.O.C

Posted 16 May 2016 - 05:44 AM

Panel gaps look great nice one :)


#127 James_eaton_thewholething

James_eaton_thewholething

    One Carb Or Two?

  • Members
  • PipPipPipPipPipPipPip
  • 1,063 posts
  • Location: Manchester

Posted 18 May 2016 - 06:18 PM

Door to A panel gap doesn't look to bad to be fair.
Good work

#128 Marco1972

Marco1972

    One Carb Or Two?

  • Members
  • PipPipPipPipPipPipPip
  • 822 posts
  • Location: Birmingham

Posted 19 May 2016 - 04:17 PM

Looking very good

Panel gaps look great nice one :)

Door to A panel gap doesn't look to bad to be fair.
Good work


Thanks chaps

#129 Marco1972

Marco1972

    One Carb Or Two?

  • Members
  • PipPipPipPipPipPipPip
  • 822 posts
  • Location: Birmingham

Posted 24 May 2016 - 08:41 PM

Update time

Had a day off work to get ahead as I want it finished and painted

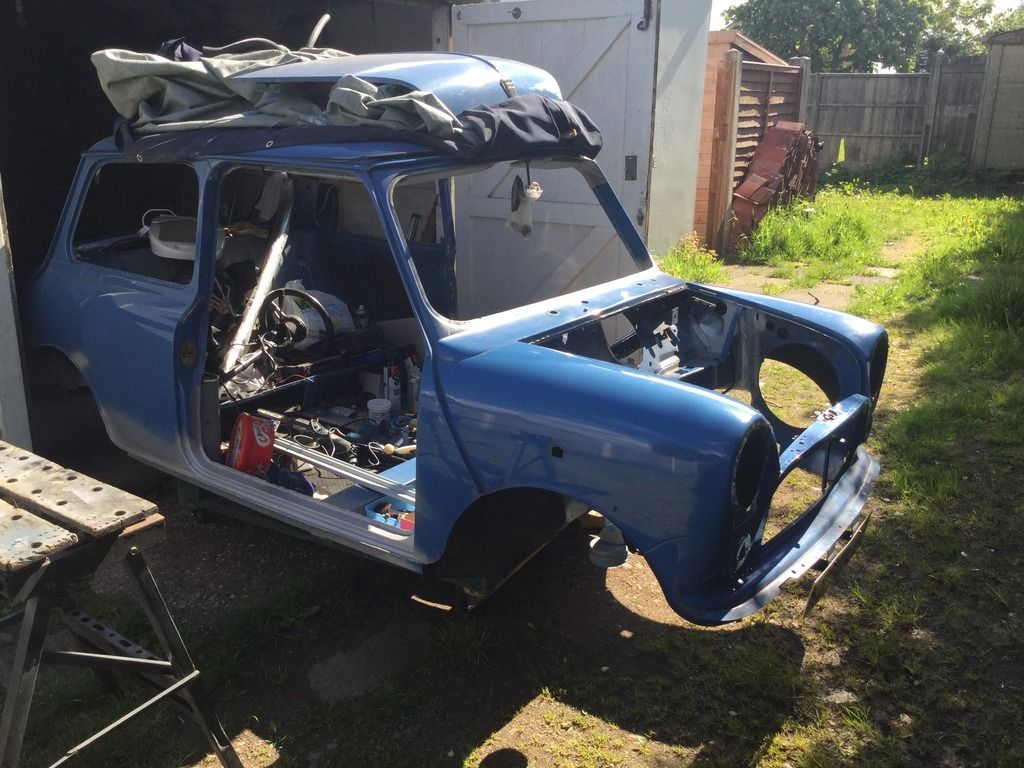
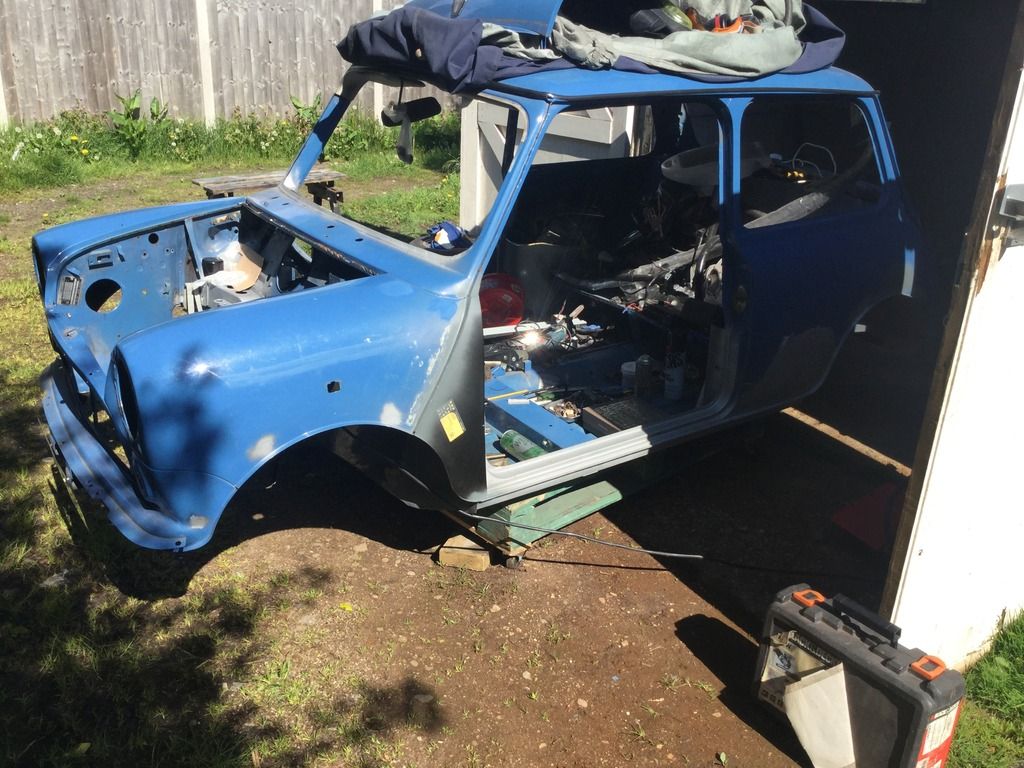
Got it out of the garage and into the sun

image_zpsr5sml0dj.jpeg

image_zpsoro3bmlw.jpeg

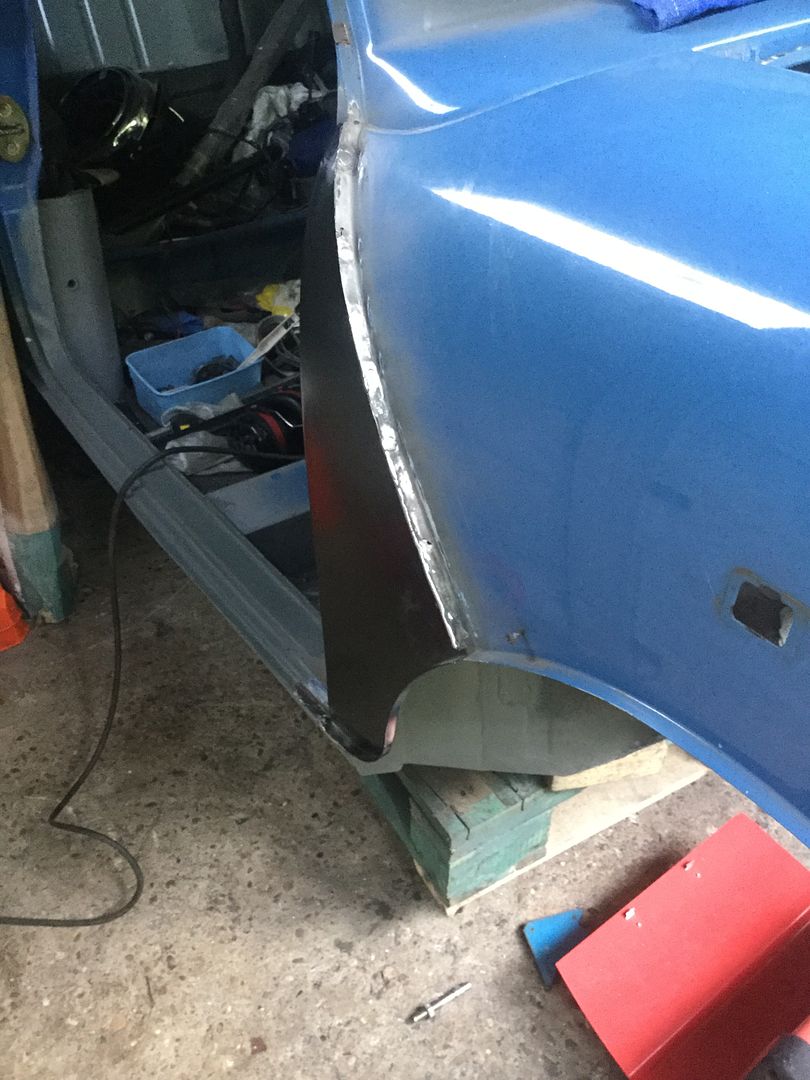
Started by finishing off the repair to the wheel arch

image_zpsyga7bz7h.jpeg

Made up the repair piece and welded it in ( forgot to take a pic of it in place )

image_zpsubbch3um.jpeg

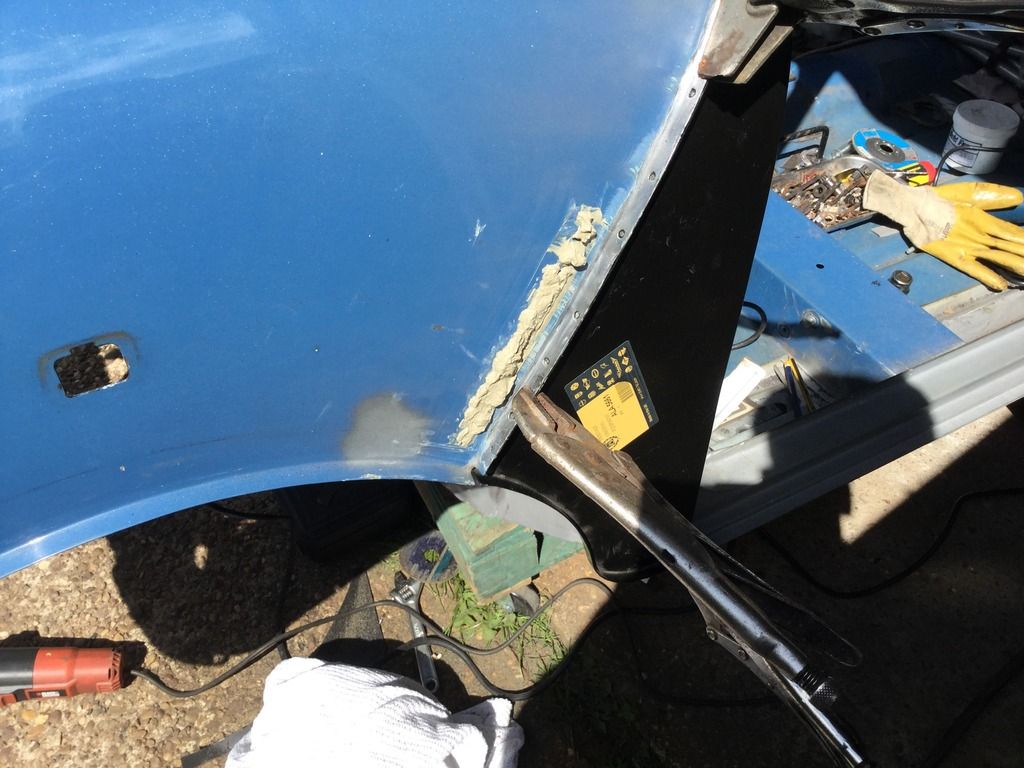
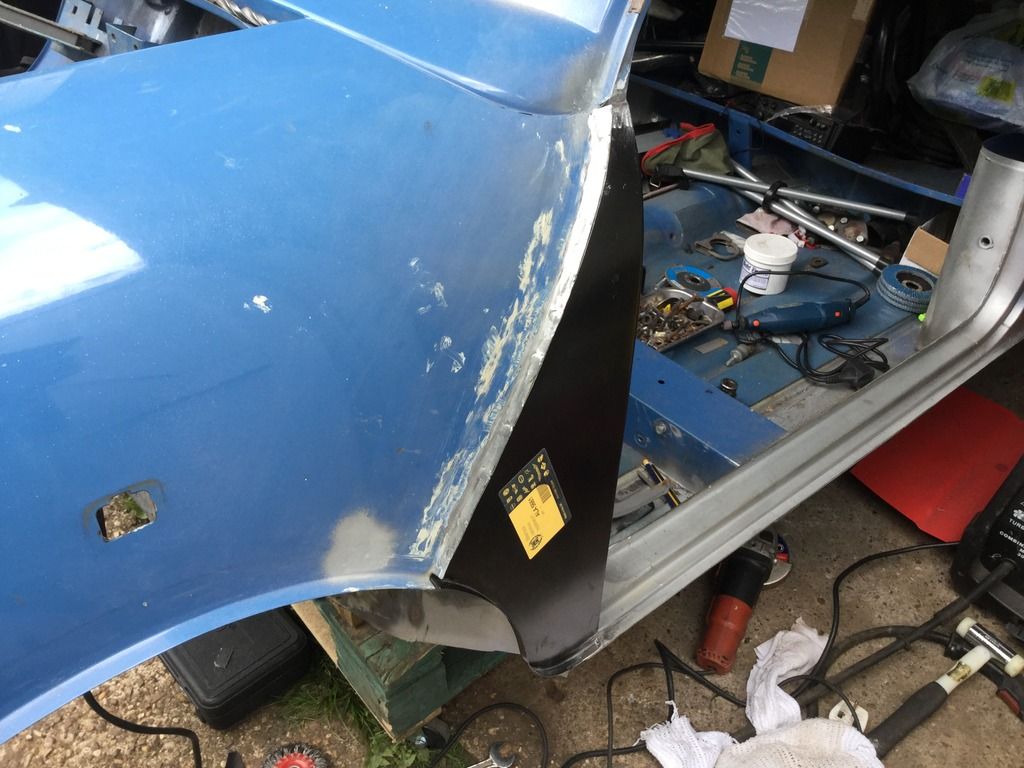
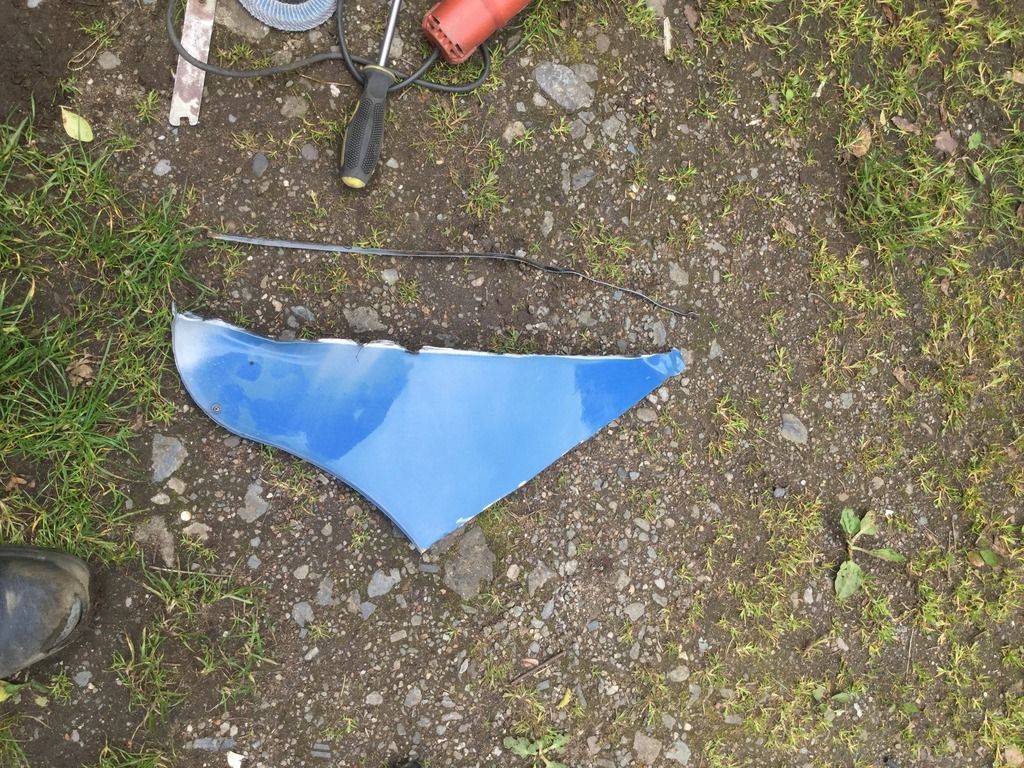
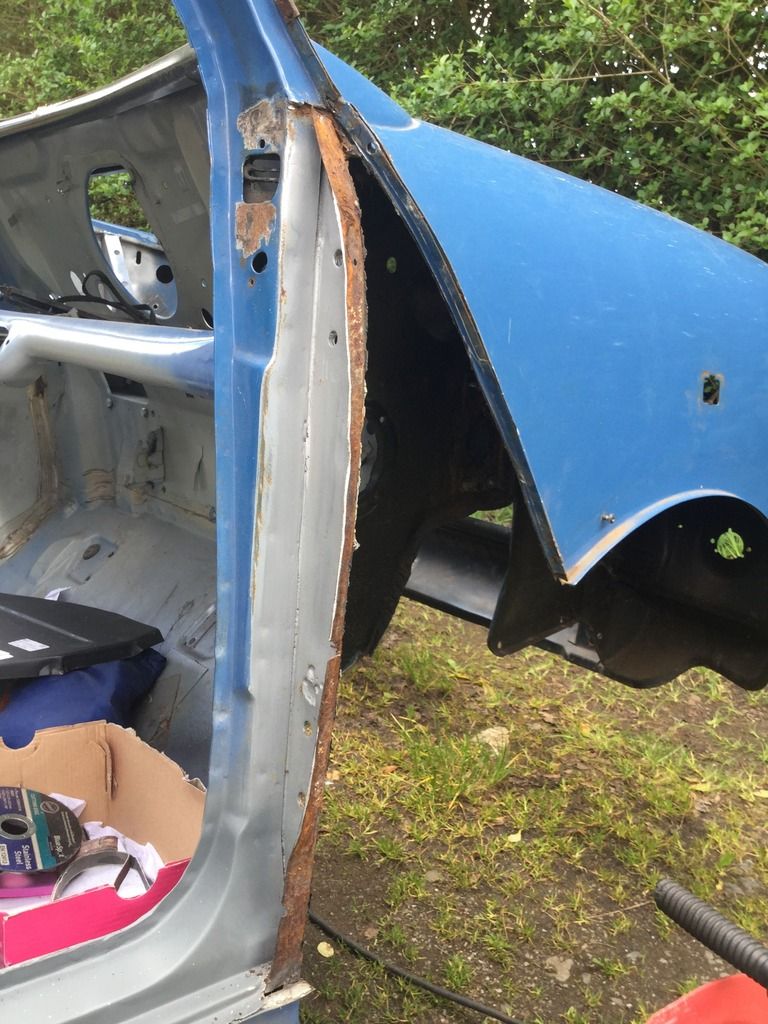
Next it was time to remove the other A panel
Started off by grinding the outer edge with a flap disc then cut down the flange by the wing

image_zpsfow98ynz.jpeg

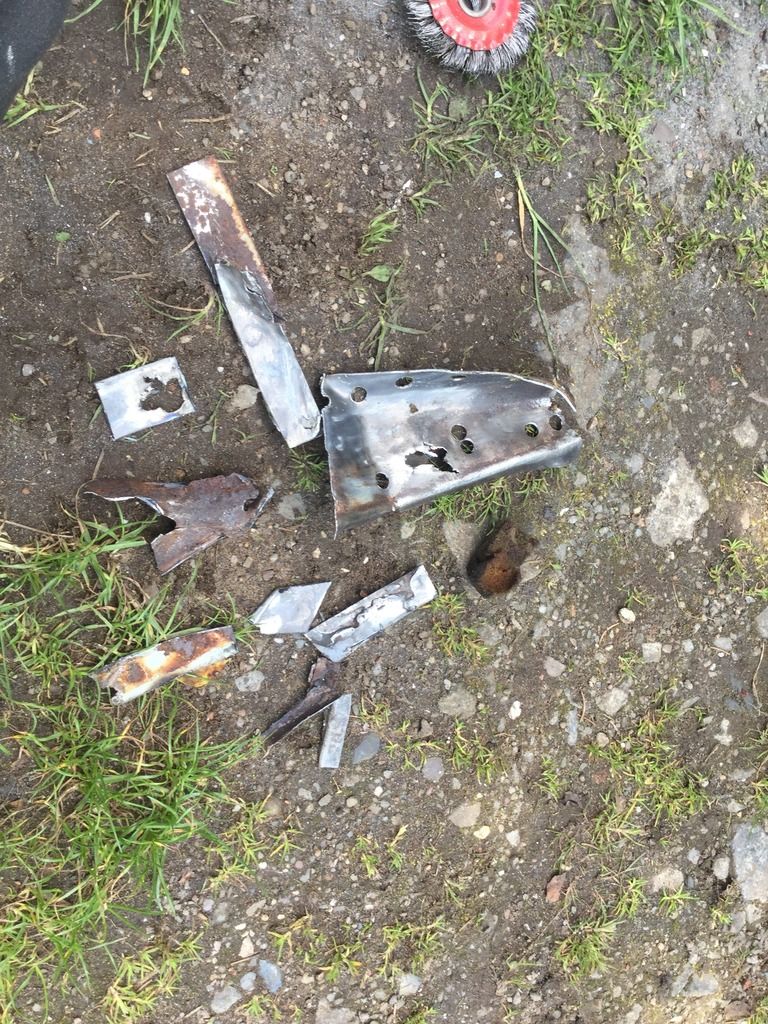
Broke the top and bottom weld and off it came

image_zpszsgjkp4a.jpeg

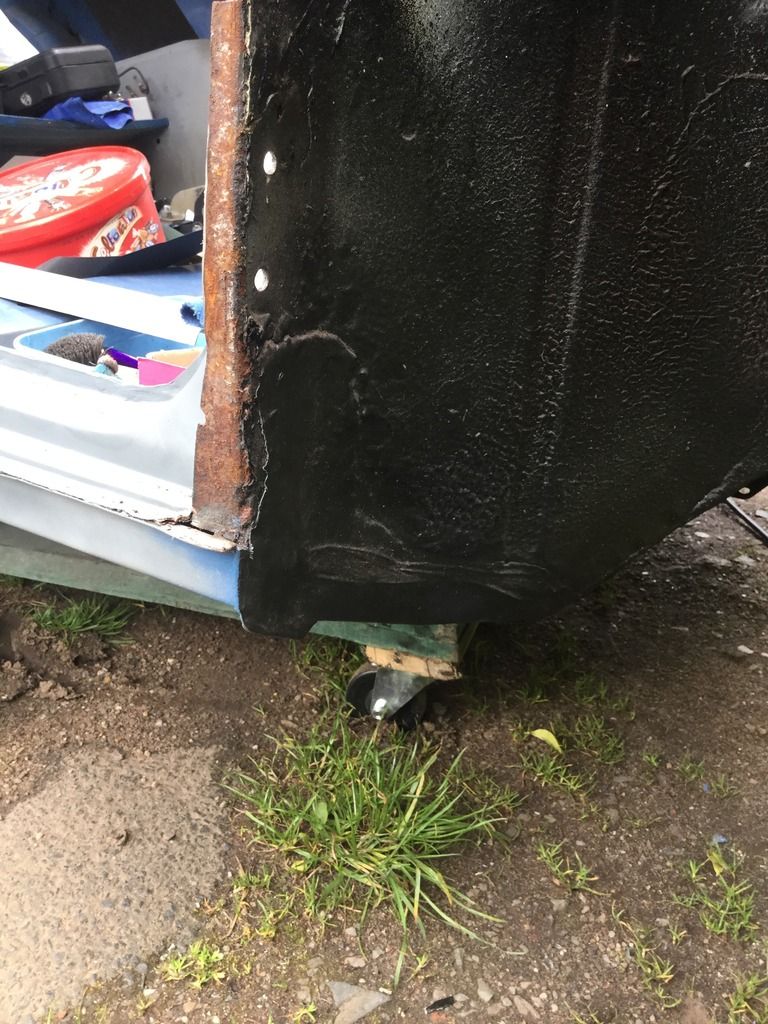
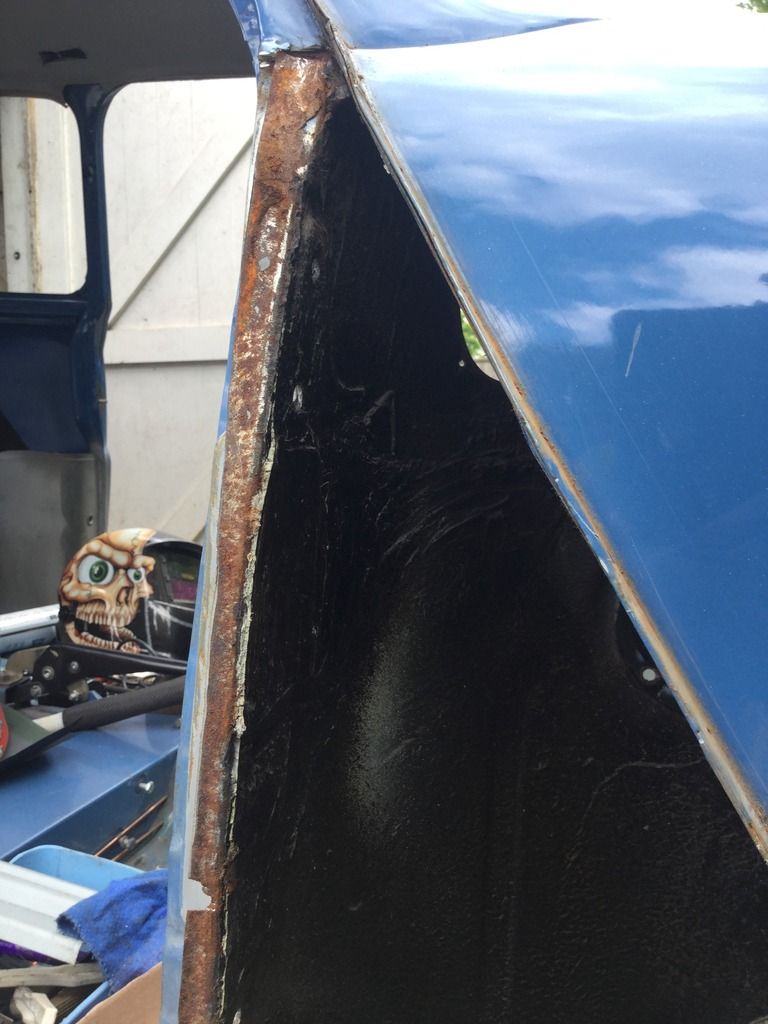
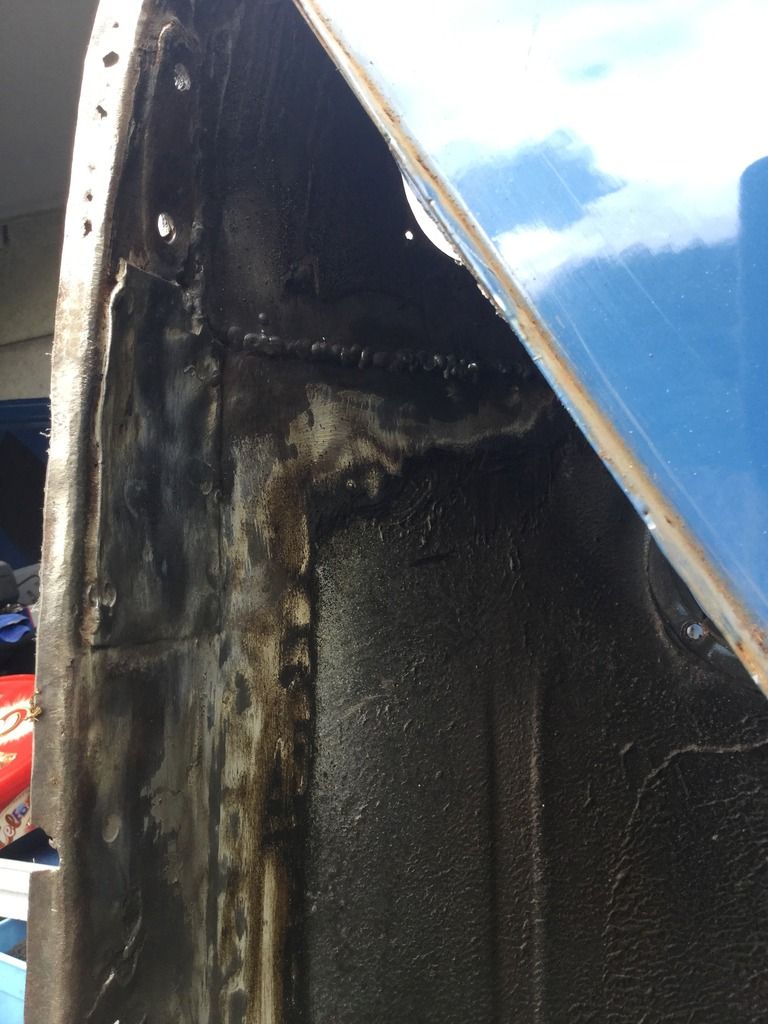
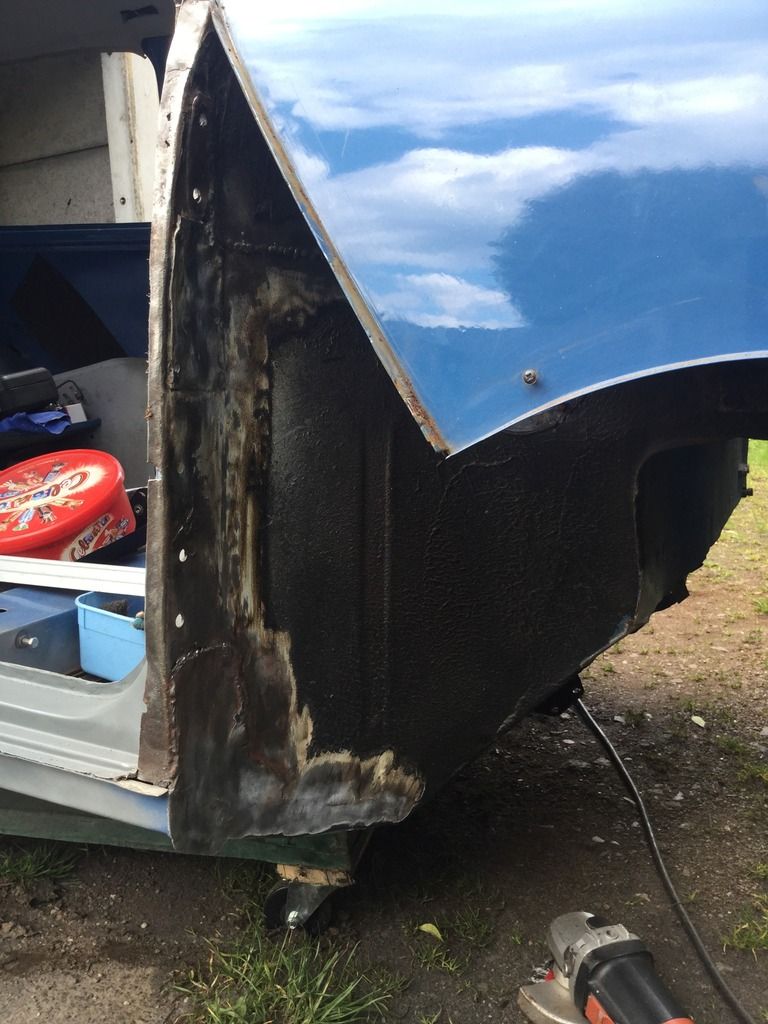
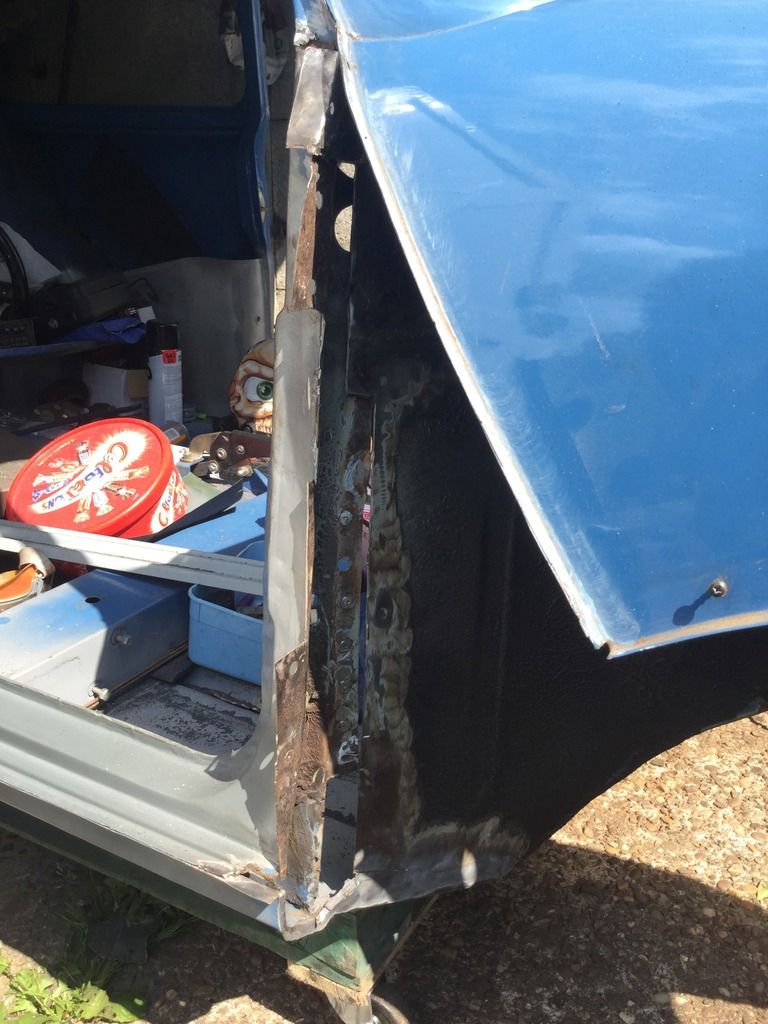
Now bear in mind this car was never on the road since the last owner had the front end replaced and painted you can see how much rust was behind the A Panel so glad I decided to chop it off

image_zpsuinyhb9o.jpeg

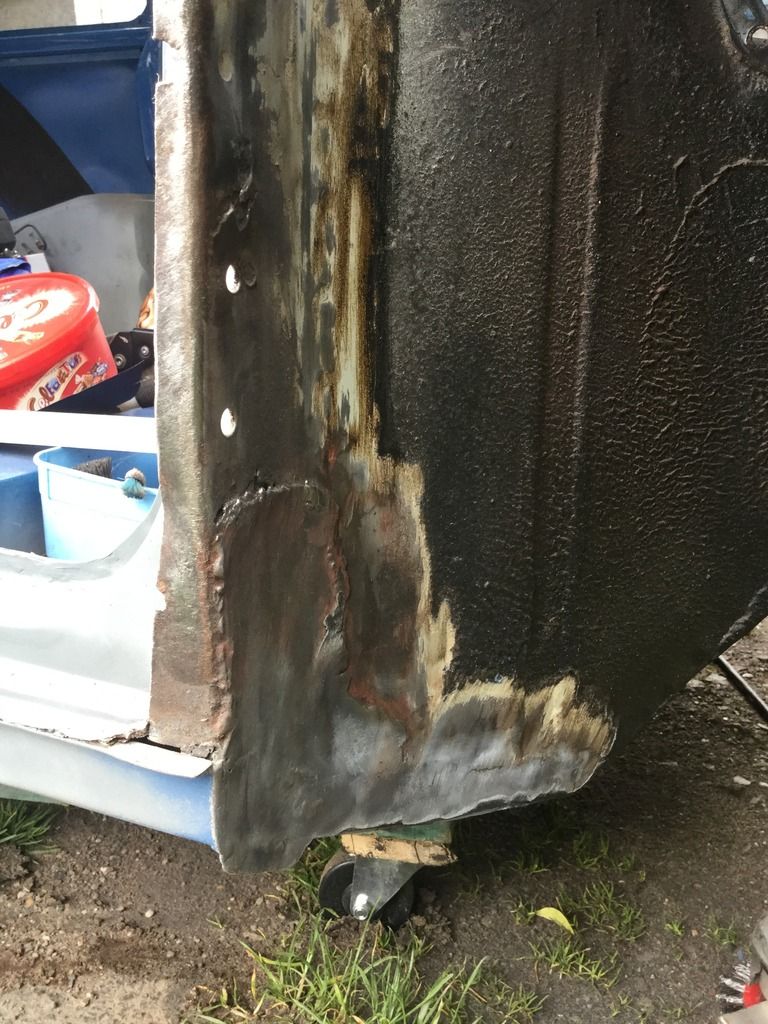
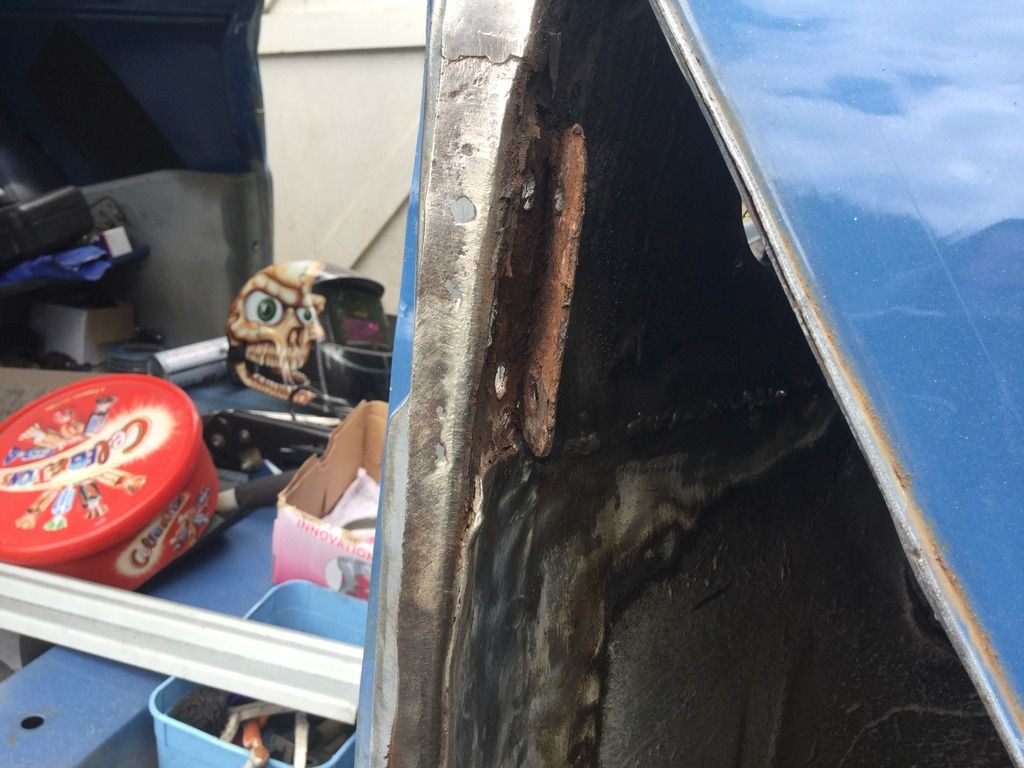
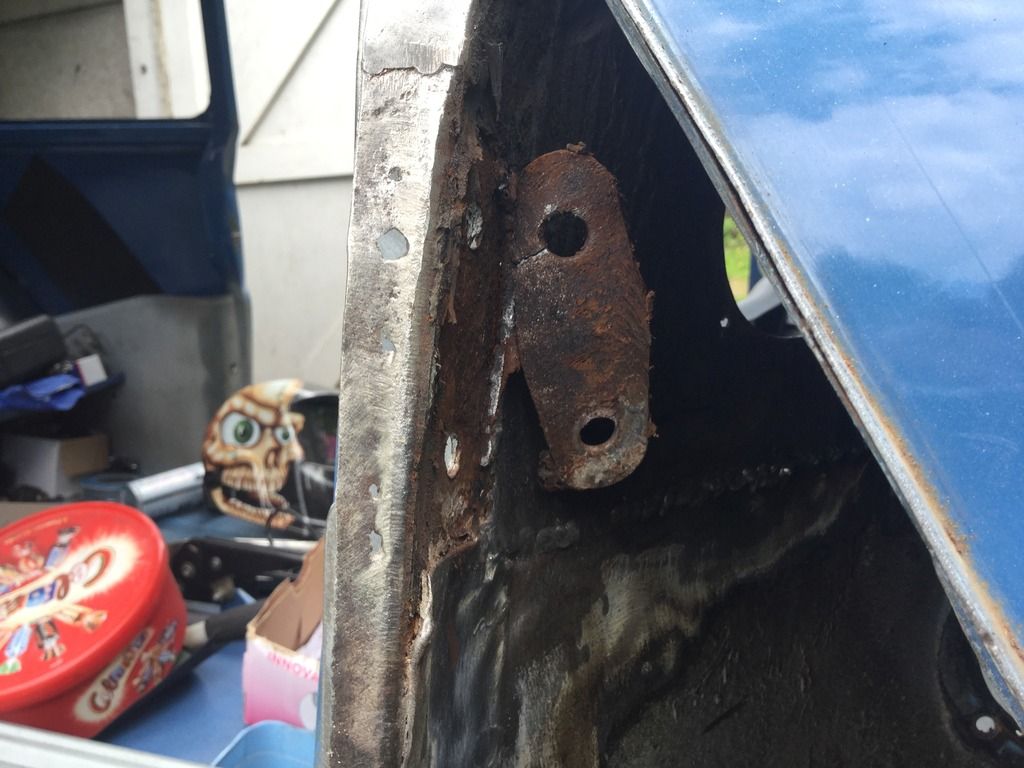
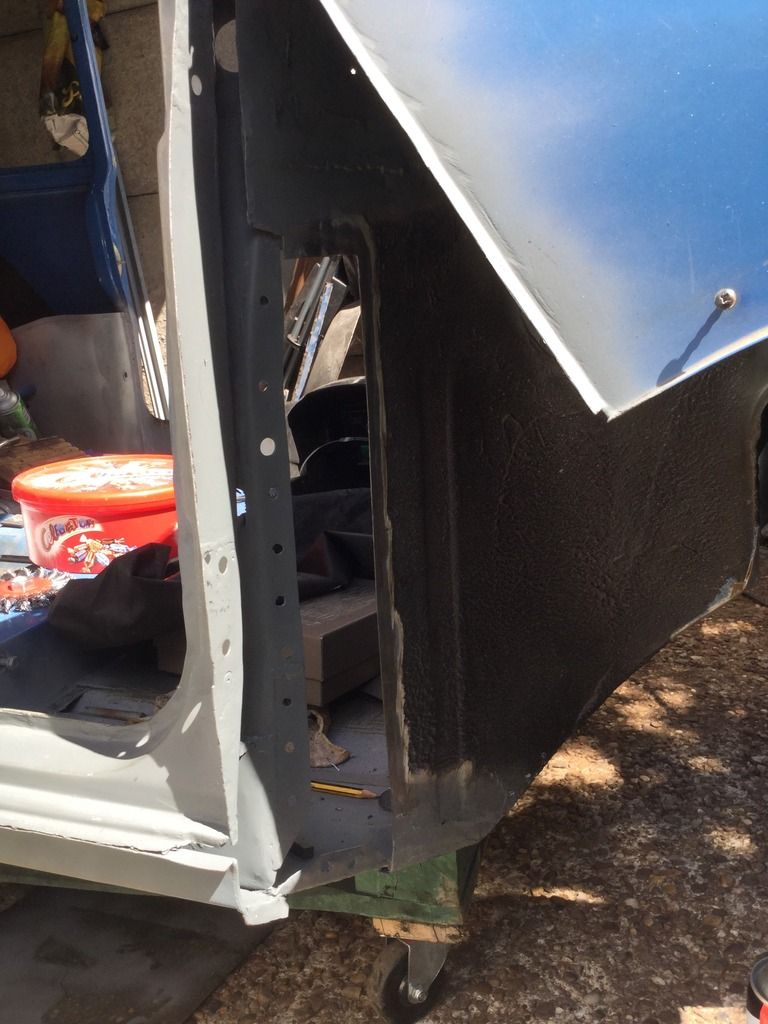
I'm going to be replacing the inner wing and part of the door post as you can see it was repaired badly in the past
Cleaned off the under seal to reveal the old repairs

image_zpsljxqod69.jpeg

image_zpsfp3h2mcg.jpeg

image_zpsroyqiotd.jpeg

image_zpsxia0y0xy.jpeg

image_zpsaxixmhkx.jpeg

They had welded the hinge plate to the inner wing !! 😳

image_zps9we3oysw.jpeg

image_zpsa14ybnys.jpeg

Chopped out most of the rot

image_zps0gasnudt.jpeg

image_zpsuax9jonl.jpeg

Test fitted the new A panel

image_zpsqpkthfvc.jpeg

Fits well at the top and bottom
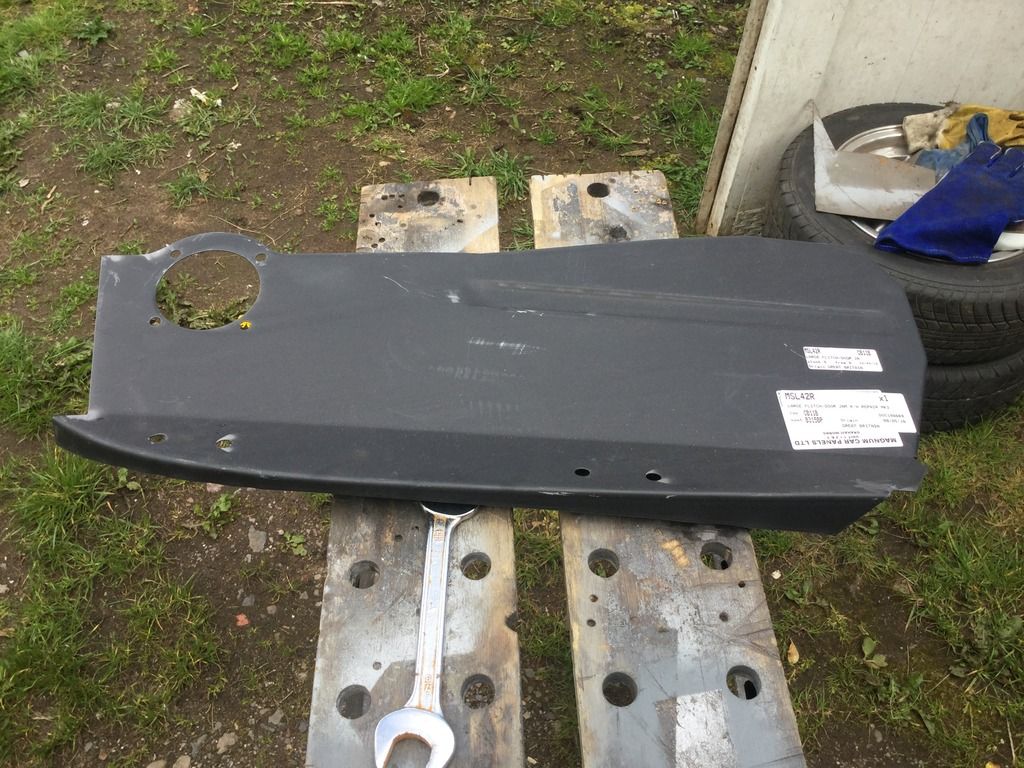
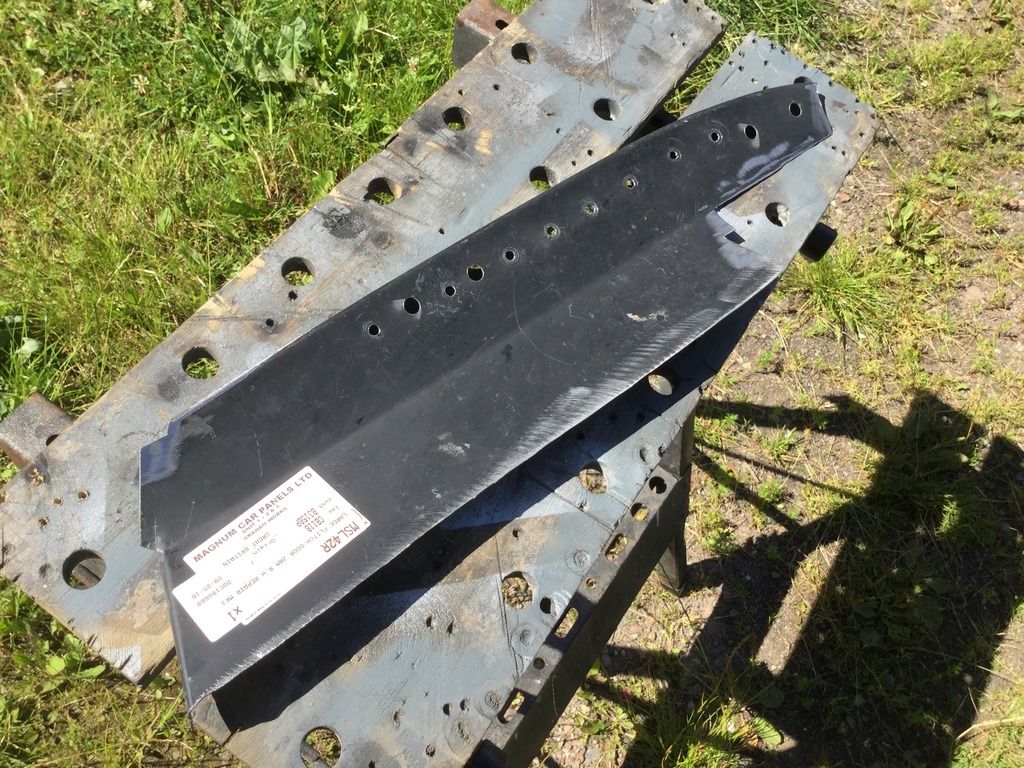
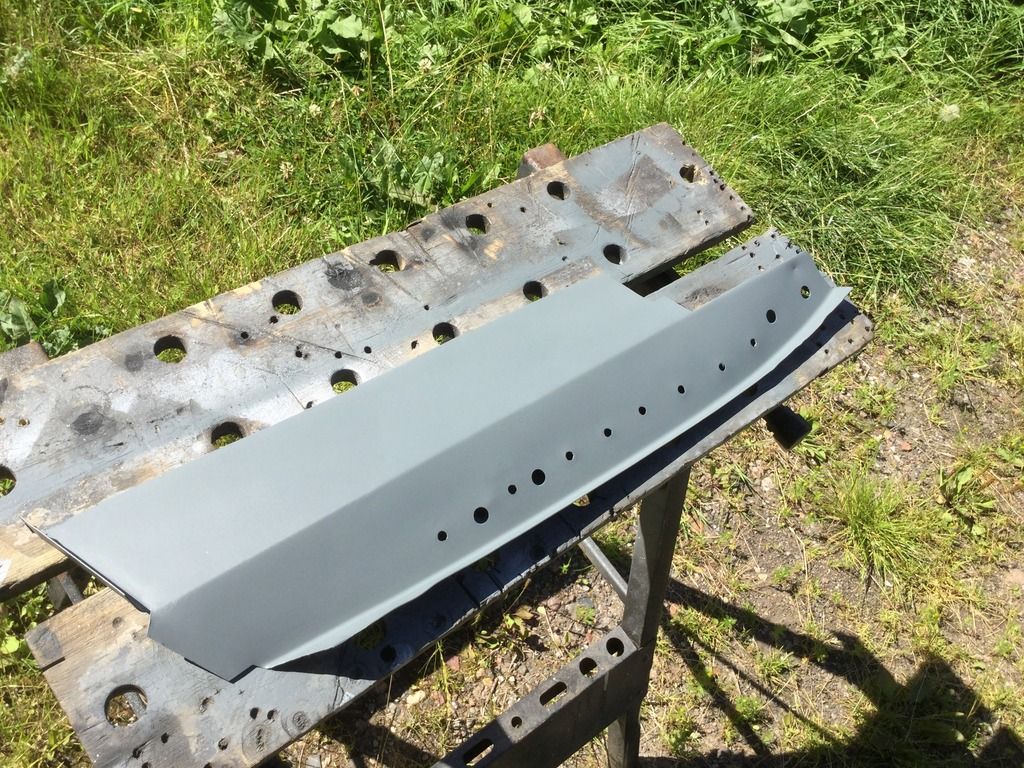
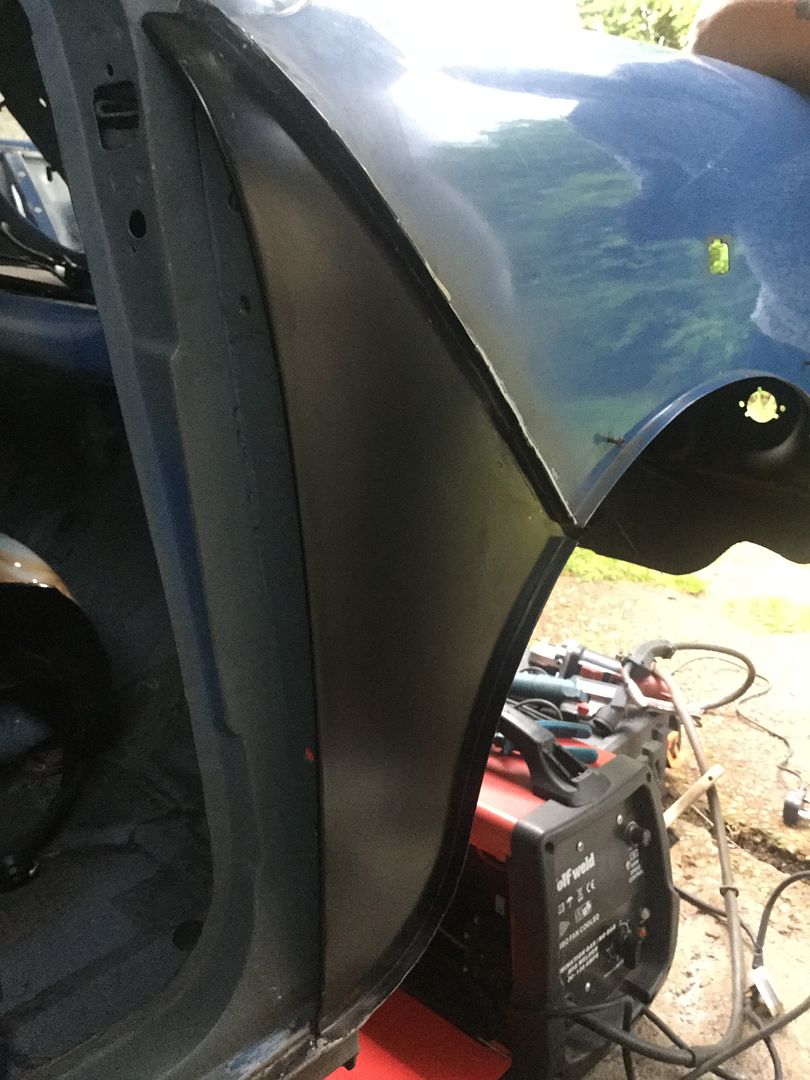
I have this repair panel which I will be using its magnum but to be honest it's not to bad and will do the job nicely

image_zpsb9wh6ppq.jpeg

I'll repair the door post and trim this to fit
Looking back I initially left this repair what was I thinking !!
Left it like this and moved on to the shock mount

image_zpsyang7udu.jpeg

Thankfully this side isn't as bad as the passenger side
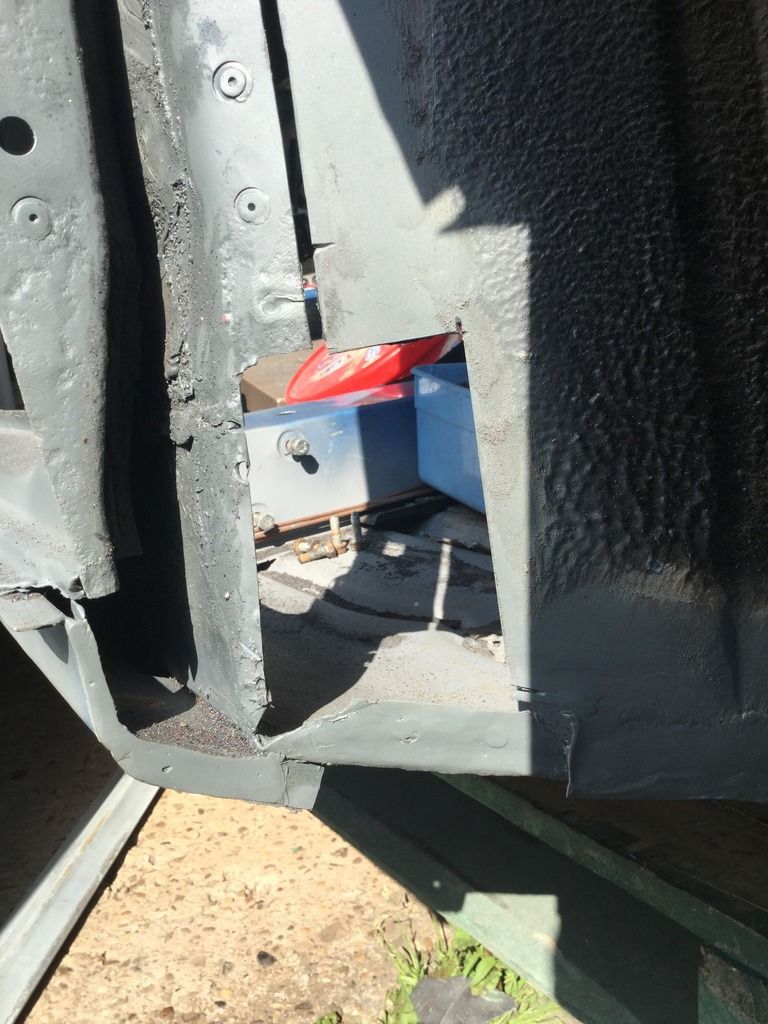
Removed the inner wing skin

#130 Marco1972

Marco1972

    One Carb Or Two?

  • Members
  • PipPipPipPipPipPipPip
  • 822 posts
  • Location: Birmingham

Posted 24 May 2016 - 09:03 PM

Continued

This exposed the reinforcement panel behind the plan is just to cut out the rot and weld in new metal
Gave it a splash of primer until next time

image_zpsrhzlvpl8.jpeg

image_zpsbmfnidra.jpeg

image_zps3smkpgjv.jpeg

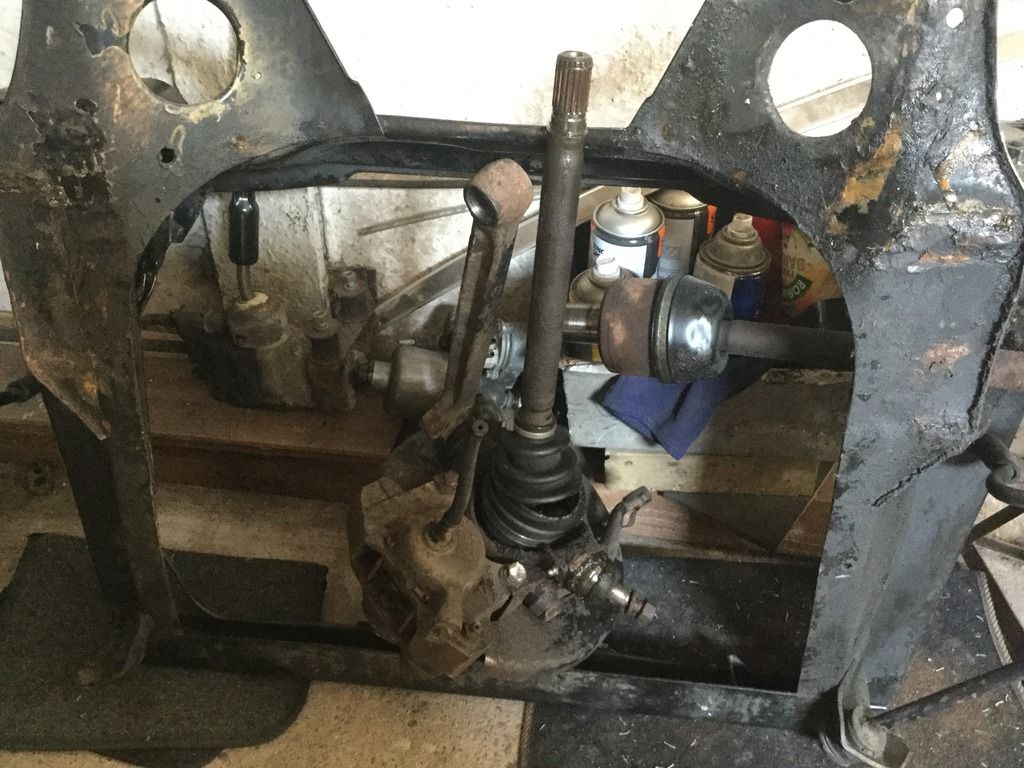
While I was doing this Jay was stripping down the front subframe lots of seized bolts

image_zpstslmxpfm.jpeg

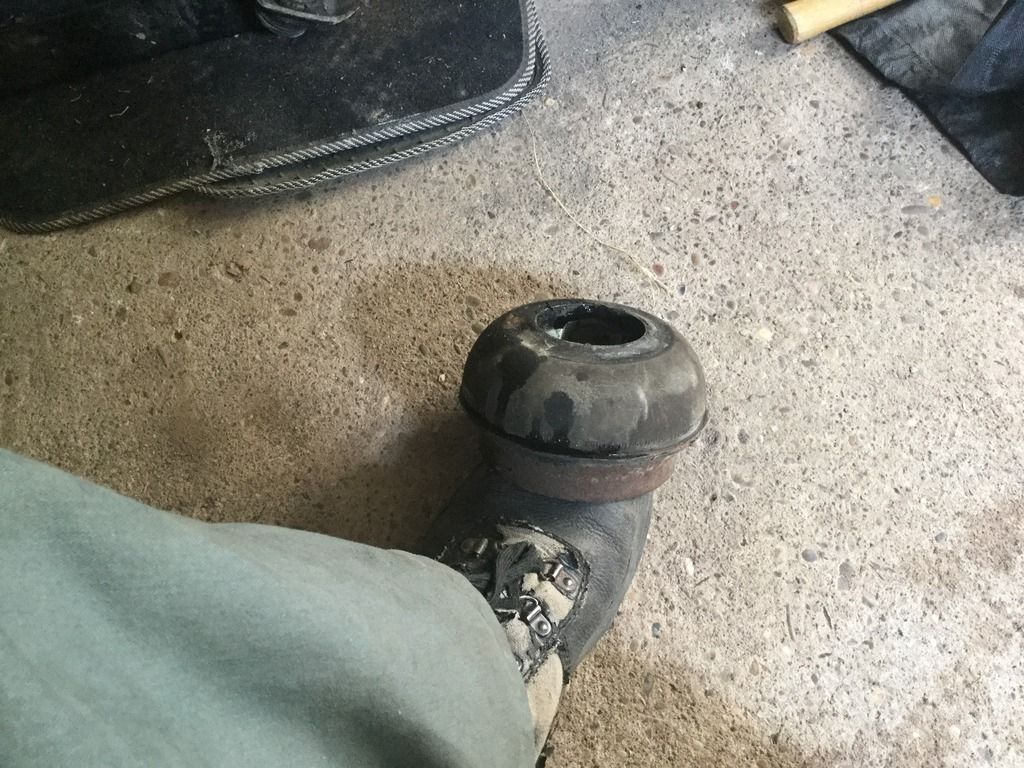
Think I'm going to need some new cones 😳
image_zpsiyfn1wap.jpeg


Mark

#131 Marco1972

Marco1972

    One Carb Or Two?

  • Members
  • PipPipPipPipPipPipPip
  • 822 posts
  • Location: Birmingham

Posted 17 July 2016 - 07:16 PM

Can't believe it's been almost 2 months since I updated this 😳

Anyway managed to get a few hours on the car today
Trimmed the repair panel down to size followed by the usual plug weld holes finished with a coat of primer

image_zpsjt7oc4cq.jpeg

image_zps1vn1ahnc.jpeg

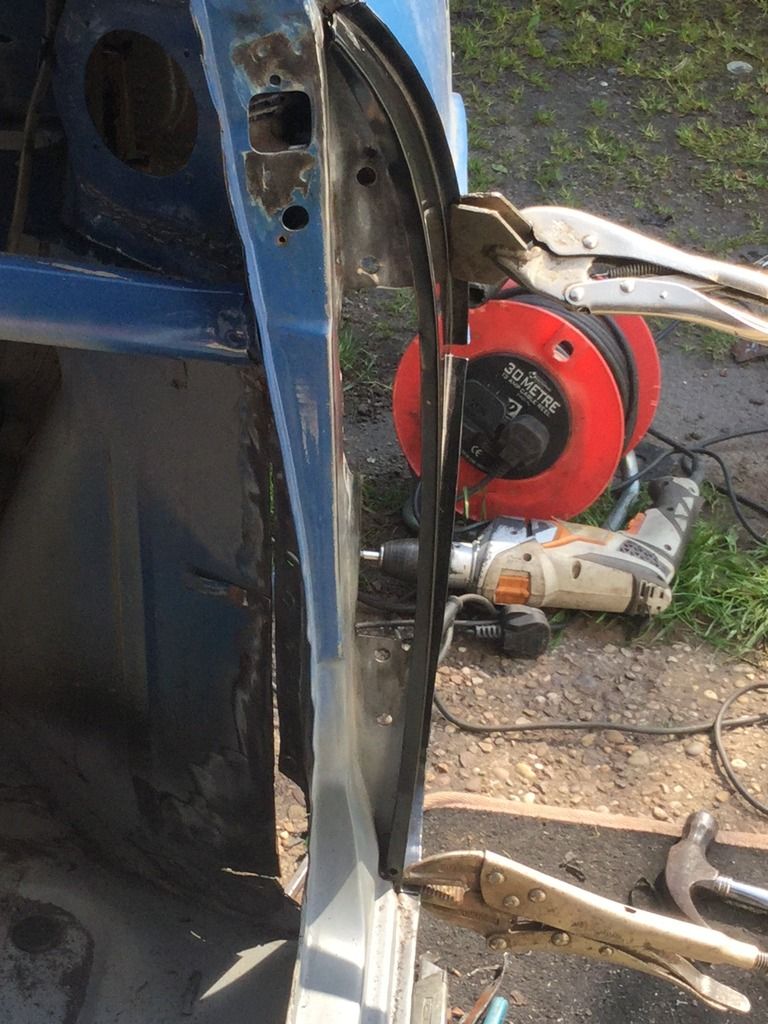
Clamped it in with intergrips and tacked in

image_zpsofp5plj5.jpeg

image_zps1q4ib0id.jpeg

Looking much better 😃

Got a small break planned but when I'm back I'm going to get this finished
Just got to replace the A panel and finish a few bits 2 door skins and it's off to the body shop

Well that's the plan 😃

Mark

#132 Marco1972

Marco1972

    One Carb Or Two?

  • Members
  • PipPipPipPipPipPipPip
  • 822 posts
  • Location: Birmingham

Posted 14 September 2016 - 10:15 PM

Back to it

On the home leg with this now I've got this week off so I'm making the most of the time

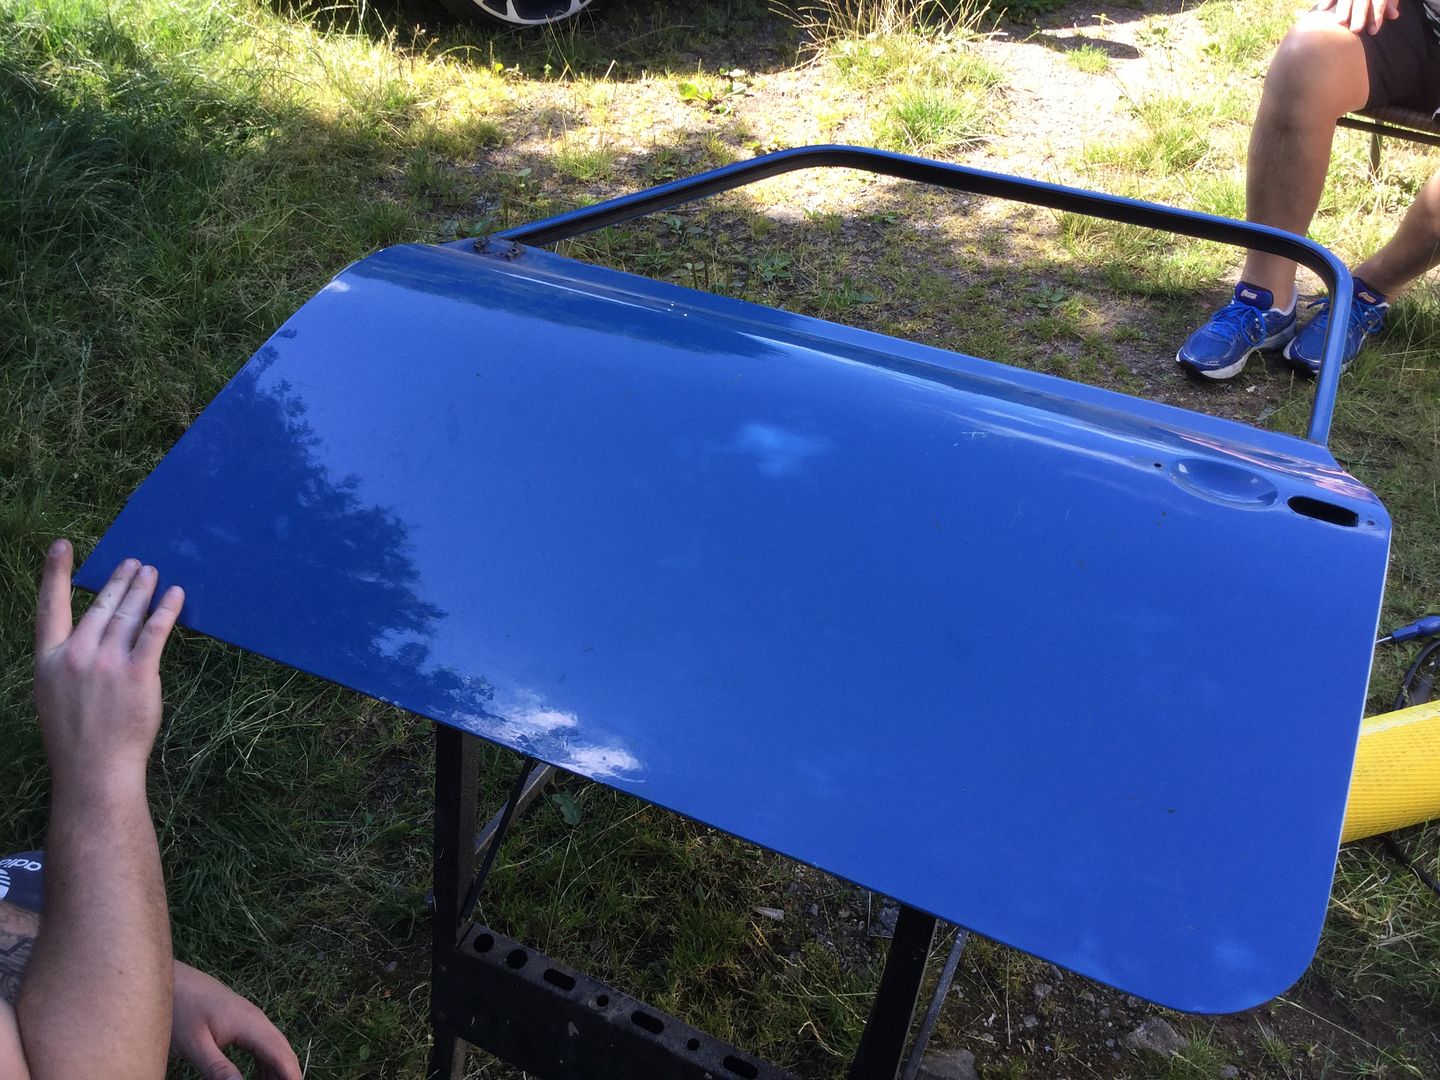
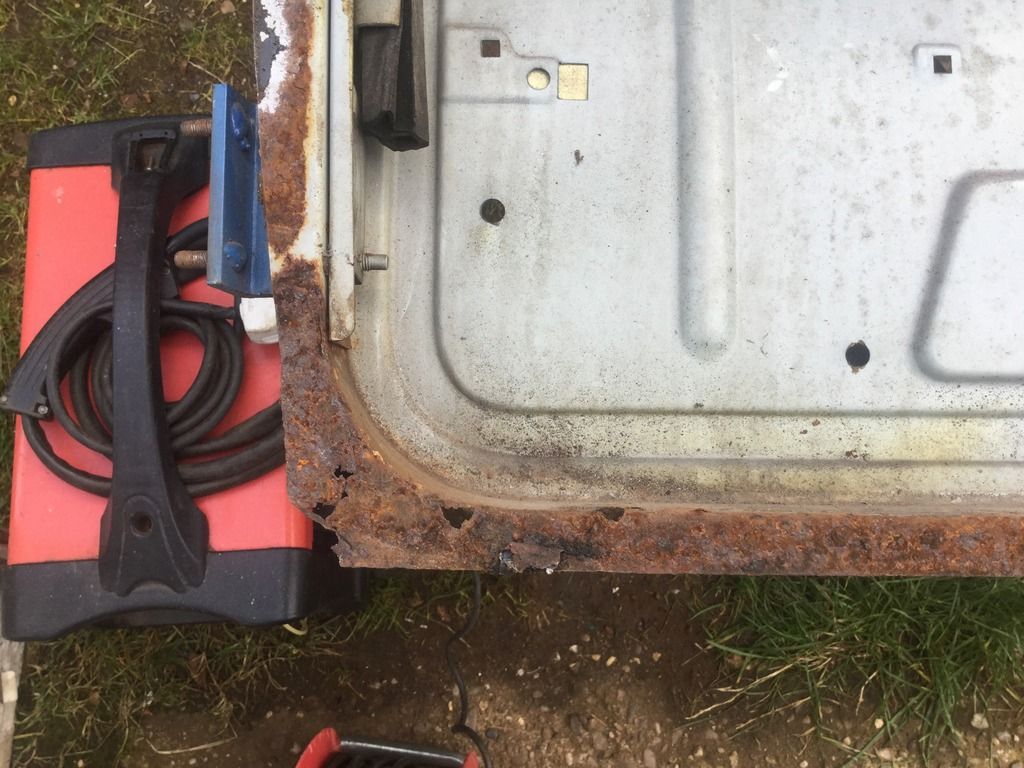
Thought it was about time to tackle one of the doors

image_zps4in2nrcm.jpeg

Looks ok but looks can be deceiving

image_zpsztu0y8hh.jpeg

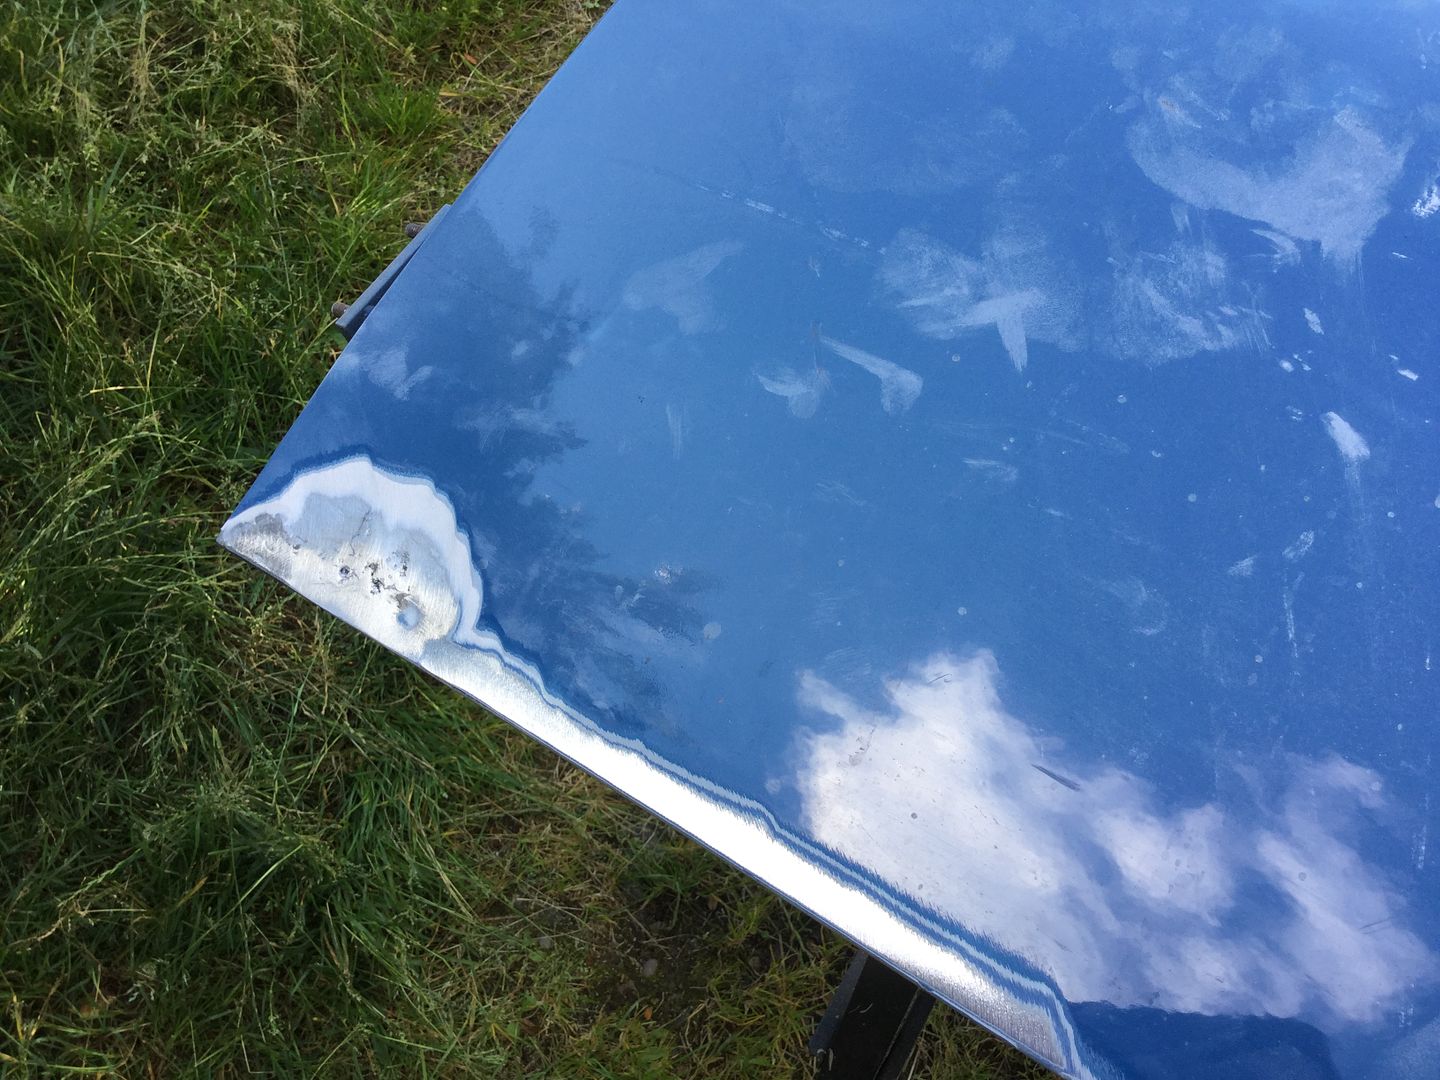
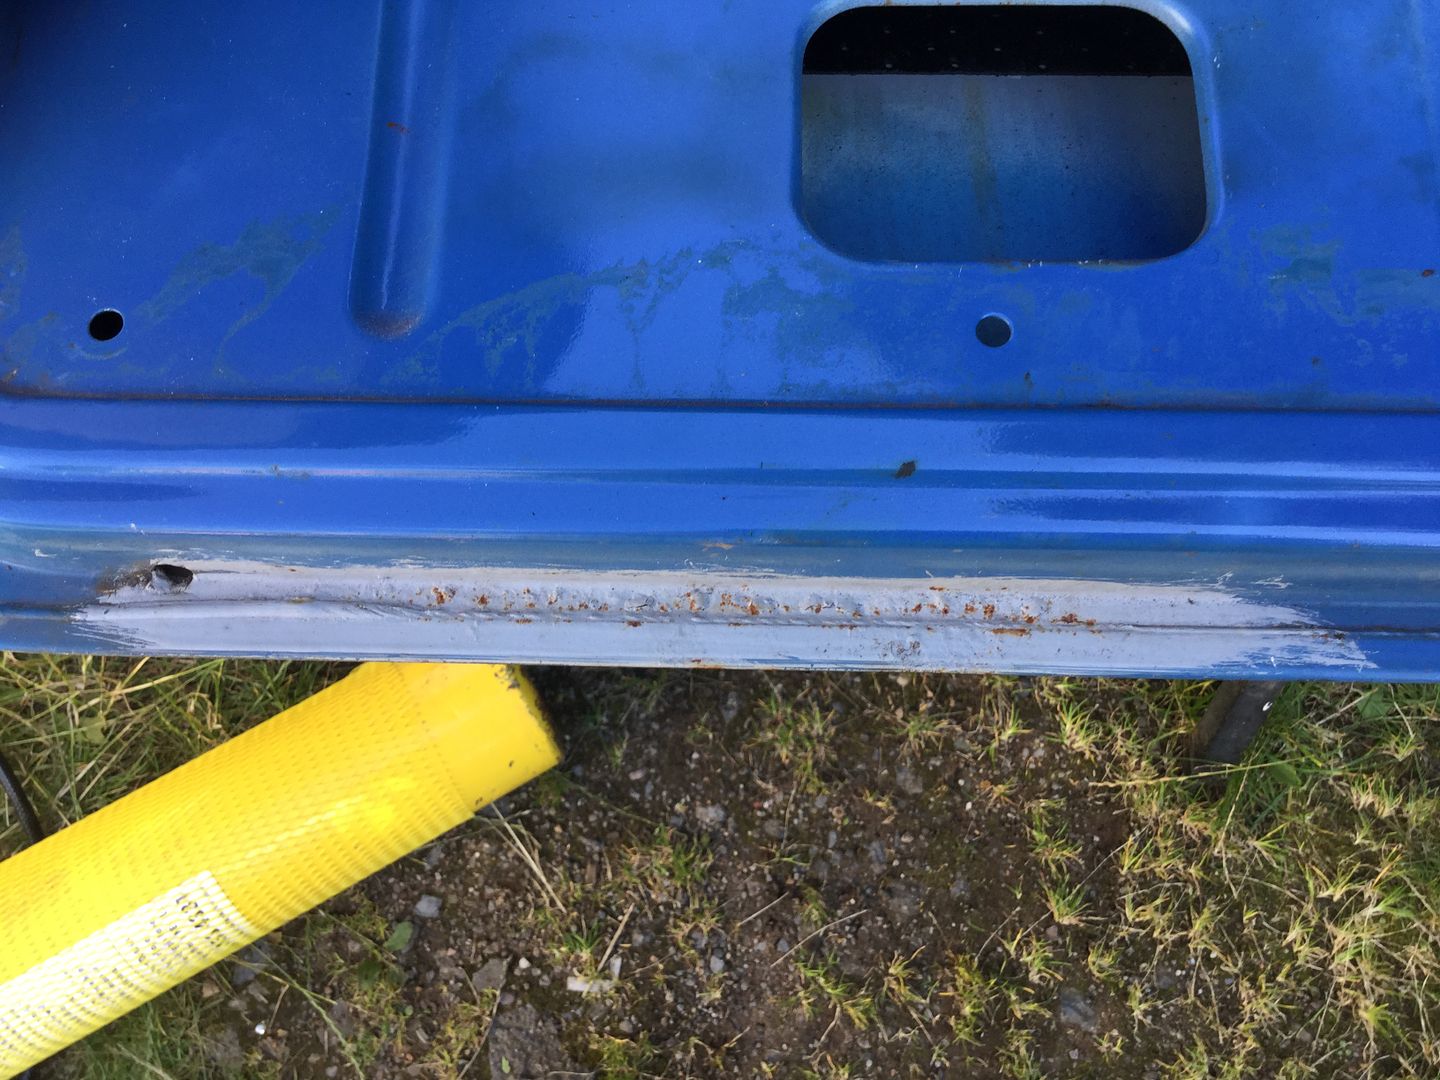
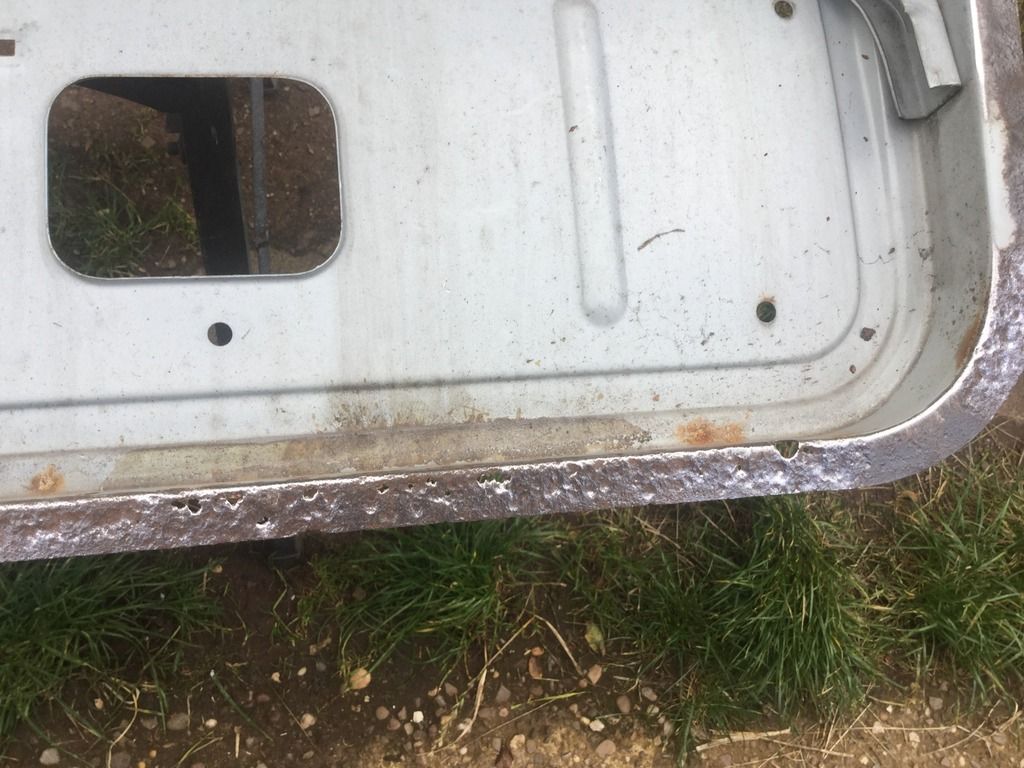
Started grinding the edge with a flapper disc as you can see it had had a splash of filler in the past

URL=http://s1355.photobu...xerk.jpeg.html]image_zps1xwoxerk.jpeg[/URL]

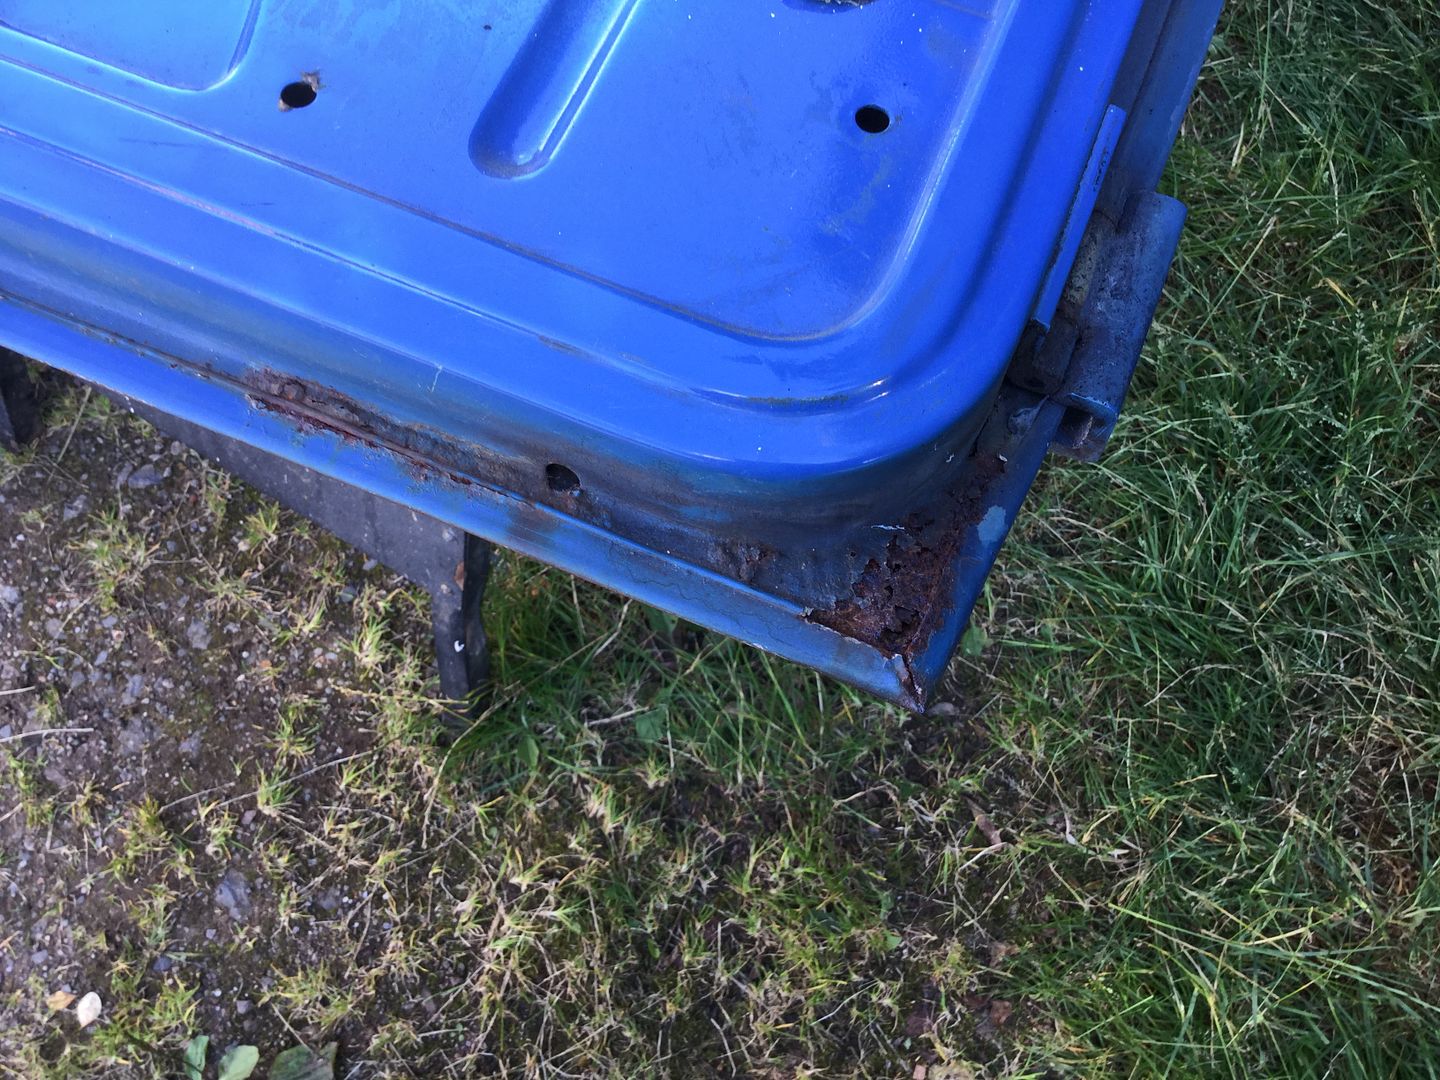
Rust lurking in the bottom seam

image_zpszcq1qdas.jpeg

image_zpslwxlq2nj.jpeg

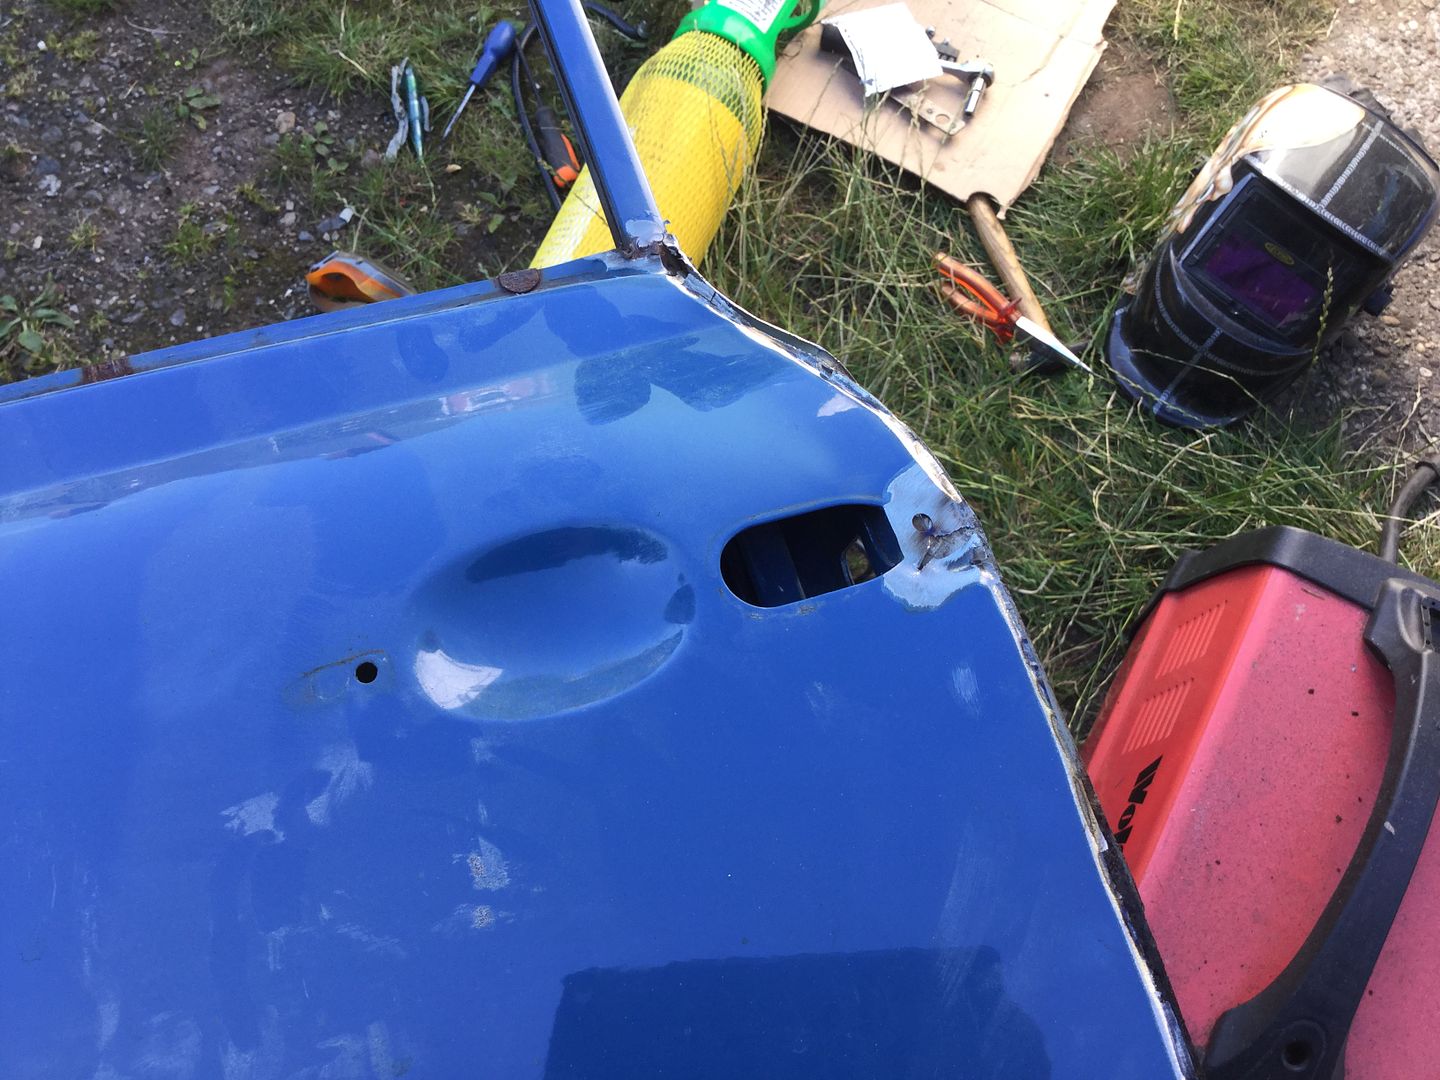
Edges done cheeky little spot weld here

image_zpsyq7746kc.jpeg

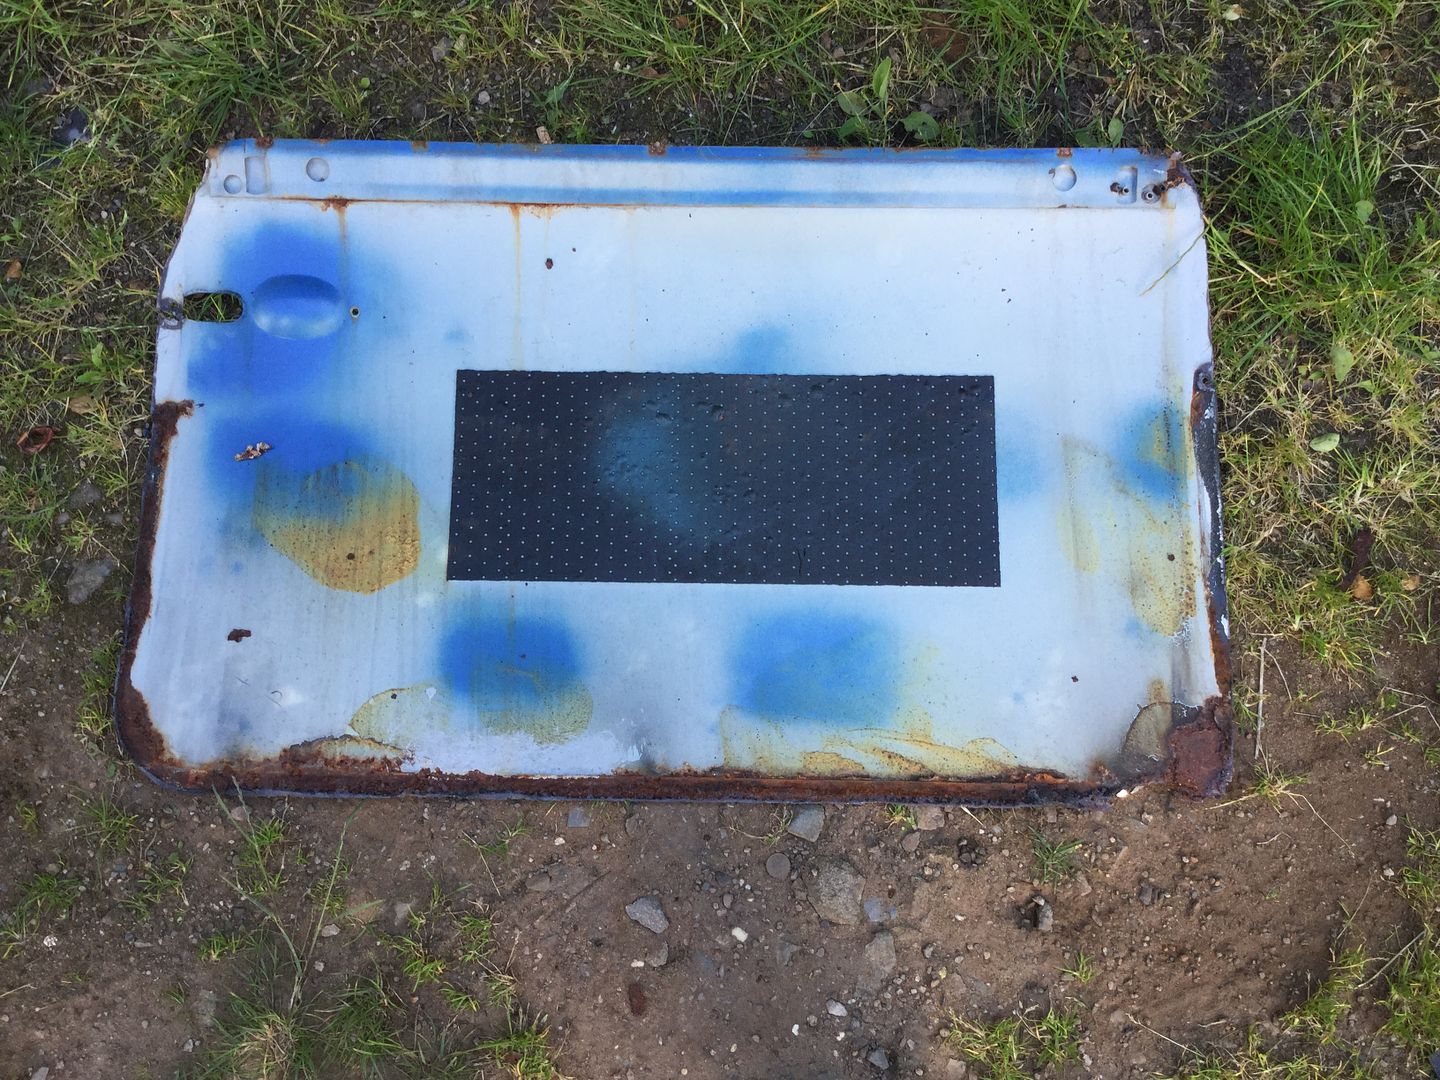
Off it came
As you can see pretty nasty

image_zpskd69rnin.jpeg

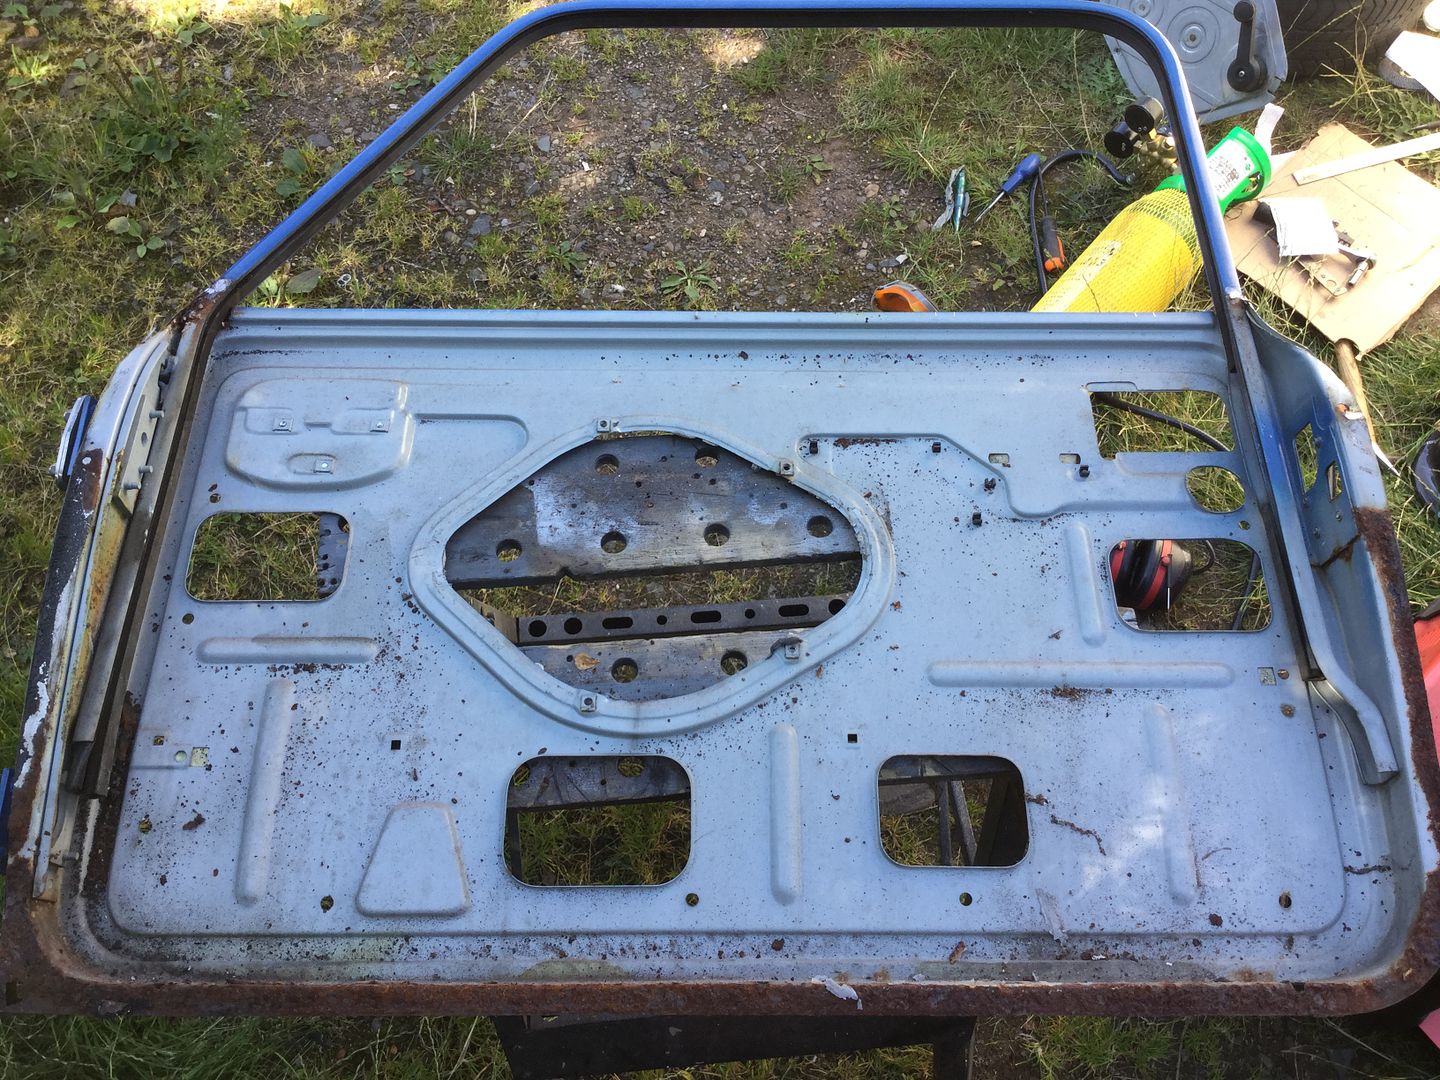
Bit of work to do on the edges but I've fixed worse

image_zpsbdwhyvib.jpeg

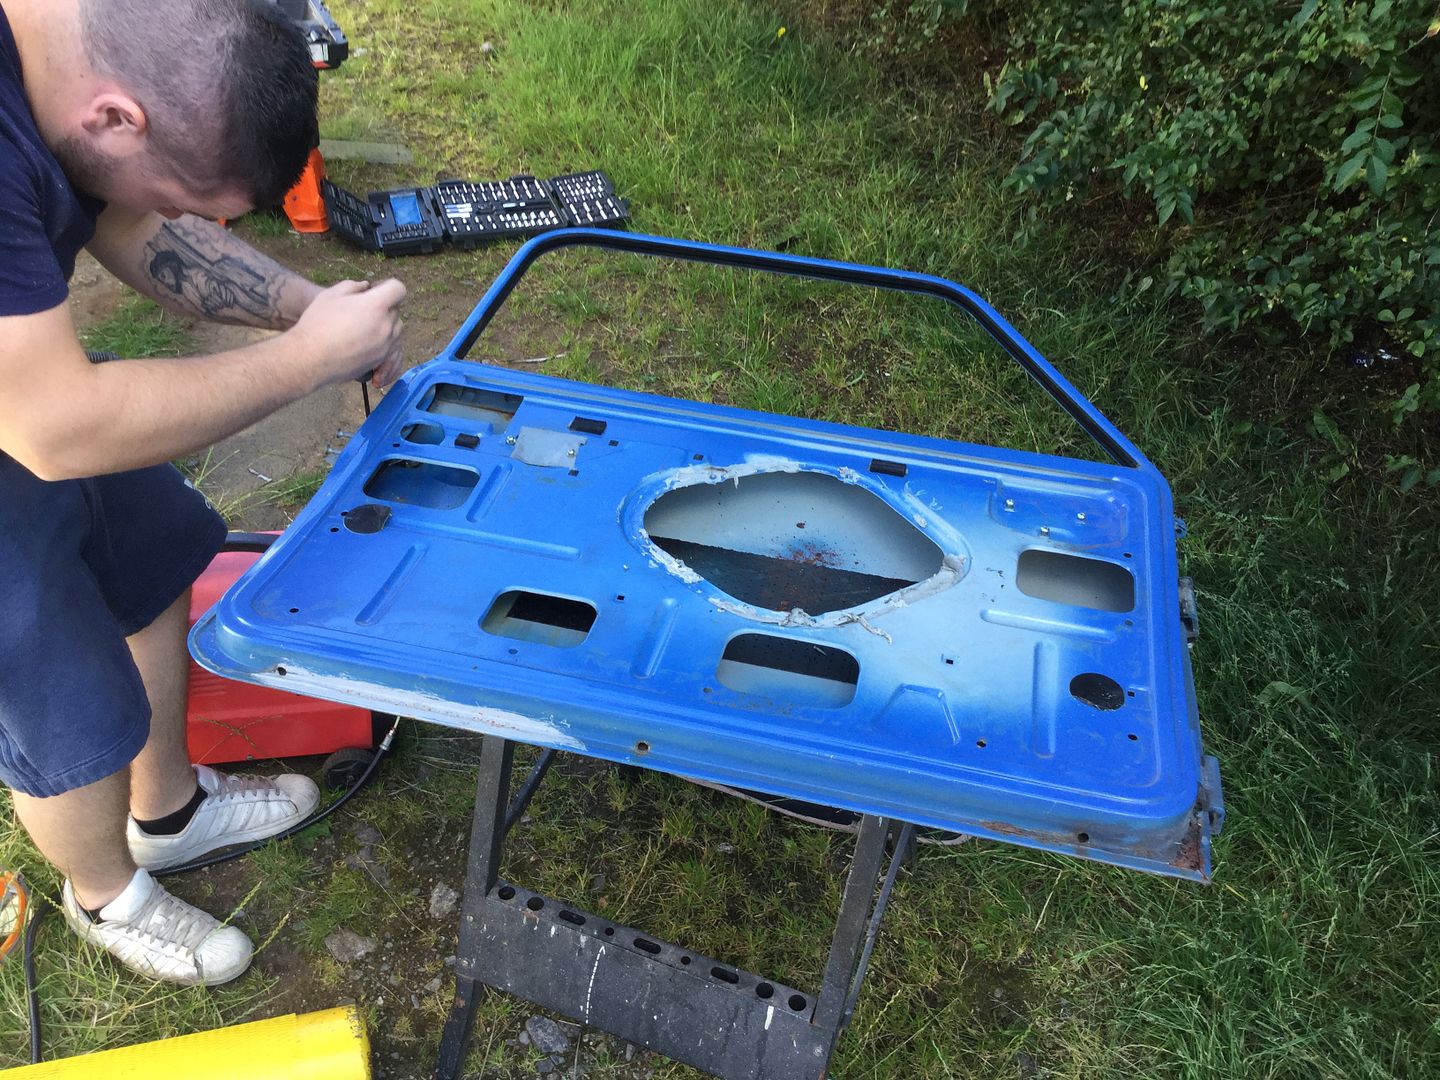
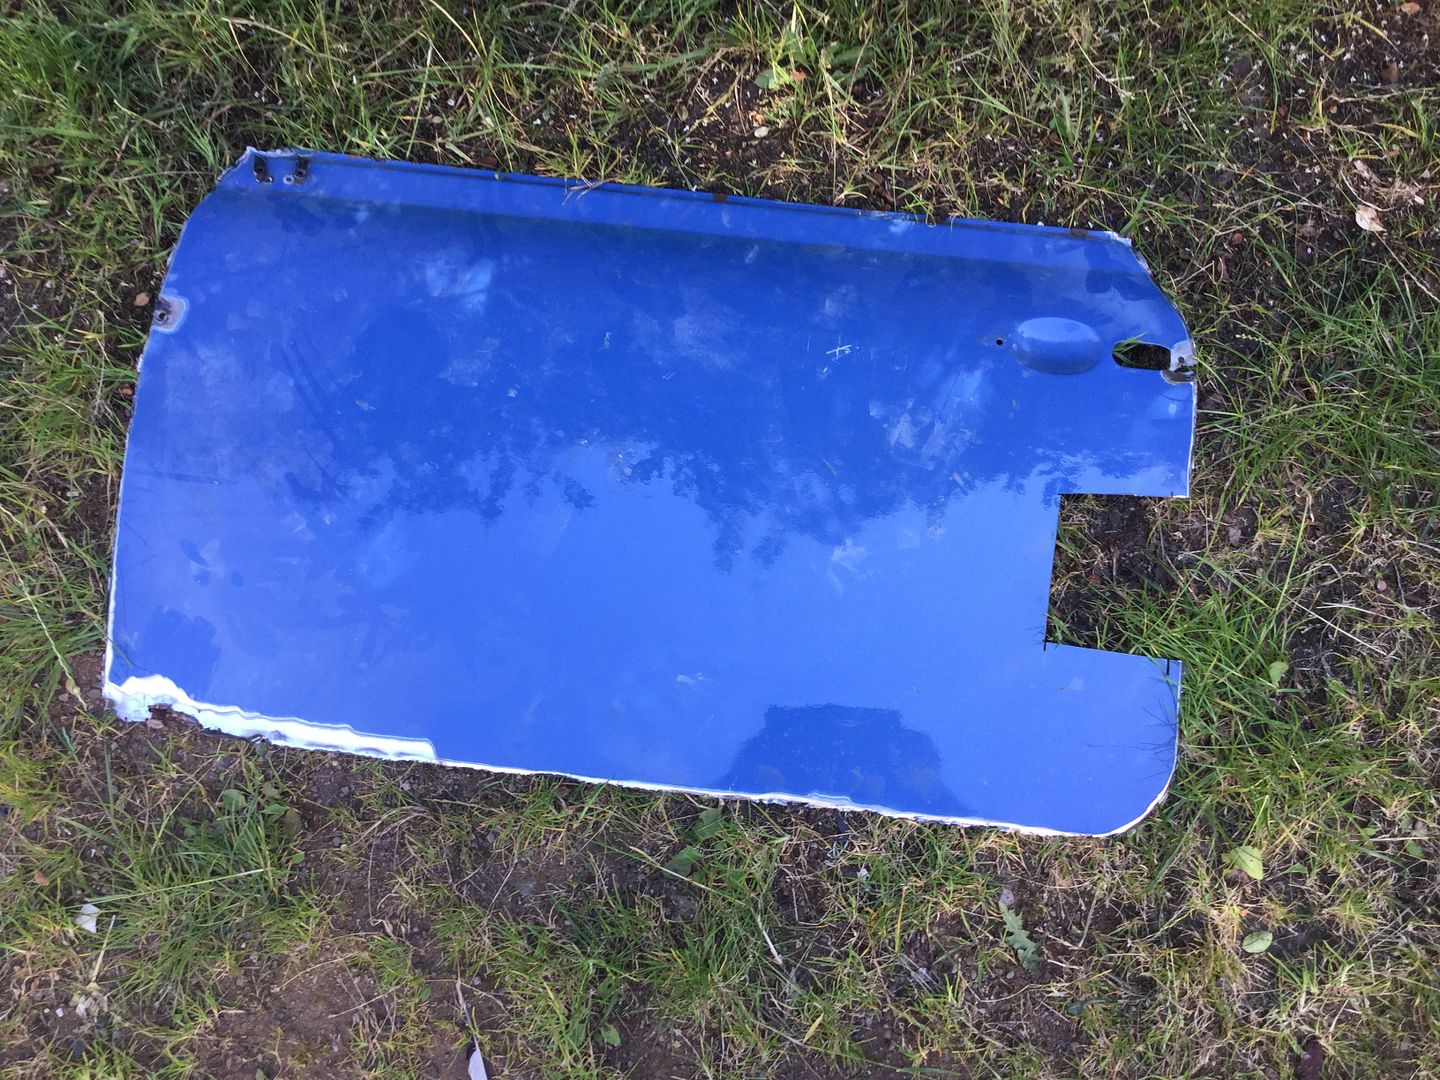
Then it was back to the shock mount and I decided to recycle the door skin 😃

URL=http://s1355.photobu...sqzn.jpeg.html]image_zpsosjhsqzn.jpeg[/URL]

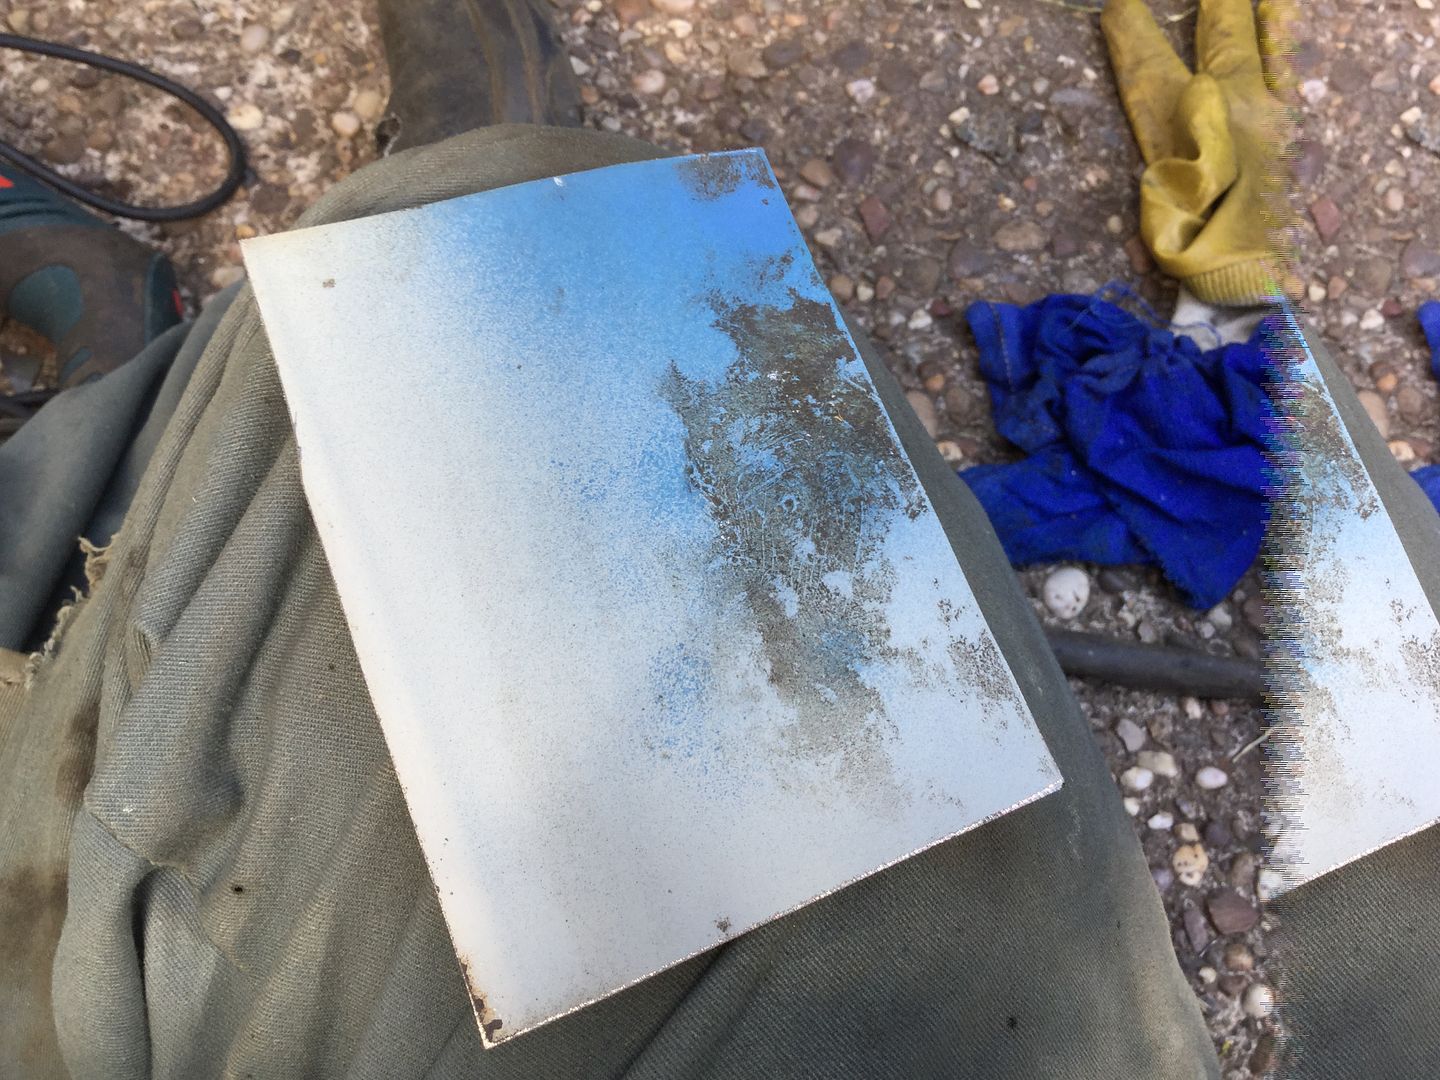
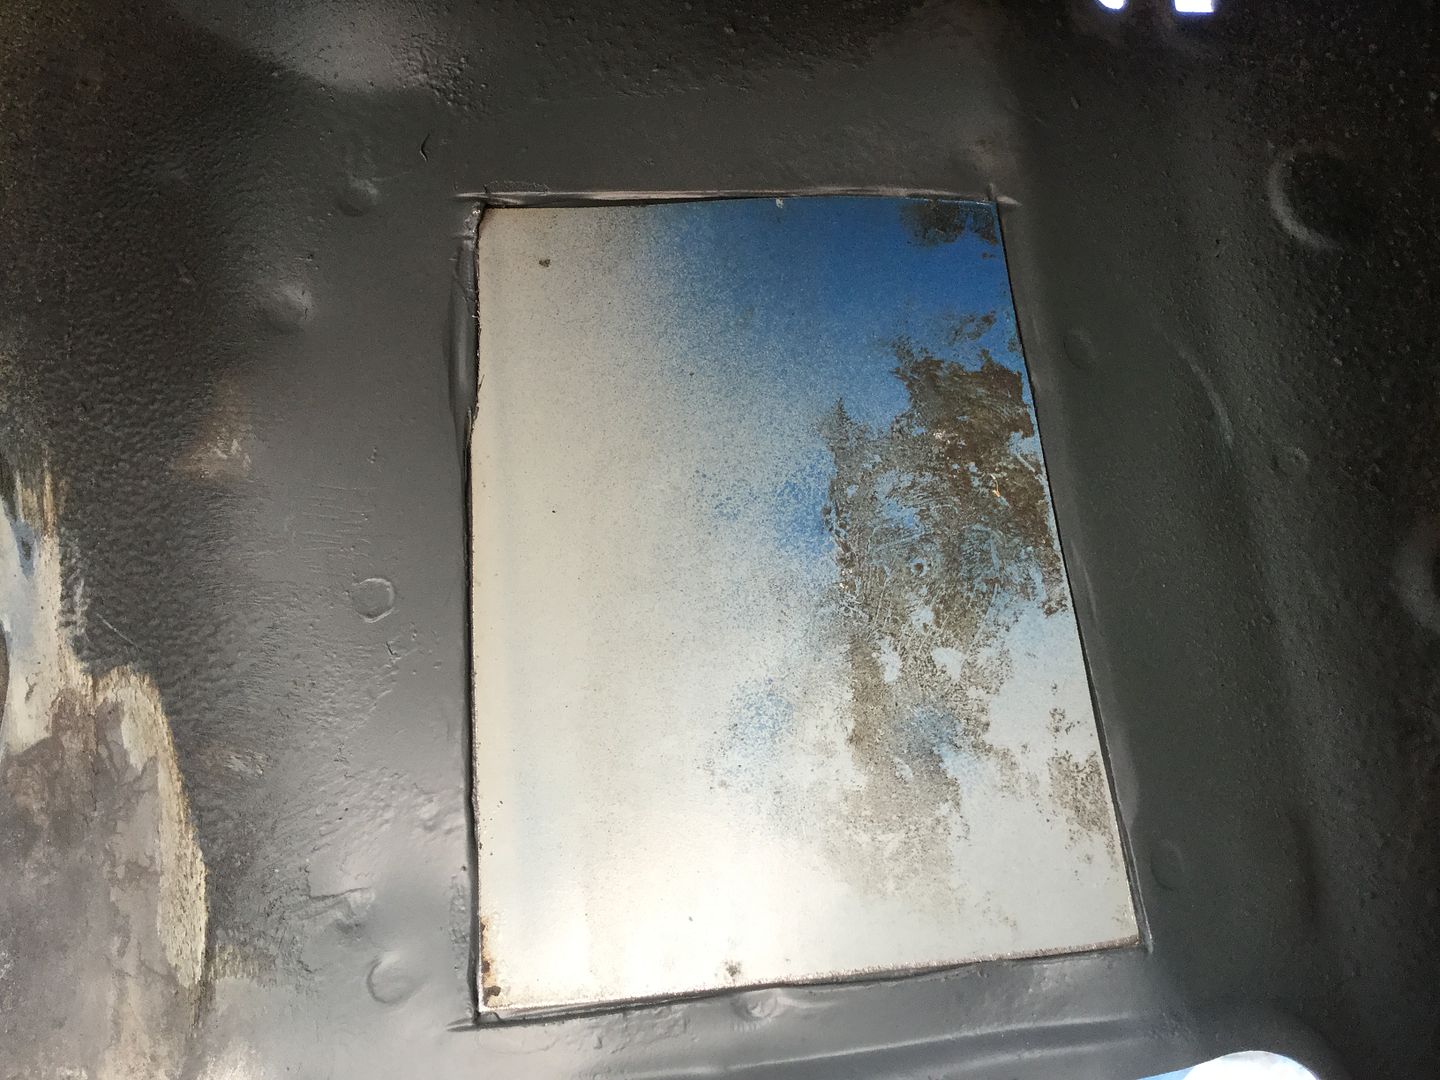
Recycled repair

image_zpsbxb6aljj.jpeg

image_zpssakmxsfv.jpeg

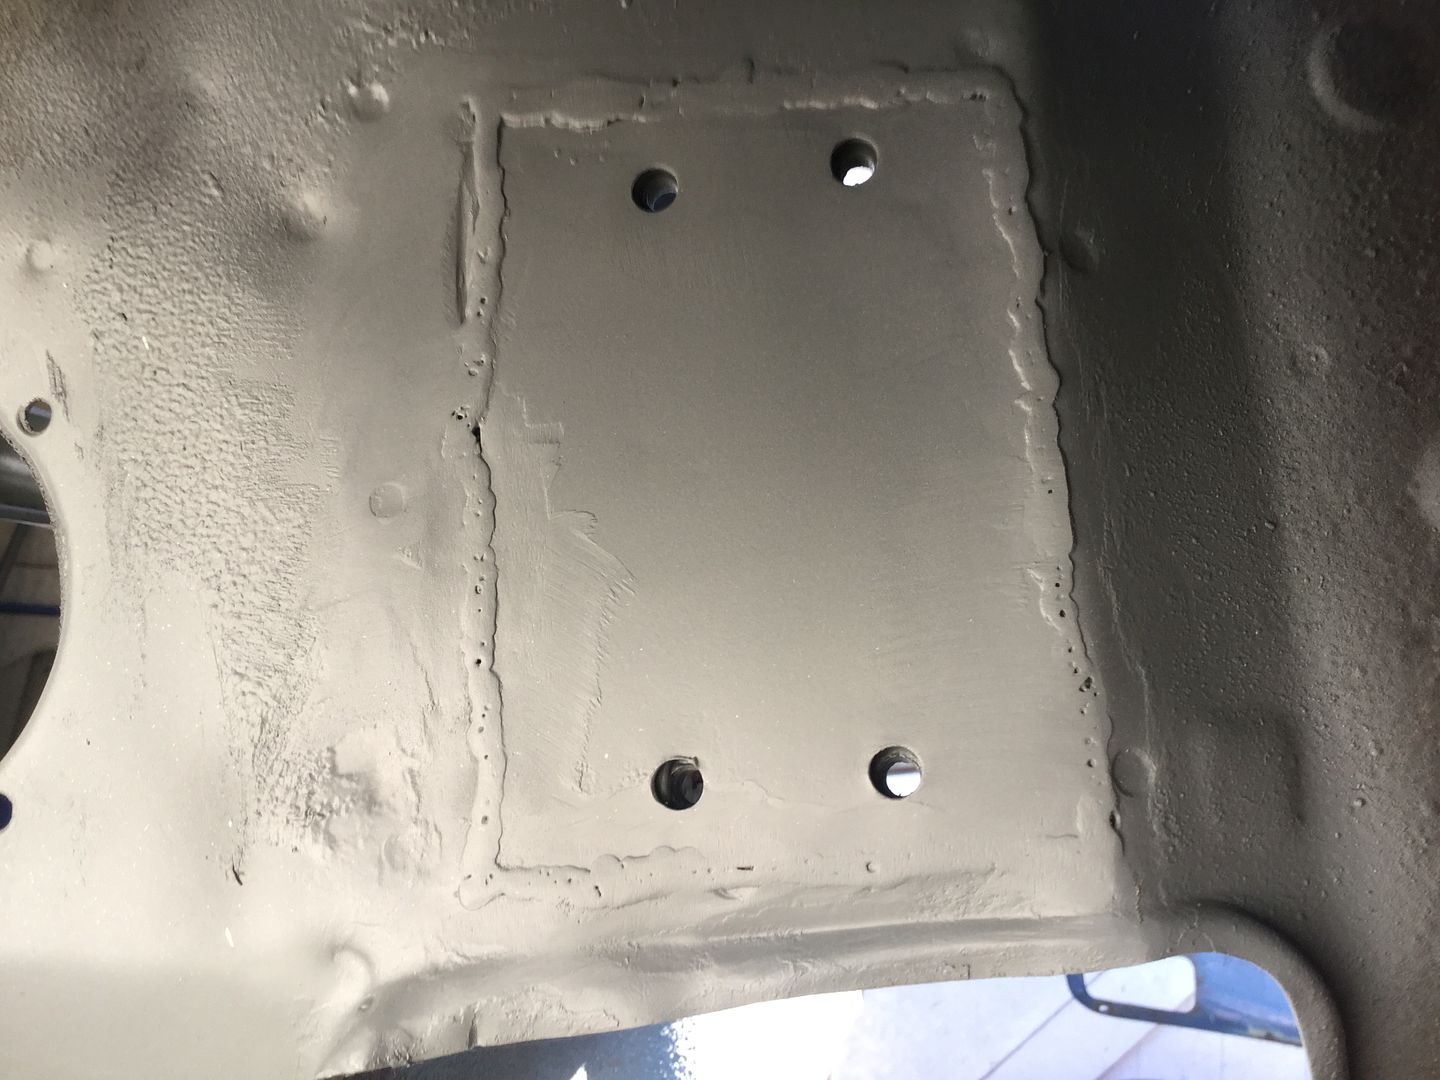
Welded in
And yes I replaced the piece behind too just can't find the pic 😃

image_zps4ri3j4qq.jpeg

Did this little repair in between

image_zpss7rw4vaq.jpeg

Also sorted this out
I knew rust was lurking

image_zpsupsuhyrc.jpeg

image_zpsykqv4avu.jpeg

Was going to buy a new one but bugger it gave it a good clean up and popped it back on

image_zpsd7b3lsdm.jpeg

image_zpsxawqrnwi.jpeg

Back on

image_zpsb1yhxc9o.jpeg

Plenty of penetration

image_zpslob9syjj.jpeg

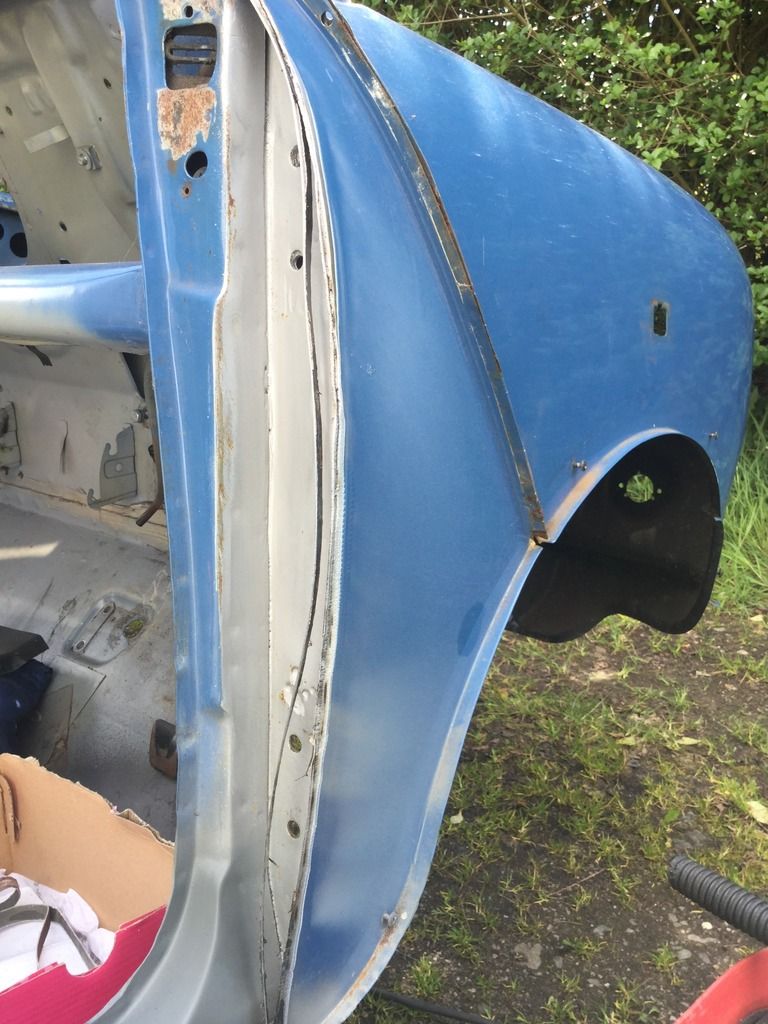
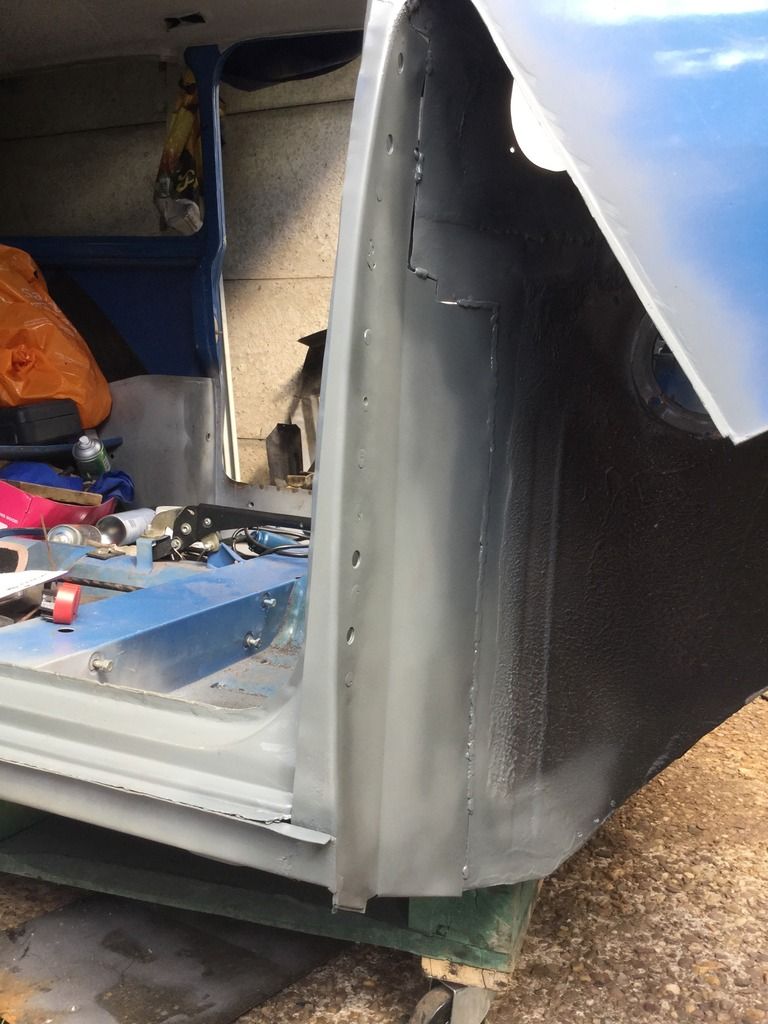
Sorted the overhang on the inner wing / door post panel

image_zpsbulhu9ia.jpeg

Marked off cut and re welded

image_zpsdnwwvria.jpeg

image_zpst9wlxfwt.jpeg

With that done on went the A panel

URL=http://s1355.photobu...ahno.jpeg.html]image_zpsqj14ahno.jpeg[/URL]

URL=http://s1355.photobu...izan.jpeg.html]image_zpsmsqyizan.jpeg[/URL]

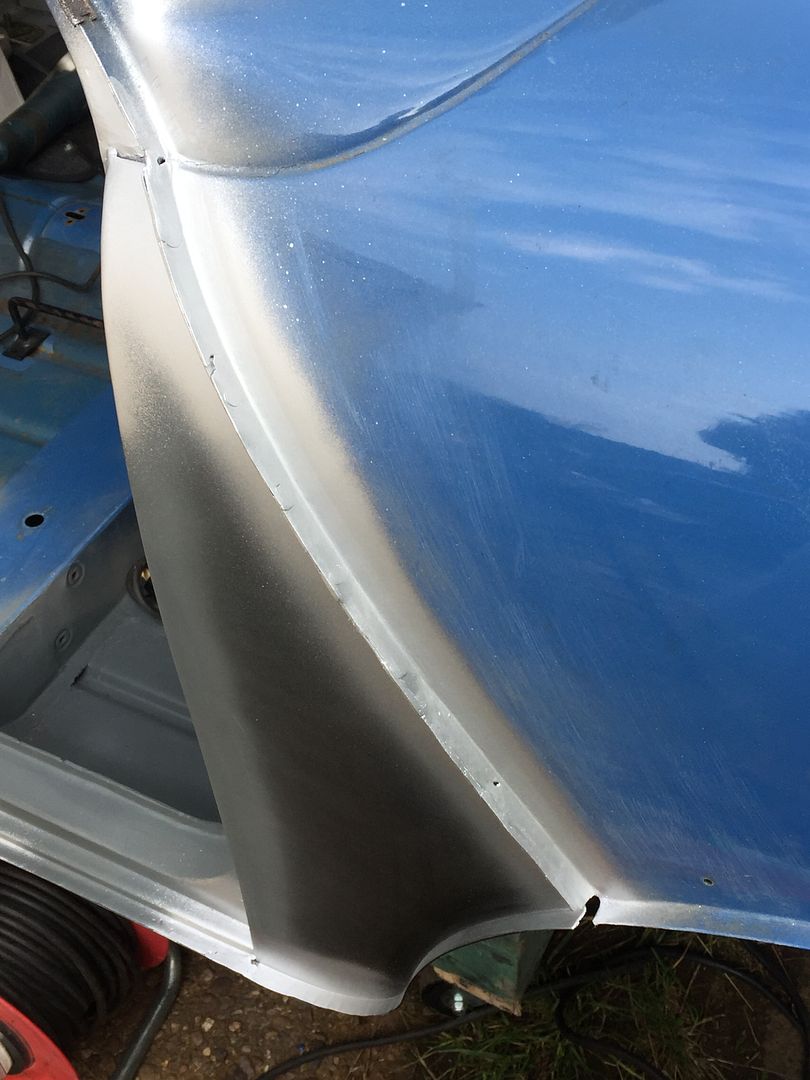
image_zpscu54xmln.jpeg

Bit more grinding to do but happy with it

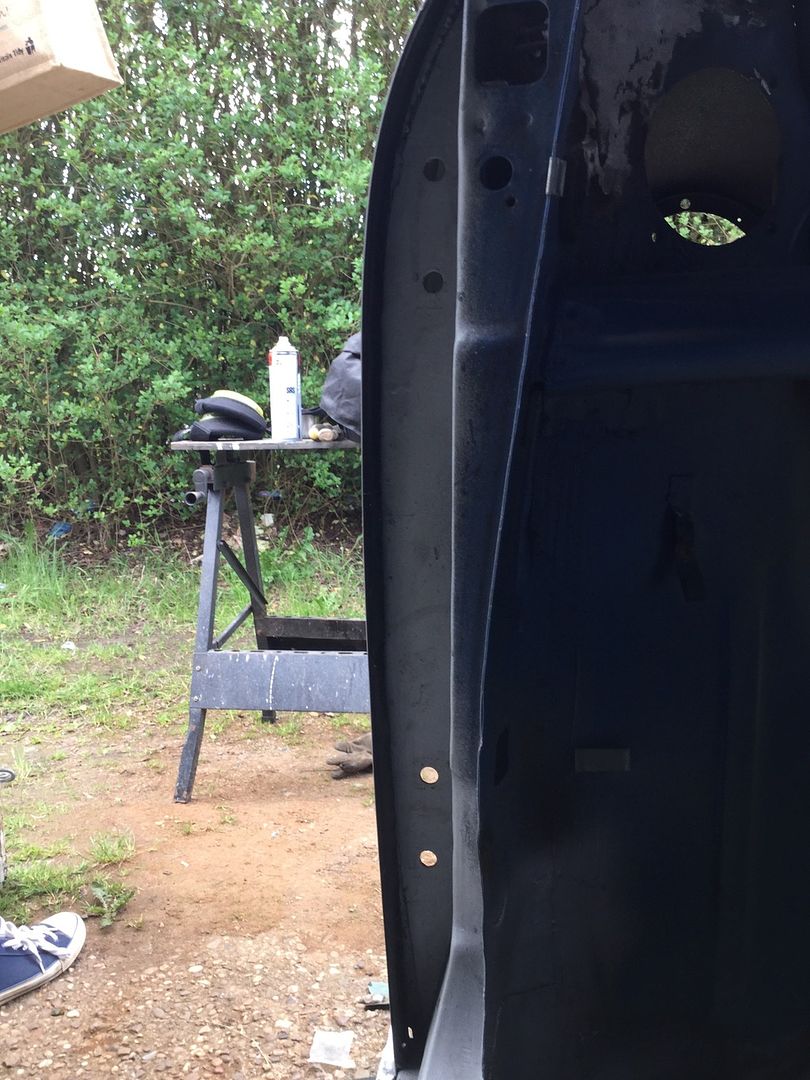
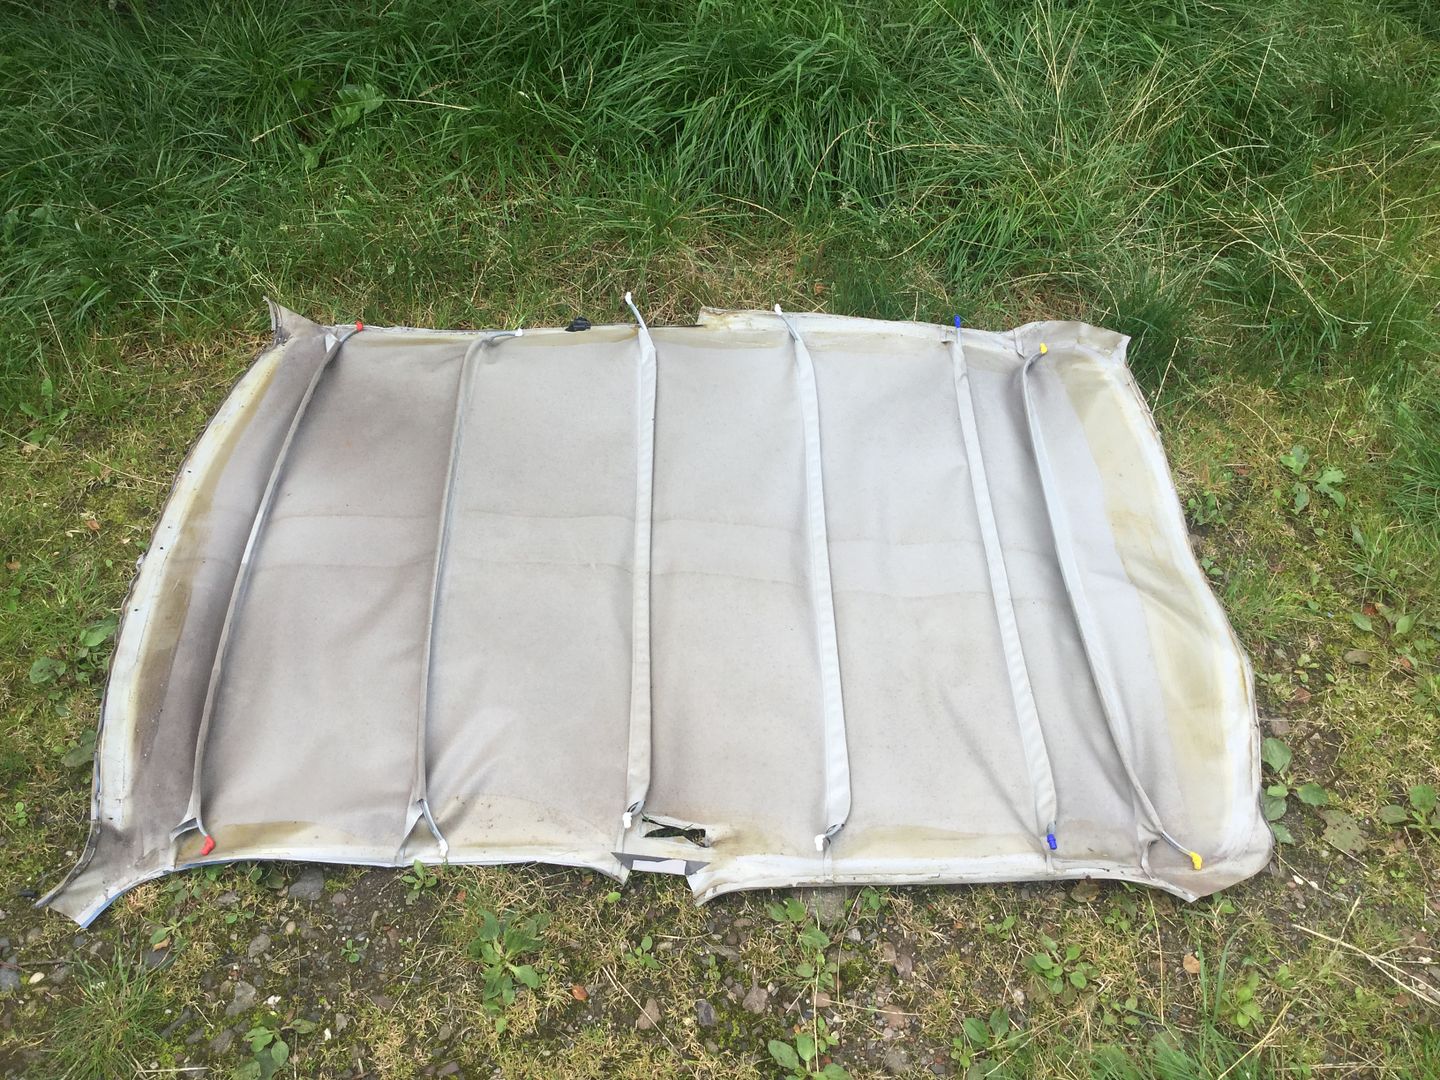
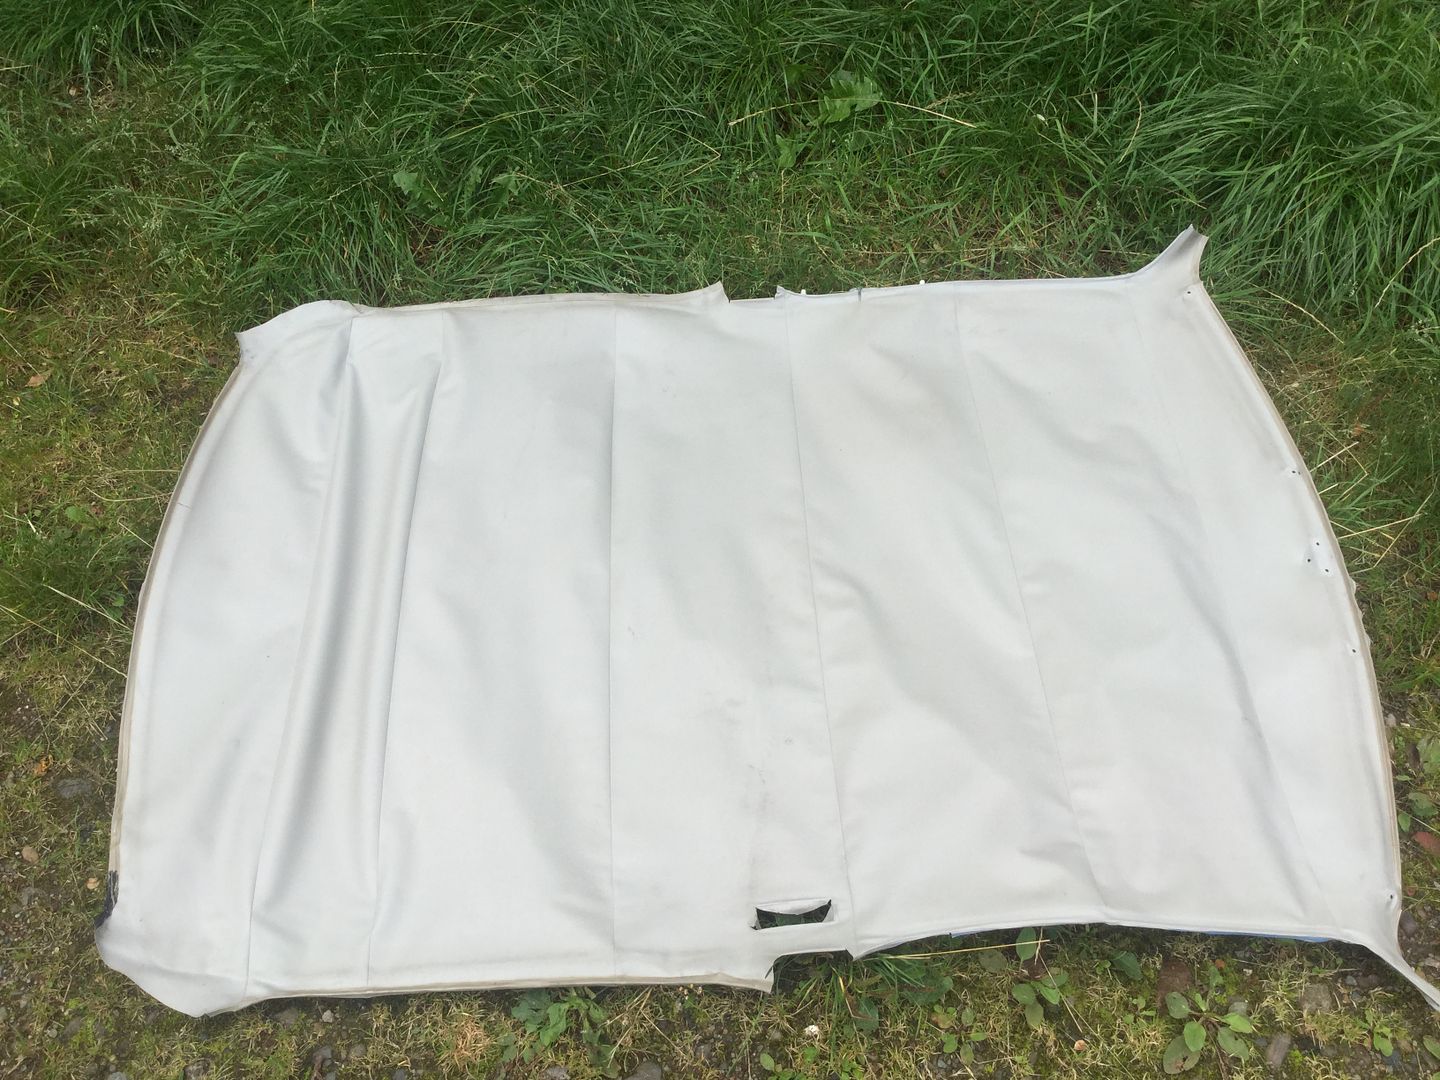
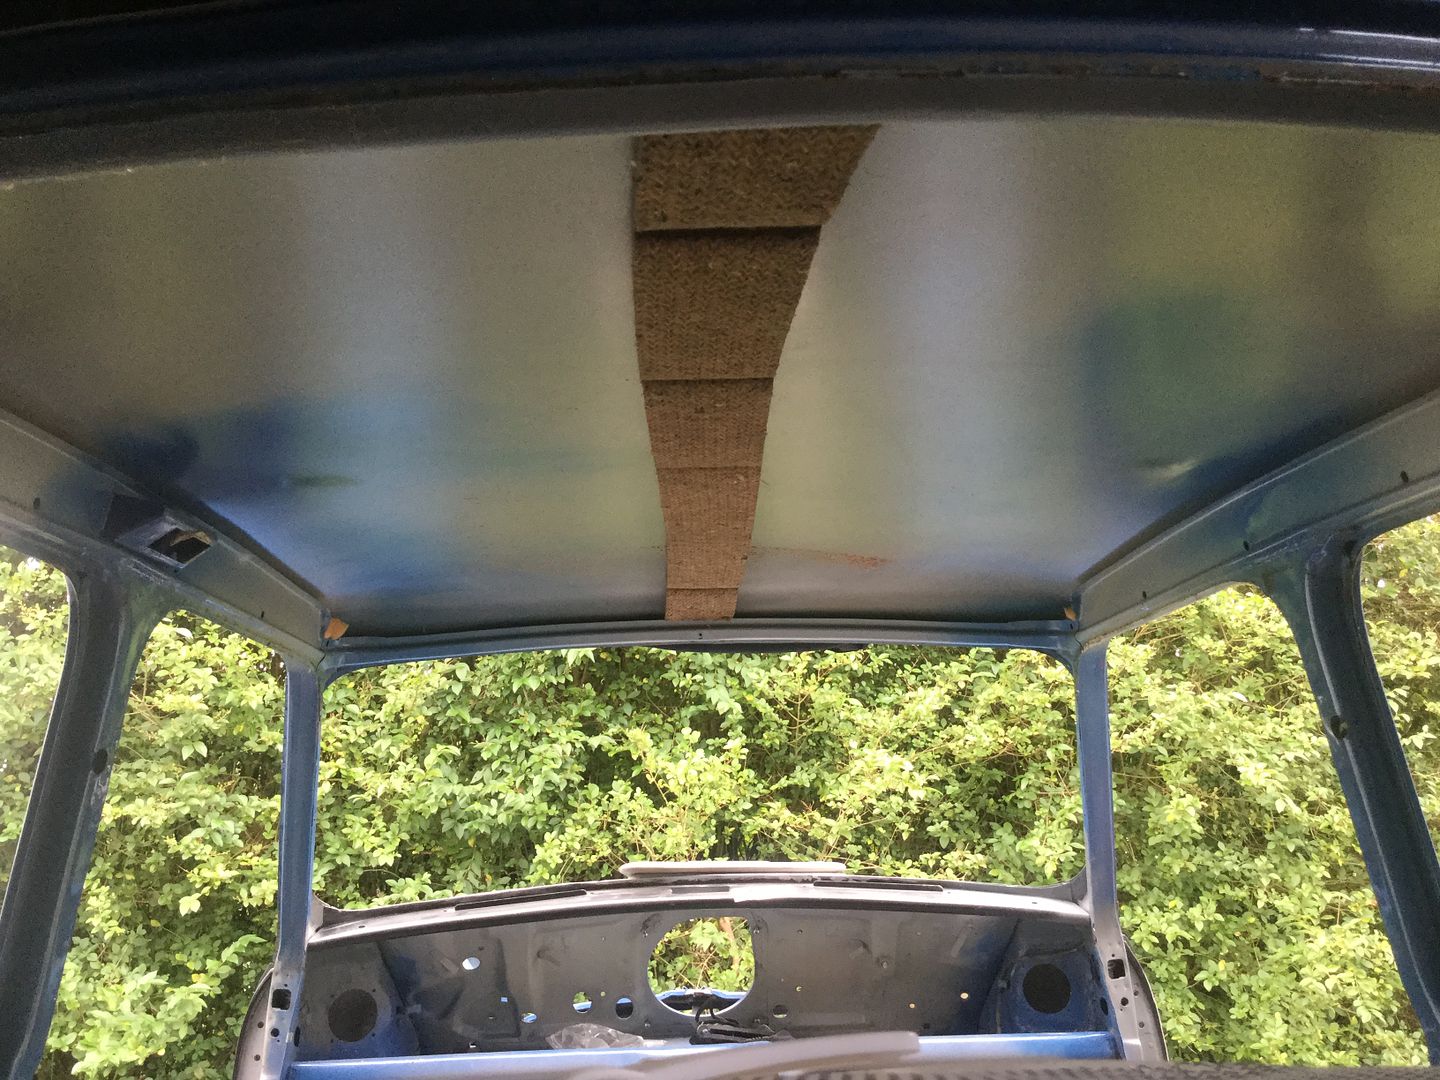
Whipped out the headlining its in good nick but I have a new one

Up for grabs if anyone wants it

URL=http://s1355.photobu...fhmd.jpeg.html]image_zpsceu9fhmd.jpeg[/URL]

URL=http://s1355.photobu...zd3w.jpeg.html]image_zpseoapzd3w.jpeg[/URL]

Quite like this pic

image_zpsqxktkqn0.jpeg

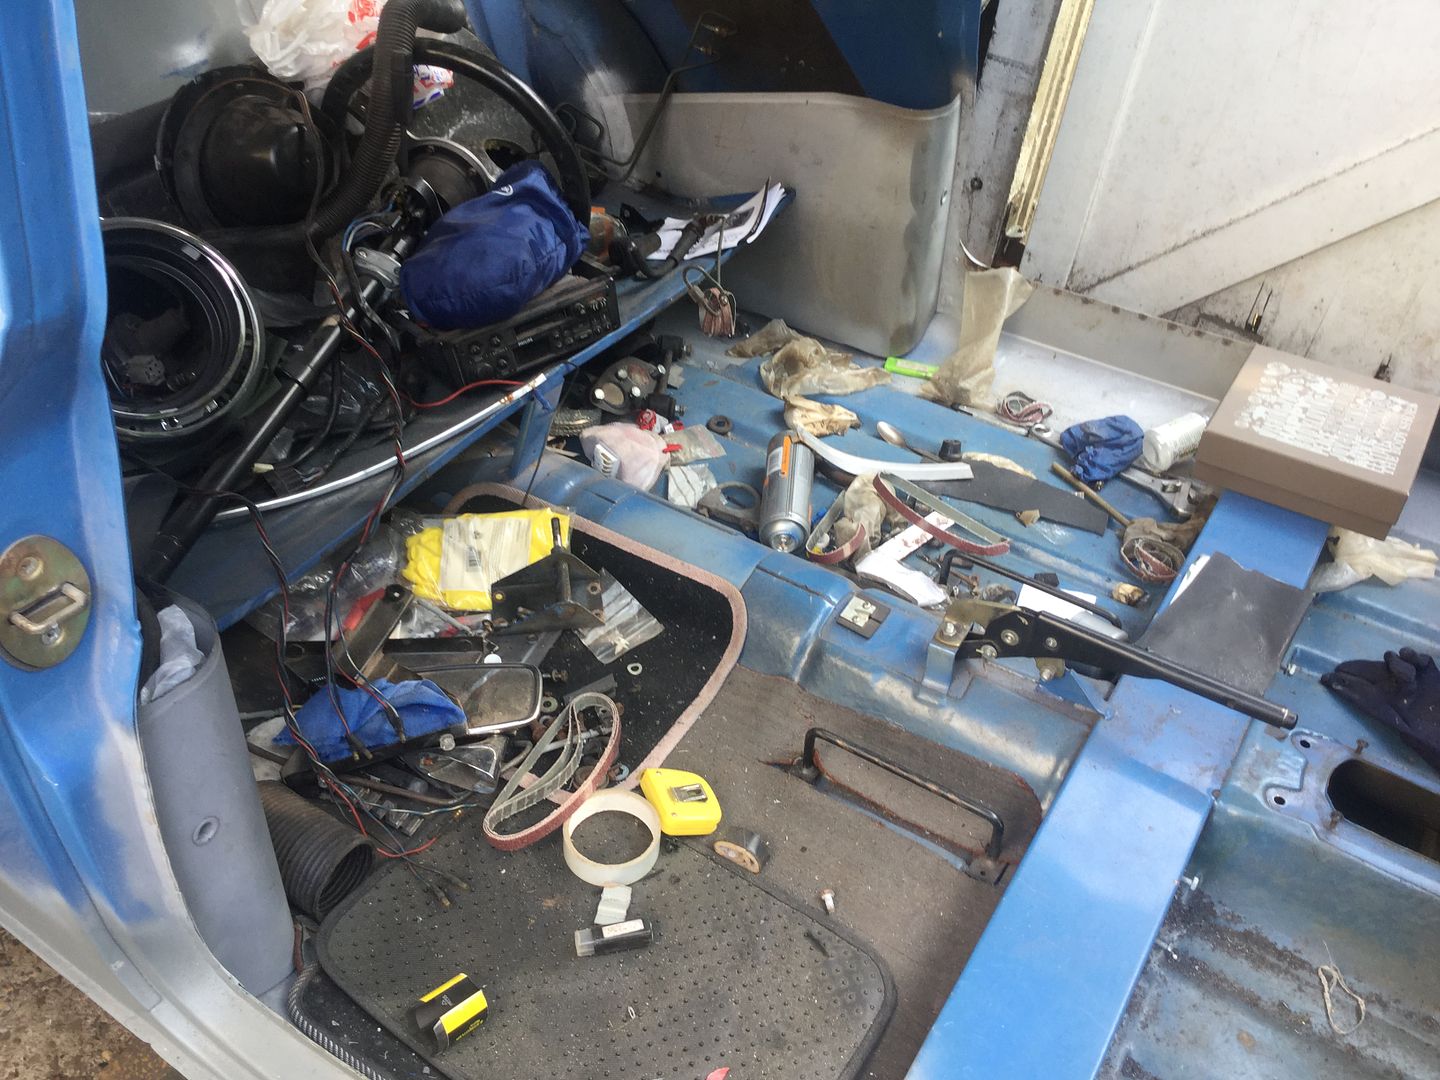
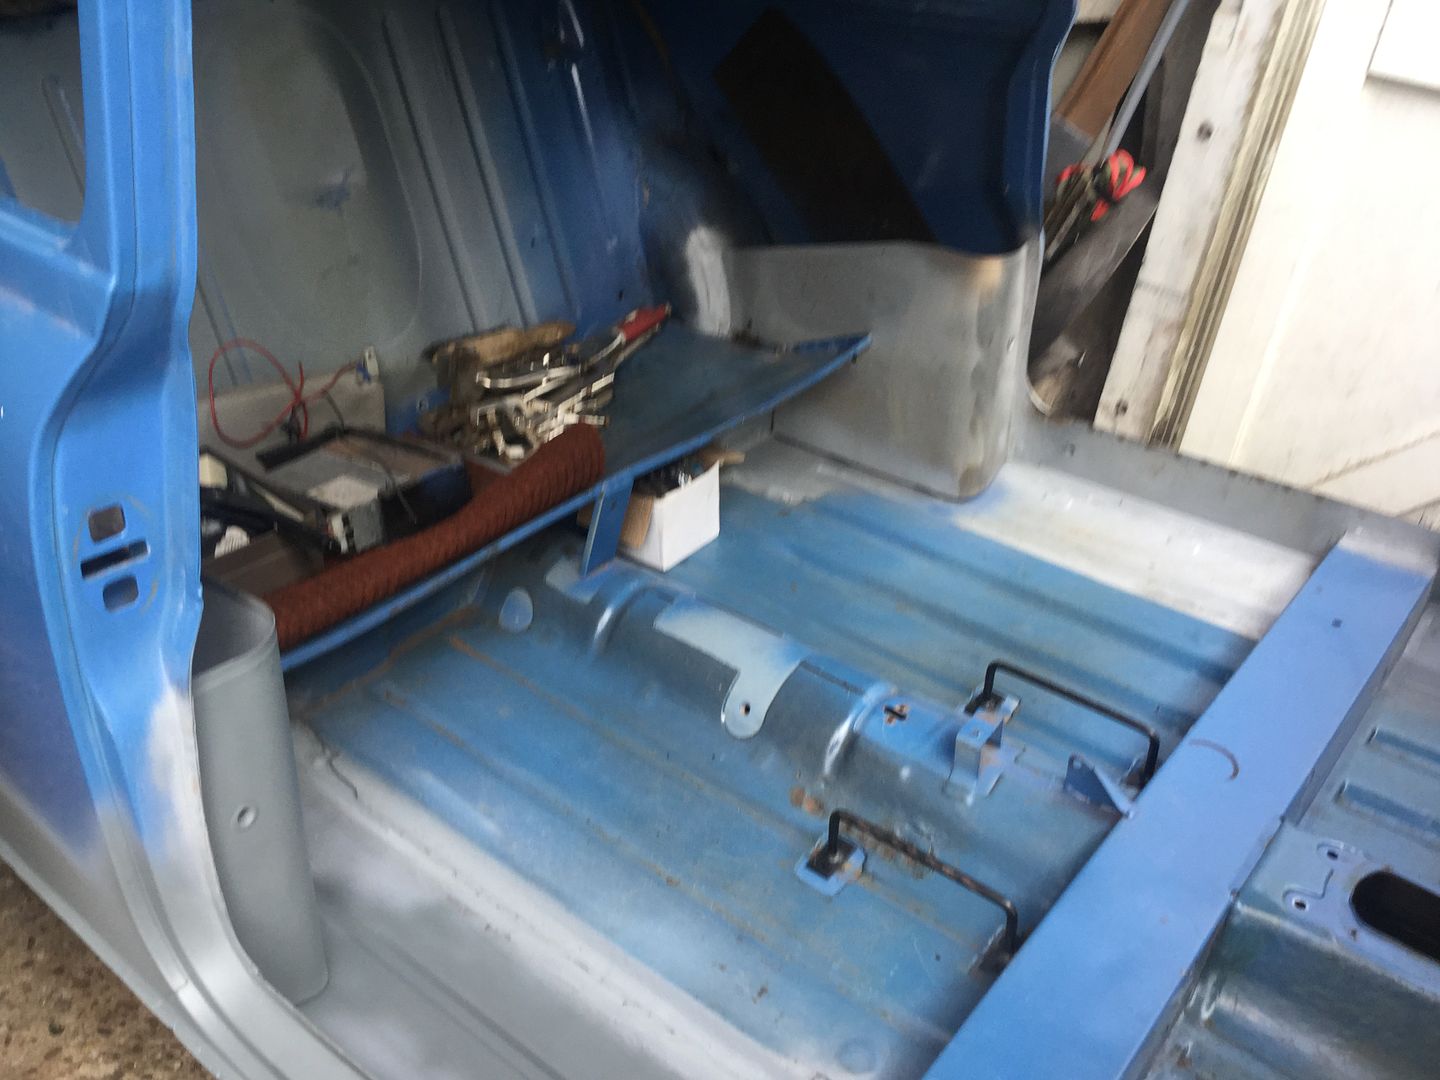
Time for a tidy up today crap everywhere 😃 It was driving me mad

URL=http://s1355.photobu...sudg.jpeg.html]image_zpsrhxjsudg.jpeg[/URL]

image_zps1aqsgk1w.jpeg

image_zps0vttq2zc.jpeg

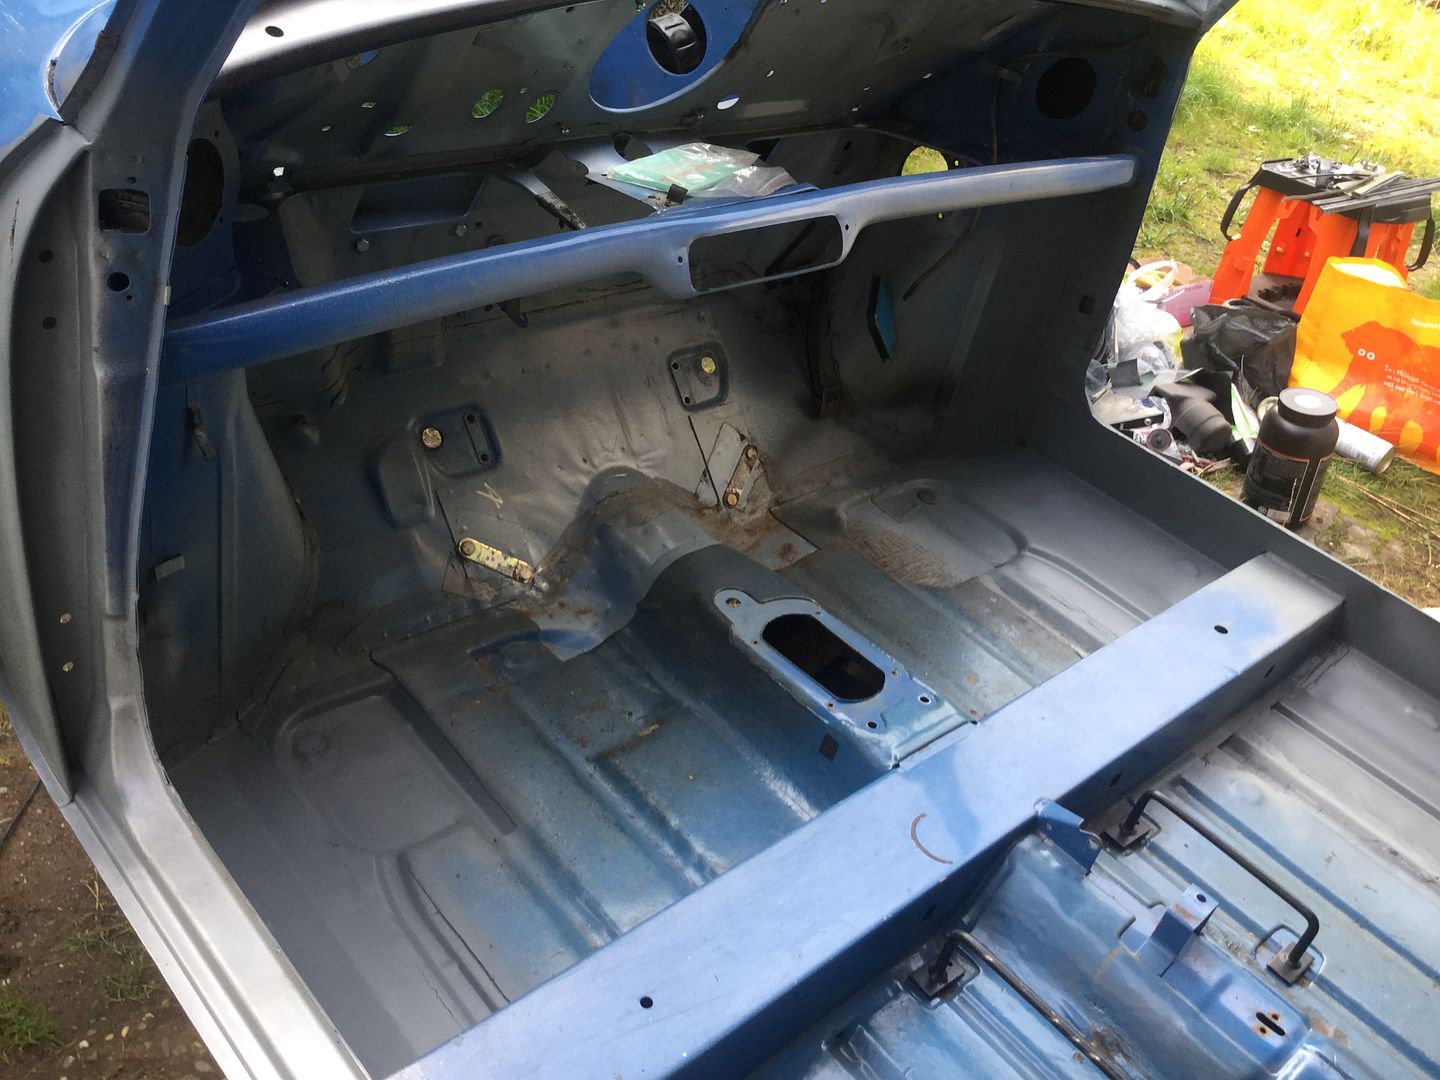
Stripped out the rest of the internal fixtures hand brake ect and boxed everything up much tidier now
Almost see the light at the end of the tunnel

Mark

#133 Marco1972

Marco1972

    One Carb Or Two?

  • Members
  • PipPipPipPipPipPipPip
  • 822 posts
  • Location: Birmingham

Posted 15 September 2016 - 05:02 PM

Did a bit more today

Finished grinding the welds on the A Panel

URL=http://s1355.photobu...qyuf.jpeg.html]image_zpsqz0hqyuf.jpeg[/U]

URL=http://s1355.photobu...dq6j.jpeg.html]image_zpscqmvdq6j.jpeg[/URL]

Had a hole in the rear bulkhead so cut out the rust and made a repair piece
Then ran out of gas 🙁 Bugger

URL=http://s1355.photobu...xumo.jpeg.html]image_zps3nz8xumo.jpeg[/URL]

Need to get primer ' tiger seal and gas before I can go any further

Mark

Edited by Marco1972, 15 September 2016 - 05:03 PM.


#134 Marco1972

Marco1972

    One Carb Or Two?

  • Members
  • PipPipPipPipPipPipPip
  • 822 posts
  • Location: Birmingham

Posted 08 November 2016 - 02:59 PM

Back to it

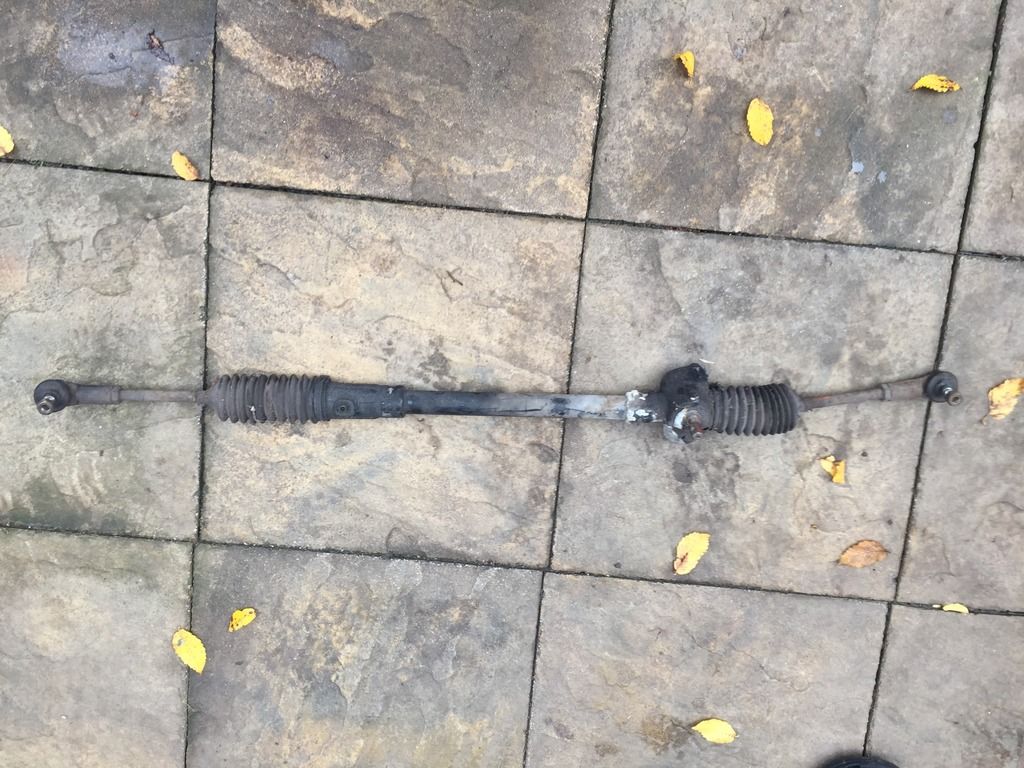
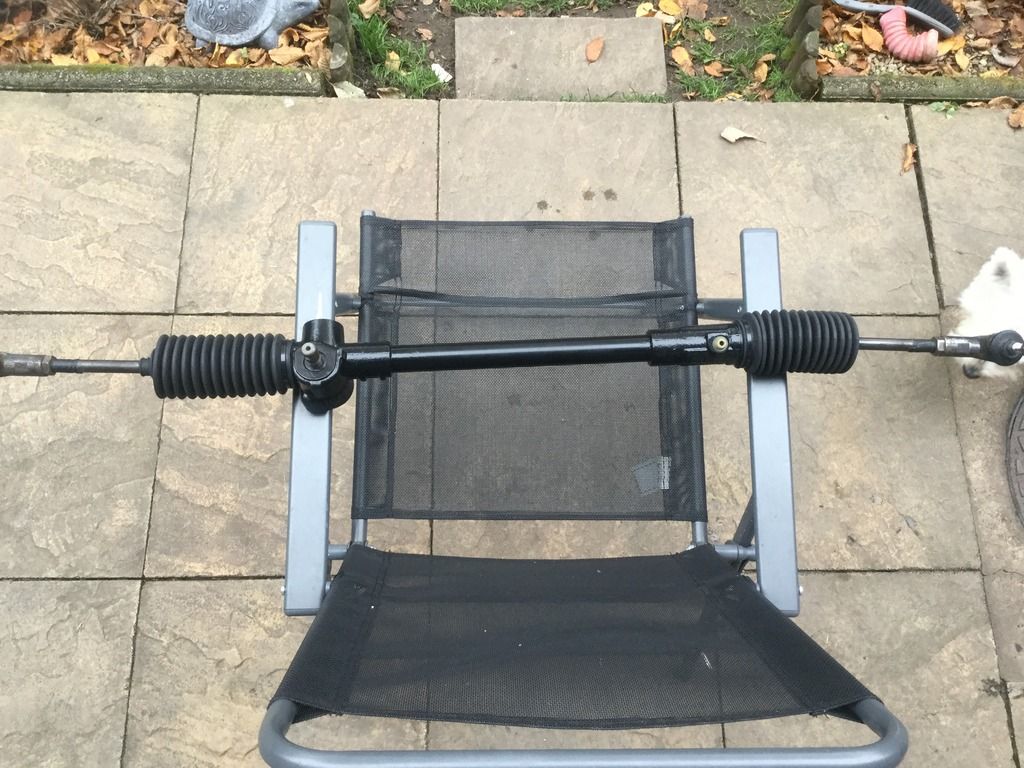
While I was waiting for consumables I started refurbing a few bits
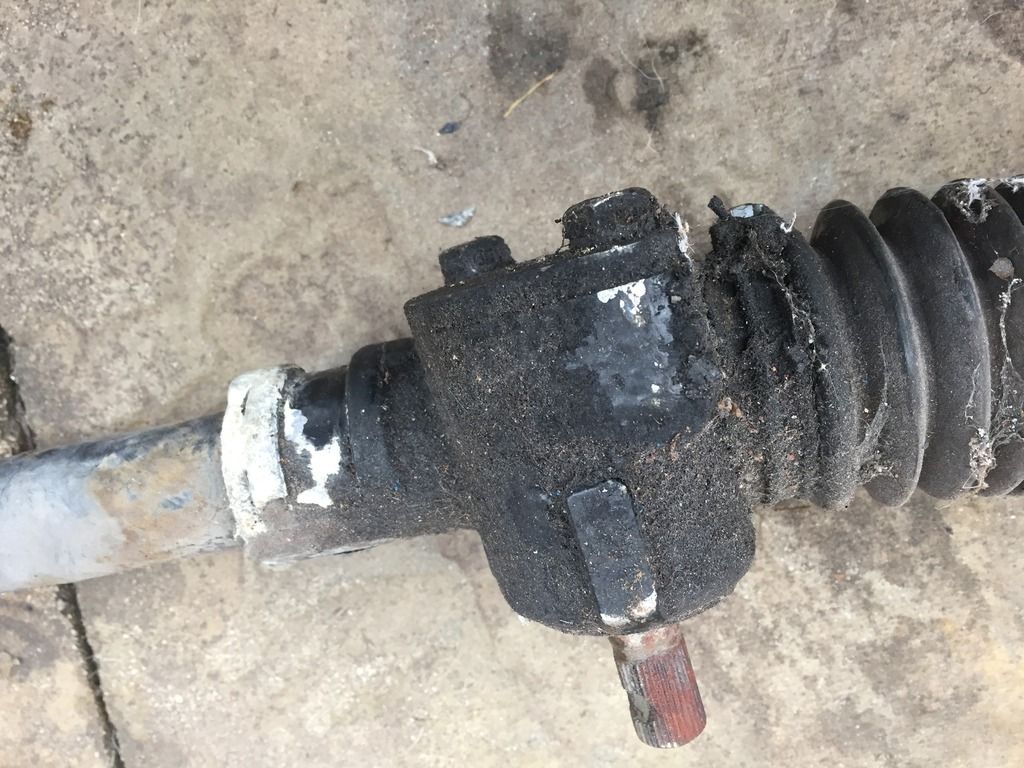
Steering rack first
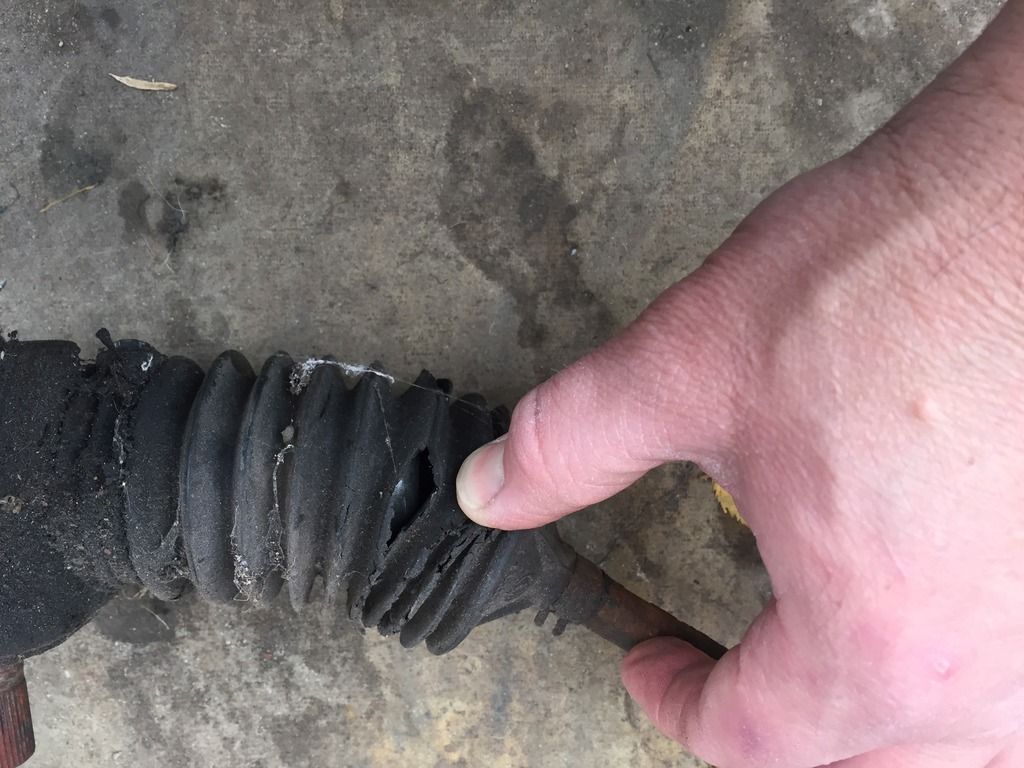
It was crusty with split boots but had no play

IMG_3262_zpsbgp4c5pb.jpg

IMG_3263_zpsiwx5anp1.jpg

IMG_3264_zpsiaw5xjqu.jpg

Wire wheeled it down several coats of zinc primer and satin black job done

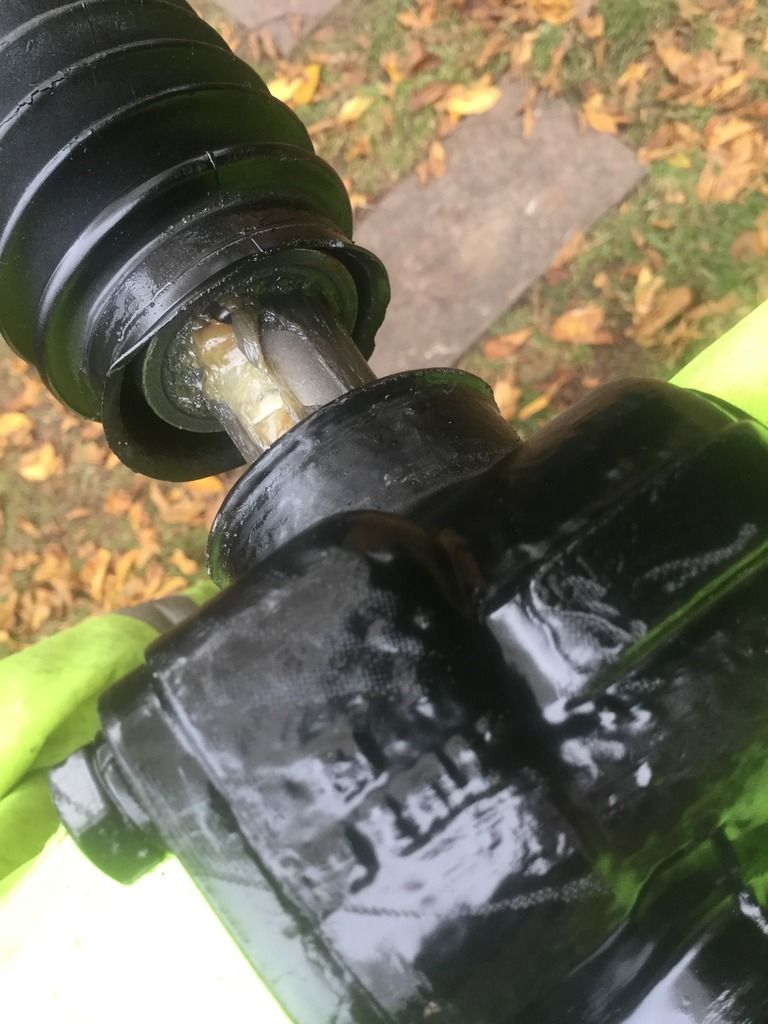
Interesting thing was ( after reading a thread on here ) some folks were saying they were filled with oil well mine was grease as you can see when I was removing the original boots

IMG_0692_zpsbtxbfird.jpg

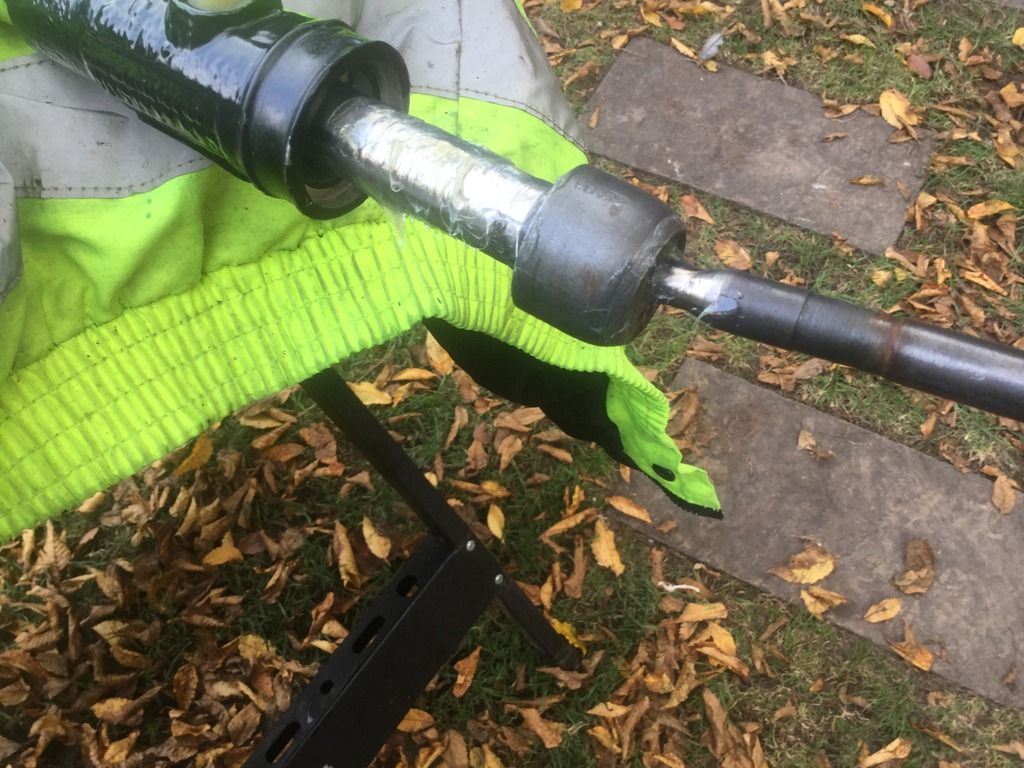
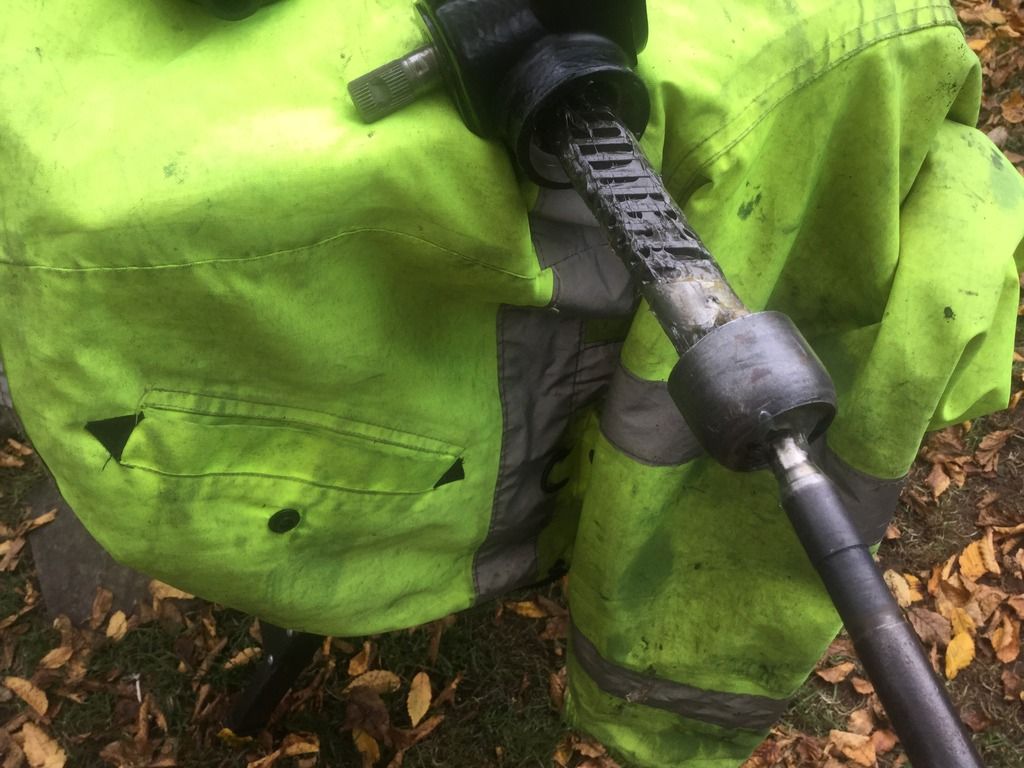
Re greased it

IMG_0690_zpsd0lvonj0.jpg

IMG_0695_zpsydckbjp5.jpg

Anyway the ( almost finished ) item

IMG_0696_zpswd1yg8eo.jpg

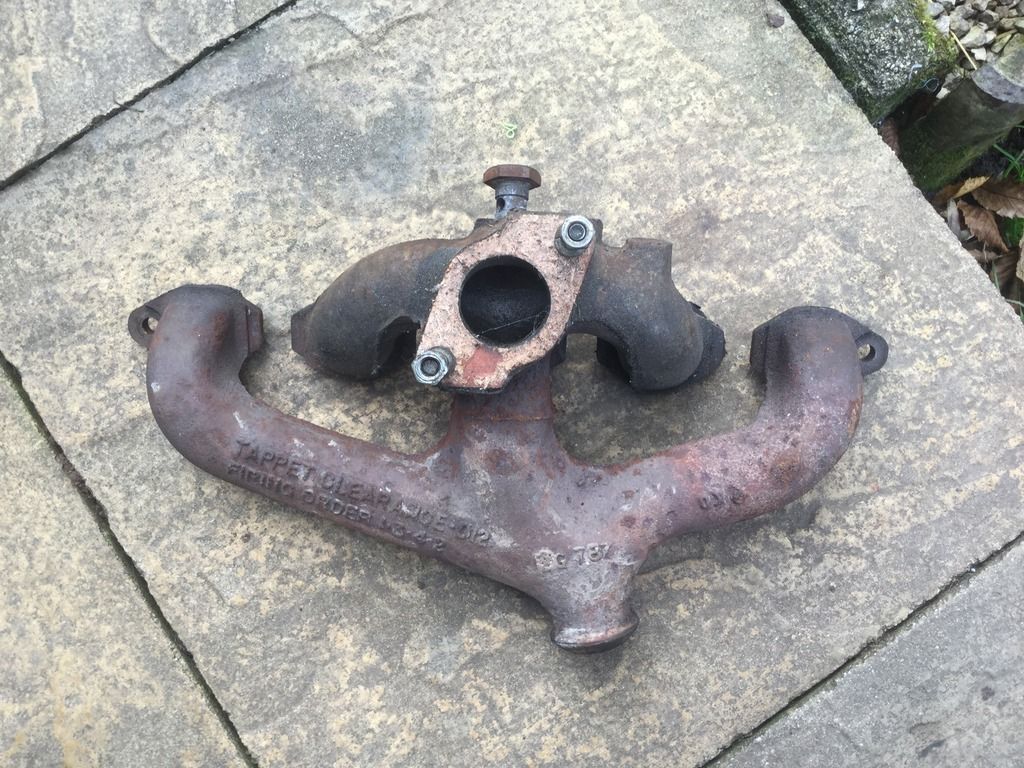
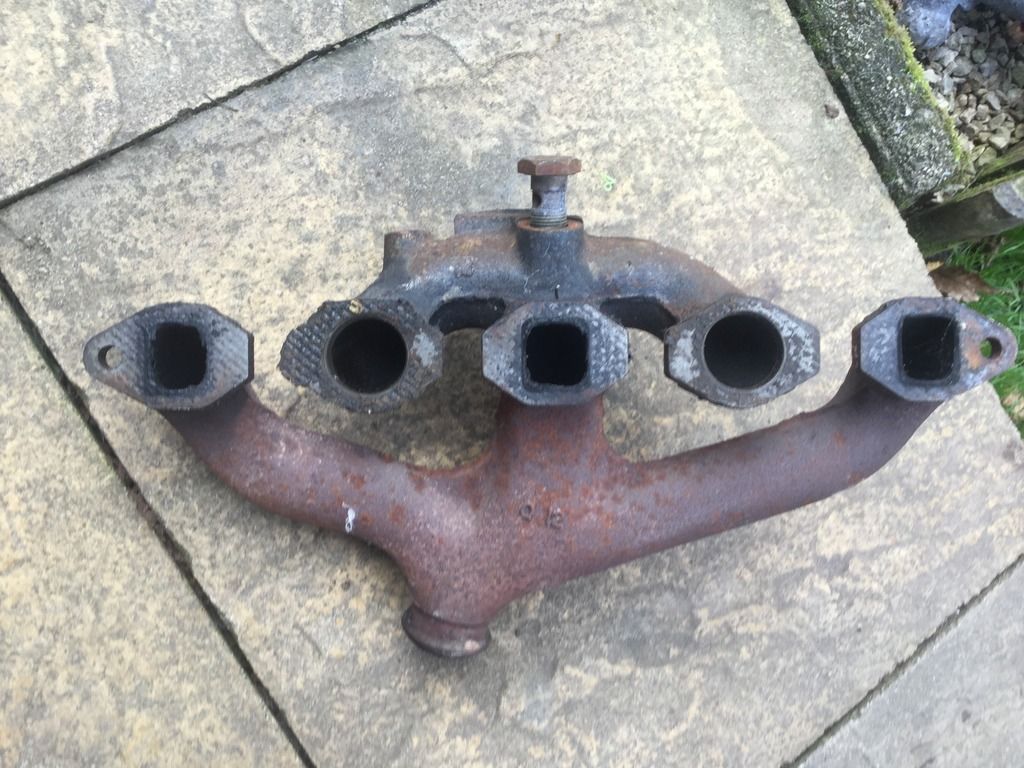
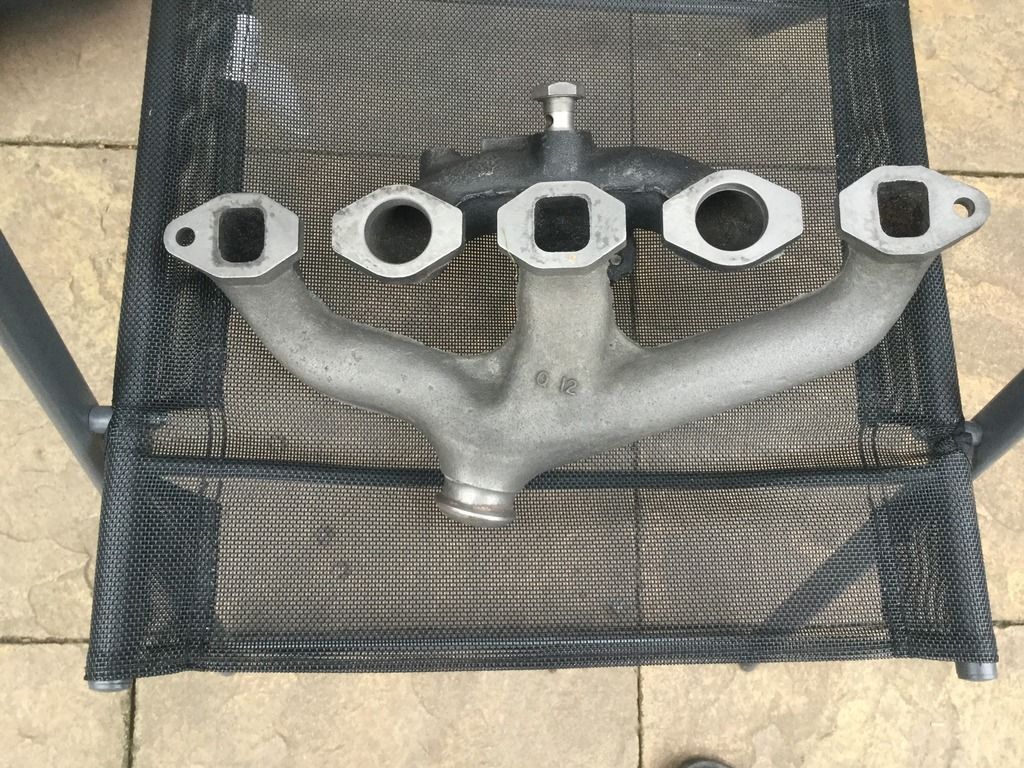
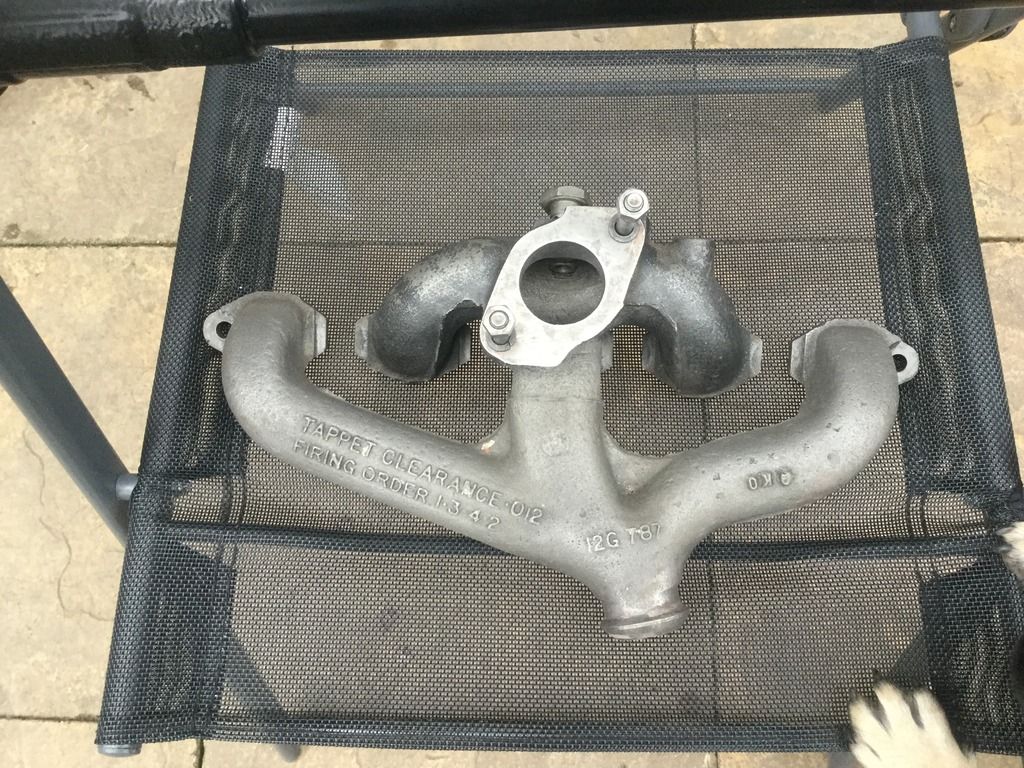
My lad got some of this deox stuff that you soak parts in to remove rust so I experimented with my manifold
Before and after shots

IMG_0659_zpsshehnkuz.jpg

IMG_0660_zps1gtfx2as.jpg

IMG_0699_zpspgowlerz.jpg

IMG_0697_zpsdijtwc24.jpg

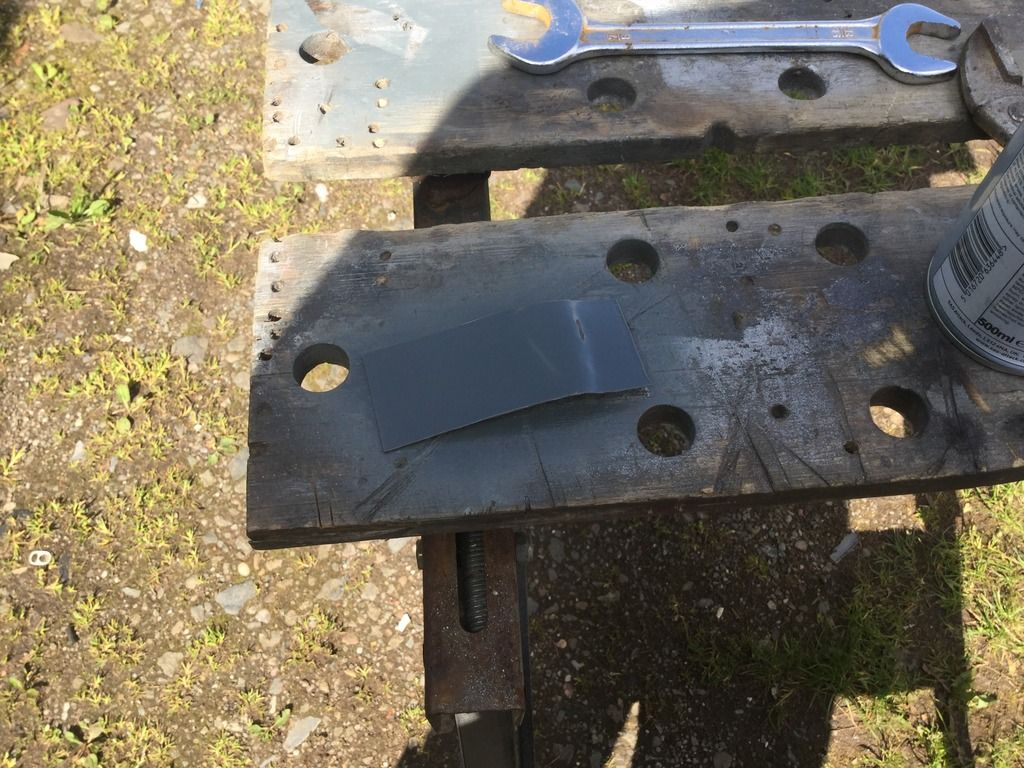
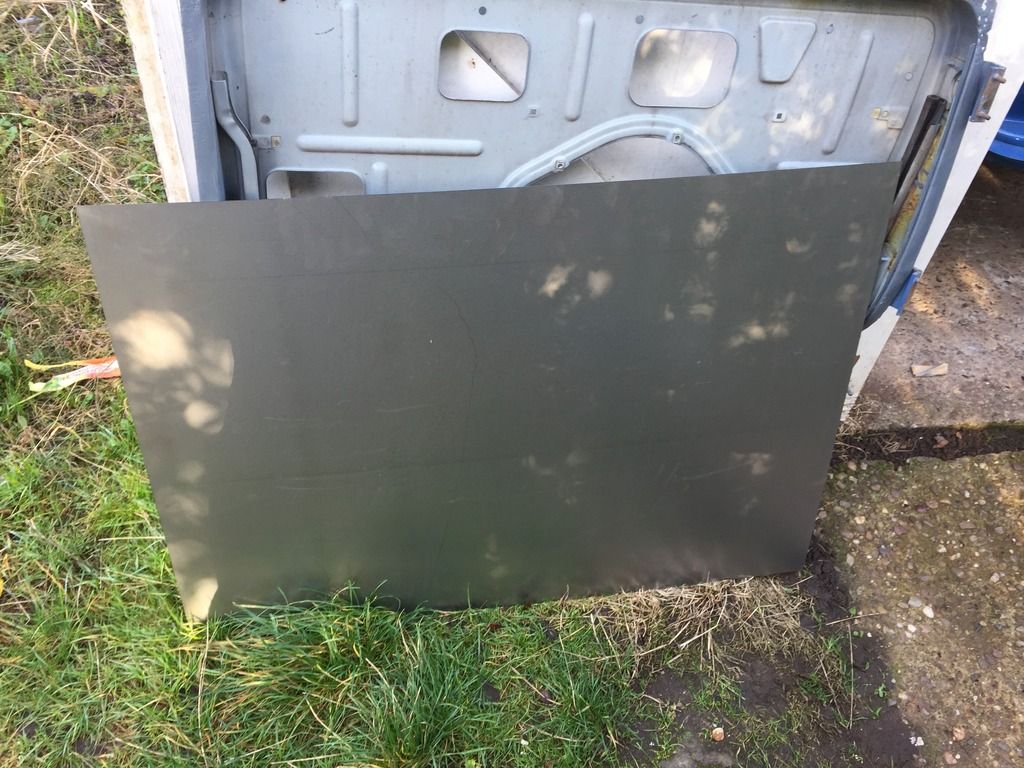
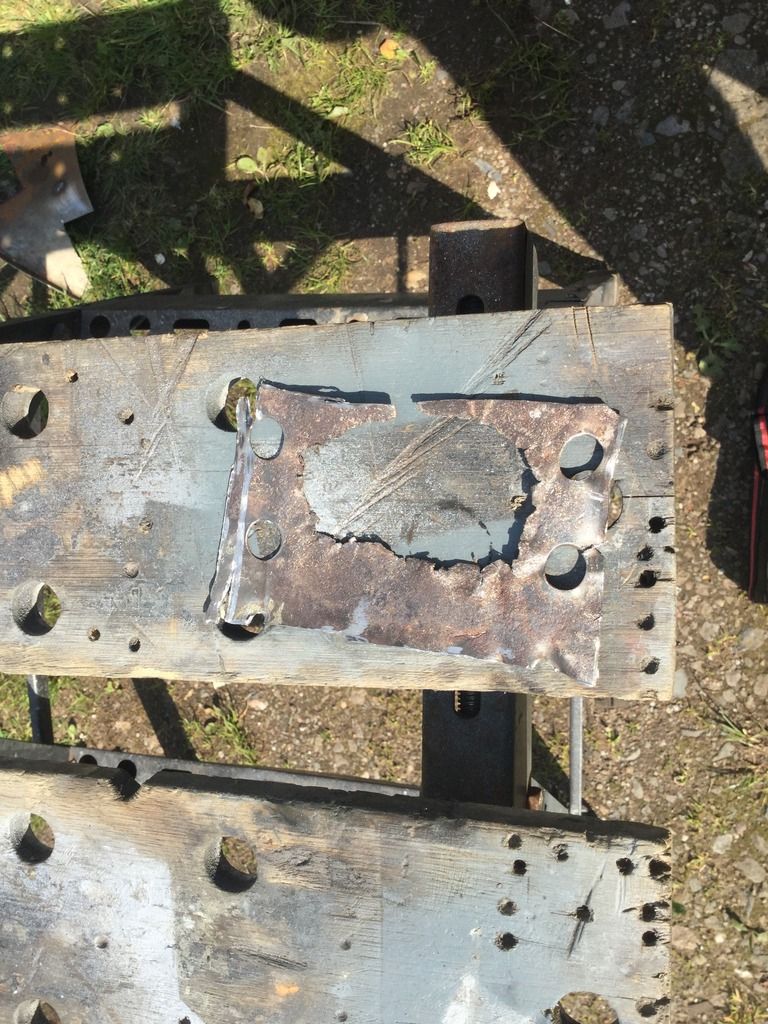
Picked up some sheet steel ( 0.9 ) for the door repairs

IMG_3271_zpsmncpkw0k.jpg

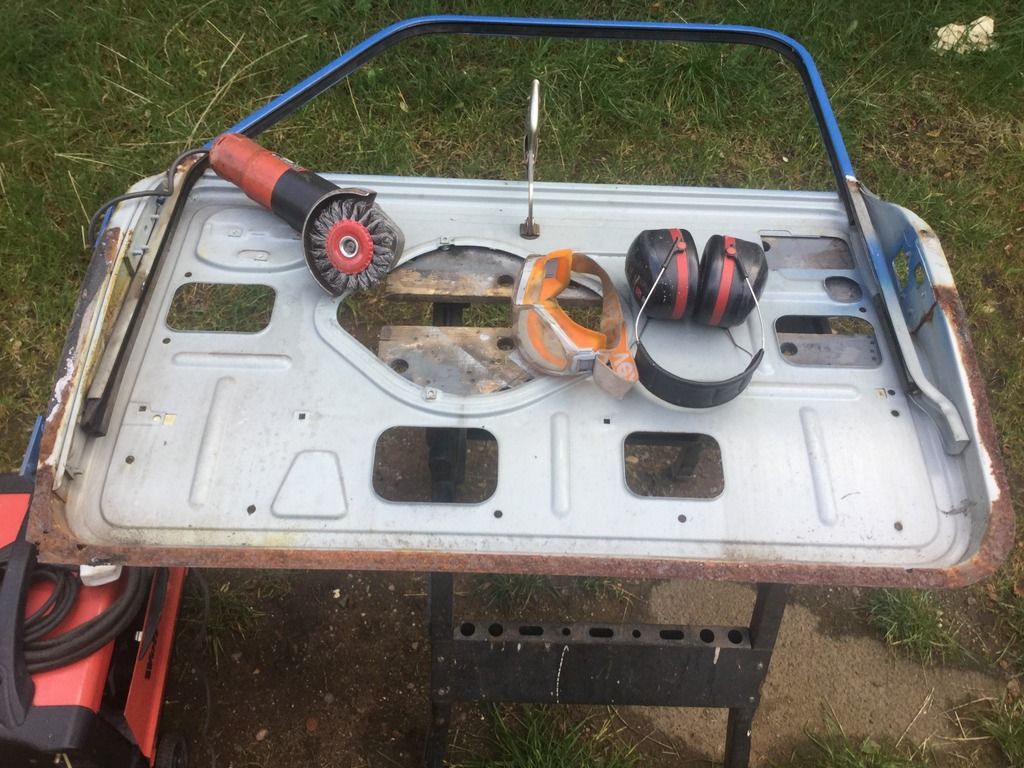
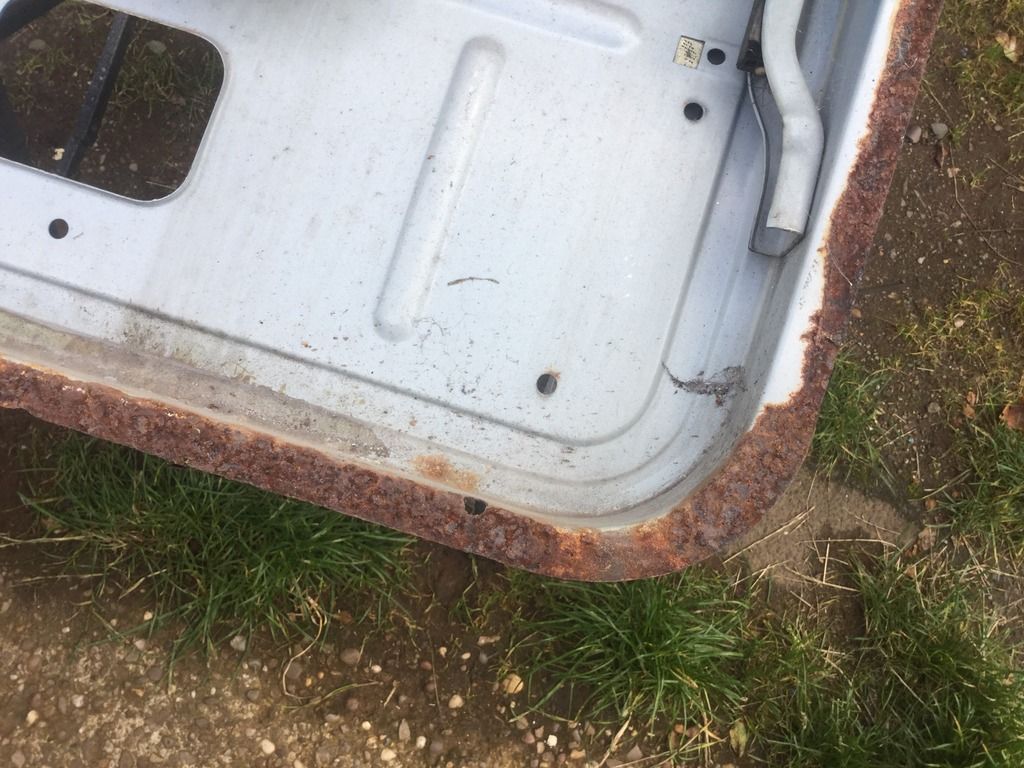
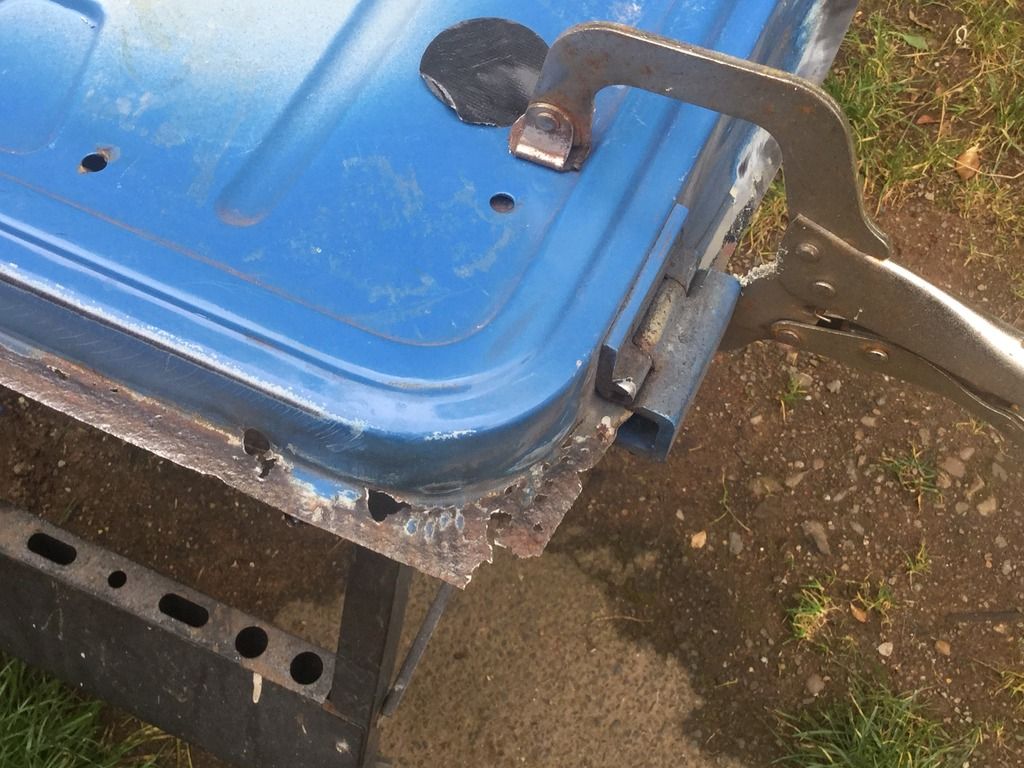
Usual areas needed sorting

IMG_0666_zpsdtldud5o.jpg

IMG_0668_zpsmfauy2m1.jpg

IMG_0667_zpsi7shhuez.jpg

Wire wheeled it

IMG_0670_zpstd66qmo4.jpg

IMG_0674_zps88sysgwr.jpg

IMG_0672_zpsscuanbrf.jpg

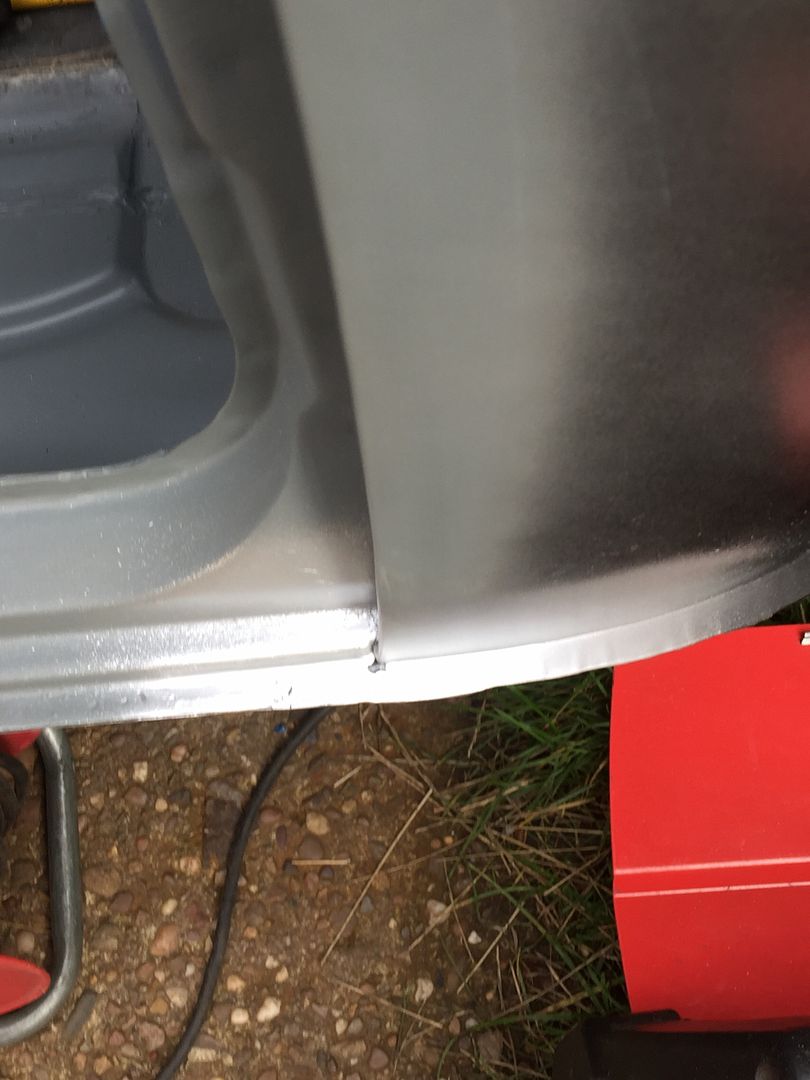
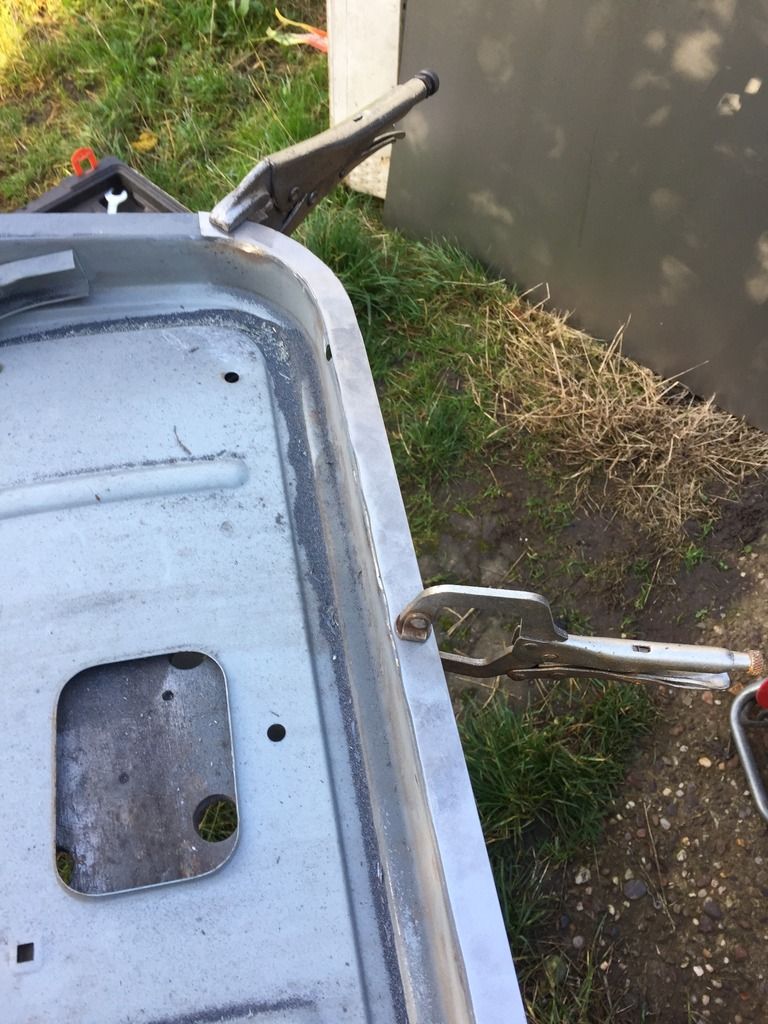
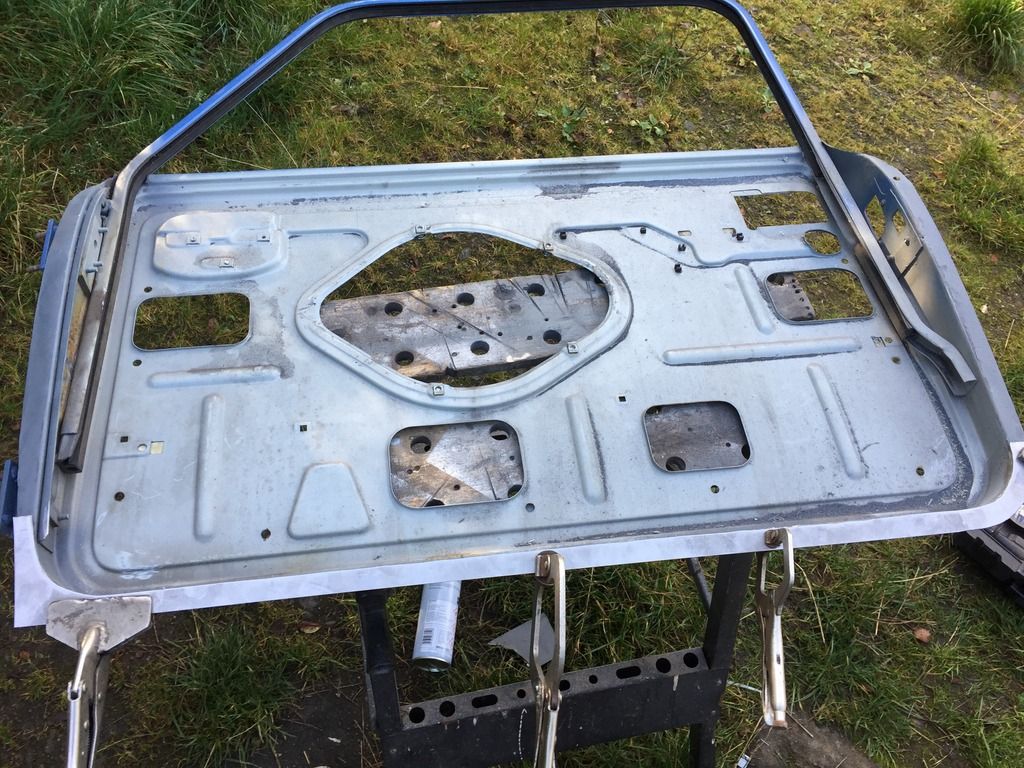
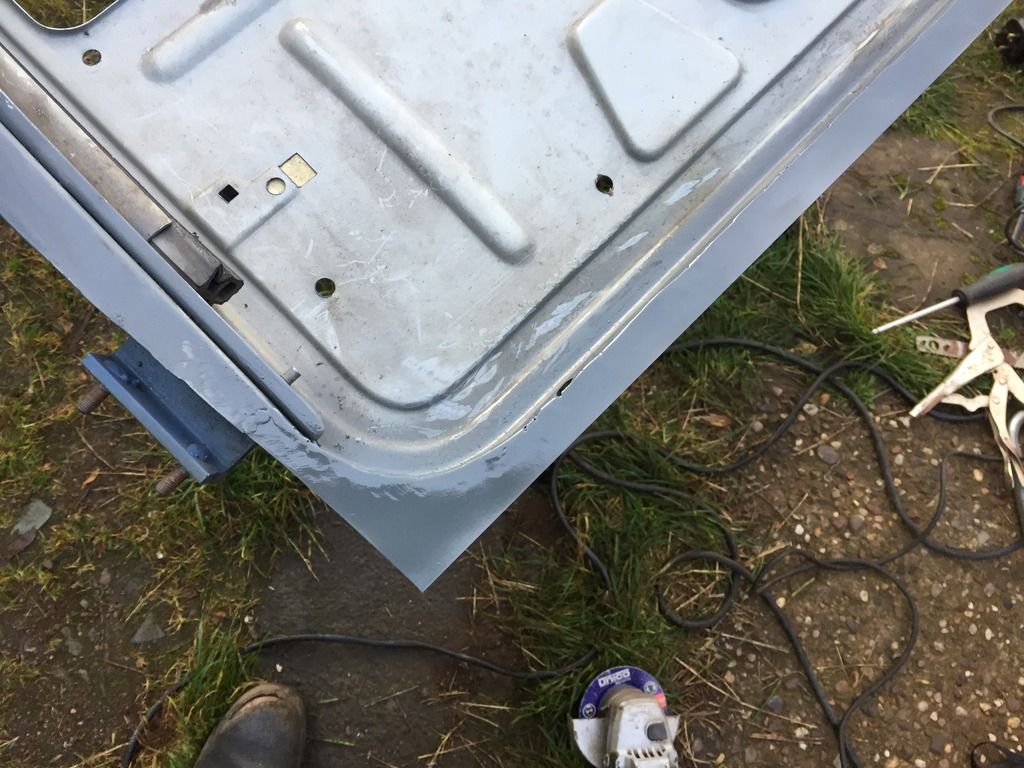
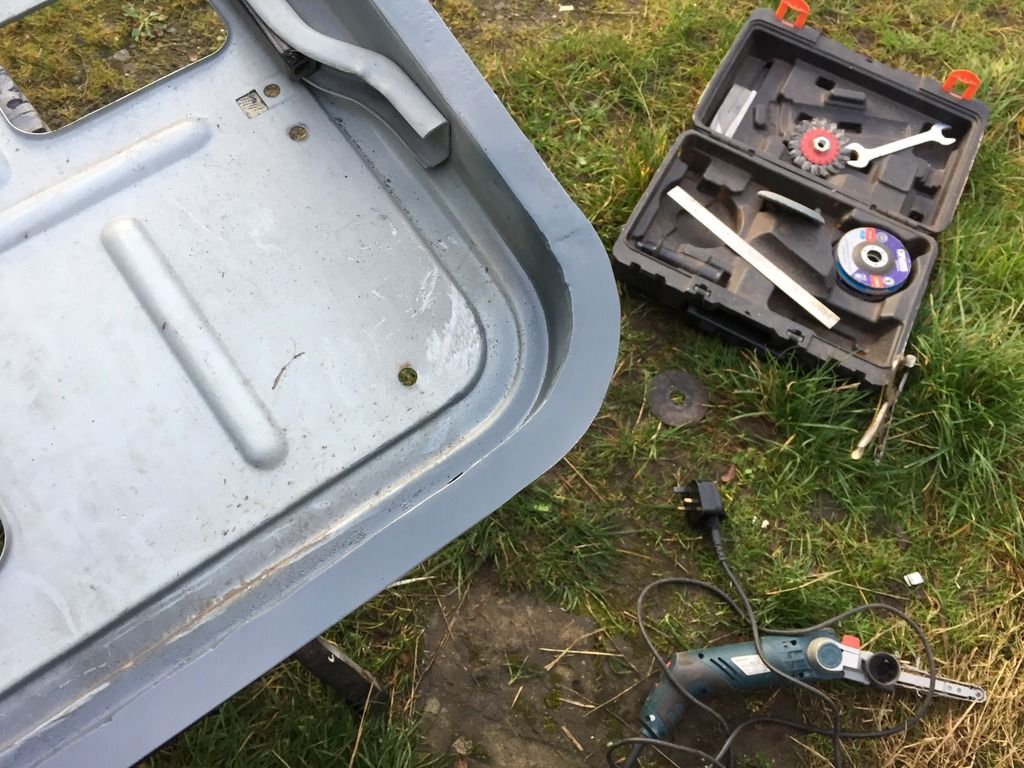
Fabricated a new bottom flange

IMG_3274_zps72bihpvw.jpg

IMG_3275_zpszxuvsjzv.jpg

IMG_3276_zpsdx237vvx.jpg

Removed the old flange

IMG_3277_zpsbnnypmwy.jpg

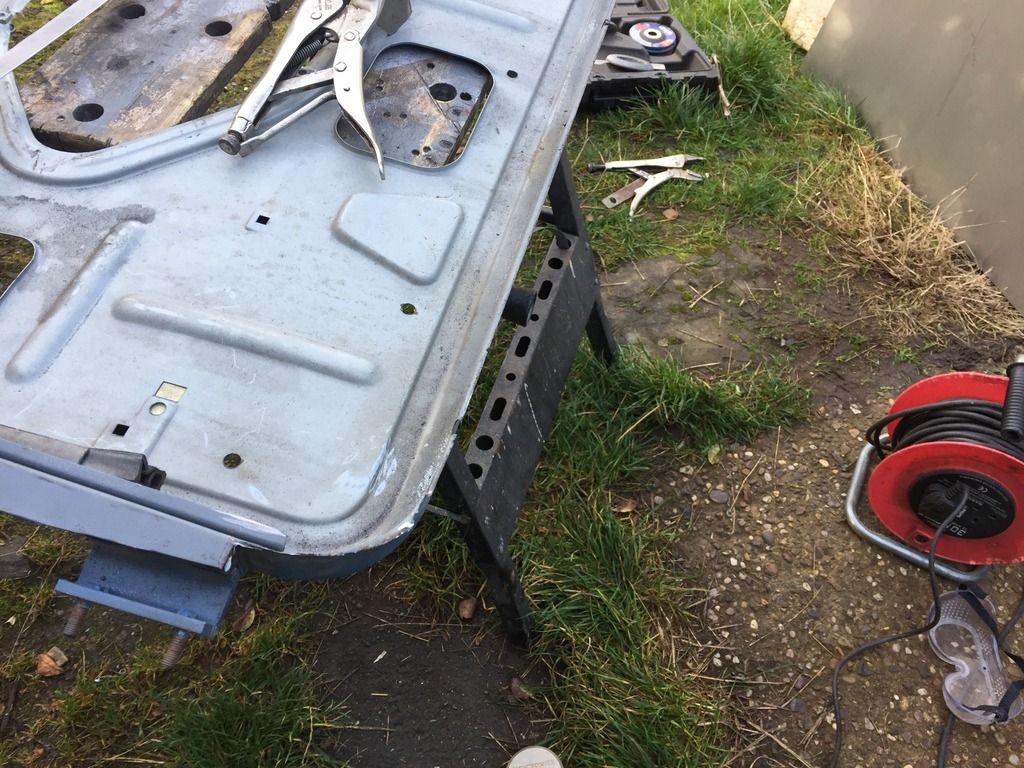
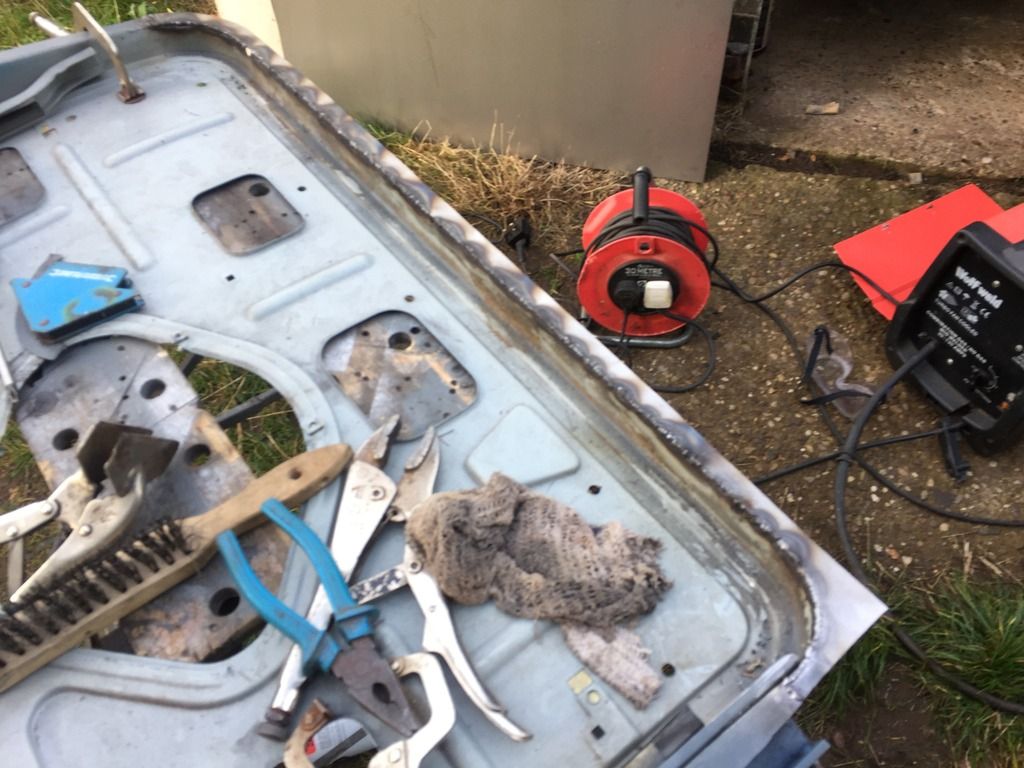
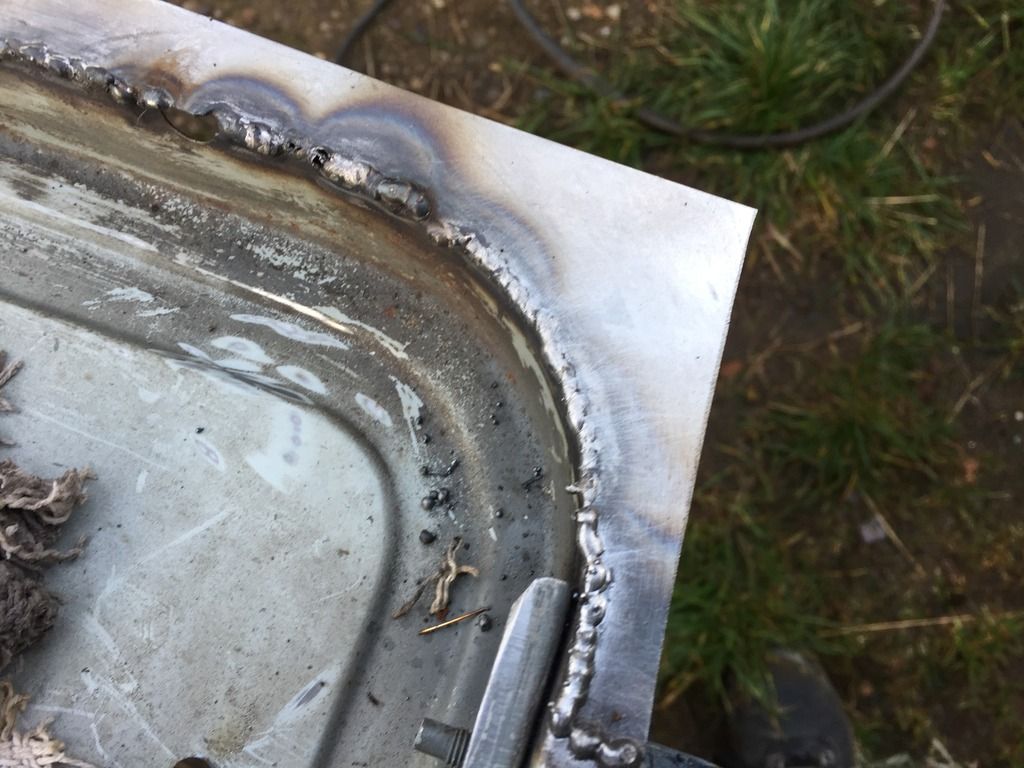
Welded up

IMG_3278_zps9f9vq37d.jpg

IMG_3279_zpssa3yorit.jpg

Dressed and primed

IMG_3280_zpsqebnx5ea.jpg

IMG_3281_zpskanmvnam.jpg

Bit more dressing up to do then I'll paint the inside of the door before the skin goes on

Mark

#135 Marco1972

Marco1972

    One Carb Or Two?

  • Members
  • PipPipPipPipPipPipPip
  • 822 posts
  • Location: Birmingham

Posted 10 November 2016 - 09:45 PM

Bit more of an update

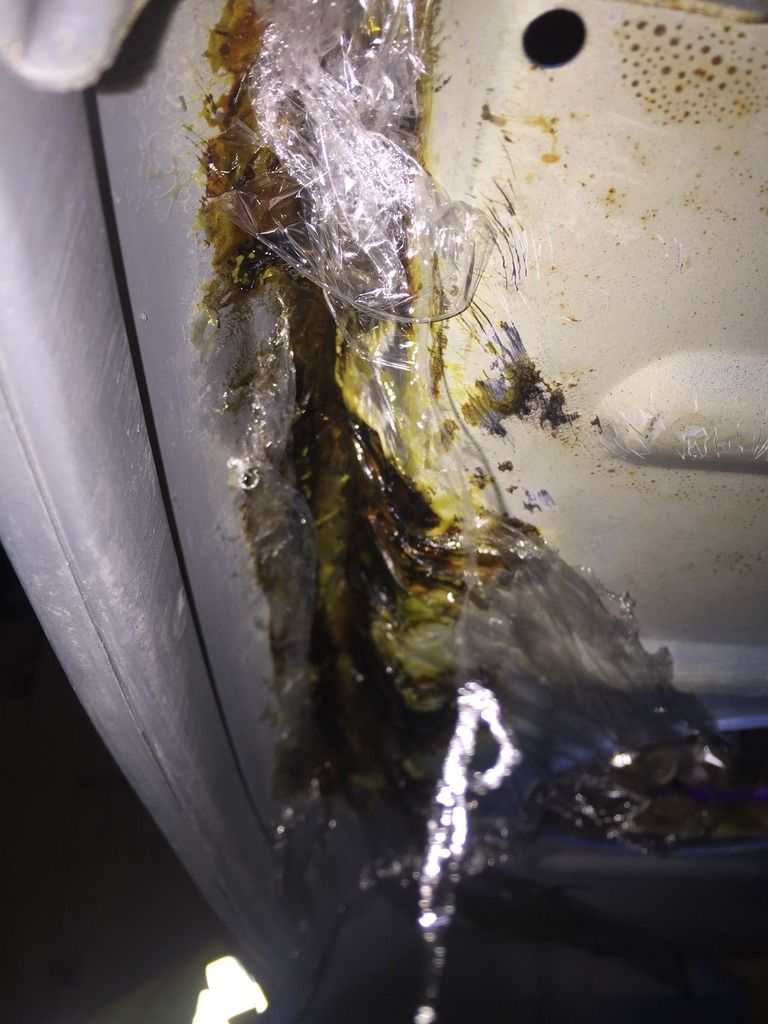
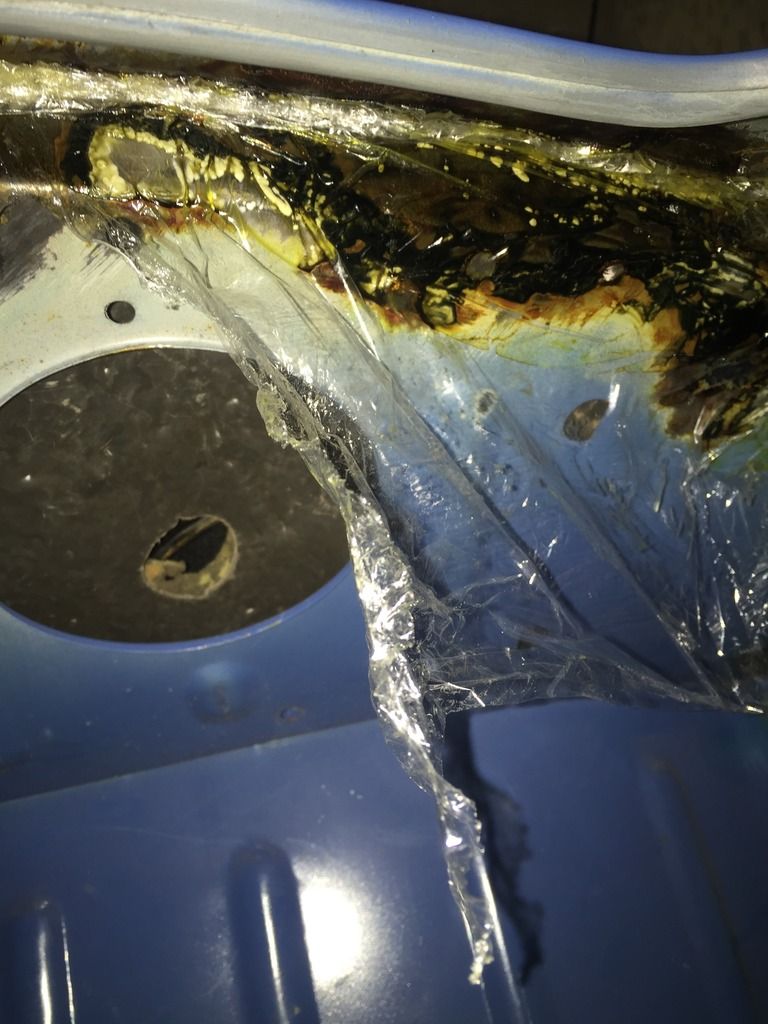
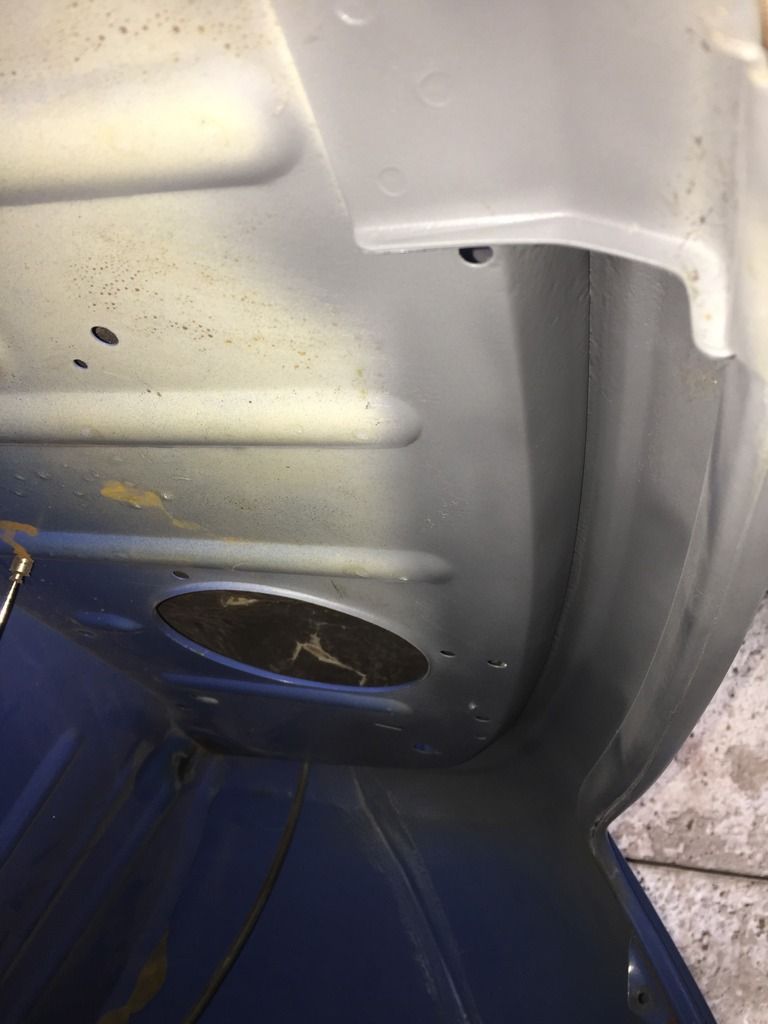
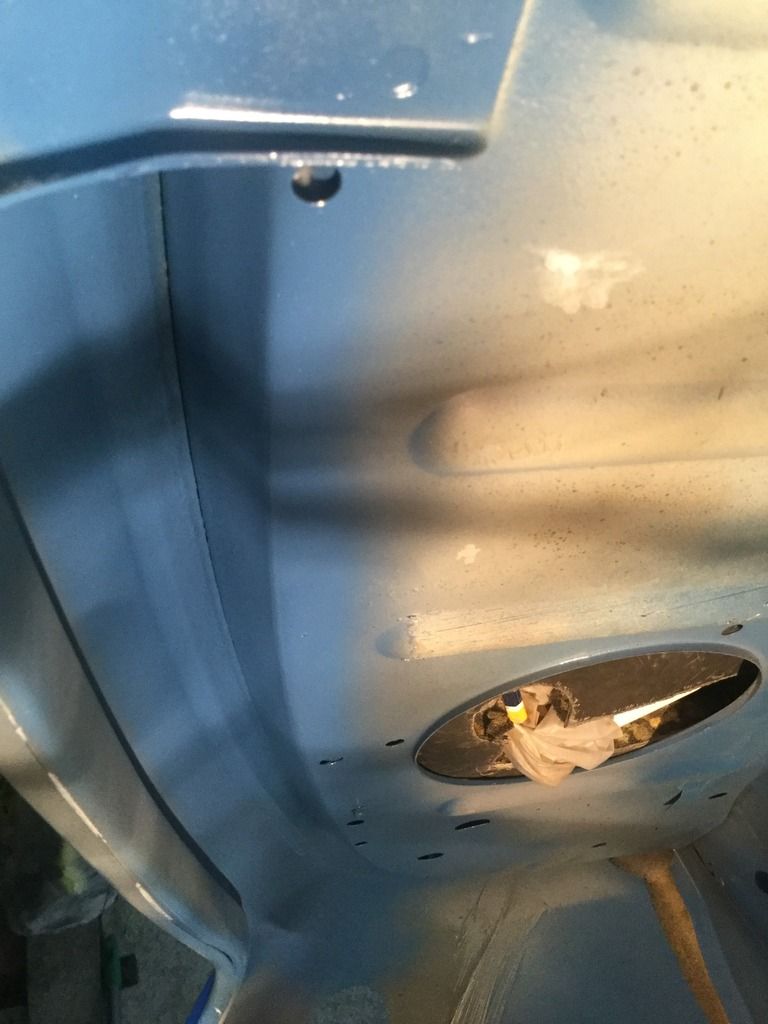
Had some rust under the rear window inside the boot from where the screen must have been leaking
Thought long and hard about removing the rear shelf but you can't get them for some reason so went a different route
Used deox gel applied it over 3 days wire brushing in between coats works best covered with cling film to stop it drying out

IMG_3125_zps9yc0jjeh.jpg

IMG_3124_zps6igtm9bc.jpg

After the 3rd day cleaned it all off wire brushed again and then several coats of zinc primer and some top coat
Much better

IMG_3135_zpsmaemofex.jpg

IMG_0676_zpssokappkp.jpg

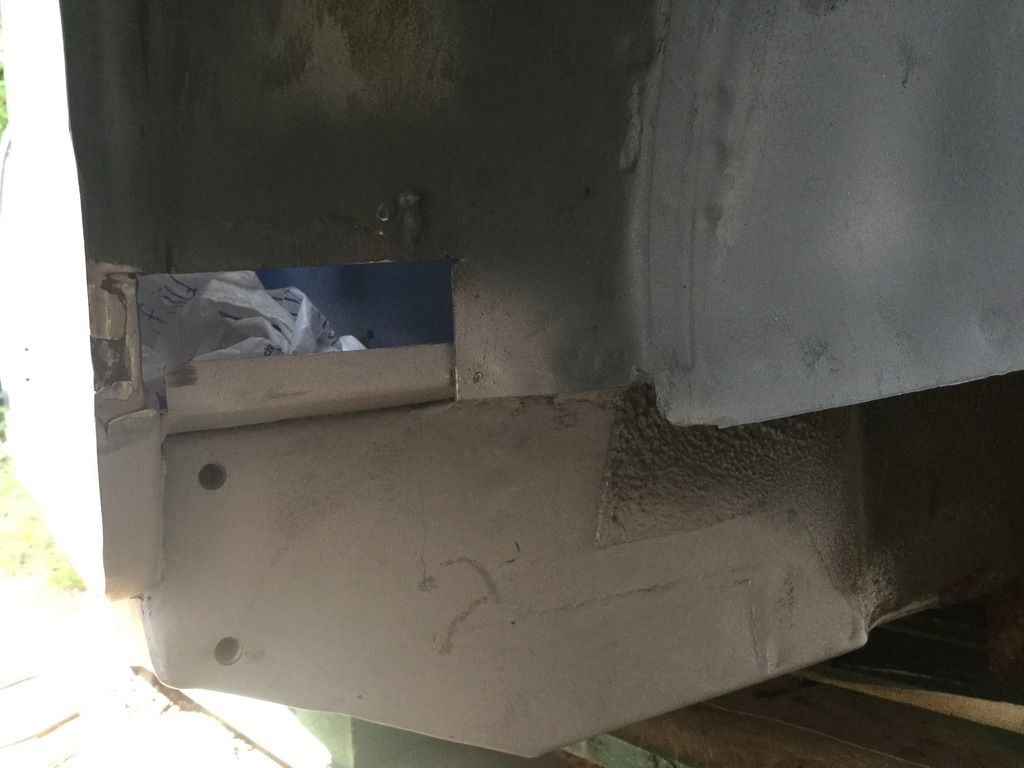
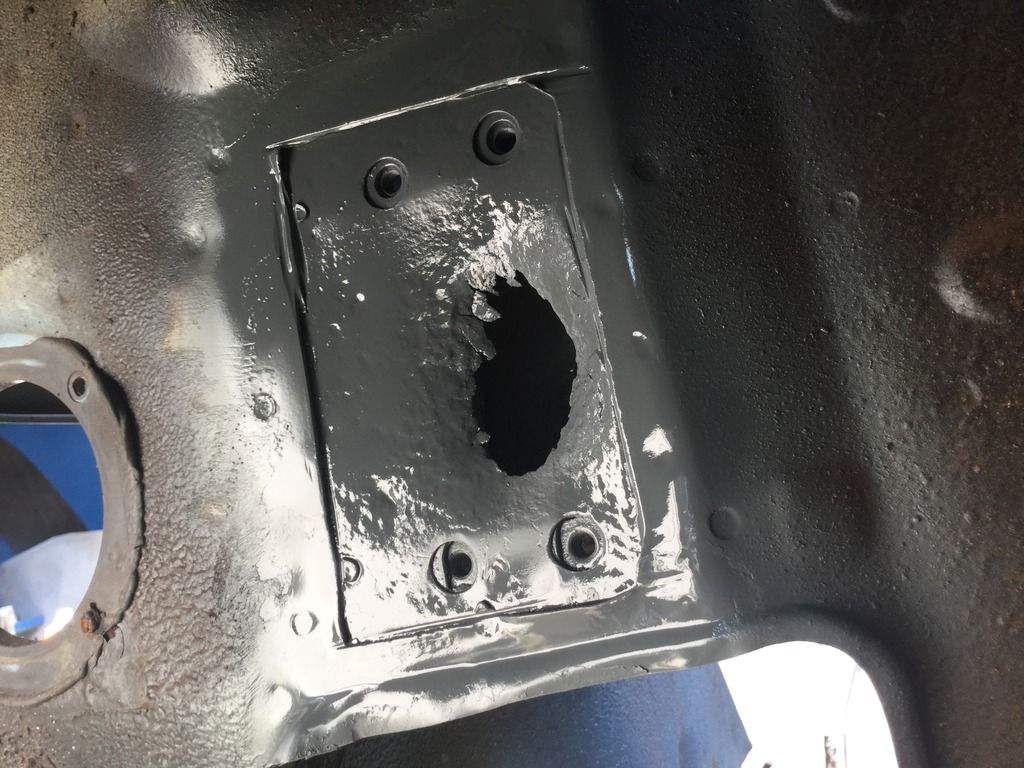
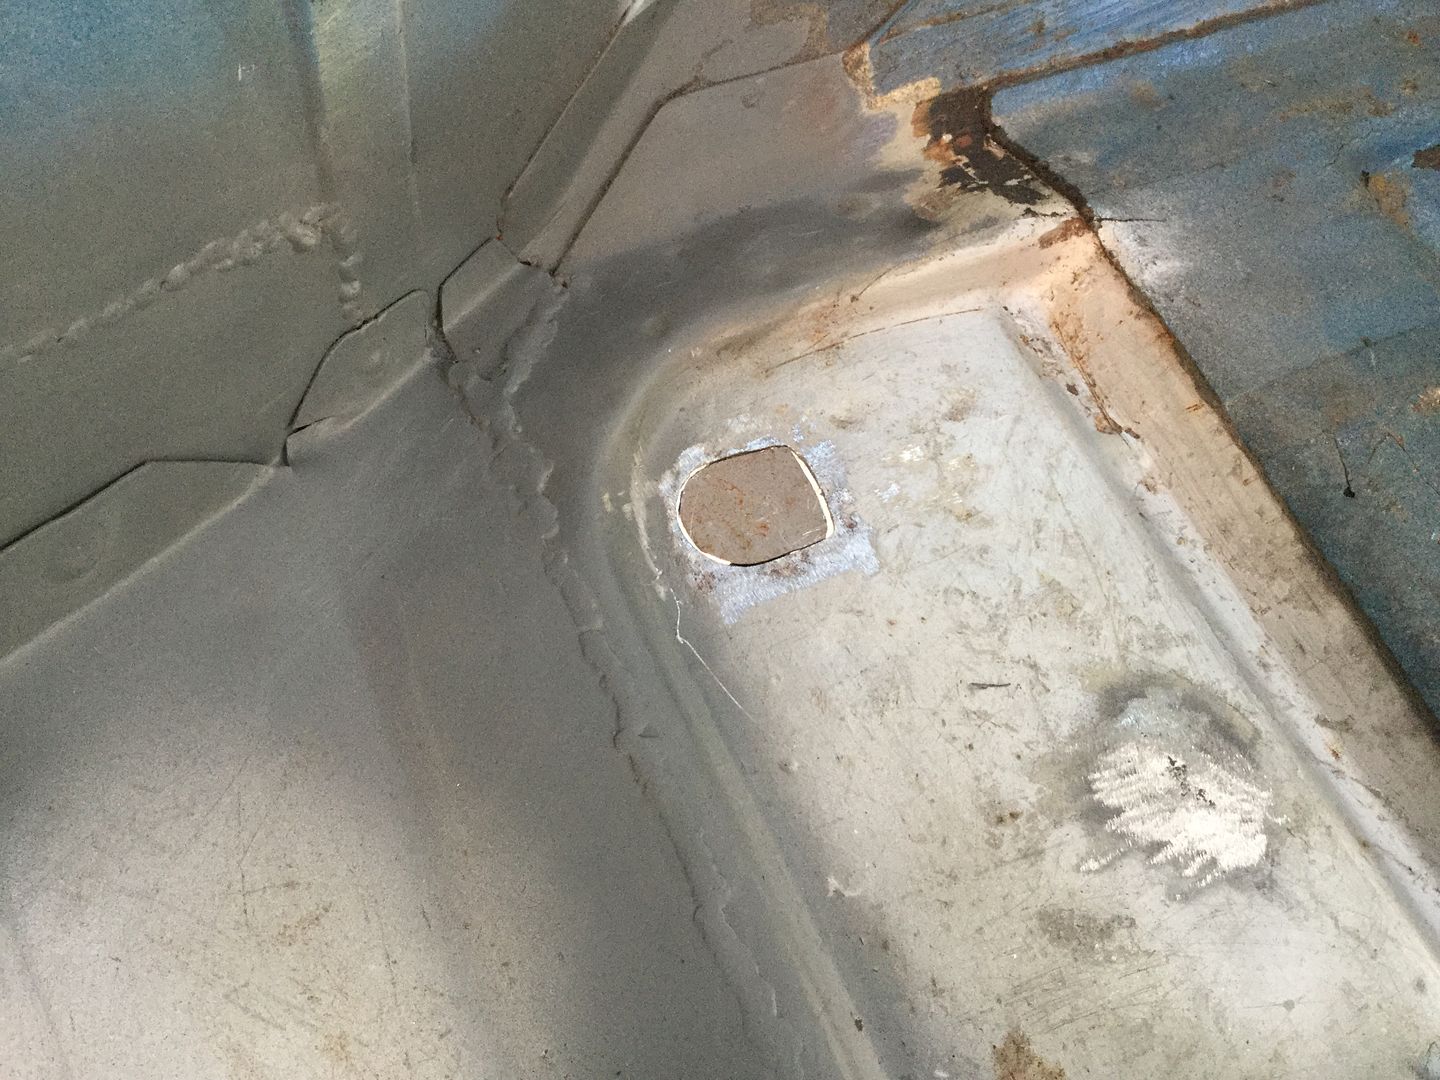
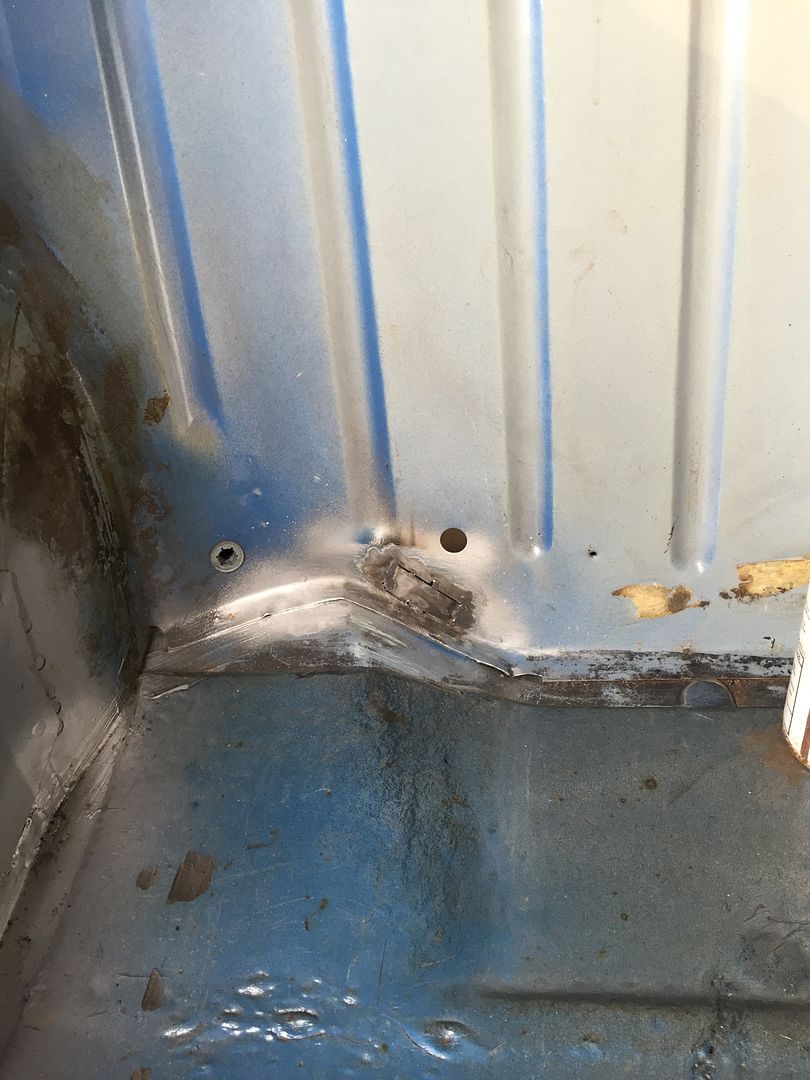
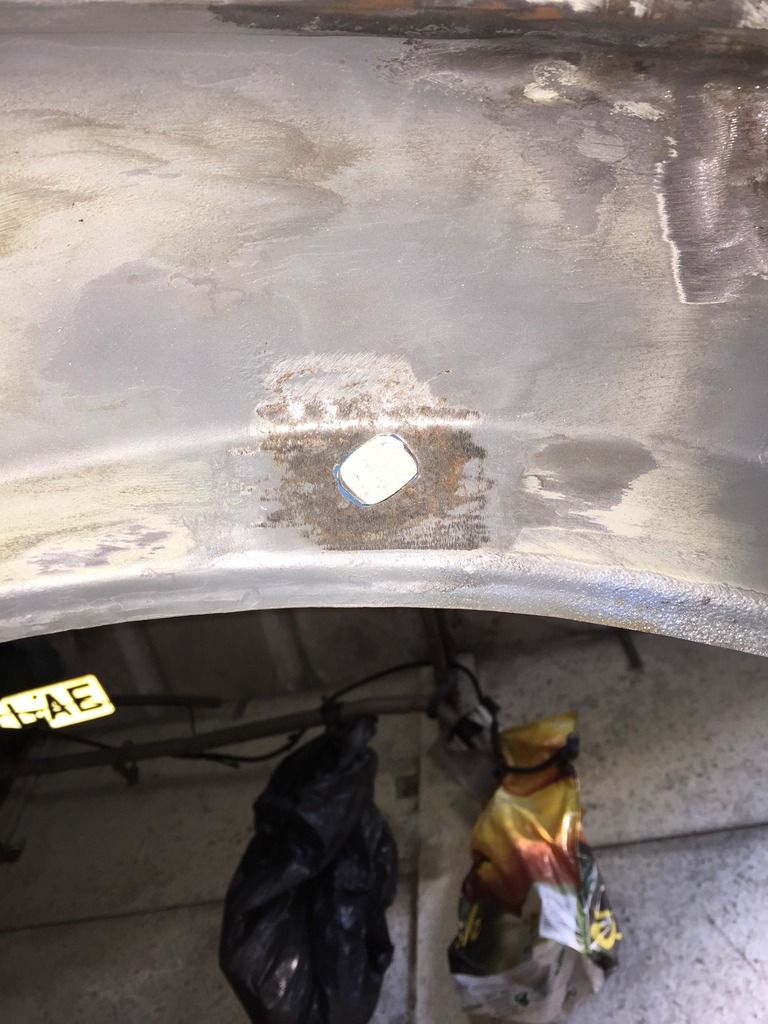
Found this small hole in the top of the rear passenger wheel arch when I removed the under seal so opened it out with my burr and made a repair

IMG_3136_zps5lvarmsd.jpg

Welded in and dressed up forgot to take a pic of the finished repair bloody horrible welding upside down thankfully that's one of the last repairs on the shell

I've just been going around finishing of the odds and sods that need doing welded up the old wheel arch holes and a couple of other bits
The end is in sight 😃

Back on the doors this weekend with any luck I'll get the skin on and start on the second door

Mark


0 user(s) are reading this topic

0 members, 0 guests, 0 anonymous users