Jump to content


Photo
* * * * - 1 votes

Bruce the clubman 1972


  • Please log in to reply
362 replies to this topic

#31 Hegnirst

Hegnirst

    Up Into Fourth

  • TMF+ Member
  • PipPipPipPipPipPipPipPipPip
  • 3,475 posts
  • Location: UK
  • Local Club: Hilltop Minis

Posted 09 May 2012 - 07:20 PM

Well driven? Tell my mom, she worries haha


its gone now im afraid
i want to get "behind every great man, there is a women rolling her eyes"
:P

#32 Hegnirst

Hegnirst

    Up Into Fourth

  • TMF+ Member
  • PipPipPipPipPipPipPipPipPip
  • 3,475 posts
  • Location: UK
  • Local Club: Hilltop Minis

Posted 09 May 2012 - 07:23 PM

then i just took some photos LOL

Posted Image
Posted Image
Posted Image
Posted Image
Posted Image

then some emptying happened LOL

i then decided I wanted a center dial :P
so i bought a second hand one which had some wiring that came with it and a speedo cable :)
Posted Image

Edited by Hegnirst, 09 May 2012 - 07:24 PM.


#33 Hegnirst

Hegnirst

    Up Into Fourth

  • TMF+ Member
  • PipPipPipPipPipPipPipPipPip
  • 3,475 posts
  • Location: UK
  • Local Club: Hilltop Minis

Posted 09 May 2012 - 07:30 PM

more flashing tape under the bonnet :) stop that rattle LOLPosted Image

LOL!

back to the dial.....some more stripping....(as you may off noticed i got distracted and started doing stripping LOL)

Posted Image
then i painted the old metal plate that covers the hole
Posted Image
.. and fitted it
Posted Image

through doing so i decided i need to replace all the wiring as its just nuts!! sooooo many relays and fuses!! its ridiculous! whilst fiddling with all the wires and pipes that were inevitably in the way i decided to cut the center of the bottom dash rail out so i had more space to work with :P 
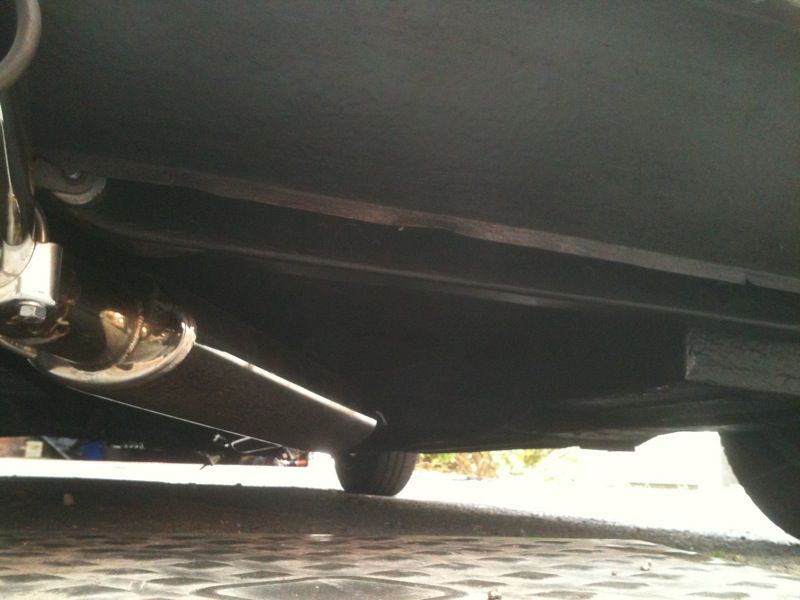
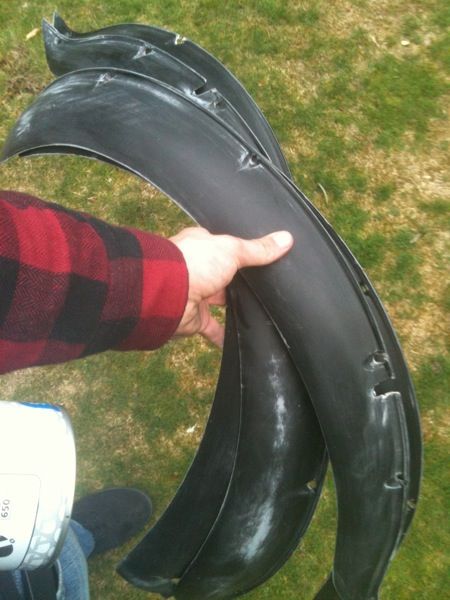
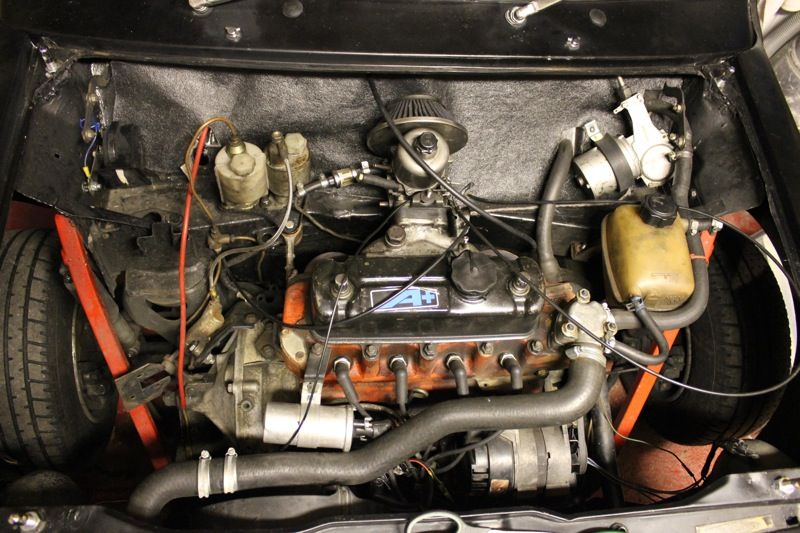
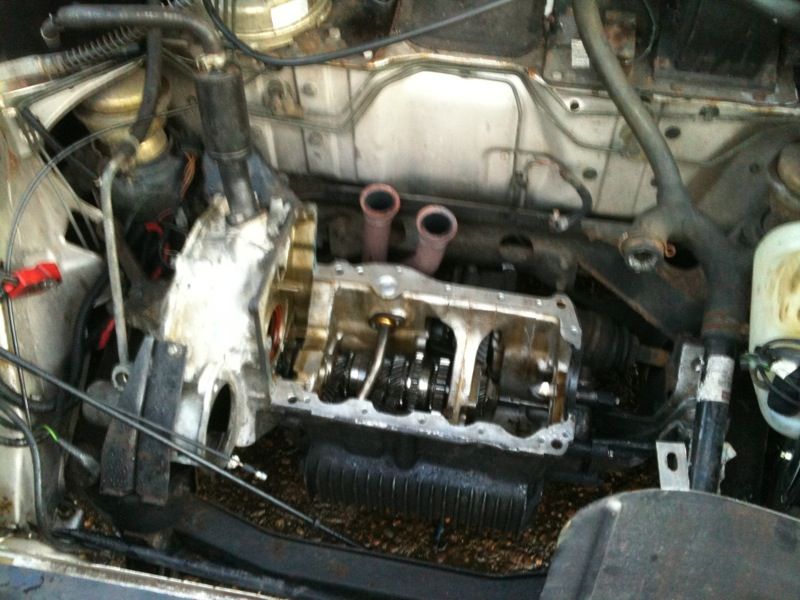
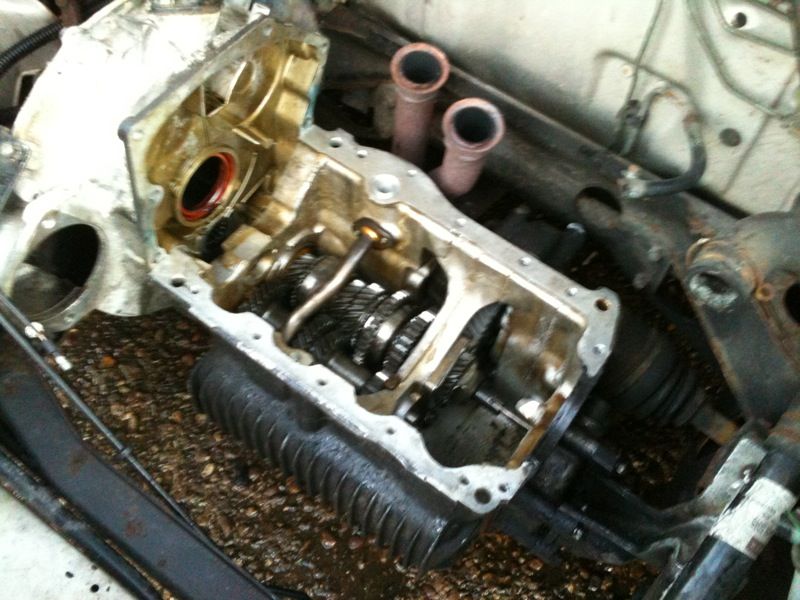
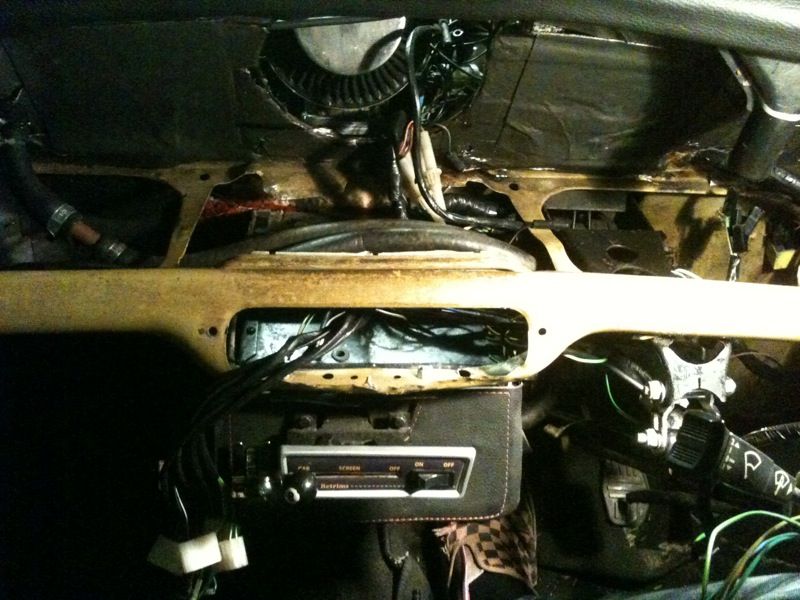
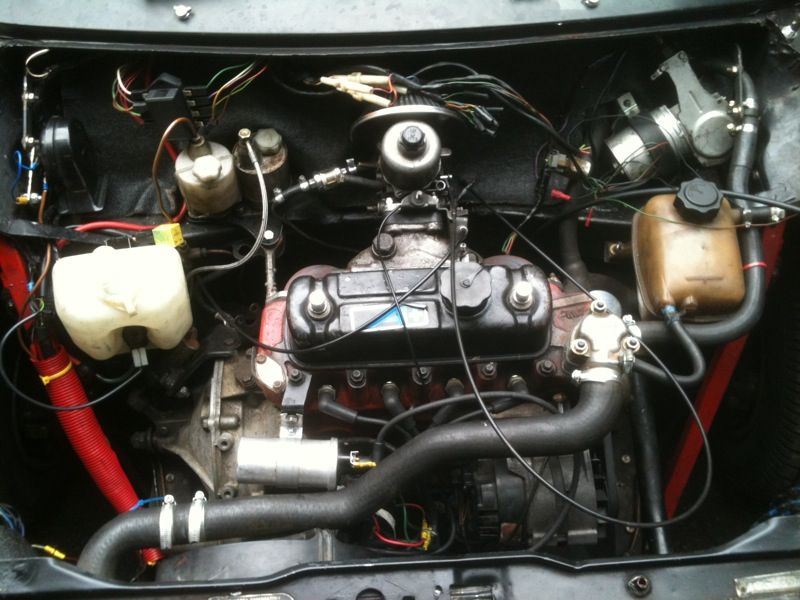
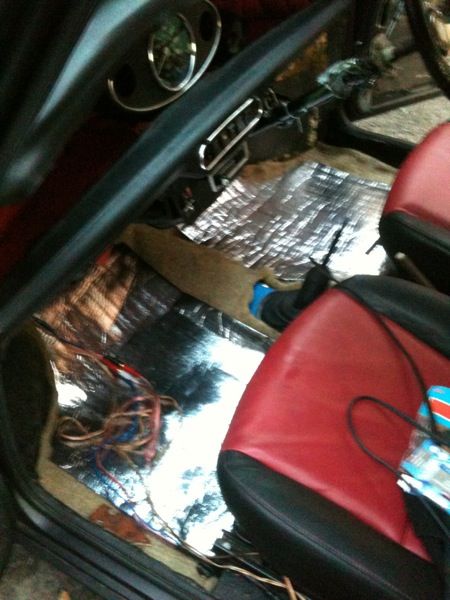
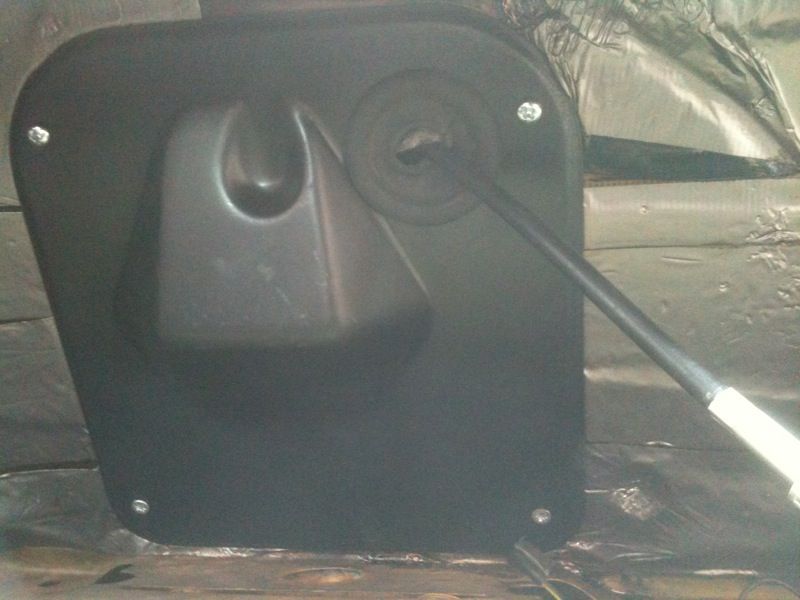
but first...drained the pipes and took them out the way before cutting LOL
Posted Image
then.....

Posted Image
Posted Image

wiring madness!

Posted Image
Posted Image

so i gave up with that till the next day and looked underneath the car and spray some black stuff around
LOL
Posted Image
Posted Image
Posted Image
looks good under there now :)

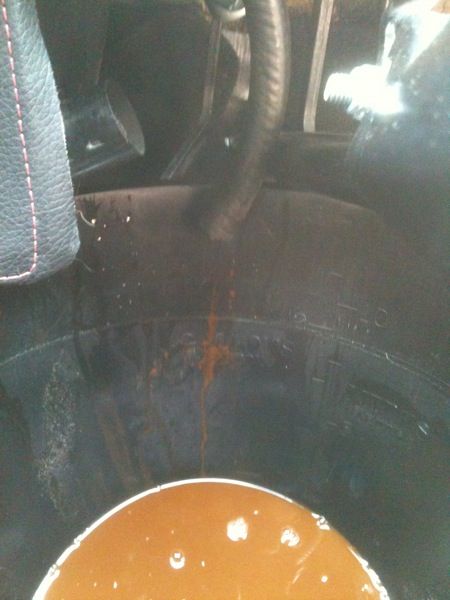
Edited by Hegnirst, 09 May 2012 - 07:34 PM.


#34 Hegnirst

Hegnirst

    Up Into Fourth

  • TMF+ Member
  • PipPipPipPipPipPipPipPipPip
  • 3,475 posts
  • Location: UK
  • Local Club: Hilltop Minis

Posted 09 May 2012 - 07:37 PM

more photos underneath

Posted Image
Posted Image

i then prepared the wiring harness of the dials for a center dial

Posted Image

and made the soldered the wires longer for the bulbs

Posted Image

Posted Image

all connected
Posted Image
Posted Image

and in it goes with some foam to hold it in place for now ahahha

Posted Image

Edited by Hegnirst, 09 May 2012 - 07:37 PM.


#35 Alex_B

Alex_B

    Doesn't put foot in mouth enough!

  • TMF+ Member
  • PipPipPipPipPipPipPipPipPip
  • 4,573 posts
  • Location: Eastbourne

Posted 09 May 2012 - 07:40 PM

If i were you i would get some practising on that soldering, it should be fine but it can be done a lot neater, mines really improved now i have done a lot of it, and you dont want it cracking or splitting and shorting out :)

#36 Hegnirst

Hegnirst

    Up Into Fourth

  • TMF+ Member
  • PipPipPipPipPipPipPipPipPip
  • 3,475 posts
  • Location: UK
  • Local Club: Hilltop Minis

Posted 09 May 2012 - 07:41 PM

meanwhile.... the exhaust was blowing

Posted Image

LOL

moving on....
Posted Image
the badge that came with the car...
Posted Image
was a bit messy to be honest so we stripped it and then out it back on for now
Posted Image

then I sanded al the arches i took off and repainted them
Posted Image

and put them back on

Posted Image
Posted ImagePosted ImagePosted Image

Edited by Hegnirst, 09 May 2012 - 07:43 PM.


#37 Hegnirst

Hegnirst

    Up Into Fourth

  • TMF+ Member
  • PipPipPipPipPipPipPipPipPip
  • 3,475 posts
  • Location: UK
  • Local Club: Hilltop Minis

Posted 09 May 2012 - 07:41 PM

i then took the back bumper off to spray a bit of sunshine on it and made my self think it was a good idea to get the rear bumper smoothed, so i mocked it up...


Posted Image
Posted ImagePosted Image

Posted Image
mocked up..
Posted Image

Edited by Hegnirst, 09 May 2012 - 07:44 PM.


#38 Hegnirst

Hegnirst

    Up Into Fourth

  • TMF+ Member
  • PipPipPipPipPipPipPipPipPip
  • 3,475 posts
  • Location: UK
  • Local Club: Hilltop Minis

Posted 09 May 2012 - 07:50 PM

So i then forced myself to gut the car of electrics and start again, it had to be done they werent very good at all, sorry chris!

so it started...

Posted Image
Posted Image
Posted Image


mmmm nice and bear
Posted Image


Posted Image

all of the wiring!

Posted Image

and a sneaky pic again :P

Posted Image

#39 Hegnirst

Hegnirst

    Up Into Fourth

  • TMF+ Member
  • PipPipPipPipPipPipPipPipPip
  • 3,475 posts
  • Location: UK
  • Local Club: Hilltop Minis

Posted 09 May 2012 - 07:55 PM

Posted Image

nice and bare in the engine bay
Posted Image
Posted Image
he looks so sad in the garage :'(
Posted Image

then i bought a good second hand wiring loom from good old Cols

Posted Image

so i then i went round labeling where everything goes, i used the haynes manual for this as i had never seen any of the connectors for anything! i now could recite the colours to you :P

Posted Image
Posted Image
Posted Image
Posted Image
Posted Image
Posted Image
Posted ImagePosted ImagePosted ImagePosted ImagePosted ImagePosted Image

Needless to say all of this wirig did come in handy as i have used a lot of it else where LOL

Posted ImagePosted ImagePosted ImagePosted ImagePosted ImagePosted ImagePosted ImagePosted ImagePosted ImagePosted ImagePosted ImagePosted ImagePosted ImagePosted Image

Edited by Hegnirst, 09 May 2012 - 07:57 PM.


#40 Hegnirst

Hegnirst

    Up Into Fourth

  • TMF+ Member
  • PipPipPipPipPipPipPipPipPip
  • 3,475 posts
  • Location: UK
  • Local Club: Hilltop Minis

Posted 09 May 2012 - 08:06 PM

Just before gutting the car for electrics, i forgot to mention the biggest part of the this clubbie LOLS!

i took bruce up to D&G rolling road! :P
he is absolutely amazing, the reason i took him up is because the car wasnt pulling correctly kind of felt like it had massive turbo lag ahaha and sounded like a bag of bolts, so i went up there and he confirmed my worst fears the big ends had gone :'(
so knowing this i then gutted the electrics ahaha


after i put the electrics in i took it up to Col's mini center to have another engine fitted and my old engine to be surcharged against it.
he had on of these lying around :)

Posted Image
Posted ImagePosted ImagePosted Image

and where the engine was :P

Posted Image
Posted Image

Edited by Hegnirst, 09 May 2012 - 08:08 PM.


#41 Hegnirst

Hegnirst

    Up Into Fourth

  • TMF+ Member
  • PipPipPipPipPipPipPipPipPip
  • 3,475 posts
  • Location: UK
  • Local Club: Hilltop Minis

Posted 09 May 2012 - 08:08 PM

And yes you saw right 32K on the clock! bonus!!!!!

#42 Hegnirst

Hegnirst

    Up Into Fourth

  • TMF+ Member
  • PipPipPipPipPipPipPipPipPip
  • 3,475 posts
  • Location: UK
  • Local Club: Hilltop Minis

Posted 09 May 2012 - 08:08 PM

out comes the gear box Posted Image

and the engine
Posted Image
Posted ImagePosted Image

I then ordered a 3.105 FD for it and a Kent 276 camshaft for it :P
the gear box needed to be rebuilt hence why they were separate at the time :) new synchro's and idle gear.

so whilst that was being done i carried on with the electrics!

Edited by Hegnirst, 09 May 2012 - 08:13 PM.


#43 Hegnirst

Hegnirst

    Up Into Fourth

  • TMF+ Member
  • PipPipPipPipPipPipPipPipPip
  • 3,475 posts
  • Location: UK
  • Local Club: Hilltop Minis

Posted 09 May 2012 - 08:20 PM

carrying on in the engine bay, laying it all out through the body first...
Posted Image
Posted Image

and made a nice neat loom for the front section

Posted Image

wiring the headlights in


Posted Image

Posted Image
some more wiring in the car

Posted Image
Posted Image

and then used some more tubing to cover some wires i ran up the brace bars

Posted Image

Posted Image

which i thought looked quite neat :)
as far as DIY goes LOL

piccie at night after another day
Posted Image
next day...
Posted Image
Posted Image

Can you tell he's angry at me for me leaving him in there with nothing hooked up :(

Posted Image
Posted Image
Posted Image

Edited by Hegnirst, 09 May 2012 - 08:21 PM.


#44 Hegnirst

Hegnirst

    Up Into Fourth

  • TMF+ Member
  • PipPipPipPipPipPipPipPipPip
  • 3,475 posts
  • Location: UK
  • Local Club: Hilltop Minis

Posted 09 May 2012 - 08:23 PM

oh isnt making loom fun woooooooo
steering wheel looms made up and went on nice and easily :)
Posted Image
Posted Image
Posted Image

..a quick check ..

Posted Image

...and electrics FINISHED!


so after that to waste the rest of the day i sprayed the spare wheel black and sprayed the inside of the booty black

Posted ImagePosted Image

peakabooo!!

Posted Image

And also made and fitted a new wiring loom to the Sub i took out

Posted Image

Posted Image

Edited by Hegnirst, 09 May 2012 - 08:53 PM.


#45 Hegnirst

Hegnirst

    Up Into Fourth

  • TMF+ Member
  • PipPipPipPipPipPipPipPipPip
  • 3,475 posts
  • Location: UK
  • Local Club: Hilltop Minis

Posted 09 May 2012 - 08:29 PM

i then fumbled around with the centre dial again :P

Posted Image
Posted Image
Posted Image

AND BINGO!

Posted Image
Posted Image

I got given some underlay for carpets, a lot of it..

Posted Image
Posted Image

too much?..

Posted Image

.. naaa
LOL! so i cut a load and put it all in underneath the carpet

Posted Image

and then i bought a cowling for it and put it it along with the rest of interior...

Posted Image

Posted Image
Posted Image
Posted Image

and bought a mk1 type boot lid handle for good measure :P

Posted Image

Nearly there with the engine...

Posted Image

duplex timing chain as well mmmmm

Posted Image
Posted Image

ready to go on

Posted Image

its in there somewhere :P

Posted Image

Edited by Hegnirst, 09 May 2012 - 08:51 PM.


0 user(s) are reading this topic

0 members, 0 guests, 0 anonymous users