Jump to content


Photo
- - - - -

Start From Scratch

roundnose

  • Please log in to reply
103 replies to this topic

#1 davefitz

davefitz

    Stage One Kit Fitted

  • Noobies
  • PipPipPip
  • 80 posts

Posted 01 June 2016 - 07:37 AM

Hi all,

Big fan of TMF so much fantastic info and some incredible builds here! Not much of a typist but will try, I think this might be more of a visual build diary then anything but happy to chat with anyone.


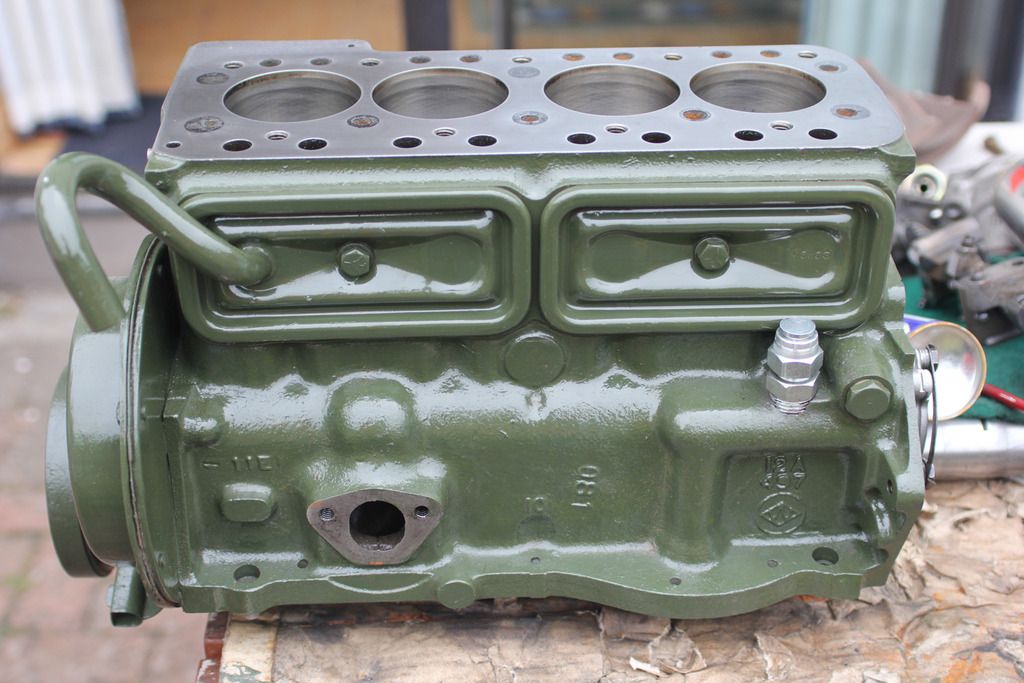
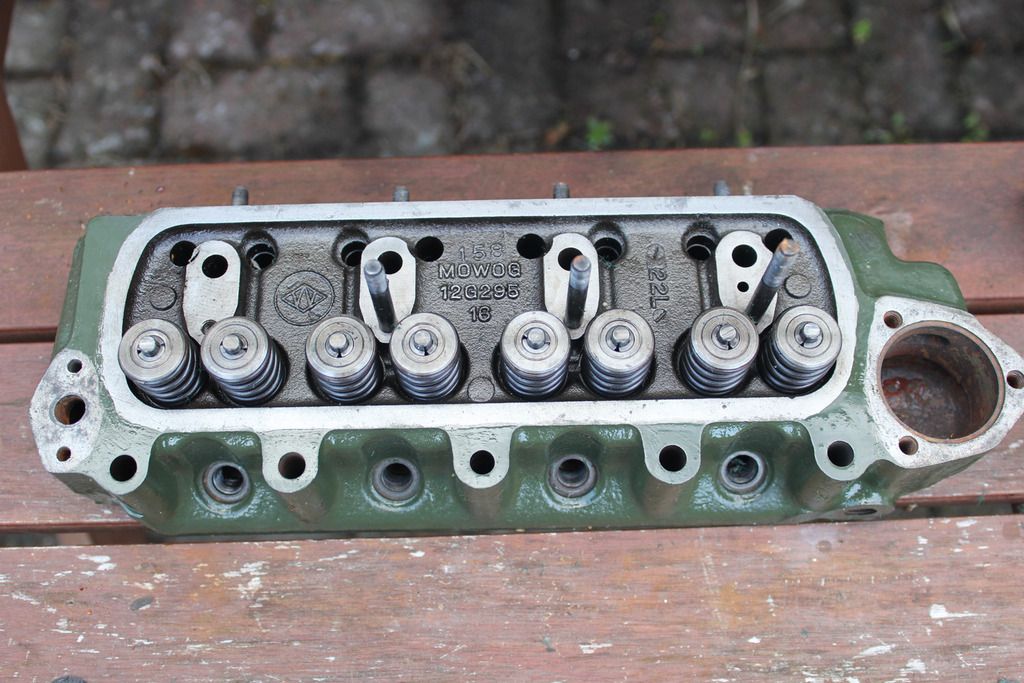
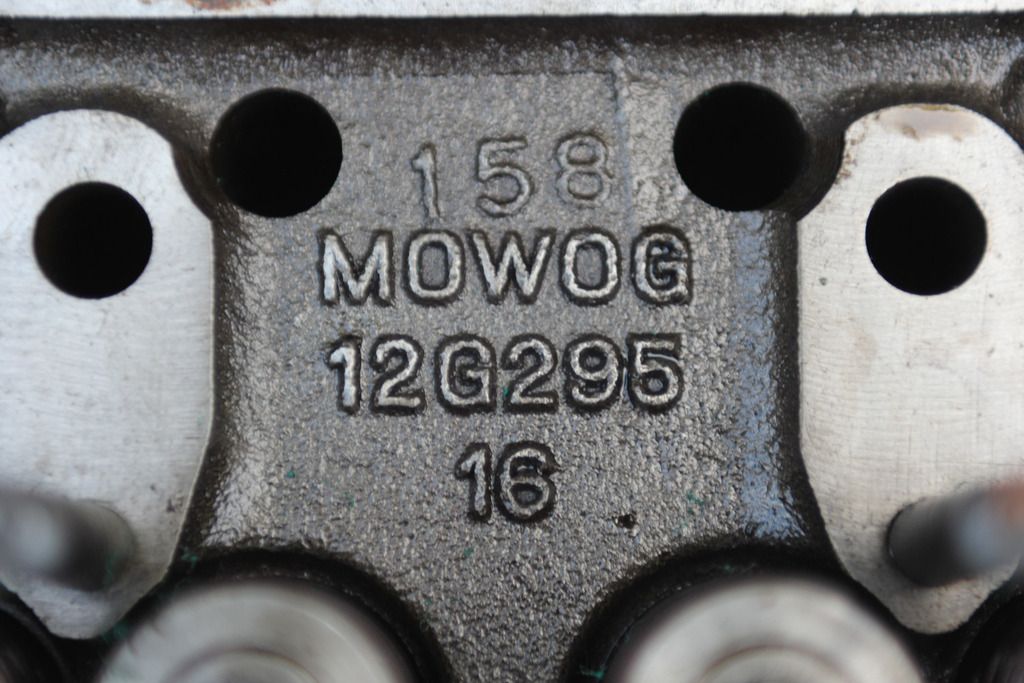
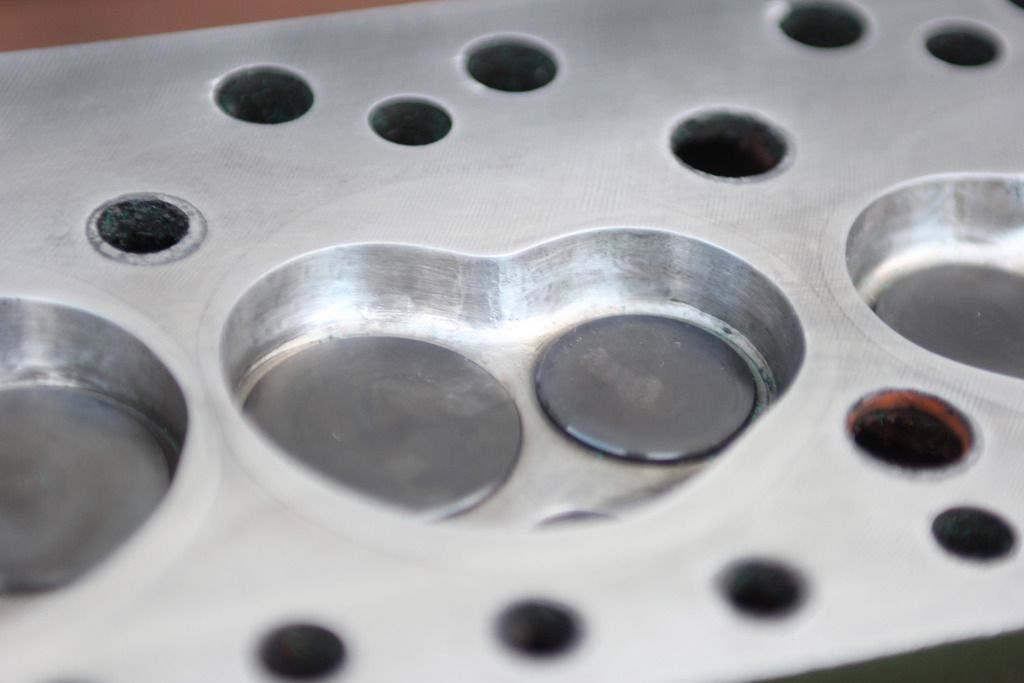
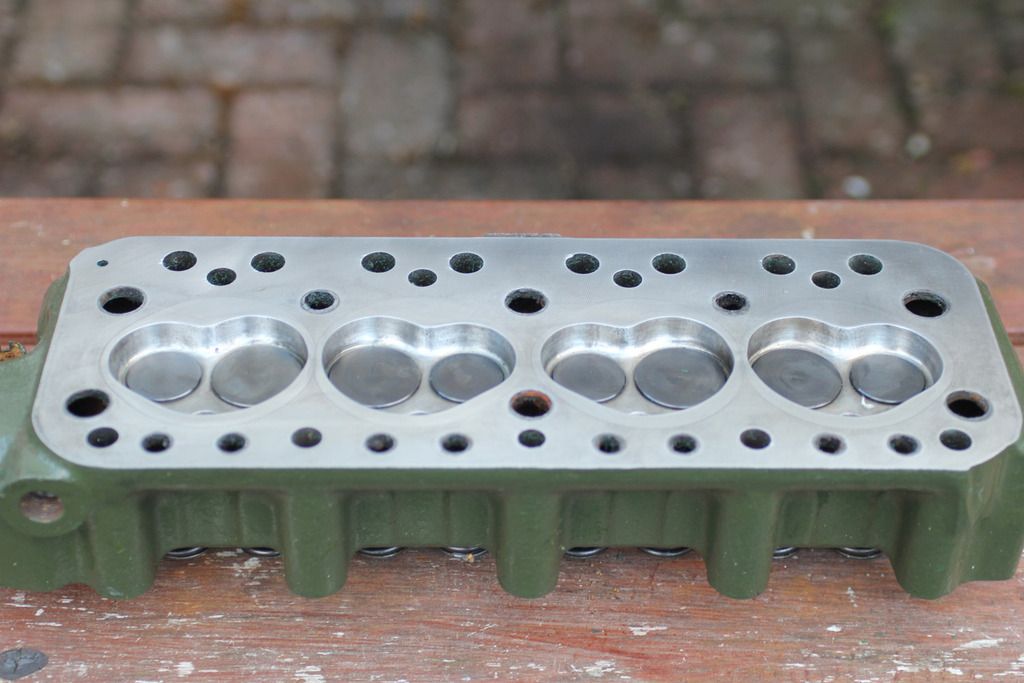
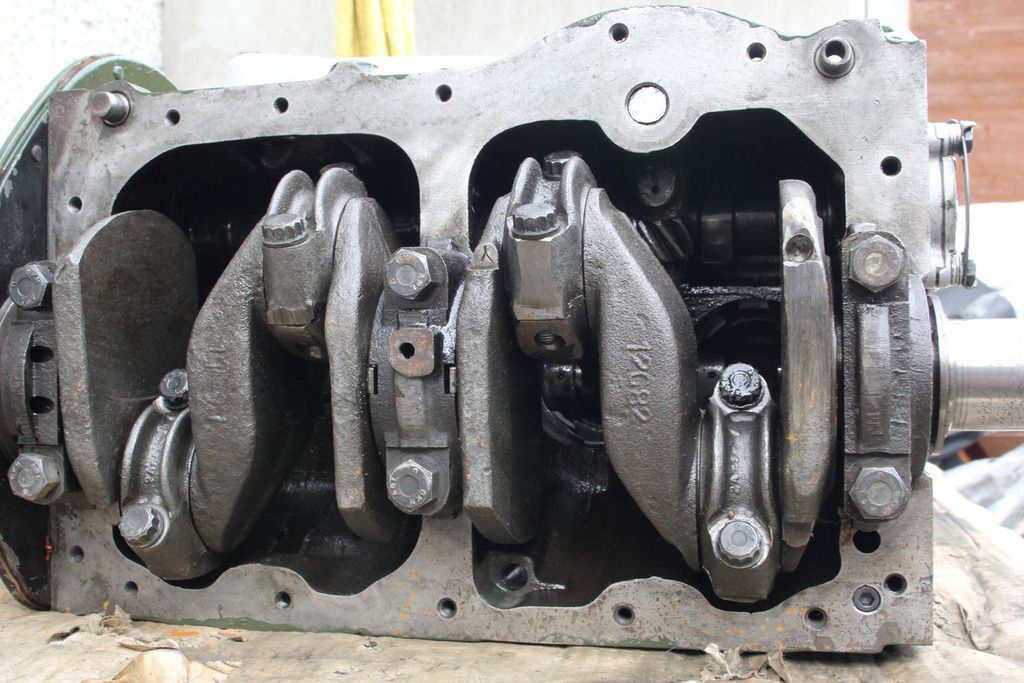
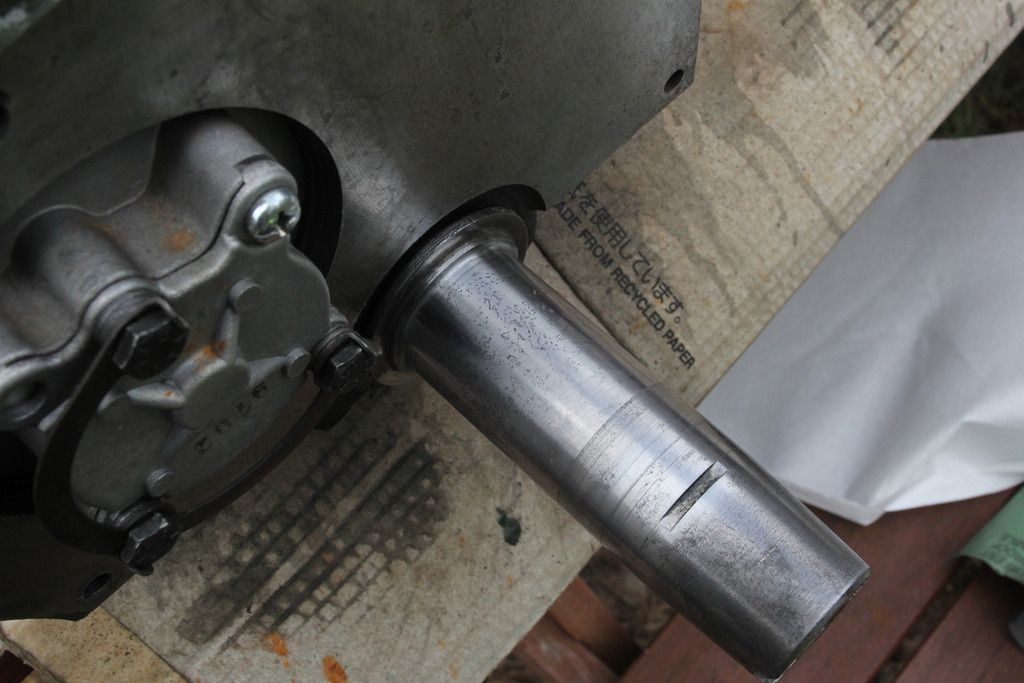
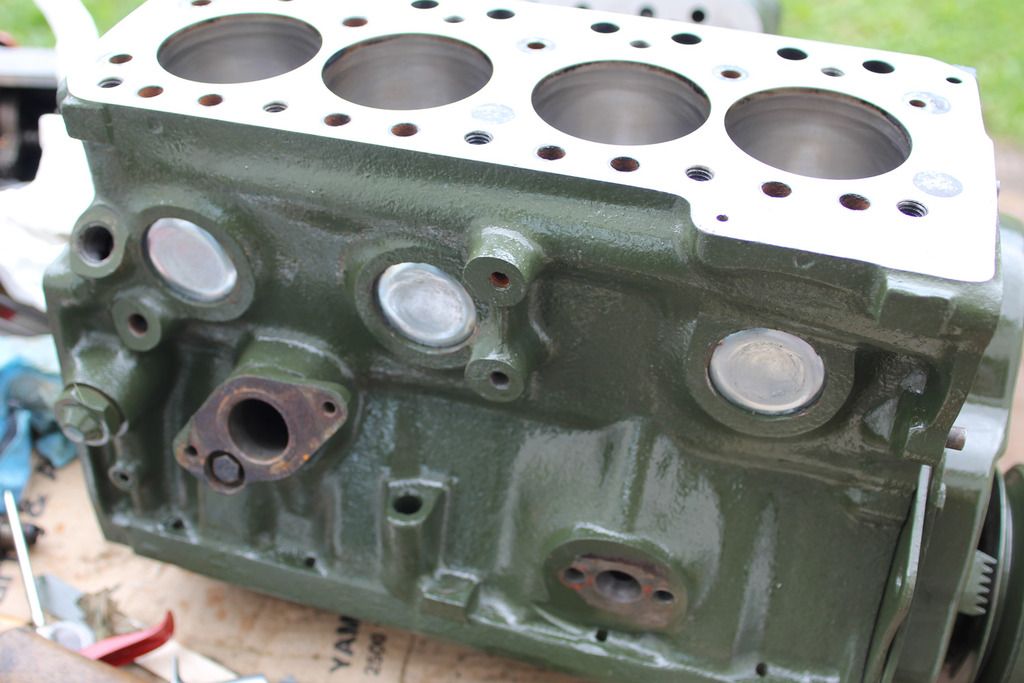
This car started as 1000HL that I bought when I was 16, Im now 37! I did a bit of a restoration the first time round which took me years as I have no garage so was dependent on friends lending me space. The usual rusted areas sills, doors, around rear windows etc. The car was used through college and I had a 1130cc small bore engine that I built while working in an engine builders. 12g295 ported head, fiat flat top lightweight pistons.


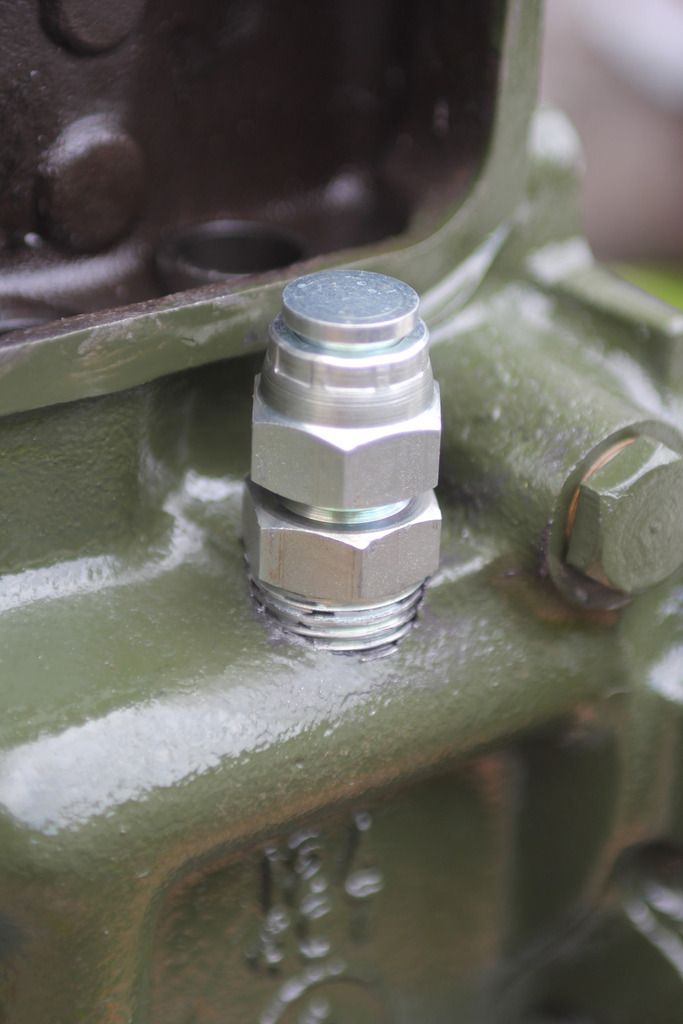
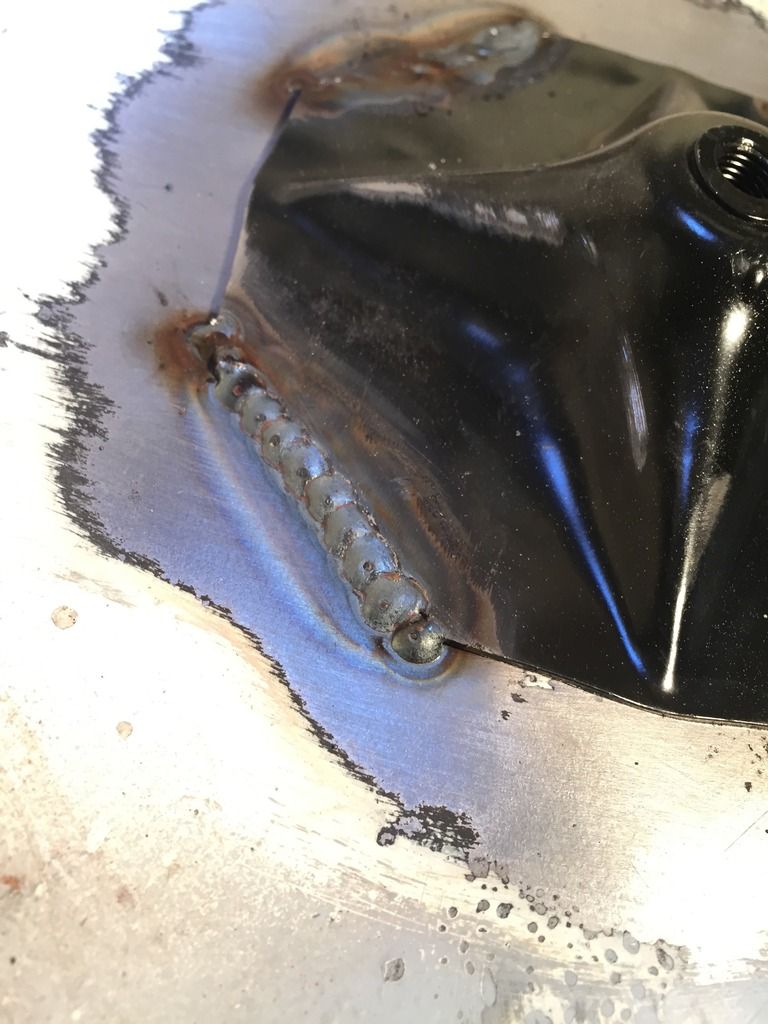
This was the engine after running for a few years before I sold it on. It obviously got a good clean but was still pretty good.


IMG_9076_zpsjvwexilc.jpg

IMG_9070_zpswslqkcvk.jpg

IMG_9067_zpsixsewgnf.jpg

IMG_9065_zps19xgrrl6.jpg

IMG_9064_zpstfh5kfyf.jpg

IMG_8454_zpsujhfvgyq.jpg

IMG_8447_zpsbpu2j121.jpg

IMG_8444_zpsm4wfai3f.jpg

IMG_8441_zpsg2pvkcn6.jpg

IMG_8440_zpstavdqphv.jpg

IMG_8436_zpslhwvo6sk.jpg


#2 davefitz

davefitz

    Stage One Kit Fitted

  • Noobies
  • PipPipPip
  • 80 posts

Posted 01 June 2016 - 07:53 AM

I then decided to purchase an MED 1430 and through that in. Loads of torque quite wheel spinny on 10 wheels. Although the car was never set up right. So then last summer I saw a dreaded rust bubble or two and got at it with a screwdriver. 20 years out of last paint job was pretty good I thought for an outdooor car. I still have no garage. 4 hours later, before I knew what had happened I had stripped the car to a bare shell again! yikes! Decided I wasnt into the white with British racing green roof any more and wanted something more like this:


IMG_7537_zpscrfphx9m.jpg


I always liked the idea of a sleeper style mini, something that looked very standard but drove well and was quick. In hindsight now if I could go back I would have kept the car original, creamy colour, tartan seats and vinyl roof etc, even though it probably wasnt the best of the mini models it would have been nice to just have really original car. But as i have butchered the sh*t out of it it will always be anything but original. Would have been great to start with an earlyer car or Mk3 cooper S or something before putting so much cash into it but hey, whatya gonna do! So my thinking now is to go for the other end of the scale, something with a bit of stand out and character. I love this darker than original Britax cooper look! think it really pops and maybe that's more in keeping with the minis character!


Edited by davefitz, 01 June 2016 - 04:22 PM.


#3 davefitz

davefitz

    Stage One Kit Fitted

  • Noobies
  • PipPipPip
  • 80 posts

Posted 01 June 2016 - 08:13 AM

So here is where I am now:

IMG_6650_zps60lnbu9k.jpg

IMG_6651_zpsgmfuxrdr.jpg

IMG_6701_zpsn1aff6p7.jpg

IMG_6702_zps1ittghat.jpg

IMG_6703_zpsb2kr4pbs.jpg

IMG_6704_zpsdn58qgo6.jpg

IMG_6705_zpsthaltslo.jpg

IMG_6706_zps30xurbl1.jpg

IMG_6707_zpso1jtdps3.jpg

IMG_6805_zpsixlif2ra.jpg


Lots of blowing holes at the beginning!!! Use a piece of copper behind now to absorb the heat, and try to put in less heat in the first place!


IMG_6806_zpso8feu5vu.jpg

IMG_7337_zpsmoludbre.jpg


#4 davefitz

davefitz

    Stage One Kit Fitted

  • Noobies
  • PipPipPip
  • 80 posts

Posted 01 June 2016 - 08:19 AM

Added in these seat belt plates also just in case this is more of a road car. Dont think it will ever be daily driver though. I would want to decide really.

IMG_7531_zpsa2xvww0j.jpg


Plates for SD roll cage all lined up and welded in.

IMG_7700_zps0ozgkn88.jpg

IMG_7701_zpsg2qtzmvr.jpg

IMG_7702_zpsxdztwaed.jpg

IMG_7705_zpsf4dzcddi.jpg

IMG_7700_zps0ozgkn88.jpg


Not the tastiest of welding but getting better.

IMG_7706_zps84pu9ycx.jpg


#5 davefitz

davefitz

    Stage One Kit Fitted

  • Noobies
  • PipPipPip
  • 80 posts

Posted 01 June 2016 - 08:24 AM

Onto the roll over Jig rotisserie I made thanks to plans on TMF! :)

IMG_8312_zpsw4f9x4ai.jpg

IMG_8313_zpsfvsz0cme.jpg

IMG_8314_zpsn7pnrrar.jpg

IMG_8315_zpsji0fp3on.jpg

IMG_8316_zpsbts7j0rn.jpg

IMG_8317_zpsdwmox2nm.jpg

IMG_8319_zpsm9gpaglw.jpg


And we're off!


#6 davefitz

davefitz

    Stage One Kit Fitted

  • Noobies
  • PipPipPip
  • 80 posts

Posted 01 June 2016 - 08:30 AM

Mistake to put waxoil under the car and in the wheel arches last time, box sections only this time.


#7 ckneller321

ckneller321

    Mini Mad

  • Members
  • PipPipPipPip
  • 224 posts
  • Location: Northampton

Posted 01 June 2016 - 01:39 PM

Looks like you've made a cracking start


#8 davefitz

davefitz

    Stage One Kit Fitted

  • Noobies
  • PipPipPip
  • 80 posts

Posted 01 June 2016 - 02:55 PM

Quick check to see what pitting is like underneath the floors: its not bad. but a good few bits to patch up.


IMG_8321_zpsfeqkydul.jpg


IMG_8953_zpslokgmcnx.jpg

IMG_8954_zpsozqnu3lq.jpg

IMG_8955_zpscry7isdp.jpg

IMG_8956_zpsxvu3iluh.jpg

IMG_8957_zpstaousfjc.jpg

IMG_8958_zpsvqqjhb7t.jpg

I put a little too much heat again into this and need to learn to be a bit more patient. Stitch welding technique is also vital for areas like this as opposed to running a few seams as i should have done here.


IMG_9002_zpsq7x57cl4.jpg

IMG_9004_zpsyfumhht6.jpgIMG_9005_zpsz07dnvib.jpg


#9 davefitz

davefitz

    Stage One Kit Fitted

  • Noobies
  • PipPipPip
  • 80 posts

Posted 01 June 2016 - 03:15 PM

Close up all the bloody holes in bulkhead:

IMG_9032_zpsjuwksllo.jpg


IMG_9050_zps06ykjgov.jpg

new patch in wiper mount hole and re-cut half the hole.

IMG_9051_zpso1wip6qj.jpg

IMG_8894_zpscgvaqlhm.jpg

IMG_8893_zpsilq3a109.jpg

IMG_8892_zpshwitwmws.jpg


#10 davefitz

davefitz

    Stage One Kit Fitted

  • Noobies
  • PipPipPip
  • 80 posts

Posted 01 June 2016 - 03:37 PM

So main objective is to try and get even longer this time out of the paint job 15-20 years as an outdoor car with not a whole lot of mileage on it was pretty good rust wise. I cant remember what product I used for undercoating last time but it was like gravitex under a different brand name and I only used a light coating of it. This time round Im going with rustbusters full arsenal of products.

http://www.rust.co.uk/

I'm pretty excited to see how it holds up as I have read good things. I know POR15 have had siilar products on the market but feel good about my choice here. So it will be CUSTOM EPOXY 421 and Epoxy Mastic 121 for underside, wheel arches, and possibly boot floor and maybe inside floor also? depending on how smooth I can get it to spray. I bought a few gun setups so will have to play around. 1.8 tip and thinned down to 15% I believe is correct.


I have started stripping paint now which is extremely satisfying, again rustbusters paint stripper is working a treat, cant seem to find it on their site anymore.

IMG_9054_zpsskzhynyn.jpg

IMG_9055_zpske88vyrq.jpg

IMG_9056_zpsyaro6oks.jpg

IMG_9057_zpsexsoqgah.jpg

IMG_9124_zps1ys4uy0m.jpg

IMG_9125_zpshgl8psqx.jpg

IMG_9252_zpsurrsjngr.jpg

IMG_9253_zpsurcopkge.jpg

IMG_9254_zpsyuntpgn1.jpg


IMG_9255_zpsfyng3t3i.jpg


IMG_9256_zpswmeb432t.jpg


IMG_9257_zpsd5trbbxu.jpg


IMG_9258_zpsmfvblqh0.jpg


#11 davefitz

davefitz

    Stage One Kit Fitted

  • Noobies
  • PipPipPip
  • 80 posts

Posted 01 June 2016 - 03:52 PM

All bare metal is being etched with PHOS-KLEEN B Phosphoric acid based surface treatment. Which is working great. I have no ties with Rustbuster just happy to share my experience here with there products to date, which have all worked very well.


I have found the trick with this product is to apply with a red scotchbright and give it lots of scrubbing without letting it pool too much. I leave it on overnight and then the next day go over it once again but this time after loosening it all up, clean it off with paint prep or water. I could leave it on until painting time and then go over it again just before, but so far the etched finish it has left has kept the metal totally rust free. If it is left on to dry and not washed or rubbed off while still wet it needs to be sanded down or de-nibbed to remove any of the residue left behind. The only thing that will chemically move it again is to use more on it to loosen it and then rub it down with paint prep or water and dry it off. Car is booked in for media blasting next month so this will keep it nicely until then.


Few patches in boot floor/rear seat, would have been nicer to have replaced whole panel really but once sound deadeing goes back on here you wont see these patches:


IMG_9129_zpsharctx07.jpg


#12 davefitz

davefitz

    Stage One Kit Fitted

  • Noobies
  • PipPipPip
  • 80 posts

Posted 01 June 2016 - 03:58 PM

Decided the battery box needed replacing and as I didnt have time to order a new one I just made this up. Not as neat as new one but its 1.2mm steel and I put a whack in it from inside the drain hole with a socket so as any water will flow out.


IMG_9177_zpszdhquuau.jpg


IMG_9178_zpse4eghltc.jpg


IMG_9179_zps7v7pybzf.jpg


Stitch welding proves to be much better, cleaner with much less heat!

IMG_9206_zpsylzw9qqu.jpg


#13 davefitz

davefitz

    Stage One Kit Fitted

  • Noobies
  • PipPipPip
  • 80 posts

Posted 01 June 2016 - 04:15 PM

Few new other patch sections inner door post and passenger floor until we are rot free!!

IMG_9269_zpsx4co4wrr.jpg


IMG_9268_zpsglpe33tg.jpg


IMG_9270_zpski9w9vey.jpg

After welds have been ground down and metal has been beat back into shape and etched its hard to see repair which is good.


IMG_9271_zpsspnmnvkg.jpg

Took off any hangy bits off the bottom like fuel line tabs, will run everything inside in stainless braided hoses.


IMG_9272_zpsumifuhdj.jpg

This should now blast up nice and clean with hopefully no holes and minimal pitting.


Need to weld up all these access holes next to avoid any moisture in the car Ive ordered a load of M6 x 25 washers to use here rather than trying to cut all the disks by hand:

IMG_9273_zpstekeuyhb.jpg


IMG_9274_zpsvjwl5mdl.jpg

Again beating out a few bits here to get them flat and blasting should leave it nice after that.


IMG_9275_zpsetnwhufb.jpg


IMG_9276_zpsbnrfiqra.jpg

All good in front arch except for all that waxoil which I really need to clean and should have steamed cleaned the shell to start! Ill get it with silicone and grease remover and then some strong detergent, dont want to blast all that sh*t everywhere into the steel.


Rear subfame should blast up ok also:

IMG_9278_zpsxtr5kdlk.jpg


#14 davefitz

davefitz

    Stage One Kit Fitted

  • Noobies
  • PipPipPip
  • 80 posts

Posted 01 June 2016 - 04:30 PM

Anyone got any ideas on how I might stop media going into the sills during blasting? I know I will be blowing it out but there is frickin waxoil in there and thought the media might stick to it and stay in there? and then what happens???? If only I could pressure wash with thinners. bottle brush  and silicone grease remover maybe?


#15 Archived2

Archived2

    One Carb Or Two?

  • Archived
  • PipPipPipPipPipPipPip
  • 1,093 posts

Posted 01 June 2016 - 04:50 PM

Try using soda as your blast media.
Will just rinse out. Then add more waxoyl.


Also tagged with one or more of these keywords: roundnose

0 user(s) are reading this topic

0 members, 0 guests, 0 anonymous users