Jump to content


Photo
- - - - -

1973 B18C4 Clubman Weekender


  • Please log in to reply
73 replies to this topic

#31 jamus

jamus

    On The Road

  • Noobies
  • PipPip
  • 44 posts
  • Location: Telford

Posted 29 October 2016 - 08:43 PM


Had some goodies through the post. Stainless manifold and some hasport ridged mounts.

CE6D18F0-155D-4E22-A641-3AC4AFDC98E1.jpg


Managed to get the engine in for the final time today. Well hopefully it won't have to come out again.
Even managed to get it in without damaging or marking anything which was a result.

First made sure I wasn't going to mark the frame.

9209CA36-1EB4-4806-905E-0394DE6F5C93.jpg

Then threw it in.

5148F6EE-81F5-4670-9835-290D0DB5DB98.jpg

Looking good.

27EA8091-D2F3-4BB8-8C9E-84D8C18D824F.jpg

Now to build it up. Hopefully going to start and see some real progress now.
Still unsure on rocker cover colour. May just go for the wrinkled black to suit the bulkhead.

Edited by jamus, 29 October 2016 - 08:46 PM.


#32 Shifty

Shifty

    Sponsored by Fosters (tm)

  • Admin
  • PipPipPipPipPipPipPipPipPipPipPip
  • 13,129 posts
  • Name: Sean
  • Location: Shropshire(sunny)
  • Local Club: TMF

Posted 29 October 2016 - 08:45 PM

I was hoping to see the windows fitted....


#33 jamus

jamus

    On The Road

  • Noobies
  • PipPip
  • 44 posts
  • Location: Telford

Posted 29 October 2016 - 08:49 PM

Hahaha. All in good time pal. Need to get the headlining fitted before I get those in.

#34 Shifty

Shifty

    Sponsored by Fosters (tm)

  • Admin
  • PipPipPipPipPipPipPipPipPipPipPip
  • 13,129 posts
  • Name: Sean
  • Location: Shropshire(sunny)
  • Local Club: TMF

Posted 29 October 2016 - 08:52 PM

Even better, lets see the boot fitting!!


#35 jamus

jamus

    On The Road

  • Noobies
  • PipPip
  • 44 posts
  • Location: Telford

Posted 30 October 2016 - 10:12 PM

Ssssshhhhhhhh we are not talking about that shifty!!!!!!!!!

Couldn't resist throwing some bits on today just for effect. And also had a play on this app if found a while ago which lets you change the colours on any picture. Great for coming up with ideas. So changed the rocker cover to black just to see what it would look like.

A6840A00-20DA-47B0-8026-CDACBC63573F.jpg

65B6BF4C-16B8-4046-843A-240194B49764.jpg

16D358B9-ACB3-4017-ACE6-7045F86472B2.jpg

Realised now that I still need a fair few parts. Again only small bits so will have to wait a couple of days while I get them ordered.

I need to get the engine squared in the frame so will make some stainless spacers for the mounts at work this week.

Edited by jamus, 30 October 2016 - 10:15 PM.


#36 Sleepy Stu

Sleepy Stu

    formerly Stewart_GT

  • TMF+ Member
  • PipPipPipPipPipPipPipPipPip
  • 2,564 posts
  • Location: Worcestershire

Posted 31 October 2016 - 06:37 PM

Looking good, where did you get the exhaust manifold from please?


#37 jamus

jamus

    On The Road

  • Noobies
  • PipPip
  • 44 posts
  • Location: Telford

Posted 31 October 2016 - 07:05 PM

Cheers dude.
I stumbled across the manifold on eBay. I wanted this style as I was sure it would fit my frame etc. Took me a while to find one as the only new ones I found where either from the states or Germany. This one was second hand but brand new unused.

#38 jamus

jamus

    On The Road

  • Noobies
  • PipPip
  • 44 posts
  • Location: Telford

Posted 18 November 2016 - 10:02 PM

Well I have been busy. Had a week off this week so made some good progress.

Fitted some new drive shaft seals to the box, then fitted the shafts and built up the suspension.

6212EEDC-DD6D-4ADE-9B47-549F9740B346.jpg

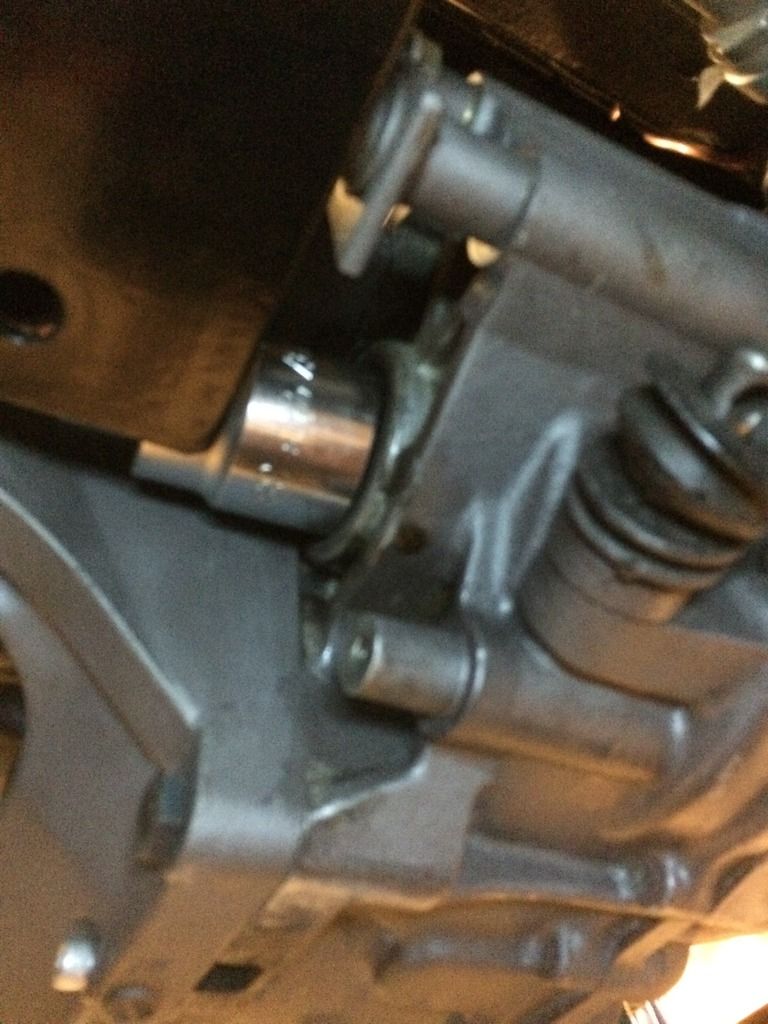
Wasn't surprised about the angle of the shafts as I knew it would be bad. Would like to see it on the wheels to see if it changes any.

216676B7-3F4C-42CA-946A-BBCC206F03BE.jpg

39724AE1-1ACB-4F94-AF43-C5003065ABF1.jpg

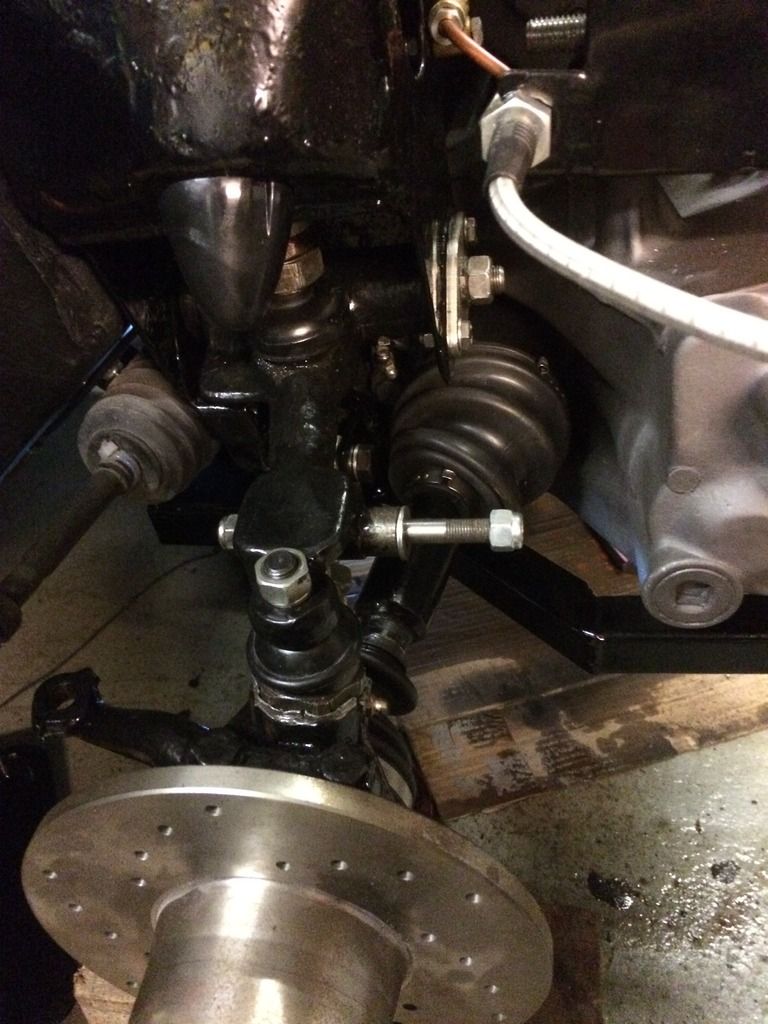
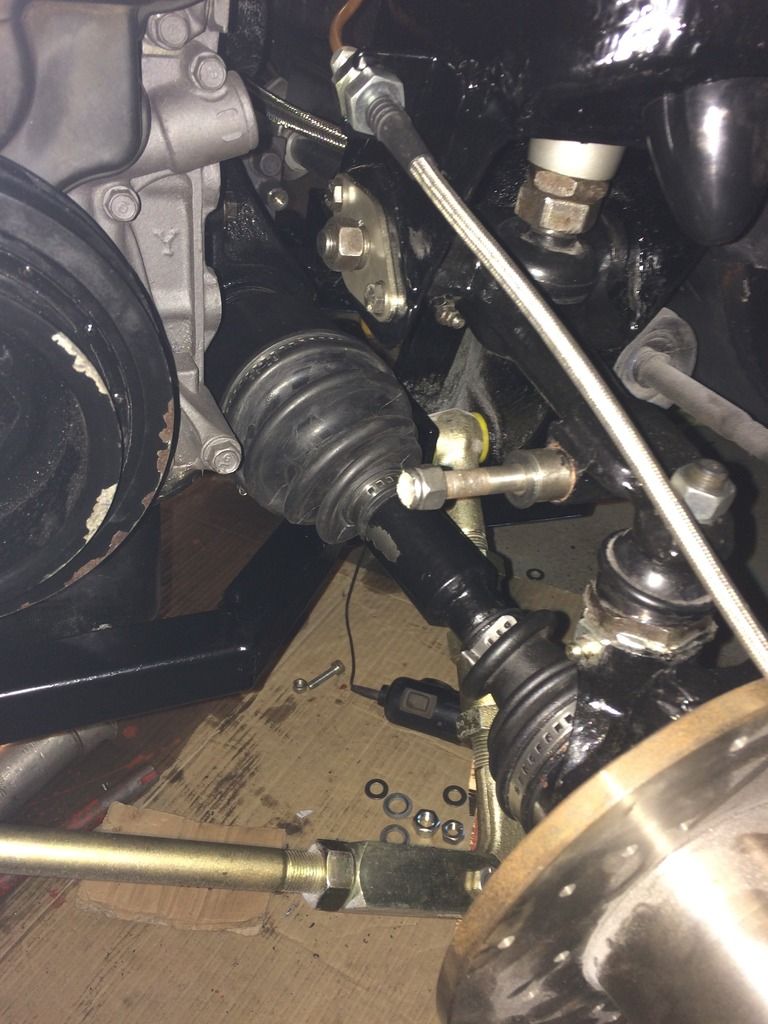
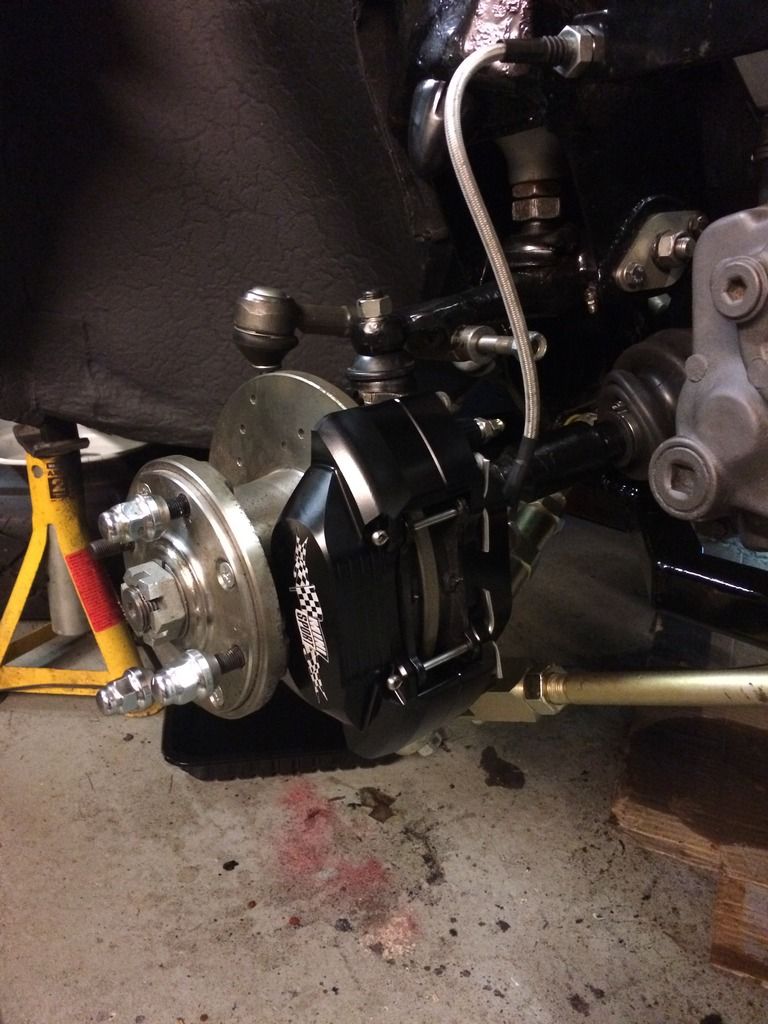
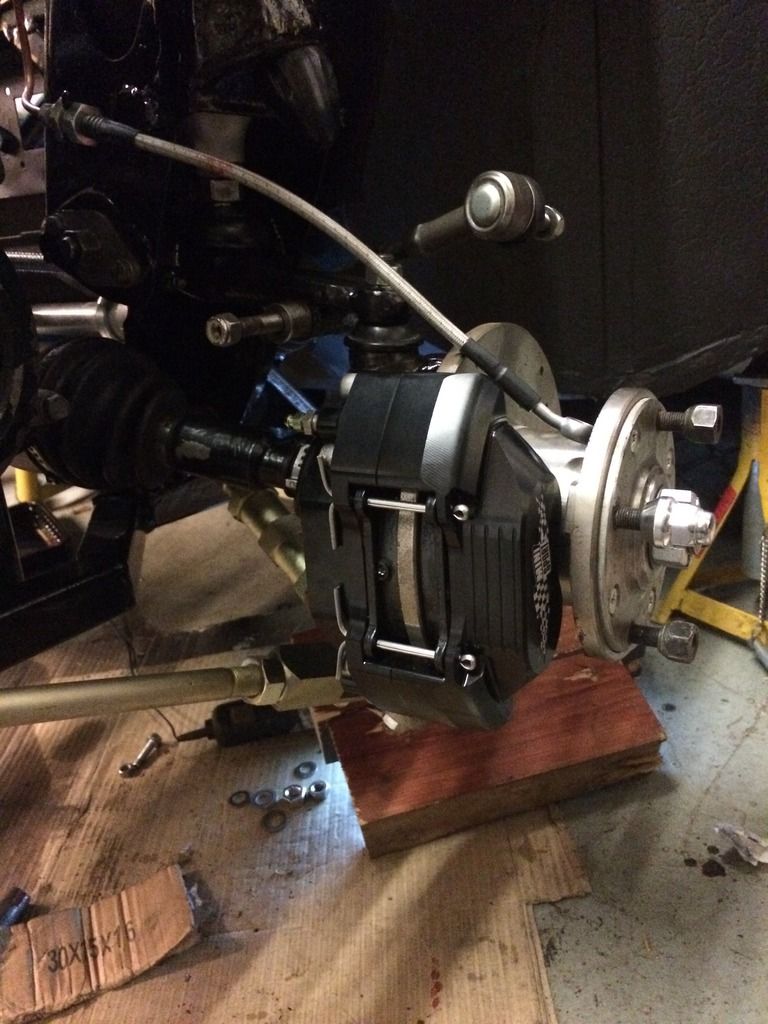
Hubs and rest of suspension components on.

BEC52679-E617-429D-8CA3-A4753AF778BF.jpg

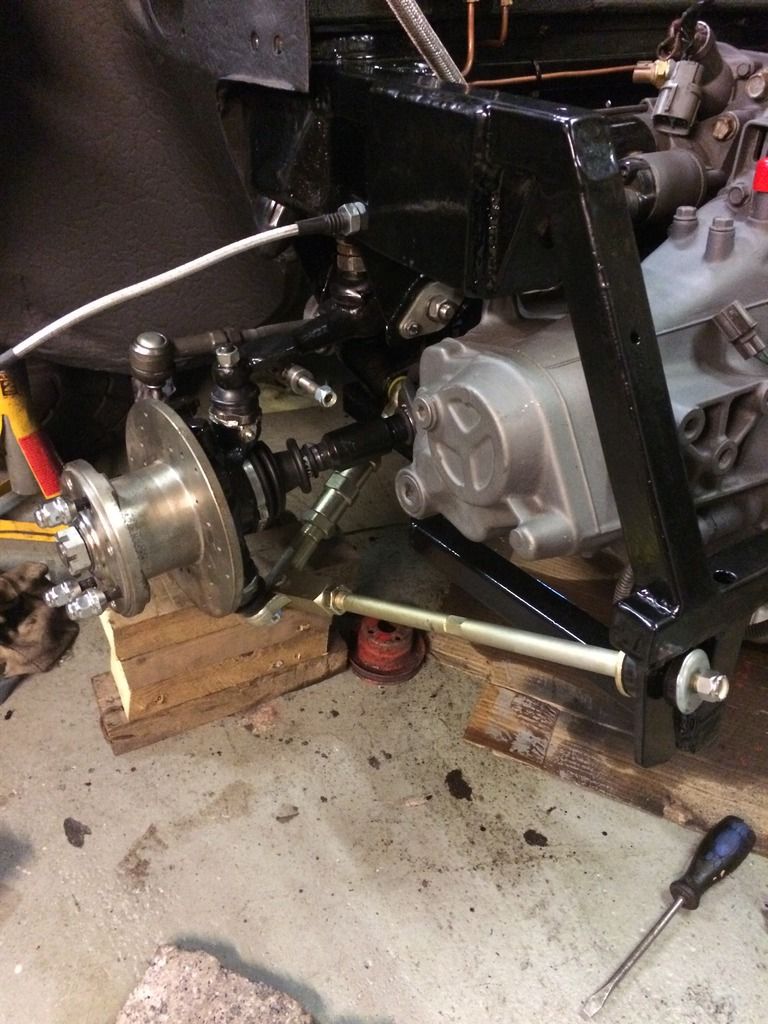
Got the calipers on but got given a wrong banjo bolt when I had my lines made up so can't fit that side until I get another. They are the minisport alloy 4 pots.

7054F3D8-0CAC-4583-8BDB-1AAA3749C547.jpg

4B299451-2D25-4879-810D-1395D403BFB7.jpg

Whilst at work also made some spacers on the lathe for the engine mounts.
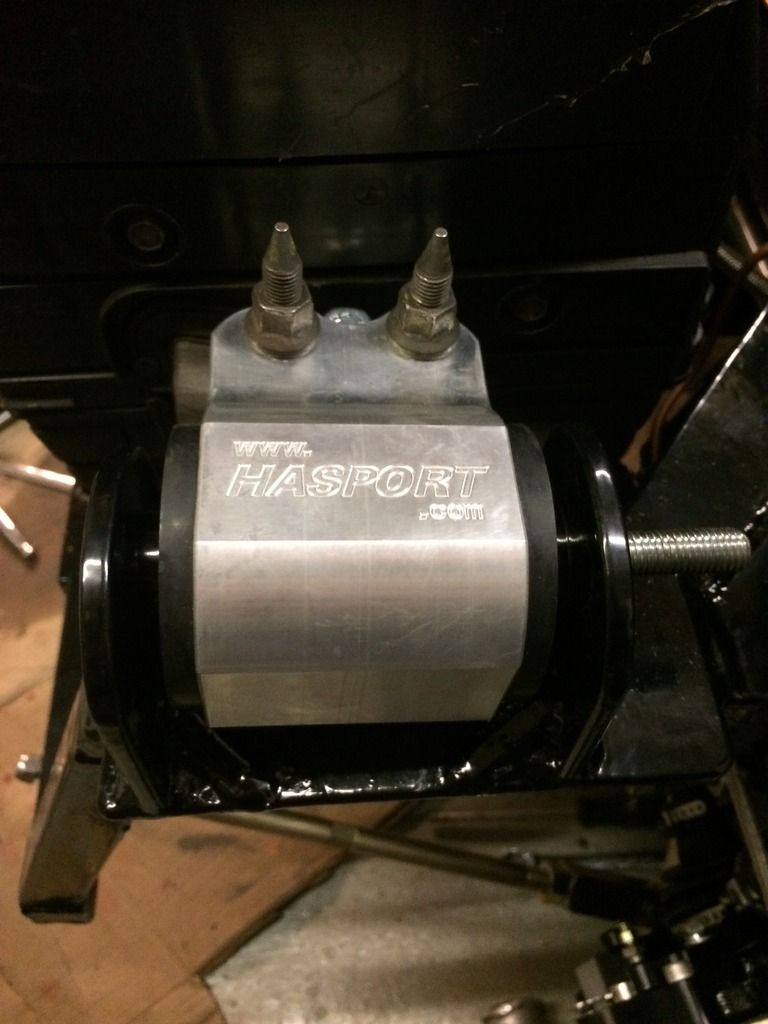
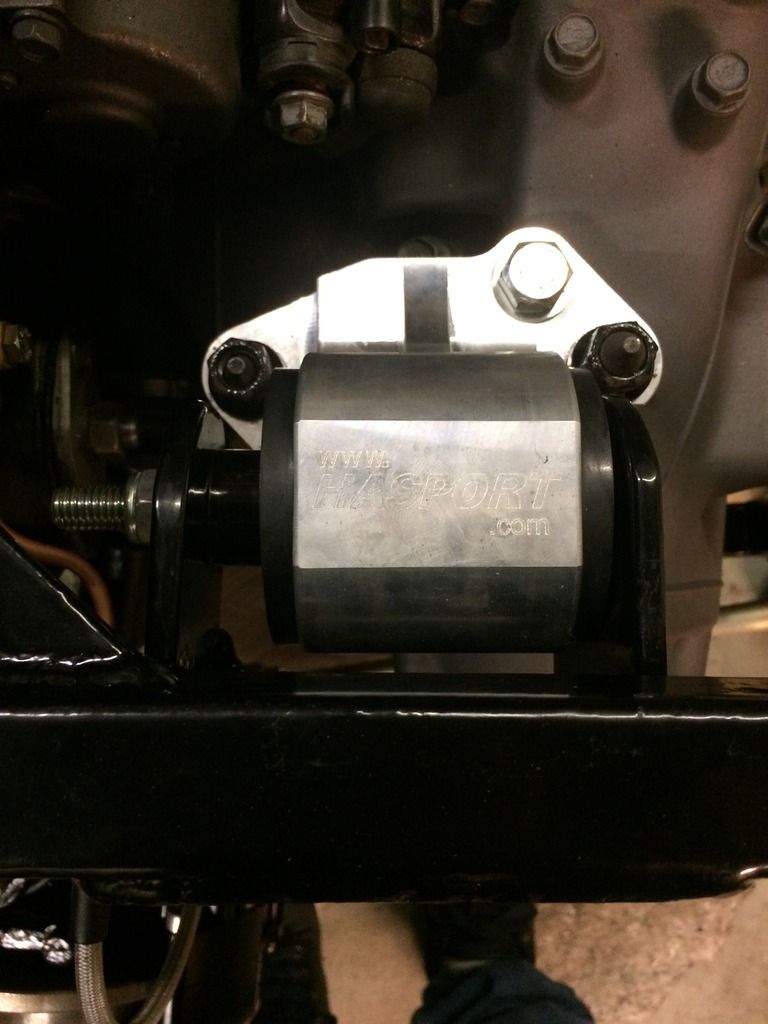
4CCD2B08-795F-4BEA-AAFB-75634F44AE91.jpg

2BC3AC25-4564-4525-9DF5-9F3A4B2FA229.jpg

Rear mount on.

6D3F1FBB-4BFB-4B19-BFE5-C33C8ECFBCC7.jpg

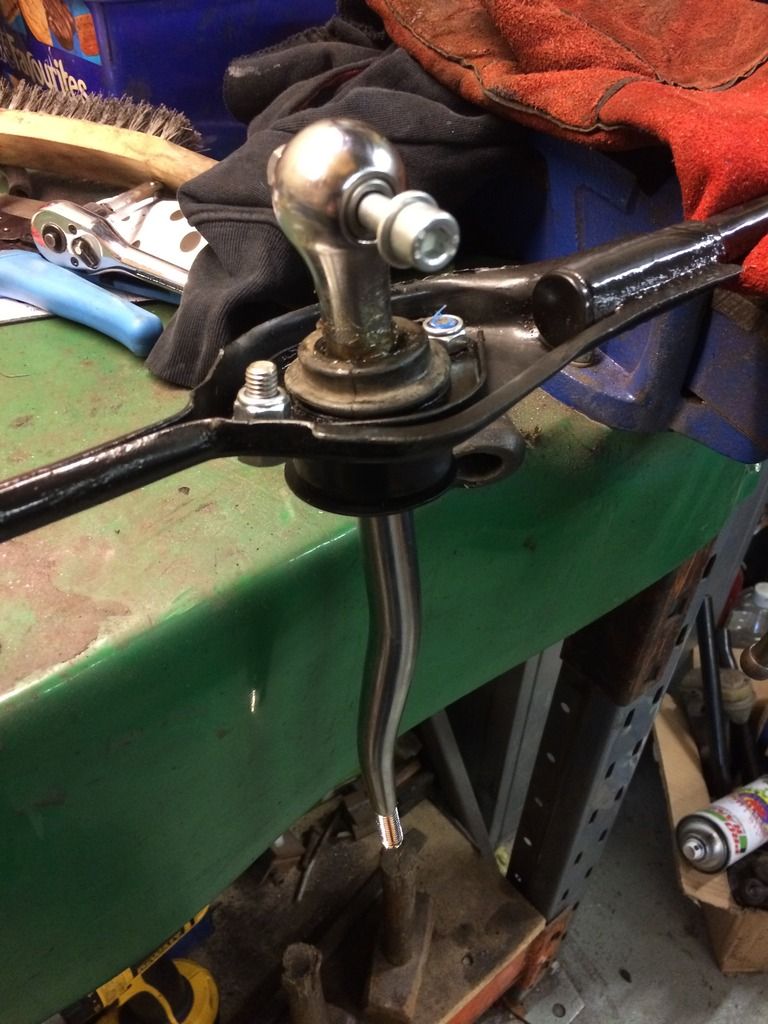
Then started on the gear linkage. As mine is a 1973 it does have a narrower tunnel so space for the linkage and exhaust is going to be limited. So wanted the linkage to sit to the one side of the tunnel to leave as much room as possible for the exhaust. This did require cutting the floor out a little more.

Also to leave even more room I decided to mount the shifter unit on top on the floor rather than underneath.

B4DAA1EE-F6DF-47C6-BA8F-3A82B04DBF63.jpg

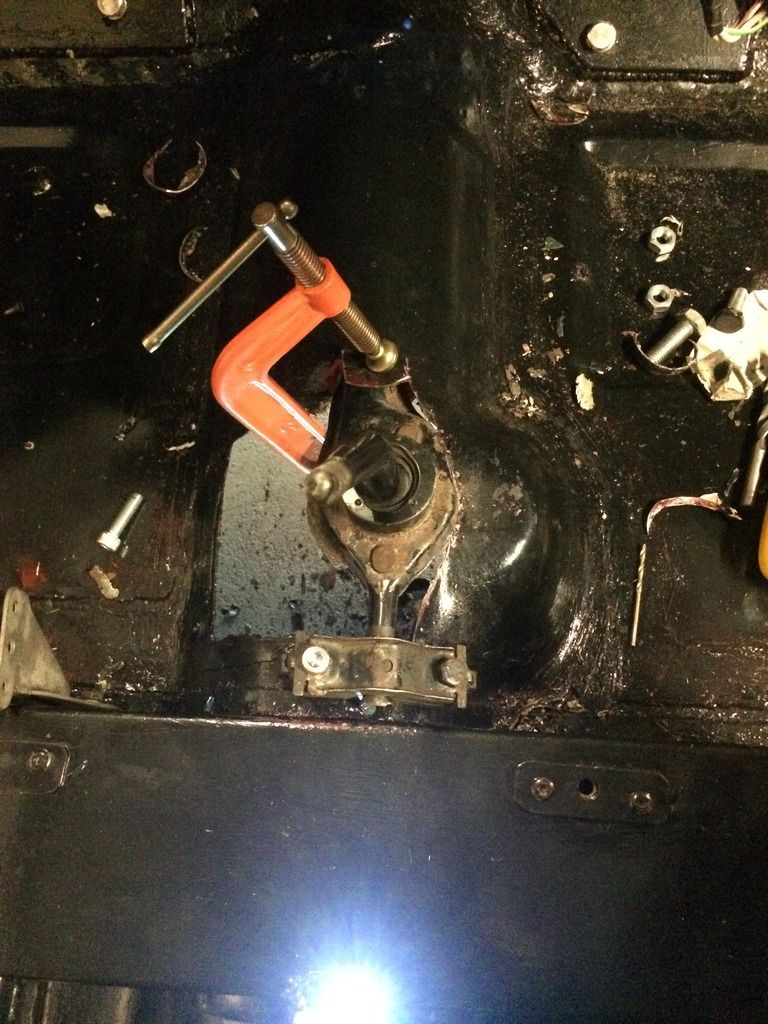
Then made sure that the stick was going to be upright while in neutral before I made the rod.

0EB85328-74FE-4D57-AB22-2C04E928C998.jpg

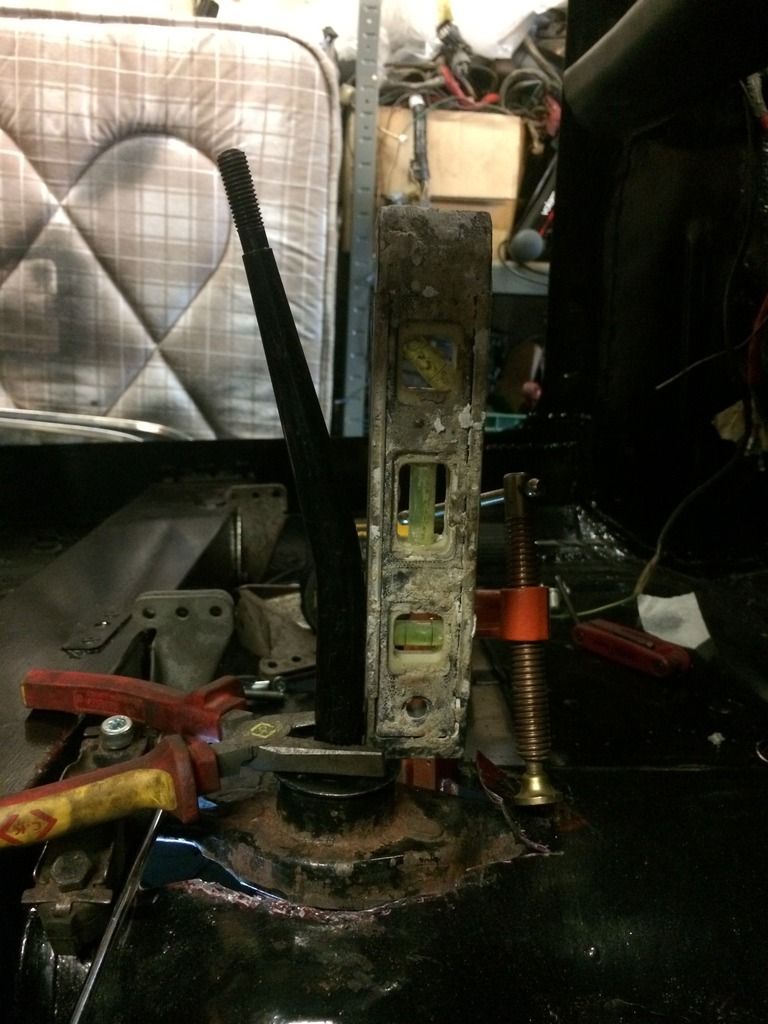
Rods cut to length and tacked in position. Managed to go through all the gears without any drama. Result!!!

6DD8B276-F046-4488-98E4-1B4BC377AE7A.jpg

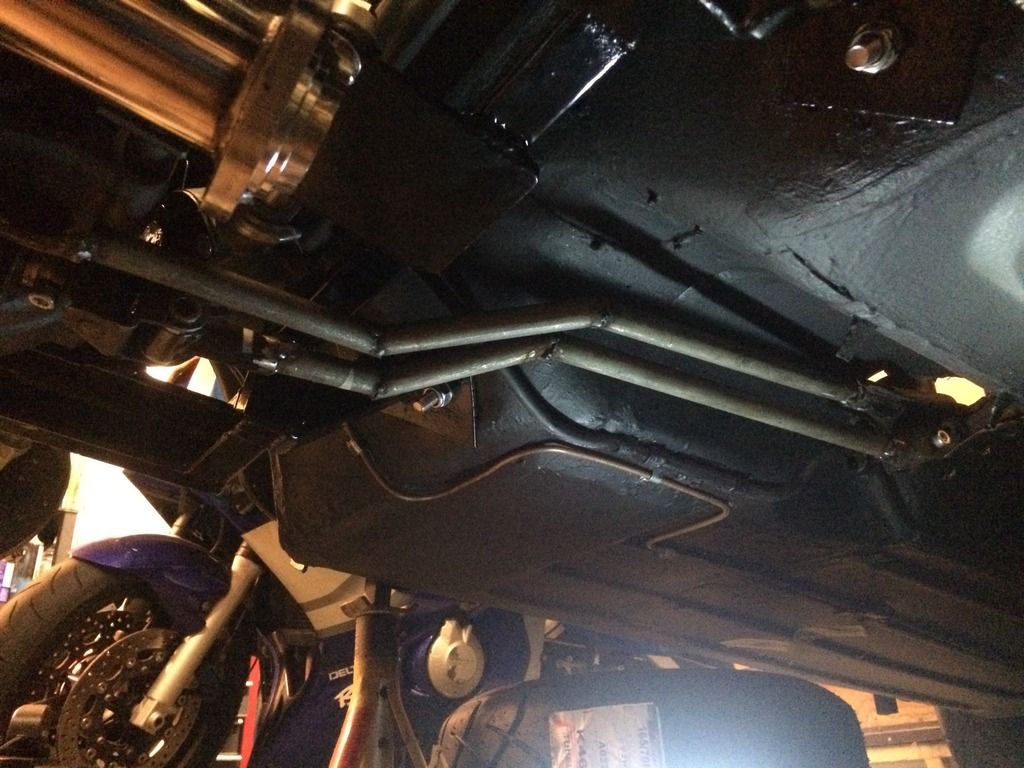
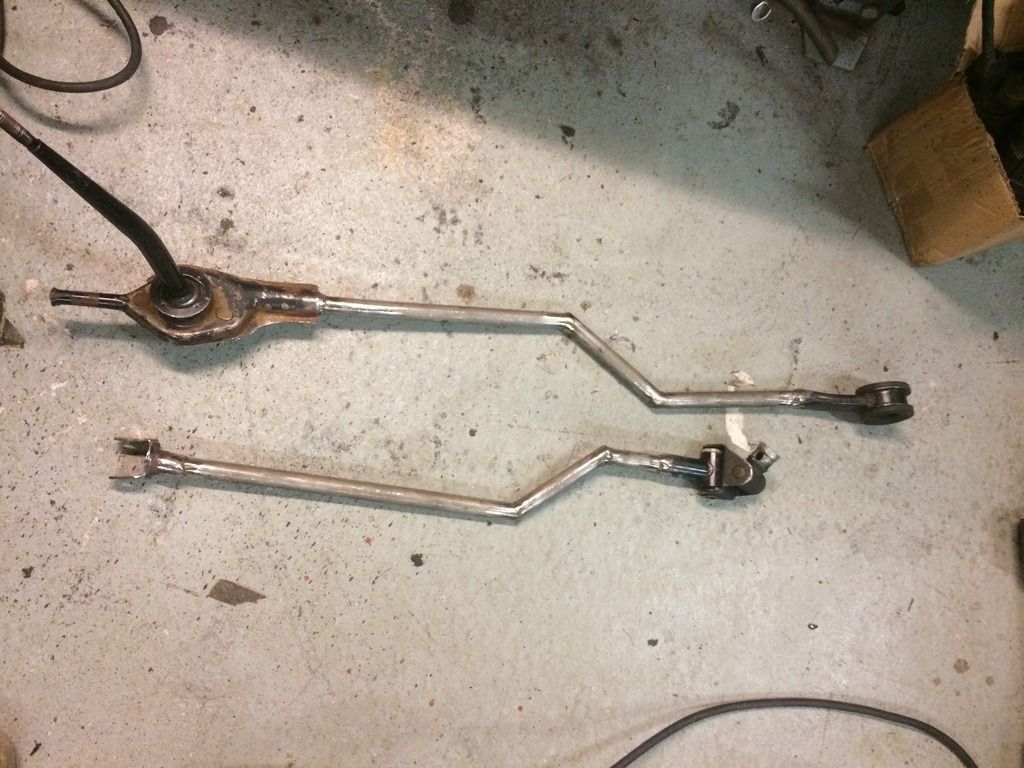
All welded up. Just need a kick of paint. Also bought a double bend short shifter.

651FE5B2-12B6-414A-946A-E1E1330FDD5F.jpg

9DF6307E-E320-4CDB-BFDF-71E242BA56BB.jpg

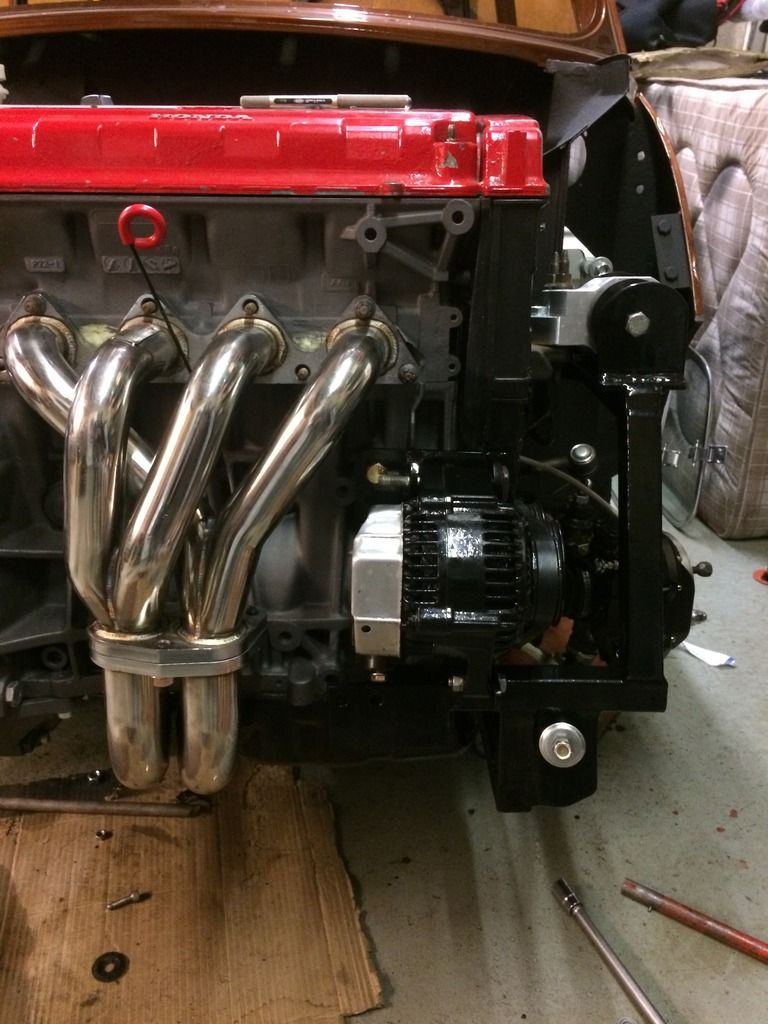
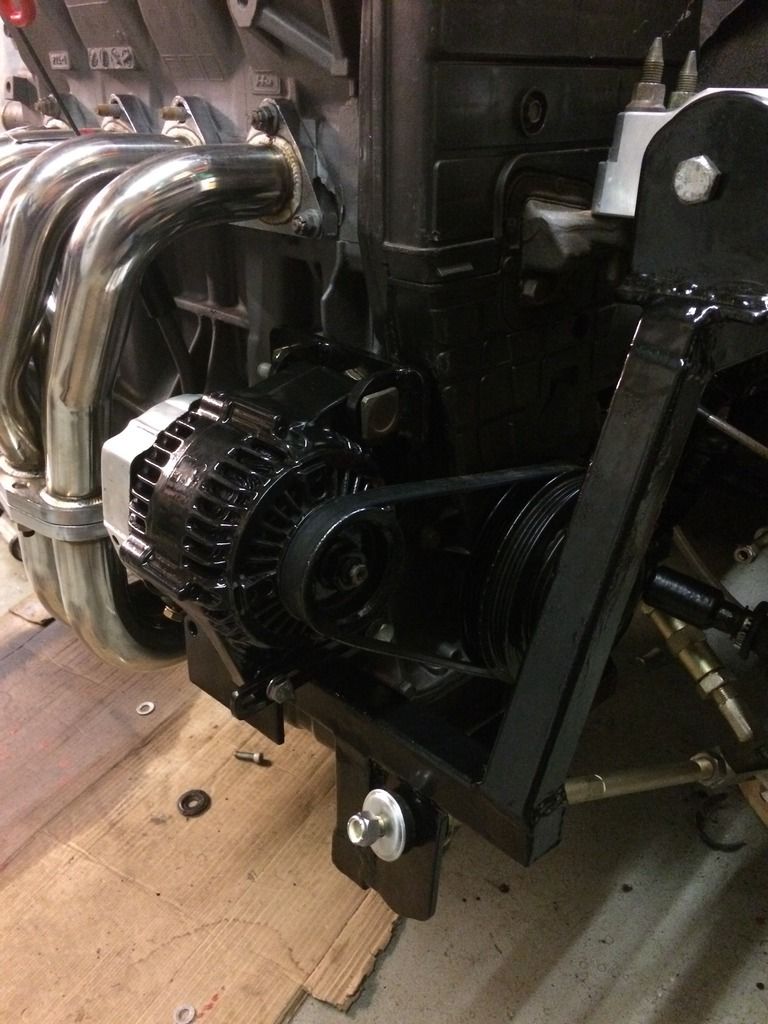
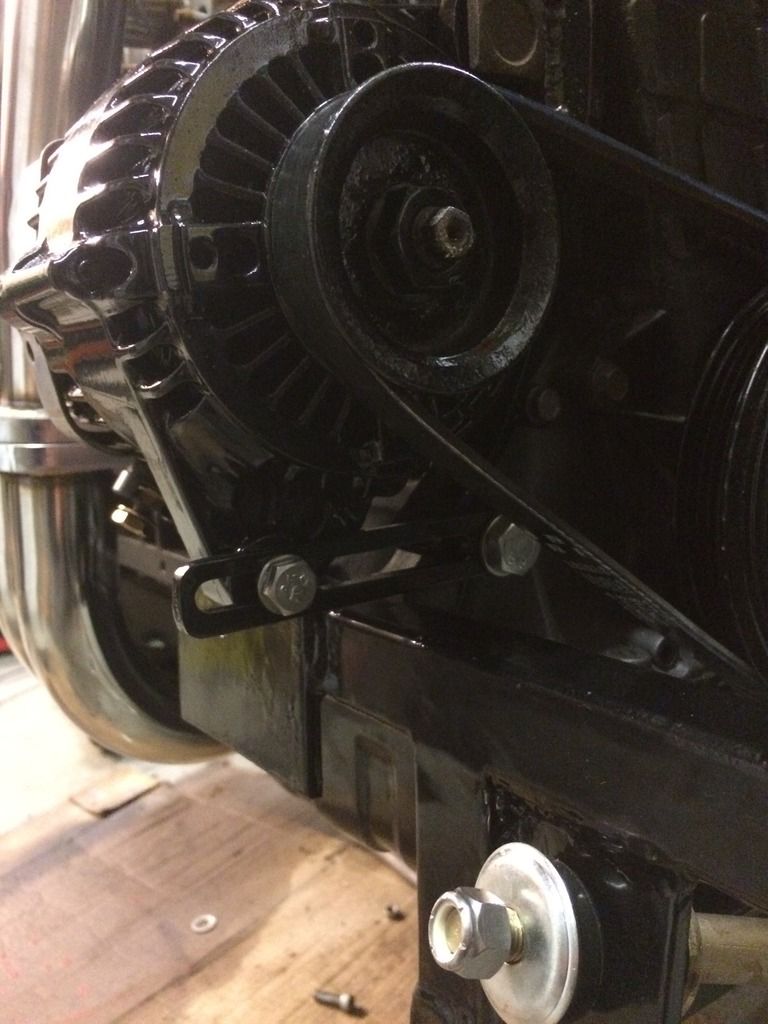
Threw the alternator on. Bracket works a treat. Very happy with it.

6D1103DD-5CCF-40BC-9800-62165F1E77D4.jpg

27B2024E-F258-4653-A01C-2A8D25FA67F1.jpg

30CAF118-13E7-4165-A23E-6A1AF111BB6D.jpg

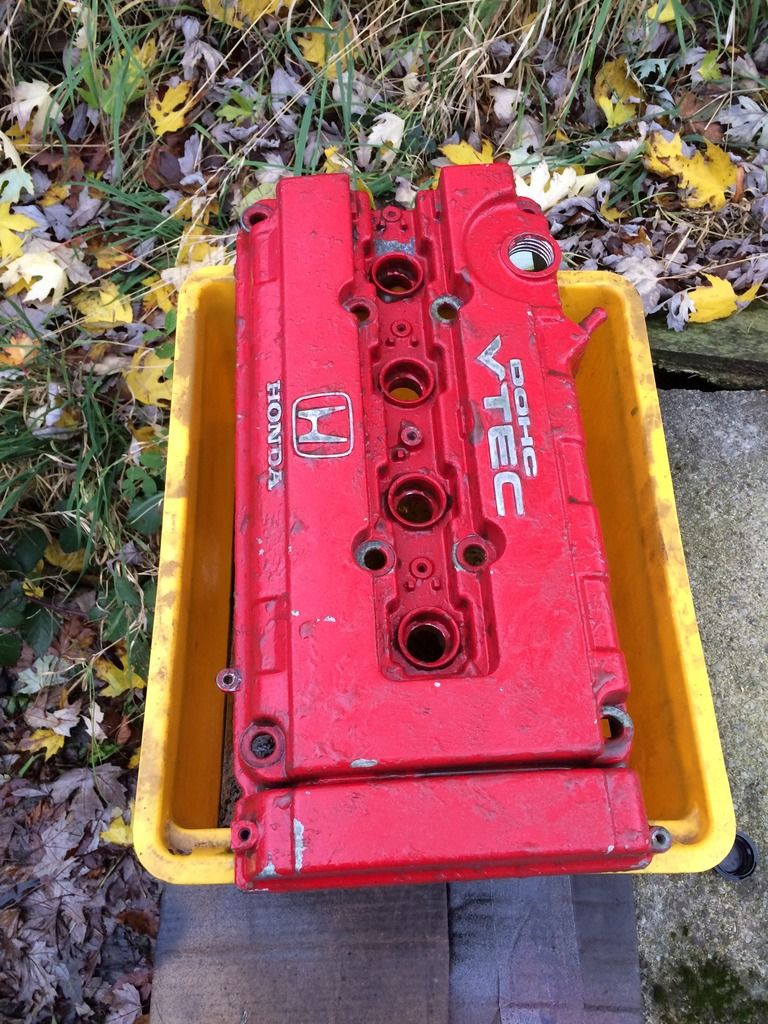
Now while waiting for some parts I decided I might as well strip the cam cover. So got some nitromors and had a crack at it.

Gloved up and covered the cover in it. Lovely stuff I must say.

8F8C8F81-EA26-4B31-808E-B94F63A1024C.jpg

And after applying a load more. About 40 mins later I was left with this.......

E1C027CF-BF7E-4153-AF3E-F579D43A07EA.jpg

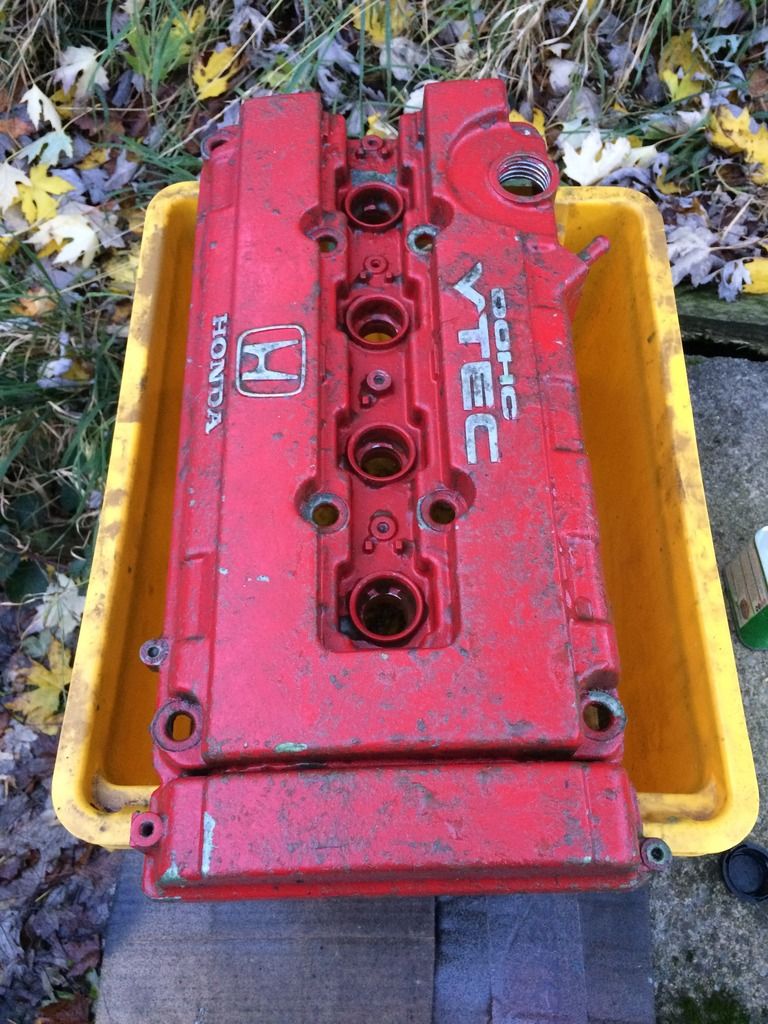
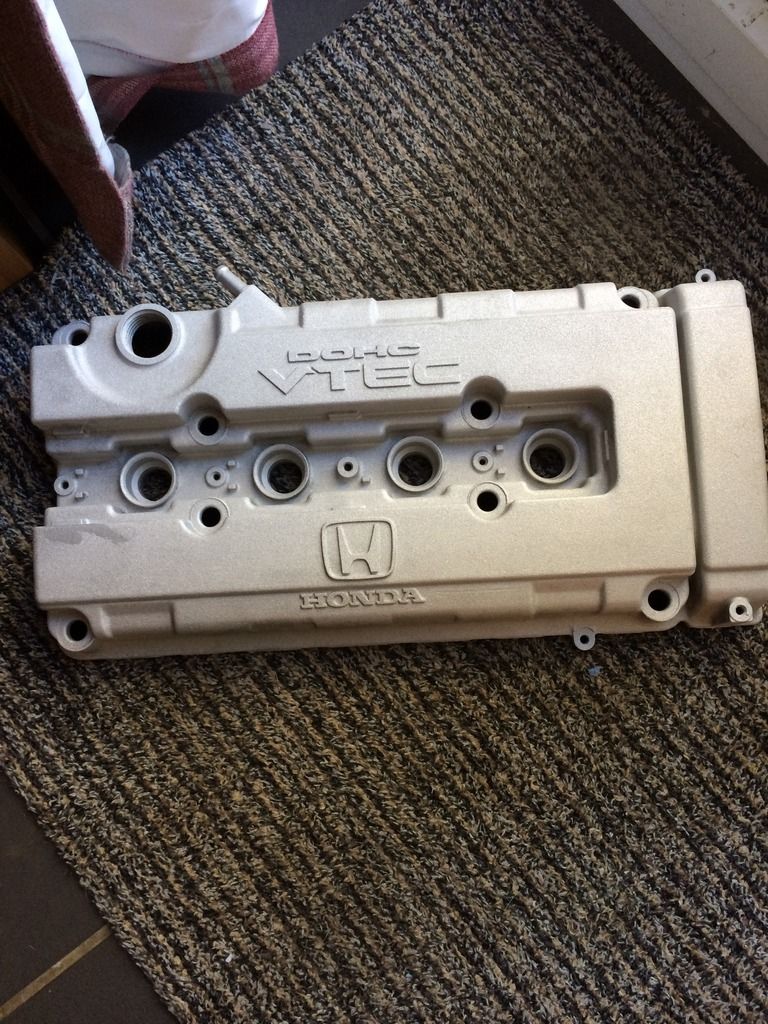
Exactly the bloody same!!!!! I followed the instructions down to the letter. Had no effect what so ever!! Couldn't understand why it hadn't worked. So just ended up getting it blasted.

A9BB733E-614B-496A-92EA-9E8AF1E11119.jpg

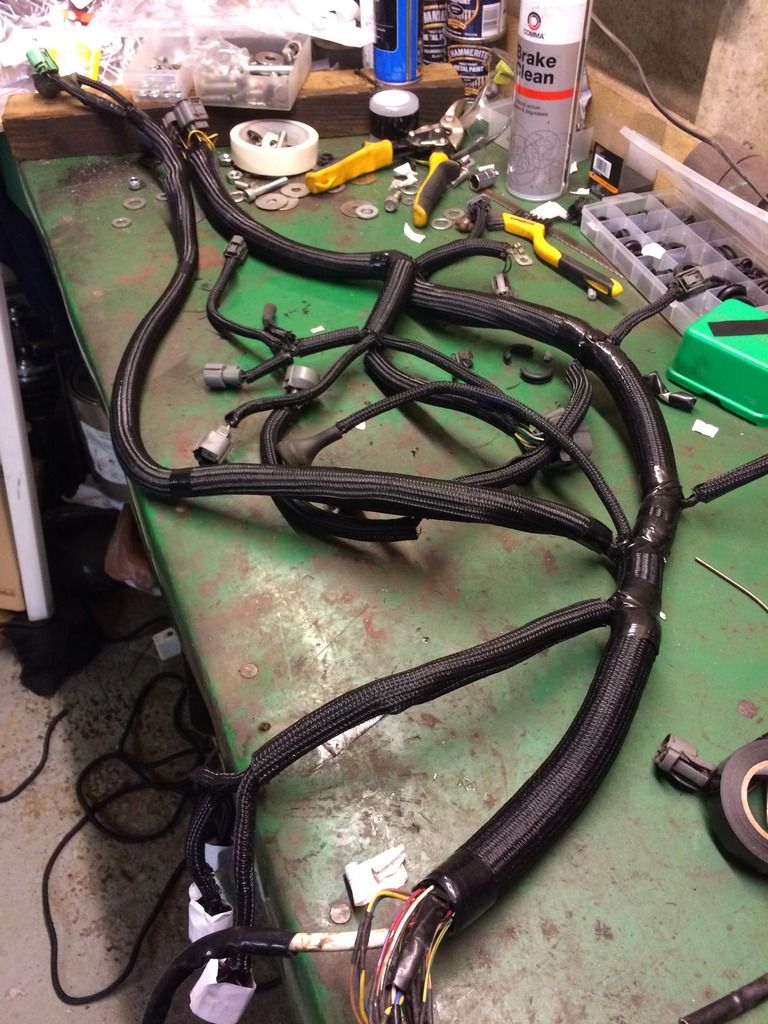
Before I could get the inlet manifold on I needed to get the engine loom on and all connected up. But this needed a tidy, so purchased some braided sleeving which is split so can just be slipped over the loom. Looks great and saves taking any plugs off.
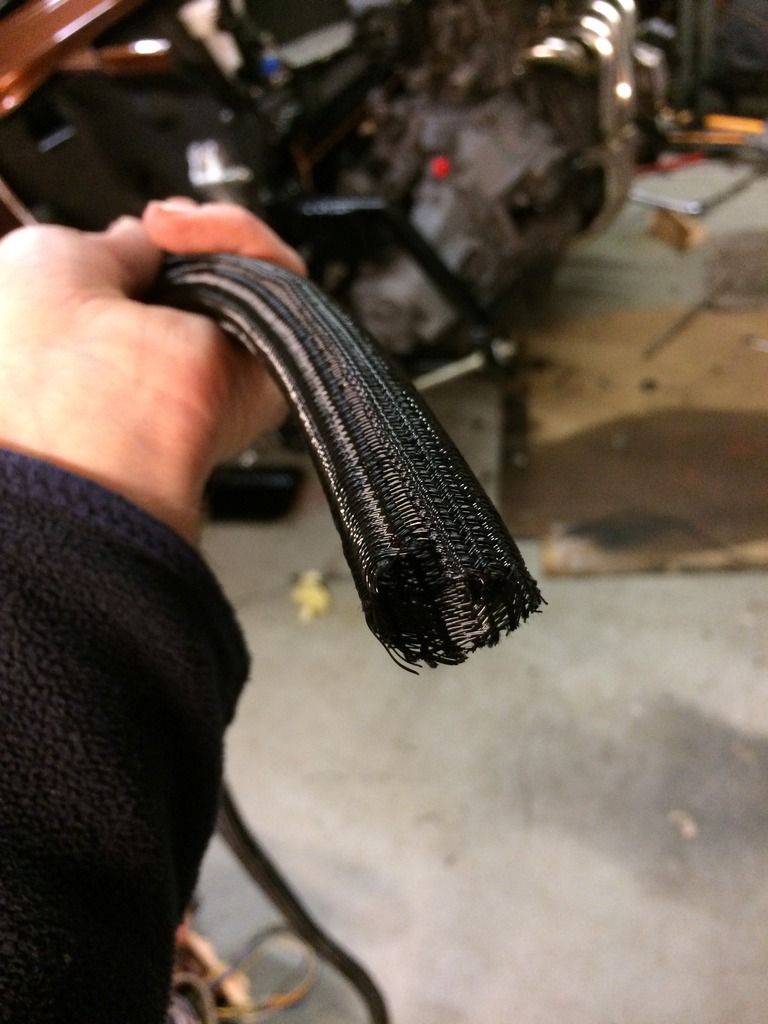
712C45E4-3920-4201-BA26-F881A13D7205.jpg

End result.

99A51C09-8AE7-4E76-92C5-ED5C679E2101.jpg

In position and fed through the bulkhead.

383BC07C-3E95-4762-B4C6-5E14F3D003F5.jpg

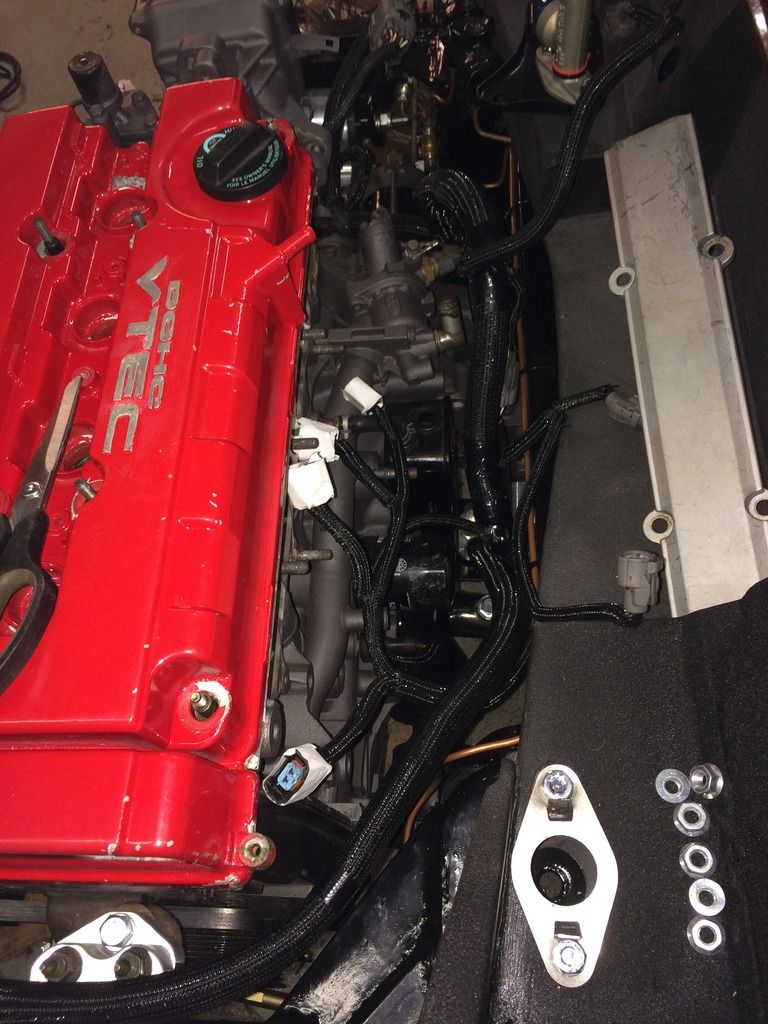
Finally managed to get the inlet on. I did need to replace the studs for some longer ones as I'm using a tegiwa thermal insulating gasket which is quite thick.
Starting to get crowded in there now.

AAF92544-1066-444F-8B2A-FC5AE659236B.jpg

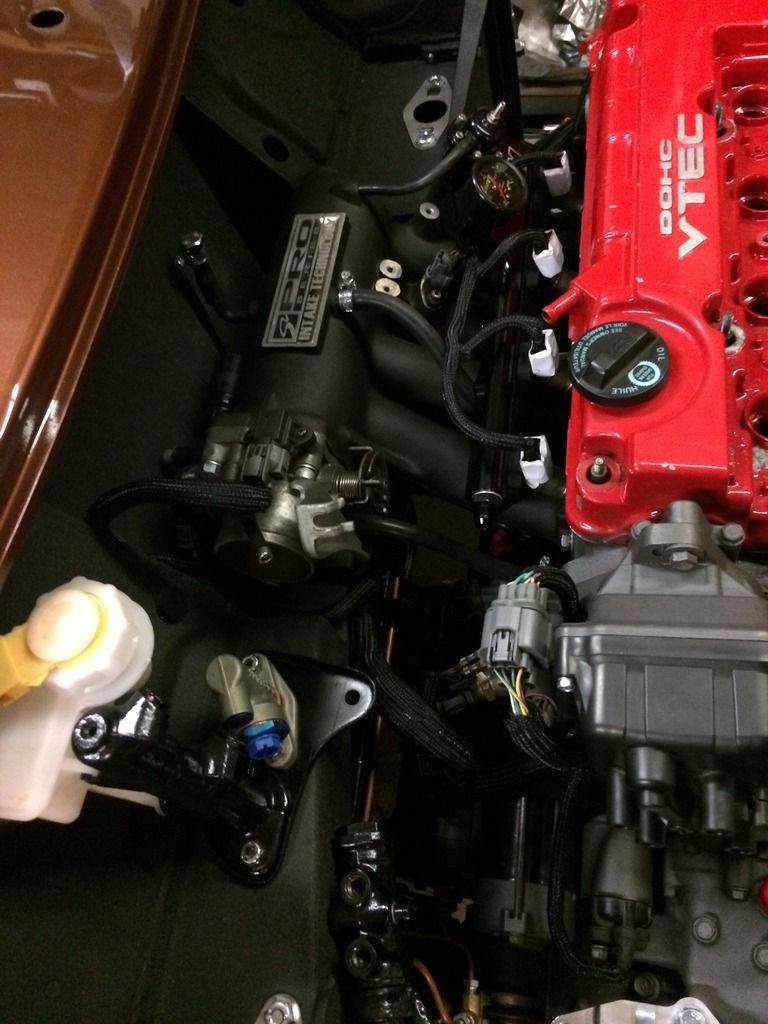
Happy with how it's looking though. Next need to fit the gear linkage back on as I've repainted around where I cut the floor and also made a plate to blank off the rest of the original selector hole.

Fit the fuel lines to the rail using braided hose and anodised fittings.

And then on to the wiring!! Dreading it if I'm honest. I have the mini loom which looks to be all labelled up ( I didn't remove it myself) and is in good nick. Then go through the Honda loom again to double check and maybe shorten. Finally try and mate them together. Sounds easy right?!?!?!?!

#39 Northernpower

Northernpower

    Mr. 7-Port

  • Members
  • PipPipPipPipPipPipPipPipPip
  • 2,409 posts
  • Name: Graham
  • Location: North Yorkshire (God's County)
  • Local Club: Its out there somewhere

Posted 18 November 2016 - 11:28 PM

Its looking good with some great progress. I've stopped using Nitromors because I think they've removed all the useful elements from it in an effort to comply with regulations. After reading various blogs and forums I've started using Screwfix own brand and have been very pleased with the results.

#40 59 Speed

59 Speed

    Formally know as Smackfiend

  • Members
  • PipPipPipPipPipPip
  • 674 posts
  • Location: North West

Posted 19 November 2016 - 09:39 PM

Did you buy it split like this or did you do it yourself?

Attached File  image.jpeg   29.82K   4 downloads

eBay job?

Cheers,
Ian

#41 jamus

jamus

    On The Road

  • Noobies
  • PipPip
  • 44 posts
  • Location: Telford

Posted 19 November 2016 - 09:45 PM

Hi Ian.

I bought it from Amazon. And yes it comes already split. It springs open to go over the cable and then overlaps it self.
Have a search for techflex braided sleeving.

Jamie.

#42 59 Speed

59 Speed

    Formally know as Smackfiend

  • Members
  • PipPipPipPipPipPip
  • 674 posts
  • Location: North West

Posted 20 November 2016 - 09:17 AM

Hi Ian.
I bought it from Amazon. And yes it comes already split. It springs open to go over the cable and then overlaps it self.
Have a search for techflex braided sleeving.
Jamie.


Cheers for this. I'm slightly disappointed that you didn't put a web link up for me, you made me search for it and everything... sigh ;)

Seriously though, it looks a lot more professional than the plastic conduit I was planning on / dreading using and a lot more flexible.

Your build looks brill, keep up the good work!

Ian

#43 jamus

jamus

    On The Road

  • Noobies
  • PipPip
  • 44 posts
  • Location: Telford

Posted 01 December 2016 - 11:47 PM

Haha. Sorry Ian. Not used to all this technology malarkey! Can just about add the pictures to my thread! Ha.

So some more ticks off the list.
finished running the fuel lines to the rail. Did come across one problem though when fitting the return from the FPR.
With the fittings I bought, they came way to close to the bulkhead so after ordering 2 more lots finally managed to solve it.

Before.
873DB33B-112B-4702-82C2-A8E6162268DF.jpg

After. Much better.
0DD3A4ED-A5BD-4CD5-8877-669B37540F29.jpg

So feed and return sorted.

7A8E5768-A355-4118-B815-71AE958F586B.jpg

4B2BB759-7629-482A-8858-56C668AE8792.jpg

Then back on its wheels.

28CCF2DE-9ED5-40AD-B9B4-58B77354A794.jpg

On to the wiring. Pretty much sorted the car loom out. Luckily the original is in really good nick. Stripped out everything I don't need, alternator wires etc.
Been throwing it in and out and finally got some power on to it today. Still needs a bit more work but not far away.

#44 jamus

jamus

    On The Road

  • Noobies
  • PipPip
  • 44 posts
  • Location: Telford

Posted 18 December 2016 - 11:32 AM

Finally got the car loom sorted, all connected up and everything works. Result!!!!
As my front end is removable I needed to make the front loom detachable and after a lot of searching for some nice small, neat connectors I ended up just using a trailer plug. Hate the look of it but as it's tucked up under the wing it won't be seen anyway.

Lights all in and working.

C4B4D762-39D6-4D9C-AD8A-0DE6389F1862.jpg

Won't be using the clocks but just though I'd check it all works.

CE64A4A9-7613-4497-ABA2-00969C78D09E.jpg

The front loom plugs position.

BC62221B-00FF-4780-993A-C036D3362F8A.jpg

Got the fuel filter also mounted.
C7D8A438-7F64-4598-9545-B1F096F40373.jpg

I decided to send my Honda loom away to be further stripped and sorted. I'd done most of the work to it just needed a final tear down. Sent it away to VDM motorsport, which I can't recommend enough. The chap called Dave was a massive help and has a lot of experience with Honda engine swaps.
So got the loom back And then this happened................... a huge milestone in this project.

http://rs177.pbsrc.c...&h=160&fit=clip

After working in it for an hour with it not starting finally found that I had a bad live connection on the battery. Sorted that and fired straight up. Proper stoked!!

#45 mini-fvr

mini-fvr

    Speeding Along Now

  • Members
  • PipPipPipPipPip
  • 338 posts
  • Location: New York
  • Local Club: Long Island Mini Enthusiasts

Posted 18 December 2016 - 09:20 PM

Great project you have! love the work and details! keep it up! 

How much power do you think she'll make? do you know your FD ratio?


0 user(s) are reading this topic

0 members, 0 guests, 0 anonymous users