

Minis have been in my family for years. My parents have owned a van (parents honeymoon car with turns sleeping in the back), a 970S (owned by my father at 19), Coopers and a 1000cc with a brown vinyl roof.
Our old Cooper was heavily modified, she had a straight cut gear box, twin carbs with pancake filters, lightened and balanced flywheel, gas flow head with enlarged valves/exhaust exit including a high lift cam with an oil cooler (a total pig in traffic!)
Unfortunately we no longer own the Cooper but I know she is still on the road (Yay!). I would love to see its again or buy it back!!
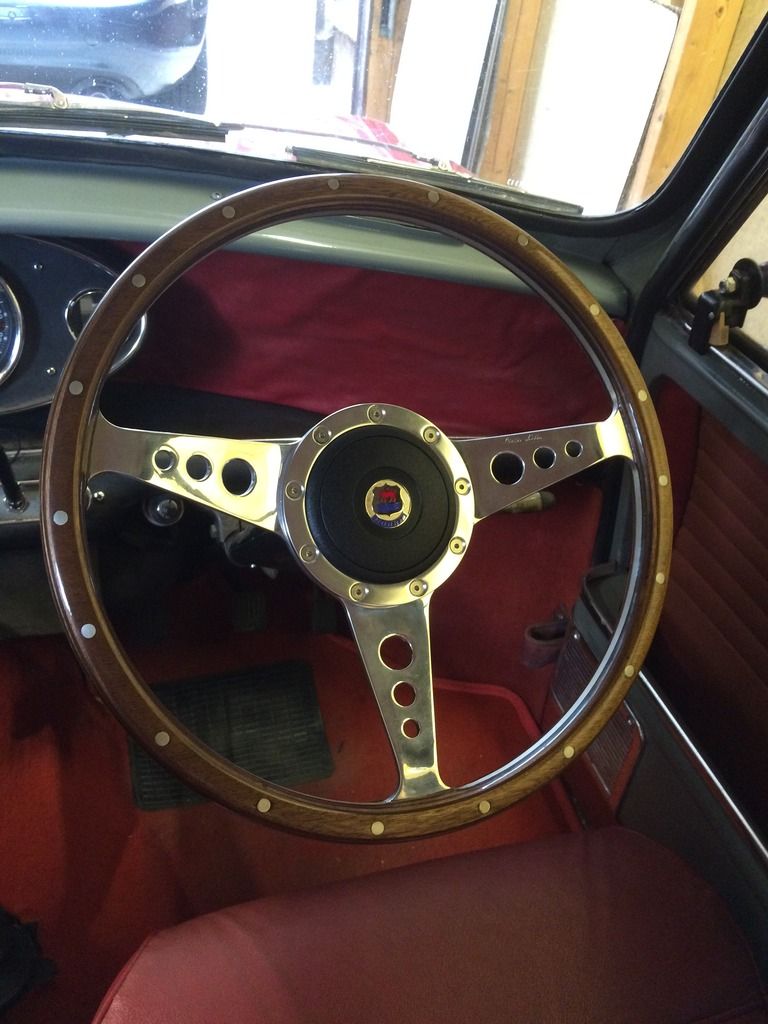
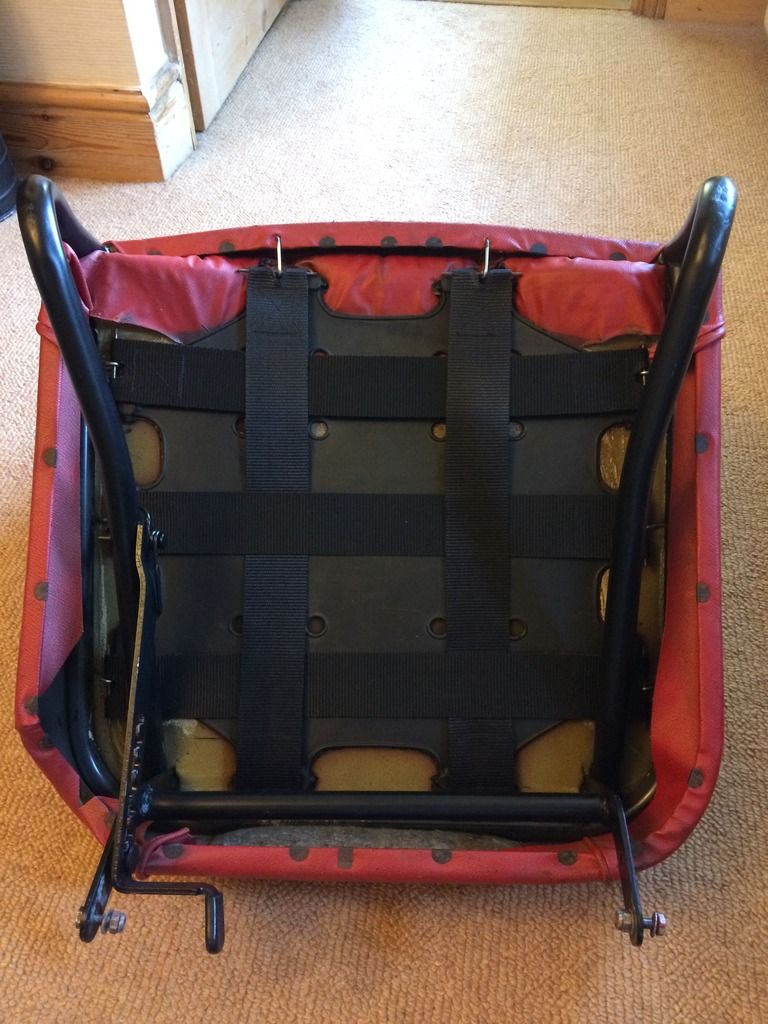
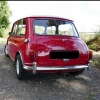
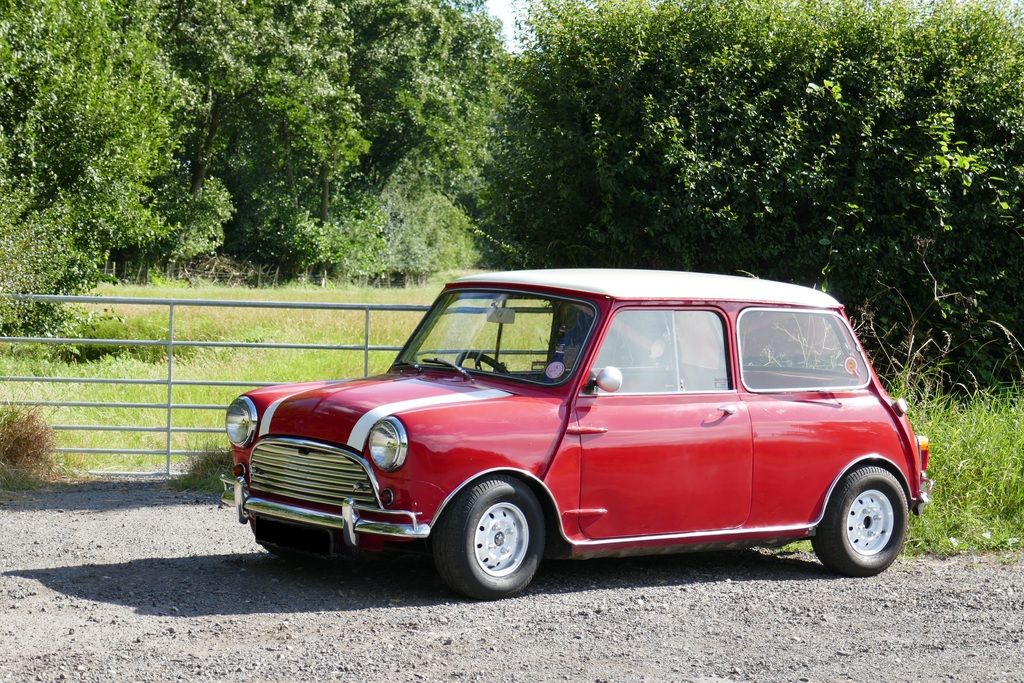
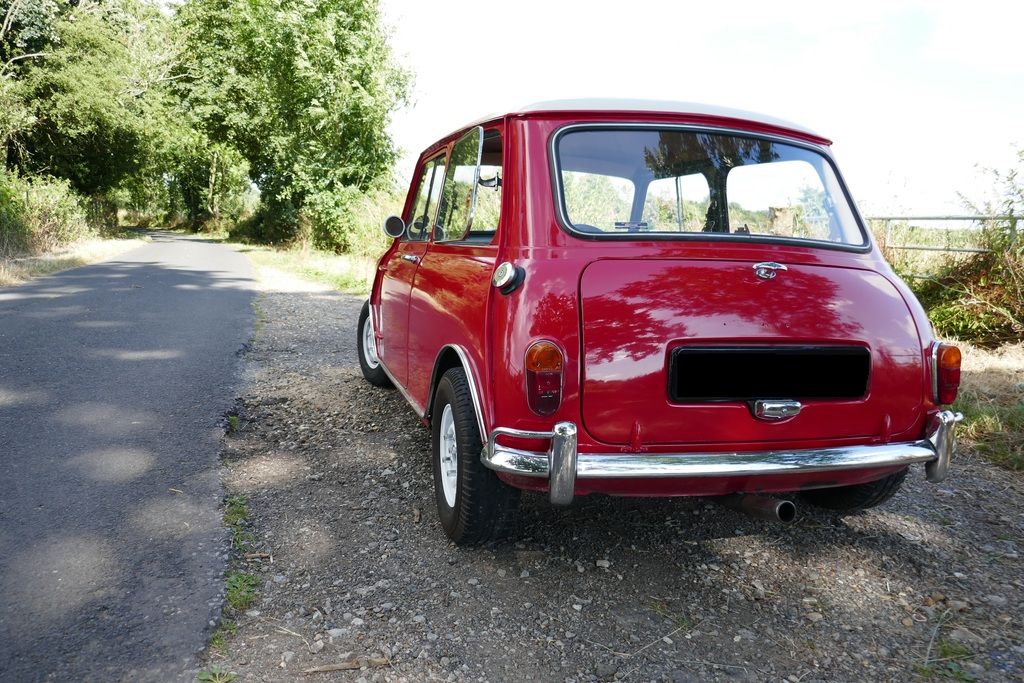
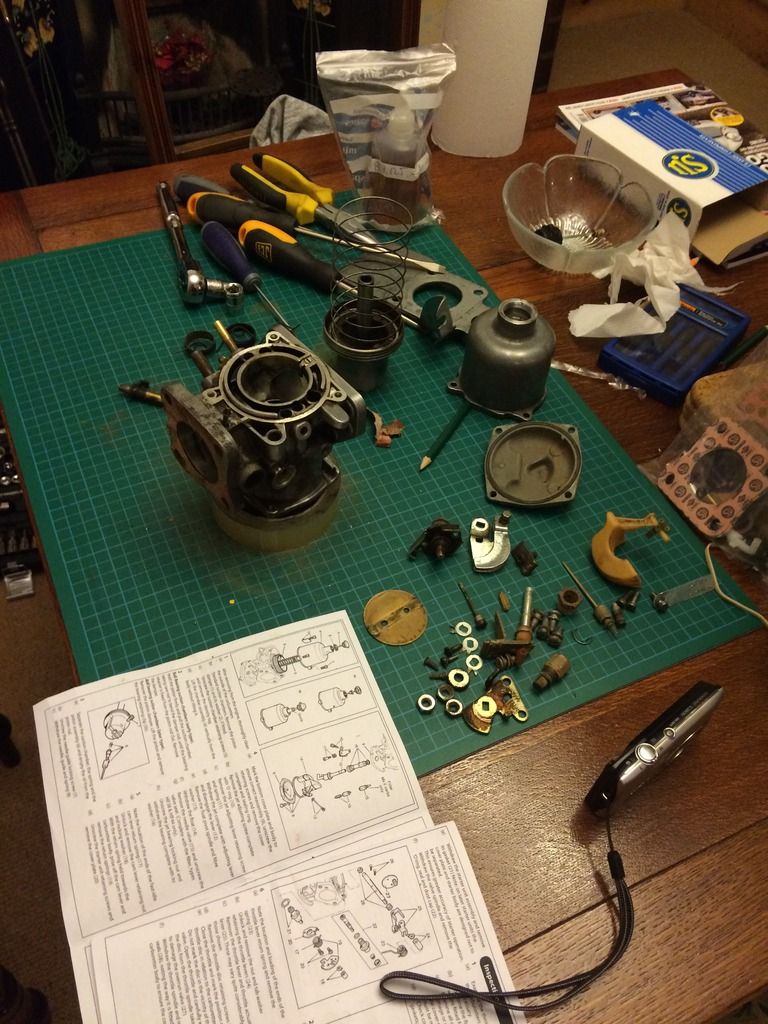
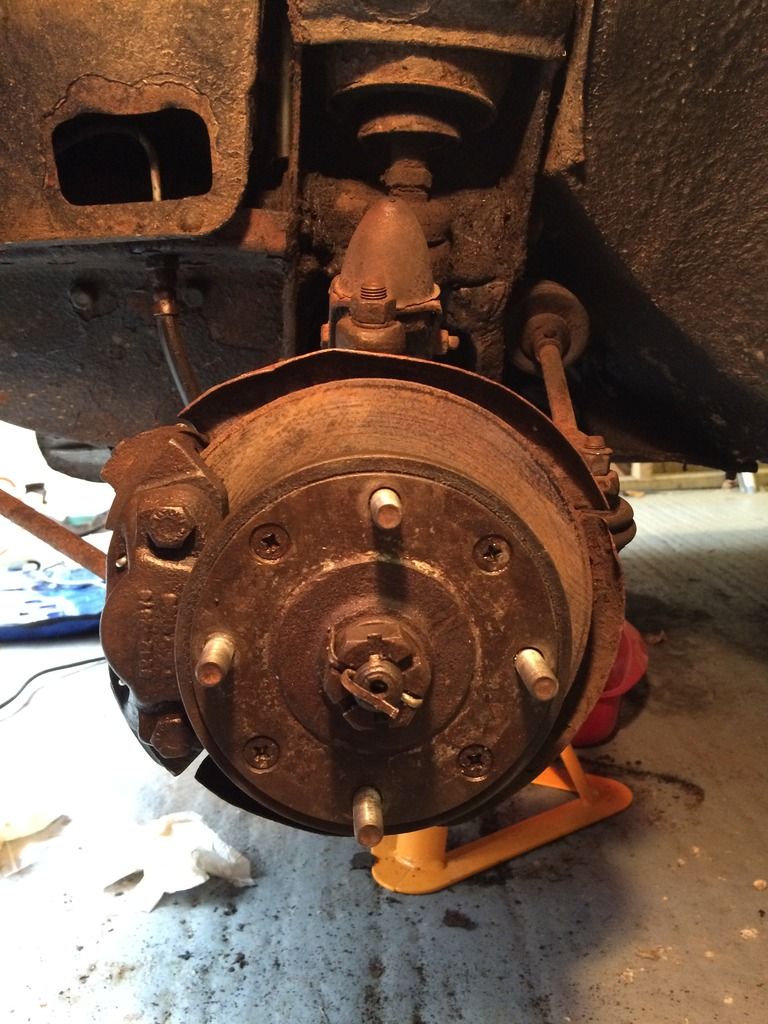
So, that explains the interest, now here are some pictures of my car.
Edited by JamesC, 08 August 2016 - 05:24 PM.

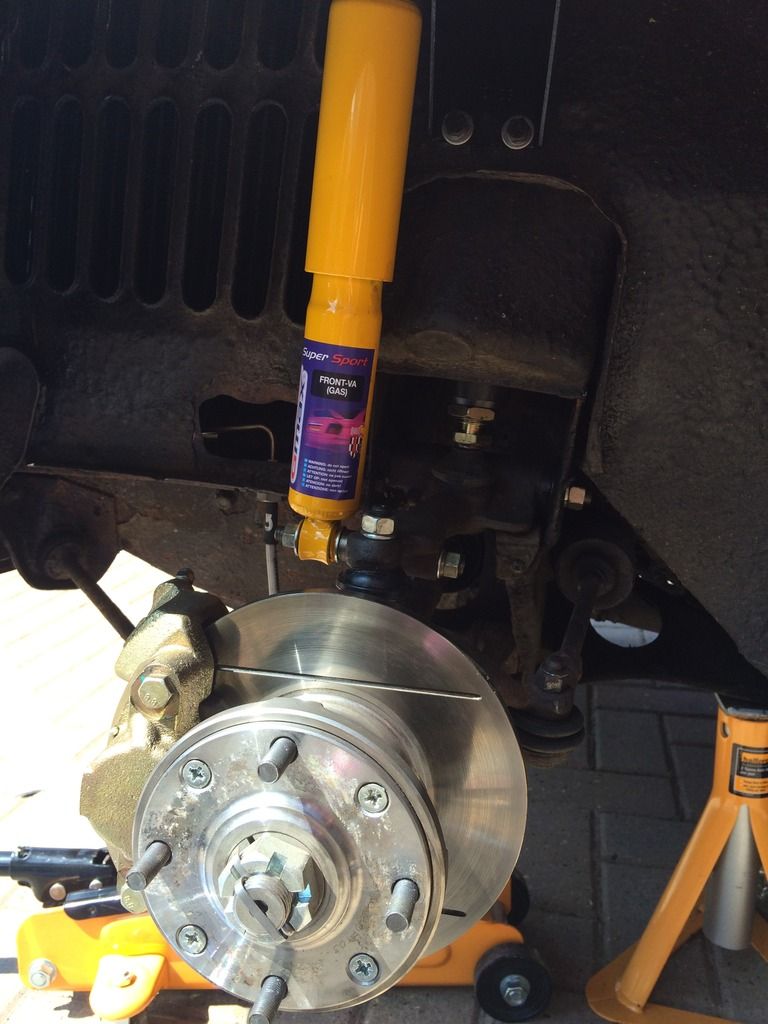


 Lovely to see pictures of the progress you are making on your lovely mk1.