I’d keep the original and patch, as others have said. You can’t put back the originality once it’s gone.


Getting The Rose Family Mini Back On The Road! (After 5 Years)
Started by
Ben Rose
, Jun 10 2019 03:11 PM
roundnose
297 replies to this topic
#271
: post #271")
cp2708
-

- Just Joined
-

- 171 posts
Mini Mad
- Location: London
- Local Club: LSMOC
Posted 05 June 2020 - 06:33 PM
#272
Gilles1000
-

- Just Joined
-
- 438 posts
Speeding Along Now
- Location: Karlsruhe
Posted 05 June 2020 - 06:38 PM
Looks good :)
You forgot them:
https://www.minispar...px|Back to shop
They seem to be available in two parts at M-Machine (page 34):
11.41.07.03/04
11.41.08.03/04
And do not forget the discount at M-Machine!!
#273
Ben Rose
-
- Members
-
- 210 posts
Mini Mad
- Location: Preston, Lancashire
Posted 29 July 2020 - 11:37 AM
Has it really been two months since I update my build thread?!  I've been dealing with a few things in life recently which has meant the mini got put on the back seat for a while. Also had delays getting panels.
I didnt quite realise how much I had to learn in terms of bodywork and panel repairs. I've made mistakes and have already learned a lot. I am glad I started on the rear of the car because if I make a complete botch of the repairs I can at least just replace the entire boot floor and it is a great way or practicing.
Before I start I am aware that when drilling out the spot welds I should only drill through the panel I want to replace however the repairs sections, valance etc will be attached so the holes where I drilled out spot welds are hopefully going to be where I plug weld.
So on to the update...not as much progress as I would like but I am learning as I go.
More grinding to see how the boot floor is. Glad to say the majority is good but some sections will need to be repaired.


Feel like I am sweeping up constantly. Ended up having to get a better broom!! Things I am having to learn.


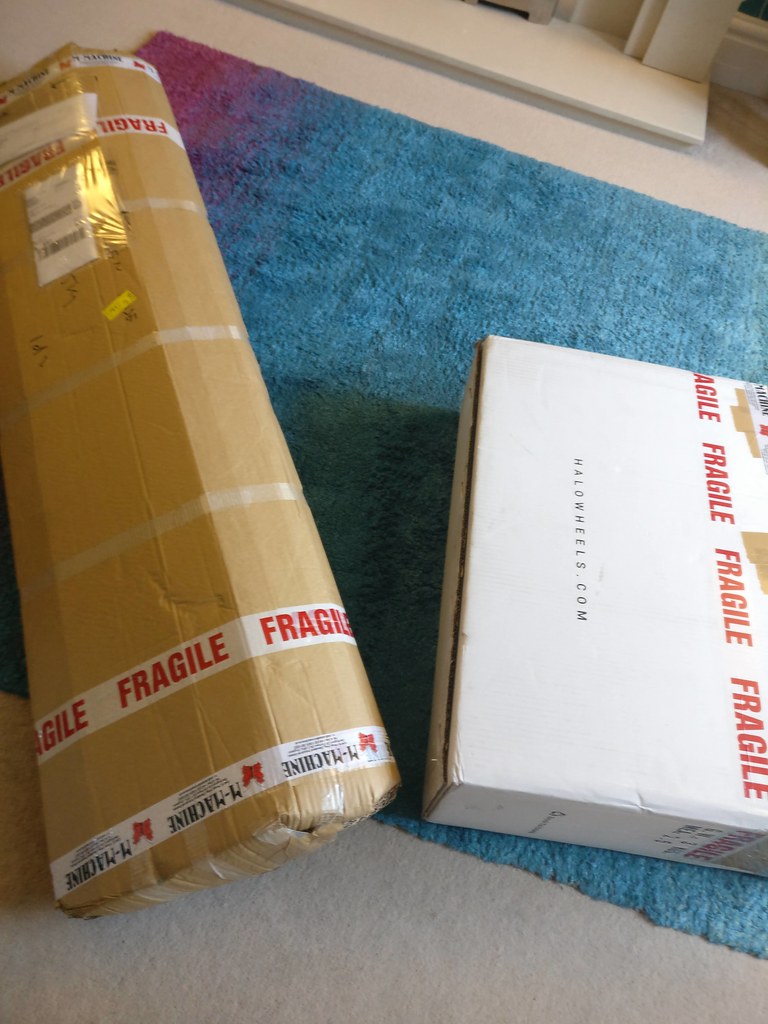
PANELS ARRIVED!!!!!! M Machine and particularly Doreen were great, the delay came because of a magnum boot repair panel which was delayed so I had to wait 2 or 3 weeks.

Down to some repairs. I am definitely a complete novice when it comes to this so learning as I go but I am broad shouldered and quite ready to get criticism!! Constructive hopefully.


Rust in the seams!


Some tools for welding and repairs. I have been loaned a welder but needed some clamps.

Not sure if I prefer an old school centre punch.


Maybe a new battery box I'm not sure yet.

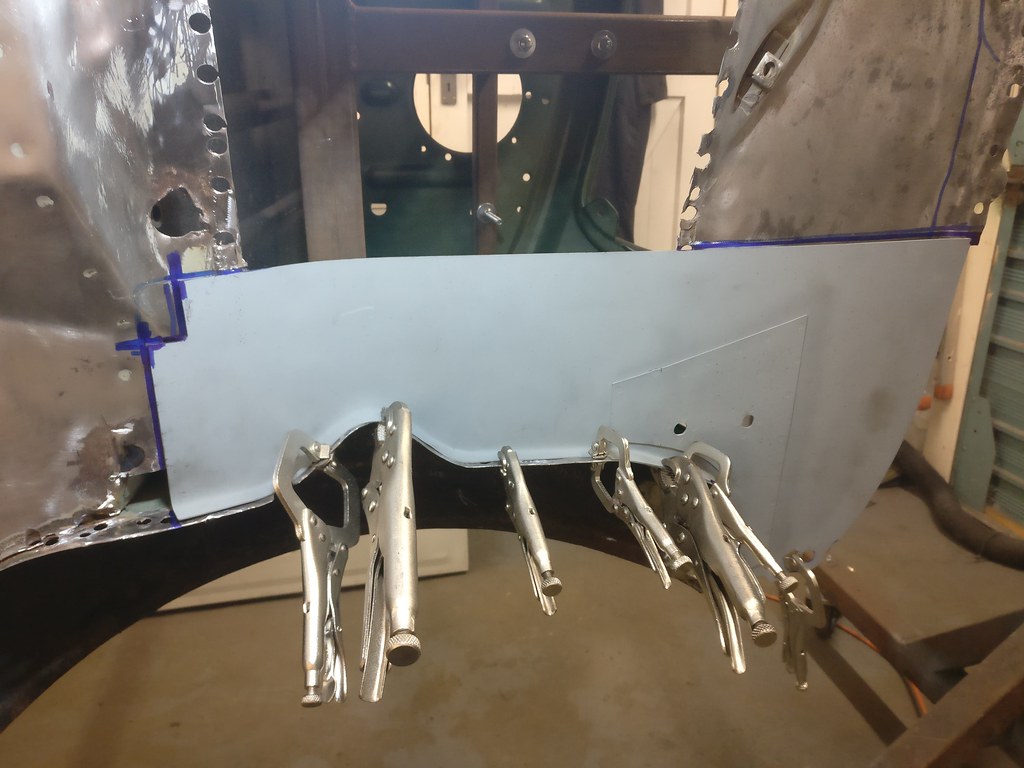
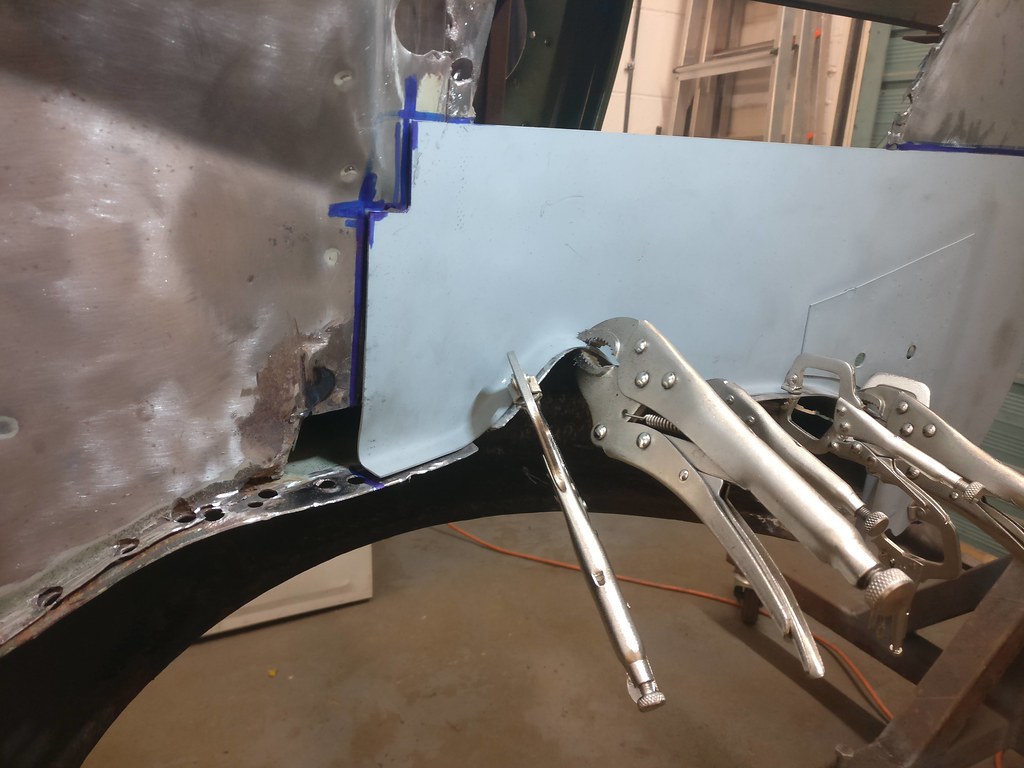
Still a lot of fettling to do but thought I would clamp on the repair to see how it fitted.


I will cut out the section of boot floor next but for now it seemed to fit OK albeit not cut out the floor yet.

So the next update will be the section of floor cut out and the new repair panel prepped, fitted and welded in. I will certainly try to not leave it so long between updates and working on the car. Subject to life not getting in the way again!
Thanks for reading.
#274
cooperd70
-

- TMF+ Member
-
- 730 posts
One Carb Or Two?
- Location: London
Posted 29 July 2020 - 01:09 PM
Glad to see you are still at it Ben. Sure BenO will leave some.tips as and when he gets to read your latest updates.
Life is always going to get in the way...as long as it's always in the back of your mind it will be completed at some point in the future.
Good luck and look forward to updates soon ??
Life is always going to get in the way...as long as it's always in the back of your mind it will be completed at some point in the future.
Good luck and look forward to updates soon ??
#275
Ben Rose
-
- Members
-
- 210 posts
Mini Mad
- Location: Preston, Lancashire
Posted 29 July 2020 - 01:16 PM
Glad to see you are still at it Ben. Sure BenO will leave some.tips as and when he gets to read your latest updates.
Life is always going to get in the way...as long as it's always in the back of your mind it will be completed at some point in the future.
Good luck and look forward to updates soon
Appreciate it and thanks for checking back in on my build.  I'll try to keep progress to at least snails pace from now on! Not promising though.
#276
Gilles1000
-
- Just Joined
-
- 438 posts
Speeding Along Now
- Location: Karlsruhe
Posted 29 July 2020 - 01:53 PM
Nice to see you back on the car again ;)
Now you have plenty of toys to work steadily on the body, that's cool!
If you do not have, I would get a flat piece of copper or brass which will help you welding up holes or bigger gaps without blowing holes at the first touch.
I bought two pieces about 100*40*20mm, I cut one in two parts and I shape them as I need.
The way you go with bringing the repair at first is good, now you can cut the old panel smaller. I'm loving the motto "cutting 3 times and still too short..."
Cheers
#277
Ben Rose
-
- Members
-
- 210 posts
Mini Mad
- Location: Preston, Lancashire
Posted 29 July 2020 - 02:55 PM
Nice to see you back on the car again ;)
Now you have plenty of toys to work steadily on the body, that's cool!
If you do not have, I would get a flat piece of copper or brass which will help you welding up holes or bigger gaps without blowing holes at the first touch.
I bought two pieces about 100*40*20mm, I cut one in two parts and I shape them as I need.
The way you go with bringing the repair at first is good, now you can cut the old panel smaller. I'm loving the motto "cutting 3 times and still too short..."
Cheers
Definitely a good idea with the copper, I'll get some picked up. Thanks for the tips and checking back in on the build. I'm taking it slow to try to reduce the mistakes.
#278
tankertanker
-

- Noobies
-
- 53 posts
Stage One Kit Fitted
- Location: Gillingham dorset
Posted 29 July 2020 - 08:49 PM
Great progress ,keep going looking fab
#279
Ben Rose
-
- Members
-
- 210 posts
Mini Mad
- Location: Preston, Lancashire
Posted 10 August 2020 - 11:15 AM
So I am still working on the boot floor. Ben_O and others were damn right that it is much quicker and easier to replace the entire boot floor. But if I did this I would miss out on the hours of drilling, grinding and swearing that I have been enjoying!
I am telling myself that it is good learning and I'm improving my skills as I go.
If I'm not happy with what I'm left with I may even replace the boot floor but at least I will have had all the experience of doing it.
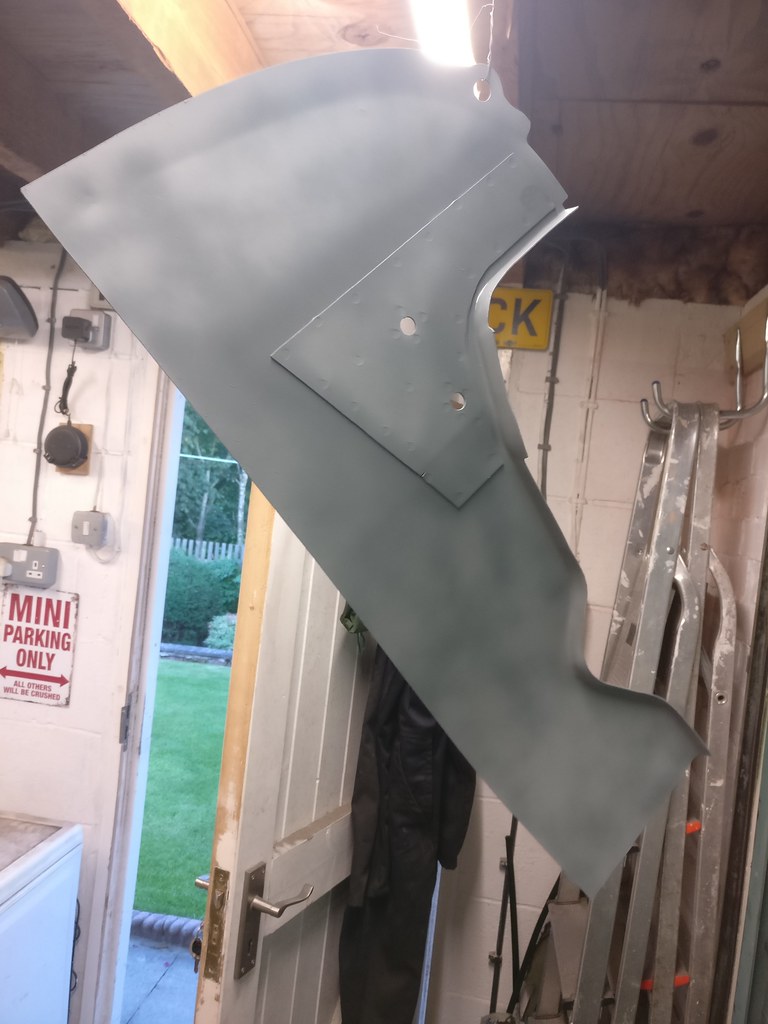
Bit of prep on the repair panel first...cleaned, lightly ruffed up and then primped with decent Zinc etch primer.


Now a load of random photos of me working on the boot floor to remove rust and prepare for the new panels.


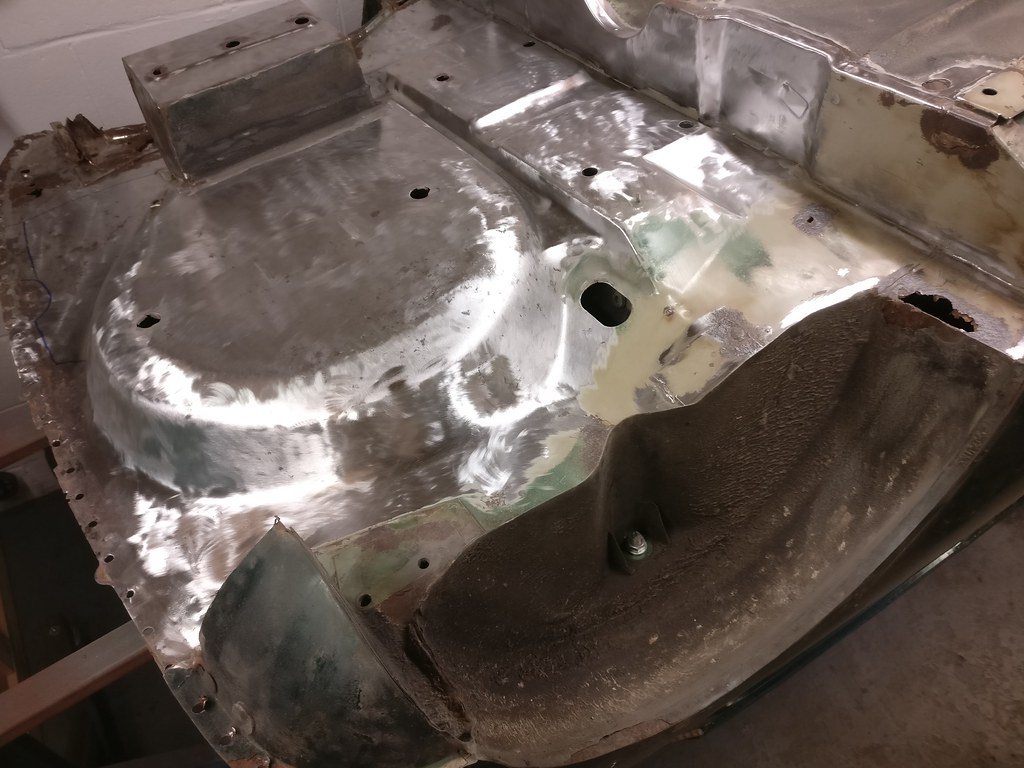
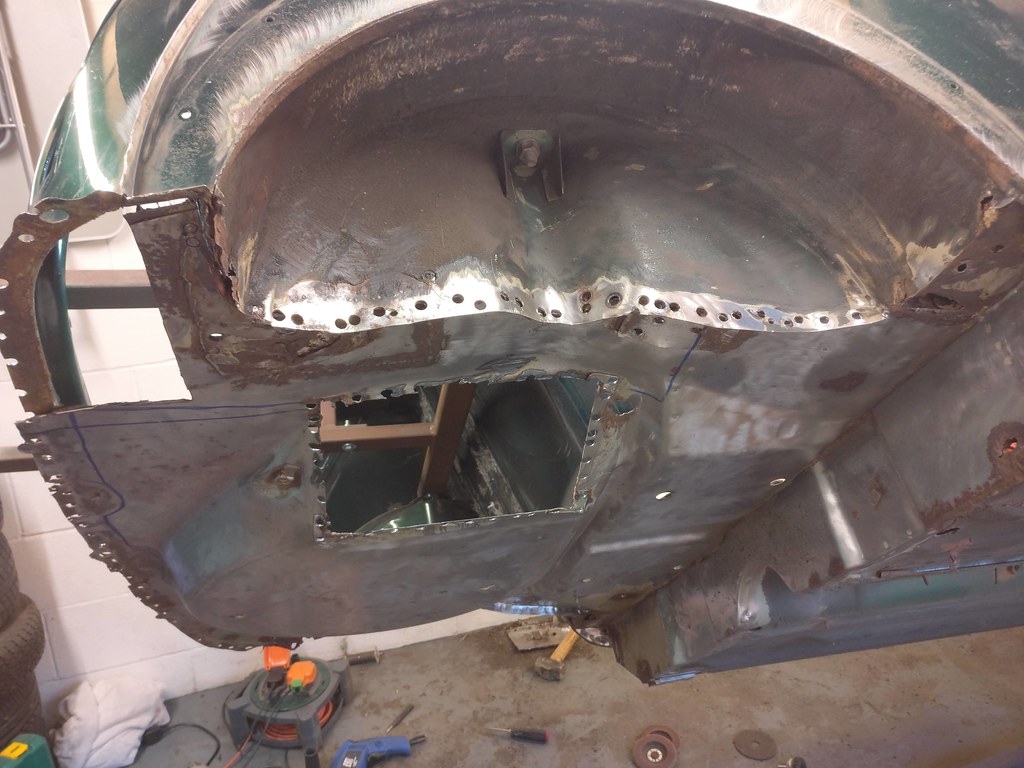
Old repair stuck over a rusty hole is now cut out...


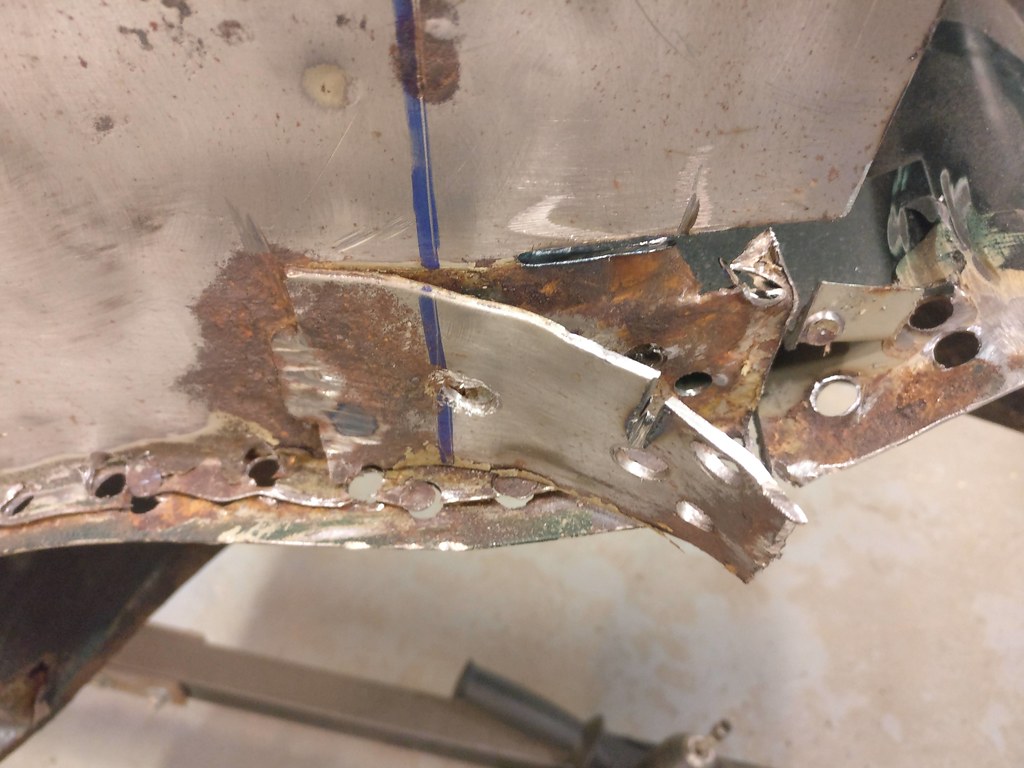
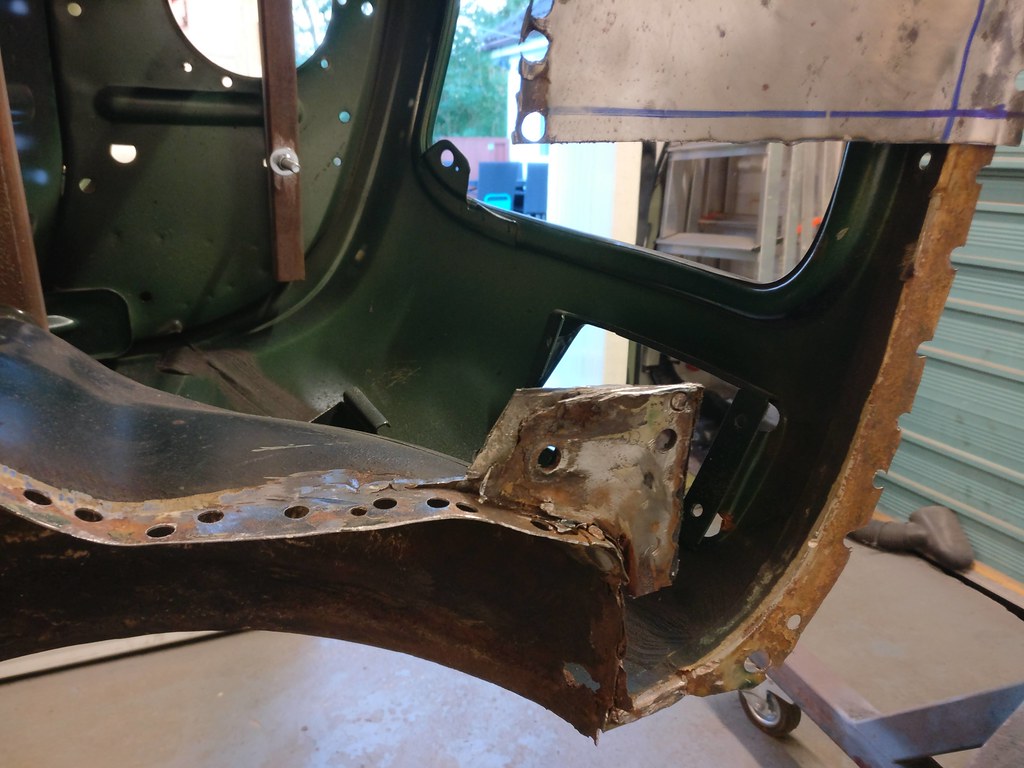
Just a few layers of metal to contend with. I am trying to leave this bracket in place so I can use it as reference for the sub frame mounting holes.


Bracket nearest seat back.

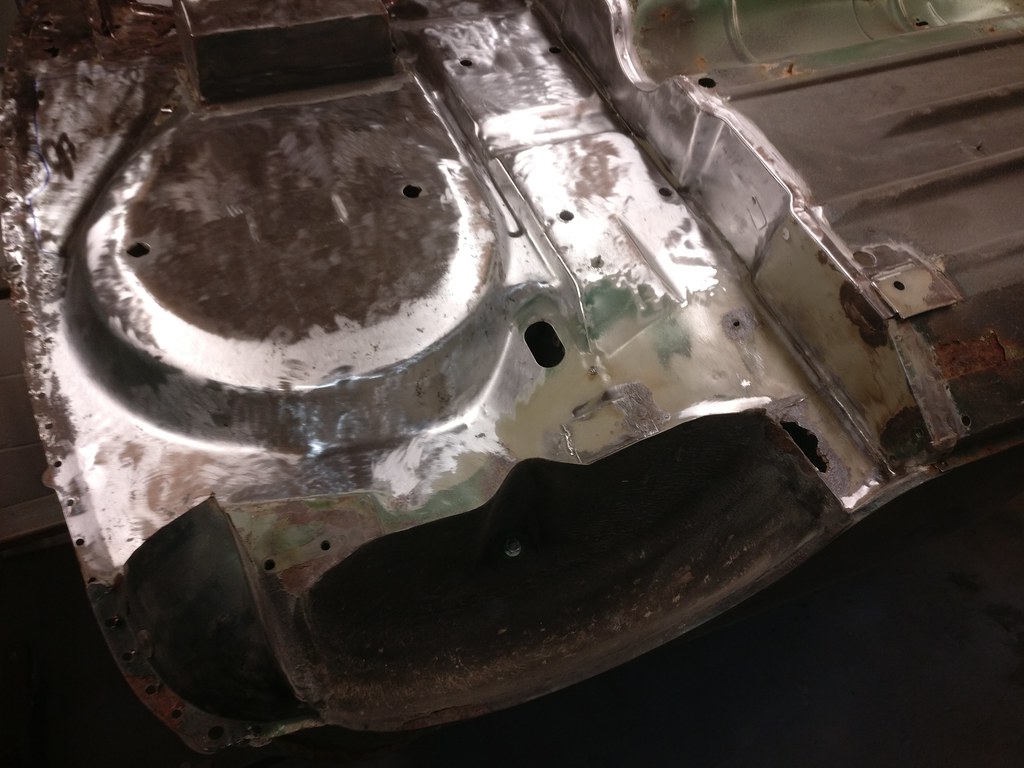
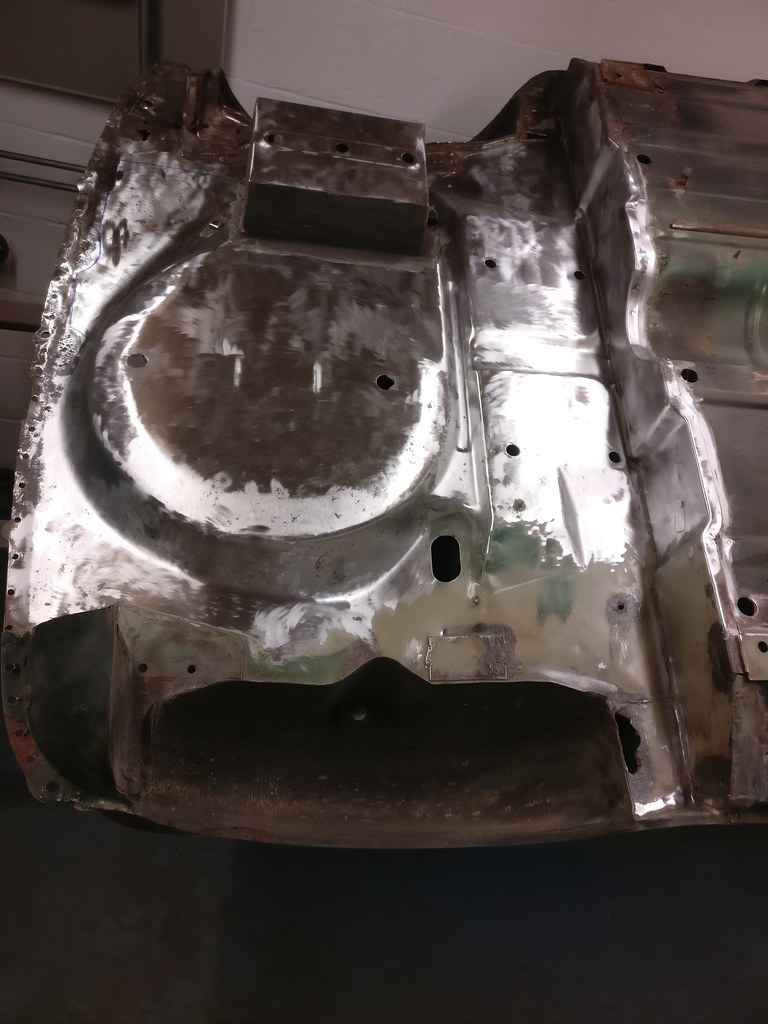
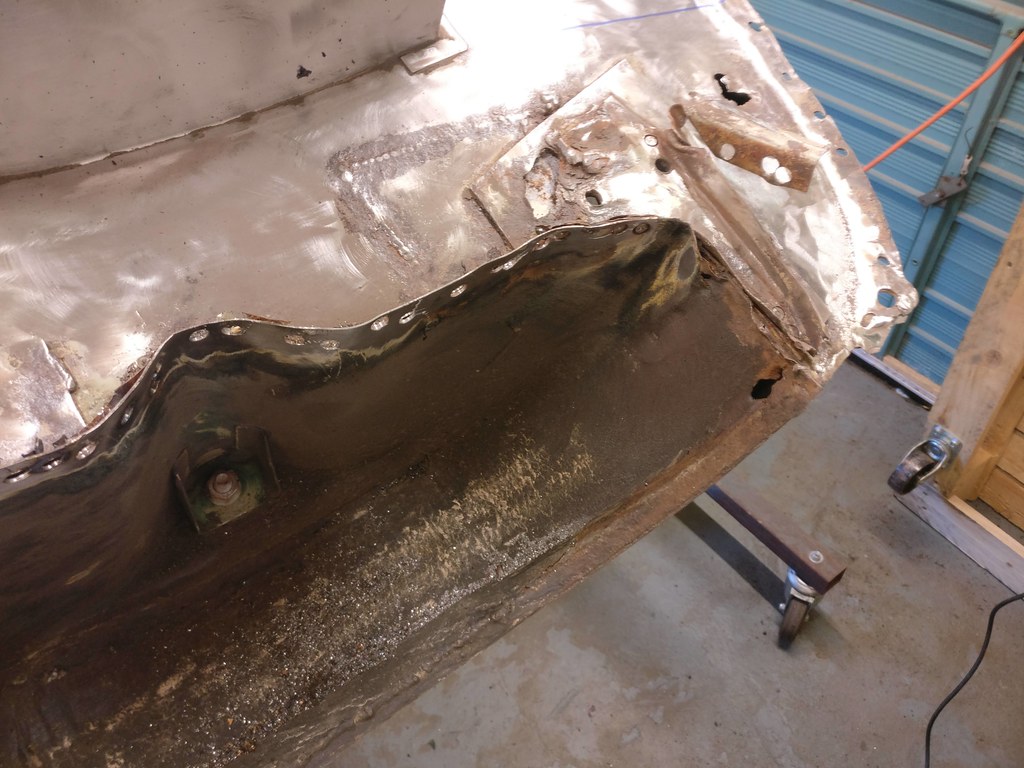
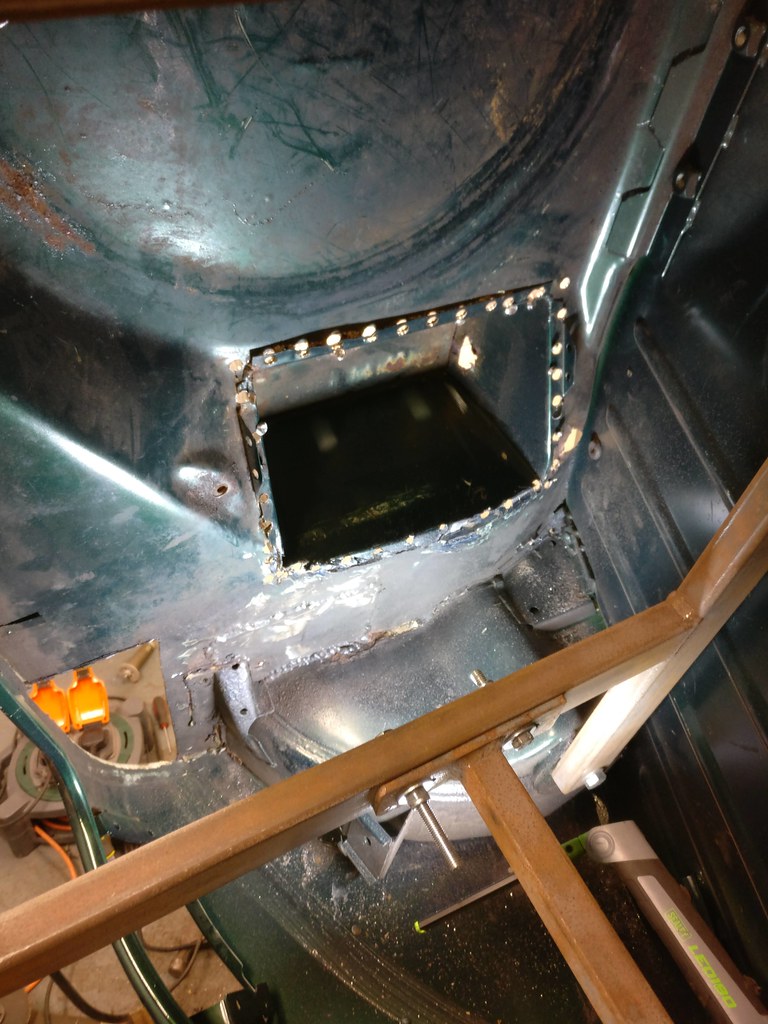
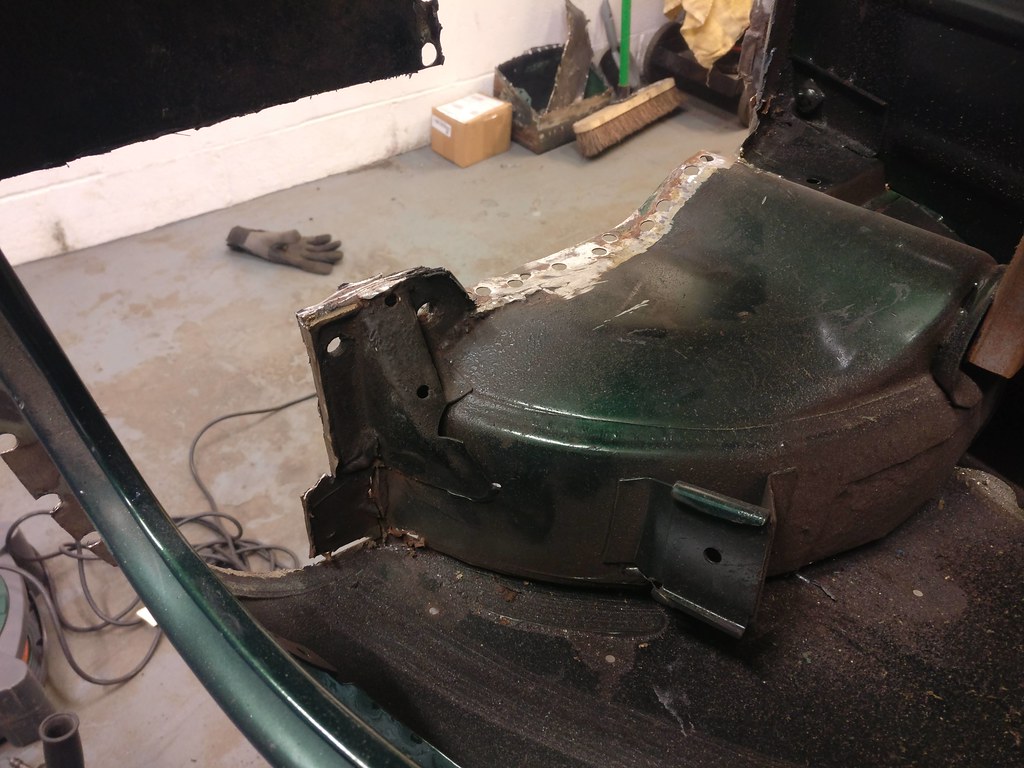
I need to get rid of the bump stop panel for the hydrolastic suspension my car doesn't have. Lots would keep for originality but I just don't see the point. Full of rust underneath too.


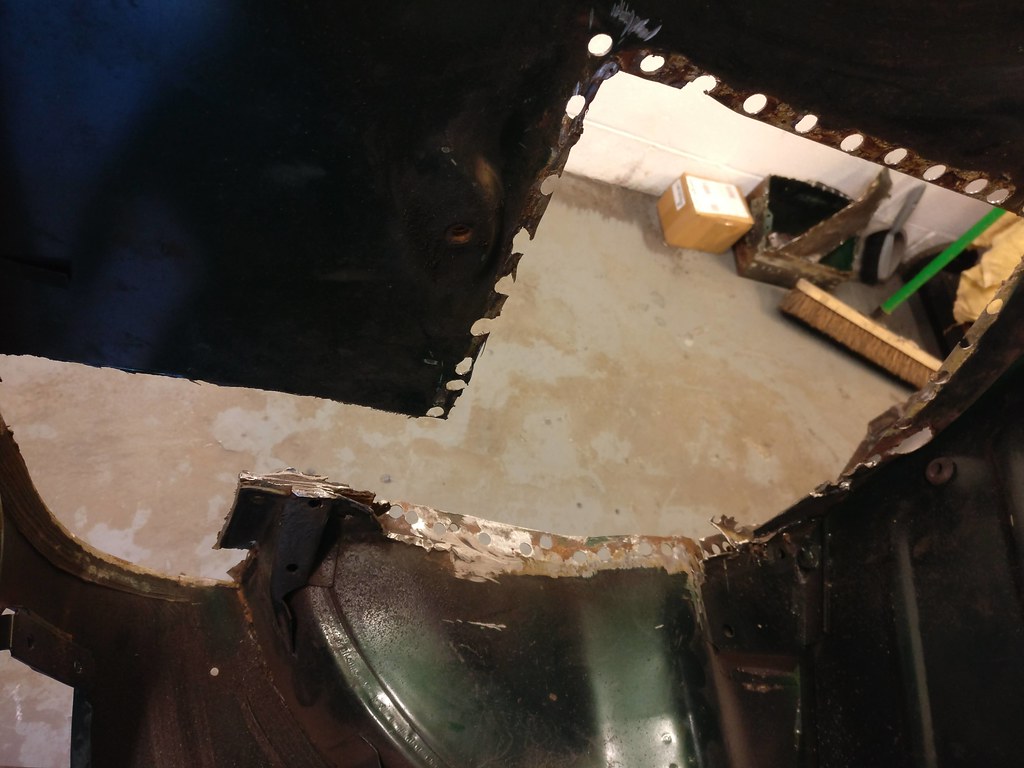
Whats left of the closing panel on the other side of the boot floor. I need to get this removed so I can see how bad the floor is underneath and also so I can trial fit the repair panel for the boot lip.

Lots of rust appearing...

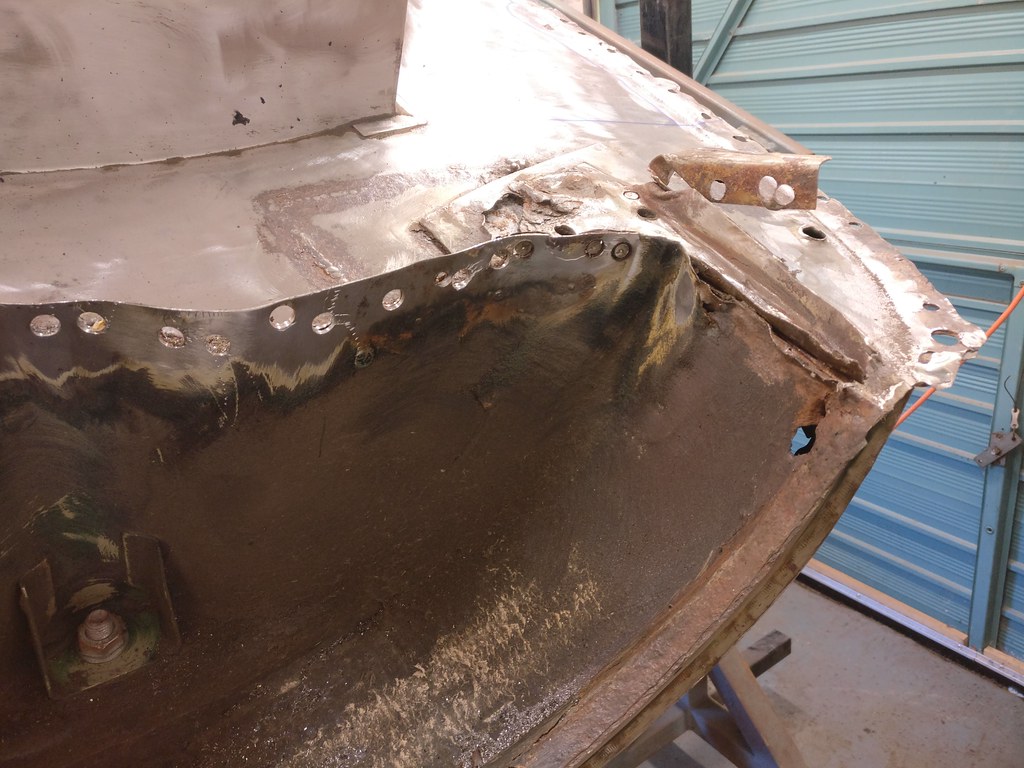
So many spot welds...

And its off. That was a battle.

Hopefully I will be able to rust cure the panels soon and then start to trial fit the repair panels before welding. Every little bit is a step forward.
#280
johnR
-

- Members
-
- 2,301 posts
Up Into Fourth
- Location: Dorset
Posted 10 August 2020 - 11:56 AM
Are you deliberately drilling right through both spot-welded panels (as on the battery box)? Using a spotweld removing drill bit means you only need to drill through one panel, leaving the other to re-weld to. just a thought that may save you some hassle.
#281
Ben Rose
-
- Members
-
- 210 posts
Mini Mad
- Location: Preston, Lancashire
Posted 10 August 2020 - 12:36 PM
Are you deliberately drilling right through both spot-welded panels (as on the battery box)? Using a spotweld removing drill bit means you only need to drill through one panel, leaving the other to re-weld to. just a thought that may save you some hassle.
Hi John, thanks for the input. I have on some as the repair panel will be the solid piece. The hole I have drilled can then be used for the plug weld. Some of the spot welds will only be drilled through the top layer. Last few images for example.
#282
Junior Mini
-
- Members
-
- 313 posts
Speeding Along Now
Posted 10 August 2020 - 02:55 PM
Doing well. I like your methodology of doing it slowly but concisely. Patience is definitely a virtue in this game 
Keep at it, good luck 
#283
Ben Rose
-
- Members
-
- 210 posts
Mini Mad
- Location: Preston, Lancashire
Posted 28 September 2020 - 07:54 AM
Sorry I've not posted any updates for a while. Life gets in the way, plus I didn't think it would be particularly interesting if I continually posted images of my crap welds.
Definitely practice makes perfect. Just getting the welder and my mask setup right was a challenge. I'm a complete novice but I'm learning every time I work on the mini.
I've posted a load more images against my Flickr account if anyone interested. I'll just put a few below.
Previous arch repair I don't think is the best so will most likely have to go.

Other side of boot floor strengthener in much better condition.

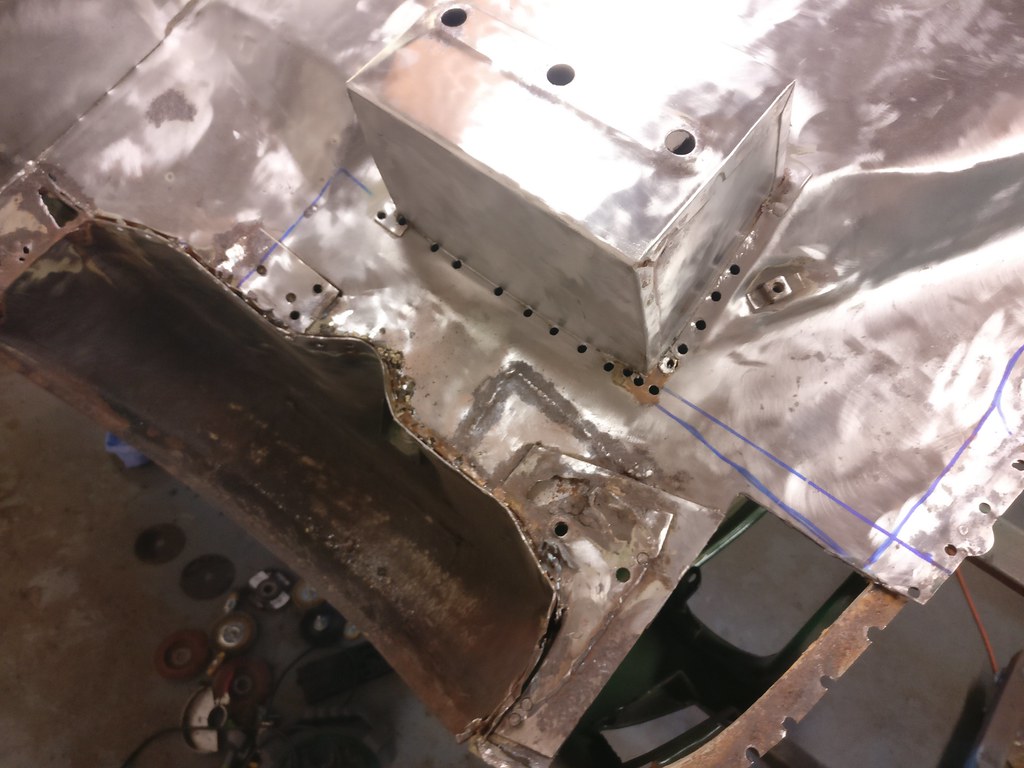
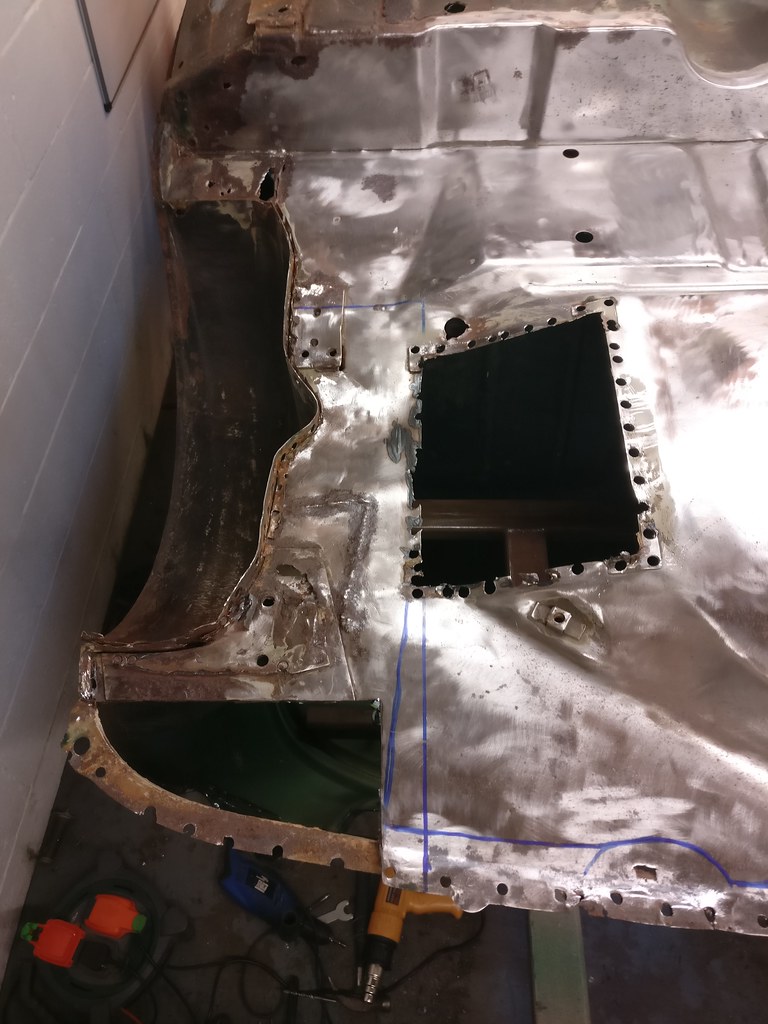
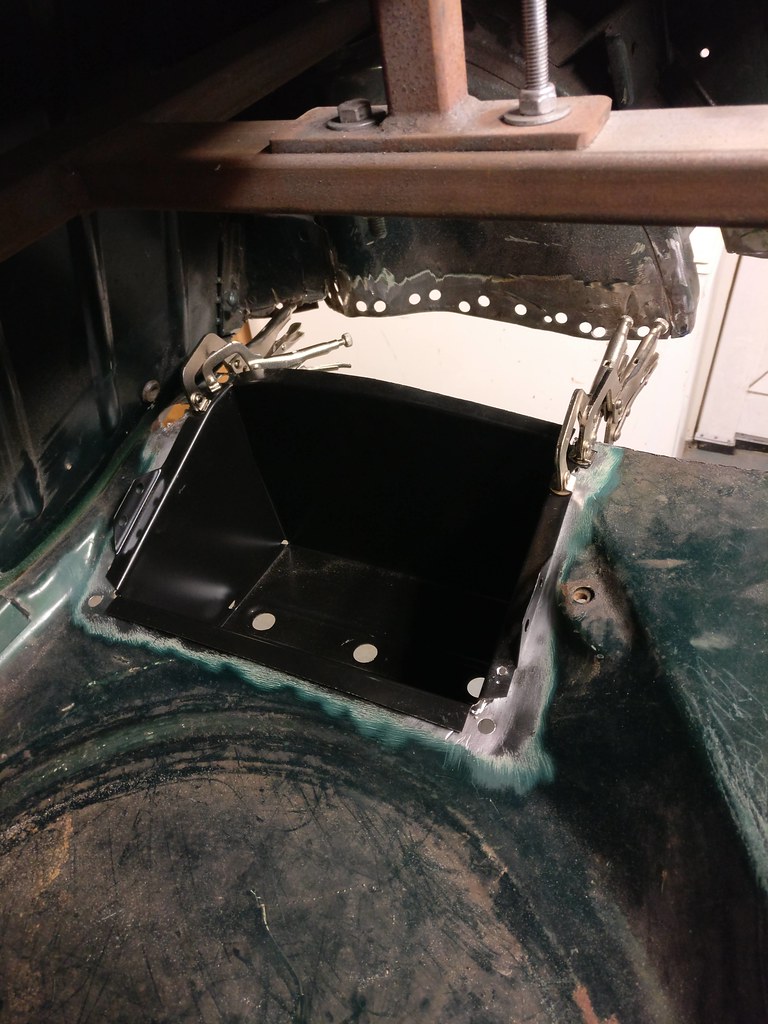
Trial fitting repair panel. Decided to get battery box in place first though.


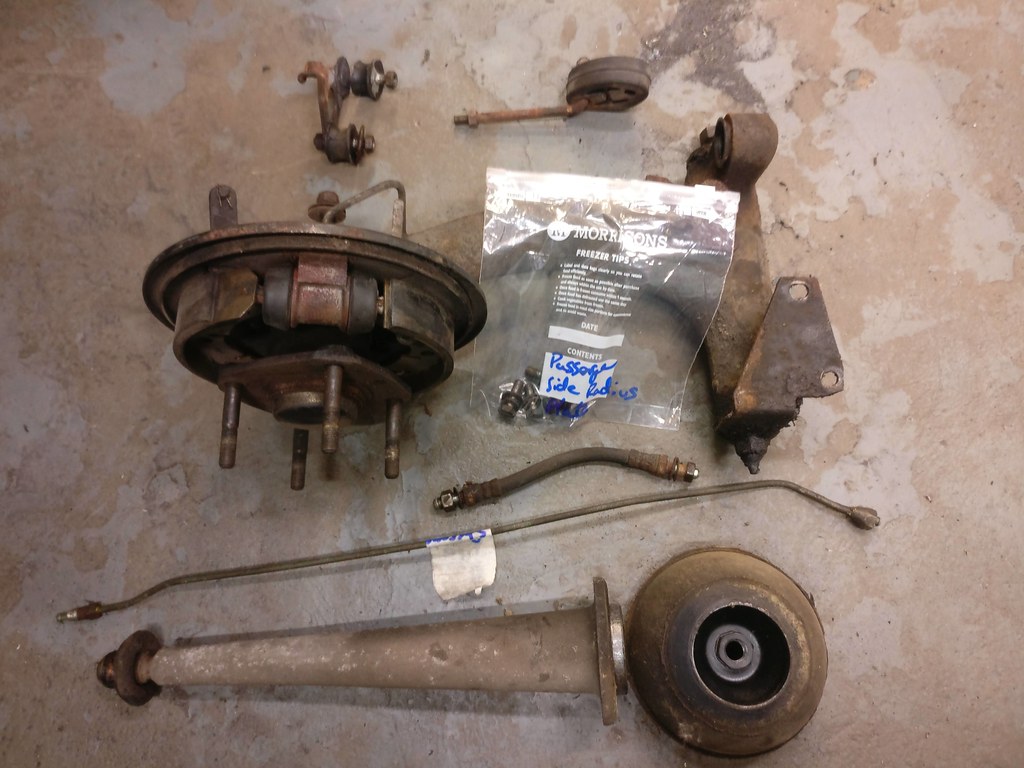
Decided I would check the rear subframe still fits so I had to strip this down. Bit of a clean and paint and I think it will do for now. Oh and no snapped bolts too!! Result.


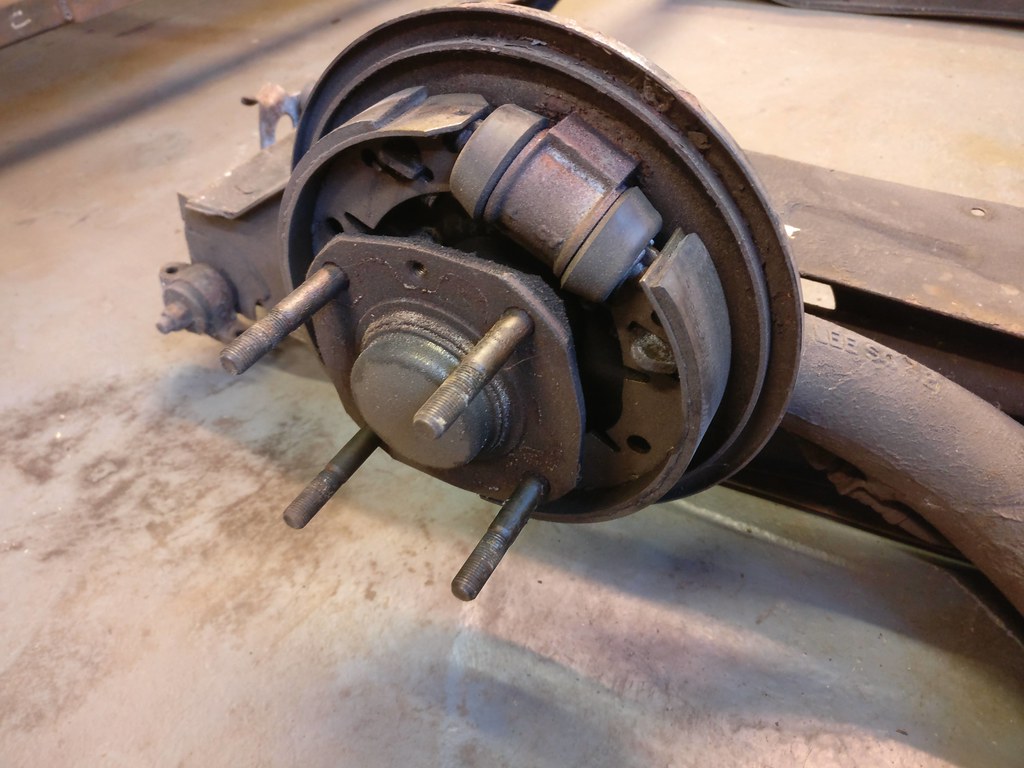
Back plate a bit crusty but seems to be solid underneath.


Going for high-lo's in the end but I will keep these in case I ever want to return to OEM.


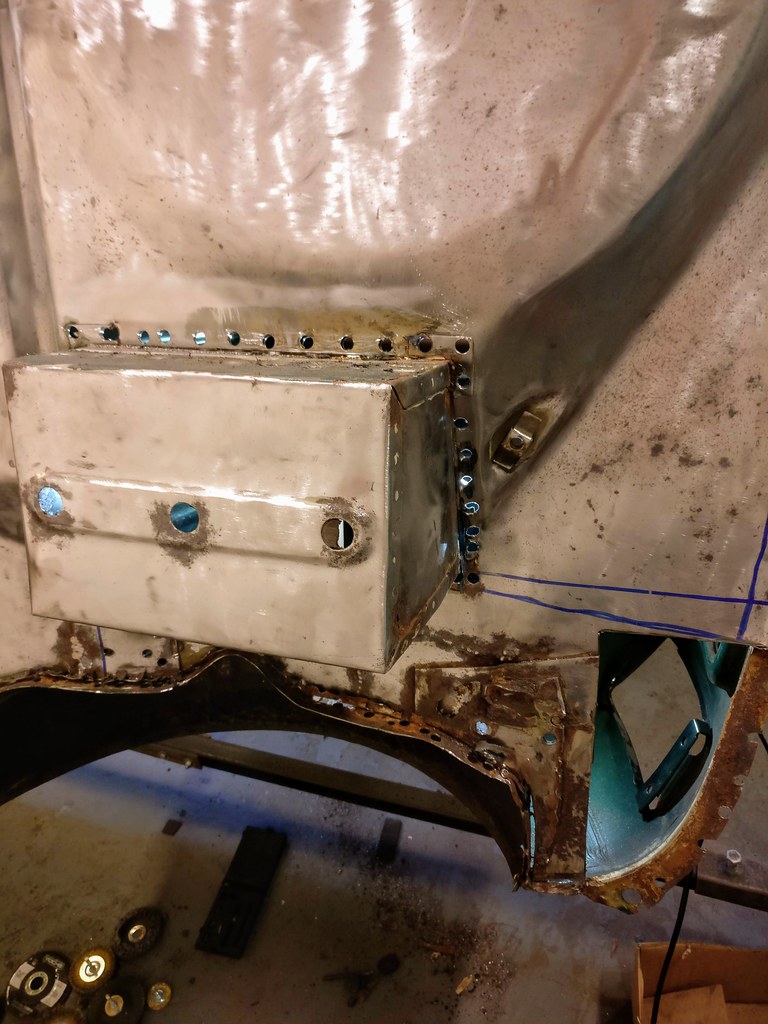
So I decided to get a new battery box. The old one was too far gone and I would have spent ages trying to repair.
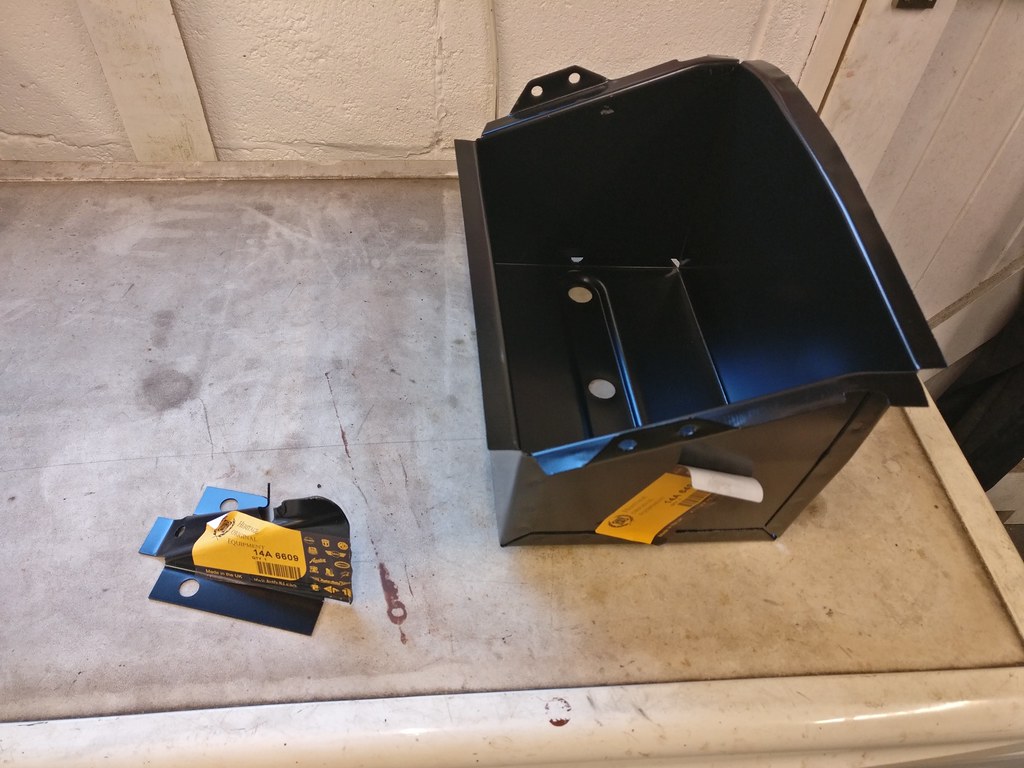
Rear subframe fitting kit from mini sport.


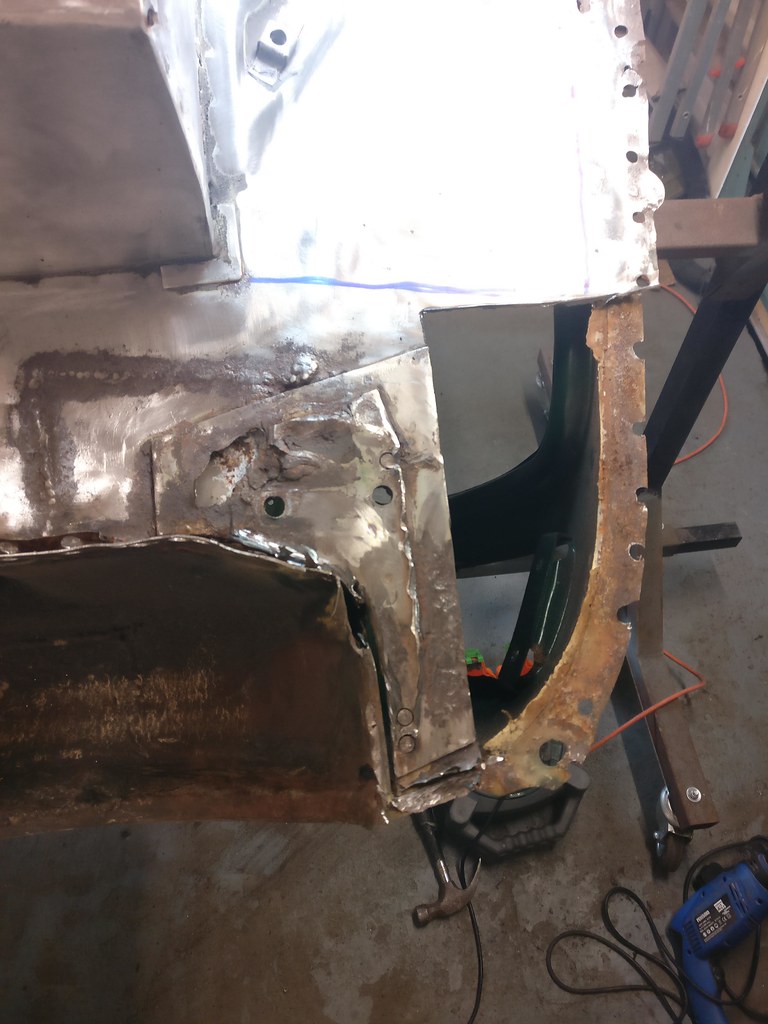
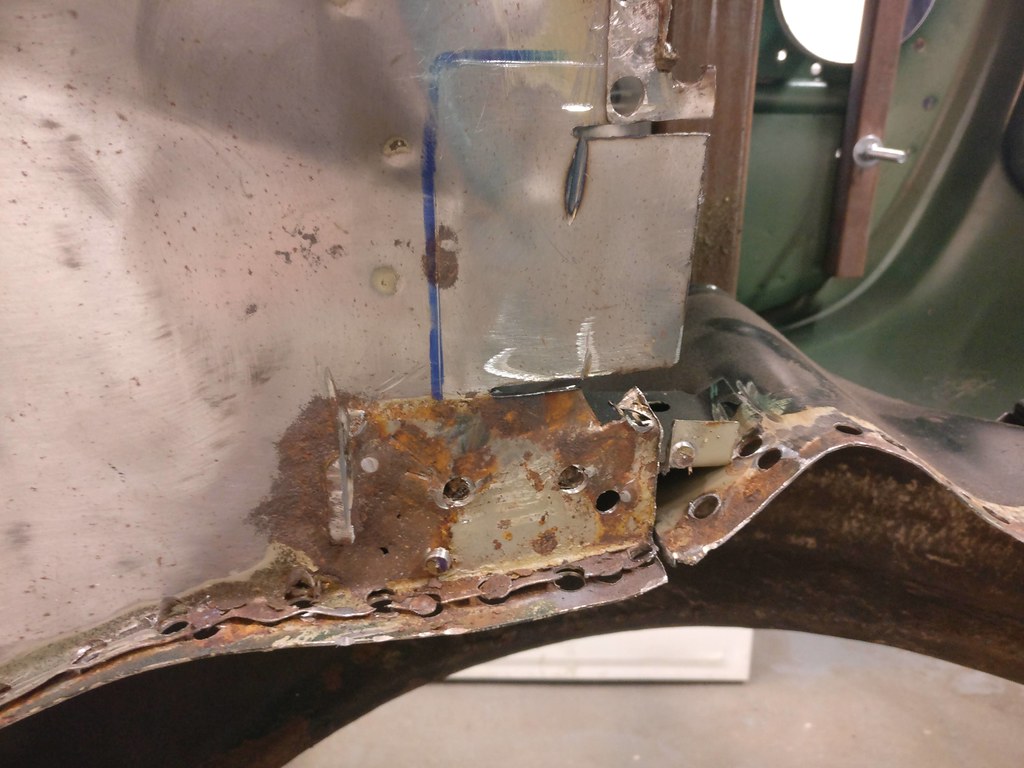
I need to put a patch repair in where the main battery lead enters the boot as it seem really week and the hole is knackered.


Template and scrap steel used to make repair


Don't laugh, terrible welds, metal wasn't clean enough.
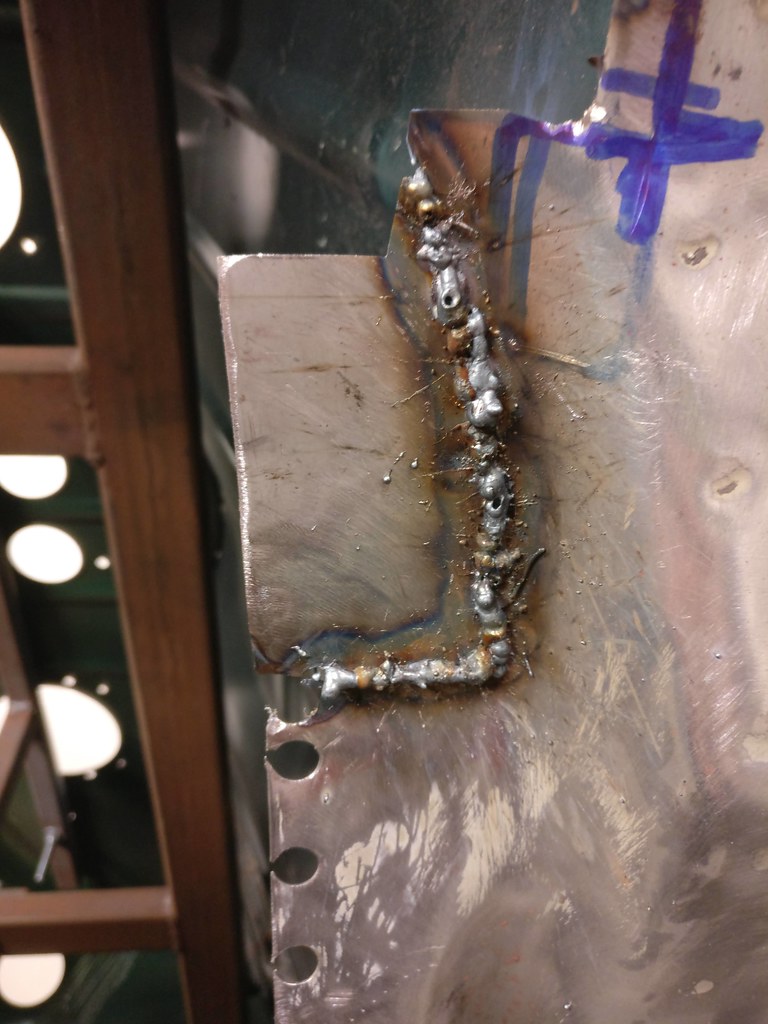
Ground back and went at it again.
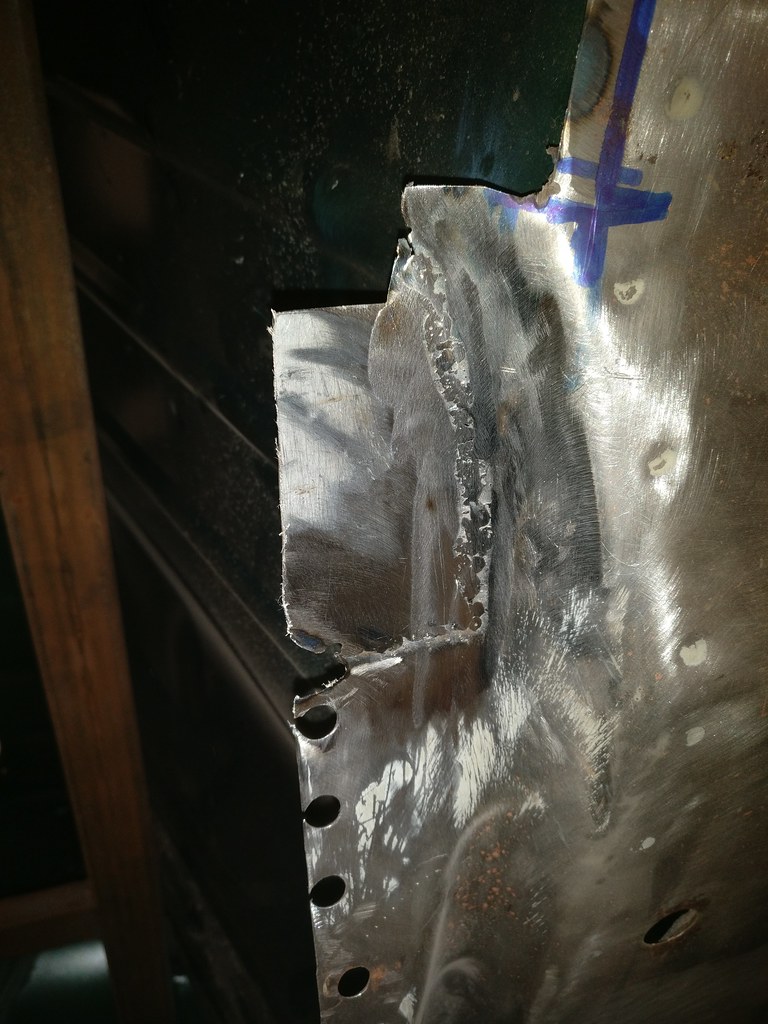


Pin holes so need to try to go over this again at some point. Found it tough to get the welder setup right.
I'll leave it there for now. I am still working on the car regularly but at the moment it is a lot of grinding, cutting and welding which doesn't give the best photo oportunities.
Next post will have the battery box and repair panel in. Boot lip after that.
Definitely practice makes perfect. Just getting the welder and my mask setup right was a challenge. I'm a complete novice but I'm learning every time I work on the mini.
I've posted a load more images against my Flickr account if anyone interested. I'll just put a few below.
Previous arch repair I don't think is the best so will most likely have to go.
Other side of boot floor strengthener in much better condition.
Trial fitting repair panel. Decided to get battery box in place first though.
Decided I would check the rear subframe still fits so I had to strip this down. Bit of a clean and paint and I think it will do for now. Oh and no snapped bolts too!! Result.
Back plate a bit crusty but seems to be solid underneath.
Going for high-lo's in the end but I will keep these in case I ever want to return to OEM.
So I decided to get a new battery box. The old one was too far gone and I would have spent ages trying to repair.
Rear subframe fitting kit from mini sport.
I need to put a patch repair in where the main battery lead enters the boot as it seem really week and the hole is knackered.
Template and scrap steel used to make repair
Don't laugh, terrible welds, metal wasn't clean enough.
Ground back and went at it again.
Pin holes so need to try to go over this again at some point. Found it tough to get the welder setup right.
I'll leave it there for now. I am still working on the car regularly but at the moment it is a lot of grinding, cutting and welding which doesn't give the best photo oportunities.
Next post will have the battery box and repair panel in. Boot lip after that.
#284
cooperd70
-
- TMF+ Member
-
- 730 posts
One Carb Or Two?
- Location: London
Posted 28 September 2020 - 10:47 AM
Glad to see you're still at it Ben. Sure nobody will be laughing...you have to start somewhere on the learning curve.
Good for you for at least having a go ??????
Good for you for at least having a go ??????
#285
Ben Rose
-
- Members
-
- 210 posts
Mini Mad
- Location: Preston, Lancashire
Posted 28 September 2020 - 11:08 AM
Glad to see you're still at it Ben. Sure nobody will be laughing...you have to start somewhere on the learning curve.
Good for you for at least having a go
Cheers mate.


Also tagged with one or more of these keywords: roundnose
Projects →
Mini Saloons →
Mini Cooper Project - Finally StartsStarted by piphatch , 08 Jan 2025 |
|

|
||
Projects →
Mini Saloons →
1965 Austin Mini Restoration - Canadian Mk1Started by DoubleEh , 14 Nov 2022 |
|

|
||
Projects →
Mini Saloons →
Project Joe - 1991 Mini Mayfair 998Started by Eggers , 02 Jun 2022 |
|

|
||
Projects →
Mini Saloons →
Mpi Dashboad ProblemStarted by mikeprez , 22 Dec 2021 |
|

|
||
Projects →
Mini Saloons →
1978 Oew - Willy The MiniStarted by smalltreegrower , 11 Nov 2021 |
|

|
1 user(s) are reading this topic
0 members, 1 guests, 0 anonymous users


