Jump to content


Photo
- - - - -

Piccadilly Project


  • Please log in to reply
102 replies to this topic

#76 dan_w

dan_w

    Mini Mad

  • Members
  • PipPipPipPip
  • 152 posts
  • Local Club: Not yet!

Posted 22 August 2009 - 04:35 AM

I thought it was about time I updated my build thread. I have not been on here to much recently, been relatively busy at work and out of work been finishing plans for my wedding in a 2 weeks time. Anyway quite a lot to report.

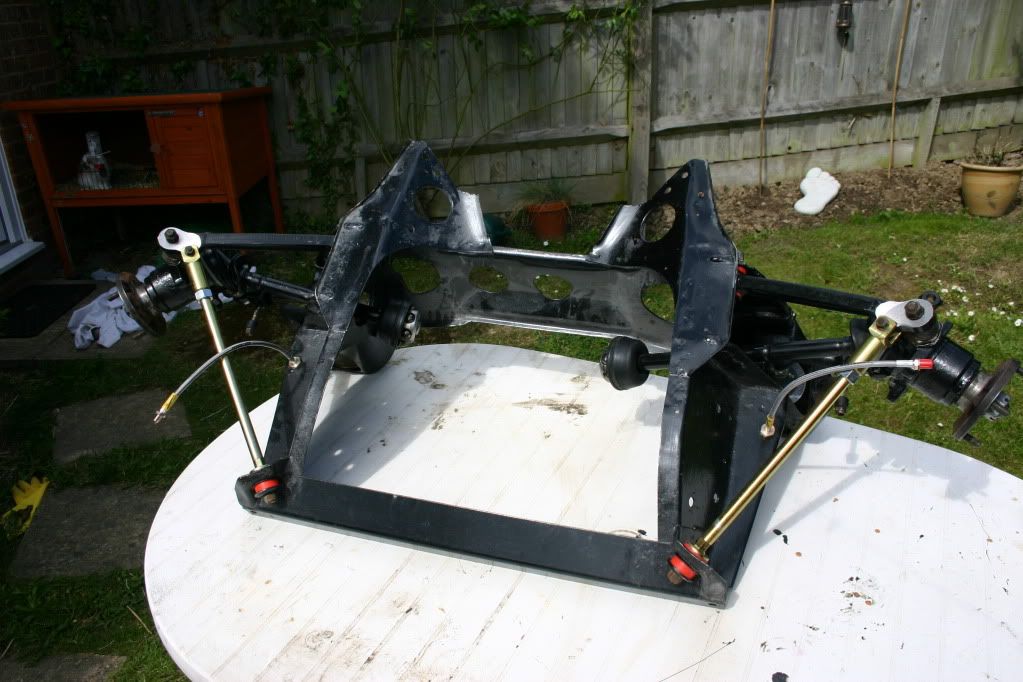
Both front and rear subframes are assembled (except brakes on the front)
Posted Image

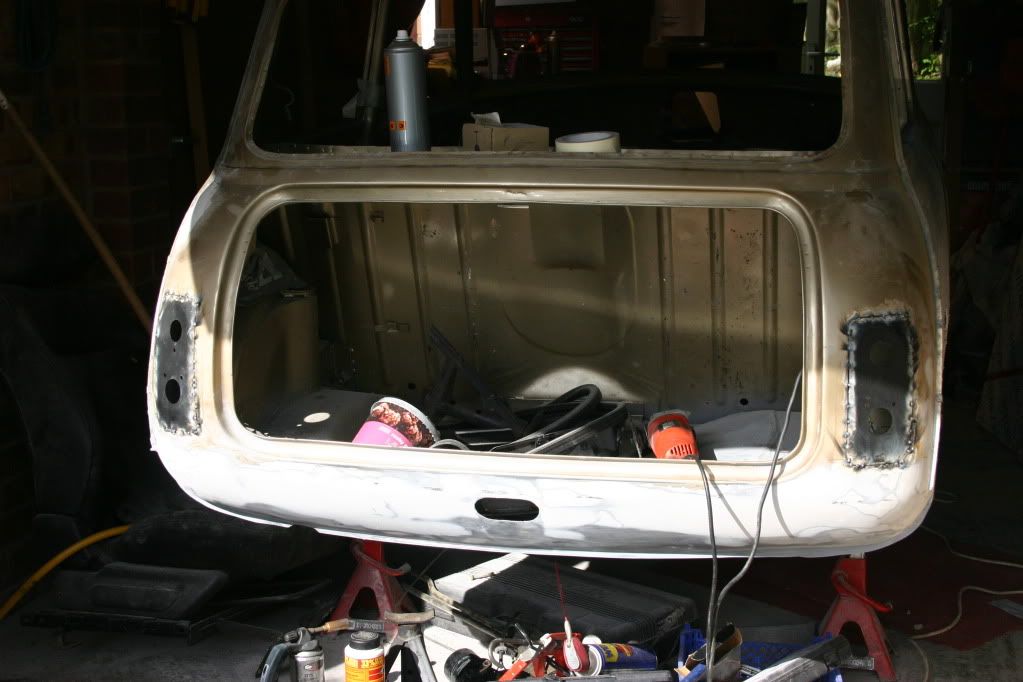
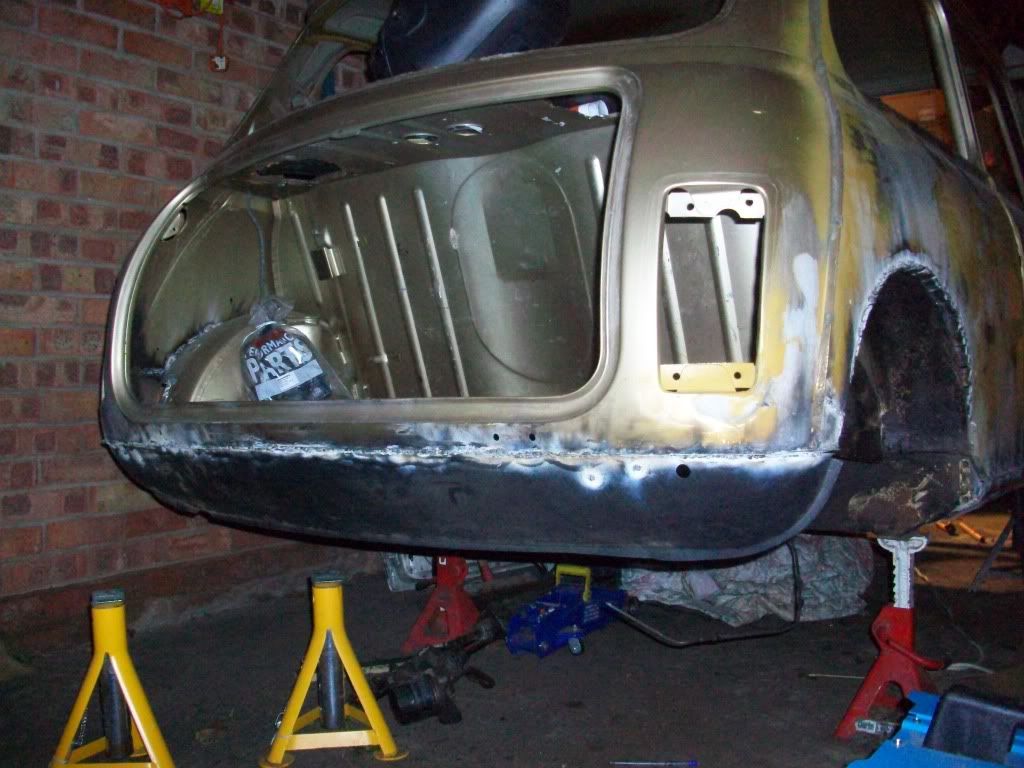
All welding is now completed, this includes new front floors, new drivers sill, a few patches in the boot, fuel filler hole removed, rear valance fitted and deseamed, rear arches tubbed, bonnet latch hole removed, gear shifter hole filled ready for internal shifter, Mk1 light plates also fitted.
Posted Image

Posted Image

Posted Image

Posted Image

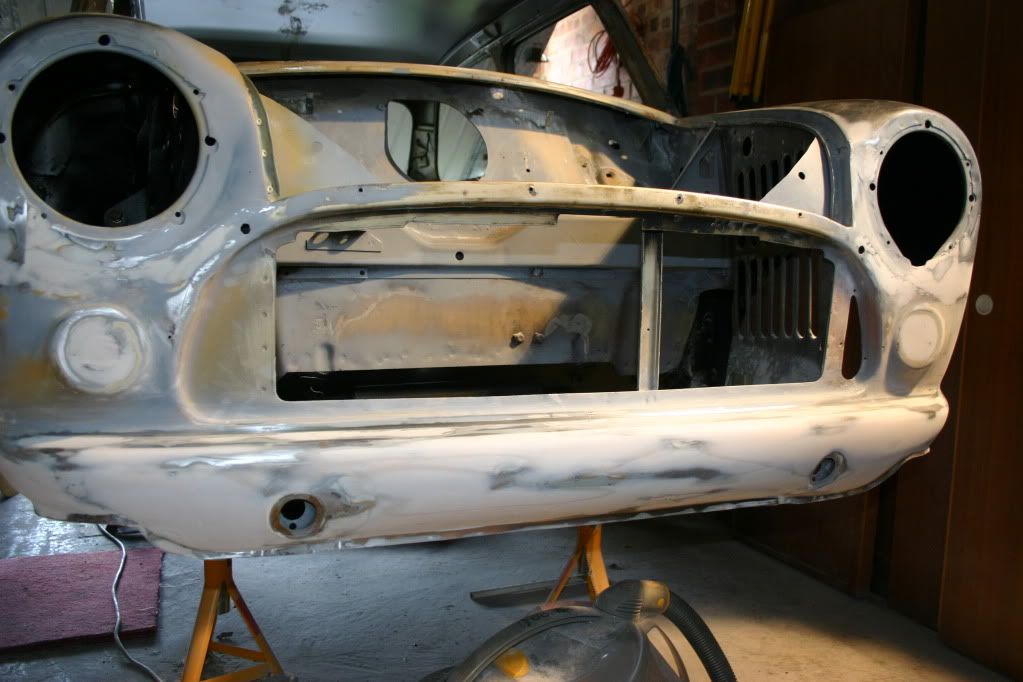
I am also some of the way through the filling and sanding of areas such as the front and rear bumpers. A friend of mine works in a body shop so these areas are only really tackled when he is able to help.
Posted Image

Posted Image

I have also embarked on my own version of MK1 sliding windows. I really want to keep weight to a minimum so polycarbonate windows are going to be fitted but i dont like the idea of only having a small cat flap to open, seeing i will only really be using the car on nice weekends etc.

After struggling to find any second hand window runners I decided to make my own. I have welded a L shaped piece of steel from the outer edge of the window trim. I have already brought some of the W shaped rubber trim that normally fits around the top section of the windows on the MK1's and this will fit in to the new section as well acting as runners. I just need to work out a way to latch them in place. Not to worries about how secure it is as it will always be kept in the garage so im am hoping I can either make something or get a latch of some form to hold the windows in place.

Posted Image

Posted Image

Posted Image

Posted Image

Posted Image

That’s the bulk of it all except for a few odds and sods finished here and there and I have also Waxoiled the under side of the car and the arches. My miglia arches have arrived along with the smooth boot lid, I still cant decide if I will be turboing the engine or going down the supercharger route.

There is still loads more to be done on the car before i can even begin thinking about reassembly or paint. Next major hurdle is to get a 6 point cage test fitted prior to painting in case any welding is required, i have also decided i will be getting some fibreglass bucket seats so will need to work out how these will be fitted. Its a long road.

At least the other day I was able to mock up the rear end of the car and i am really pleased with how it is looking.

Posted Image

Posted Image

Hopefully my next post won’t be soon and there will not be so much to update
.
#77 Down&Out

Down&Out

    The King Of Retro Cool

  • Traders
  • PipPipPipPipPipPipPipPipPip
  • 4,853 posts
  • Location: -

Posted 22 August 2009 - 12:14 PM

Been wondering where this thread was!

Great work there, can't wait till this is finished :)

#78 dan_w

dan_w

    Mini Mad

  • Members
  • PipPipPipPip
  • 152 posts
  • Local Club: Not yet!

Posted 27 October 2009 - 02:17 AM

I seem to be getting really lazy with updating this thread. I have loads more progress to report.
Sills and under side of the doors are all sanded back and primed.

Posted Image

Posted Image


The engine bay and interior floor is now fully primed. I am holing to get some paint mixed at the end of the month. This will allow me to paint the engine bay and then get the subframes refitted. :D It will be great to get it on wheels again, i can then get a real jump on the rest of the bodywork and being able to move it in and out of the garage will be useful.

Posted Image

Posted Image

The new window frames for the sliding windows are all filled (where needed) and now fully primed.

Posted Image

I’m really pleased with these and its looking like they should work a treat. Fingers crossed at least.

Inside of the boot I have painted the back and sides black. Once I have a new alloy fuel tank I will be able to test fit this and then get the boot floor painted in the same colour of the bodywork.

Posted Image

The boot fasteners are now fitted. The final fit of the boot (panel gaps) is not great this is to be expected seeing it is only a single skin boot lid and at the end of the day this is not meant to be a show winning car. As long is it doesn’t leek and does not look ridiculous there is no real issue.

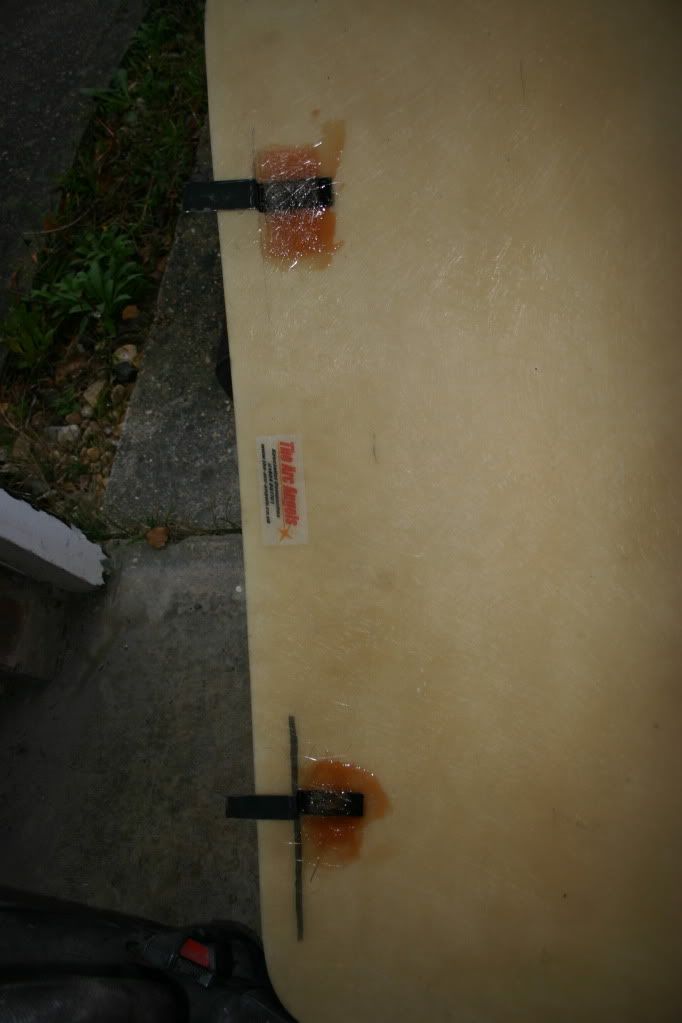
I did not want to use the original hinges on the boot as I want it to be as smooth as possible on the rear, I therefore made some bracket to slot the bottom of the boot on and then use the Dzus fasteners at the top. The bottom is a real nice tight fit with the boot rubber in place so wont move around at all. Just need to workout where the number plate vinyl will stick and drill holes for the lights. I plan on using a phone cable with a connector to connect the wires to the boot for the lights. This should give be enough reach to put the boot somewhere safe when filling up.

Posted Image

Posted Image

Posted Image

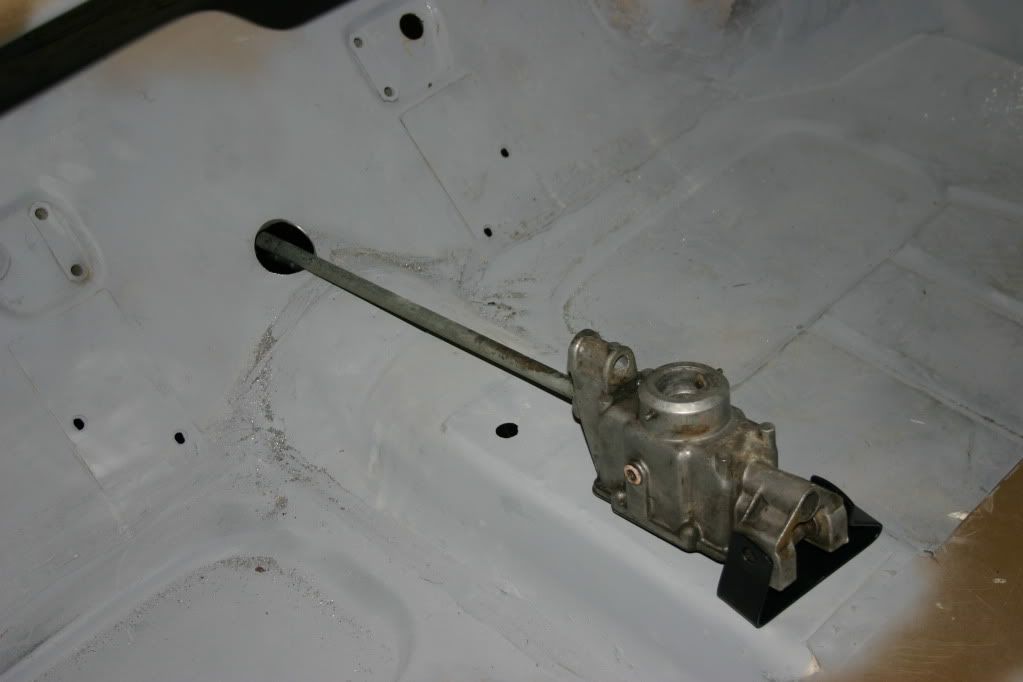
I have also been able to measure up and get a hole drilled for the internal shifter to fit through. I have just finished the internal shifter this weekend and will try and get some pics up tomorrow.

Posted Image

I have also began stripping the engine down as well as a load more sanding of the bodywork, the sanding is so boring and it never looks like you are getting anywhere hence all the other little jobs thrown in the middle lol.

I will update with a few more pics tomorrow as I don’t have my memory card with me at the moment.

#79 dan_w

dan_w

    Mini Mad

  • Members
  • PipPipPipPip
  • 152 posts
  • Local Club: Not yet!

Posted 28 October 2009 - 03:06 AM

As promised a few more update pics...

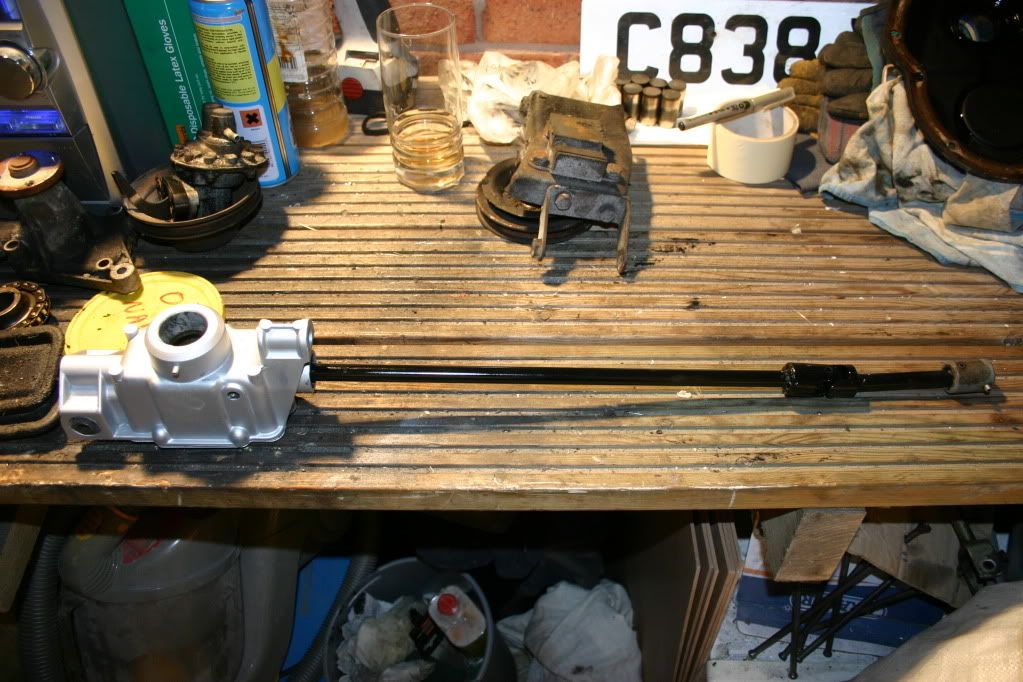
The internal shifter is now nearly complete, just need to finalise exactly how i will be mounting it. (most probably using the existing hanger turned up the other way)

Posted Image

Posted Image

Posted Image

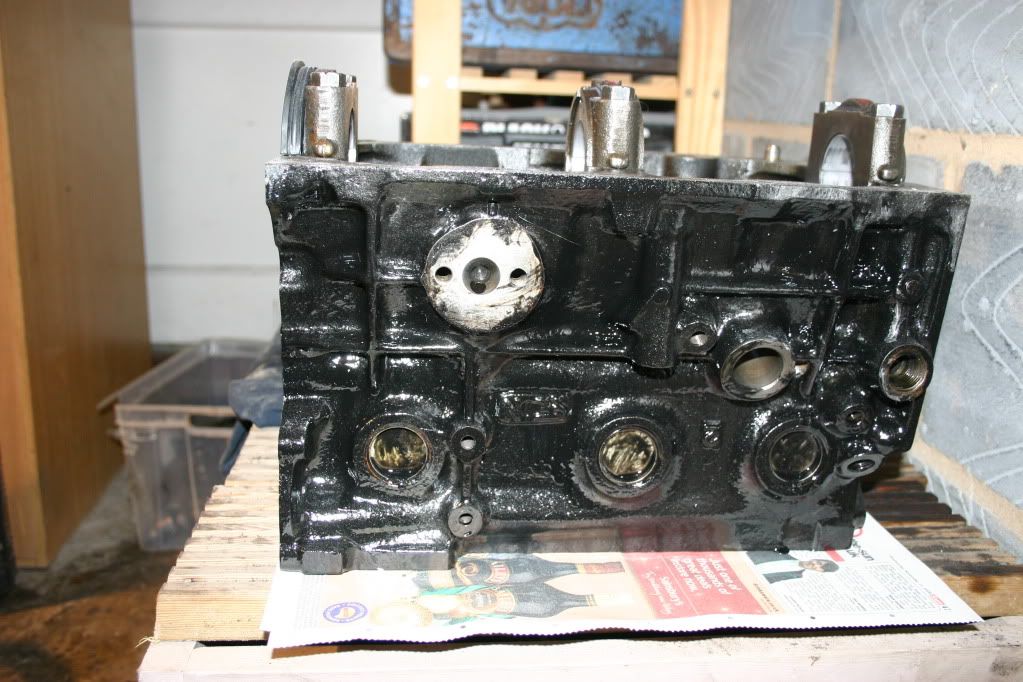
Again stripped more of the engine down over the weekend and got a little bit done today.

Posted Image

Look at the state of the cam followers :lol: These will defiantly need replacing. At this point I am just salvaging what I can from this engine to save on costs for the rebuild of the new block)

Posted Image

A little shot of where i think i will be fixing the battery. Still not to sure, I need to get a cage and get this fitted first and then work out if there will be any interference with harnesses etc. So this may move to the floor behind the passenger seat.

Posted Image

#80 mighty mini jack

mighty mini jack

    Mighty Before a Pint

  • Members
  • PipPipPipPipPipPipPipPipPipPip
  • 5,095 posts

Posted 28 October 2009 - 12:59 PM

Fantastic progress mate, i can see this mini being one that catches your eye straight away! :lol:

Look forward to seeing how you mount the Internal shifter, too. I've got a few pics i could upload and PM over to you if you'd like?

#81 dan_w

dan_w

    Mini Mad

  • Members
  • PipPipPipPip
  • 152 posts
  • Local Club: Not yet!

Posted 28 October 2009 - 11:17 PM

Fantastic progress mate, i can see this mini being one that catches your eye straight away! :D

Look forward to seeing how you mount the Internal shifter, too. I've got a few pics i could upload and PM over to you if you'd like?


Thanks Jack, Im thinking of mounting the shifter on the original hanger but turned upside down and still using the rubber mounts. I will mock it up and post some pics when I get a chance. Hopefully this give it a little movements and will help stop me having any issues with it jumping out of gear, I will also solid mount the engine to help more. I may need to still use the top bar to help also but this looks like it will need some bending and tweeking to get to fit though. Seeing i dont have the subframe or gear box in place at the moment it is gettinga a bit hard to mock up.

If you do have some pics of them mounted that would be great. My email address is dan.walker84@googlemail.com if that is easier. I have a few I have collected also so let me know if you need any and I can send them through to you.

Cheers

#82 MiniAlex

MiniAlex

    One Carb Or Two?

  • Members
  • PipPipPipPipPipPipPip
  • 734 posts
  • Location: Staffordshire
  • Local Club: Mini's N Oatcakes

Posted 28 October 2009 - 11:22 PM

Mini- Chelsea: If I decide to sell the boot dont worry you will be my first point of call. I am still undecided I think i will have to wait untill i have a few other bits done first like removing the rear bumper seam. I am sure that will give me a better idea of what the rear will look like.

Retro-10's The gear knob will defo go at some point. So if your serious its all yours. :D


I have only seen one other boot like this! It was hand made lol, :) Looks good!
Good luck with your project mate :dontgetit:

#83 Mini-Mad-Craig

Mini-Mad-Craig

    Crazy About Metro's

  • Members
  • PipPipPipPipPipPipPipPipPipPip
  • 9,298 posts
  • Location: Travelling in a fried out Kombi

Posted 28 October 2009 - 11:27 PM

Looking good mate keep the updates coming :D

#84 MiniAlex

MiniAlex

    One Carb Or Two?

  • Members
  • PipPipPipPipPipPipPip
  • 734 posts
  • Location: Staffordshire
  • Local Club: Mini's N Oatcakes

Posted 28 October 2009 - 11:34 PM

Just a quick update on the last 2 weeks work.

I have spent most of the time working on the body work. filling where needed and trying to get a good finish when sanding. I cant really be bothered with uploading pics as we have all seen a car being sanded.

I did however manage to paint the pertol tank and front brake calipers.

Posted Image

Posted Image

I also spend a few hours of free time at work working out the wiring on the 2 dials i have. I think i have everything worked out from the old 3 dial dash to the new centre dash. Just need to start conecting everything up and checking once i get a bit more time.

I need to find a few more things i can take to work and do when it is quiet. :D


Mk1 speedo! If I had have known you could have had a set off me! I didn't know about the forum then... My 95 Sprite came with some a mk1 speedo set, with the oil and temp guages. (smiths). I put them on ebay for £30 and they sold! But you could have had them for free if I had have known :) Was asking everyone who I knew had a Mini but they were no good, I didn't really want to sell them because I didn't know if the wiring was any good! But got it tested and it was all working fine. Anyway good luck with the project, i've got two orange mk1 front indicators I think if you want them?

-Alex :dontgetit:

#85 Mini-Mad-Craig

Mini-Mad-Craig

    Crazy About Metro's

  • Members
  • PipPipPipPipPipPipPipPipPipPip
  • 9,298 posts
  • Location: Travelling in a fried out Kombi

Posted 19 February 2010 - 04:58 PM

Bump for this great topic. We want updates mate!!!

#86 dan_w

dan_w

    Mini Mad

  • Members
  • PipPipPipPip
  • 152 posts
  • Local Club: Not yet!

Posted 20 February 2010 - 05:43 AM

LOL Craig, I just had a look in the projects section and saw my project page near the top. Doesn’t happen often :w00t:)

Time for an update then. :- There is a fair bit to tell actually. I had a feature in last months Mini Mag, the on the job article since then I have managed to get a reasonable amount of work done on the car but also managed to get a shard of metal stuck in my pupil. Its all out now and I have full vision back again.

Well where to start.

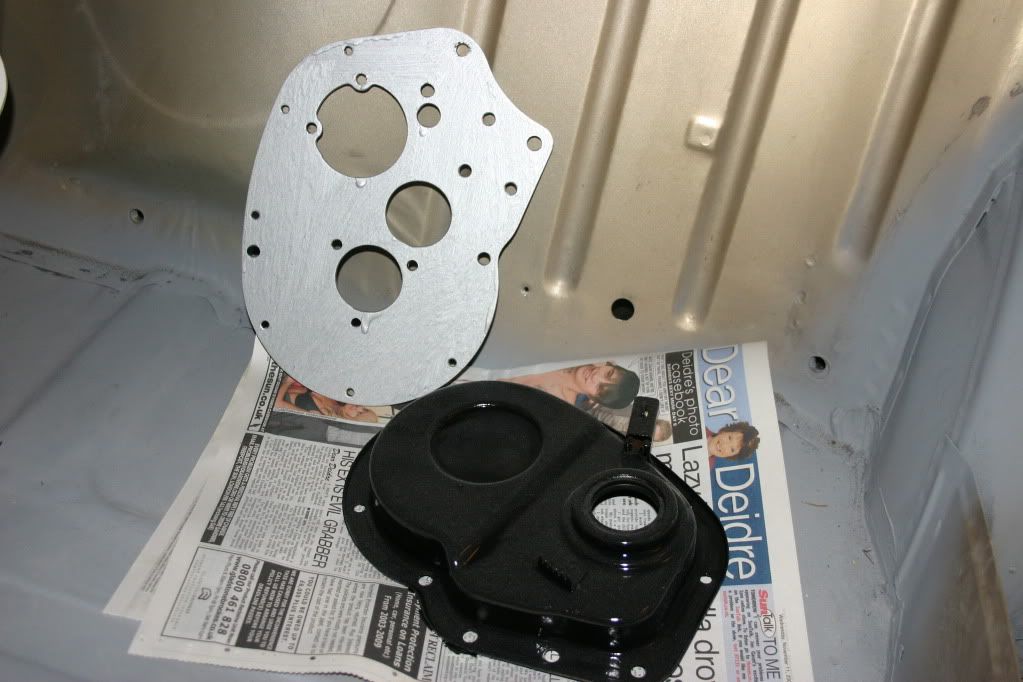
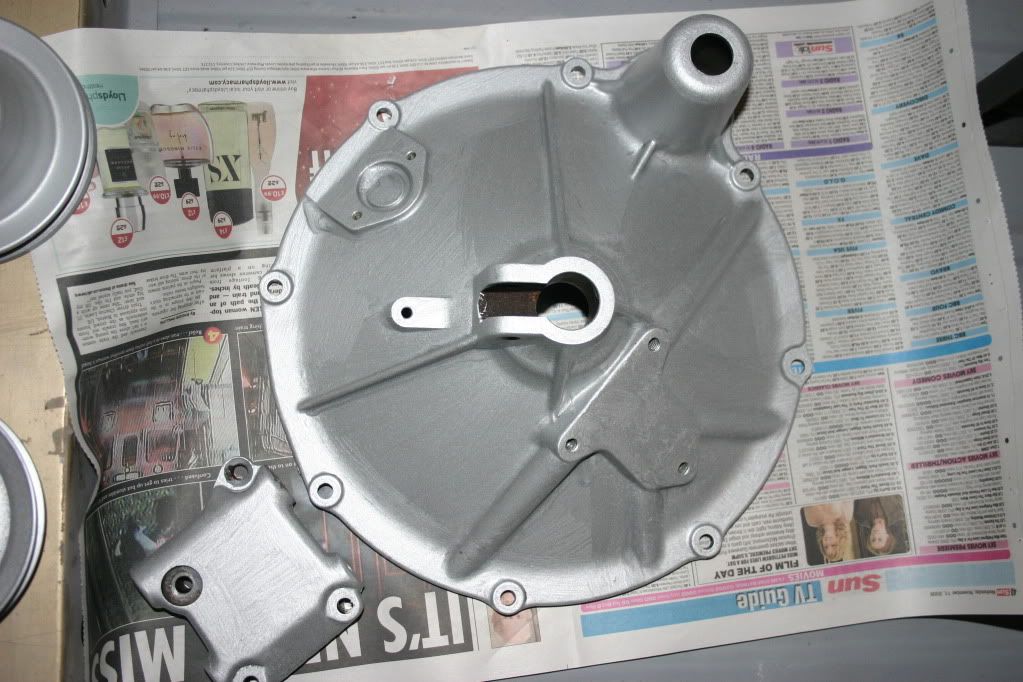
The engine is all stripped down and I have most of the parts I will be reusing painted up ready.

Posted Image

Posted Image

Posted Image


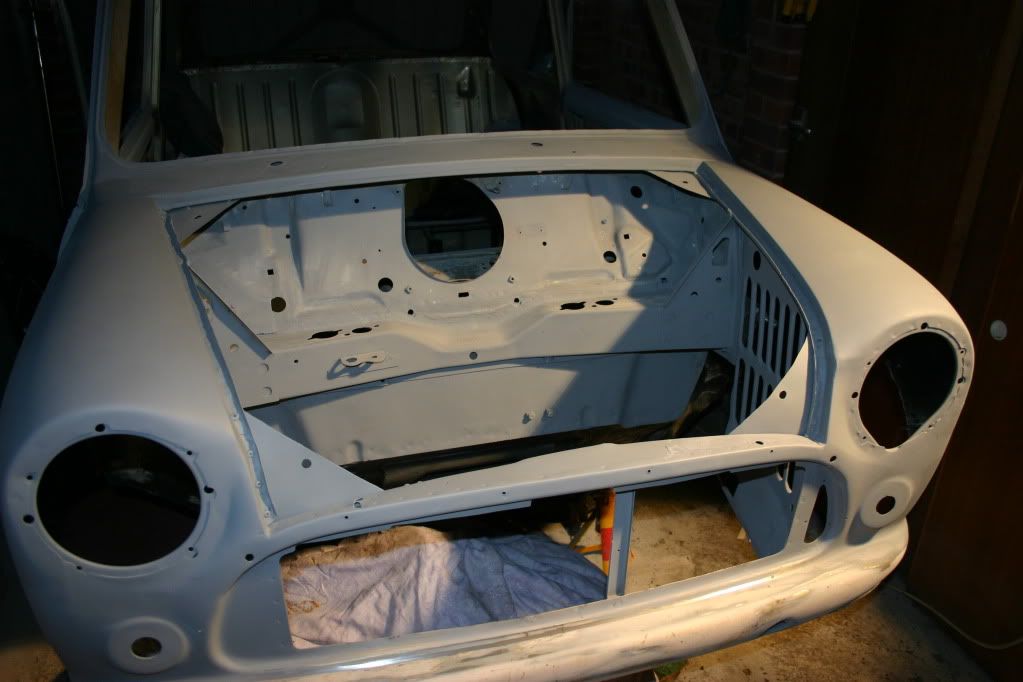
Most of the body work is now in primer with the exception of the drivers door, bottom section of the front lip/ bumper and the entire rear panel. Seeing as I have deseamed the rear bumper and fitted the mk1 light plates this area needs the most work so I will be calling on my mate who works in a body shop for this.

Posted Image

Posted Image

Posted Image

Posted Image

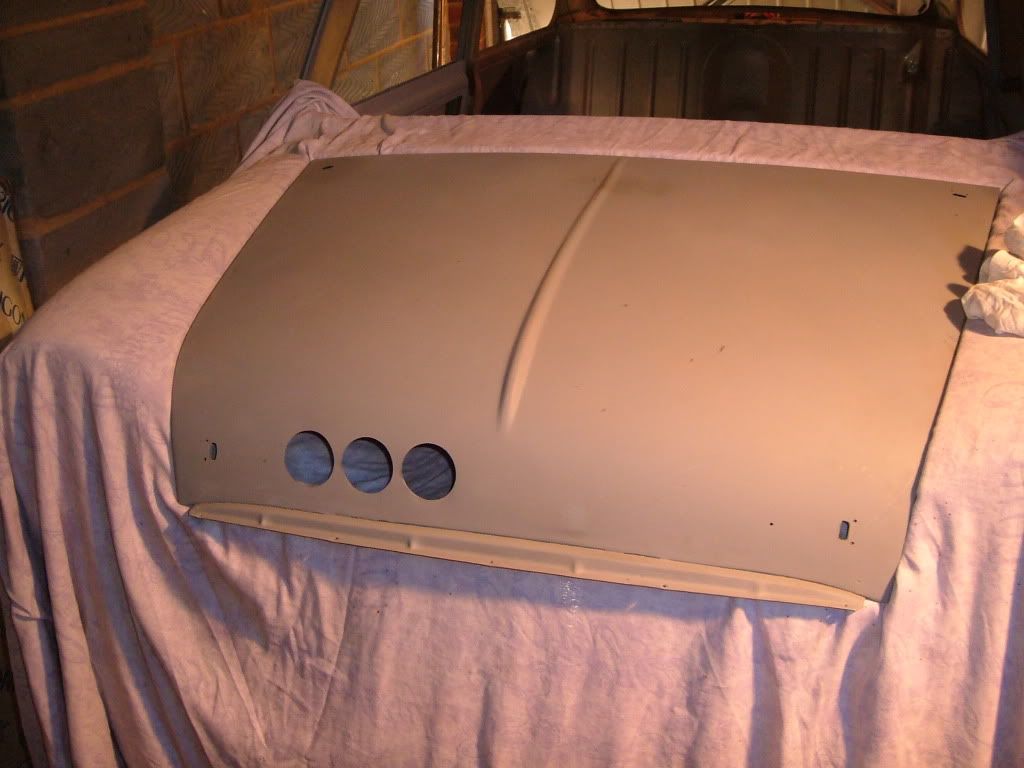
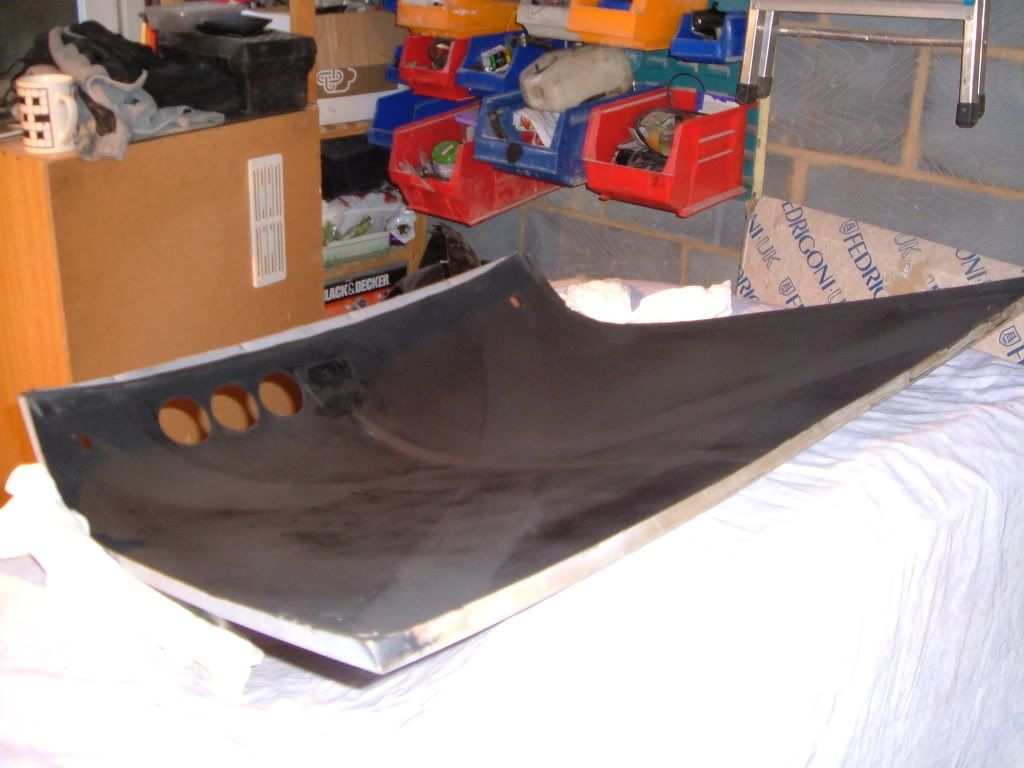
Holes have also been drilled in my bonnet ready for fitment of intercooler and the under side painted in mat black.

Posted Image

Posted Image

I took a trip down the scrappy a last month a got a few odds and ends.

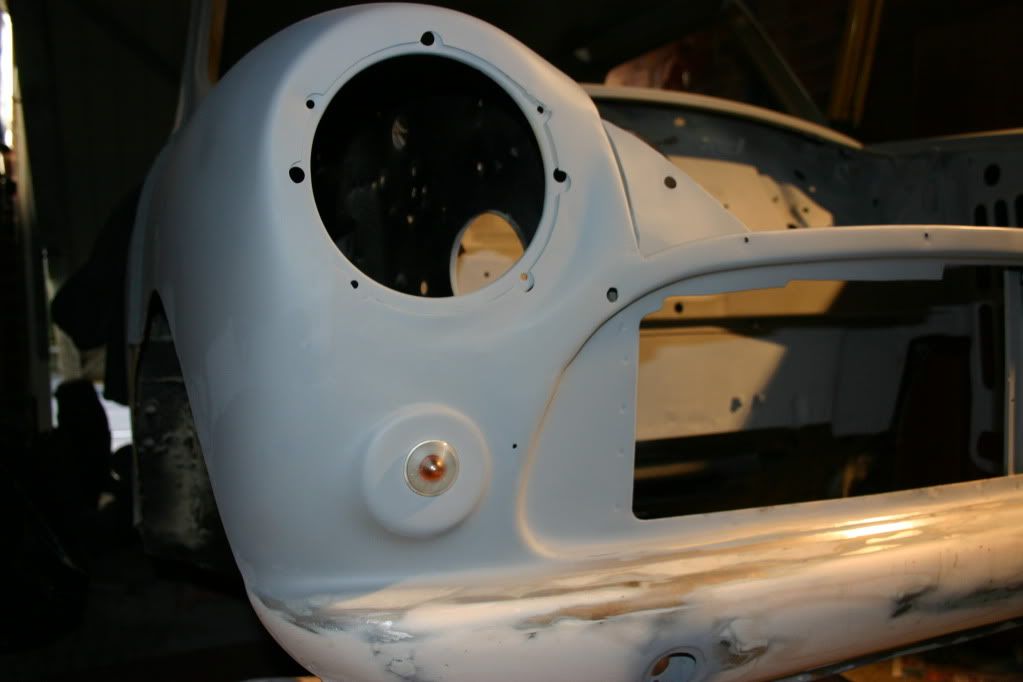
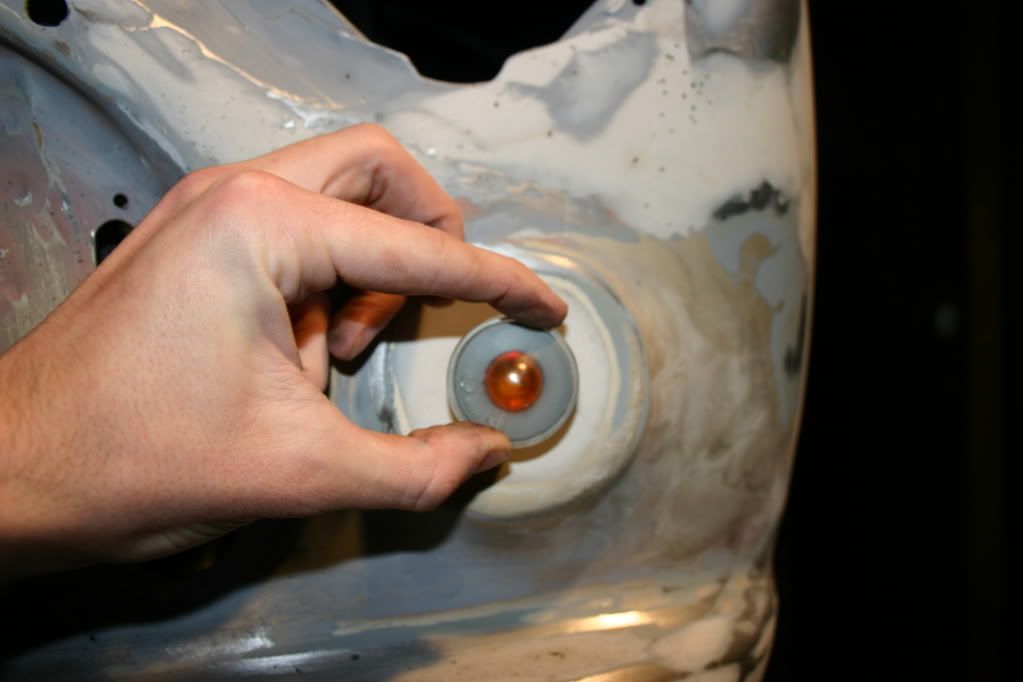
Fiat Punto side repeaters to be used as indicators. Holes have also been drilled and tial fitted.

Posted Image

Posted Image

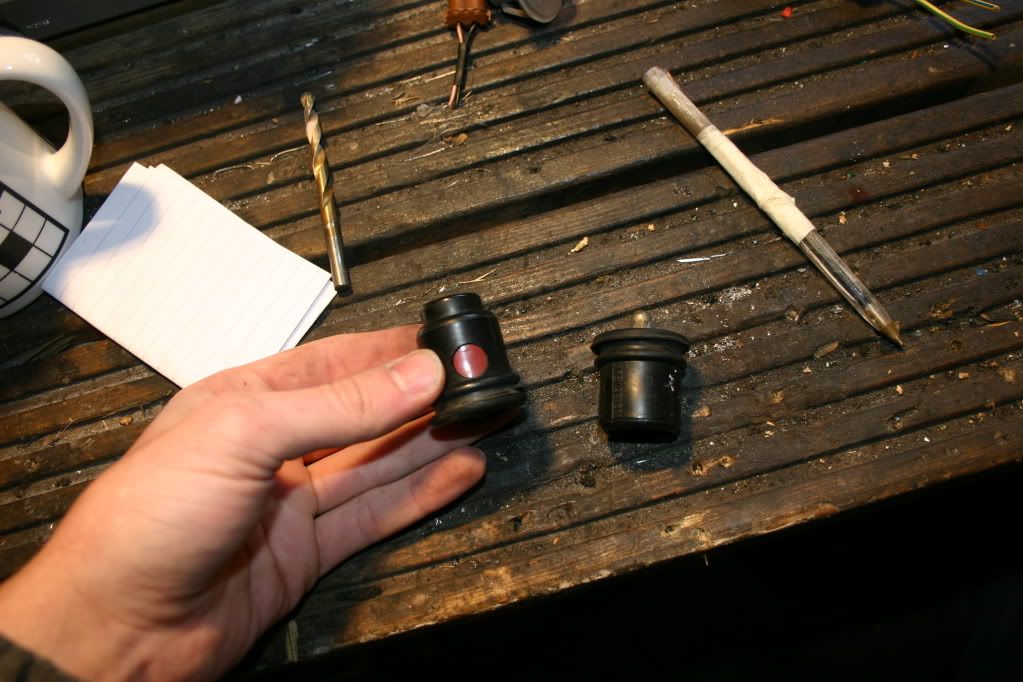
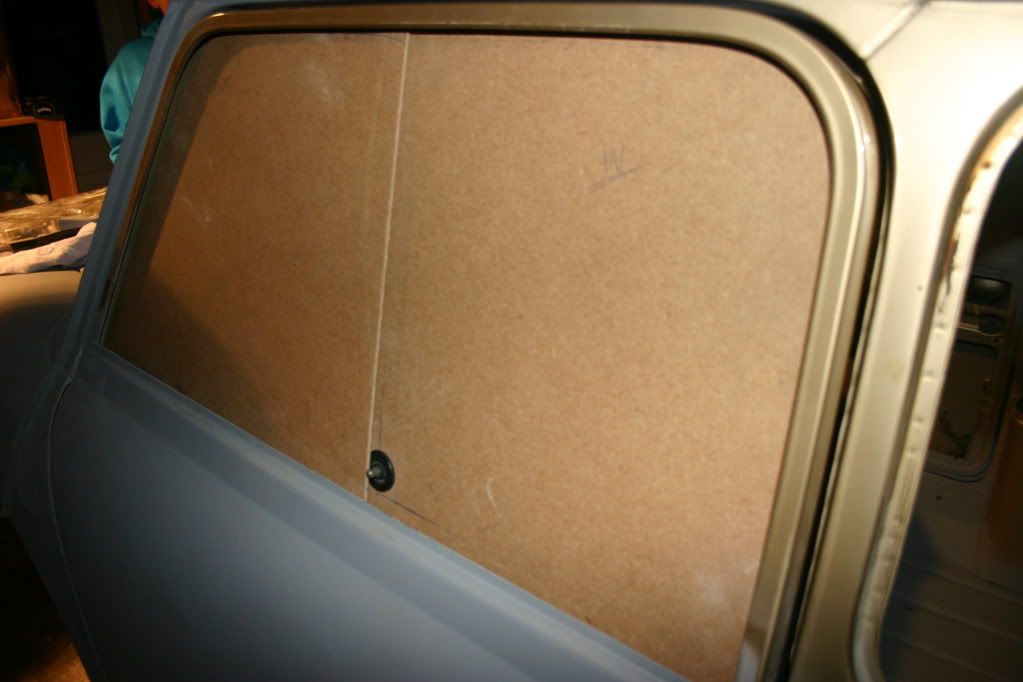
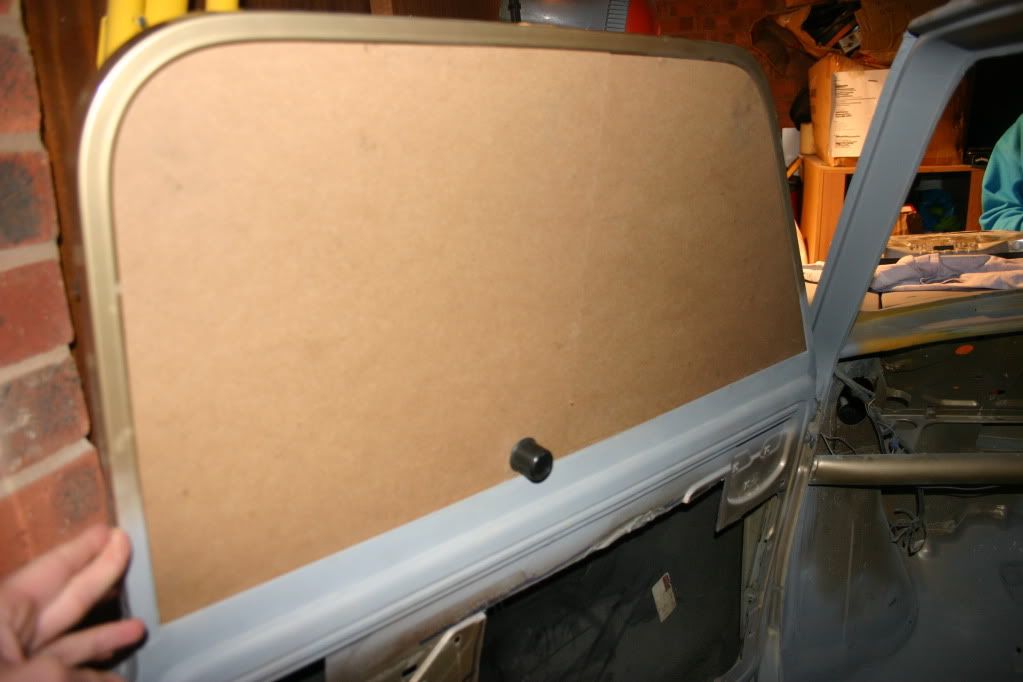
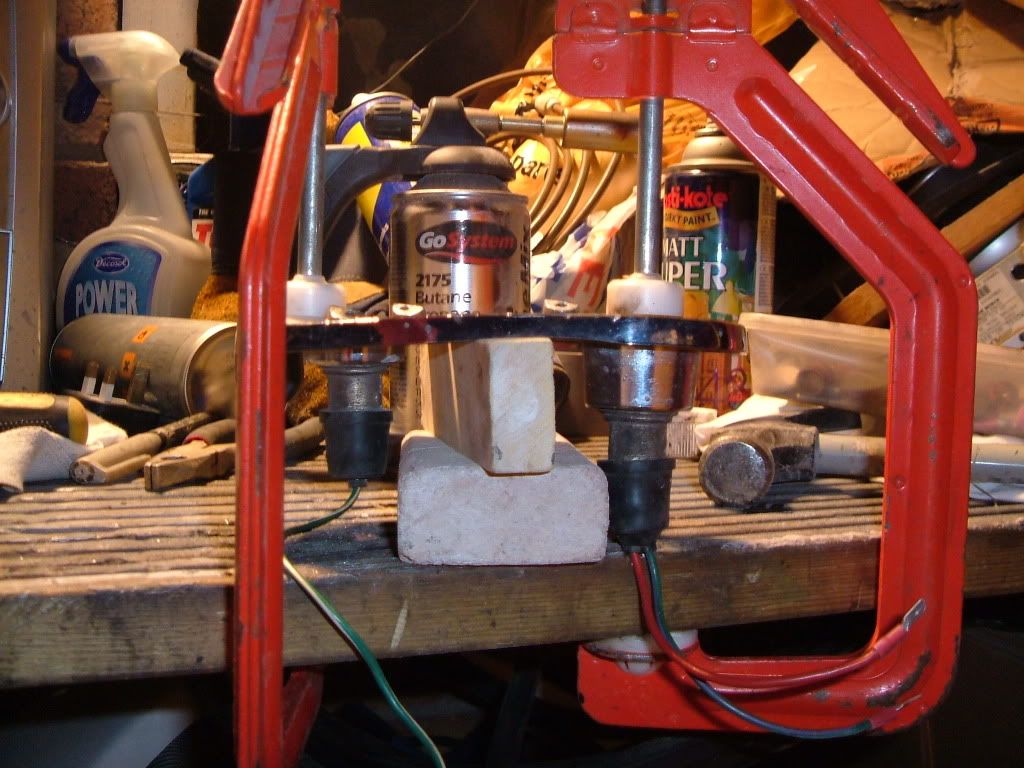
Managed to find a pair if sliding window locks from a mini bus to use on my windows. I have mocked up templates for the polycarbonate from plywood. They still need a little bit of trimming once the rubber trim is in but they look and work just as I hoped.

Posted Image

Posted Image

Posted Image

Posted Image

Rear chrome window trims have also been removed from the glass and cleaned ready to be used on the polycarbonate rear windows. It will be good to still be able to open the rear windows.

Posted Image

Due partly to poor quality light plates fitted for the mk1 lights and the addition of my still relatively novice welding one of the light plates seems to be warped / misshaped beaming the light fitting does not sit flush to the body work.. With a bit of grinding and some heat / force I have managed to shape it ti fit perfectly. It will just need a few independent bolts to hold it now instead of the originals but that’s not a problem.

Posted Image

Still need a picture of them fitted lol.

#87 dan_w

dan_w

    Mini Mad

  • Members
  • PipPipPipPip
  • 152 posts
  • Local Club: Not yet!

Posted 20 February 2010 - 05:44 AM

Had to break the post down too many pictures apparantly LOL

=============================

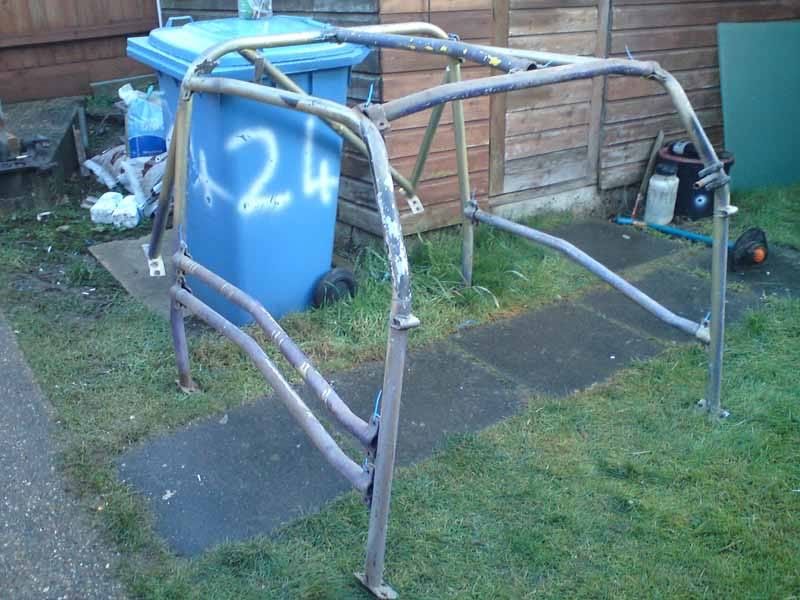
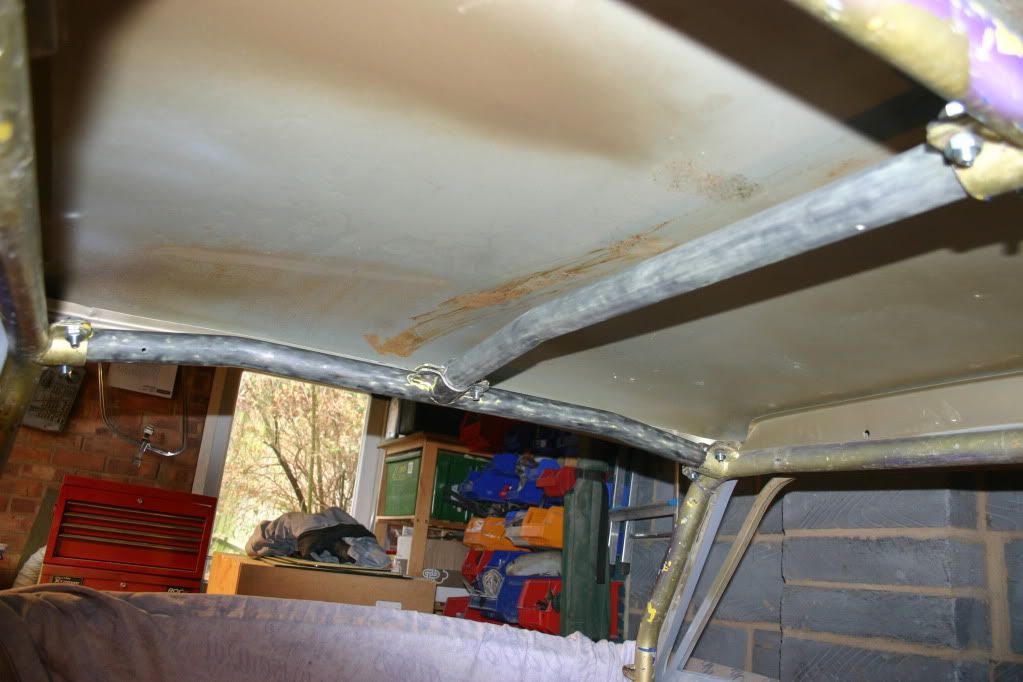
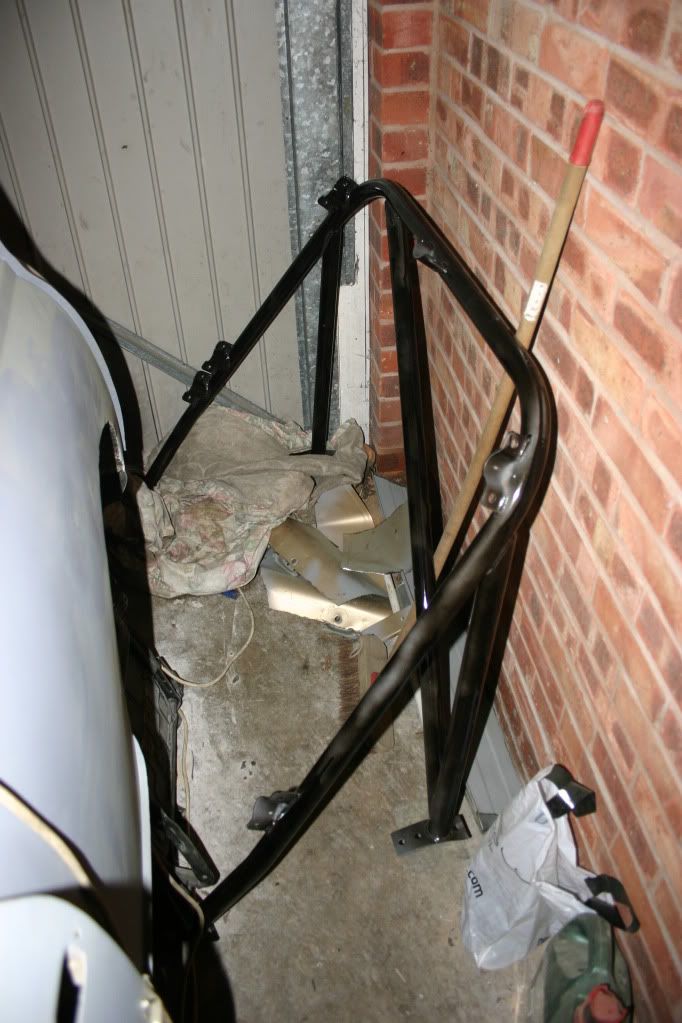
The biggest update of all is I have finally brought a roll cage. After months of looking for the right one at the right price I finally collected one last week. It needs a far bit of work or get it cleaned up and painted but its exactly want I wanted. I have test fitted it to work out what needed to be sorted.

Posted Image

Posted Image

Posted Image

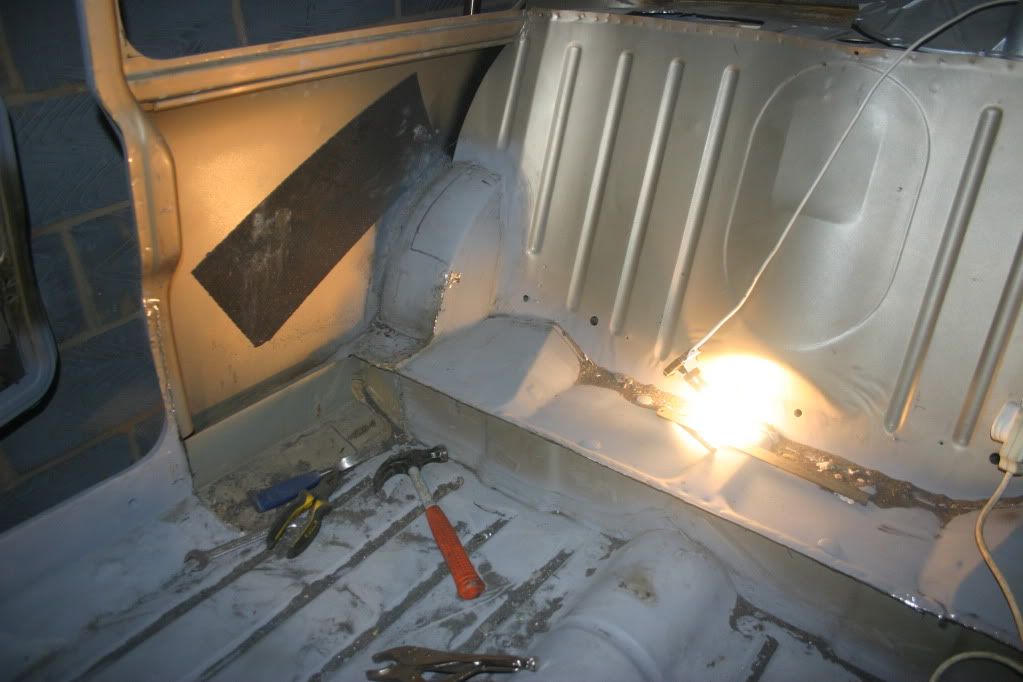
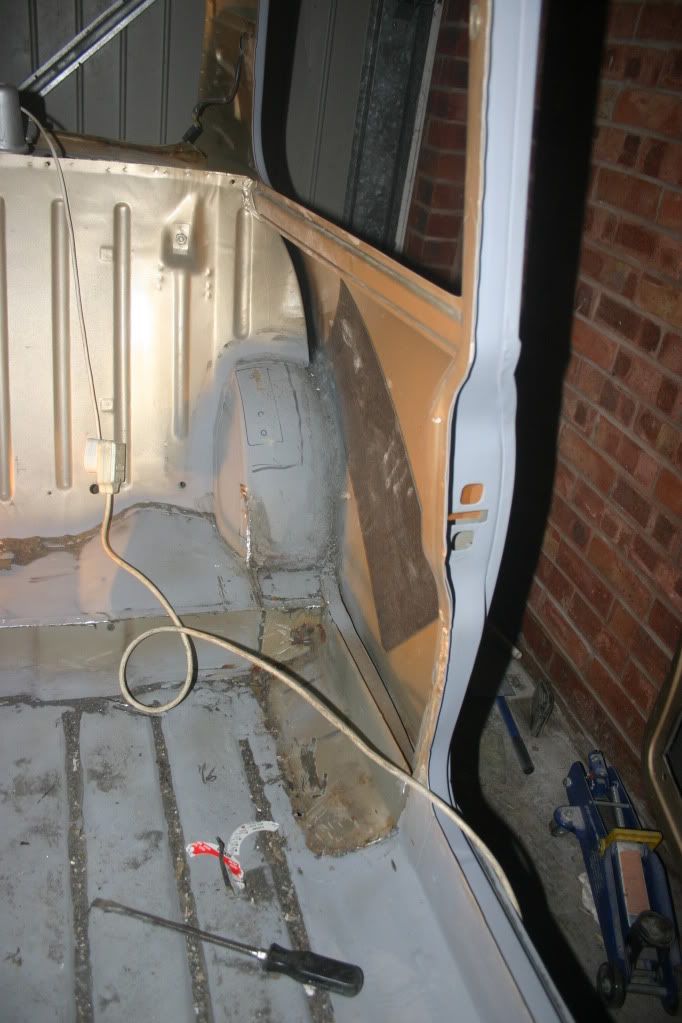
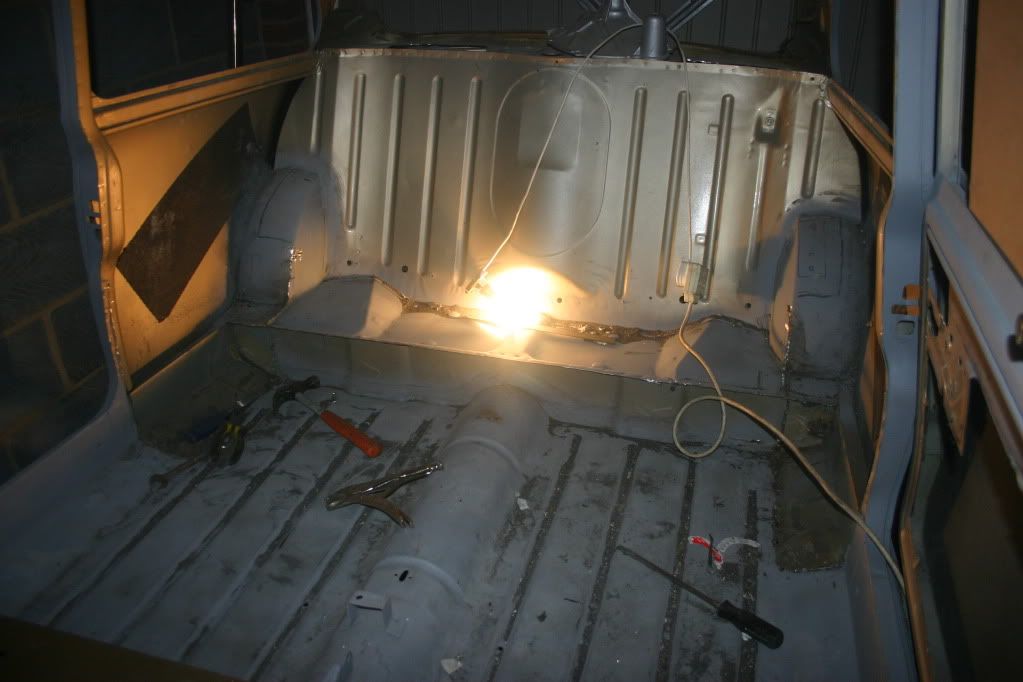
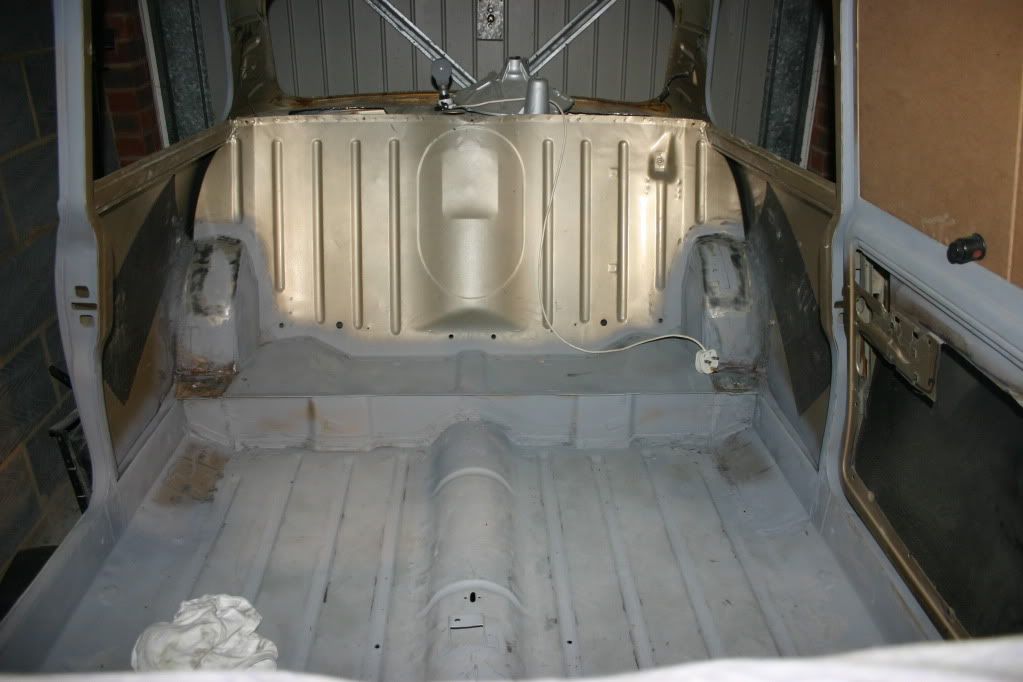
Since fitting I have stripped the paint from all but the large rear hoop and removed the rear bins and the front section of the seat and have templates ready to cut some steel for the mounting plates. I just can’t find anywhere selling 3mm sheet steel locally. Looks like I will need to order online and get it delivered.

Posted Image

Posted Image

Posted Image

Posted Image

Posted Image

And that is the end of my monster updated. I am hoping to get a bit more sorted over the weekend so will be sure top update this more regularly from now on.

Cheers

Dan

#88 mighty mini jack

mighty mini jack

    Mighty Before a Pint

  • Members
  • PipPipPipPipPipPipPipPipPipPip
  • 5,095 posts

Posted 20 February 2010 - 06:20 PM

Nice work Dan, been waiting for this.

Glad you got a cage sorted!

#89 Mini Basher

Mini Basher

    Speeding Along Now

  • TMF+ Member
  • PipPipPipPipPip
  • 424 posts
  • Location: Forest of Dean
  • Local Club: Mini Foresters

Posted 21 February 2010 - 02:40 AM

I've just read this from the beginning, love what you have done with the sliding windows, the whole project seems to be coming along really well and the cage looks good too, keep at it

Andy

#90 dan_w

dan_w

    Mini Mad

  • Members
  • PipPipPipPip
  • 152 posts
  • Local Club: Not yet!

Posted 27 February 2010 - 03:35 AM

Thanks Andy, I have had a real burst of enthusiasm recently and have really pushed to find the time to get out in the garage much to the annoyance of my wife. :thumbsup:

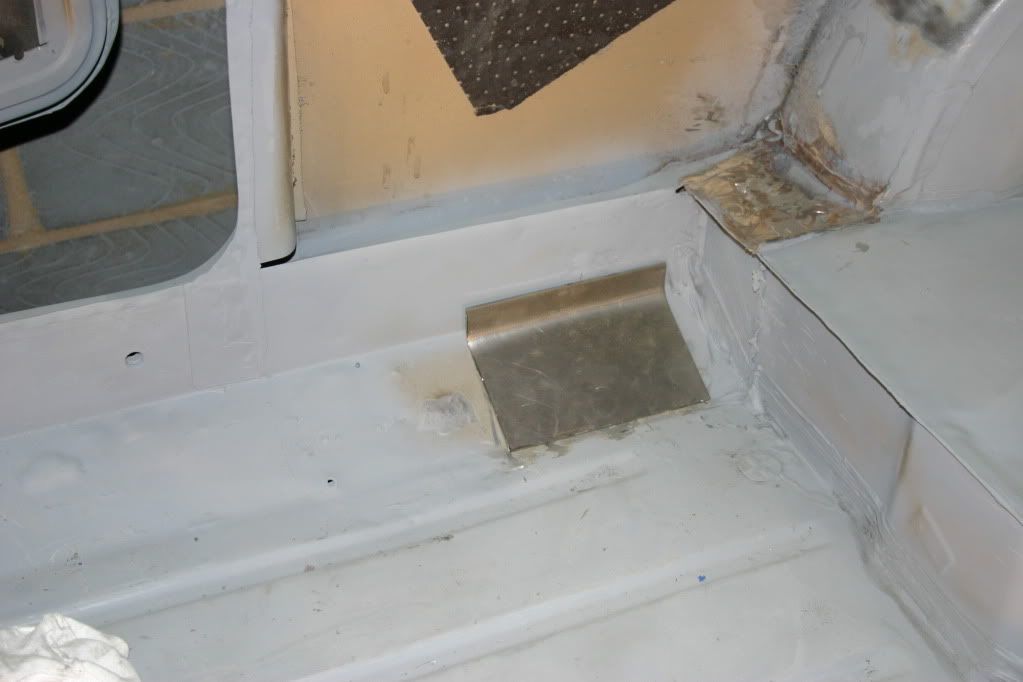
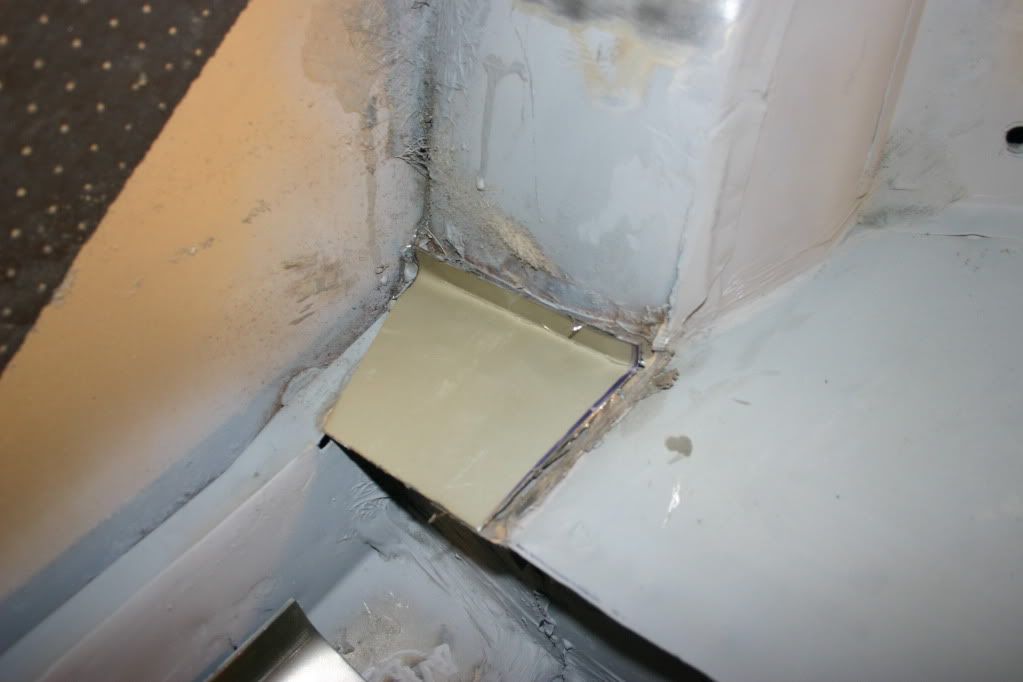
Any way managed to get a fair way towards getting the cage in.

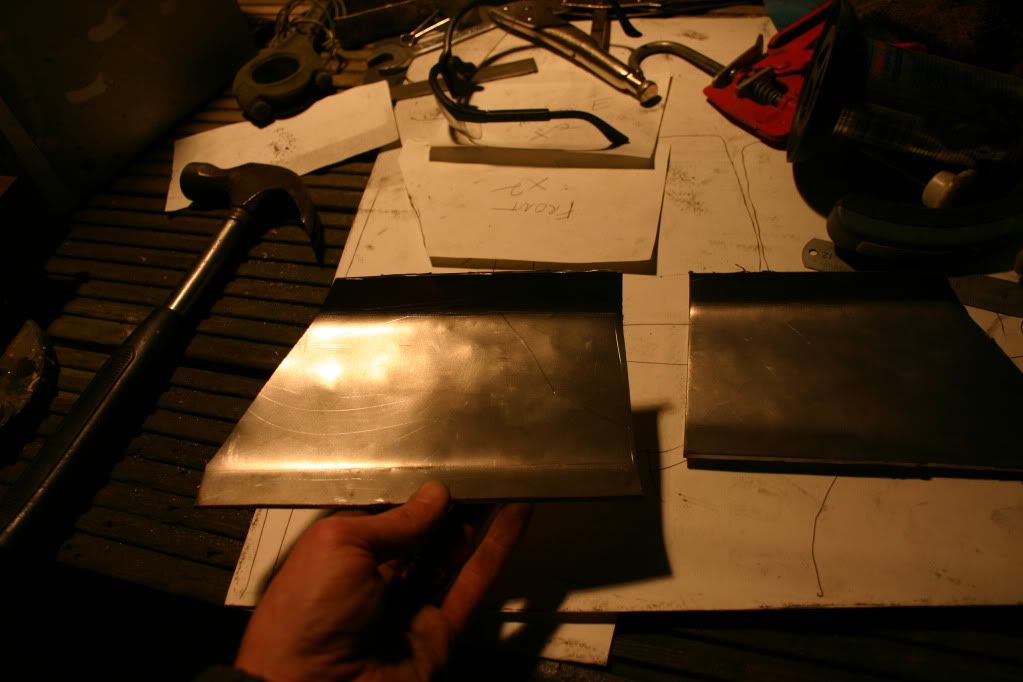
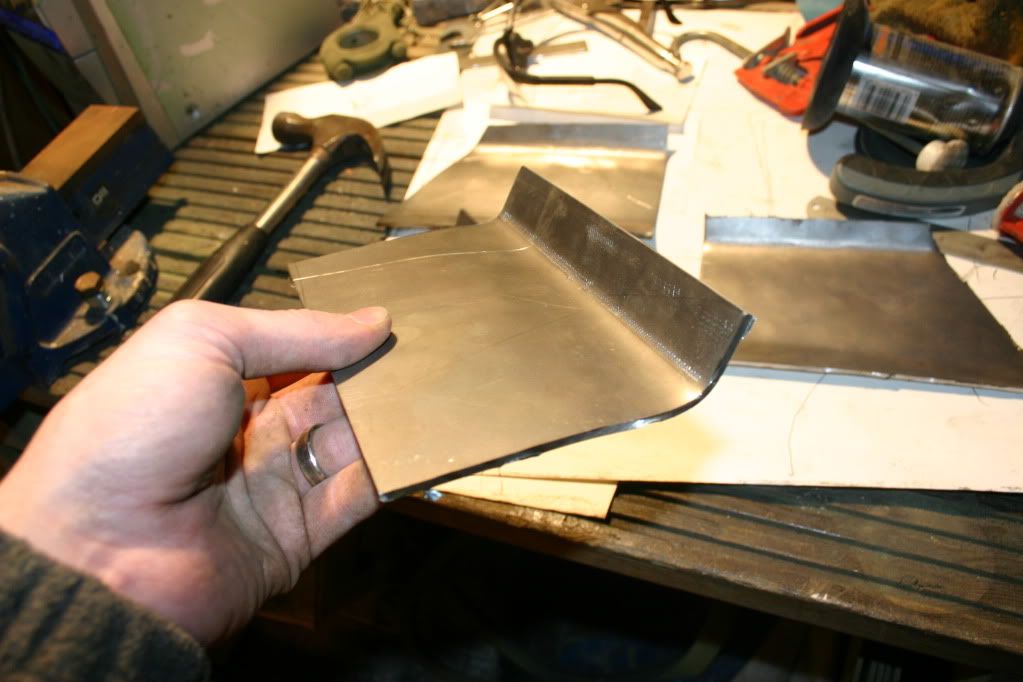
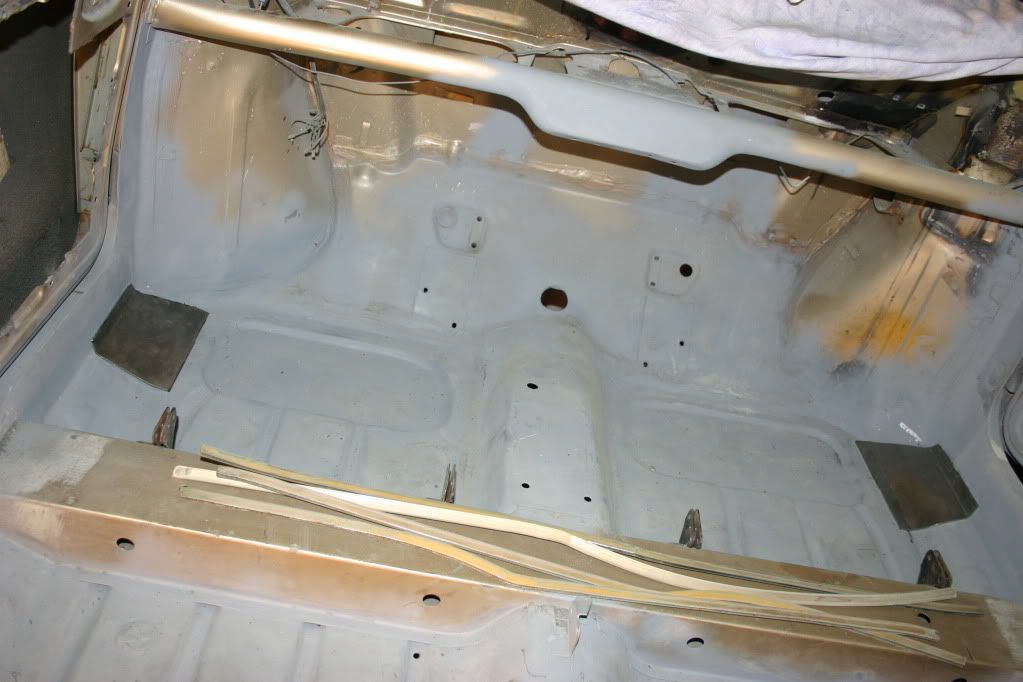
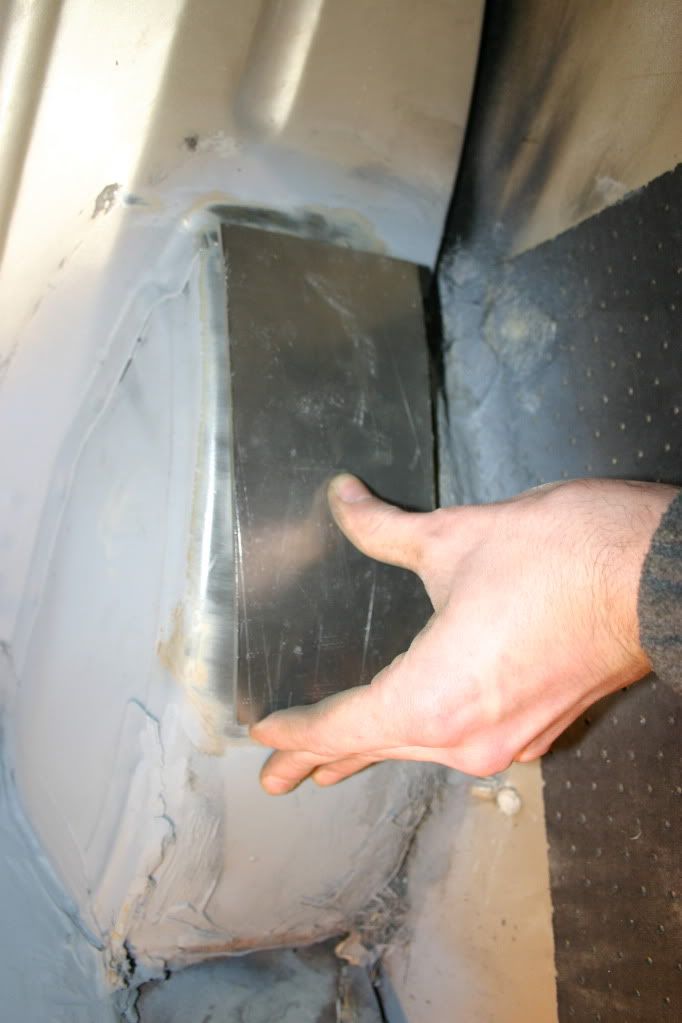
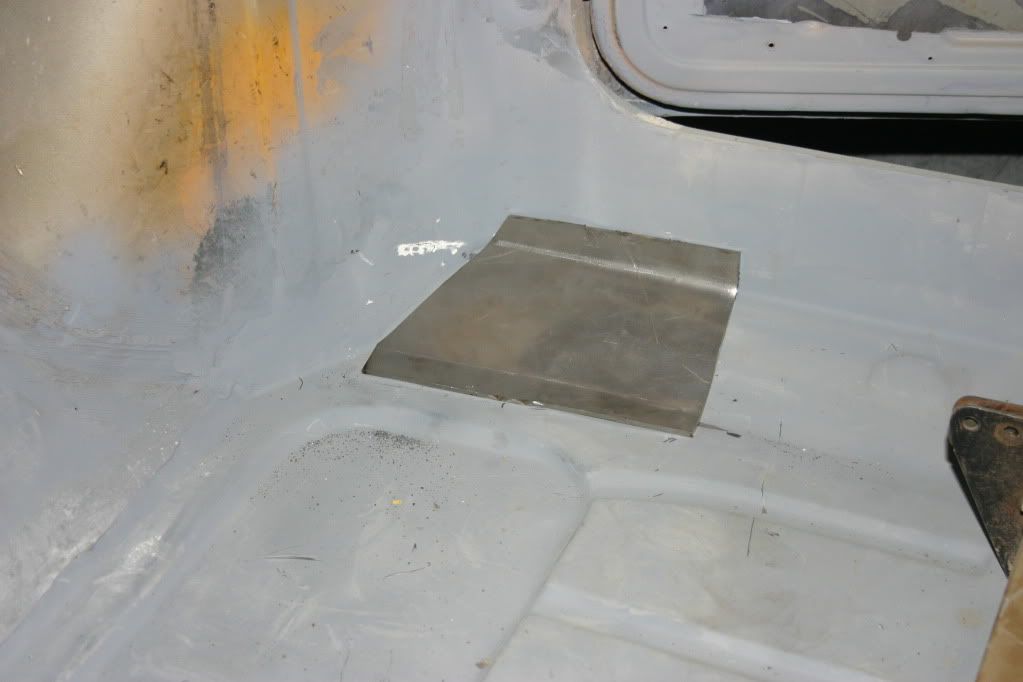
I have tidied up areas where the bins have been removed and now have some mounting plates cut and bent ready to be welded in either over the weekend or during the week.

Posted Image

Posted Image

Posted Image

Posted Image

Posted Image

Posted Image

Posted Image

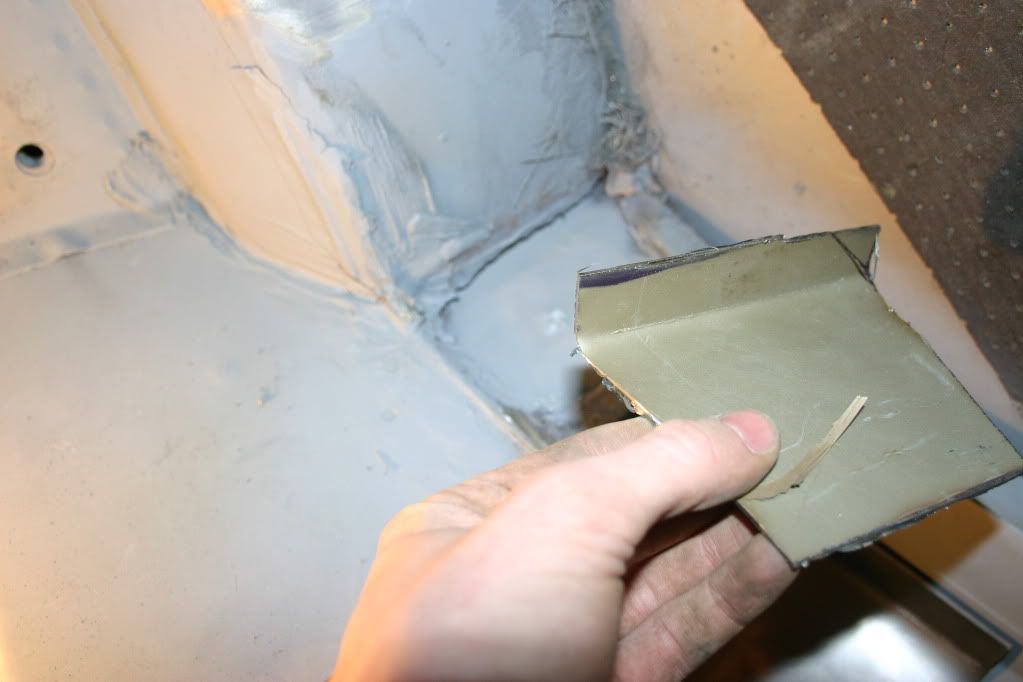
Also noticed where someone had previously covered a load of rust with silicon of all things. I knew the silicon had been there but assumed it had been used to stick the card from the bin in place not to cover rust. I’m just glad I decided to remove the bins as I would have left this area well alone.. :withstupid: Anyway the rust has all been removed and a replacement panel ready to be fitted on both sides.

Posted Image

Posted Image

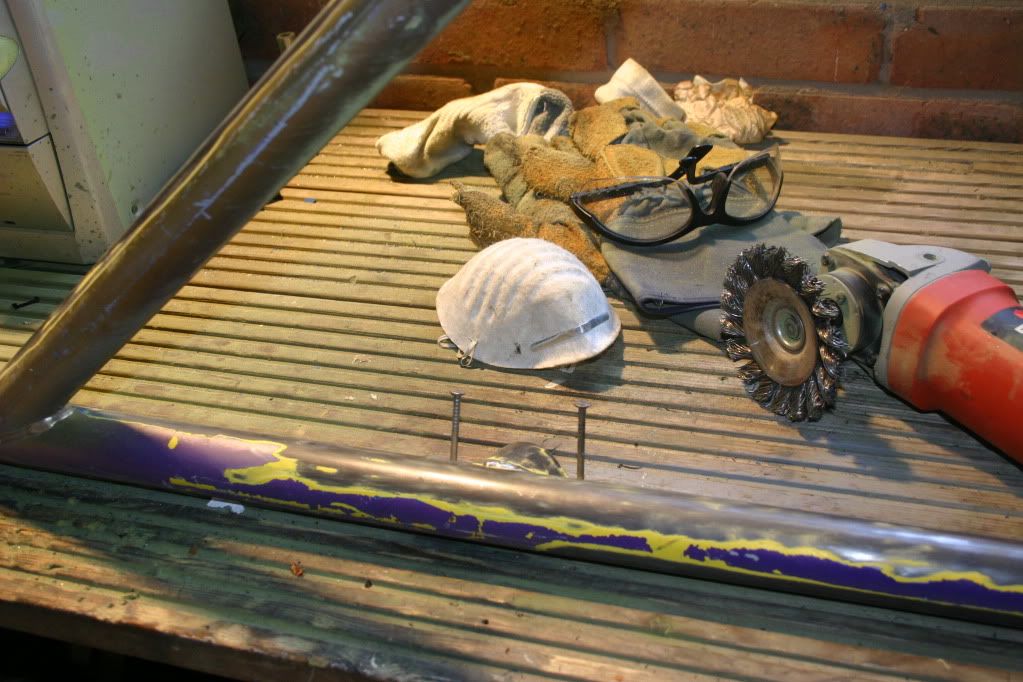
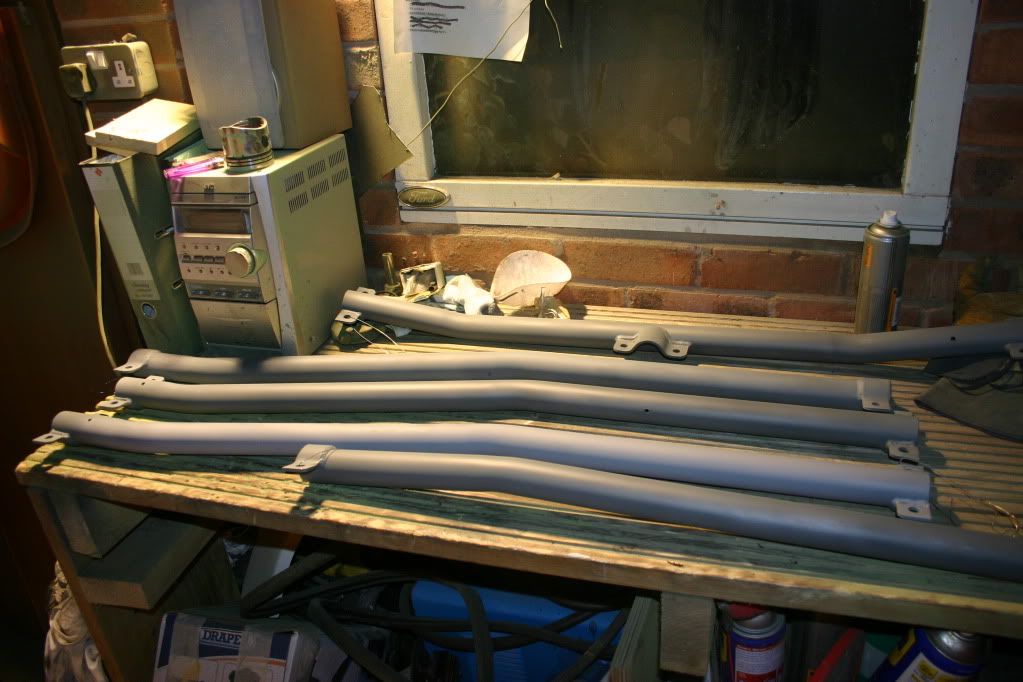
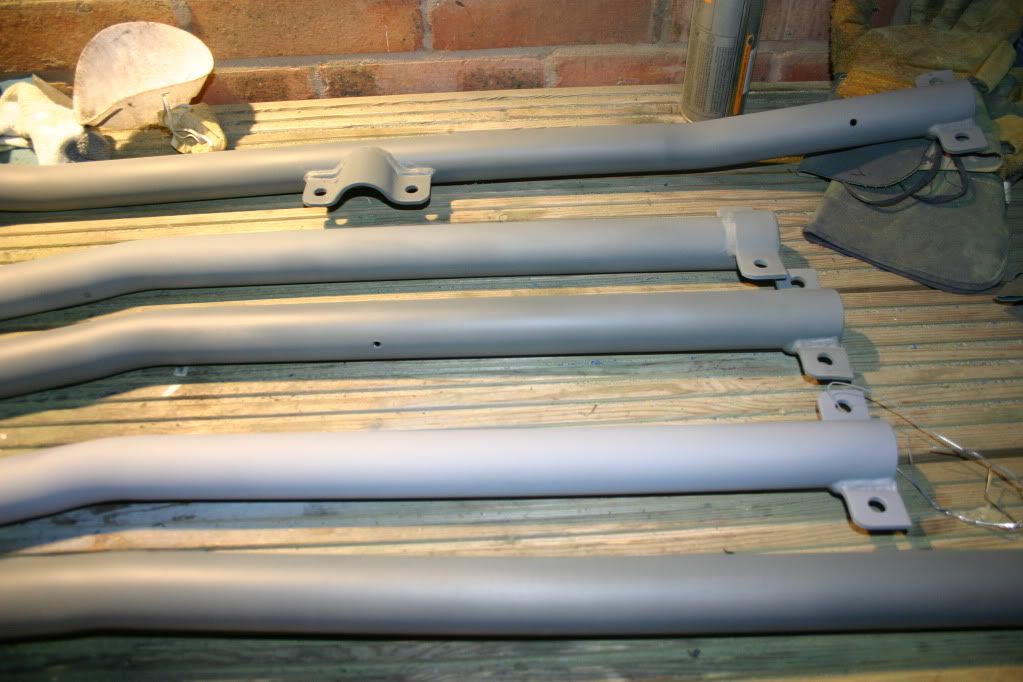
All sections of the cage are now fully stripped of the layers and layers of paint previously painted in and most are in primer.

Posted Image

Posted Image

Posted Image

Posted Image

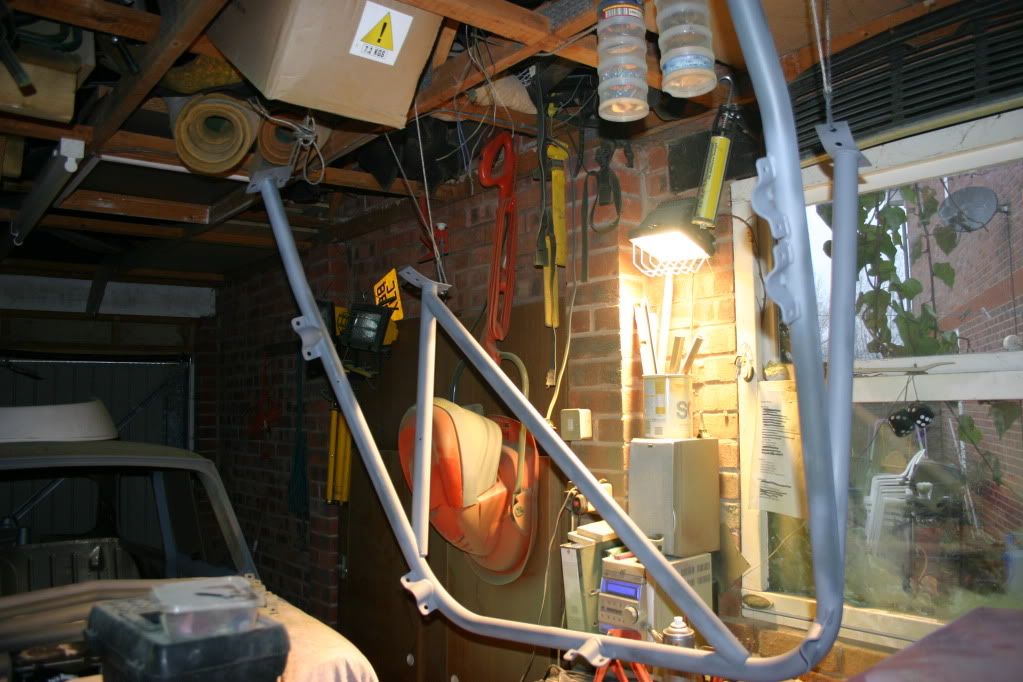
The rear hoop has its first coat of hammerite unfortunately I managed to get a few runs on it. Just means I need to wait for it to dry rock hard before sanding back the runs and applying the other coats, not a huge problem as I need to test fit it again soon anyway at least this was I don’t need to worry about the paint getting scratched as much.

Posted Image


1 user(s) are reading this topic

0 members, 1 guests, 0 anonymous users