Mini Sky Rebuild
#301
Posted 08 April 2009 - 10:16 PM
#302
Posted 09 April 2009 - 08:44 AM
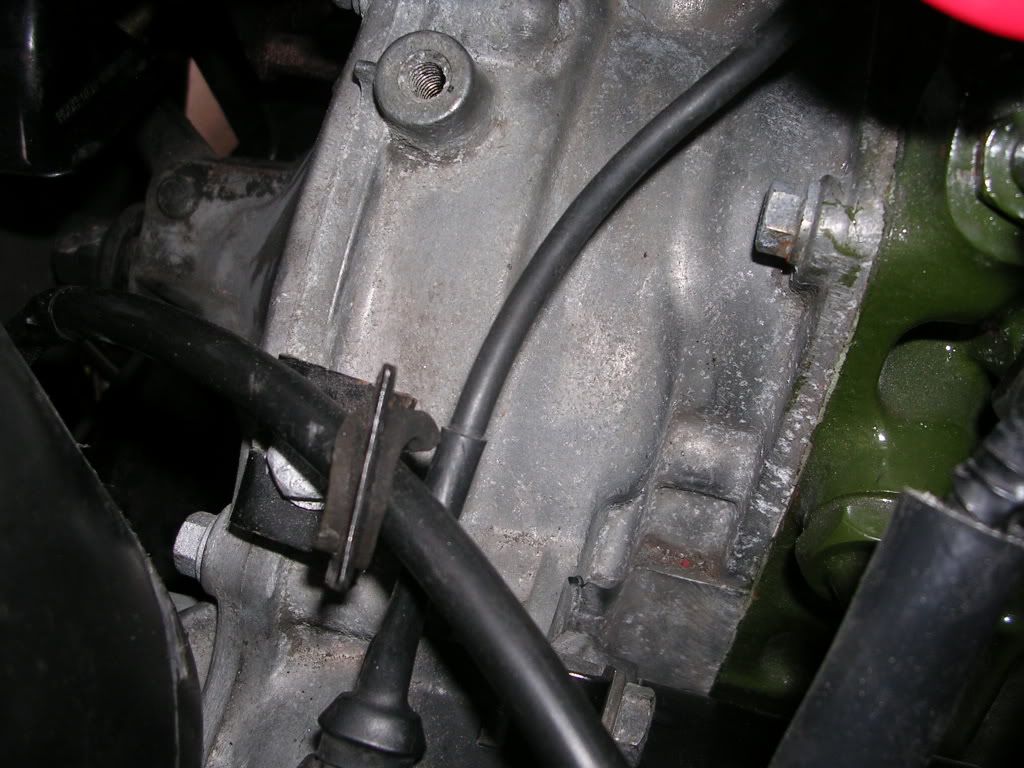
woop woop! it runs!!! ( noticed one thing only small, the bracket on the gearbox bellhousing that you have fitted in line across with the main nit for oil filter pipe needs to go in the thread lower down across from the oil relief valve, also its for the battery lead to go through and should have a grommet in it to stop chafing) you understand that? lol, hard to explain.. if not i will take a photo for you mate. Will really start coming together and you can use all the parts you collected and get the parts back on the car, isnt it amazing how many parts you have to go back on!!! Keep up the good work!!!
![]()
![]()
yeah i am confused!!!!! LOL, the grommet is probably still on the battery cable, is the petrol over flow on the right way, it took me about 2 hours to figure it out!!!
sooooo many bits, i'm so gonna lose all of them!!!!, like the soundeadening which has disappeared!!!!
#303
Posted 09 April 2009 - 12:46 PM


And yes the petrol over flow pipe is right Emma!
Edited by BMC Paul, 09 April 2009 - 12:56 PM.
#304
Posted 09 April 2009 - 09:05 PM
#305
Posted 09 April 2009 - 09:12 PM
so yesterday it took me a whole day to fit the handbrake cable, and changed the front wheel bearing in one hub and do the ball joints in one hub (which i will have to redo!!)
today was a lot better, finished the other hub

then mr skimmed came to get a inlet manifold, and i some how ended up welding his doors.....
so then i made the brake lines for the front sub and bolted the flexis on

after cleaning all the dust off!!!

DOH!!!
also sorted the top arms with good dust seals, then painted the hubs and arms
the copper brake line is not sealing properly with the flexi hose on the passenger side tho, so i'll have to sort that tomorrow, and hopefully get dad to help me put the cones/top arms in, and put the cv joints back together!!
#306
Posted 09 April 2009 - 10:42 PM
#307
Posted 10 April 2009 - 08:26 PM
loook at the dust on that subby!!!!
bloody quad bikes!!!!
#308
Posted 10 April 2009 - 08:27 PM
dad re did the copper brake line on the front subby with a longer connector, and i put new boots on the rack and track rod ends.
the dad started to put the cones, trumpets, bump stops, top and bottom arms, as well as the tie bars on the subframe, and i fitted the brake pressure value thing, and new copper brake and petrol lines


so then dad took a pic of me in the engine bay LOL (mad hair because i had been crawling under the car!!!

then we put the engine in the subframe....

lifted the mini up

with no jacks!!! whoop whoop!!!
then pushed the subframe and engine in, and lowered the shell back down


the plan was to fit the subs on monday, so we are doing alright!!!
we'll lower the shell another 4 or so inches, then get the engine crane and pull the engine and sub up to the body and bolt in, simple!!!
#309
Posted 10 April 2009 - 08:38 PM
#310
Posted 10 April 2009 - 09:33 PM
The brake pressure regulator should be mounted the other way round (horizontally). I don't know if this makes any difference, but turning it around is not too complicated at this point. You've connected the brake lines leading to the front and rear brakes in the right place though
Very nice project by the way and at this speed you'll have it ready in no time
#311
Posted 13 April 2009 - 08:54 PM
The brake pressure regulator should be mounted the other way round (horizontally). I don't know if this makes any difference, but turning it around is not too complicated at this point. You've connected the brake lines leading to the front and rear brakes in the right place though
Very nice project by the way and at this speed you'll have it ready in no time![]()
cheers, i was looking at it for ages thinking which way it went!!! doh!!, i left the stupid curly pipe on as i really didn't want to make it again!!!, so thats why they are on the right way!!!,
#312
Posted 14 April 2009 - 08:54 PM

then fitted the rear

then i waxoiled the trailer


and my green mini!!!

then today i've been fitting the pedal box, servo and clutch master and slave cylinder, after dad rebuilt them yesterday


and fitted a shiney stainless blanking plate

the plan for tomorrow, is the holders for the dash, sounddeadening, steering column with new bushes fitted, servo hoses, gas pedal and cable and probably the front loom....
#313
Posted 14 April 2009 - 11:37 PM
#314
Posted 16 April 2009 - 09:27 PM

the cleaned and retaped the loom

then today i repaired the damaged bits (mainly caused when we stripped it out!!! LOL)
and refitted it

and fitted the new starter relay and dip/dim relay

and the horn!!

then my dad arrived with my exhuast on the roof of the metro!!


so then i fitted the engine steadies

and servo hoses

whoop whoop, its all going quite well, i might try and start on the grey trim bits at the weekend!!!
#315
Posted 16 April 2009 - 09:30 PM
1 user(s) are reading this topic
0 members, 1 guests, 0 anonymous users


