
What diff are you running in it? ive gone for a 3.2 in mine to give a bit more top end.
Are the throttle bodies the ones off the bike with new trumpets on or are they SC built?
Cheers
matt


Street Sleeper Cooper, 16V Twink....
Started by
mini.rich
, Sep 26 2009 11:08 PM
217 replies to this topic
#92

mini.rich
-
- TMF+ Member
-

- 619 posts
Super Mini Mad
- Location: Lincs
Posted 10 June 2011 - 09:07 PM
looking very nice
Thankyou

What diff are you running in it? ive gone for a 3.2 in mine to give a bit more top end.
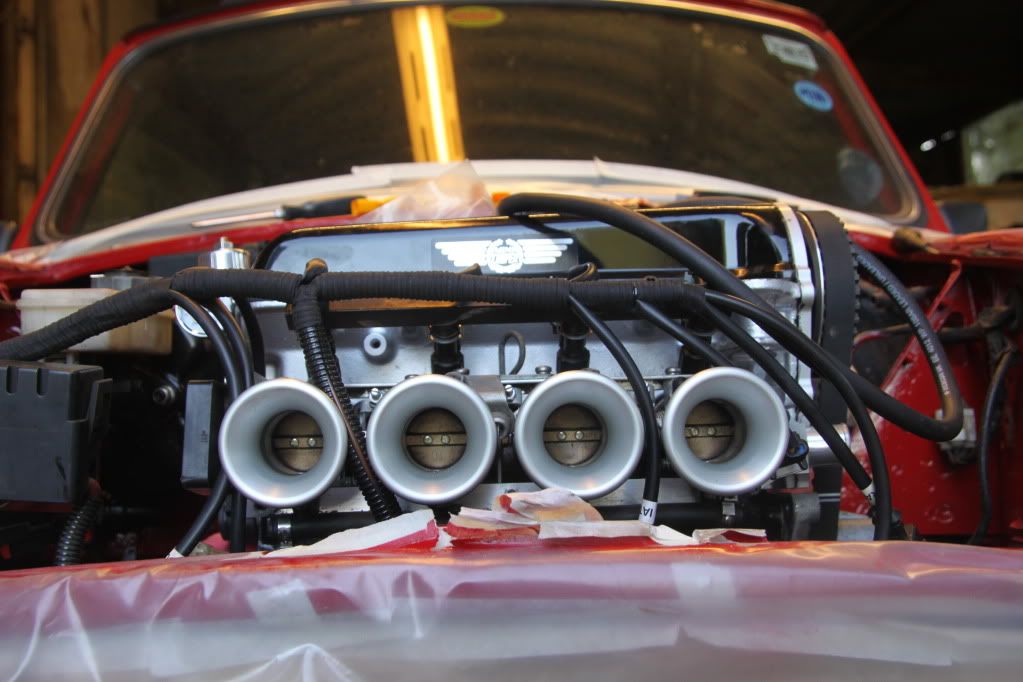
Are the throttle bodies the ones off the bike with new trumpets on or are they SC built?
Cheers
matt
I was going to go with a 3.2 aswell, but as the box was off the cooper and I was already running a 3.1 I decided to keep it
The guys at SC said it would be ok, they said a 3.44 was a little too short, and I will be using it on motorways so the 3.1 was kept for that. Using a x-pin diff as well.The throttle bodys are the standard bike items with new SC trumpets, but I think I'll be fitting their billet throttle body's and the sprint cams over the winter

D-day tomorrow! Its about ready to go in
 I was going to roll it out of the shed and have a good tidy ready for tomorrow, but the lovely summer weather prevailed and it chucked it down
So I painted a few remaining bits and rebuilt the gearchange -
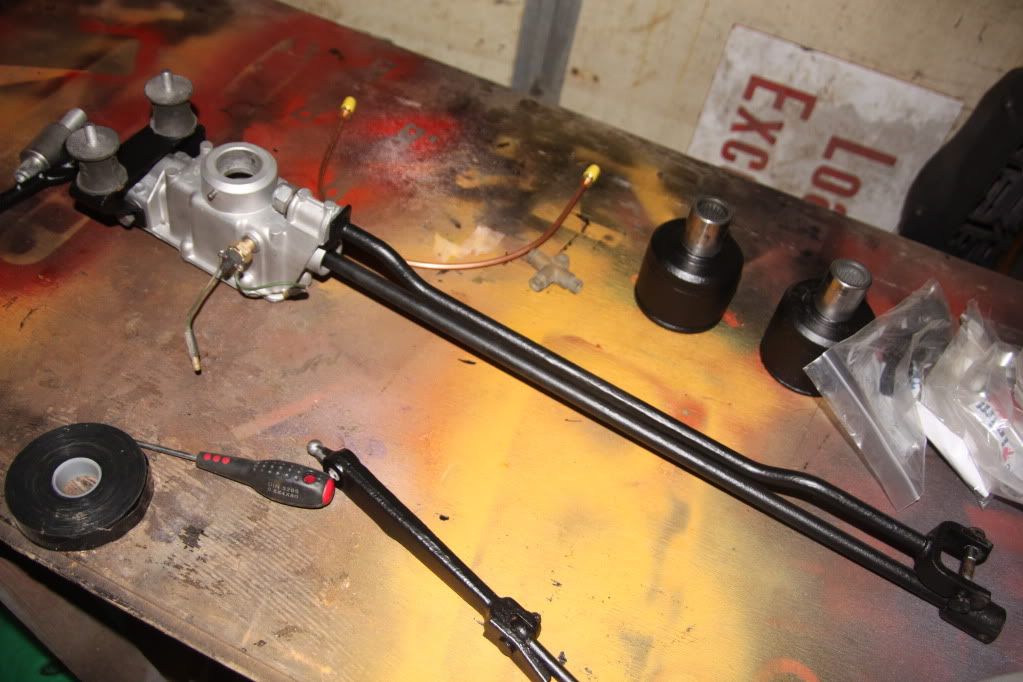
I don't know why this is yellow, but it looks cool


So theres only one thing missing now

#93
liam_italian
-

- Members
-
- 1,417 posts
One Carb Or Two?
- Local Club: TMF
Posted 10 June 2011 - 10:11 PM
Looking good fella, keep them pics coming!
#94
supermotolee
-
- Members
-
- 1,120 posts
One Carb Or Two?
Posted 10 June 2011 - 10:24 PM
the bushes wear in the shifters i turned some little top hat bushes in a laithe and knocked them in makes for a tighter shift now...
#95
mini.rich
-
- TMF+ Member
-
- 619 posts
Super Mini Mad
- Location: Lincs
Posted 10 June 2011 - 10:44 PM
Looking good fella, keep them pics coming!
Thanks, just wait until tomorrow, theres going to be a load

the bushes wear in the shifters i turned some little top hat bushes in a laithe and knocked them in makes for a tighter shift now...
Good idea, I noticed the front one wasn't great, the thought did cross my mind to do something similar, but its too late now.
#96
mini.rich
-
- TMF+ Member
-
- 619 posts
Super Mini Mad
- Location: Lincs
Posted 11 June 2011 - 01:28 PM
Here's my mid-day update, while I sit in the sun with a cup of tea
It's only bloody in!! haha
More to follow later
It's only bloody in!! haha
More to follow later
#97
GreaseMonkey
-

- Members
-
- 3,663 posts
Has Ratchet, Will Make Noises
Posted 11 June 2011 - 01:49 PM
Nice install!
#98
megamini_jb
-

- Members
-
- 5,491 posts
Crazy About Mini's
- Name: Jamie
- Location: -
Posted 11 June 2011 - 02:27 PM
Very nice! great build. I love the wheels 
#99
mini.rich
-
- TMF+ Member
-
- 619 posts
Super Mini Mad
- Location: Lincs
Posted 11 June 2011 - 05:04 PM
Nice install!
Very nice! great build. I love the wheels
Thankyous! Yeah I like the wheels as well
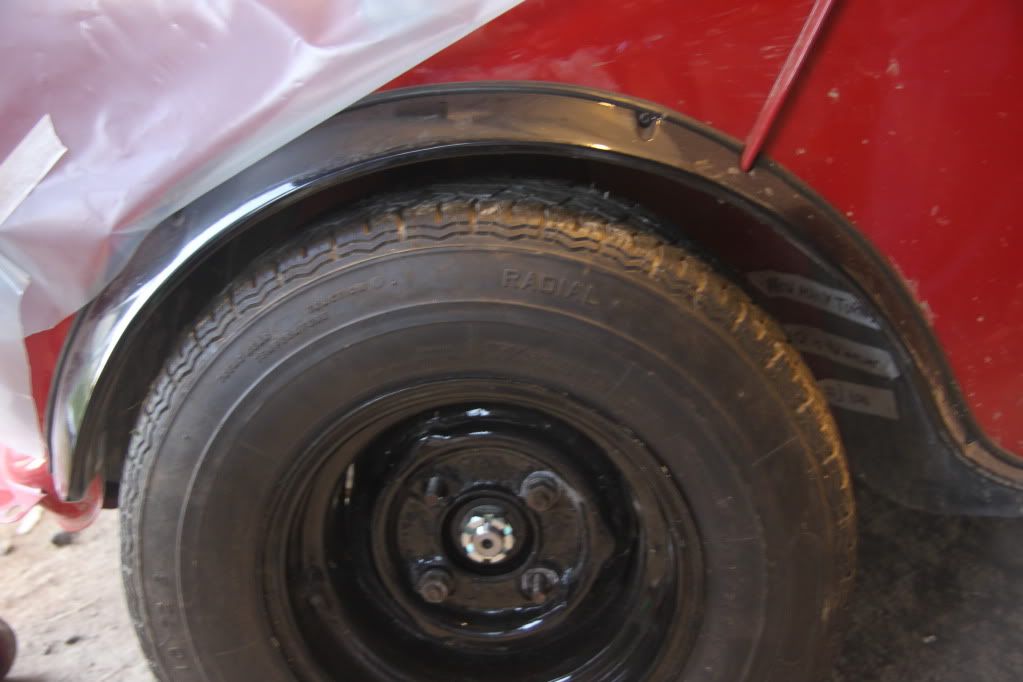
 haha, only problem I have is that they don't clear the arches because of the large offset
  So I've got to do something about that
  most likely cut the arches and wing
Another cup of tea
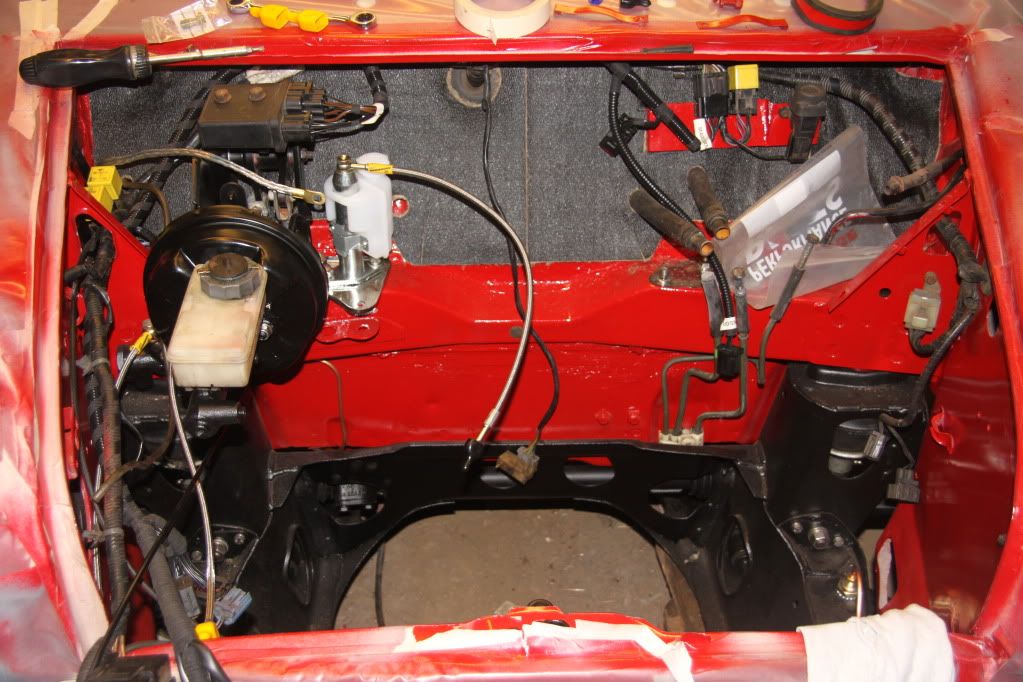
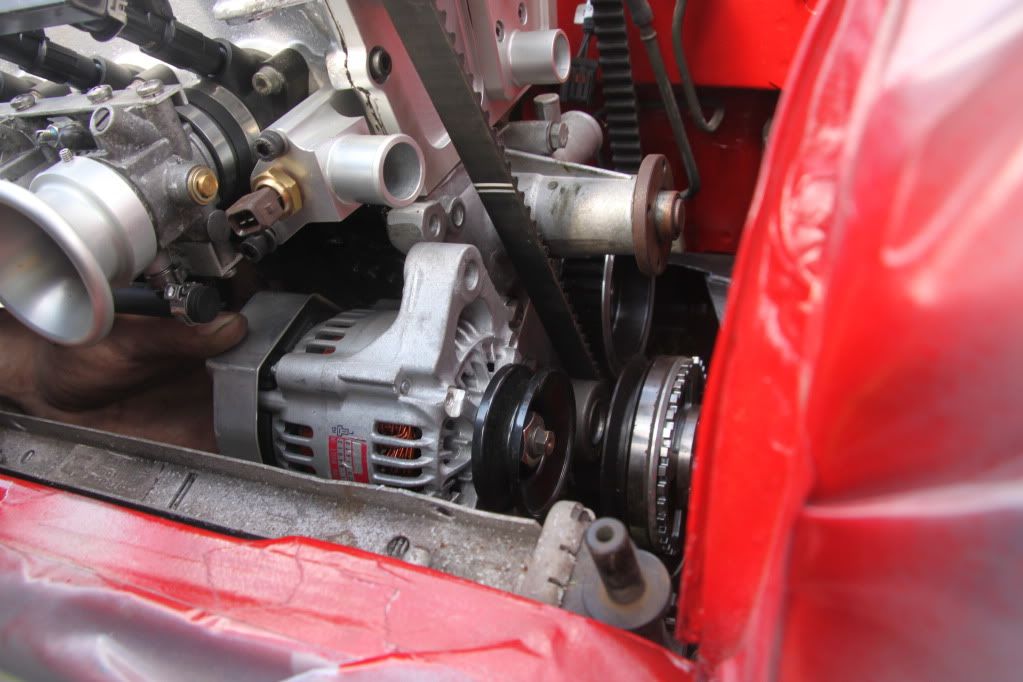
 It looks like the Nippon Denso Alternator will fit with the front mounted rad, which was my main concern there's 1/2" - 1" clearance between the rad and alternator depending on how I modify the radiator brackets. It seems the majority of the MPi parts will fit without problems, so it'll look like its suppose to be in there and thats what I liked about these conversions, there does seem to be alot of room around the engine which is good
I think I can finish this in 3 weeks
#100
M44K TS
-

- Members
-
- 3,104 posts
Up Into Fourth
Posted 11 June 2011 - 05:24 PM
That's mighty impressive looking dude, well done
#101
mini.rich
-
- TMF+ Member
-
- 619 posts
Super Mini Mad
- Location: Lincs
Posted 11 June 2011 - 09:52 PM
That's mighty impressive looking dude, well done
Thankingyou
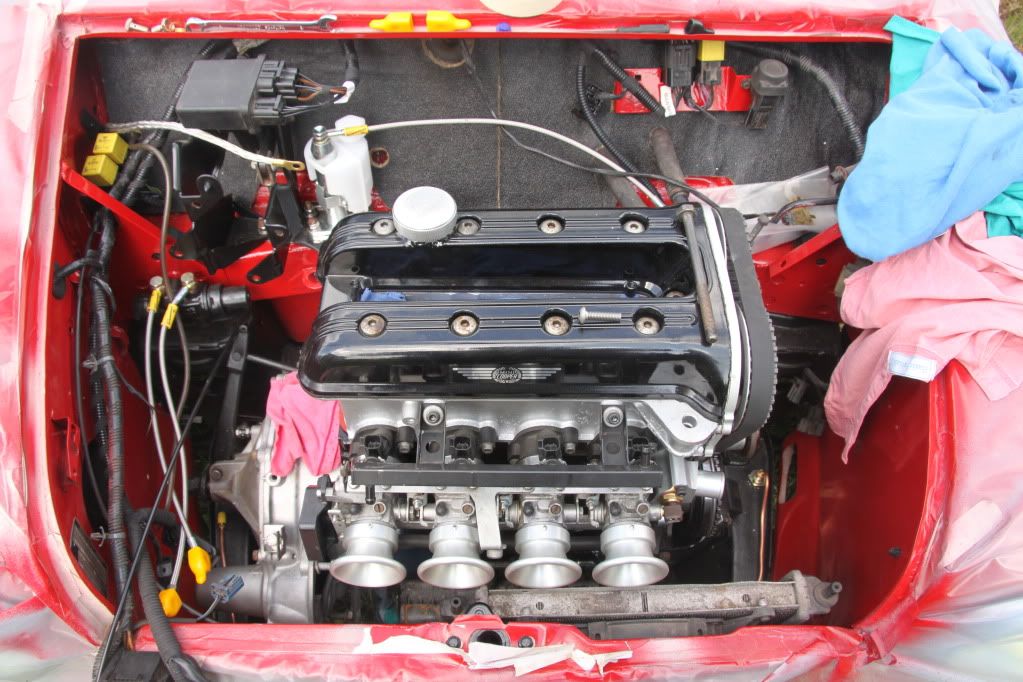
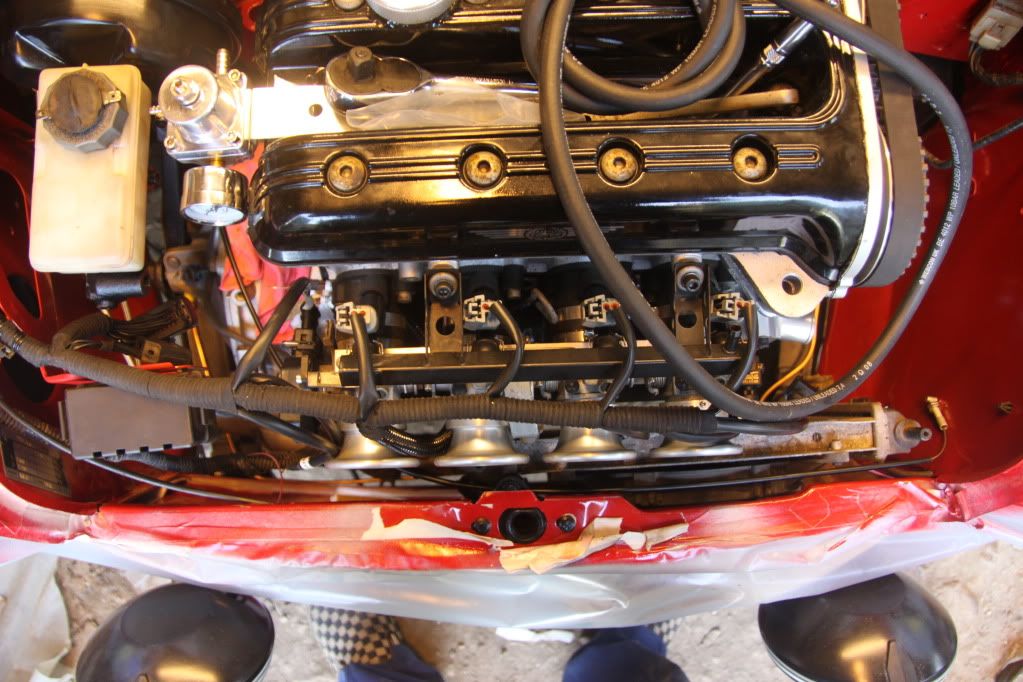
So heres some pic's, I finished up this evening about quarter to ten, that's dedication
 or just madness
So after getting it in the engine bay, i've been trial fitting everything to get an idea of what I need to make or modify to get it all nicely packaged, turns out theres not too much I need to do, which makes my life slightly easier
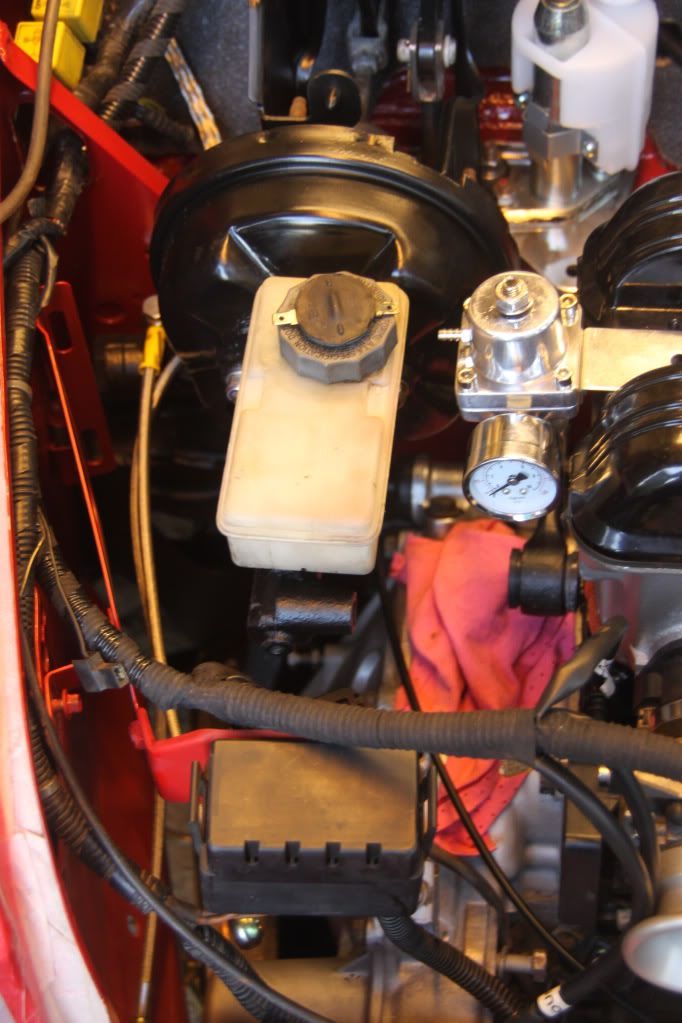
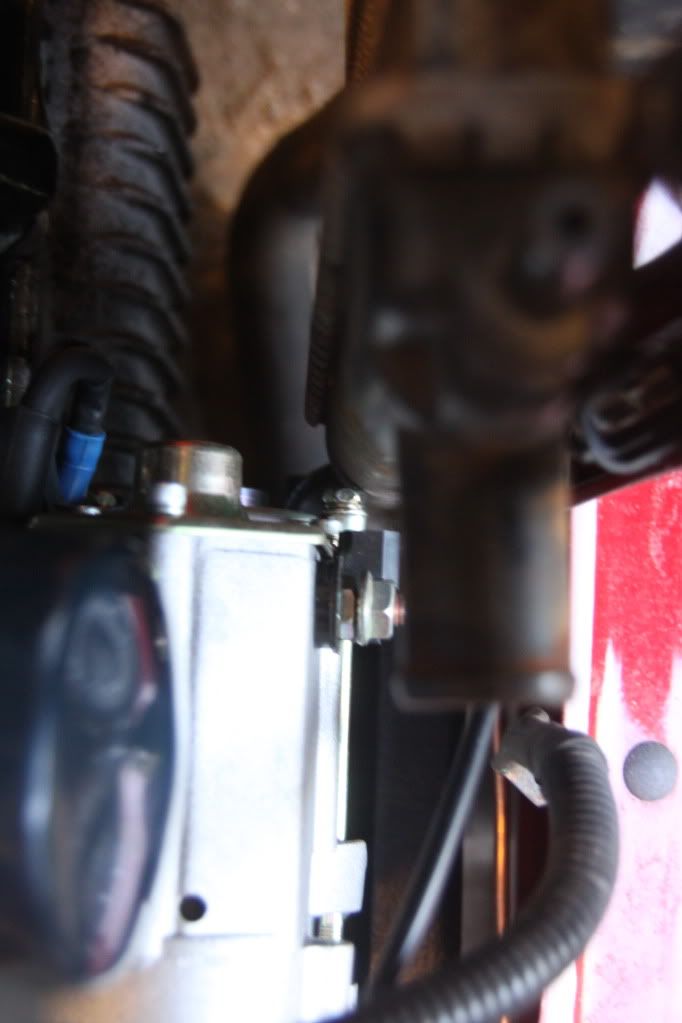
You can just about see how the radiator needs to be offset from the original mountings,
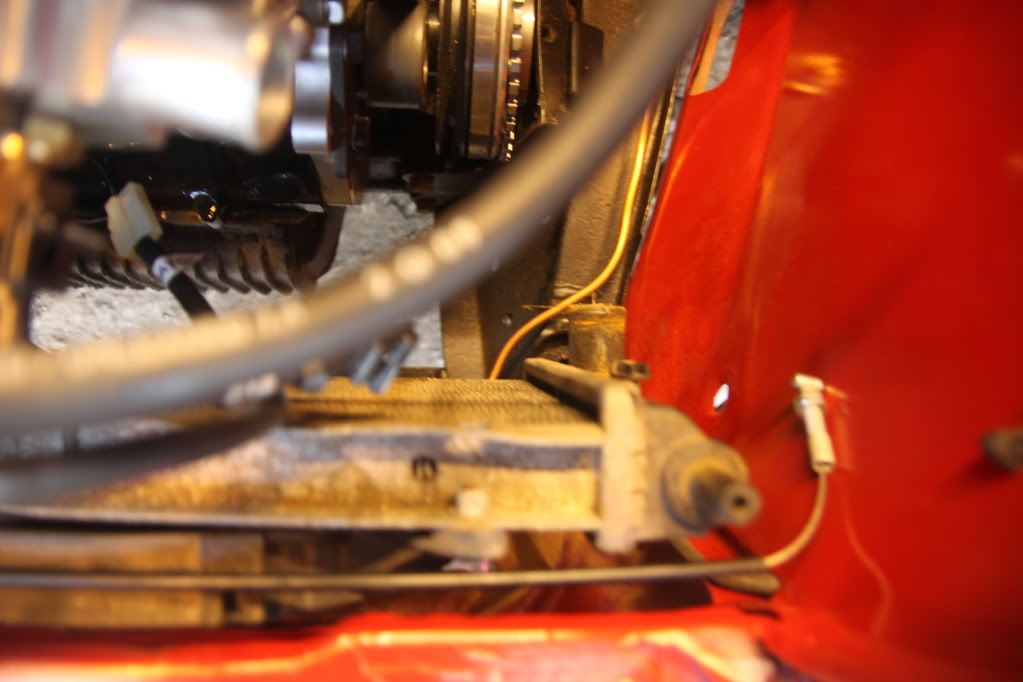
Putting the starter motor in caused a slight problem, as it encroaches into where the radiator will be, it's slightly longer than the standard item
Oh yeah and some super silly camber
#102
Swainy
-

- Members
-
- 319 posts
Speeding Along Now
- Location: Derbyshire
- Local Club: Sexy People Only Mini Club
Posted 11 June 2011 - 09:53 PM
Beautiful!
#103
mini.rich
-
- TMF+ Member
-
- 619 posts
Super Mini Mad
- Location: Lincs
Posted 12 June 2011 - 07:50 PM
Beautiful!
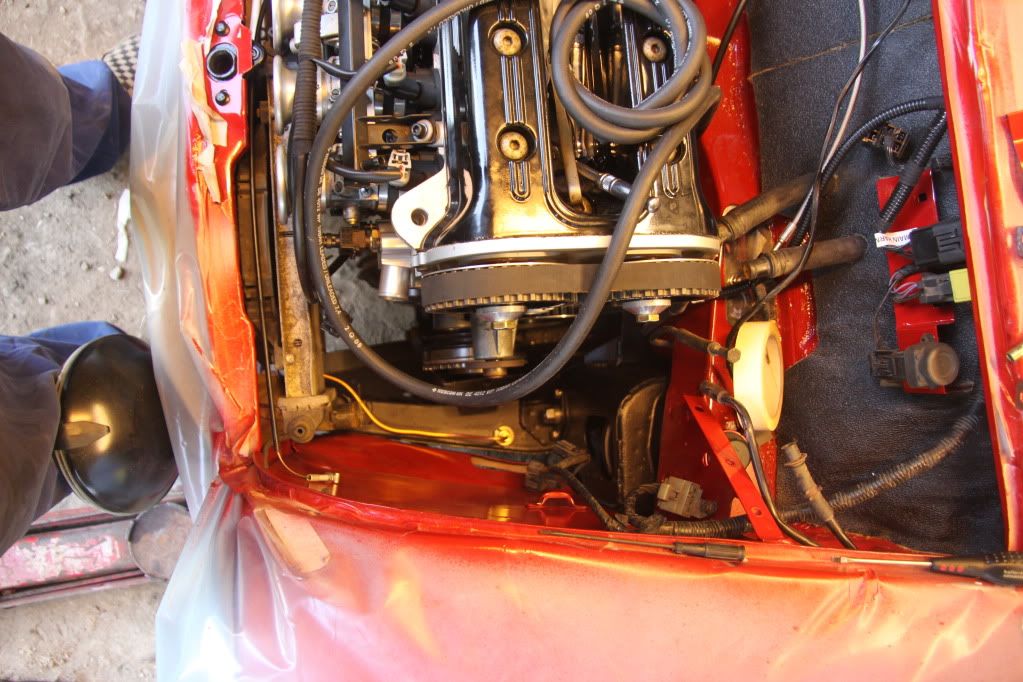
Today I've mostly been bolting the subframe, engine and suspension up, all the hubs and driveshafts are fitted. I spent quite a while messing with the starter and rad spacing.
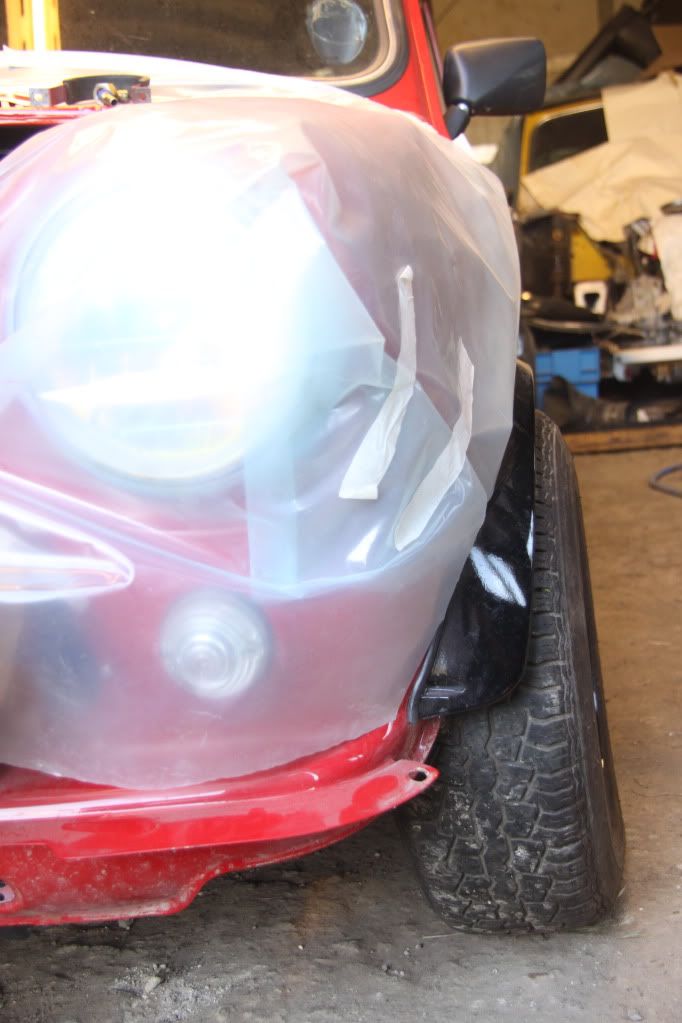
You can see the massive gap between the arch and wheel here, think I'll be cutting that
 not what I wanted from the wheels
  Silly offset
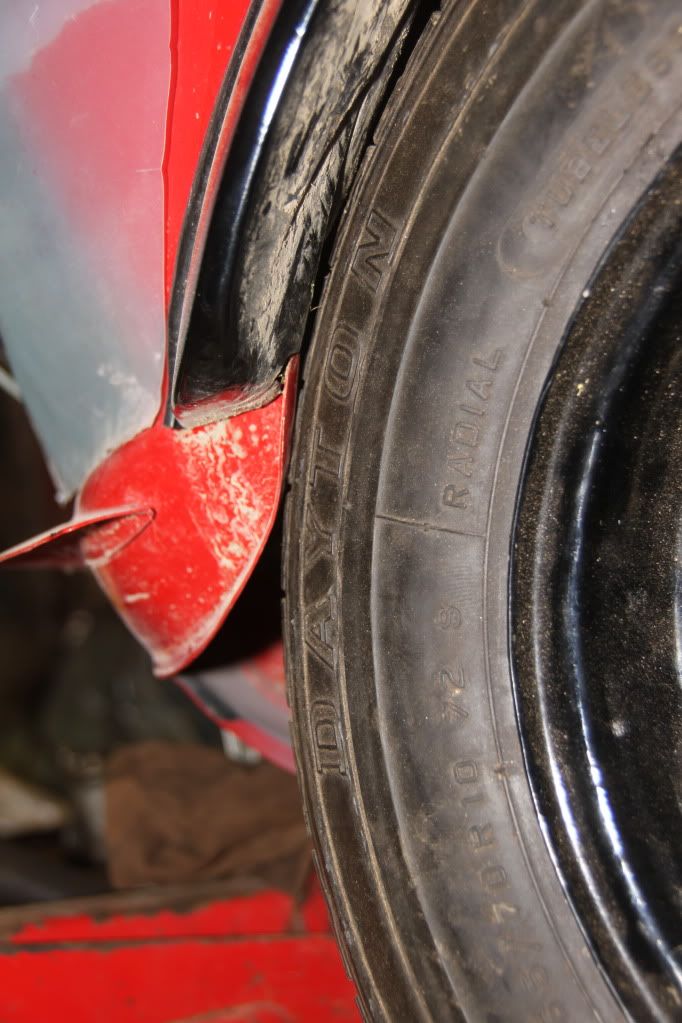
I've got to buy a load of hose sections to make something similar to this, should be interesting

#104
project mini chris
-

- Members
-
- 1,894 posts
have a break, have a...
- Location: Bedfordshire
- Local Club: Mini Designer Register
Posted 13 June 2011 - 09:21 AM
Great Build! Looking very tidy Keep up the good work 
Keep up the good work
#105
mini.rich
-
- TMF+ Member
-
- 619 posts
Super Mini Mad
- Location: Lincs
Posted 13 June 2011 - 07:40 PM
Great Build! Looking very tidy
Thanks
I was just looking at the ECU earlier and noticed the smaller print on it, um lol.


2 user(s) are reading this topic
0 members, 2 guests, 0 anonymous users


