


Project Miglia
Started by
rosco454
, Oct 10 2009 09:31 PM
159 replies to this topic
#121

J_1275_O
-

- Members
-

- 160 posts
previously known as Jamie5414
- Local Club: Twingo133.net and AMOC
Posted 30 October 2010 - 09:19 AM
Looks Mint Rosco! - love the arches in ur signature
#122
rosco454
-
- Members
-
- 908 posts
One Carb Or Two?
Posted 28 November 2010 - 11:06 AM
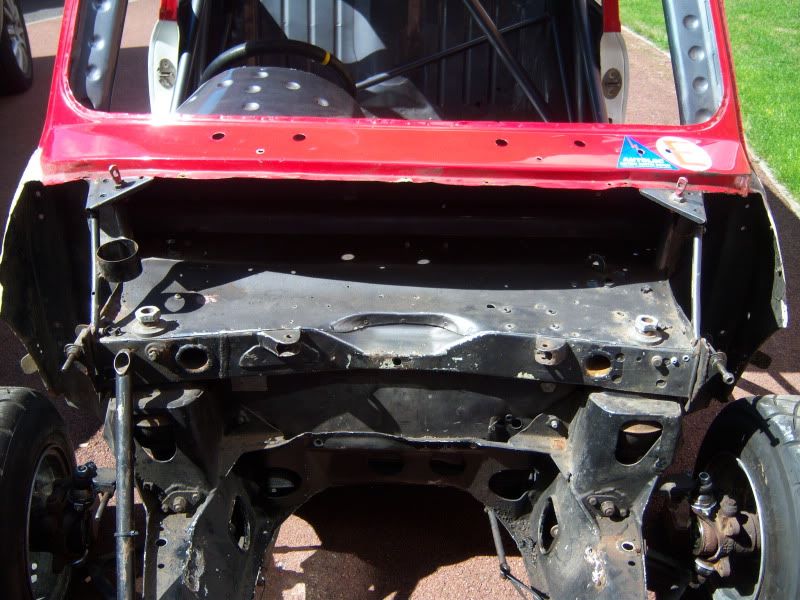
Right,theres been no updates for a while as I tend to work on about 10 things at once instead of one at a time.I have just about finished one bit bar a bit of final tidying up so thought I would pop some picture up.I needed to make something to hold the brake reservoirs in place as I wasnt happy with what was already on the car.I found a tilton reservoir that looked amazing but it was around $700 plus delivery from the states which is just far to steep to me!The others I found were either bloody awful standard looking things that I didnt like the look of.With that in mind I set about making something to hold the small girling style reservoirs and look half decent at the same time.
Heres what it started off with,basically a bracket to hold 2 of them in the wheel arch area and a metal ring to hold one in the bulkhead area.As usual the pics are rubbish so get your specs out!

I quite liked the metal ring idea so the plan was to remove the existing one & have three of those in the wheel arch area,first plan was to have the bottom of an oversize tube plated over to provide a mount and catch any spillage.
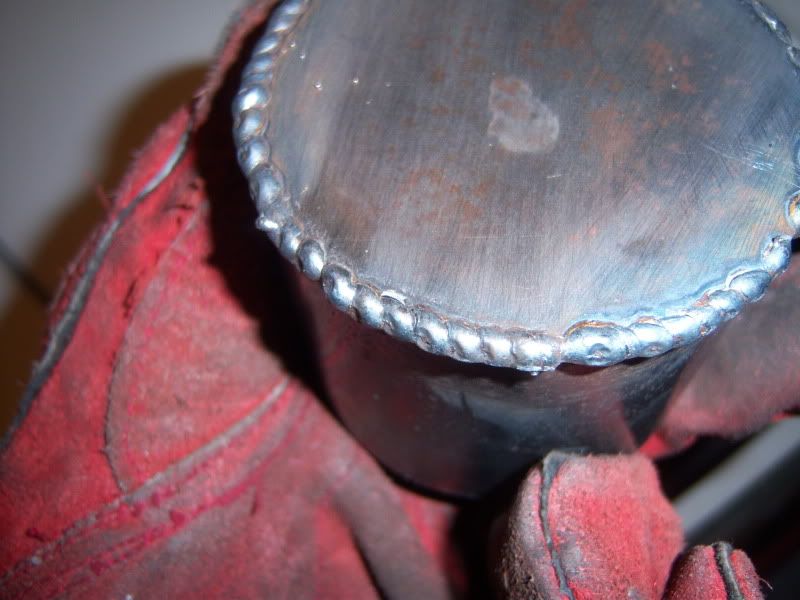
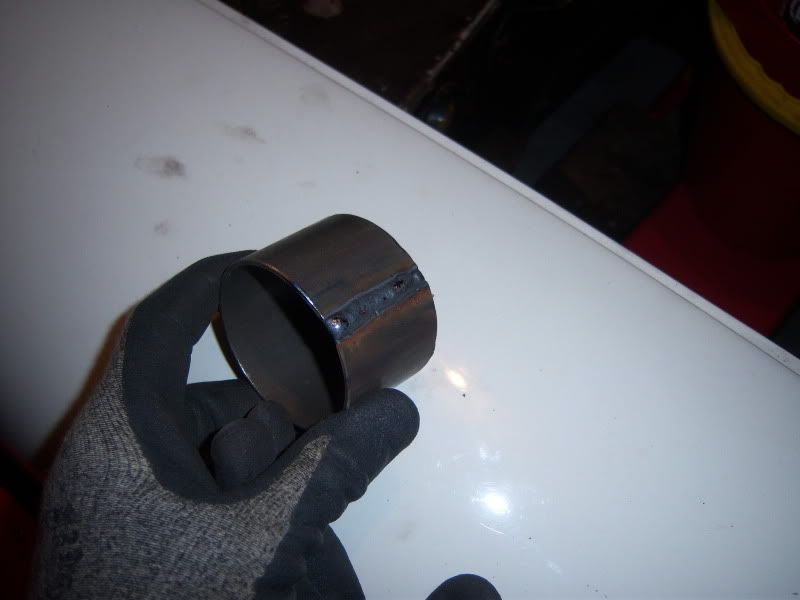
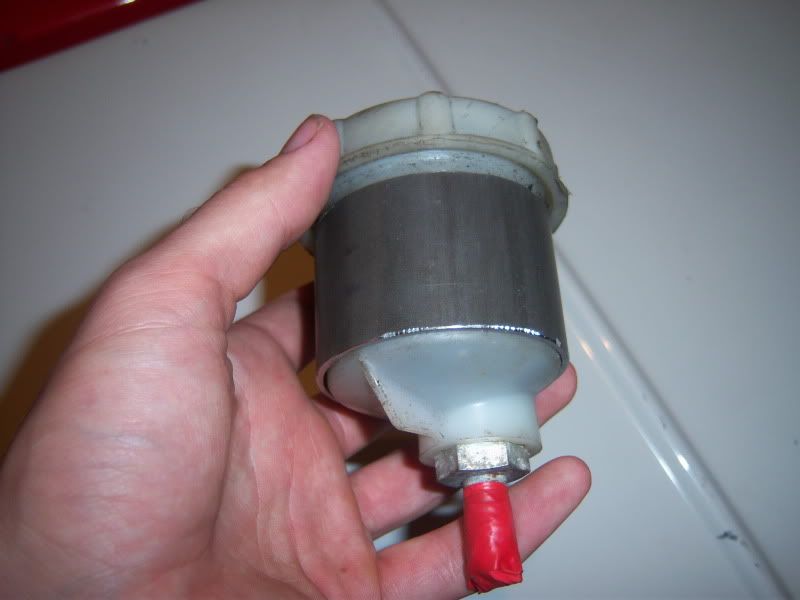
Decide I didnt like the look of this once the reservoir was in place so plan changed to having 3 rings of the same size as the outside of the reservoir same as the original one in the bulkhead was.However the outside is inbetween readily available tube sizes so bought the next size up and reduced it a bit.
Tube as cut to length.
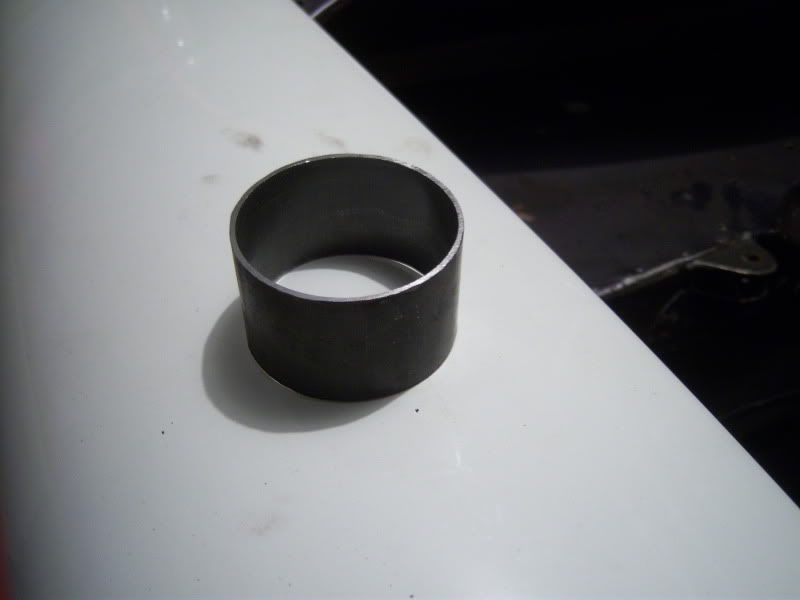
Cut.
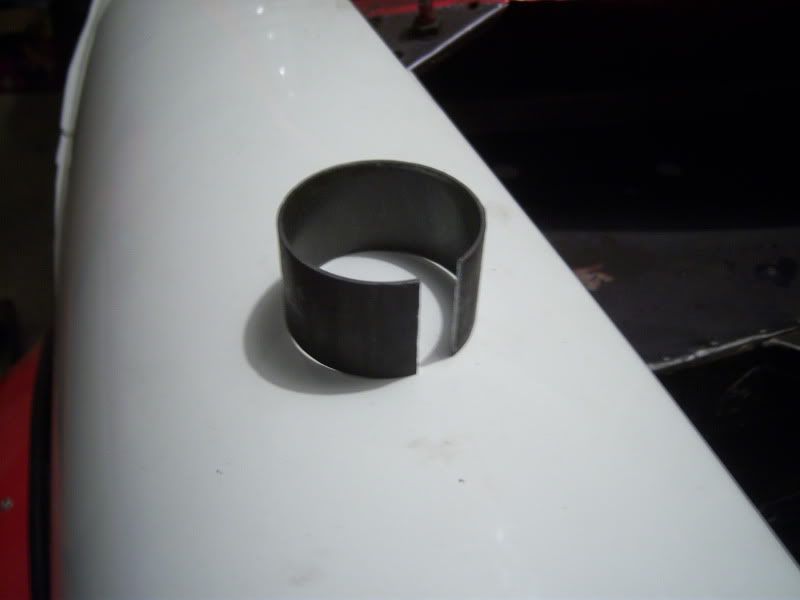
Welded.
Fitted.
Did 3 of these then got onto mounting them up which just turned into a disaster,I had a couple of ideas that had looked great in my head but just looked awful in real life.After trying about 5 ways of mounting them up and all five looking crap I gave up left it for a good few weeks.
While getting on with other bits of the car I had a better idea for the reservoirs that would tuck into the back of the bulkhead and not take up much space.Also means its not going to get covered in crap like it would in the wheel arch.
I didnt take many pics during making it but here it is tig welded up.
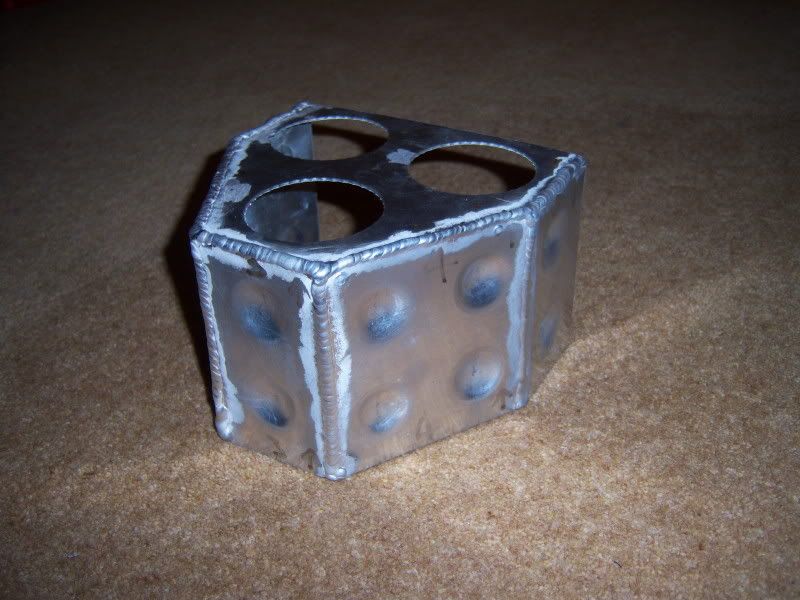
Shaped to fit the contours on the bulkhead.

In place in the bulkhead.
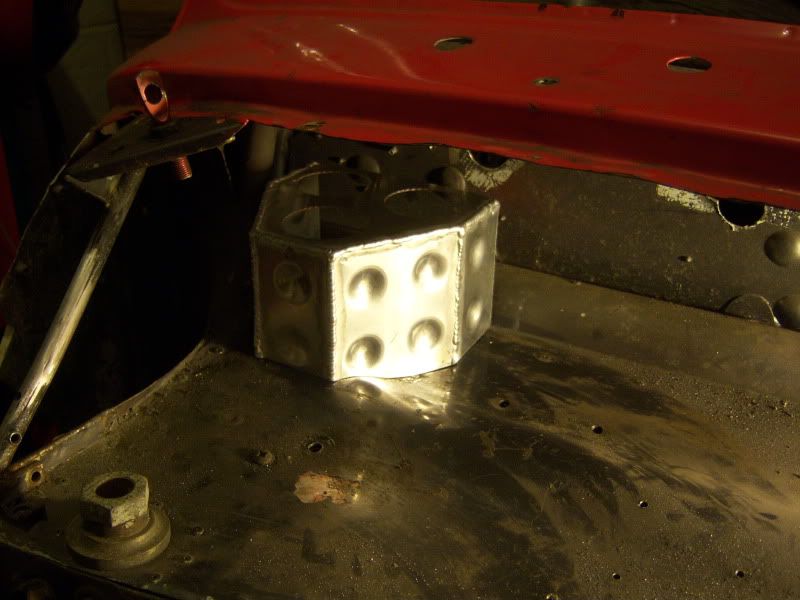
In place with an old reservoir.The fit to the bulkhead is better than the photo shows as I had to move it along slightly to get some light into the photo.
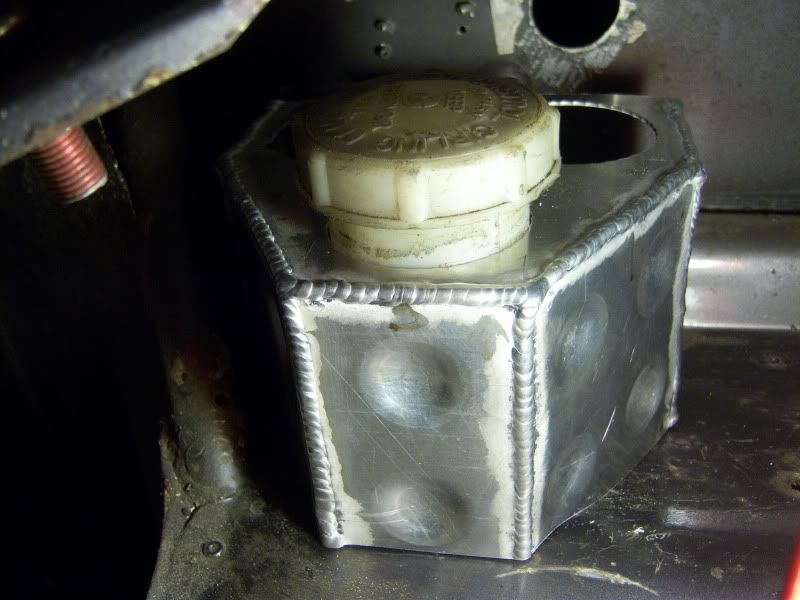
Pretty pleased with how its turned out especially the dimples so it matches in with the rest of the car,it will be painted same grey as they rest of the engine bay when the car is sprayed.Also got some rubber trim on order to go round the bottom to stop it rattling once its mounted up.
Will update some more once the bits im making are finished.
Cheers Ross.
Heres what it started off with,basically a bracket to hold 2 of them in the wheel arch area and a metal ring to hold one in the bulkhead area.As usual the pics are rubbish so get your specs out!
I quite liked the metal ring idea so the plan was to remove the existing one & have three of those in the wheel arch area,first plan was to have the bottom of an oversize tube plated over to provide a mount and catch any spillage.
Decide I didnt like the look of this once the reservoir was in place so plan changed to having 3 rings of the same size as the outside of the reservoir same as the original one in the bulkhead was.However the outside is inbetween readily available tube sizes so bought the next size up and reduced it a bit.
Tube as cut to length.
Cut.
Welded.
Fitted.
Did 3 of these then got onto mounting them up which just turned into a disaster,I had a couple of ideas that had looked great in my head but just looked awful in real life.After trying about 5 ways of mounting them up and all five looking crap I gave up left it for a good few weeks.
While getting on with other bits of the car I had a better idea for the reservoirs that would tuck into the back of the bulkhead and not take up much space.Also means its not going to get covered in crap like it would in the wheel arch.
I didnt take many pics during making it but here it is tig welded up.
Shaped to fit the contours on the bulkhead.
In place in the bulkhead.
In place with an old reservoir.The fit to the bulkhead is better than the photo shows as I had to move it along slightly to get some light into the photo.
Pretty pleased with how its turned out especially the dimples so it matches in with the rest of the car,it will be painted same grey as they rest of the engine bay when the car is sprayed.Also got some rubber trim on order to go round the bottom to stop it rattling once its mounted up.
Will update some more once the bits im making are finished.
Cheers Ross.
Edited by rosco454, 28 November 2010 - 06:52 PM.
#123
deemo
-

- Members
-
- 185 posts
Mini Mad
- Local Club: LCMOC
Posted 05 December 2010 - 02:47 AM
I'll be gutted if this goes 
The reservoir holder looks great, lovely bit of fabrication. How did you do the dimples?
The reservoir holder looks great, lovely bit of fabrication. How did you do the dimples?
#124
rosco454
-
- Members
-
- 908 posts
One Carb Or Two?
Posted 09 December 2010 - 11:35 PM
Hi Deemo,sorry for the slow reply I only just noticed your post.
To be honest I dont think it will be going anywhere,didnt have any serious interest when it was up for sale so just hung onto it and been doing little bits and pieces to keep myself amused as and when I get time.
Cheers for the comments on the holder thing.To make the dimples I knocked up a home made press with a former for the dimple.It does quite a nice job,you can see it better in the two darker pics but it gets quite a neat tidy edge on them.
Cheers Ross.
Edited by rosco454, 20 January 2011 - 05:10 PM.
#125
Timinichelsea
-

- Members
-
- 215 posts
Mini Mad
Posted 10 December 2010 - 01:17 PM
Nice bit of welding there.
Did you have any luck making those axle stand points you were asking me about?
Did you have any luck making those axle stand points you were asking me about?
#126
rosco454
-
- Members
-
- 908 posts
One Carb Or Two?
Posted 10 December 2010 - 03:11 PM
I havnt had chance to do them yet im afraid.I have all the stuff to do them just need to get the time,must be the same for a lot of other jobs as the bits pile keeps growing and not a lot of it is making its way onto the car.I will make sure I to pop some pics up once they are done.
Cheers Ross.
Cheers Ross.
#127
rosco454
-
- Members
-
- 908 posts
One Carb Or Two?
Posted 19 December 2010 - 10:07 AM
Iv'e been in the garage a couple of times this week but it was making a better version of the dimple machine thingy not actually doing anything on the car.Last night though I did manage to get a little bit of time on the car.
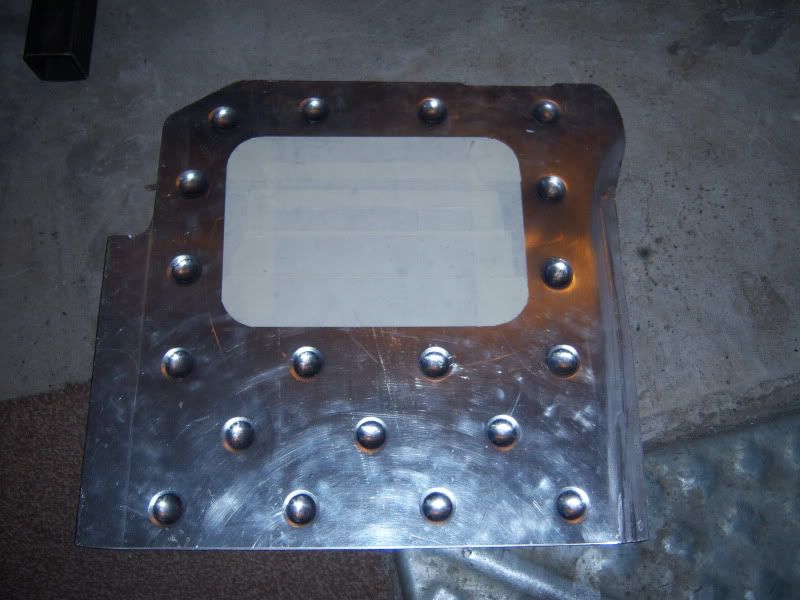
When I bought the car it had a chequer plate false floor on the drivers side which I wasn't keen on as I don't like chequer plate and the fit wasn't amazing so decided to make a new one and do one for the passenger side floor whilst I was at it.Made the basic floors up a few weeks ago from 2.5mm aluminium sheet.As usual sorry for the crap photos.Excuse the marker pen marks and the blood on the drivers side one!
Driver side.
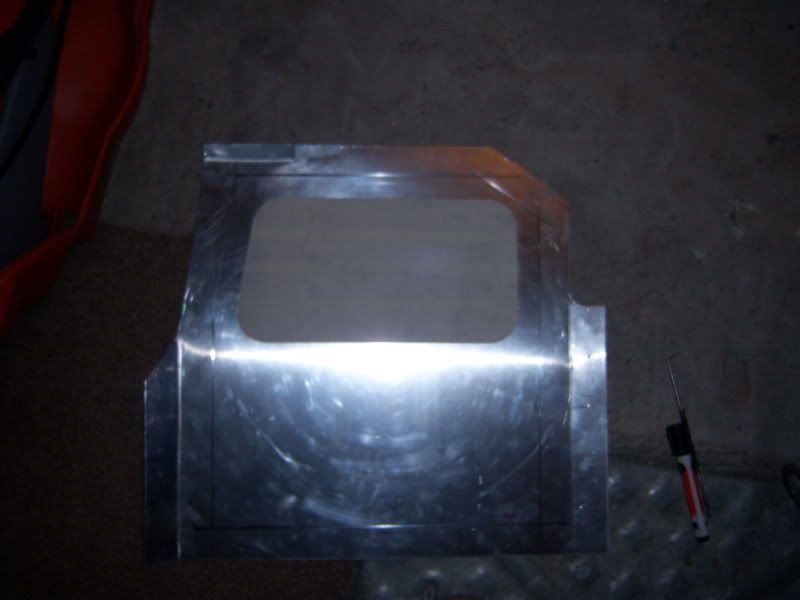
Passenger side.
The first version of the dimple thing didnt like doing the thicker material though so I made a better one that sits in a frame/jig to keep everything solid.This pressed the dimples much better in the thicker aluminium and still make a nice job of thinner stuff as well.With the press sorted I got on with the floors.
Drivers side.
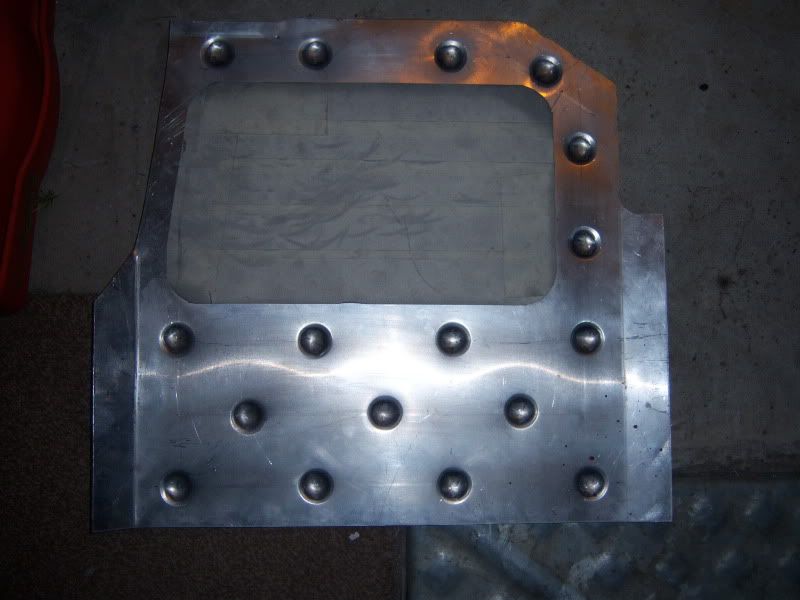
Passenger side.
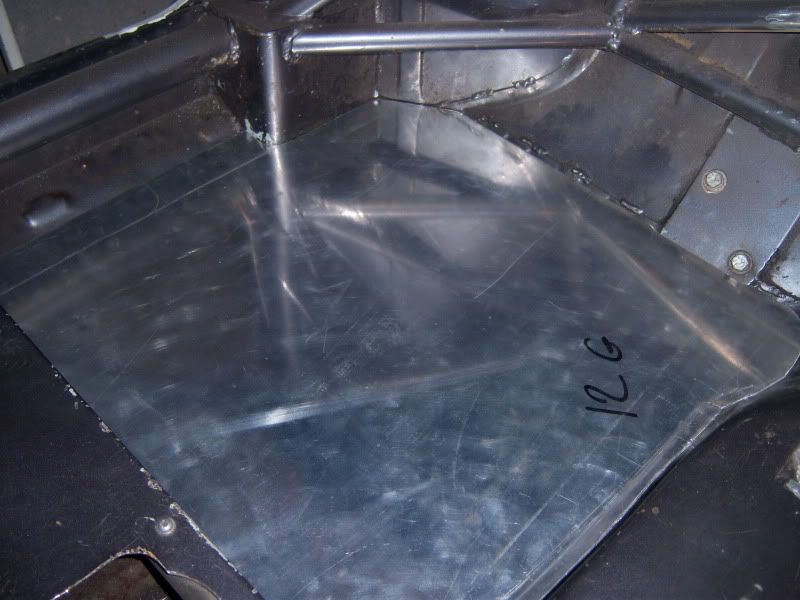
Drivers side fitted.

Passenger side fitted.
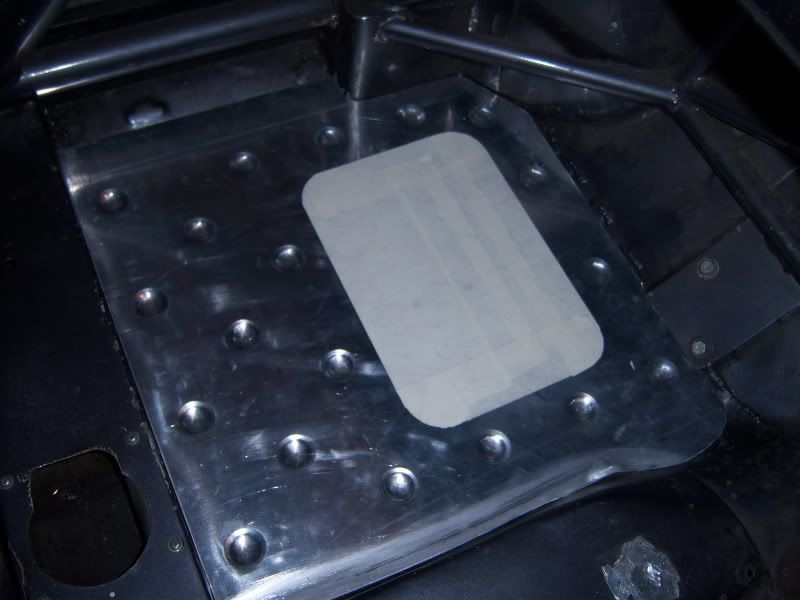
The will be sprayed to match the inside of the car and where the masking tape is I will be putting a grippy non slip patch to stop feet slipping all over the place.Please with how they turned out,I couldn't get a decent enough pic showing the lot but they tie in well with the dimpled dash.
Cheers Ross.
When I bought the car it had a chequer plate false floor on the drivers side which I wasn't keen on as I don't like chequer plate and the fit wasn't amazing so decided to make a new one and do one for the passenger side floor whilst I was at it.Made the basic floors up a few weeks ago from 2.5mm aluminium sheet.As usual sorry for the crap photos.Excuse the marker pen marks and the blood on the drivers side one!
Driver side.
Passenger side.
The first version of the dimple thing didnt like doing the thicker material though so I made a better one that sits in a frame/jig to keep everything solid.This pressed the dimples much better in the thicker aluminium and still make a nice job of thinner stuff as well.With the press sorted I got on with the floors.
Drivers side.
Passenger side.
Drivers side fitted.
Passenger side fitted.
The will be sprayed to match the inside of the car and where the masking tape is I will be putting a grippy non slip patch to stop feet slipping all over the place.Please with how they turned out,I couldn't get a decent enough pic showing the lot but they tie in well with the dimpled dash.
Cheers Ross.
Edited by rosco454, 21 December 2010 - 11:02 AM.
#128
mini93
-

- Members
-
- 8,615 posts
He's just too casual!
- Location: Warwick
- Local Club: Medievil minis of Warwickshire
Posted 19 December 2010 - 10:11 AM
looks good, gotta make some foot trays for mine at some point, my floor pans a tad unslightly. For the gripped section you could look at using skateboard grip tape, you can also get different colours if you want too 
#129
rosco454
-
- Members
-
- 908 posts
One Carb Or Two?
Posted 19 December 2010 - 10:15 AM
For the gripped section you could look at using skateboard grip tape, you can also get different colours if you want too
Have a roll of it ready to go in the garage!
#130
mini93
-
- Members
-
- 8,615 posts
He's just too casual!
- Location: Warwick
- Local Club: Medievil minis of Warwickshire
Posted 19 December 2010 - 10:16 AM
ah good good then!
#131
rosco454
-
- Members
-
- 908 posts
One Carb Or Two?
Posted 19 December 2010 - 10:54 AM
Great minds thinking alike I reckon!
#132
rosco454
-
- Members
-
- 908 posts
One Carb Or Two?
Posted 24 December 2010 - 10:38 AM
Since im stuck at work watching the clock I figured I may as well have an update.
Its alqays bothered me that one of the gussets onto the a pillars didnt match the other one.The drivers side is a lot messier than the passengers,dimples wern't pressed as neatly and gaps between them were all over the place (yes i know im being a total fairy).
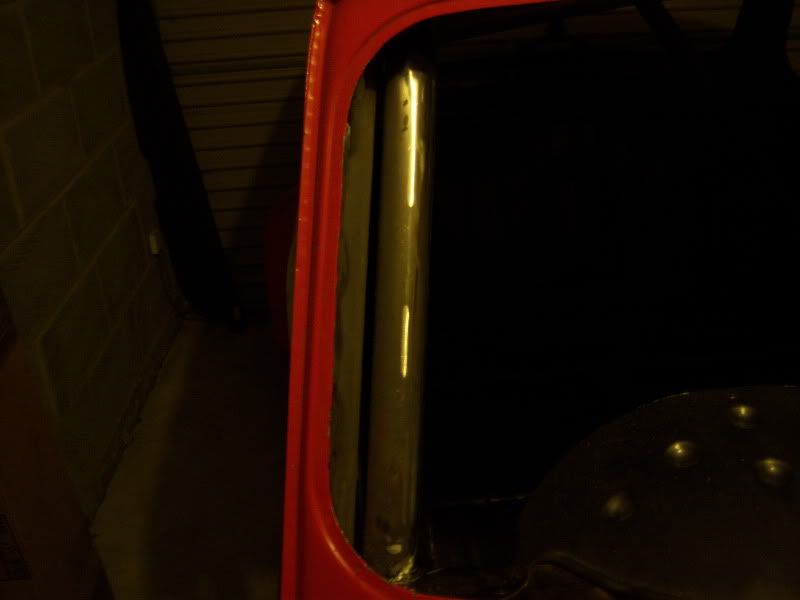
Passenger side nice and neat.
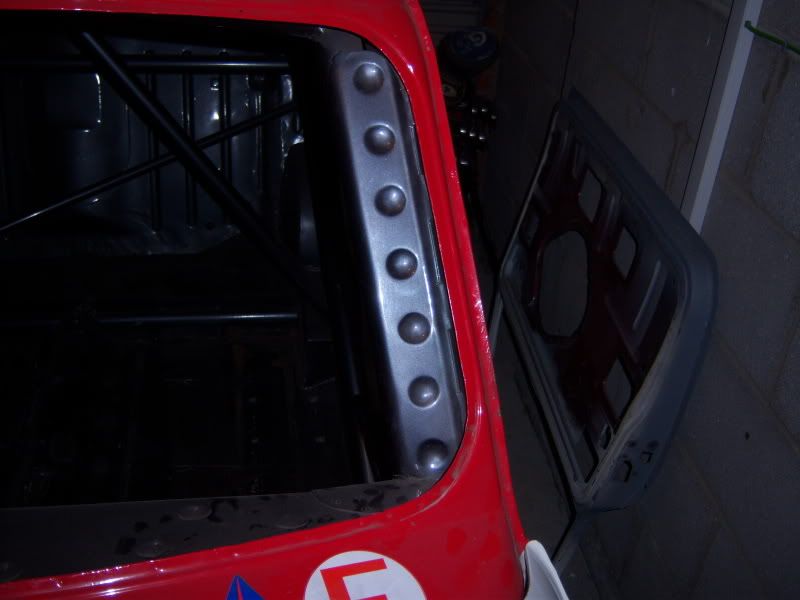
Drivers side load of crap.Although this pic is surprisingly kind to it.
So with that I took a grinder to it and after a lot of persuasion was left with this.
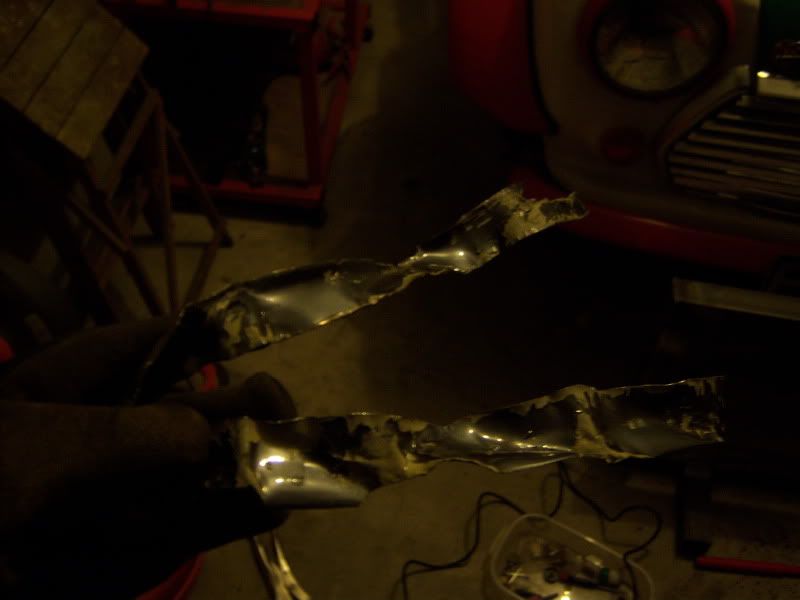
Cleaned up the old welds etc.
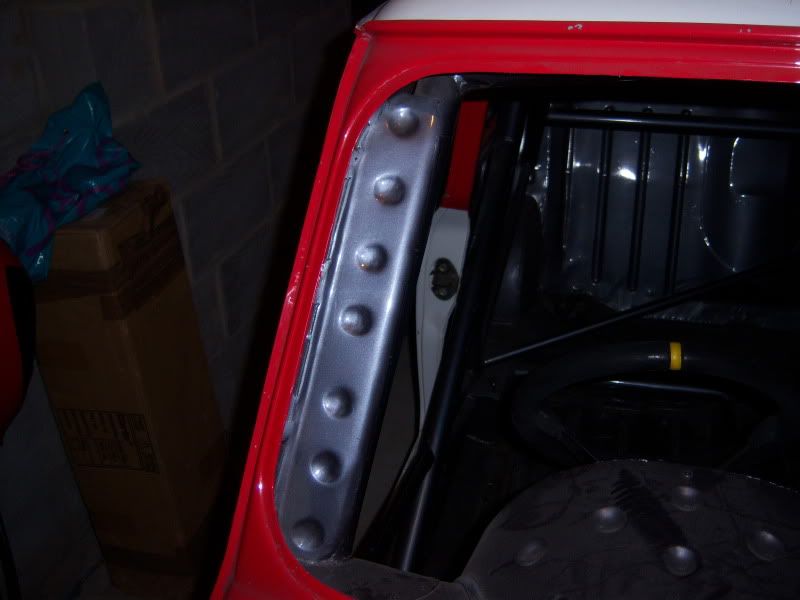
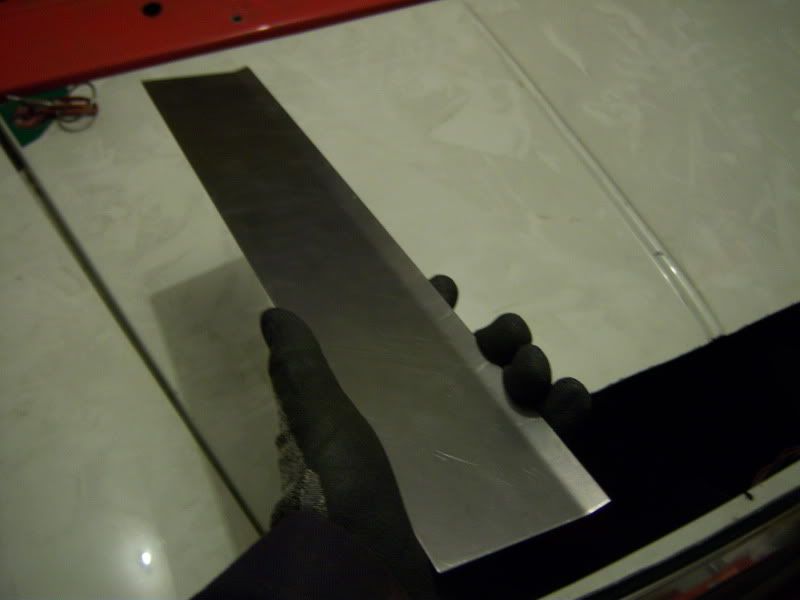
Cut a new gusset from 1.5mm sheet and put a little fold in it to match the passenger side.
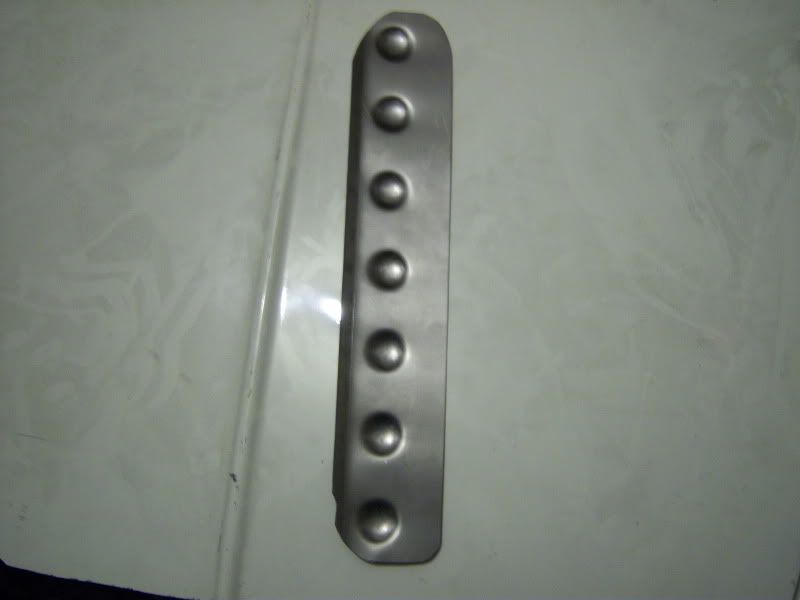
All dimpled,shaped up and ready to go in.
Resting roughly in place.

At that point I checked the welder and realised I only had a scrap of wire left so welding it in will have to wait.Plan is to weld down the a pillar side and then shape it round the rollcage before welding it on the cage side.
Cheers Ross.
Its alqays bothered me that one of the gussets onto the a pillars didnt match the other one.The drivers side is a lot messier than the passengers,dimples wern't pressed as neatly and gaps between them were all over the place (yes i know im being a total fairy).
Passenger side nice and neat.
Drivers side load of crap.Although this pic is surprisingly kind to it.
So with that I took a grinder to it and after a lot of persuasion was left with this.
Cleaned up the old welds etc.
Cut a new gusset from 1.5mm sheet and put a little fold in it to match the passenger side.
All dimpled,shaped up and ready to go in.
Resting roughly in place.
At that point I checked the welder and realised I only had a scrap of wire left so welding it in will have to wait.Plan is to weld down the a pillar side and then shape it round the rollcage before welding it on the cage side.
Cheers Ross.
#133
rosco454
-
- Members
-
- 908 posts
One Carb Or Two?
Posted 24 December 2010 - 10:38 AM
Please delete,double post
Edited by rosco454, 24 December 2010 - 10:39 AM.
#134
malcs_miniturbo
-
- Members
-
- 602 posts
Super Mini Mad
- Location: swindon
Posted 24 December 2010 - 04:35 PM
nice project
#135
miniman290
-

- Noobies
-
- 11 posts
Learner Driver
Posted 02 January 2011 - 10:07 PM
very nice gona be a great mini when finished


2 user(s) are reading this topic
0 members, 2 guests, 0 anonymous users


